Articles
How To Lay Tile In Bathroom Floor
Modified: February 21, 2024
Learn the step-by-step process of laying tile in your bathroom floor with our informative articles. Get expert tips and advice to achieve a beautiful and durable tile installation.
(Many of the links in this article redirect to a specific reviewed product. Your purchase of these products through affiliate links helps to generate commission for Storables.com, at no extra cost. Learn more)
Introduction
Welcome to the world of tile installation! Whether you are remodeling your bathroom or building a new one, laying tile on the bathroom floor can be a great way to add beauty and durability to your space. However, if you’re new to the world of tile installation, it can seem like a daunting task. But fear not, because in this article, we will guide you through the process of how to lay tile in the bathroom floor.
Not only will we provide you with step-by-step instructions on how to install tile, but we will also give you tips and tricks to make the process easier and ensure a successful outcome. By the end of this article, you will have the knowledge and confidence to tackle your bathroom floor tile installation project.
Before we jump into the nitty-gritty details, let’s first discuss the importance of choosing the right tile for your bathroom floor.
Key Takeaways:
- Choosing the right tile, gathering essential tools, preparing the floor surface, and planning the layout are crucial steps for a successful bathroom floor tile installation. Attention to detail and patience throughout the process will result in a beautiful and long-lasting outcome.
- Mixing and applying the thinset mortar, installing the tiles, cutting and shaping tiles, applying grout, and cleaning and finishing the floor are the final steps to achieving a stunning bathroom floor. Following manufacturer’s instructions and taking your time during each step will ensure a professional and polished result.
Read more: How To Lay Out Floor Tile
Choosing the Right Tile
When it comes to choosing the right tile for your bathroom floor, there are a few factors to consider. First and foremost, you’ll want to select a tile that is designed for use in wet areas, such as bathrooms. These types of tiles are often labeled as “porcelain” or “ceramic” tiles and are water-resistant.
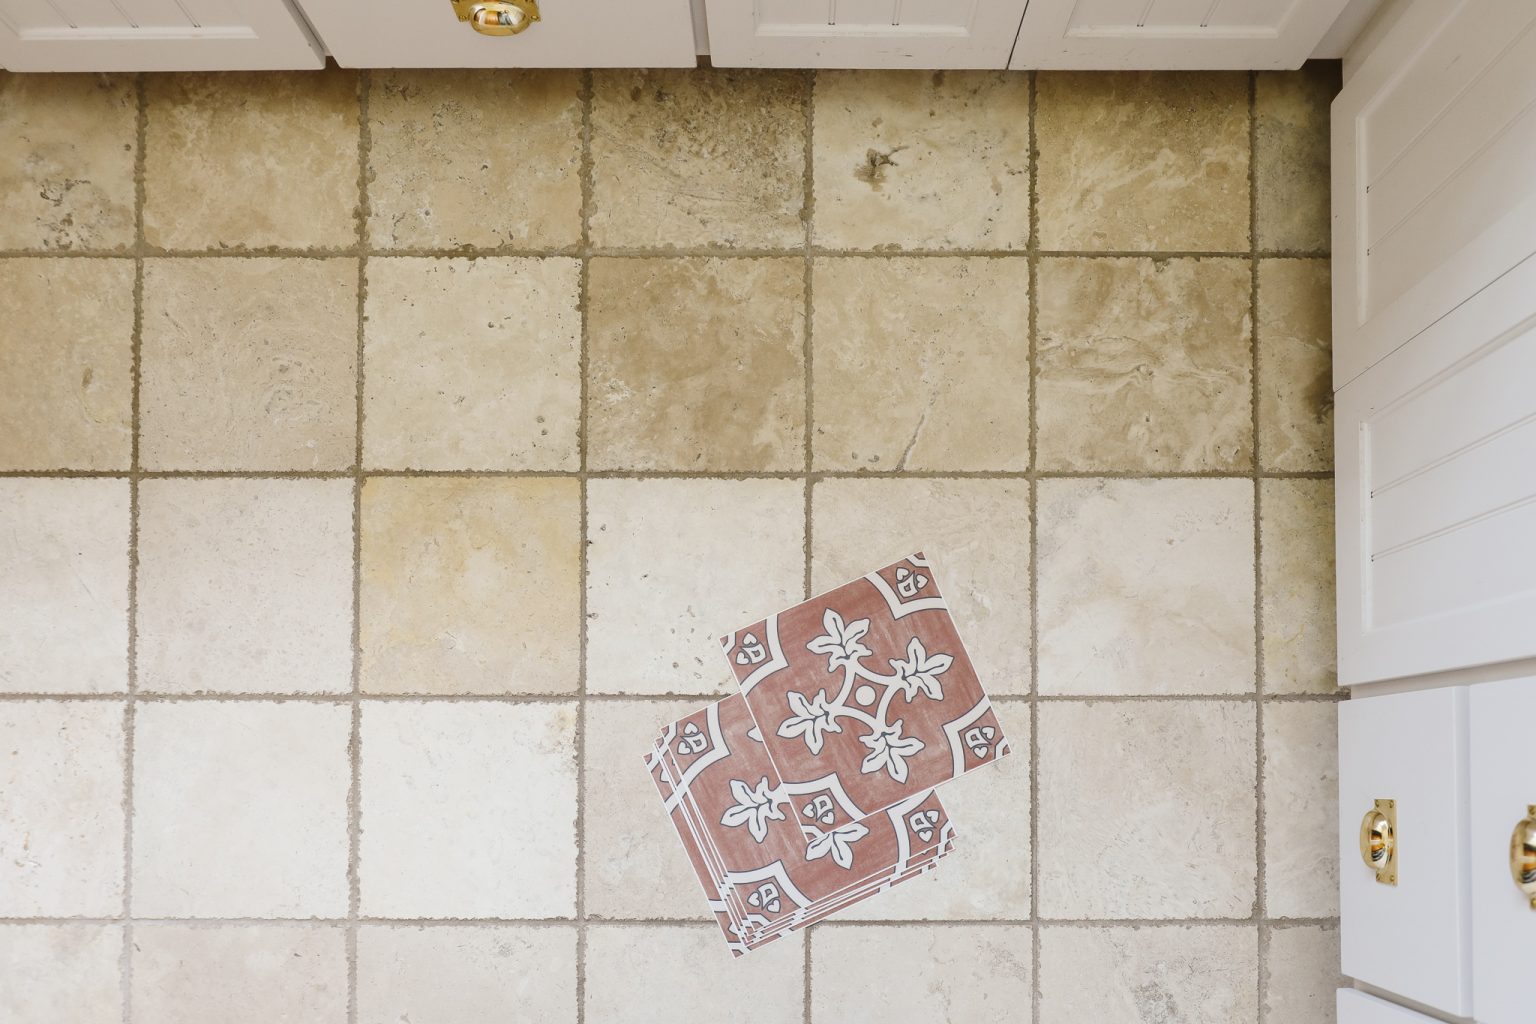
Next, think about the style and aesthetic you want to achieve in your bathroom. Do you prefer a classic look with neutral colors, or do you want to make a bold statement with vibrant patterns? Consider the overall design scheme of your bathroom and choose a tile that complements it.
In addition to style, it’s important to consider the durability of the tile. Bathroom floors are subjected to moisture, foot traffic, and occasionally even dropped items, so you’ll want a tile that can withstand these challenges. Look for tiles with a high PEI (Porcelain Enamel Institute) rating, which indicates their resistance to wear and tear.
Another important factor to consider is the size and shape of the tile. Larger tiles can make a small bathroom appear larger, while smaller tiles can create an interesting mosaic effect. Consider the size and layout of your bathroom floor when choosing the tile size.
Last but not least, don’t forget about the maintenance and cleaning aspect. Some tiles may require special care and cleaning products, while others are easier to maintain. If you prefer a low-maintenance option, look for tiles that are stain-resistant and easy to clean.
By taking these factors into consideration, you can choose a tile that not only looks great but is also practical and long-lasting. So now that you have selected the perfect tile for your bathroom floor, let’s move on to gathering the necessary tools and materials.
Gathering the Necessary Tools and Materials
Before you start the tile installation process, it is important to gather all the necessary tools and materials. Having everything in place will make the job smoother and prevent any unnecessary delays. Here is a list of the essential tools and materials you will need:
- Tiles: Purchase the appropriate amount of tiles based on the size of your bathroom floor. It’s always a good idea to buy extra tiles to account for any cuts or breakages.
- Thinset Mortar: This adhesive is used to attach the tiles to the floor surface. Choose a mortar specifically designed for use with your type of tile.
- Trowel: A notched trowel is used to apply the thinset mortar evenly on the floor surface.
- Tile Spacers: These small plastic pieces help maintain consistent spacing between the tiles for a professional-looking installation.
- Tile Saw or Tile Cutter: Depending on the type of tile you have chosen, you may need a tile saw or tile cutter to make precise cuts.
- Grout: Grout is used to fill the spaces between the tiles and provides stability and strength to the floor.
- Grout Float: This tool is used to apply and spread the grout into the grout lines.
- Sponge and Bucket: These are used to clean the tiles and remove excess grout during the grouting process.
- Level and Measuring Tape: Ensure that your floor is level by using a level. Measuring tape will help you accurately measure the dimensions of your bathroom floor.
- Rubber Mallet: A rubber mallet is used to gently tap the tiles into place.
- Tile Nippers: These are necessary for cutting and shaping tiles to fit around obstacles like pipes or corners.
- Protective Gear: Wear safety glasses, gloves, and a dust mask to protect yourself during the installation process.
Make sure all these tools and materials are readily available before you begin the tile installation process. This way, you can work efficiently and achieve professional results. Now that you have everything you need, it’s time to prepare the floor surface for tile installation.
Preparing the Floor Surface
Before you install the tiles, it is crucial to properly prepare the floor surface. This ensures that the tiles adhere well and the final result is smooth and long-lasting. Here are the steps to follow for preparing the floor surface:
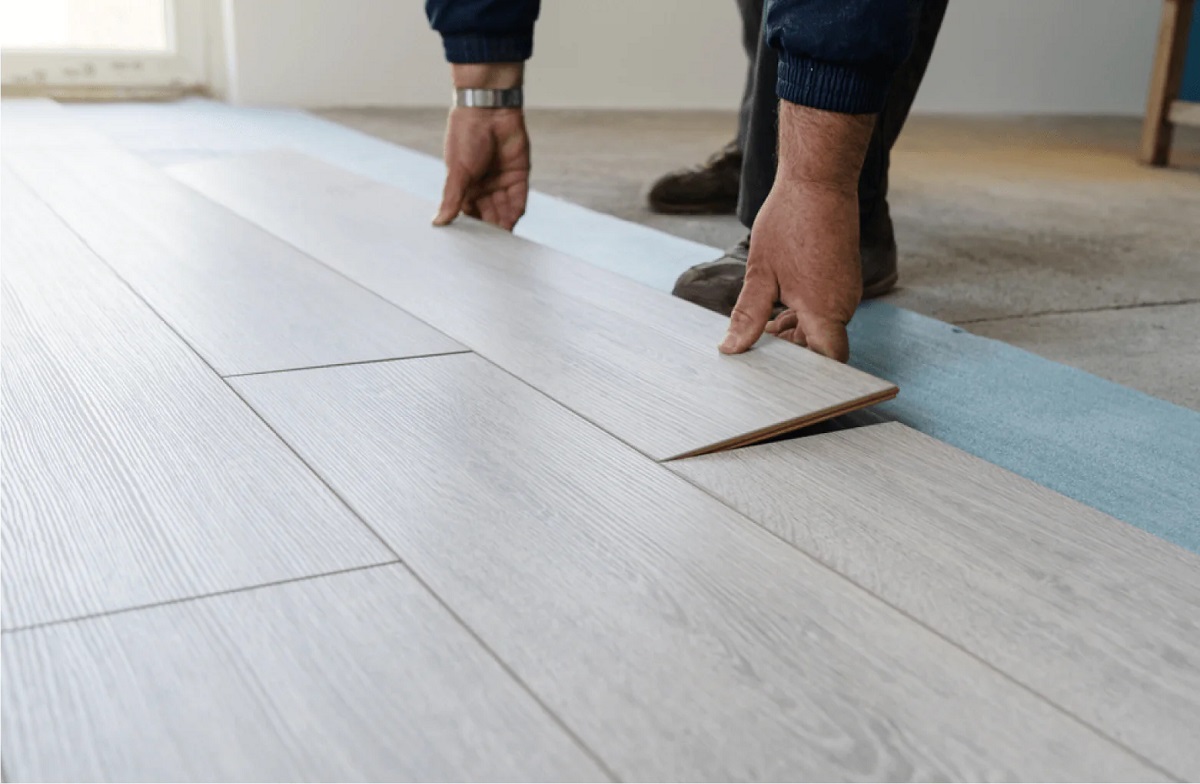
- Remove the existing flooring: If you have any existing flooring such as carpet, vinyl, or laminate, remove it completely. You need a clean and flat surface to work on.
- Check the subfloor: Inspect the subfloor for any damage or unevenness. Make necessary repairs or leveling to ensure a stable base for the tiles. If you have a concrete subfloor, patch any cracks and fill low spots with a leveling compound. For wooden subfloors, ensure they are structurally sound and replace any rotted or damaged sections.
- Clean the floor: Thoroughly clean the subfloor to remove any dirt, dust, or debris. Use a broom and vacuum to ensure a clean surface.
- Repair any imperfections: If you notice any cracks or dips in the subfloor, fill them with a suitable patching compound and allow it to dry completely. Sand down any high spots to create a smooth and even surface.
- Apply a primer: Depending on the type of subfloor and adhesive you are using, you may need to apply a primer to improve the bond between the subfloor and the thinset mortar.
Preparing the floor surface is a crucial step that ensures the success of your tile installation. By taking the time to properly clean, repair, and prime the floor, you will create a solid foundation for the tiles. Remember, a well-prepared surface will result in a professional-looking installation and a bathroom floor that stands the test of time.
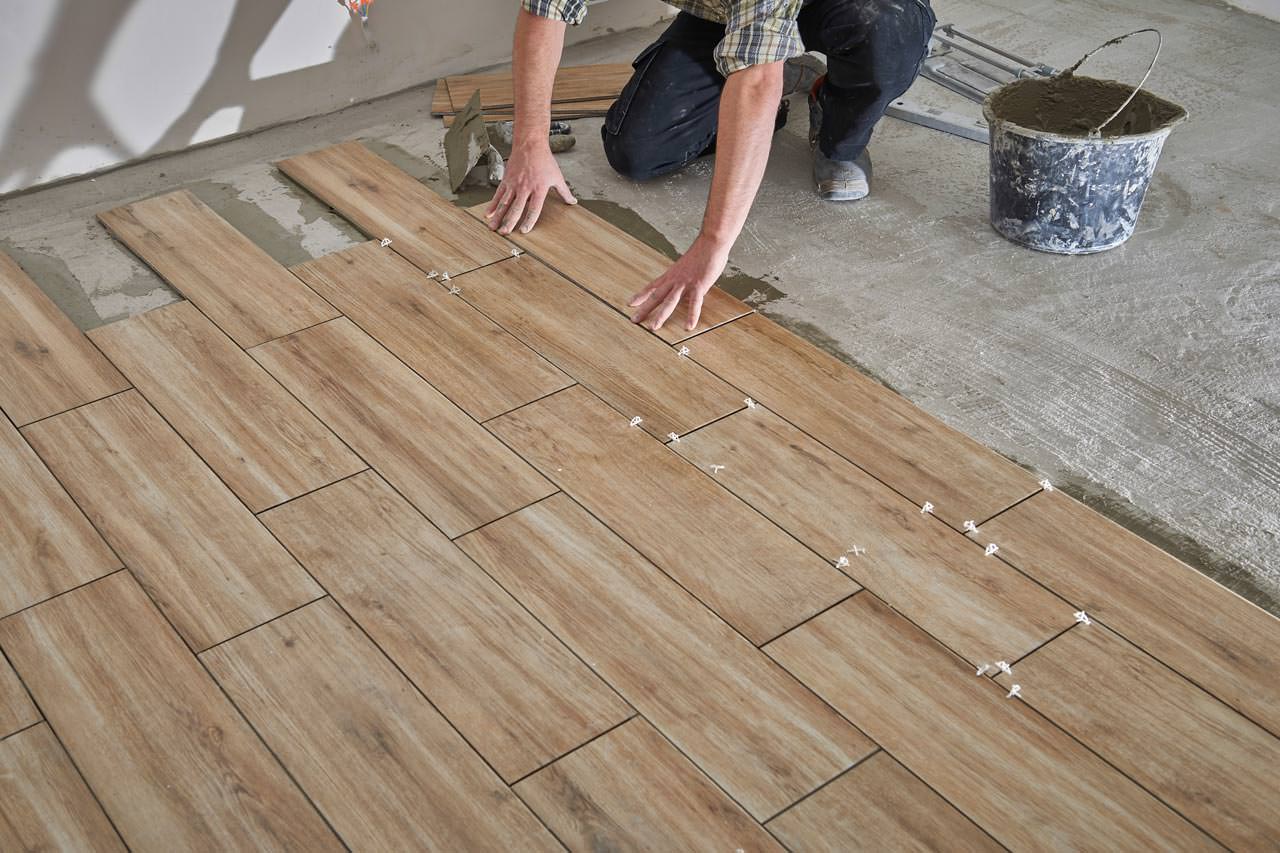
Planning and Layout
Planning and layout are essential steps in ensuring a successful tile installation on your bathroom floor. Taking the time to carefully plan and lay out the tiles will help you achieve a visually appealing and symmetrical result. Here are some tips to help you with the planning and layout process:
- Start with a center point: Find the center of your bathroom floor by measuring the length and width of the room and marking the midpoint on each side. The intersection of these lines will be your starting point for laying the tiles.
- Dry lay the tiles: Lay a row of tiles from the center point in both directions without adhesive. This will give you a visual representation of how the tiles will fit and allow you to make adjustments if necessary.
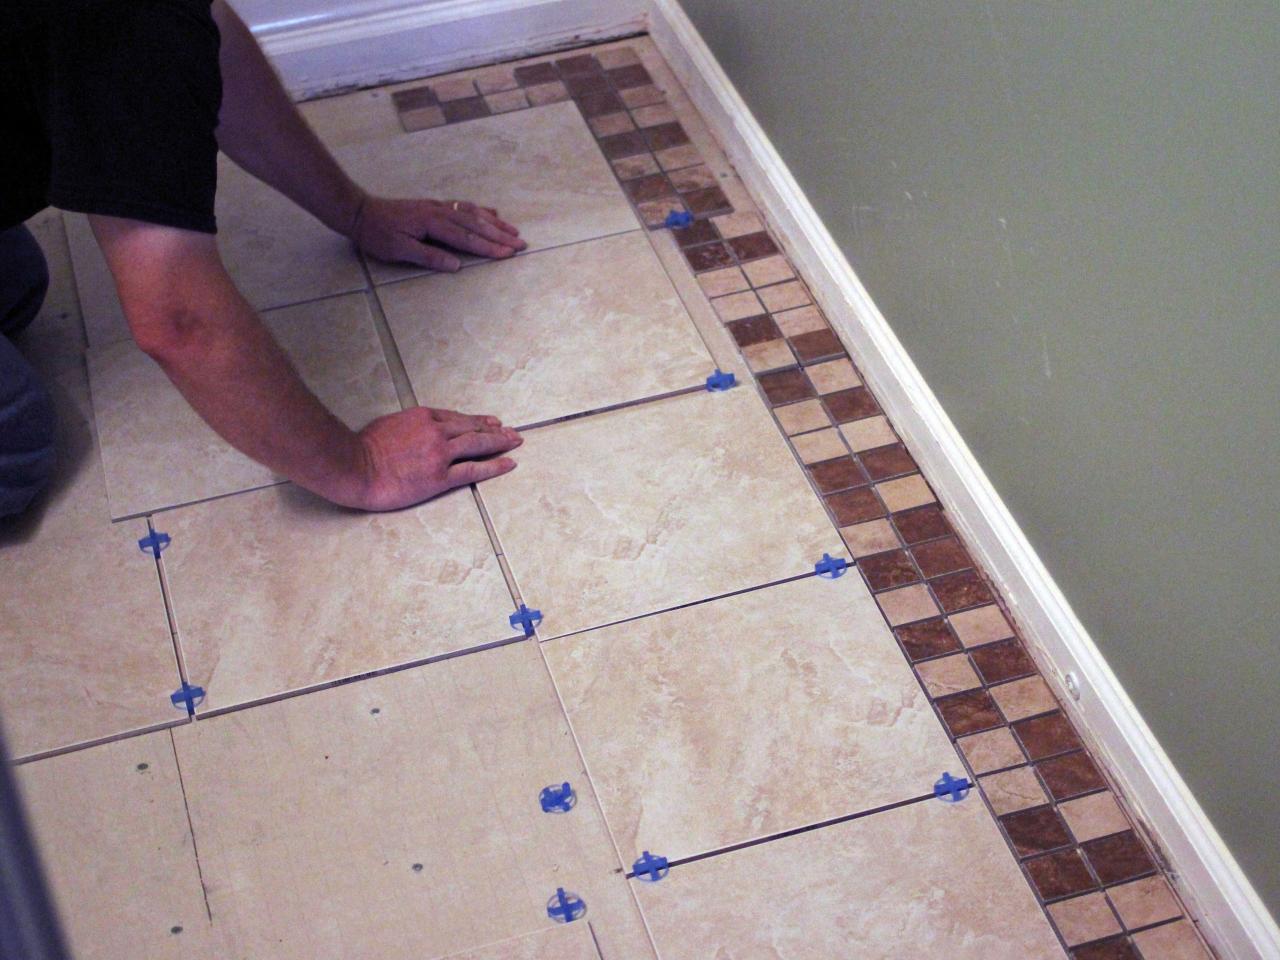
- Consider tile placement: Pay attention to how the tiles will fit around edges, corners, and obstacles such as drains or toilet flanges. To avoid small and uneven cuts, you may need to adjust the starting point or make slight modifications to the layout.
- Use tile spacers: Place tile spacers between the tiles to ensure an even and consistent spacing. This will create straight grout lines and a professional finish. Adjust the layout as needed to minimize the amount of cutting required.
- Measure for cuts: Take accurate measurements for any tiles that need to be cut to fit around edges or obstacles. Use a tile cutter or tile saw to make precise cuts.
- Double-check the layout: Before applying the thinset mortar, take a final look at the dry laid tiles to ensure you are satisfied with the layout and spacing.
Taking the time to plan and layout your tiles will pay off in the final result. A well-planned layout will minimize the amount of cutting and ensure a visually pleasing and balanced installation. Once you are satisfied with the layout, it’s time to move on to the next step: mixing and applying the thinset mortar.
Read more: How To Lay Tile On Concrete Floor
Mixing and Applying the Thinset
Now that you have planned and laid out your tiles, it’s time to mix and apply the thinset mortar. Thinset mortar is a cement-based adhesive that creates a strong bond between the tiles and the floor surface. Follow these steps to mix and apply the thinset:
- Gather your materials: Start by gathering the thinset mortar, a mixing paddle, a bucket, and a trowel.
- Read the instructions: Follow the manufacturer’s instructions on the thinset mortar bag for the correct mixing ratio and water amount.
- Begin mixing: Pour the recommended amount of water into the bucket. Slowly add the thinset mortar while continuously mixing with the paddle until you achieve a smooth, peanut butter-like consistency. Avoid adding too much water, as it can weaken the bond.
- Allow the thinset to slake: Let the mixed thinset mortar sit for a few minutes (usually 5 to 10 minutes) to allow the chemicals to activate. During this time, do not add any additional water or remix the thinset.
- Apply the thinset: Use the flat side of the trowel to scoop up the mixed thinset mortar and spread it onto the floor surface. Hold the trowel at a 45-degree angle and use the notched side to create ridges in the thinset.
- Cover a small area: Only apply the thinset to a small area at a time, usually 3 to 4 square feet. This allows you to work quickly and ensures that the thinset doesn’t dry out before you lay the tiles.
- Back-butter the tiles: Apply a thin layer of thinset to the back of each tile using the flat side of the trowel. This additional layer of thinset enhances the bond between the tile and the floor.
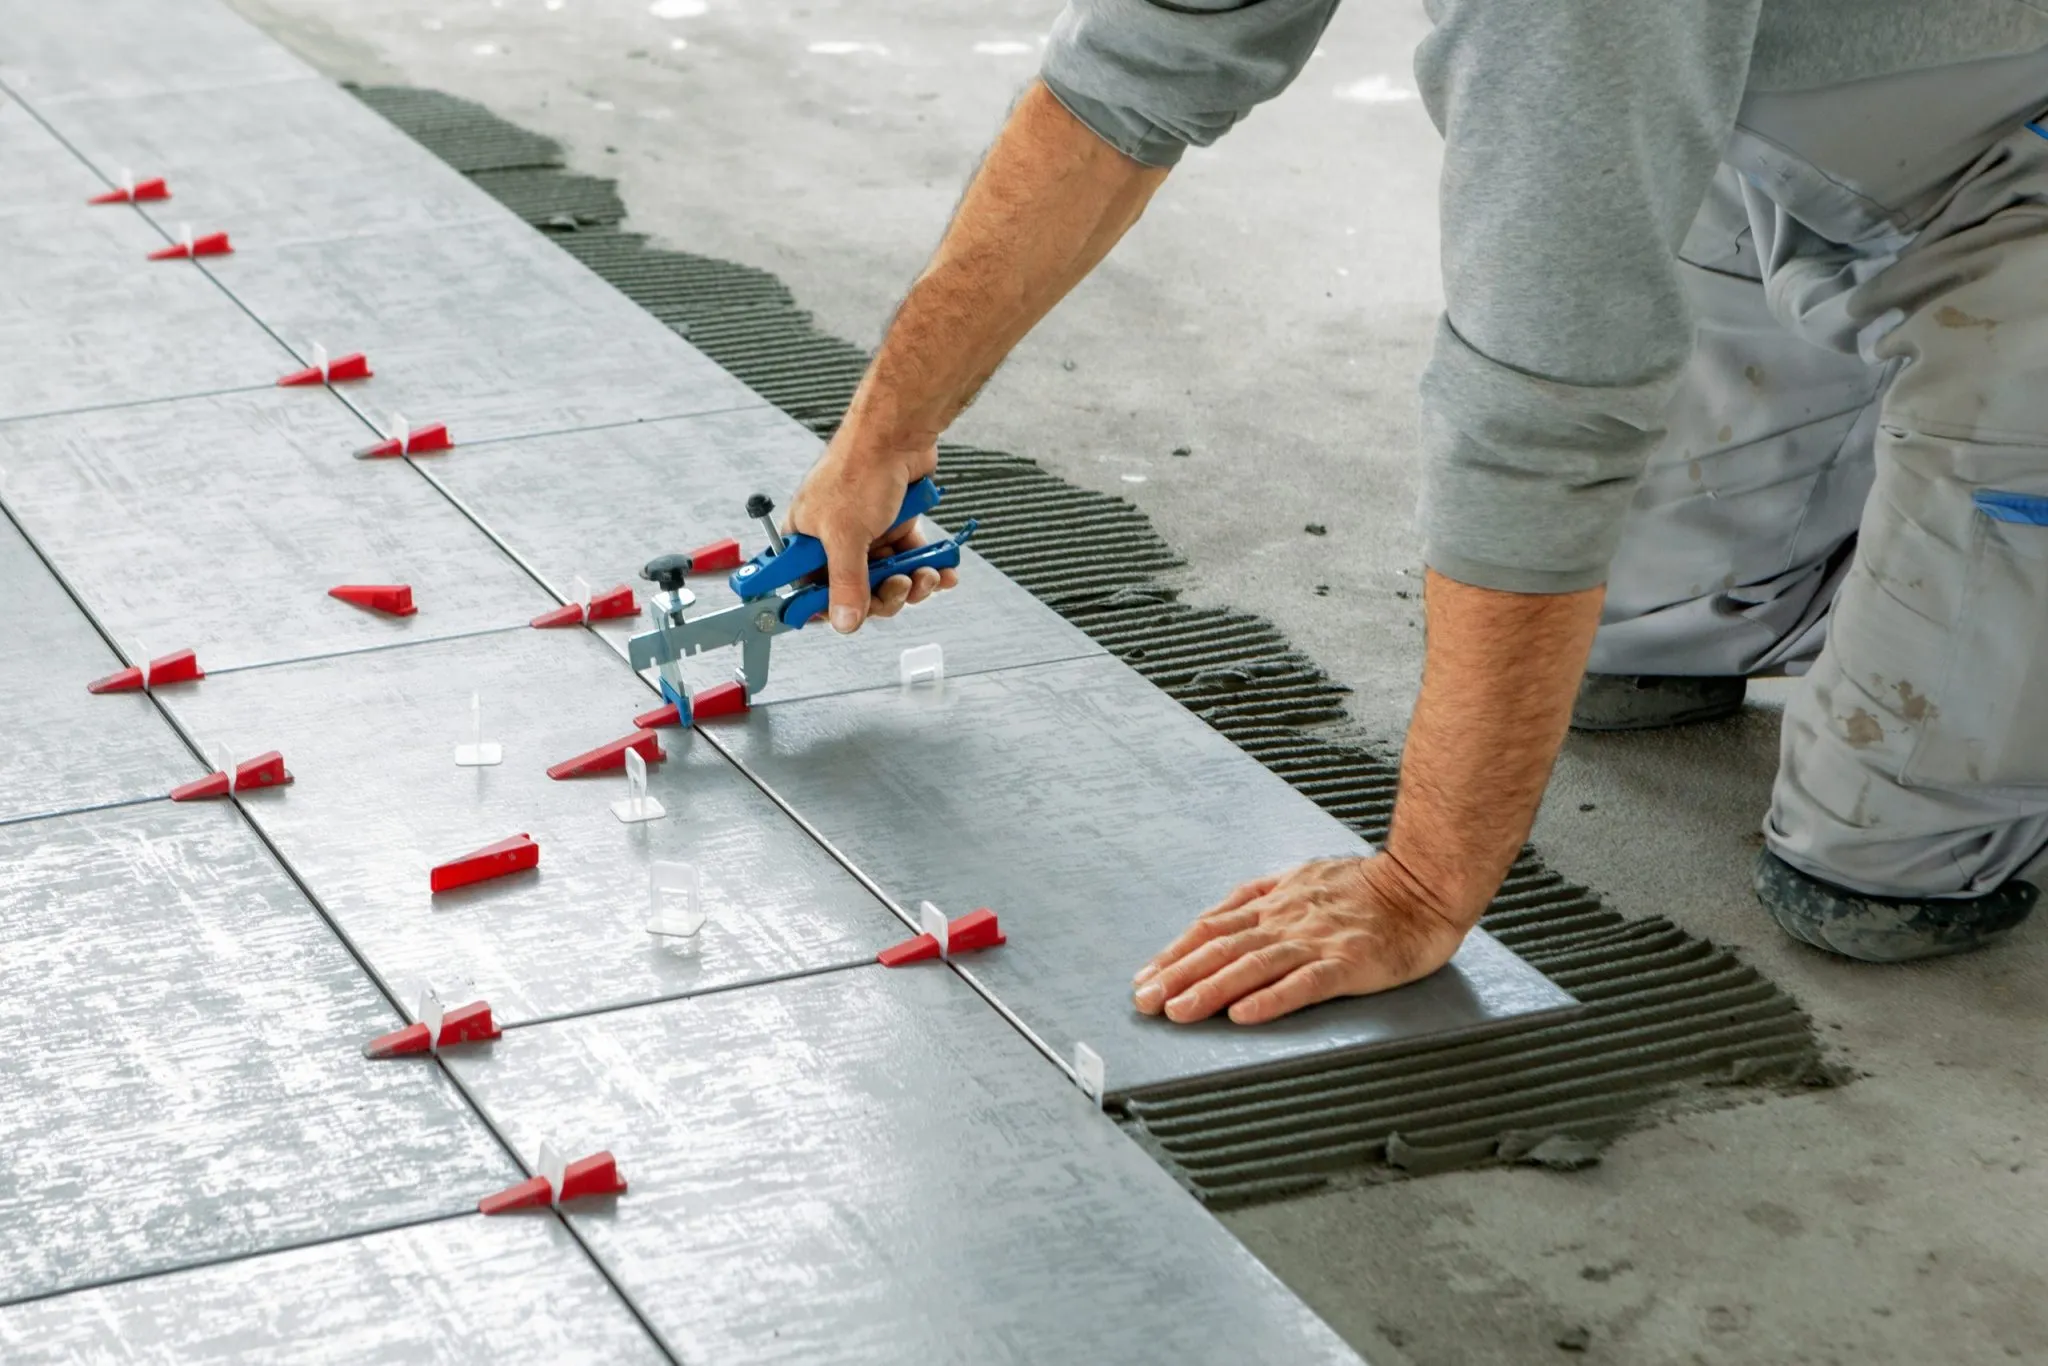
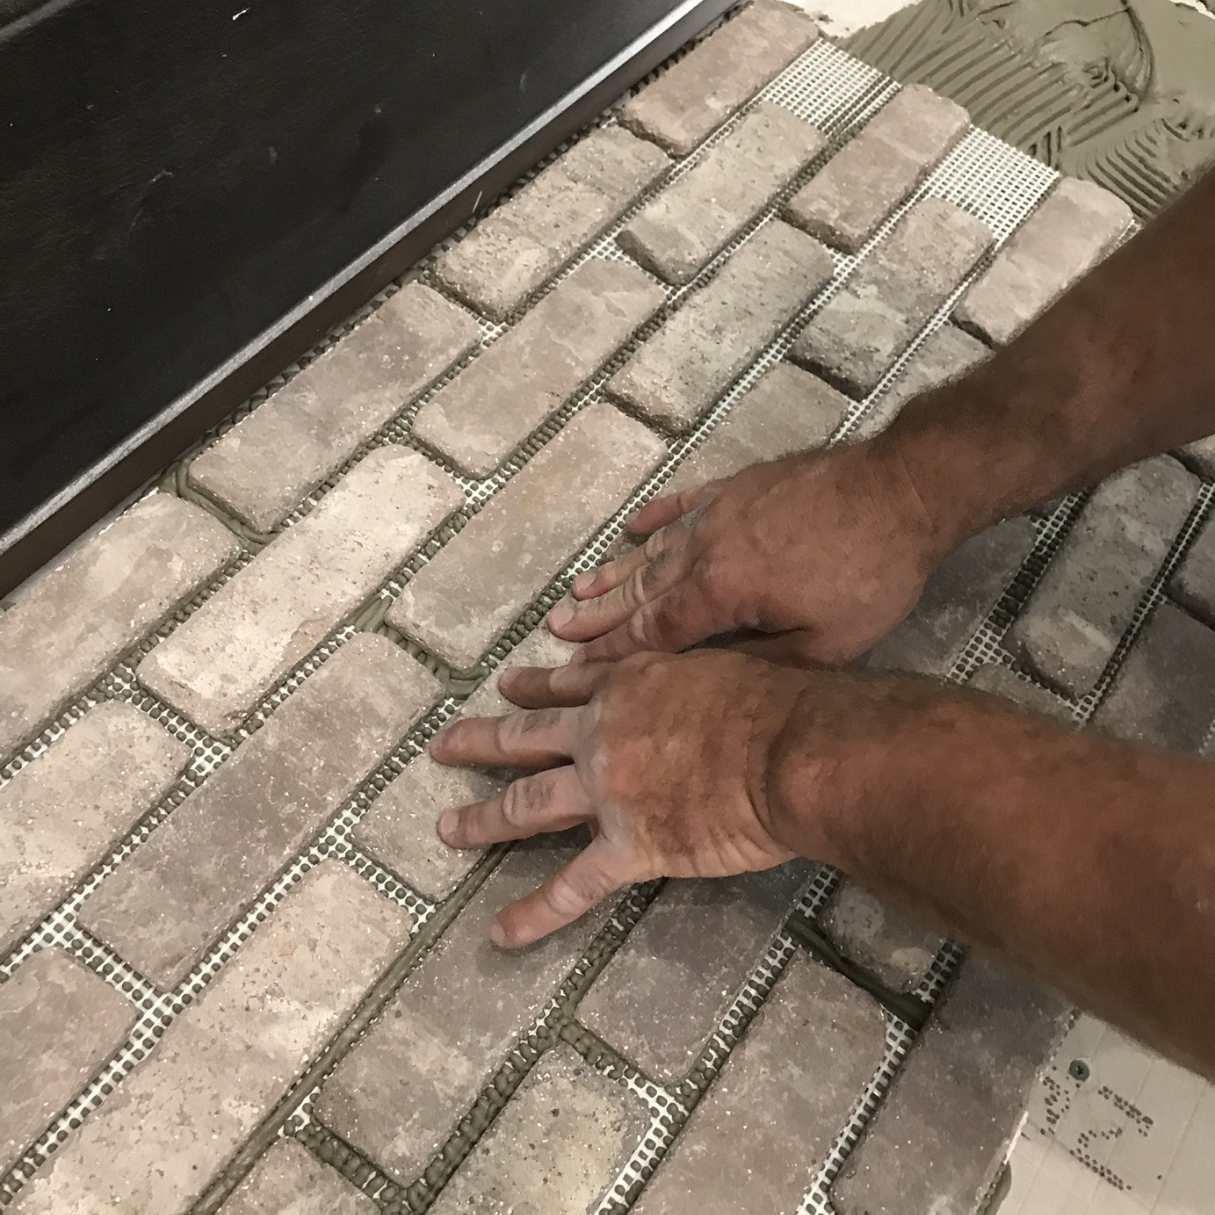
- Press the tiles into place: Press each tile into the thinset, using a slight twisting motion to ensure full contact with the adhesive. Insert tile spacers between the tiles to maintain consistent spacing as you work.
- Check for even coverage: As you lay the tiles, periodically check the back of the tiles to ensure they are fully covered in thinset. Adjust as needed to achieve even coverage.
Take your time when mixing and applying the thinset mortar, as this step is crucial for a strong and durable tile installation. Be sure to work in small sections and clean any excess thinset from the tile surface before it dries. Once you have installed all the tiles, allow the thinset to cure according to the manufacturer’s instructions before proceeding to the next step.
When laying tile in a bathroom floor, make sure to properly prepare the subfloor by removing any old flooring, repairing any damage, and ensuring it is clean and level before starting the tiling process. This will help ensure a smooth and long-lasting tile installation.
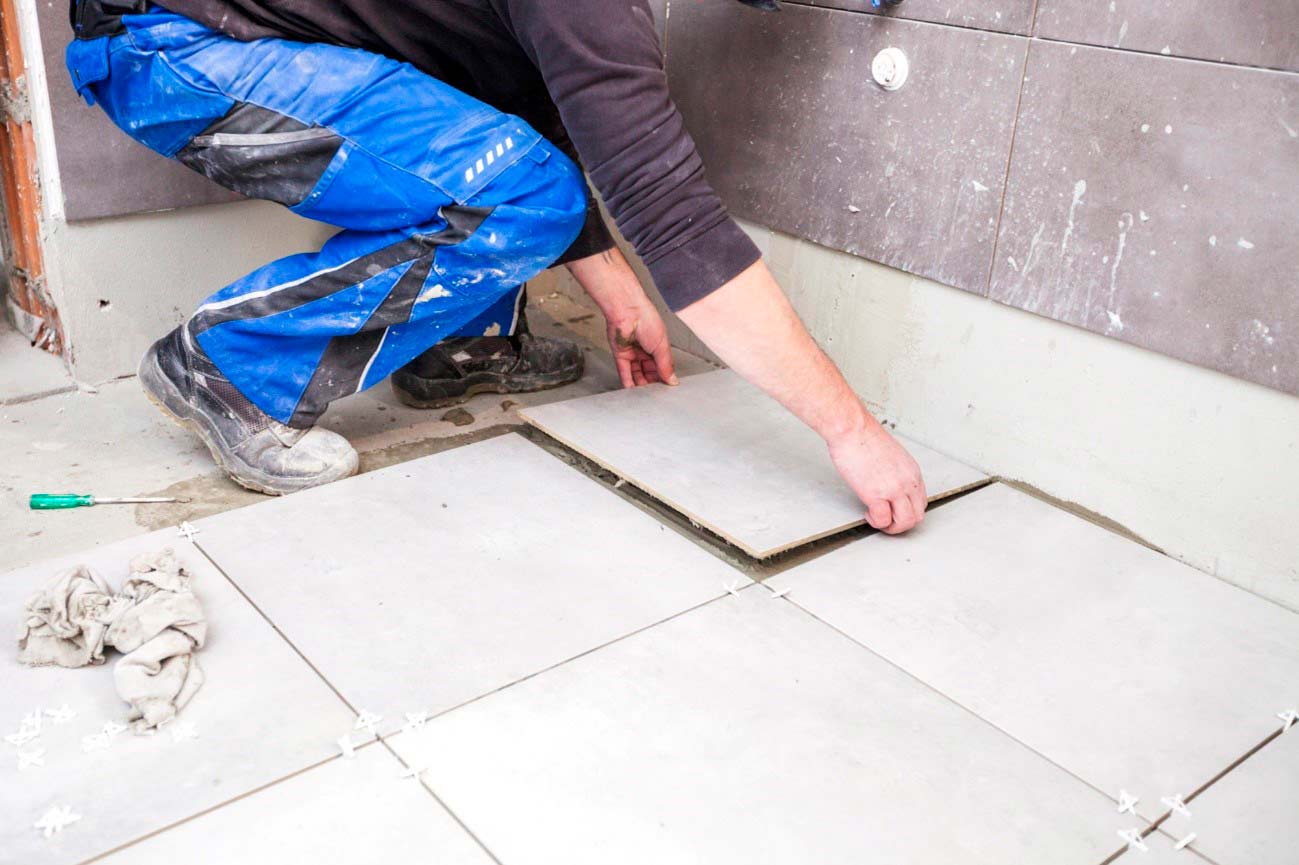
Installing the Tiles
With the thinset mortar applied, it’s now time to install the tiles on your bathroom floor. This step requires precision and attention to detail to ensure a seamless and professional-looking installation. Follow these steps to install the tiles:
- Start from the center: Begin laying the tiles from the center point you determined during the planning and layout stage. This ensures symmetry and a balanced appearance.
- Place the tiles: Press each tile into the thinset mortar, keeping in mind the spacing provided by the tile spacers. Use a slight twisting motion to ensure full contact with the adhesive. Make sure the tiles are level and aligned with the surrounding tiles.
- Tap the tiles: Gently tap each tile with a rubber mallet to ensure a solid bond with the thinset. This helps eliminate air pockets and ensures a strong installation.
- Continue laying the tiles: Work your way from the center outwards, laying the tiles in small sections. Apply thinset mortar and back-butter the tiles as you go, following the same technique mentioned earlier.
- Check for levelness: Periodically use a level to ensure the tiles are flat and level. Make any necessary adjustments by removing and reapplying thinset as needed.
- Wipe off excess thinset: As you work, periodically clean off any excess thinset from the tile surface using a damp sponge or cloth. This will make the grouting process easier later on.
- Repeat the process: Continue the above steps until all the tiles are installed, taking care to maintain consistent spacing and alignment.
Remember to work in small sections and complete one section at a time to prevent the thinset from drying out. Take your time and double-check the levelness and alignment of the tiles as you go. Once all the tiles have been installed, allow the thinset to cure completely before moving on to the next step of the tile installation process.
Cutting and Shaping Tiles
During the tile installation process, you will inevitably come across areas where tiles need to be cut or shaped to fit around edges, corners, or obstacles. This step requires precision and careful attention to detail. Here’s how to cut and shape tiles effectively:
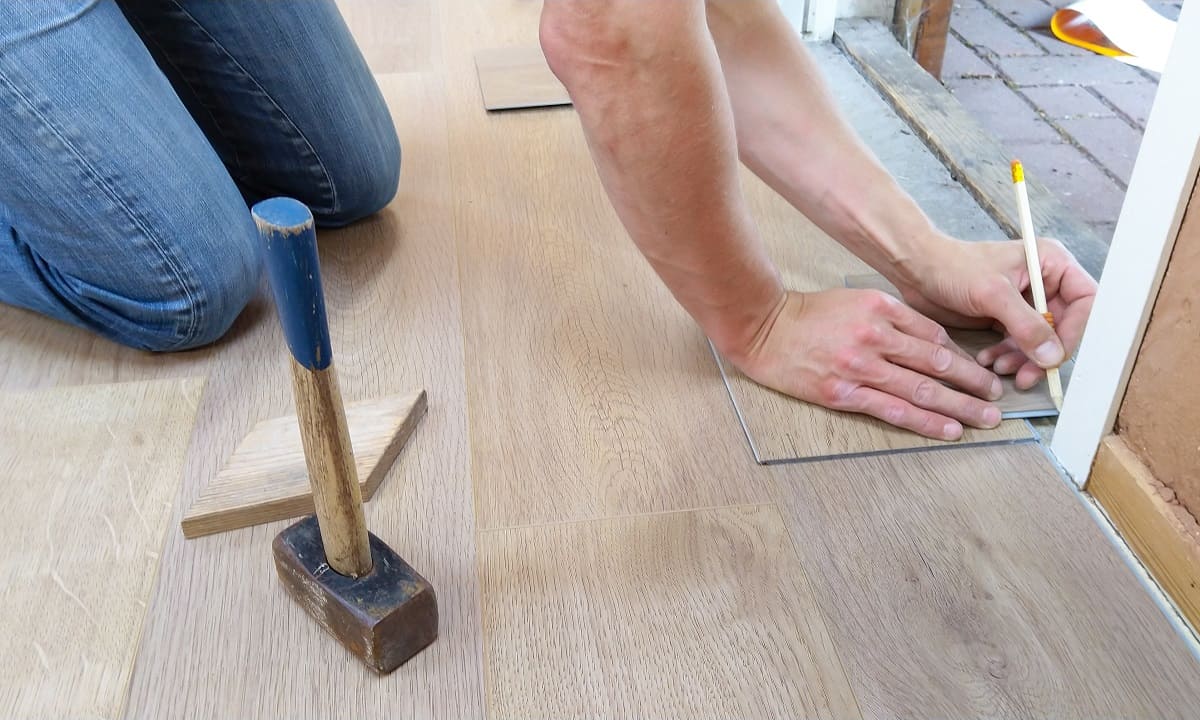
- Measure and mark: Take accurate measurements of the area where the tile needs to be cut. Use a pencil or marker to mark the cutting line on the tile’s surface.
- Choose the right tool: Depending on the type of tile and the complexity of the cut, you may use various tools such as a tile cutter, tile nippers, or a wet saw. Tile cutters work well for straight cuts, while tile nippers are used for more intricate cuts and shaping. A wet saw is ideal for large or precise cuts.
- Cut the tile: Using the appropriate tool, carefully cut along the marked line. Follow the instructions provided with the tool to achieve clean and precise cuts.
- Shape the tile: If you need to shape a tile to fit around an obstacle or corner, use tile nippers to carefully chip away small pieces until the desired shape is achieved. Take your time and make small adjustments gradually to avoid breaking the tile.
- Test the fit: After cutting or shaping the tile, test the fit before applying it to the floor. Ensure that it aligns properly and fits snugly in the designated space.
- Repeat the process: Depending on the complexity of your tiling project, you may need to cut and shape multiple tiles. Take your time and repeat the above steps as needed.
Remember to wear protective gear such as safety glasses and gloves while cutting and shaping tiles. This will help prevent injury and protect your eyes and hands. Additionally, always use caution and follow proper safety guidelines when operating any cutting tools.
Cutting and shaping tiles can be a bit challenging, especially if you’re a novice. It’s a good idea to practice on some spare tiles first to get comfortable with the tools and techniques. Don’t rush the process, as precision is key to achieving a professional and seamless tile installation.
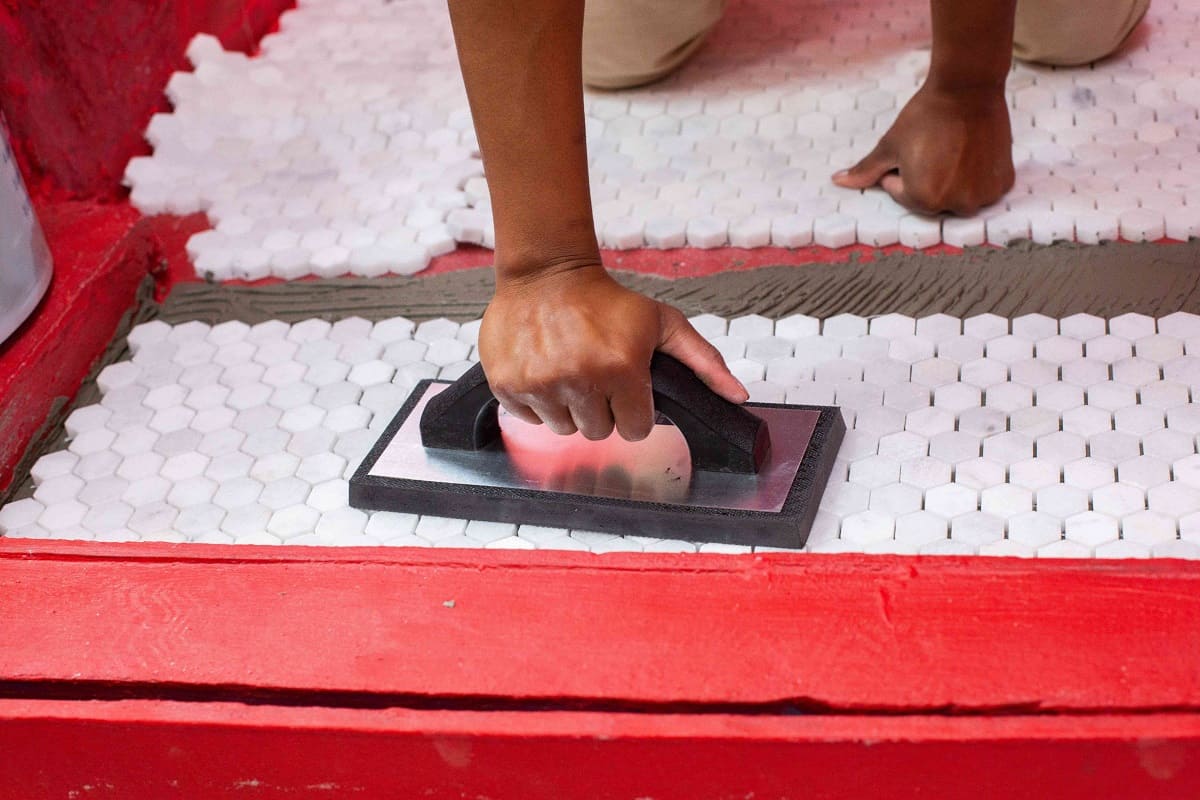
Applying Grout
After the tiles have been installed and the thinset mortar has fully cured, it’s time to apply grout to fill the gaps between the tiles and create a finished look. Grout not only provides stability and strength, but it also helps prevent moisture from seeping beneath the tiles. Follow these steps to apply grout:
- Gather your materials: You will need grout, a grout float, a grout sponge, and a bucket of clean water.
- Mix the grout: Follow the manufacturer’s instructions to mix the grout to the appropriate consistency. The grout should be thick and smooth, similar to a creamy paste.
- Apply the grout: With a grout float, spread the grout diagonally across the tiles, making sure to push it into the grout lines. Hold the float at a 45-degree angle and apply enough pressure to ensure the grout fills the gaps completely.
- Remove excess grout: Using the edge of the grout float, remove excess grout from the tile surface at a 90-degree angle. This will prevent the grout from smearing over the tiles.
- Clean the tiles: Once you have grouted a small section, dampen a grout sponge in clean water and gently wipe the excess grout from the tile surface. Rinse the sponge frequently to prevent smearing or spreading the grout.
- Final cleaning: After the initial cleaning, go over the tiles again with a damp sponge to ensure all the grout residue is removed. This will help achieve a clean and polished finish.
- Allow the grout to cure: Allow the grout to dry for the recommended time provided by the manufacturer. Avoid stepping on the newly grouted area during this time.
- Final touch-ups: After the grout has dried, check for any spots or gaps that may need additional grout. Use a grout touch-up kit or mix a small amount of grout to fill in those areas.
Remember to follow the manufacturer’s instructions for both mixing and curing time. It’s also important to work in small sections and clean the tiles as you go to avoid the grout drying on the surface. Taking your time during the grouting process will ensure a clean and professional-looking outcome.
Once the grout has fully cured, you can take the final steps to clean and finish your newly tiled bathroom floor.
Read more: How To Lay A Ceramic Tile Floor
Cleaning and Finishing the Floor
Now that the grout has dried and the tile installation is complete, it’s time to put the finishing touches on your bathroom floor. Follow these steps to clean and finish the floor:
- Inspect the floor: Take a close look at the tiles and grout lines to ensure they are clean and free from any excess grout or debris.
- Clean the tiles: Use a damp sponge or cloth to gently wipe down the tiles and remove any remaining grout haze or residue. Avoid using harsh chemicals or abrasive cleaners that can damage the tiles.
- Seal the grout: Applying a grout sealer is an optional but highly recommended step to protect the grout from stains and moisture. Follow the manufacturer’s instructions for the specific sealer you have chosen, and ensure the grout is fully dry before applying the sealer. Use a small paintbrush or foam brush to apply the sealer evenly over the grout lines.
- Allow the sealer to dry: Let the grout sealer dry according to the manufacturer’s instructions. This will typically take a few hours. Avoid stepping on the floor during this time to allow the sealer to fully penetrate the grout.
- Buff the tiles: Once the sealer has dried, use a soft cloth to gently buff the tiles and bring out their natural shine. This will give your bathroom floor a polished and finished look.
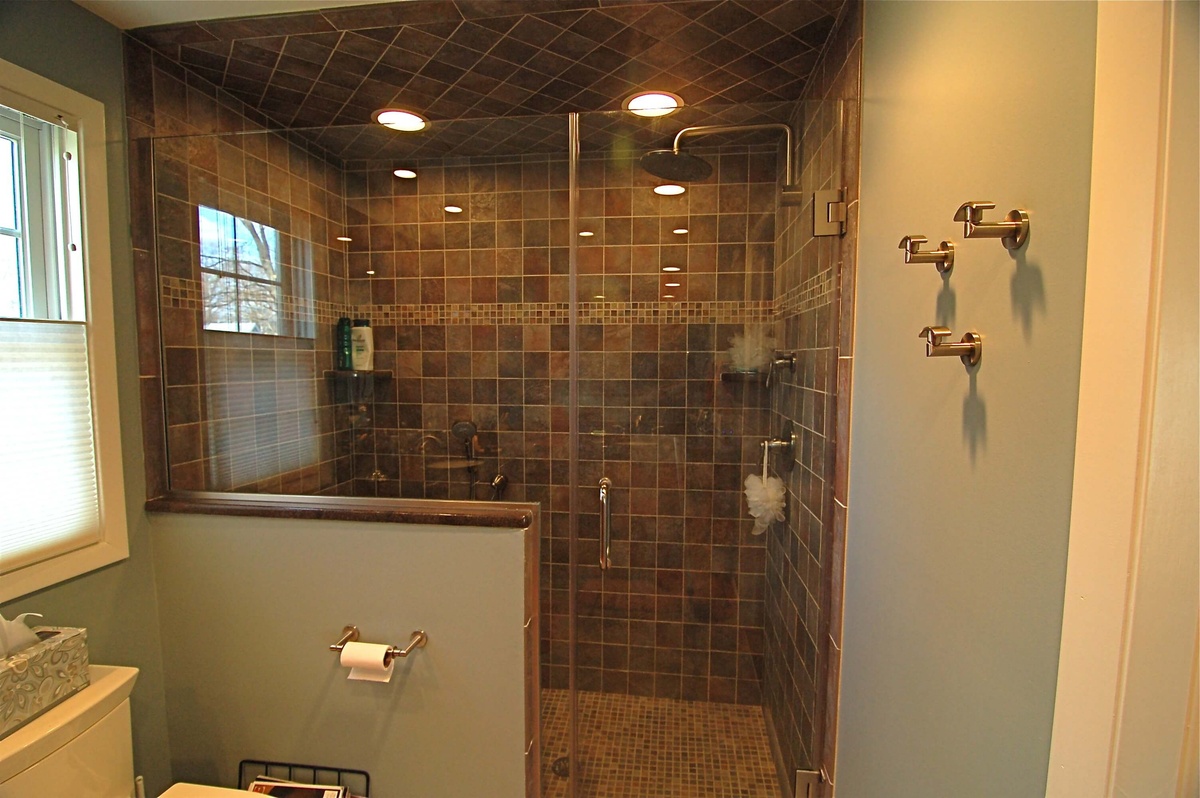
- Enjoy your newly tiled floor: With the cleaning and finishing process complete, you can now marvel at your beautiful and professionally installed bathroom floor. It’s time to enjoy the beauty and durability of your new tiles!
Remember to follow the manufacturer’s instructions for any cleaning products or sealers you use. Regular maintenance and proper cleaning will help keep your bathroom floor looking pristine for years to come.
That wraps up our guide on how to lay tile in the bathroom floor. By following these steps and taking your time, you can achieve a successful and stunning tile installation. Congratulations on completing your tile project, and enjoy your new bathroom floor!
Conclusion
Congratulations! You have successfully learned the process of how to lay tile in the bathroom floor. From choosing the right tile to cleaning and finishing the floor, you have gained the knowledge and skills to tackle this rewarding home improvement project.
By carefully selecting the appropriate tile for your bathroom and gathering the necessary tools and materials, you set yourself up for success. Preparing the floor surface and planning the layout ensured a strong foundation and a visually appealing design.
Mixing and applying the thinset mortar allowed the tiles to securely bond to the floor, while cutting and shaping the tiles ensured a perfect fit around obstacles and edges. The application of grout provided stability and a finished look, while the final cleaning and finishing steps left your newly tiled bathroom floor shining and ready to impress.
Remember, patience and attention to detail are key throughout the entire process. Taking the time to properly plan, measure, and install each tile will result in a beautiful and long-lasting bathroom floor.
Now that you’ve completed this project, take a moment to appreciate your hard work and enjoy the transformation of your bathroom. The newly tiled floor not only adds beauty and elegance to the space but also enhances its functionality and durability.
Thank you for taking this journey with us and learning how to lay tile in the bathroom floor. We hope this guide has been helpful and that you feel confident in your ability to take on future tiling projects. Here’s to many happy years of enjoying your stunning bathroom floor!
Frequently Asked Questions about How To Lay Tile In Bathroom Floor
Was this page helpful?
At Storables.com, we guarantee accurate and reliable information. Our content, validated by Expert Board Contributors, is crafted following stringent Editorial Policies. We're committed to providing you with well-researched, expert-backed insights for all your informational needs.


0 thoughts on “How To Lay Tile In Bathroom Floor”