Tableware
How To Make Coasters Out Of Cork
Modified: January 9, 2024
Discover how to create unique tableware with our step-by-step guide on making beautiful cork coasters. Upgrade your dining experience today!
(Many of the links in this article redirect to a specific reviewed product. Your purchase of these products through affiliate links helps to generate commission for Storables.com, at no extra cost. Learn more)
Introduction
Coasters are an essential item in any home. Not only do they protect surfaces from unsightly water rings and heat damage, but they also add a touch of style and personality to your tableware. If you’re looking for a creative and eco-friendly way to make your own coasters, why not try making them out of cork?
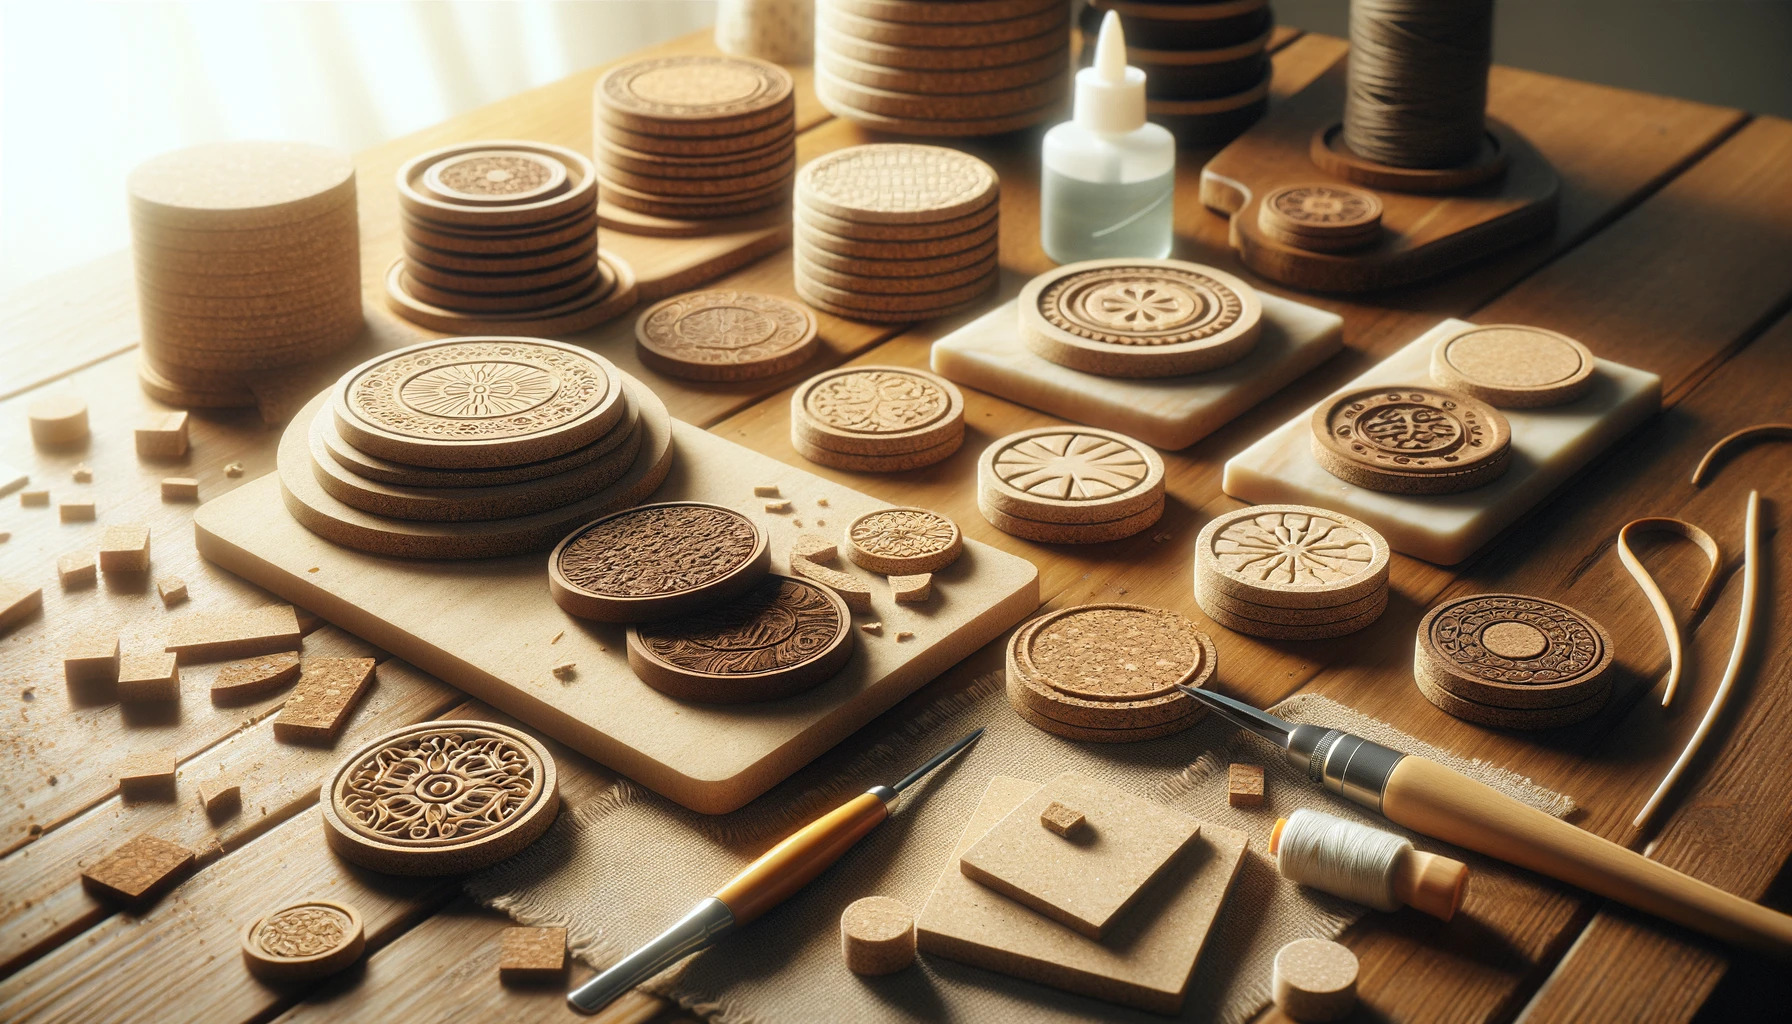
Cork is a versatile and sustainable material that is not only durable but also easily customizable. It is perfect for making coasters due to its heat-resistant and water-resistant properties. Plus, working with cork is a fun and rewarding DIY project that allows you to unleash your creativity and produce unique pieces for your home.
In this article, we will guide you through the step-by-step process of making coasters out of cork. From gathering the materials needed to adding finishing touches, we will cover everything you need to know to create your very own set of beautiful and functional cork coasters.
Key Takeaways:
- Create unique and eco-friendly cork coasters by repurposing wine corks. Enjoy a fun DIY project that adds personal style and protects surfaces with heat and water-resistant properties.
- Gather materials, arrange corks creatively, and apply a protective finish to make durable and stylish cork coasters. Showcase your creativity and love for tableware with this rewarding DIY project.
Read more: How To Wash Cork Coasters
Materials Needed
Before diving into the coaster-making process, it’s essential to gather all the necessary materials. Luckily, making coasters out of cork is a relatively simple project that requires only a few basic supplies. Here’s what you’ll need:
- Corks: You’ll need a collection of wine corks. Save up corks from your favorite wines or ask friends and family to contribute.
- Utility Knife or Box Cutter: This will be used to cut the corks into smaller pieces if needed.
- Sandpaper or Sanding Sponge: To smooth out any rough edges and surfaces.
- Mod Podge or Craft Glue: This adhesive will be used to hold the corks together.
- Clear Varnish or Cork Sealer: To seal and protect the coasters from moisture and stains.
- Paintbrush: For applying the adhesive and varnish.
- Disposable Gloves: Optional, but helpful for keeping your hands clean during the process.
These materials are easily accessible and can be found at your local craft store or online. Once you have gathered everything, you’re ready to move on to the next steps of creating your cork coasters.
Step 1: Gather Corks
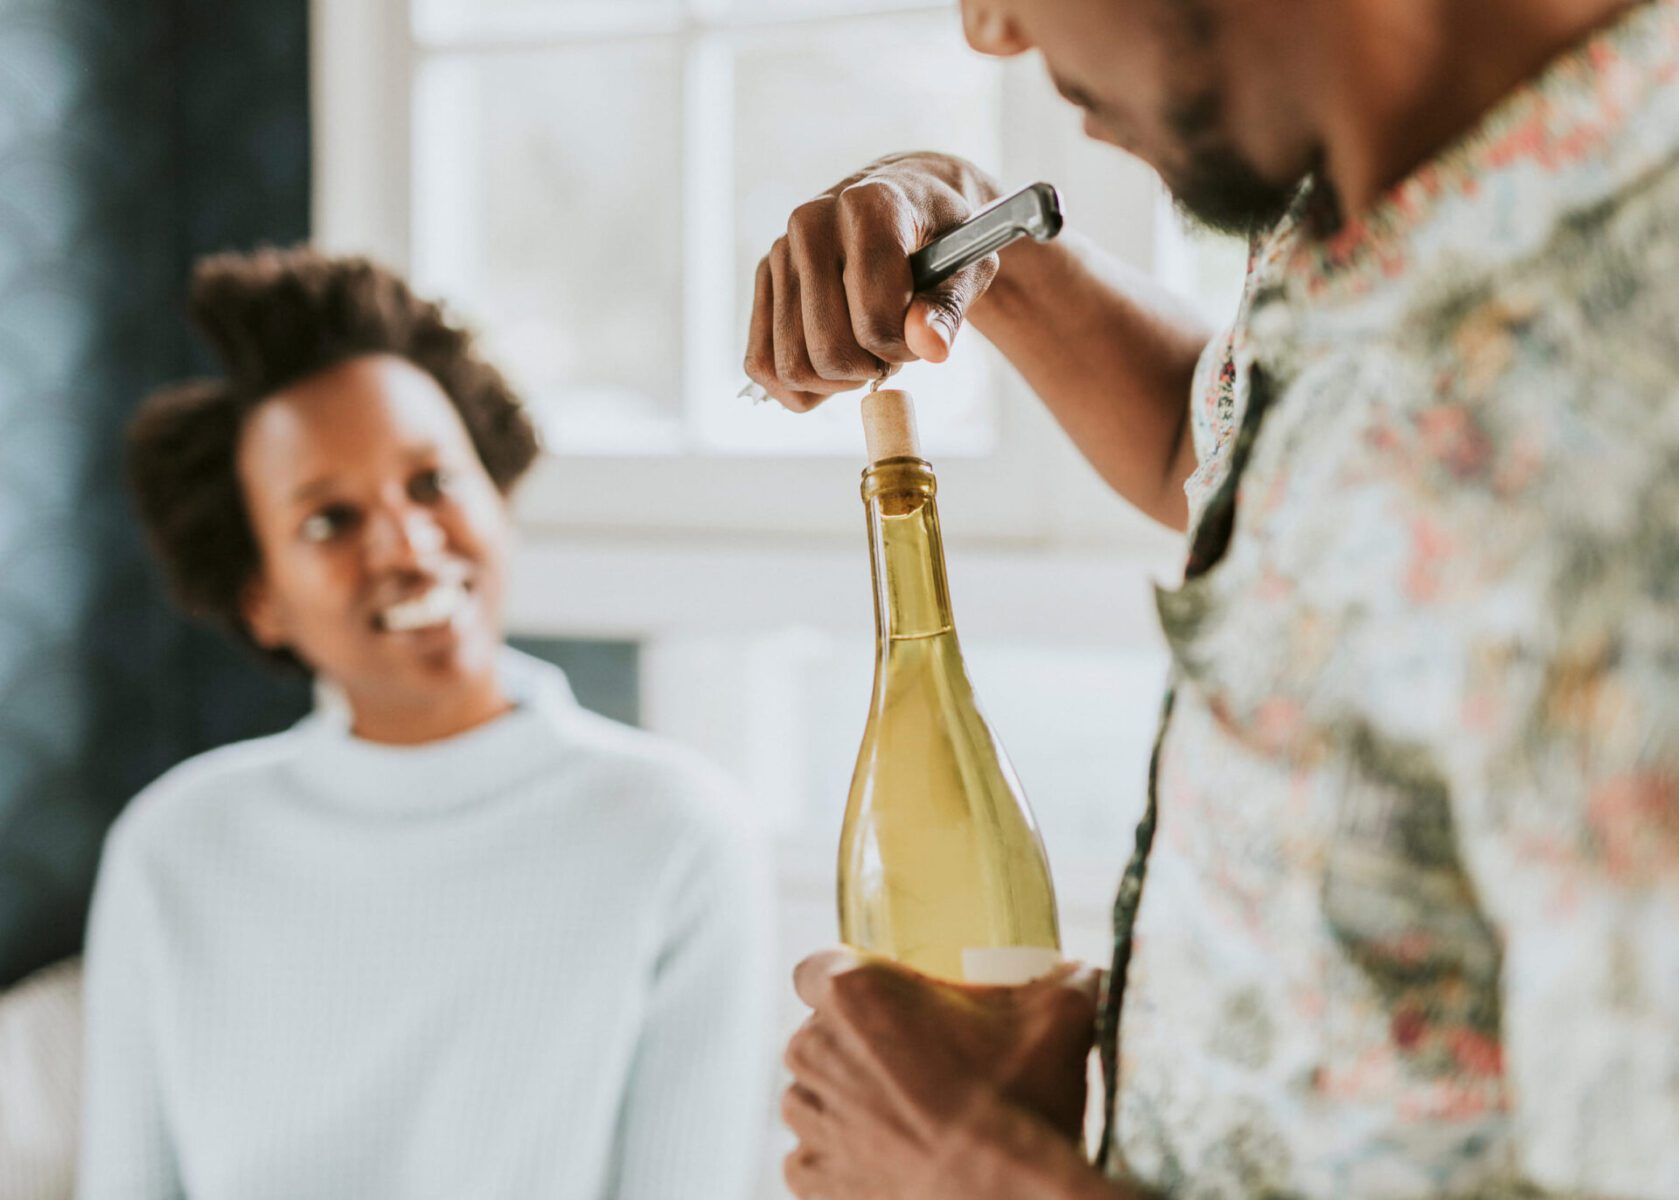
The first step in making cork coasters is to gather a sufficient number of corks. Start by collecting wine corks from bottles you’ve enjoyed or ask friends and family to save them for you. You can also find corks at local wineries or purchase them online.
When collecting corks, it’s important to ensure they are clean and free from any residual wine or debris. Rinse the corks with water and scrub lightly, if necessary, to remove any stains or dirt. Allow them to dry completely before proceeding to the next step.
If some corks are too long for your desired coaster size, you can easily trim them to fit using a utility knife or box cutter. Measure and mark the desired length on the cork, then score it along the marked line and carefully cut through. Remember to exercise caution while handling sharp tools to avoid any accidents.
Once you have gathered and prepared the corks, you’re ready to move on to the next step of creating your cork coasters.
Step 2: Prepare the Corks
Now that you have your corks ready, it’s time to prepare them for assembling into coasters. This step involves arranging the corks into a pattern or design that you find visually appealing.
You can choose to align the corks in a straight line or get creative with different arrangements, such as a chevron pattern or a mosaic-like design. Lay out the corks on a flat surface to plan and experiment with different configurations until you find the one you like best.
Once you’ve finalized your desired pattern, take a moment to check if any corks need further trimming to fit seamlessly together. Use a utility knife or box cutter to make any necessary adjustments.
It’s important to ensure that the corks fit together snugly, with minimal gaps between them. This will create a solid surface for your coasters and prevent any liquids from seeping through.
After you’ve prepared the corks and arranged them to your liking, it’s time to move on to the next step: gluing the corks together.
Step 3: Arrange the Corks
Now that you have your corks prepared, it’s time to arrange them in the desired pattern for your coasters. This step allows you to get creative and design unique combinations of cork pieces.
Start by laying out your cork pieces on a flat surface. Experiment with different arrangements, such as straight lines, diagonals, or even geometric shapes. Rearrange the pieces until you find a pattern that you find visually appealing and suits your personal style.
Consider mixing different cork sizes or colors to add visual interest to your coasters. You can also alternate the orientation of the corks (horizontal and vertical) or create a mosaic-inspired design.
As you arrange the corks, make sure they fit together tightly without leaving any noticeable gaps. This will help create a solid and stable base for your coasters.
Take your time during this step to ensure that the arrangement is exactly how you want it before moving on to the next step of gluing the corks together.
Remember, the beauty of making your own cork coasters is that you can be as creative as you like. Let your imagination run wild and have fun with the arrangement process!
Read also: 12 Amazing Cork Coasters For 2024
Step 4: Glue Corks Together
Now that you have your corks arranged in your desired pattern, it’s time to glue them together to create a solid coaster base. For this step, you will need craft glue or a strong adhesive like Mod Podge.
Start by applying a small amount of glue to one side of a cork and press it firmly onto the adjacent cork. Hold the corks together for a few seconds to allow the glue to bond. Repeat this process for all the cork pieces in your arrangement, ensuring that each one is securely glued to its neighboring corks.
Pay close attention to the edges and corners of the coaster. Apply glue generously to these areas to ensure they are firmly bonded and won’t come apart over time.
It’s essential to work quickly during this step to prevent the glue from drying before you can fully assemble the coaster. If you’re using a fast-drying adhesive, work in small sections at a time to ensure optimal bonding.
Once all the corks are glued together, gently press down on the entire arrangement to ensure they are firmly secured. Let the glue dry according to the manufacturer’s instructions before moving on to the next step.
By gluing the corks together, you’re one step closer to completing your unique and functional cork coasters.
When making coasters out of cork, be sure to seal the cork with a waterproof sealant to protect it from moisture and spills. This will help to prolong the life of your coasters and keep them looking great for longer.
Step 5: Trim Excess Cork
Now that your corks are securely glued together, it’s time to trim any excess cork that may be extending beyond the desired shape of your coasters. This step helps create clean and polished edges.
Using a sharp utility knife or box cutter, carefully trim the cork perimeter to match the outline of your coaster. Take your time and make precise cuts to achieve a neat and professional finish.
While trimming, it’s important to maintain a steady hand and be cautious to avoid any accidental cuts or injuries. Always cut away from your body and keep your fingers clear of the blade.
Ensure that all the edges are even and smooth, with no jagged cork pieces sticking out. This will not only improve the appearance of the coasters but also prevent any potential snags or discomfort when using them.
Once you’ve trimmed the excess cork, give the coasters a gentle wipe to remove any cork dust or debris that may have accumulated during the trimming process.
With the excess cork removed, your coasters are now taking shape and ready for the next step of sanding and smoothing.
Step 6: Sand and Smooth
After trimming the excess cork, it’s time to sand and smooth the surface of your coasters. This step helps refine the edges and creates a polished finish.
Start by using a fine-grit sandpaper or a sanding sponge to gently sand the top and sides of the coasters. Use a light, circular motion to ensure even sanding and to smooth out any rough areas or imperfections.
Be careful not to apply too much pressure while sanding, as it may damage or break the cork surface. Keep a light touch and let the sandpaper do the work.
Continue sanding until you achieve a smooth and consistent surface on all sides of the coasters. Take your time and periodically check the progress to ensure you’re achieving the desired result.
Once you have sanded the coasters, wipe away any sanding residue with a clean cloth. This will remove any lingering cork dust and prepare the surface for the next step of adding a finish.
Sanding the coasters not only gives them a sleek appearance but also creates a texture that helps prevent glasses or cups from slipping off the surface. This makes them both visually appealing and functional.
With the coasters now sanded and smoothed, it’s time to move on to adding a finish to enhance their durability and aesthetics.
Step 7: Add a Finish
Adding a finish to your cork coasters will not only enhance their appearance but also provide extra protection against spills and stains. There are various finish options you can choose from, but one popular choice is clear varnish or cork sealer.
Using a clean paintbrush, apply a thin and even layer of clear varnish or cork sealer to the surface of the coasters. Make sure to cover all the cork areas, including the edges and sides.
Apply the finish according to the instructions provided on the product label. Some finishes may require multiple coats, so be sure to allow sufficient drying time between each application.
The finish will create a protective barrier that seals the cork, making it resistant to water and stains. It will also add a glossy or satin sheen, enhancing the natural beauty of the cork and making the coasters easier to clean.
Remember to work in a well-ventilated area when applying the finish, as some products may have strong odors. If desired, you can also opt for water-based finishes that are low in odor and environmentally friendly.
Once you have applied the finish, let the coasters dry completely. This may take several hours, so it’s best to leave them undisturbed during this time.
With the finish applied, your coasters are now not only visually appealing but also well-protected from moisture and stains. The final step is to allow them to fully dry before putting them into use.
Read more: How To Make Cork Placemats
Step 8: Let Dry
After applying the finish to your cork coasters, it’s crucial to allow them ample time to dry and cure properly. This final step ensures that the finish fully sets and hardens, providing long-lasting protection to your coasters.
Check the instructions on the finish product to determine the recommended drying time. It may vary depending on the specific brand and type of finish used.
During the drying process, it’s important to keep the coasters in a clean and dust-free environment. Place them on a flat surface and avoid touching or moving them until they are completely dry.
Avoid exposing the drying coasters to excessive heat or direct sunlight, as it may affect the drying process or cause damage to the finish.
While waiting for the coasters to dry, take this opportunity to clean up your workspace and properly dispose of any used materials or waste.
Once the coasters are fully dry, give them a final inspection to ensure the finish has set evenly and there are no visible flaws or imperfections. They should feel smooth to the touch and have a beautiful sheen.
With the coasters now dried and ready for use, you can proudly display them in your home or gift them to friends and family. They not only serve as functional tableware but also make for stylish and eco-friendly additions to any decor.
Enjoy your handmade cork coasters and the satisfaction of knowing you created them with your own two hands!
Conclusion
Creating your own coasters out of cork is a rewarding and environmentally-friendly DIY project. Not only do these coasters protect your surfaces from water rings and heat damage, but they also add a touch of personal style to your tableware collection.
Throughout this article, we’ve guided you through the step-by-step process of making cork coasters. From gathering the materials to applying the finishing touches, we’ve covered everything you need to know to create your very own set of beautiful and functional coasters.
Cork, a versatile and sustainable material, proves to be an excellent choice for coasters due to its heat and water-resistant properties. By repurposing wine corks and getting creative with arrangements, you can design unique and personalized coasters that showcase your style.
Remember to take your time with each step, ensuring that the corks are securely glued together, trimmed, sanded, and finished with a protective layer. This attention to detail will result in high-quality coasters that will last for years to come.
So why settle for ordinary coasters when you can make your own? Get started on this fun and fulfilling project today, and enjoy the satisfaction of having handmade coasters that reflect your creativity and love for tableware.
Frequently Asked Questions about How To Make Coasters Out Of Cork
Was this page helpful?
At Storables.com, we guarantee accurate and reliable information. Our content, validated by Expert Board Contributors, is crafted following stringent Editorial Policies. We're committed to providing you with well-researched, expert-backed insights for all your informational needs.
0 thoughts on “How To Make Coasters Out Of Cork”