
Articles
How To Make Molded Candles
Modified: January 19, 2024
Learn how to make beautiful molded candles with these step-by-step articles. Discover tips and techniques to create unique candle designs.
(Many of the links in this article redirect to a specific reviewed product. Your purchase of these products through affiliate links helps to generate commission for Storables.com, at no extra cost. Learn more)
Introduction
Creating your own molded candles is a fun and rewarding activity that allows you to express your creativity while adding a touch of elegance to your home decor. Whether you want to make personalized gifts for your loved ones or simply enjoy the soothing ambiance of candlelight, learning how to make molded candles is a skill that will enhance your crafting repertoire.
In this step-by-step guide, we will walk you through the process of creating beautiful molded candles from start to finish. We will cover everything from choosing the right mold and melting the wax to pouring and setting the candles. By the end of this article, you will have all the knowledge and confidence you need to embark on your own candle-making journey.
Before we dive into the process, let’s go over the materials you will need to get started.
Key Takeaways:
- Unleash Your Creativity: Making molded candles is a fulfilling and customizable craft that allows you to express your style through various shapes, sizes, colors, and scents, creating a truly immersive sensory experience.
- Safety First, Creativity Second: Prioritize safety while enjoying the process of making molded candles. From choosing the right mold to trimming the wick, exercise patience, attention to detail, and proper safety measures for a rewarding candle-making journey.
Read more: How To Make A Silicone Mold For Candles
Materials Needed
Before you begin making molded candles, it’s essential to gather all the necessary materials to ensure a smooth and successful crafting experience. Here’s a list of items you will need:
- Candle Wax: Choose a wax specifically designed for candle making, such as paraffin wax or soy wax. Make sure to have enough wax to fill your desired molds.
- Candle Mold: Select a mold that suits your design preferences. There are various options available, such as silicone molds, metal molds, or plastic molds.
- Candle Wick: Opt for a wick that corresponds to the size of your mold. You can find pre-tabbed wicks or plain wicks that require tabbing.
- Candle Dye: If you wish to add color to your candles, choose candle dye in your preferred shades.
- Candle Fragrance: For scented candles, choose a fragrance oil that complements your desired scent. Make sure the fragrance oil is suitable for candle making.
- Double Boiler or Melting Pot: To melt the wax, you will need a double boiler set up or a melting pot specifically designed for candle making.
- Thermometer: A thermometer is crucial to monitor the temperature of the melted wax and ensure it’s at the right consistency.
- Stirring Utensil: Use a heat-resistant spoon or stirrer to mix the wax and any additives thoroughly.
- Heat Source: Depending on your melting setup, you will need a heat source such as a stovetop or hot plate.
- Protective Gear: Safety should always come first. Wear heat-resistant gloves and safety goggles to protect yourself from any accidents or spills.
Now that you have all the essential materials, let’s move on to the step-by-step process of creating your molded candles.
Step 1: Choosing the Right Mold
The first step in creating molded candles is selecting the right mold for your desired design. The mold you choose will determine the shape and size of your finished candle. Here are a few factors to consider when choosing a mold:
- Material: Candle molds come in various materials, such as silicone, metal, or plastic. Each material has its own advantages and considerations. Silicone molds are flexible and easy to remove the finished candle from, while metal molds provide a more professional look. Plastic molds are great for beginners as they are budget-friendly and easy to work with.
- Design: Consider the design you want to achieve with your molded candle. Molds come in a wide range of shapes and patterns, including cylinders, spheres, squares, or even intricate designs like flowers or animals. Choose a mold that suits your style and the occasion.
- Size: Determine the desired size of your candle. Molds come in different capacities, and you can find small molds for votive candles or larger ones for pillar candles. Keep in mind that the size of your mold will also determine the amount of wax needed.
- Ease of Use: Consider the ease of use and maintenance of the mold. Some molds may require a release agent or a specific mold release spray to easily remove the candle, while others may simply need a gentle tap or twist.
Once you have considered these factors, you can start exploring different molds and choose the one that best fits your preferences and project requirements. Remember, the mold you choose will play a crucial role in the final look and feel of your molded candles.
Now that you have selected your mold, let’s move on to preparing it for the candle-making process.
Step 2: Preparing the Mold
After choosing the right mold for your molded candles, it’s important to prepare the mold properly before pouring the wax. Preparing the mold ensures that the wax will adhere well to the mold’s surface and that the finished candle will easily release from the mold. Here’s how you can prepare your mold:
- Clean the Mold: Thoroughly clean the mold to remove any dust, debris, or residual candle wax from previous use. Use mild soap and water or a cleaning solution specifically designed for candle molds. Dry the mold completely before proceeding.
- Apply a Release Agent: If your mold requires a release agent to ensure easy removal of the finished candle, apply a thin coat of release agent to the interior of the mold. This can be a specific mold release spray or a solution of mineral oil and a small amount of beeswax. Make sure to evenly coat the entire surface of the mold.
- Secure the Wick: If your mold requires a wick, secure it in place at the center of the mold. Use a wick holder or a small amount of adhesive to attach the wick to the bottom of the mold. Ensure that the wick is straight and taut.
- Seal Any Leaks: Inspect the mold for any potential leaks or gaps. If you find any, you can seal them using a heat-resistant adhesive or a mold sealer. This will prevent the wax from leaking out during the pouring process.
By properly preparing your mold, you can ensure that your candle-making process goes smoothly and that you achieve the desired results. Take your time to clean and prepare the mold before moving on to the next step.
Now that your mold is ready, let’s move on to the next step: melting the wax.
Step 3: Melting the Wax
Once you have prepared your mold, it’s time to melt the wax. Melting the wax is a crucial step in the candle-making process, as it ensures that the wax is in the ideal state for pouring into the mold. Here’s how you can melt the wax:
- Set Up a Double Boiler: Fill a large pot or saucepan with water and place it on the stovetop. Place a smaller pot or heat-resistant container inside the large pot. This setup creates a double boiler, allowing for indirect heat to melt the wax gently.
- Add Wax: Chop or break the candle wax into smaller pieces to facilitate faster melting. Place the wax in the smaller pot or container inside the double boiler setup.
- Heat and Stir: Turn on the heat to low or medium-low, depending on the wax type. Allow the wax to melt gradually, stirring occasionally with a heat-resistant spoon or stirrer. Be mindful not to leave the melting wax unattended, as it can melt quickly and may pose a fire hazard.
- Monitor the Temperature: Use a thermometer to monitor the temperature of the wax as it melts. The ideal melting temperature will depend on the type of wax you are using, so refer to the wax manufacturer’s guidelines for the recommended temperature range.
- Optional: Add Color or Fragrance: If you wish to add color to your candles, this is the time to incorporate candle dye. Add a small amount of dye to the melted wax and stir well until the color is evenly distributed. If you want scented candles, add a suitable fragrance oil according to the manufacturer’s instructions.
- Remove from Heat: Once the wax is completely melted and any additives are well incorporated, remove the smaller pot or container from the double boiler setup. Turn off the heat source.
It’s important to note that different types of wax may have varying melting points and heat requirements. Always follow the specific instructions provided by the wax manufacturer to ensure proper melting and achieve the best results.
Now that your wax is melted and ready, it’s time to move on to the next step: preparing the wick.
Read more: How To Make Brick Molds
Step 4: Preparing the Wick
Having a properly prepared wick is essential for ensuring that your molded candle burns evenly and effectively. Here’s a step-by-step guide on how to prepare the wick:
- Measure and Cut: Determine the desired length of your wick by considering the depth of your mold. Add a few extra inches to account for knotting and trimming later. Use a pair of scissors to cut the wick to the appropriate length.
- Tab the Wick: If your wick does not come pre-tabbed, you will need to attach a metal wick tab to one end of the wick. Place the wick tab at the bottom center of the mold and fold the end of the wick over it, ensuring a secure connection.
- Knot the Wick: If your mold does not require a wick tab, you can simply knot the end of the wick. Make a small loop or knot at the bottom end of the wick to prevent it from slipping through the mold during the pouring process.
- Center the Wick: Gently lower the wick into the mold, ensuring that the tab or knot is at the bottom. Use a wick holder or a clothespin to keep the wick centered and straight in the mold. Allow the tab or knot to rest securely on the bottom of the mold.
By properly preparing and positioning the wick in your mold, you will ensure that it remains in the center of the candle as it sets and burns, resulting in an even and consistent burn throughout the lifespan of the candle.
Now that your wick is prepared and positioned, it’s time to move on to the next step: pouring the melted wax into the mold.
When making molded candles, ensure that the mold is completely clean and dry before pouring in the wax to prevent any imperfections in the finished candle.
Step 5: Pouring the Wax into the Mold
With your mold prepared and the wick in place, it’s time to pour the melted wax into the mold. This step requires careful precision to ensure a smooth and even distribution of the wax. Here’s how to pour the wax:
- Stabilize the Mold: Place the prepared mold on a flat, stable surface to prevent any accidental spills or wobbling during the pouring process.
- Pour Gradually: Slowly and steadily pour the melted wax into the mold. Start pouring from the side of the mold, allowing the wax to flow smoothly and fill the cavity. Be cautious not to pour too quickly or vigorously, as this can cause air bubbles or an uneven surface.
- Leave Some Space: Leave a small space at the top of the mold to account for any shrinkage that may occur as the wax cools and sets.
- Tap or Vibrate: To eliminate any air bubbles trapped in the wax, gently tap the sides of the mold or use a vibrating tool to help release any air pockets. This will ensure an even and professional-looking surface.
Take your time while pouring the wax and be cautious to avoid any spills or accidents. The goal is to achieve a smooth and even surface for your molded candle.
Now that your wax is poured into the mold, it’s time to move on to the next step: allowing the wax to cool and set.
Step 6: Allowing the Wax to Cool and Set
After pouring the melted wax into the mold, it’s important to allow the wax to cool and set completely. This step requires patience, as rushing the process may result in an uneven finish or deformation of the candle. Here’s what you need to do:
- Let it Sit Undisturbed: Place the filled mold in a cool, undisturbed area where it won’t be exposed to drafts or direct sunlight. Allowing the wax to cool slowly and naturally will promote an even cooling process.
- Check the Cooling Temperature: Monitor the temperature of the surrounding environment to ensure it’s optimal for wax cooling. Extremely cold temperatures can cause the wax to cool too quickly, while warmer temperatures may result in a longer curing time.
- Follow the Recommended Cooling Time: The cooling time may vary depending on the type and size of the mold, as well as the type of wax used. Refer to the wax manufacturer’s instructions for the recommended cooling time.
- Avoid Touching or Moving the Mold: It’s crucial to resist the temptation to touch or move the mold while the wax is setting. Any disturbance can disrupt the even cooling process and affect the final appearance of the candle.
- Check for Solidification: Once the cooling time has passed, check the wax to ensure it has completely solidified. Gently touch the surface to verify that it is firm and no longer warm to the touch.
By allowing the wax to cool and set undisturbed, you will ensure that your molded candle takes on its desired shape and maintains a smooth and professional finish. Remember, the cooling and setting process may take several hours, so plan accordingly and exercise patience.
Now that your wax has cooled and set, it’s time to move on to the next step: removing the candle from the mold.
Step 7: Removing the Candle from the Mold
Now that the wax has cooled and set, it’s time to remove the finished candle from the mold. Proper removal ensures that the candle maintains its shape and integrity without any damage. Follow these steps to remove the candle from the mold:
- Gently Release the Candle: Carefully flex or twist the mold to loosen the edges of the wax. If you used a silicone mold, gently press on the bottom of the mold to help release the candle. Avoid using excessive force that may cause the candle to break.
- Slowly Extract the Candle: Once the edges of the candle have loosened, gently pull the candle out of the mold. If you’re having trouble removing it, place the mold in the refrigerator for a short time to help shrink the wax slightly, making it easier to release.
- Be Mindful of Fragile Designs: If your candle has intricate or delicate details, such as petals or thin parts, take extra care when removing it from the mold to avoid any breakage or distortion.
When removing the candle from the mold, it’s important to handle it delicately to preserve its appearance and prevent any damage. Ensure that your hands are clean and dry to avoid any marks or smudges on the candle’s surface.
Now that the candle is successfully removed from the mold, it’s time to proceed to the final step: trimming the wick.
Read more: How To Make A Heater With Candles
Step 8: Trimming the Wick
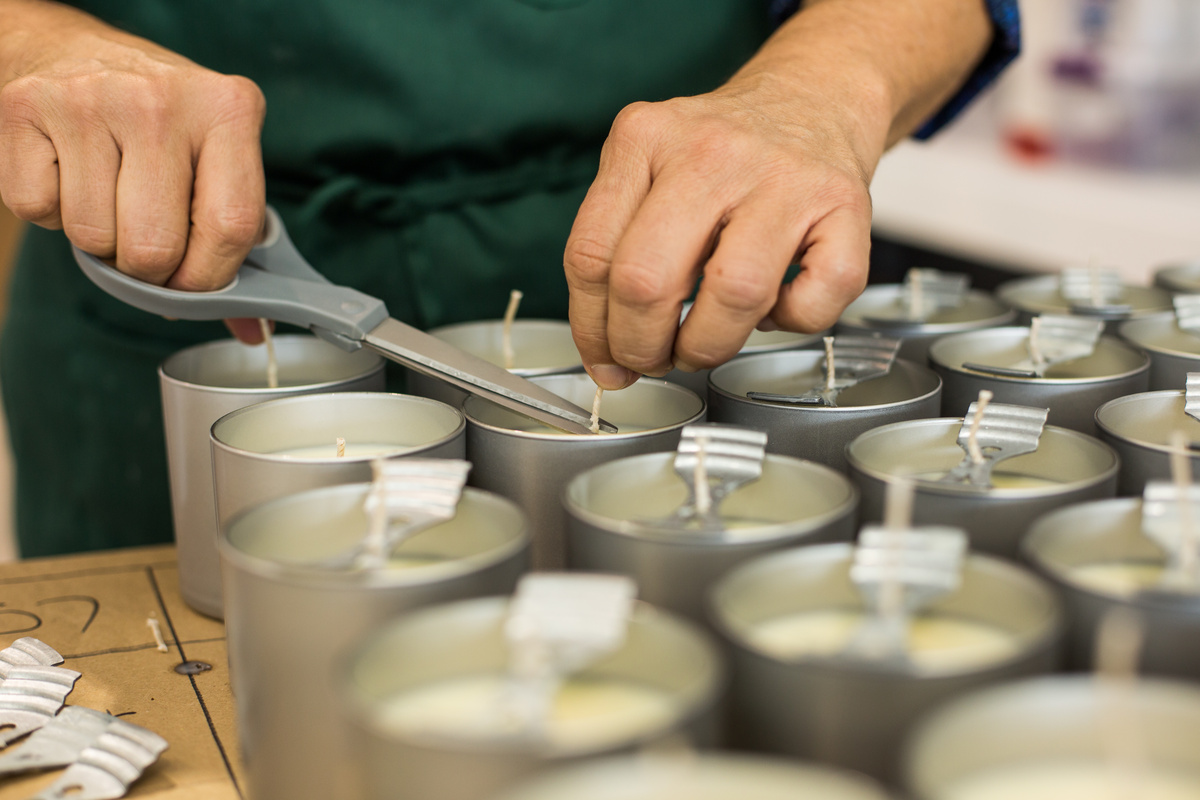
After successfully removing the candle from the mold, the final step is to trim the wick to the appropriate length. Trimming the wick ensures a clean and efficient burn for your molded candle. Follow these steps to trim the wick:
- Inspect the Wick: Take a close look at the wick and ensure that it is straight and centered in the candle. If it has shifted during the cooling process, gently reposition it while the wax is still slightly soft.
- Measure the Wick Length: Determine the ideal length for your wick based on the candle’s size and thickness. A general rule of thumb is to trim the wick to approximately ¼ inch (6 mm) above the surface of the wax. Use a ruler or a specialized wick trimmer to measure and guide your cutting.
- Cut the Wick: Using sharp scissors or wick trimmers, cut the wick to the desired length. Make a clean, straight cut ensuring that there are no jagged edges or loose strands.
- Remove Excess Wick: Discard the trimmed wick, ensuring it is properly disposed of.
By trimming the wick to the appropriate length, you promote a clean and controlled flame while preventing excessive soot and mushrooming. Additionally, this helps maintain a steady and even burn throughout the life of the candle.
With the wick now trimmed, your molded candle is ready to be displayed, gifted, or enjoyed in the comforting glow of candlelight.
Congratulations! You have successfully completed all the steps involved in making molded candles. Remember to practice safety during the candle-making process and enjoy the fulfillment of creating beautiful and personalized candles.
Happy candle making!
Conclusion
Making molded candles is a rewarding and creative endeavor that allows you to add a personal touch to your home decor or create unique gifts for your loved ones. By following the step-by-step guide outlined in this article, you now have the knowledge and confidence to embark on your own candle-making journey.
From choosing the right mold and preparing it to melting the wax, positioning the wick, pouring the wax, and allowing it to cool and set, each step contributes to the creation of a beautifully crafted molded candle. Remember to exercise patience and attention to detail throughout the process.
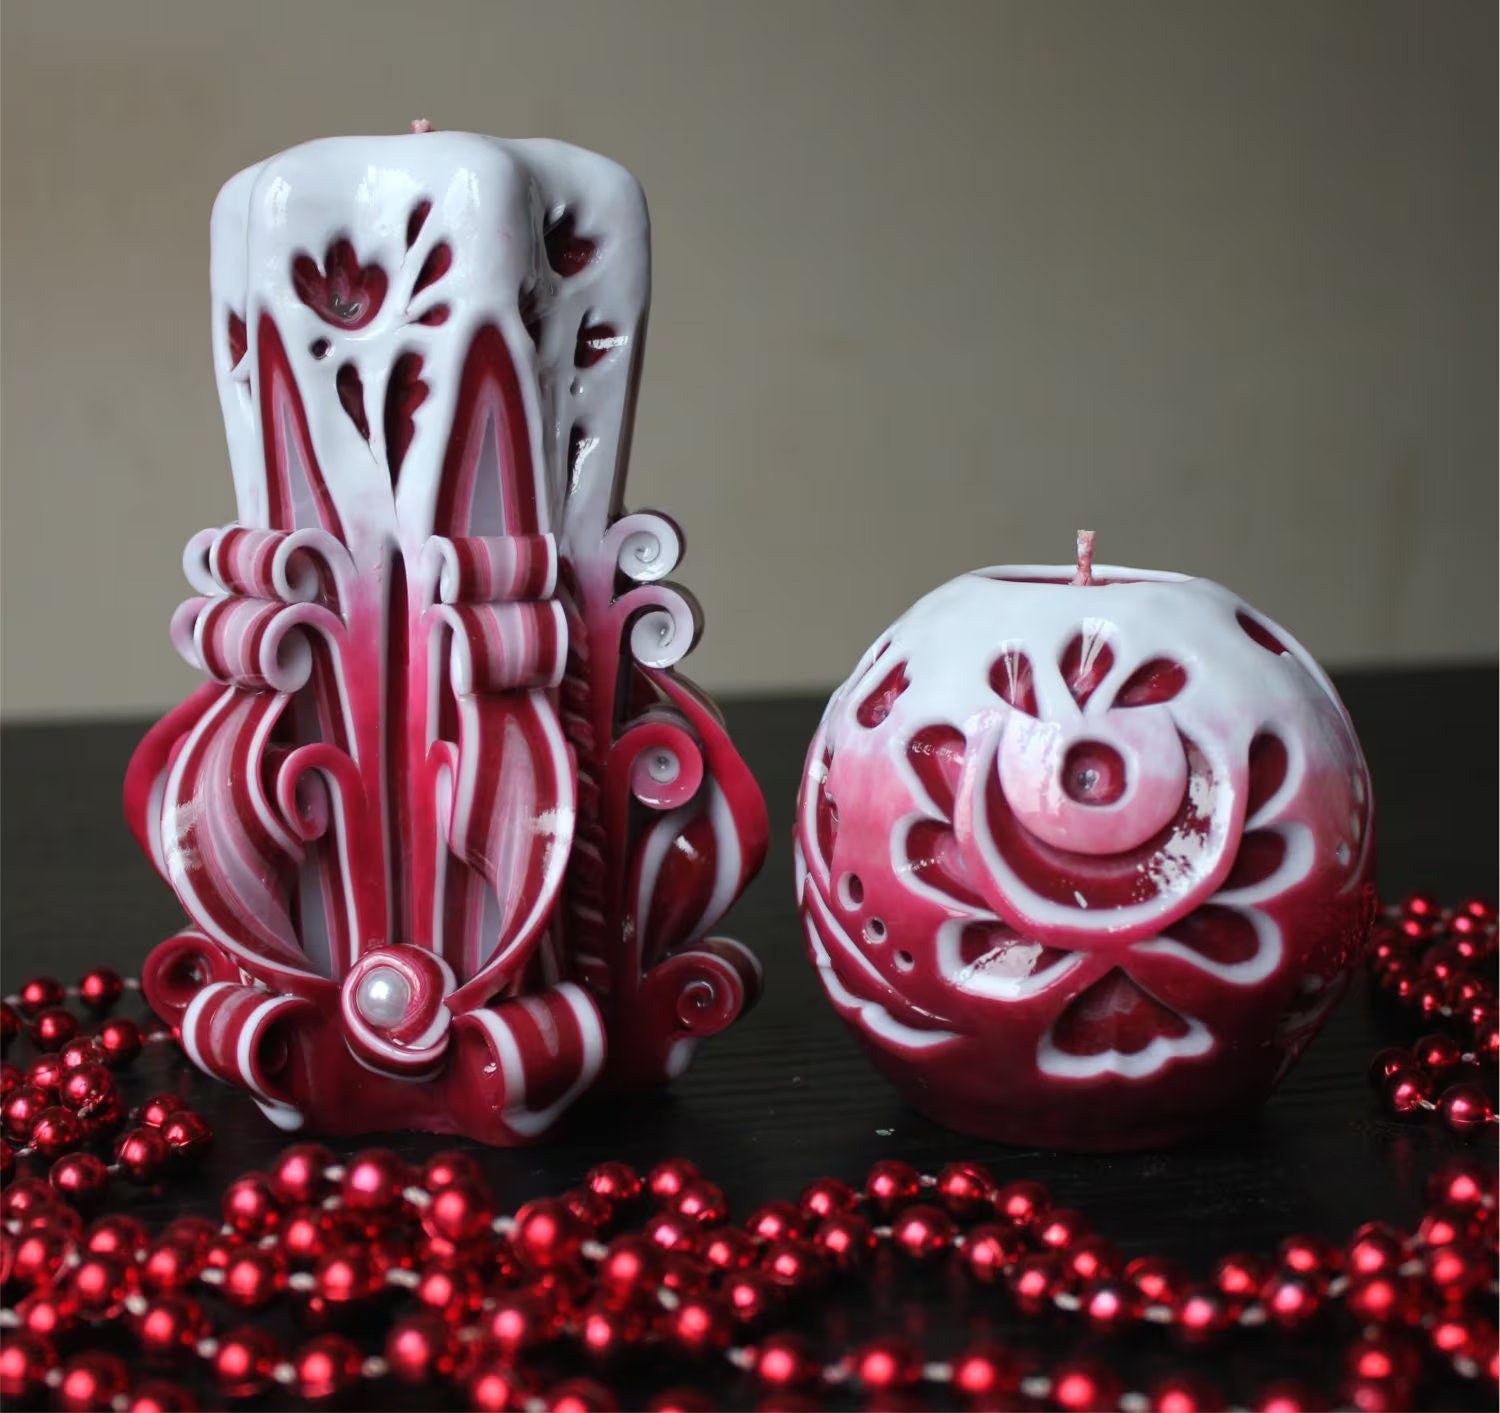
With a wide variety of molds available, you can experiment with different shapes, sizes, and designs to create candles that reflect your personal style and preferences. Whether you prefer simple, elegant pillar candles or intricately detailed shaped candles, the possibilities are endless.
Additionally, don’t be afraid to get creative with colors and scents by incorporating candle dyes and fragrance oils into your wax. This allows you to customize your candles and create a truly immersive sensory experience.
Lastly, always prioritize safety during the candle-making process. Use appropriate tools, ensure proper ventilation, and be cautious when working with hot wax. Protect yourself and your surroundings to make your candle-making experience enjoyable and safe.
Now that you have mastered the art of making molded candles, it’s time to unleash your creativity and enjoy the warm glow of your handcrafted creations. Whether you fill your home with ambiance or share the joy of your candles with others, the process of creating these beautiful candles is sure to bring a sense of fulfillment and satisfaction.
So go ahead and gather your materials, select your molds, and let your imagination run wild. It’s time to light up your world with your very own molded candles!
Frequently Asked Questions about How To Make Molded Candles
Was this page helpful?
At Storables.com, we guarantee accurate and reliable information. Our content, validated by Expert Board Contributors, is crafted following stringent Editorial Policies. We're committed to providing you with well-researched, expert-backed insights for all your informational needs.
