Articles
How To Quilt On A Brother Sewing Machine
Modified: August 17, 2024
Discover how to quilt on a Brother sewing machine with our informative articles. Get step-by-step guidance and unleash your creativity with ease.
(Many of the links in this article redirect to a specific reviewed product. Your purchase of these products through affiliate links helps to generate commission for Storables.com, at no extra cost. Learn more)
Introduction
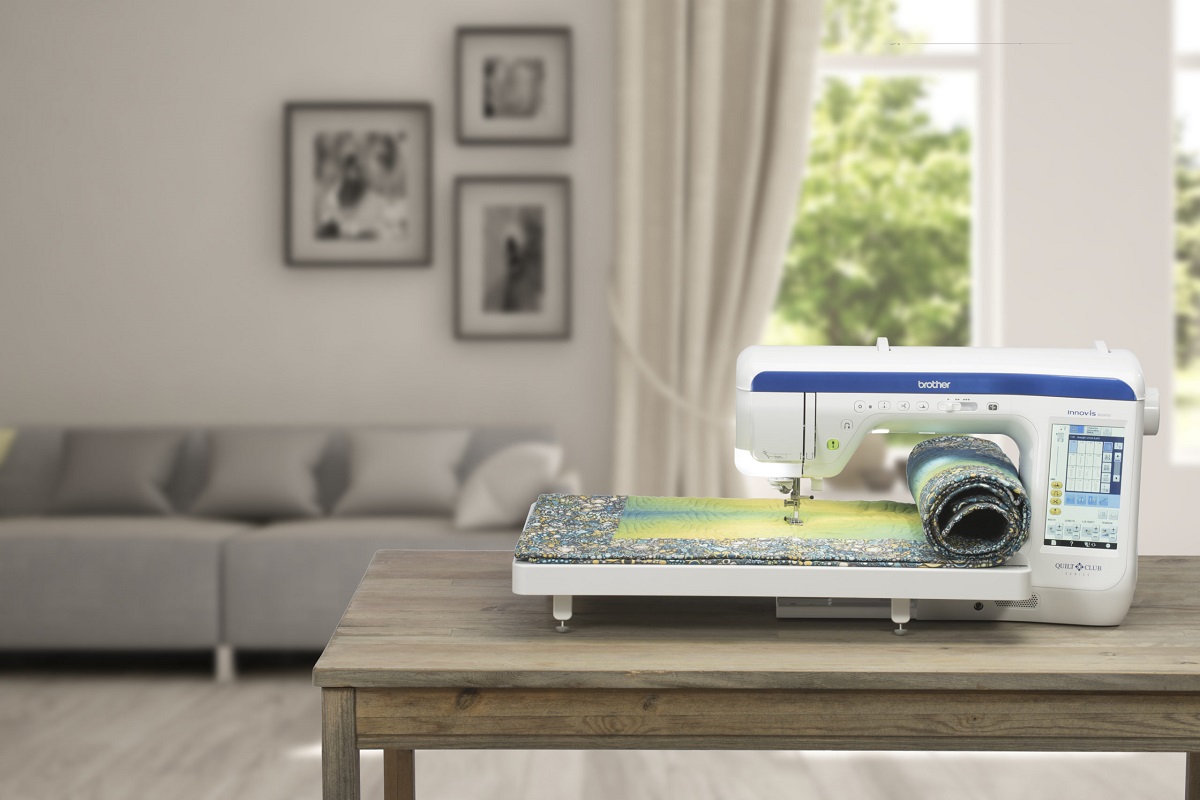
Welcome to the wonderful world of quilting! Quilting is not only a creative and fulfilling hobby, but it also allows you to make personalized and beautiful pieces that can be cherished for generations. If you are a proud owner of a Brother sewing machine, you’re in luck! Brother sewing machines are known for their reliability, versatility, and ease of use, making them a great choice for quilters of all levels.
In this article, we will guide you through the process of quilting on a Brother sewing machine, from gathering your materials to adding the finishing touches. Whether you’re a beginner or have some quilting experience under your belt, we’ve got you covered.
Quilting involves sewing together layers of fabric to create a durable and cozy textile. It requires precision, attention to detail, and patience. With the right tools, techniques, and a Brother sewing machine, you can bring your quilting vision to life.
Before we dive into the steps, make sure you have a comfortable and dedicated sewing space with a sturdy table or desk. It’s also important to have good lighting and proper ventilation. Clear any distractions and ensure you have plenty of space to spread out your fabric.
Now, let’s get started with the first step: gathering your materials.
Key Takeaways:
- Prepare for a successful quilting journey by gathering the right materials, familiarizing yourself with your Brother sewing machine, and planning your fabric and quilt design. With these steps, you’ll be ready to embark on a fulfilling quilting adventure.
- Embrace the creative process of quilting on your Brother sewing machine by setting up the machine, diving into the quilting process, and adding the finishing touches. Enjoy the journey and take pride in your beautiful, personalized quilts.
Read more: How To Sew A Hexagon Quilt
Step 1: Gather Your Materials
Before you begin quilting on your Brother sewing machine, it’s important to gather all the necessary materials to ensure a smooth and successful quilting experience. Here’s what you’ll need:
- Fabric: Choose fabric that suits your quilt design. Consider the color, pattern, and texture of the fabric. You will need fabric for the quilt top, backing, and batting (filling).
- Cutting tools: Invest in a good quality rotary cutter, cutting mat, and clear ruler. These tools will help you achieve precise and accurate cuts.
- Thread: Select a high-quality thread that coordinates with your fabric colors.
- Pins or clips: These will be used to hold your fabric layers together during the quilting process.
- Needles: Make sure to have a variety of needles suitable for quilting on your Brother sewing machine. Size 80/12 needles are commonly used for quilting.
- Quilting ruler: This specialized ruler will help you create straight lines and precise measurements.
- Iron and ironing board: Pressing your fabric is essential for achieving crisp seams and a professional finish.
- Quilt basting spray or safety pins: This is used to temporarily secure your fabric layers together before quilting.
- Quilting gloves: These gloves provide grip and control while maneuvering the fabric under the machine.
- Pencil or fabric marker: This will be used for marking your quilting design on the fabric.
Once you have gathered all the necessary materials, you’re ready to move on to the next step: familiarizing yourself with the Brother sewing machine.
Step 2: Familiarize Yourself with the Brother Sewing Machine
Before you start quilting on your Brother sewing machine, it’s important to take some time to familiarize yourself with its features and functions. By understanding how the machine works, you’ll be better equipped to handle different quilting techniques and achieve optimal results.
Begin by reading the user manual that came with your Brother sewing machine. This manual will provide valuable information on the machine’s specific features, settings, and maintenance instructions. Take note of any special quilting features or attachments that your machine may have.
Next, examine the different parts of the machine and understand their functions. Locate the stitch selector, tension control, speed control, and other important buttons or knobs. Familiarize yourself with the different stitch options that are available for quilting.
Practice threading the machine and winding the bobbin. Proper threading is essential for smooth and efficient operation. Take note of the correct threading path and ensure that both the upper thread and bobbin thread are properly tensioned.
Experiment with the different stitch settings and adjust the stitch length and width as needed. This will allow you to create different effects on your quilting projects. Don’t forget to test the machine’s tension settings to ensure that stitches are balanced and even.
Once you feel comfortable with the basic functions of the machine, try sewing practice stitches on scrap fabric. Play around with different stitch lengths, widths, and decorative stitches. This will give you a sense of how the machine handles various types of stitches and fabrics.
If your Brother sewing machine has quilting-specific features, such as a quilting foot or a walking foot, practice using them. These accessories can make a big difference in achieving smooth and even stitches while quilting. Consult the user manual or look for online tutorials specific to your machine model to learn more about using these features effectively.
By taking the time to familiarize yourself with your Brother sewing machine, you’ll gain confidence in using its features to create beautiful quilting projects. Now that you’re comfortable with the machine, it’s time to move on to the next step: preparing your fabric and quilt design.
Step 3: Prepare Your Fabric and Quilt Design
In order to create a stunning quilting masterpiece on your Brother sewing machine, it’s important to prepare your fabric and plan your quilt design. This step will ensure that you have all the necessary materials and a clear vision for your project.
Start by washing and ironing your fabric. This helps to remove any dirt or chemicals that may be present and ensures that the fabric is free from wrinkles. Pressing the fabric will also make it easier to work with and achieve precise seams.
Next, consider the quilt design you want to create. Will it be a traditional patchwork pattern, a modern geometric design, or something entirely unique? Take some time to browse through quilting magazines, books, or websites for inspiration.
Once you have an idea for your quilt design, sketch it out on paper or use a design software to create a visual representation. Consider the dimensions of your quilt, the layout of the blocks, and any additional features such as borders or appliqués.
Make a list of the fabric colors and prints you will need for your quilt design. It’s a good idea to include extra fabric for mistakes or improvisation. Choose fabrics that complement each other and create a cohesive look.
If you’re working with a pattern, carefully read and understand the instructions. Note any specific cutting or piecing techniques that are required. If you’re designing your own quilt, calculate the measurements and determine the number of blocks you will need.
Using your cutting tools, cut the fabric into the desired shapes and sizes according to your quilt design or pattern. Take your time to ensure accuracy in your cutting. Label the fabric pieces if necessary to keep track of their placement in the quilt.
Now that you have prepared your fabric and planned your quilt design, you’re ready to move on to the next step: setting up your Brother sewing machine.
When quilting on a Brother sewing machine, use a walking foot to help feed the layers of fabric evenly and prevent shifting. This will result in more precise and professional-looking quilting.
Step 4: Set Up Your Brother Sewing Machine
Now that you have your fabric prepared and your quilt design planned, it’s time to set up your Brother sewing machine for quilting. Follow these steps to ensure that your machine is ready to tackle your quilting project:
- Clean and oil: Before you start, give your sewing machine a thorough cleaning and oiling. Refer to your machine’s manual for specific instructions on how to clean and maintain it properly.
- Thread the machine: Begin by threading your Brother sewing machine. Follow the threading path as indicated in the manual, making sure the thread is properly seated in the tension discs, thread guides, and needle.
- Insert the bobbin: Place a fully wound bobbin into the bobbin case, following the machine’s instructions for proper placement and threading of the bobbin thread.
- Attach the quilting foot: If your machine has a specialized quilting foot, attach it securely. This foot helps to feed the fabric smoothly and evenly as you quilt.
- Adjust the tension: Ensure that the tension is set correctly for your quilting project. This may vary depending on the fabric and thread you’re using. Test the tension on a scrap piece of fabric to make any necessary adjustments.
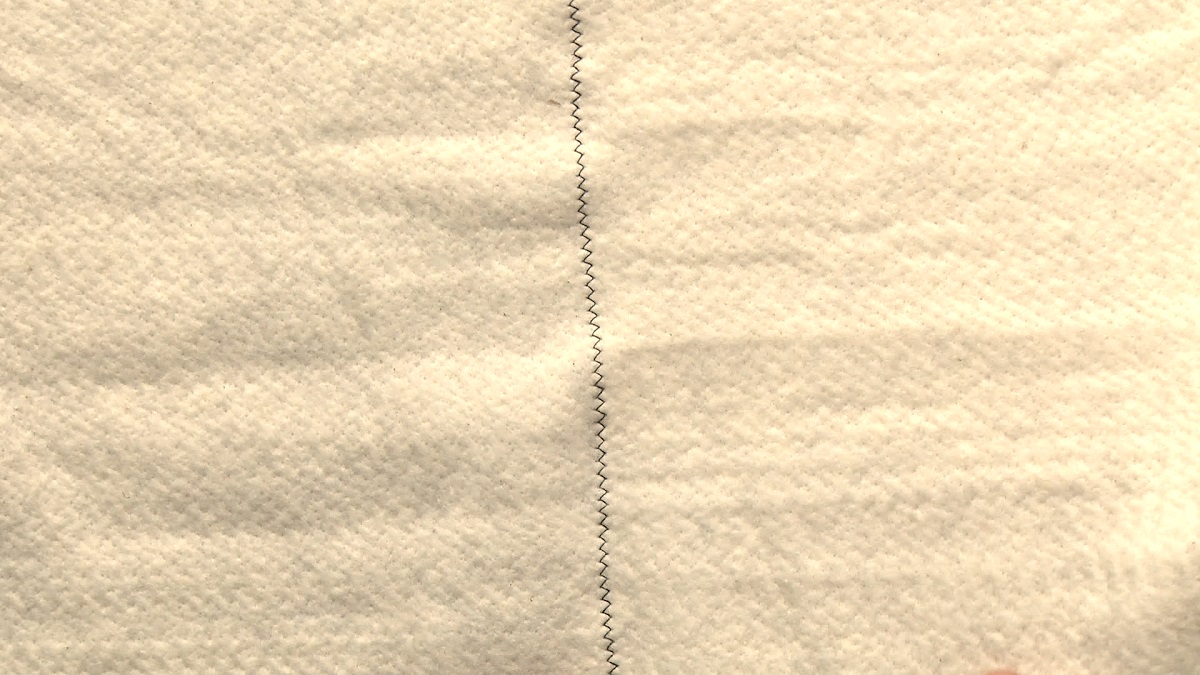
- Select the stitch: Choose the stitch you’ll be using for quilting. Depending on your machine model, you may have options for straight stitches, decorative stitches, or even quilting-specific stitches. Refer to your manual for guidance on stitch selection.
- Adjust the stitch length and width: Set the stitch length and width according to your preferences and the requirements of your quilt design. Test the stitches on a scrap piece of fabric to verify that they’re working as desired.
- Prepare the extension table: If your Brother sewing machine came with an extension table, attach it to provide a larger work surface for quilting. This will make it easier to handle larger fabric pieces and keep them flat and stable while sewing.
- Test the machine: before you start quilting, test your machine on a scrap fabric to ensure that everything is working properly, and the stitches are even and balanced.
Once you have completed the set-up steps, you’re ready to move on to the exciting part: quilting on your Brother sewing machine!
Read more: How To Sew A Chevron Quilt
Step 5: Start Quilting
Now that you’ve set up your Brother sewing machine and prepared your fabric, it’s time to dive into the quilting process. Follow these steps to begin quilting on your Brother sewing machine:
- Baste the layers: Lay the backing fabric right side down on a flat surface. Smooth out any wrinkles, and tape or pin it to the surface to keep it in place. Lay the batting on top of the backing fabric, followed by the quilt top right side up. Smooth out any wrinkles or creases, and use quilt basting spray or safety pins to secure the layers together.
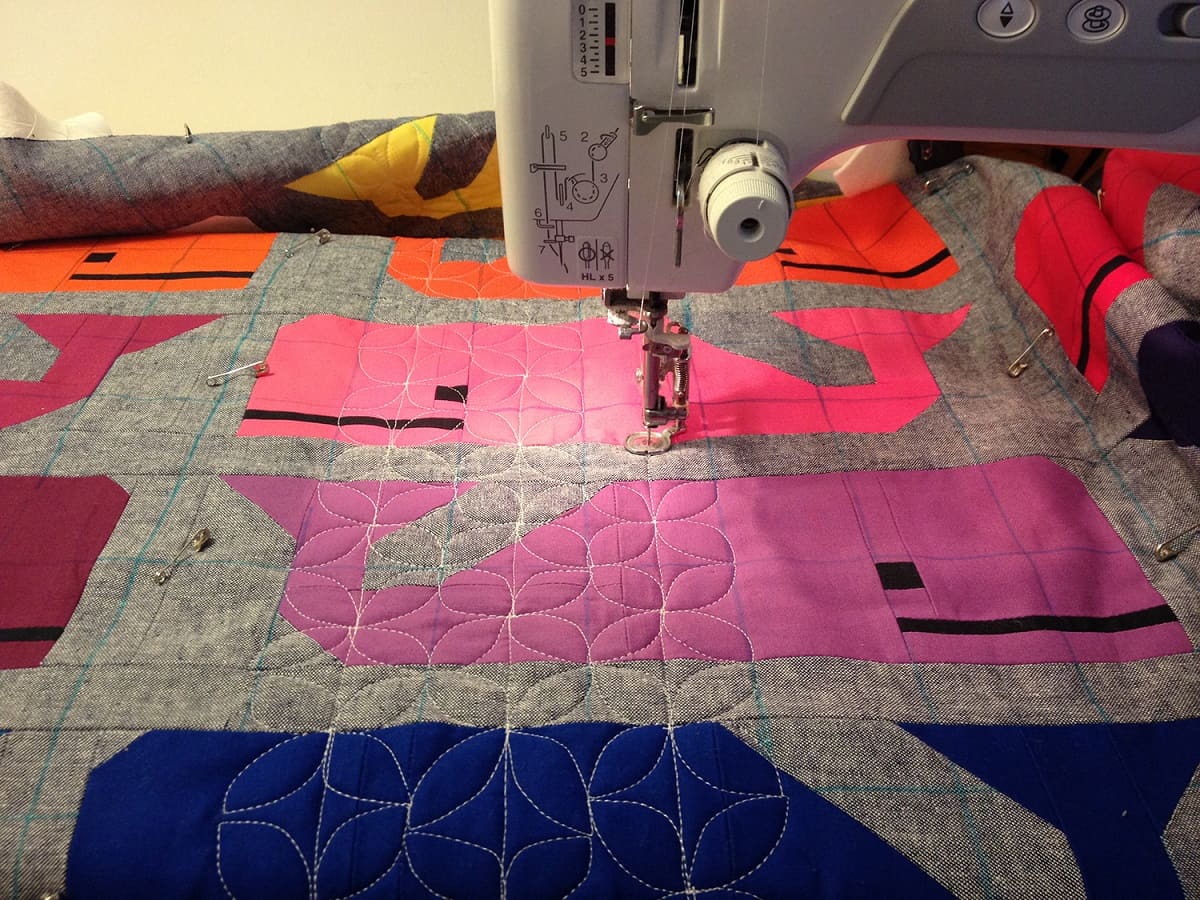
- Select your quilting technique: Decide on the quilting technique you will use based on your quilt design and personal preference. Common quilting techniques include free-motion quilting, stitch-in-the-ditch, or following a quilting pattern.
- Start quilting: Begin by quilting in the center of your quilt and work your way outward. Depending on the technique you’re using, you may need to adjust the speed and stitch length of your Brother sewing machine. Take your time, and focus on maintaining a steady pace while guiding the fabric layers under the needle.
- Stay organized: As you quilt, roll or fold the excess fabric to keep it out of the way. This will make it easier to maneuver the quilt under the machine and prevent it from getting caught or tangled.
- Practice good quilting techniques: Keep your stitches consistent and even. Take breaks to rest your hands and eyes, ensuring that you maintain a comfortable quilting position. Guiding the fabric with gentle pressure rather than forcing it will help to prevent puckering or distortion.
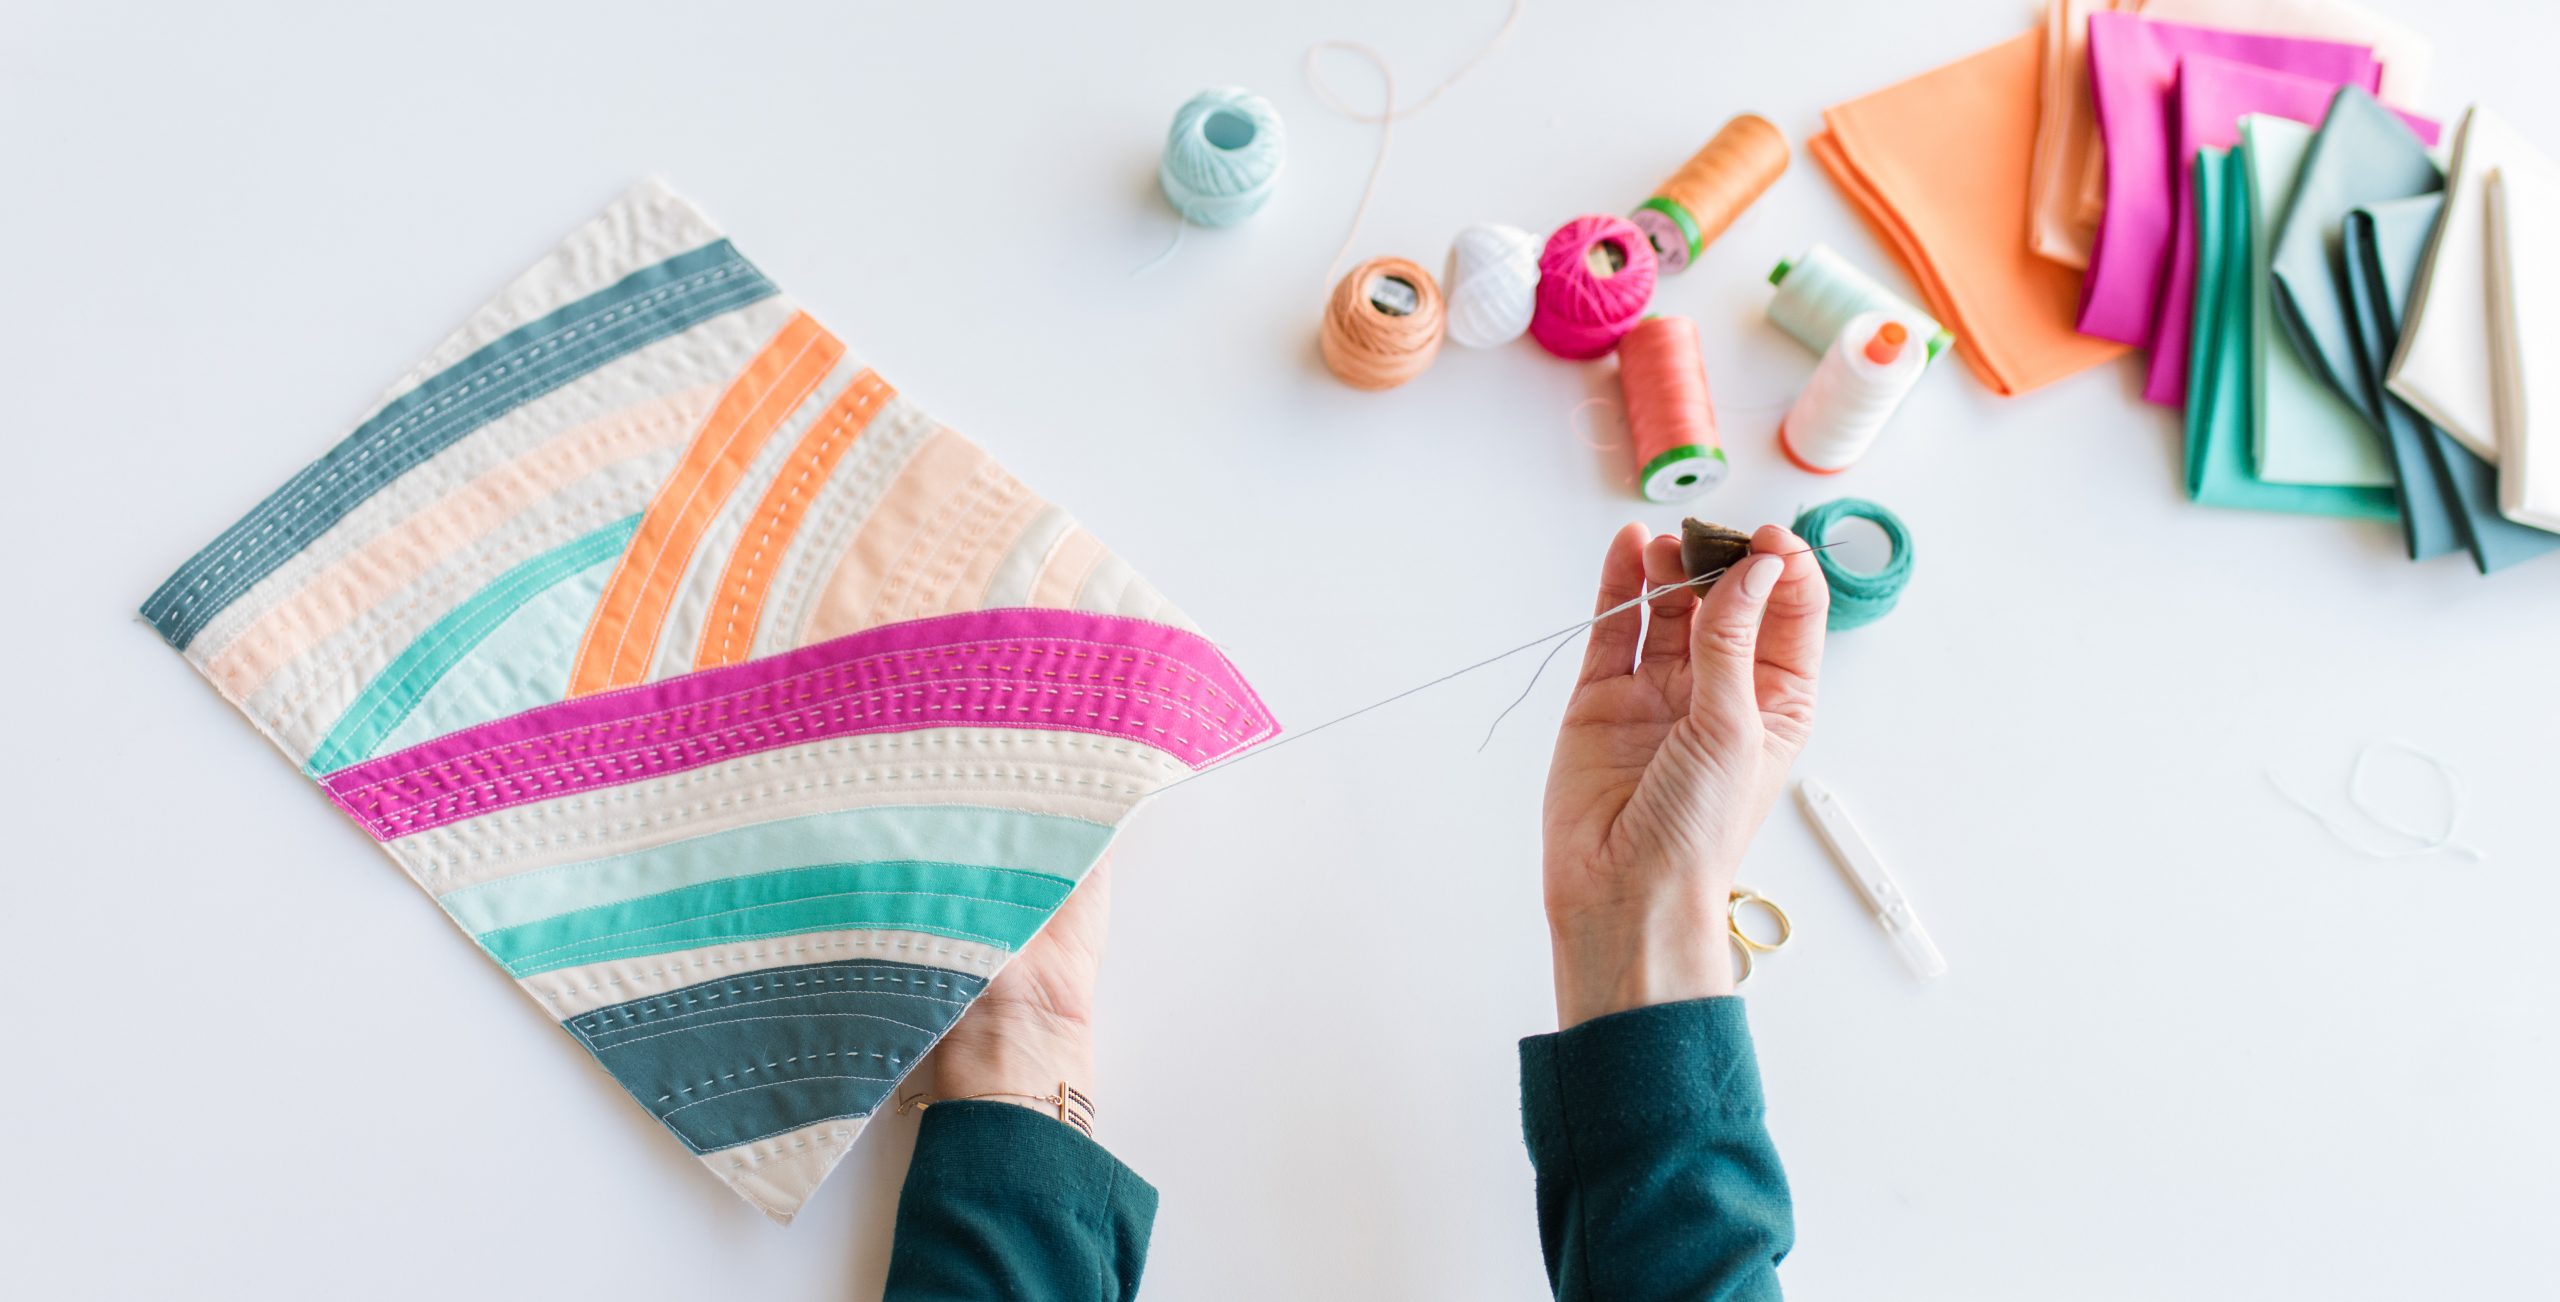
- Add decorative elements: If desired, incorporate decorative stitches or appliqués into your quilt design to add texture and visual interest. Experiment with different thread colors and textures to enhance the overall look of your quilt.
- Take breaks to assess progress: Throughout the quilting process, take breaks to step back and assess your progress. Check for any areas that may need adjustment or additional quilting. This will ensure a consistent and well-quilted result.
Remember, quilting is a creative process, so don’t be afraid to experiment and make adjustments as you go along. Enjoy the journey and the satisfaction of seeing your quilt come to life with each stitch.
Once you’ve completed the quilting, it’s time to add the finishing touches and move on to the final steps of your quilting project.
Step 6: Finishing Touches and Final Steps
Congratulations! You’ve made it to the final step of your quilting project. This is where you add the finishing touches and complete your masterpiece. Follow these steps to bring your quilting project to completion:
- Trim the excess fabric: Once you’ve finished quilting, trim away any excess fabric and batting, leaving a consistent border around the quilt top.
- Add borders or binding: If desired, add borders to your quilt to frame the design and give it a finished look. Alternatively, you can attach binding to the raw edges of the quilt to enclose them neatly. Choose fabric that complements your quilt design.
- Hand or machine stitch the binding: Fold the binding fabric in half lengthwise and attach it to the raw edges of the quilt. You can either hand stitch the binding using a blind stitch or use your Brother sewing machine to machine stitch it in place.
- Iron the quilt: Give your finished quilt a final press with an iron to smooth out any wrinkles and ensure the quilt lays flat.
- Embellish and personalize: Consider adding personal touches to your quilt, such as embroidery, labels, or patches. This will make your quilt unique and special.
- Inspect and make final adjustments: Take a close look at your quilt to ensure that all threads are trimmed and seams are secure. Make any necessary repairs or adjustments before declaring your quilt complete.
- Display or gift your quilt: Finally, showcase your quilt by hanging it on a wall, draping it over a chair, or displaying it on a bed. Alternatively, you can gift your quilt to a loved one, knowing that your hard work and creativity will be cherished for years to come.
Remember, quilting is a labor of love, and each quilt you create tells a story. Enjoy the process and take pride in your accomplishments. With your Brother sewing machine and your newfound quilting skills, the possibilities are endless for creating beautiful, personalized quilts.
Now that you’ve completed the final steps, take a moment to admire your finished quilt and reflect on the journey you’ve taken. It’s time to bask in the satisfaction of a quilting project well done!
We hope this guide has helped you navigate the quilting process on your Brother sewing machine. Happy quilting!
Conclusion
Quilting on a Brother sewing machine is a delightful and fulfilling experience that allows you to showcase your creativity, skill, and passion for the craft. By following the steps outlined in this guide, you can confidently embark on your quilting journey and create beautiful quilts that will be cherished for years to come.
We began by gathering the necessary materials for quilting, ensuring that we had everything from fabric to cutting tools and thread. Next, we familiarized ourselves with the features and functions of the Brother sewing machine, unlocking its full potential for quilting.
With the fabric prepared and the quilt design planned, we moved on to setting up the machine, ensuring proper threading, tension, and stitch selection. Then, we delved into the exciting process of quilting, embracing different techniques and adding our unique touch to the fabric.
As we reached the final steps, we added the finishing touches to our quilt, such as trimming excess fabric, attaching borders or binding, and personalizing our creation. And now, with the quilt completed, we can proudly display or gift it, knowing that it holds a piece of our heart and creativity.
Throughout this journey, we hope you have gained confidence in using your Brother sewing machine for quilting purposes. Remember to embrace experimentation, make adjustments along the way, and have fun with the process. Each quilt you create is a testament to your passion and skill.
Quilting offers a unique opportunity to express yourself, connect with tradition, and contribute to the world of textile art. So, whether you’re a beginner or an experienced quilter, your Brother sewing machine is your loyal companion on this creative adventure.
Now, armed with the knowledge and guidance provided in this article, go forth and explore the endless possibilities of quilting on your Brother sewing machine. Let your imagination run wild, and may each stitch bring you joy and satisfaction.
Happy quilting!
Frequently Asked Questions about How To Quilt On A Brother Sewing Machine
Was this page helpful?
At Storables.com, we guarantee accurate and reliable information. Our content, validated by Expert Board Contributors, is crafted following stringent Editorial Policies. We're committed to providing you with well-researched, expert-backed insights for all your informational needs.


0 thoughts on “How To Quilt On A Brother Sewing Machine”