Home>Home Appliances>Lighting Appliances>How To Remove A Boob Ceiling Light

Lighting Appliances
How To Remove A Boob Ceiling Light
Modified: October 20, 2024
Learn how to safely remove a boob ceiling light with our step-by-step guide. Upgrade your lighting appliances hassle-free.
(Many of the links in this article redirect to a specific reviewed product. Your purchase of these products through affiliate links helps to generate commission for Storables.com, at no extra cost. Learn more)
Introduction
Removing a boob ceiling light may seem like a daunting task, but with the right tools and a systematic approach, it can be a straightforward process. Whether you're looking to update the lighting in your space or simply need to replace a malfunctioning fixture, this guide will walk you through the steps to safely and effectively remove the old ceiling light and install a new one.
Before you begin, it's essential to ensure that you have the necessary tools and equipment on hand. This includes a screwdriver, wire strippers, electrical tape, and a voltage tester. These tools will help you navigate the process with confidence and ensure that you can safely disconnect the old fixture and install the new one.
Once you have gathered your tools, the next step is to turn off the power to the existing ceiling light. This is a crucial safety measure that will prevent any electrical mishaps during the removal process. After the power is turned off, you can proceed to remove the light cover and access the wiring.
Removing a boob ceiling light involves disconnecting the wiring from the old fixture and removing the mounting bracket that secures it to the ceiling. This step requires careful attention to detail and a methodical approach to ensure that the old fixture is safely detached.
After the old fixture has been removed, you can then proceed to install the new light fixture. This may involve connecting the wiring, securing the mounting bracket, and attaching the new light cover. Once the new fixture is in place, the final step is to turn the power back on and test the new light to ensure that it is functioning properly.
By following this step-by-step guide, you can confidently remove a boob ceiling light and replace it with a new fixture, transforming the lighting in your space and enhancing its ambiance. With the right tools, preparation, and attention to safety, this process can be a rewarding and achievable home improvement project.
Key Takeaways:
- Removing a boob ceiling light is a manageable task with the right tools and safety precautions. By following the step-by-step guide, you can confidently replace the old fixture with a new, improved lighting solution.
- Prioritizing safety and attention to detail, the process of installing a new light fixture brings a fresh ambiance to your space. With dedication and the right approach, you can successfully complete this rewarding home improvement project.
Read more: How To Remove Ceiling Light
Step 1: Gather the necessary tools
Before embarking on the task of removing a boob ceiling light, it's essential to gather the necessary tools and equipment to ensure a smooth and efficient process. Having the right tools at your disposal will not only make the task easier but also contribute to the overall safety of the project. Here's a comprehensive list of tools you'll need:
-
Screwdriver: A screwdriver, both flathead and Phillips, is essential for loosening and removing screws that secure the light cover and mounting bracket. Ensure that the screwdriver is the appropriate size for the screws on your specific light fixture.
-
Wire Strippers: These tools are crucial for safely removing the insulation from the electrical wires. This will allow you to properly connect the wiring of the new light fixture.
-
Electrical Tape: Electrical tape is used to secure and insulate the electrical connections. It provides an extra layer of protection and helps prevent any exposed wiring.
-
Voltage Tester: Before starting any work, it's important to ensure that the power is turned off. A voltage tester will allow you to verify that the electrical circuit is not live, minimizing the risk of electrical shock.
-
Ladder or Step Stool: Depending on the height of the ceiling, a stable ladder or step stool will be necessary to safely access the light fixture. Ensure that the ladder is in good condition and positioned securely.
-
New Light Fixture: If you are planning to replace the old boob ceiling light with a new fixture, ensure that you have the new light ready for installation. This may include the light cover, mounting bracket, and any additional hardware required for installation.
By gathering these essential tools and equipment, you'll be well-prepared to tackle the task of removing the boob ceiling light. These tools will not only facilitate the removal process but also contribute to a safe and successful installation of the new light fixture. With the right tools at your disposal, you can approach the project with confidence and ensure a seamless transition to a new and improved lighting solution.
Step 2: Turn off the power
Turning off the power is a critical step in the process of removing a boob ceiling light. It is essential to prioritize safety and minimize the risk of electrical accidents during the removal and installation process. By following these steps, you can confidently proceed with the knowledge that the electrical circuit is safely deactivated.
To begin, locate the electrical panel or circuit breaker box in your home. This is where the electrical circuits for various areas of your home are controlled and can be turned on or off. Once you have located the panel, carefully open the door to reveal the circuit breakers or fuses inside.
Next, identify the circuit that controls the power supply to the ceiling light you are planning to remove. Most homes have circuit breakers labeled with the corresponding areas of the house they control. Look for the label that indicates the area where the ceiling light is located. If the circuit breakers are not labeled, you may need to enlist the help of a family member or friend to assist you in identifying the correct circuit.
Once you have identified the correct circuit, switch the corresponding circuit breaker to the "off" position. This will effectively cut off the power supply to the ceiling light, ensuring that the electrical wiring is not live during the removal process. It is important to double-check that the power has been successfully turned off by using a voltage tester. This handheld device can verify the absence of electrical current, providing an additional layer of safety and peace of mind.
After confirming that the power is off, it is advisable to place a piece of tape over the circuit breaker switch to prevent anyone from accidentally turning it back on while you are working on the ceiling light. This precautionary measure helps to maintain a safe working environment and prevents any unexpected power surges.
By diligently following these steps to turn off the power, you can proceed with the removal of the boob ceiling light with confidence and peace of mind. Prioritizing safety at every stage of the process ensures a smooth and secure transition as you work towards installing a new and improved lighting fixture.
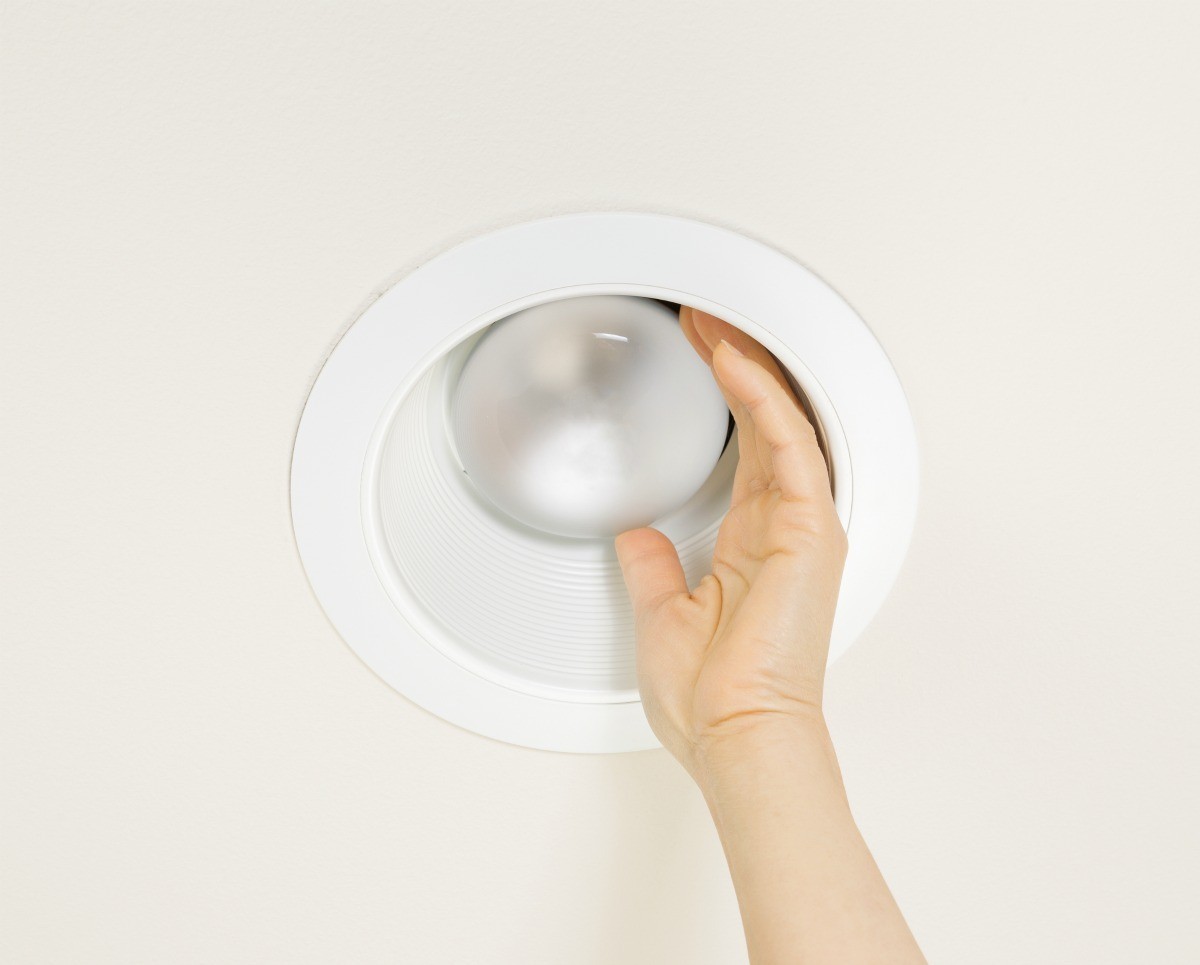
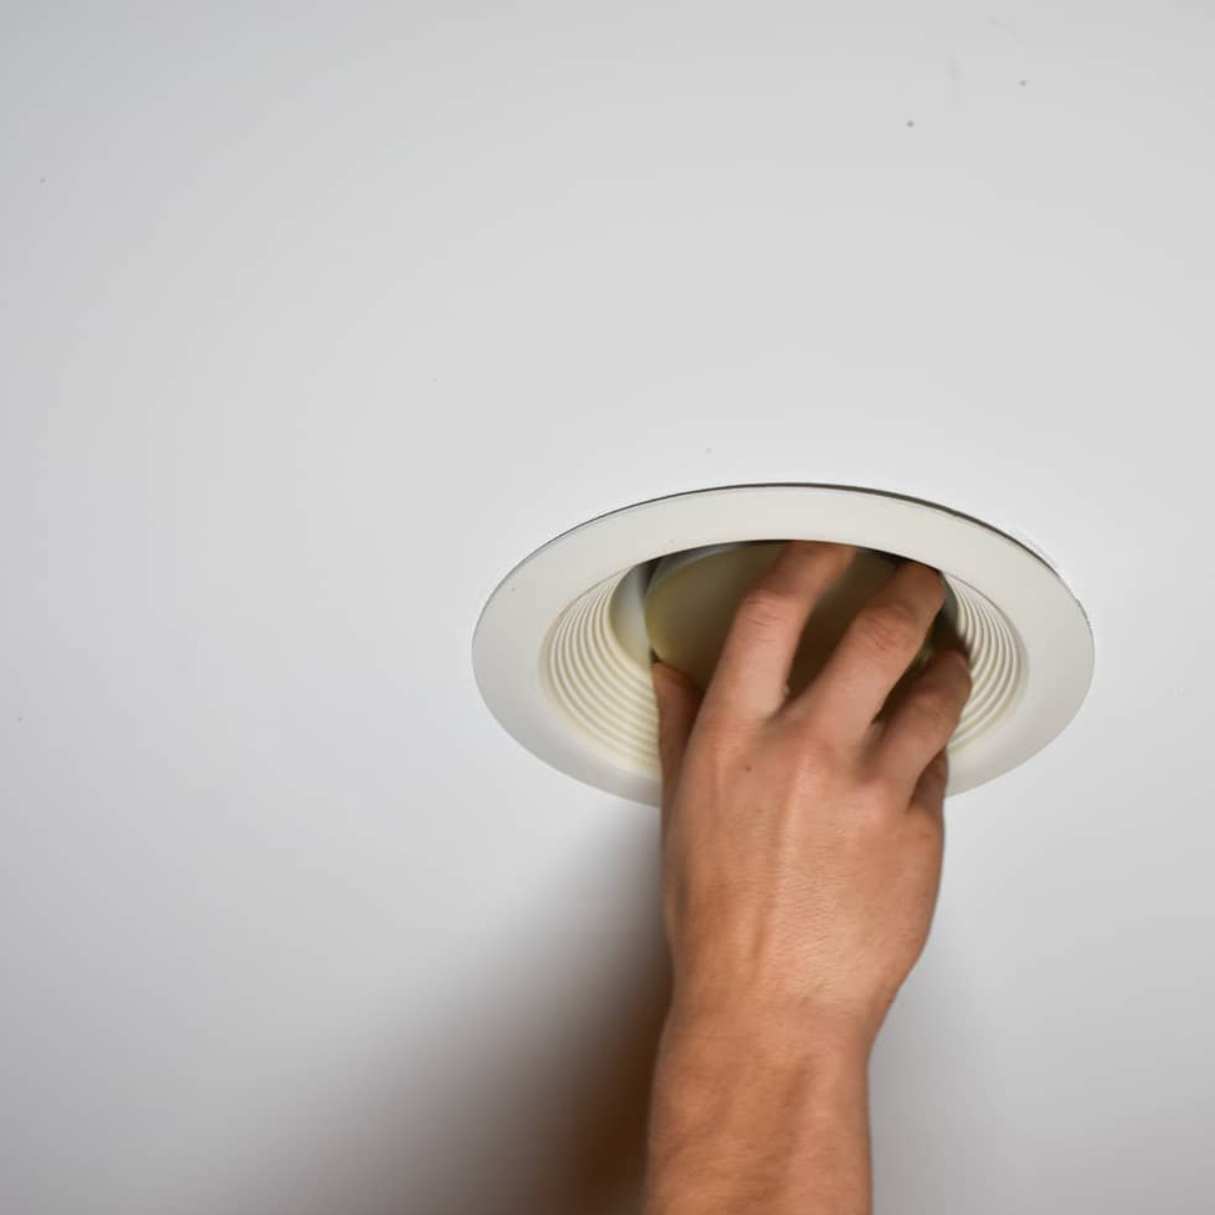
Step 3: Remove the light cover
Removing the light cover is a pivotal step in the process of replacing a boob ceiling light. This part of the process requires careful attention to detail and a methodical approach to ensure that the light cover is safely detached, allowing access to the wiring and mounting bracket.
To begin, carefully inspect the light fixture to identify the method of securing the light cover. In most cases, the light cover is held in place by screws or clips. Using a screwdriver, carefully loosen and remove any screws that are securing the light cover to the base of the fixture. If the light cover is held in place by clips, gently press or squeeze the clips to release the cover from the fixture.
Once the fasteners are loosened or released, carefully lower the light cover from the fixture. It's important to exercise caution during this step to prevent any damage to the cover or the surrounding area. Some light covers may have a snug fit, so gentle maneuvering may be necessary to detach it from the fixture.
As you remove the light cover, take note of any additional components, such as a diffuser or decorative elements, that may be attached to the cover. These components should be carefully removed and set aside, ensuring that they are not misplaced or damaged during the removal process.
After the light cover has been successfully detached, set it aside in a safe location. Take this opportunity to inspect the interior of the fixture and the exposed wiring. This visual inspection can provide valuable insights into the condition of the existing wiring and any potential issues that may need to be addressed during the installation of the new light fixture.
With the light cover removed, you now have clear access to the wiring and mounting bracket of the old ceiling light. This sets the stage for the next steps in the process, including disconnecting the wiring and removing the mounting bracket to facilitate the installation of the new light fixture.
By carefully following these steps to remove the light cover, you can progress confidently through the process of replacing the boob ceiling light. This methodical approach sets the stage for a successful transition to a new and improved lighting solution, enhancing the ambiance and functionality of your space.
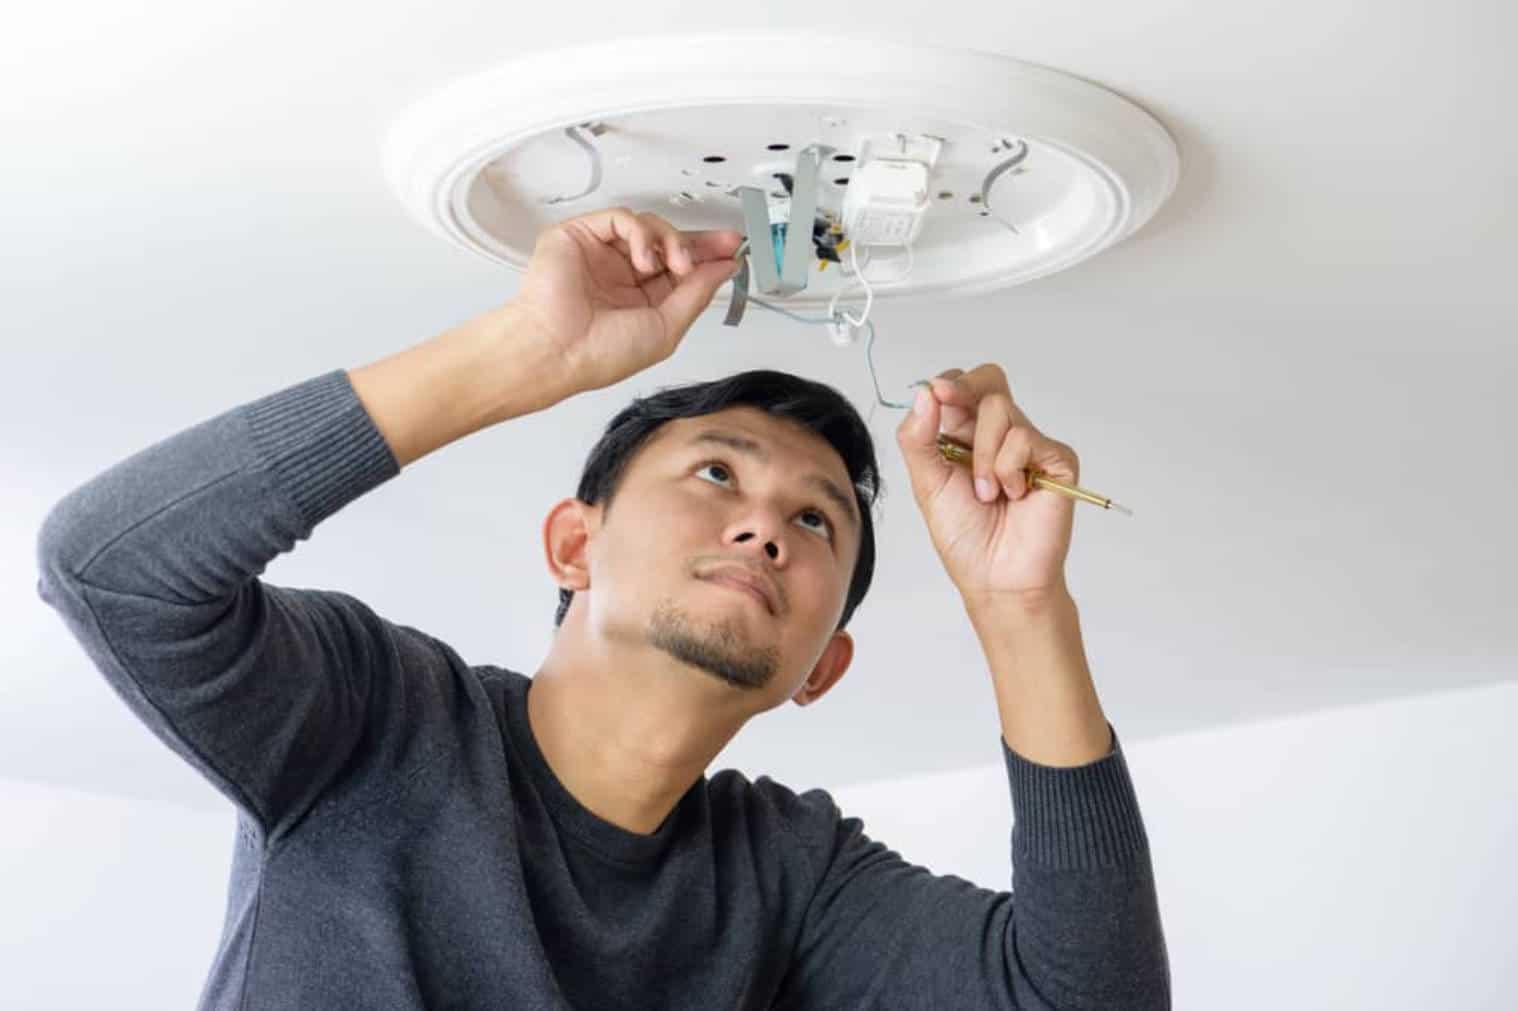
Step 4: Disconnect the wiring
Disconnecting the wiring is a crucial step in the process of removing a boob ceiling light. This step requires careful attention to detail and a methodical approach to ensure that the electrical connections are safely and properly detached from the old fixture. By following these steps, you can confidently navigate the process of disconnecting the wiring and prepare for the installation of the new light fixture.
To begin, carefully examine the wiring connections inside the electrical box of the ceiling light. It's essential to identify the specific wires that are connected to the fixture. In most cases, there will be three wires: a black (hot) wire, a white (neutral) wire, and a bare copper (ground) wire. These wires are typically connected using wire nuts or terminal screws.
Using a voltage tester, double-check that the power is indeed turned off before proceeding. This additional safety measure ensures that there is no electrical current present in the wiring, minimizing the risk of electrical shock during the disconnection process.
Once the power has been verified as off, carefully remove the wire nuts or loosen the terminal screws that secure the electrical connections. Take note of the specific arrangement of the wires and any additional components, such as wire splices or pigtail connections. It's important to maintain a clear understanding of how the wiring is configured to facilitate the installation of the new light fixture.
As you disconnect the wiring, exercise caution and avoid applying excessive force to the wires. Gentle maneuvering and careful handling will help prevent any damage to the wiring and ensure that the connections are safely detached from the old fixture.
After the wiring connections have been successfully disconnected, carefully guide the wires out of the electrical box, ensuring that they are free from any obstructions or entanglements. This prepares the electrical box for the next steps in the process, including the removal of the mounting bracket and the installation of the new light fixture.
By diligently following these steps to disconnect the wiring, you can proceed with confidence and ensure that the old boob ceiling light is safely prepared for removal. This methodical approach sets the stage for a seamless transition to a new and improved lighting solution, enhancing the aesthetic and functionality of your space.
Turn off the power to the light. Remove the screws holding the light in place and carefully lower it down. Disconnect the wires and remove the light. Be sure to follow all safety precautions.
Read more: How To Remove A Dome Ceiling Light
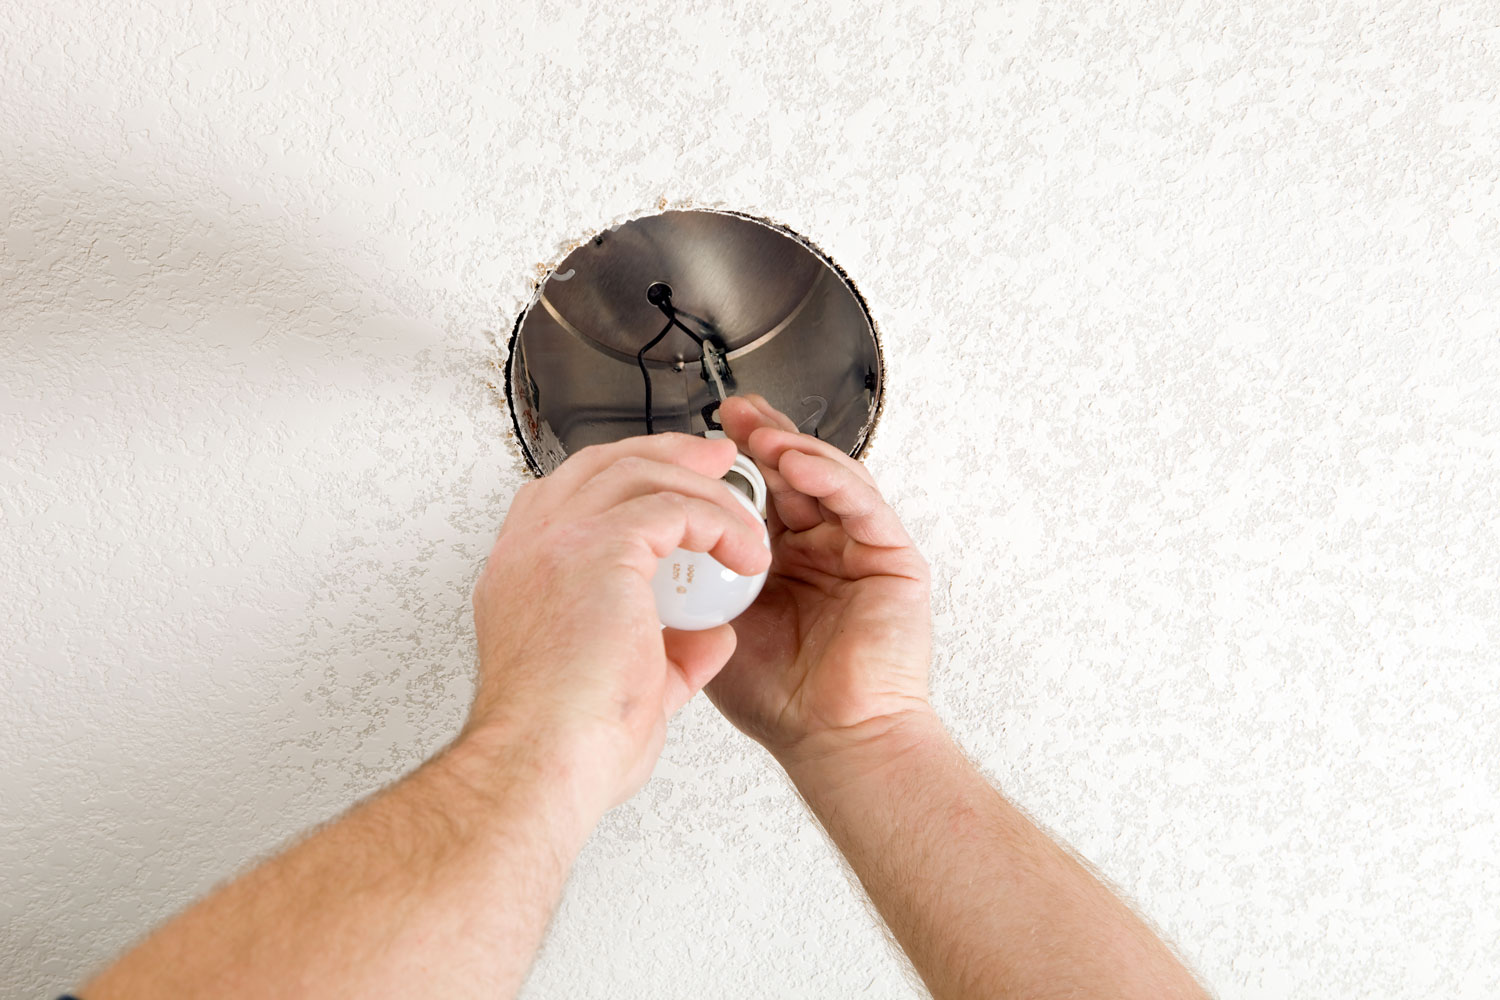
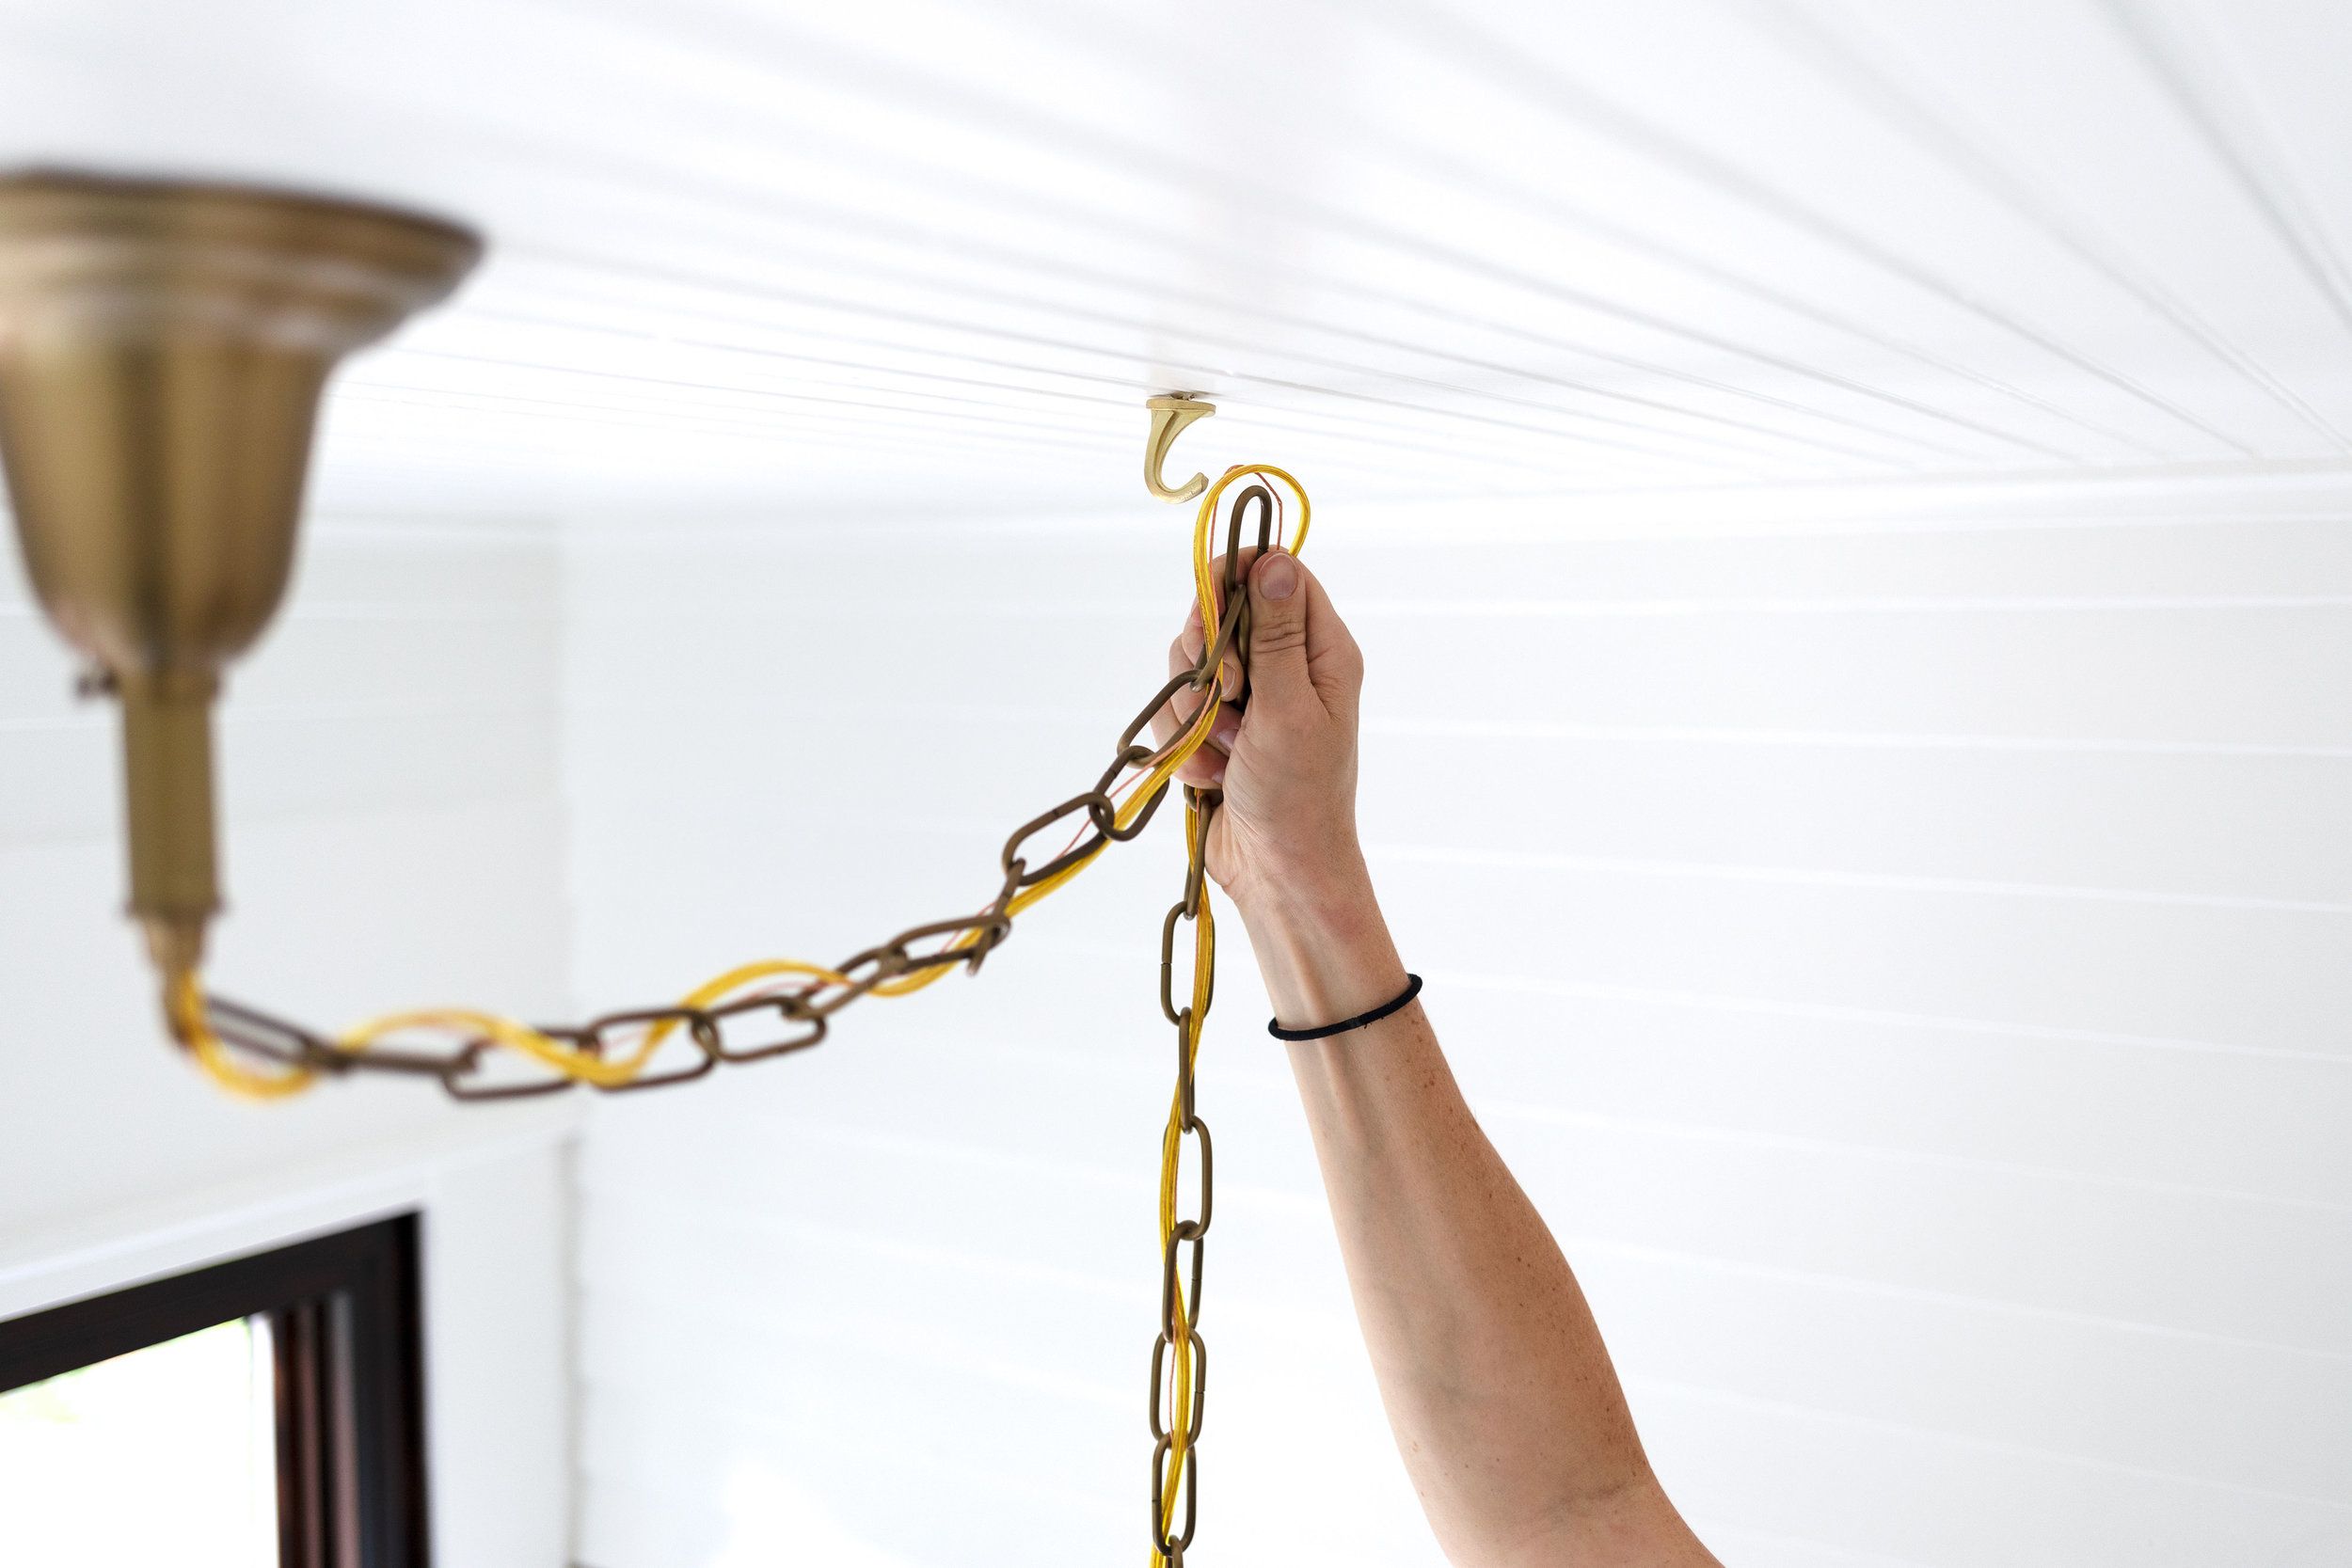
Step 5: Remove the mounting bracket
Removing the mounting bracket is a pivotal step in the process of replacing a boob ceiling light. This step requires careful attention to detail and a methodical approach to ensure that the old fixture is safely detached from the ceiling, making way for the installation of the new light fixture.
To begin, locate the screws or fasteners that secure the mounting bracket to the electrical box in the ceiling. In most cases, the mounting bracket is attached to the electrical box using screws or bolts. Using a screwdriver, carefully loosen and remove the screws that secure the mounting bracket in place. If the bracket is secured with bolts, use an appropriate wrench to loosen and remove them.
As you remove the screws or bolts, it's important to provide support for the mounting bracket to prevent it from falling. The bracket may be connected to the electrical box and the ceiling, so ensuring a secure grip on the bracket as the fasteners are removed is essential to prevent any unexpected movement.
Once the screws or bolts are removed, carefully lower the mounting bracket from the electrical box. It's important to exercise caution during this step to prevent any damage to the electrical wiring or the ceiling. Some mounting brackets may have a snug fit, so gentle maneuvering may be necessary to detach it from the electrical box.
After the mounting bracket has been successfully detached, set it aside in a safe location. Take this opportunity to inspect the electrical box and the exposed wiring. This visual inspection can provide valuable insights into the condition of the electrical box and any potential issues that may need to be addressed during the installation of the new light fixture.
With the mounting bracket removed, you now have a clear and unobstructed space for installing the new light fixture. This sets the stage for the final steps in the process, including securing the new mounting bracket and connecting the wiring for the new light fixture.
By carefully following these steps to remove the mounting bracket, you can progress confidently through the process of replacing the boob ceiling light. This methodical approach ensures a smooth and secure transition to a new and improved lighting solution, enhancing the ambiance and functionality of your space.
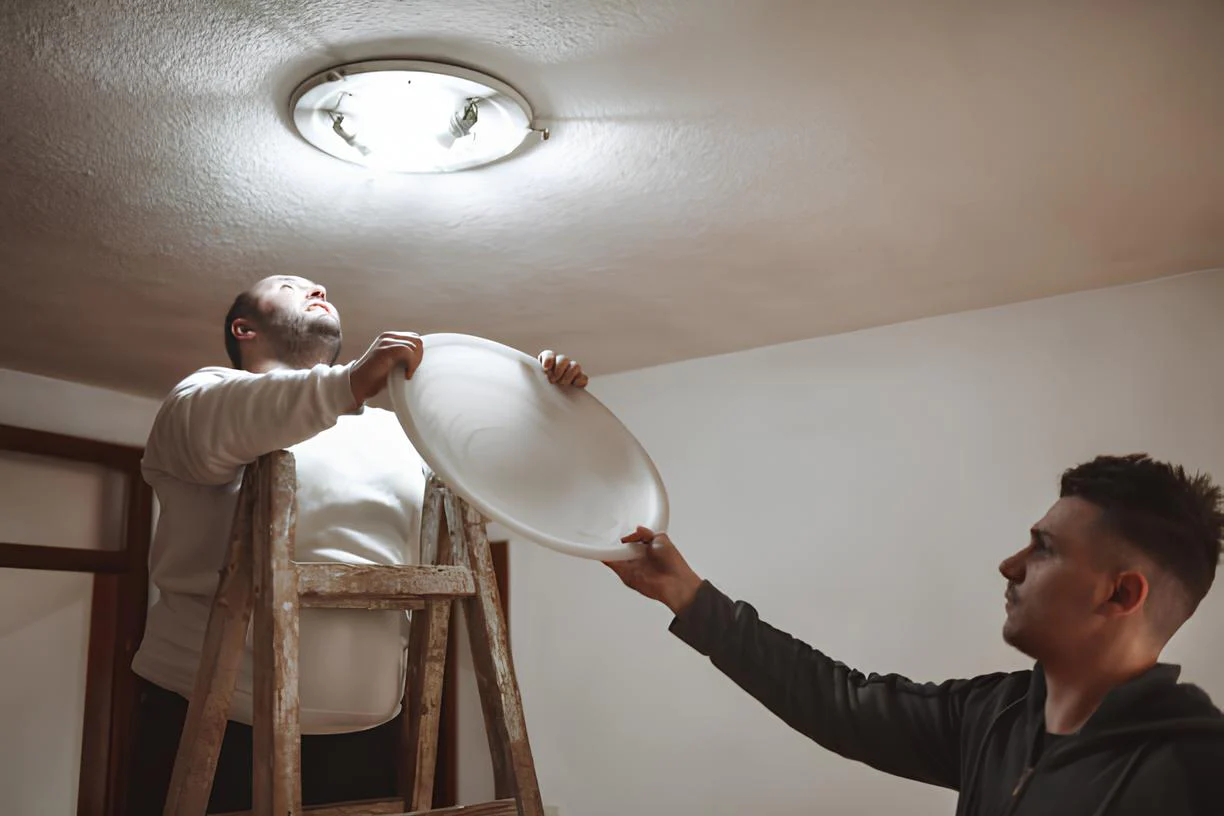
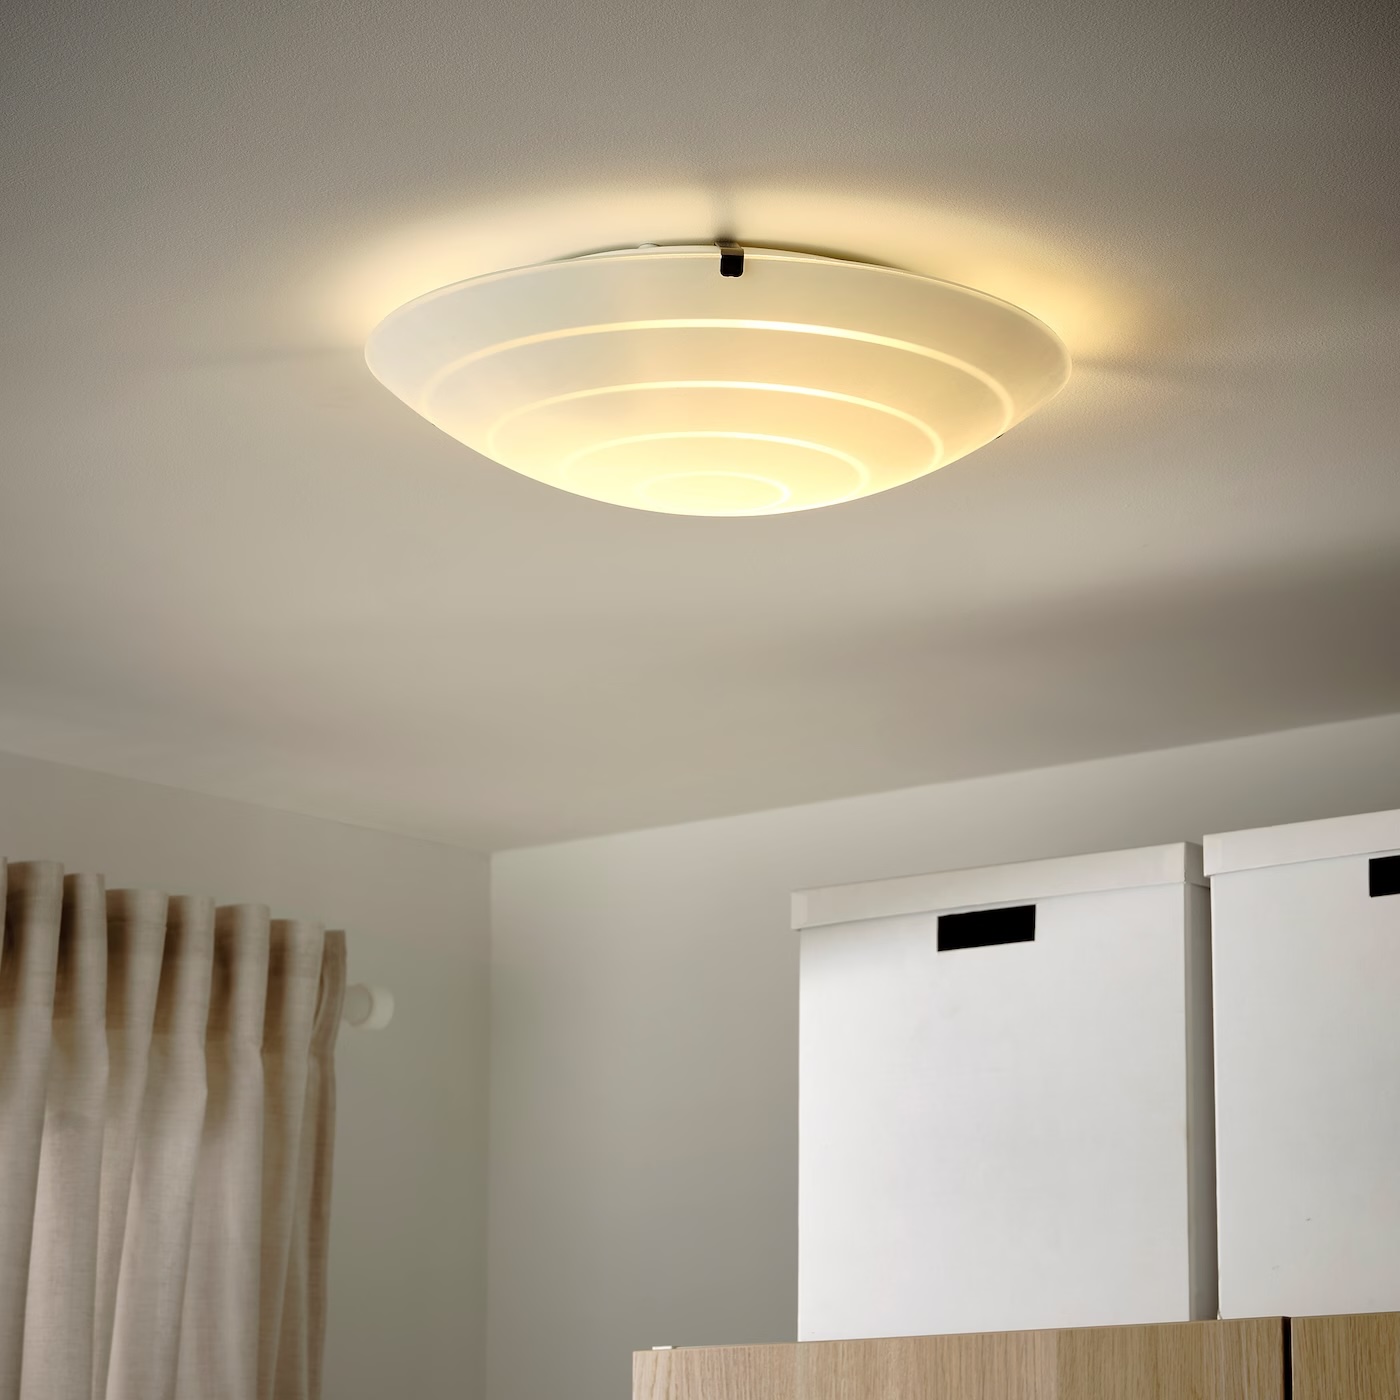
Step 6: Install the new light fixture
Installing the new light fixture marks the exciting transition to a fresh and improved lighting solution. This step involves carefully connecting the wiring, securing the new mounting bracket, and positioning the new light fixture in place. By following these detailed steps, you can confidently proceed with the installation process, bringing a renewed ambiance to your space.
Begin by unpacking the new light fixture and familiarizing yourself with its components. Ensure that all necessary parts, including the light cover, mounting bracket, and any accompanying hardware, are readily available. This preparation sets the stage for a smooth and efficient installation process.
Next, carefully position the new mounting bracket over the electrical box in the ceiling, aligning it with the screw holes or fastener locations. Using the appropriate screws or bolts, secure the mounting bracket in place, ensuring a stable and level foundation for the new light fixture. It's important to verify that the bracket is securely attached to the ceiling, providing a reliable base for the fixture.
With the mounting bracket in place, it's time to connect the wiring for the new light fixture. Carefully guide the electrical wires through the center of the new fixture, ensuring that they are free from any tangles or obstructions. Match the corresponding wires – black to black (hot), white to white (neutral), and bare copper to the grounding screw – and secure the connections using wire nuts or terminal screws. It's crucial to ensure that the wiring connections are snug and secure, minimizing the risk of loose or exposed wires.
After the wiring is successfully connected, carefully position the new light fixture over the mounting bracket, aligning it with the screw holes or fastener locations. Secure the fixture in place by tightening the screws or fasteners, ensuring that it is firmly attached to the mounting bracket. Take care to maintain a level and centered position for the fixture, enhancing its aesthetic appeal and functionality.
Once the new light fixture is securely installed, carefully position the light cover over the fixture, aligning it with the designated grooves or attachment points. Secure the light cover in place using the appropriate screws or clips, ensuring a snug and stable fit. This final touch completes the installation process, bringing the new light fixture to life and illuminating your space with renewed brilliance.
By diligently following these steps to install the new light fixture, you can bring a fresh and revitalized ambiance to your space. This methodical approach ensures a seamless transition to a new lighting solution, enhancing the aesthetic appeal and functionality of your environment.
Step 7: Turn the power back on
After successfully installing the new light fixture, the final step is to restore power to the circuit and test the functionality of the new lighting solution. This critical step ensures that the electrical connections are secure, the fixture is operational, and the space is illuminated with renewed brilliance.
To begin, return to the electrical panel or circuit breaker box in your home. Carefully locate the circuit breaker that controls the power supply to the area where the new light fixture has been installed. Identify the corresponding circuit breaker and switch it to the "on" position, effectively restoring power to the circuit.
As the power is restored, it's essential to observe the new light fixture and ensure that it illuminates as expected. Verify that the switch controlling the light fixture is in the "off" position before turning the circuit breaker on. Once the power is restored, turn the switch to the "on" position and observe the new light as it fills the space with its warm glow.
As the new light fixture illuminates, take a moment to appreciate the transformation it brings to the environment. The renewed ambiance and functionality of the space reflect the successful completion of the installation process, culminating in a rewarding and impactful home improvement project.
In addition to observing the functionality of the new light fixture, take this opportunity to inspect the surrounding area for any signs of electrical issues or abnormalities. Ensure that the wiring connections are secure, the light cover is properly positioned, and the fixture is free from any flickering or irregularities.
By meticulously following these steps and observing the successful illumination of the new light fixture, you can confidently conclude the installation process. The space is now enhanced with a fresh and revitalized lighting solution, elevating its aesthetic appeal and functionality.
With the power successfully restored and the new light fixture shining brightly, you can take pride in the accomplishment of replacing the old boob ceiling light with a new and improved lighting solution. The space is now illuminated with renewed brilliance, creating an inviting and captivating atmosphere for all to enjoy.
Conclusion
In conclusion, the process of removing a boob ceiling light and installing a new fixture is a rewarding endeavor that can significantly enhance the ambiance and functionality of your space. By following the step-by-step guide outlined in this article, you have successfully navigated the intricacies of safely removing the old fixture, preparing the space for a new lighting solution, and completing the installation process with confidence.
Throughout the journey, you have demonstrated a commitment to safety, meticulous attention to detail, and a methodical approach to each step. From gathering the necessary tools to turning off the power, removing the light cover, disconnecting the wiring, removing the mounting bracket, and finally installing the new light fixture, your dedication has resulted in a seamless and successful transition to a fresh lighting solution.
As you bask in the warm glow of the newly installed light fixture, take a moment to appreciate the impact of your efforts. The space is now illuminated with renewed brilliance, creating an inviting and captivating atmosphere for all to enjoy. The transformation brought about by the new lighting solution reflects your dedication to enhancing your environment and creating a space that is both functional and aesthetically pleasing.
Moving forward, the knowledge and skills you have gained from this experience can serve as a foundation for future home improvement projects. Whether it's updating other lighting fixtures, tackling electrical tasks, or embarking on new endeavors, the confidence and expertise you have acquired will undoubtedly contribute to the success of future projects.
In closing, the journey of removing a boob ceiling light and installing a new fixture is not just about the physical transformation of the space; it's about the sense of accomplishment and empowerment that comes with mastering a new skill and enhancing your living environment. As you enjoy the enhanced ambiance and functionality of your space, take pride in the accomplishment of a successful home improvement project and the positive impact it has on your daily life.
Frequently Asked Questions about How To Remove A Boob Ceiling Light
Was this page helpful?
At Storables.com, we guarantee accurate and reliable information. Our content, validated by Expert Board Contributors, is crafted following stringent Editorial Policies. We're committed to providing you with well-researched, expert-backed insights for all your informational needs.


0 thoughts on “How To Remove A Boob Ceiling Light”