Home>Home Appliances>Lighting Appliances>How To Remove A Dome Ceiling Light
Lighting Appliances
How To Remove A Dome Ceiling Light
Modified: August 27, 2024
Learn how to safely remove a dome ceiling light with our step-by-step guide. Upgrade your lighting appliances with ease and confidence.
(Many of the links in this article redirect to a specific reviewed product. Your purchase of these products through affiliate links helps to generate commission for Storables.com, at no extra cost. Learn more)
Introduction
Removing a dome ceiling light may seem like a daunting task, but with the right guidance and a bit of know-how, it can be a straightforward process. Whether you're looking to upgrade to a more modern fixture or simply need to replace a worn-out light, understanding the steps involved is crucial for a successful outcome.
In this comprehensive guide, we will walk you through the process of removing a dome ceiling light in a safe and efficient manner. From turning off the power to disconnecting the wires and installing a new fixture, each step is essential for a smooth transition. By following these instructions, you can tackle this home improvement project with confidence and achieve the desired results.
So, let's roll up our sleeves and delve into the step-by-step process of removing a dome ceiling light. With a few basic tools and a systematic approach, you'll be well on your way to transforming the ambiance of your living space.
Key Takeaways:
- Safety First!
Before removing a dome ceiling light, always turn off the power and use a voltage tester to ensure the wires are not live. This prevents electrical mishaps and creates a secure working environment. - Step-by-Step Success
Removing a dome ceiling light involves disconnecting wires, removing the mounting bracket, and installing a new fixture. Following each step carefully ensures a smooth and successful transition to a fresh lighting solution.
Read more: How To Remove Ceiling Light
Step 1: Turn off the Power
Before embarking on the task of removing a dome ceiling light, it is crucial to prioritize safety by turning off the power supply to the fixture. This step is paramount to prevent any electrical mishaps and ensure a secure working environment.
To begin, locate the circuit breaker or fuse box in your home. It's typically situated in the basement, garage, or a utility room. Once you've identified the circuit breaker panel, carefully open the door to reveal the array of switches or fuses. Take a moment to familiarize yourself with the layout, ensuring you can easily pinpoint the switch or fuse corresponding to the ceiling light.
Next, switch off the circuit breaker associated with the dome ceiling light. If your home is equipped with fuses, carefully unscrew and remove the fuse linked to the light fixture. It's advisable to use a flashlight if the area is dimly lit to avoid any confusion.
After deactivating the power supply, it's prudent to verify that the light has indeed turned off. This can be done by flipping the light switch connected to the fixture. If the light remains off, you can proceed with confidence, knowing that the power has been successfully disconnected.
Additionally, it's wise to use a non-contact voltage tester to confirm that the wires are not live. This simple yet effective tool can provide peace of mind by detecting the presence of electrical current. By holding the tester close to the wires, you can verify that the power has been safely shut off, minimizing the risk of accidental shocks during the removal process.
By diligently following these precautions and ensuring that the power source is deactivated, you are laying a secure foundation for the subsequent steps of removing the dome ceiling light. This proactive approach to safety sets the stage for a smooth and hazard-free removal process, allowing you to proceed with confidence and peace of mind.
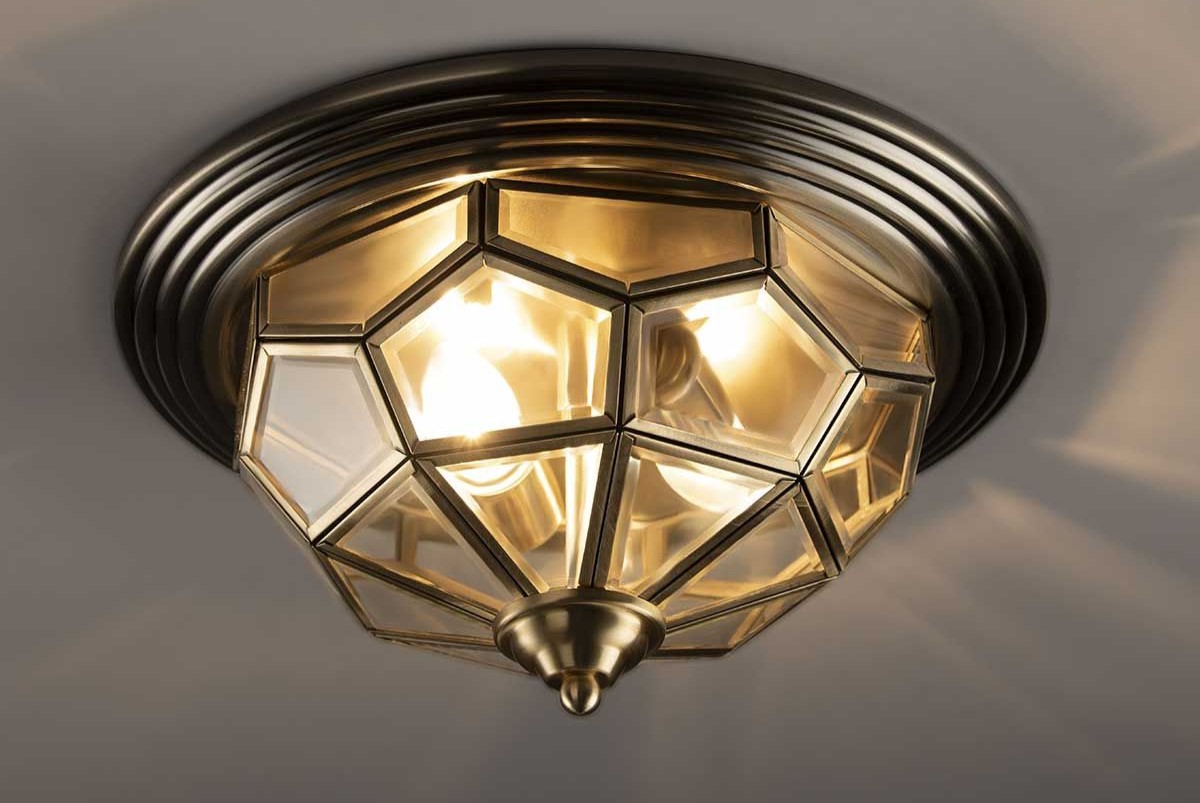
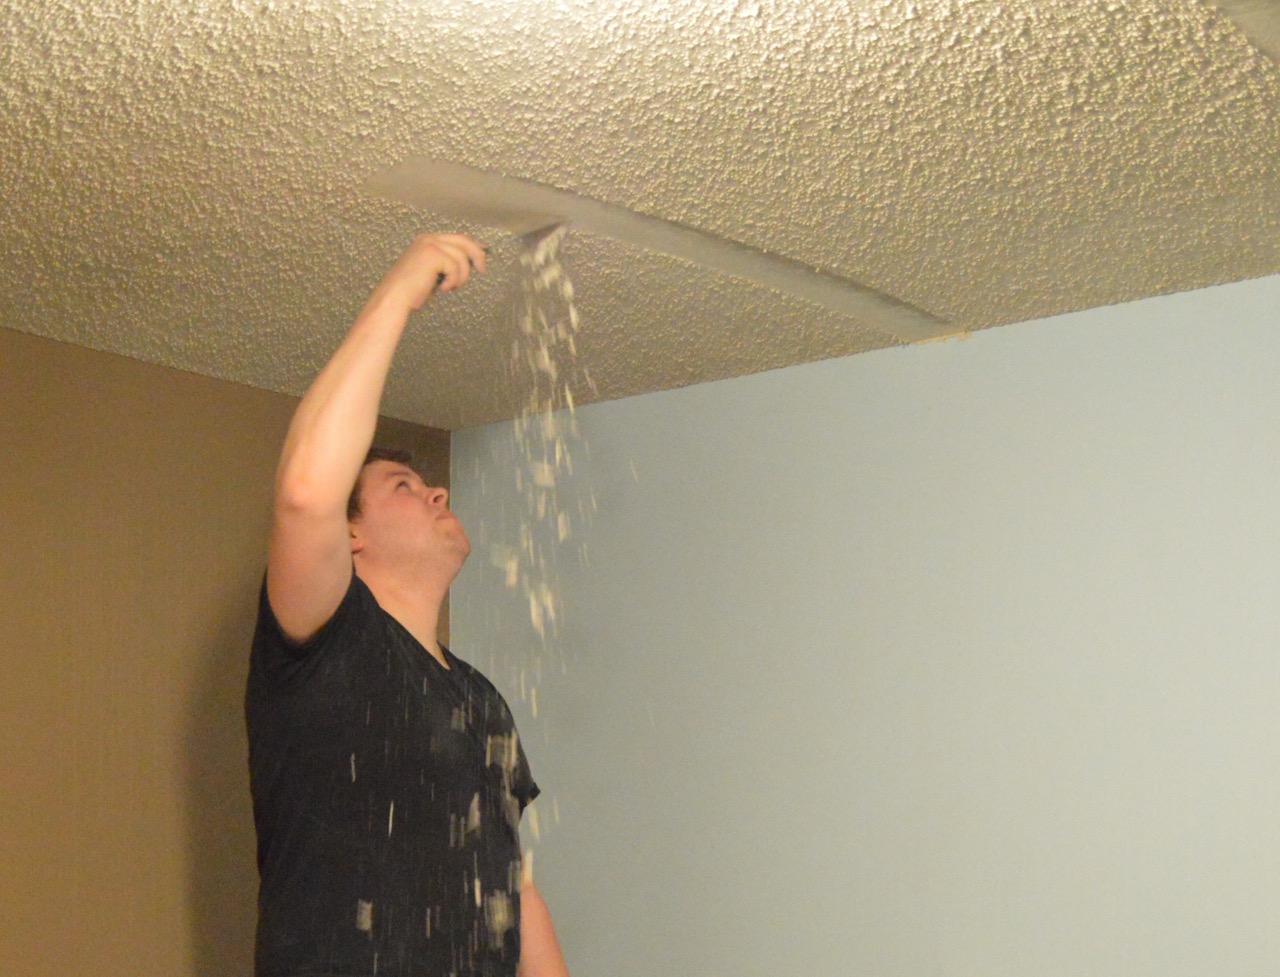
Step 2: Remove the Light Cover
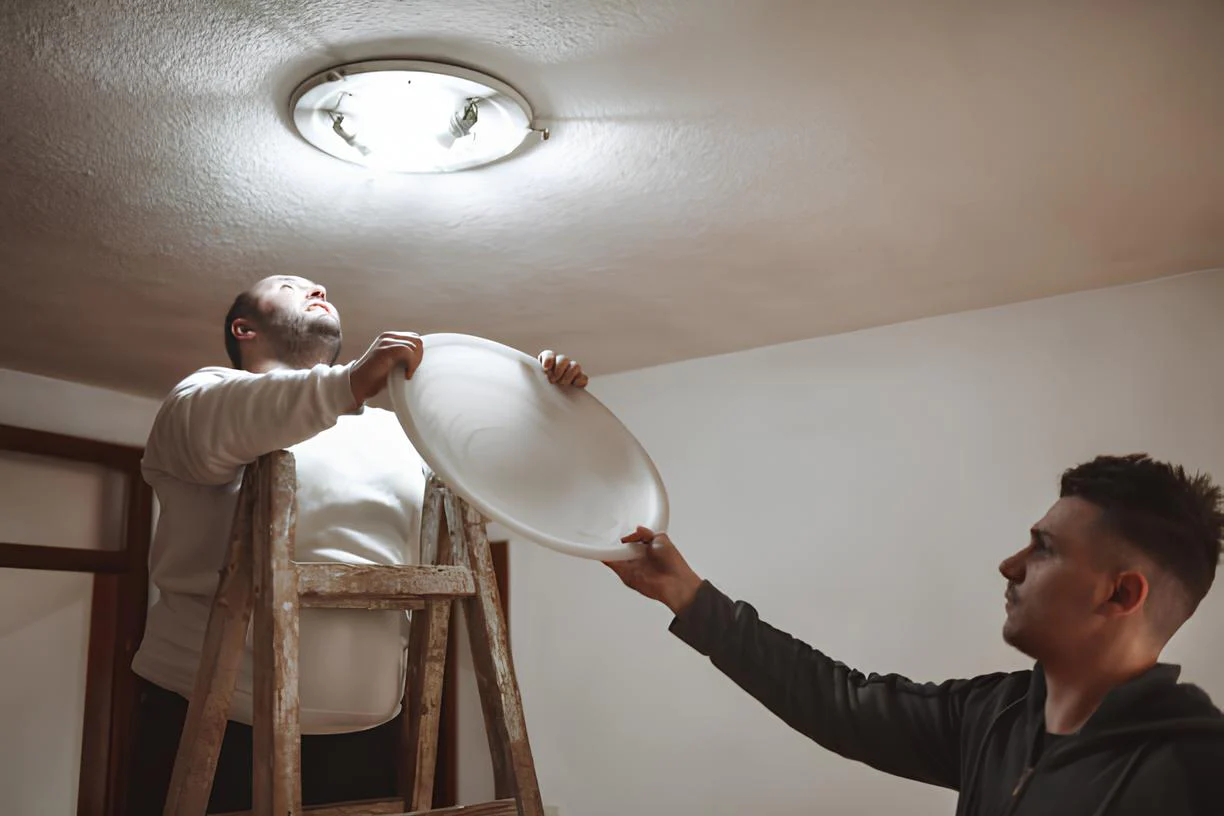
With the power supply safely turned off, the next step in removing a dome ceiling light is to take down the light cover. The light cover is the visible, often decorative, part of the fixture that conceals the bulb and internal components. Removing the light cover is a crucial preliminary step before accessing the internal wiring and mounting bracket.
To begin, carefully examine the light cover to determine how it is secured to the fixture. In most cases, the cover is held in place by screws or decorative knobs. Using a screwdriver or appropriate tool, carefully loosen and remove any screws or fasteners that are securing the light cover to the base of the fixture. It's important to exercise caution and ensure that the cover is adequately supported as you remove the fasteners to prevent it from falling.
Once the fasteners are removed, gently lower the light cover from the fixture. Some covers may have a twist-lock mechanism or require a slight rotation to disengage from the base. Take care to observe any specific instructions or nuances related to your particular light fixture to avoid causing damage during this process.
As you remove the light cover, it's a good opportunity to inspect its condition and clean any accumulated dust or debris. A soft, dry cloth can be used to gently wipe the interior and exterior surfaces of the cover, restoring its luster and ensuring that it will look its best when reinstalled or replaced with a new fixture.
After the light cover has been successfully detached, set it aside in a safe location to prevent accidental damage. Taking a moment to appreciate the design and craftsmanship of the cover can also provide a sense of appreciation for the aesthetics of the fixture.
By carefully and methodically removing the light cover, you have completed a significant phase in the process of removing a dome ceiling light. This step sets the stage for the subsequent tasks of disconnecting the wires and removing the mounting bracket, bringing you one step closer to achieving your desired lighting upgrade or replacement.
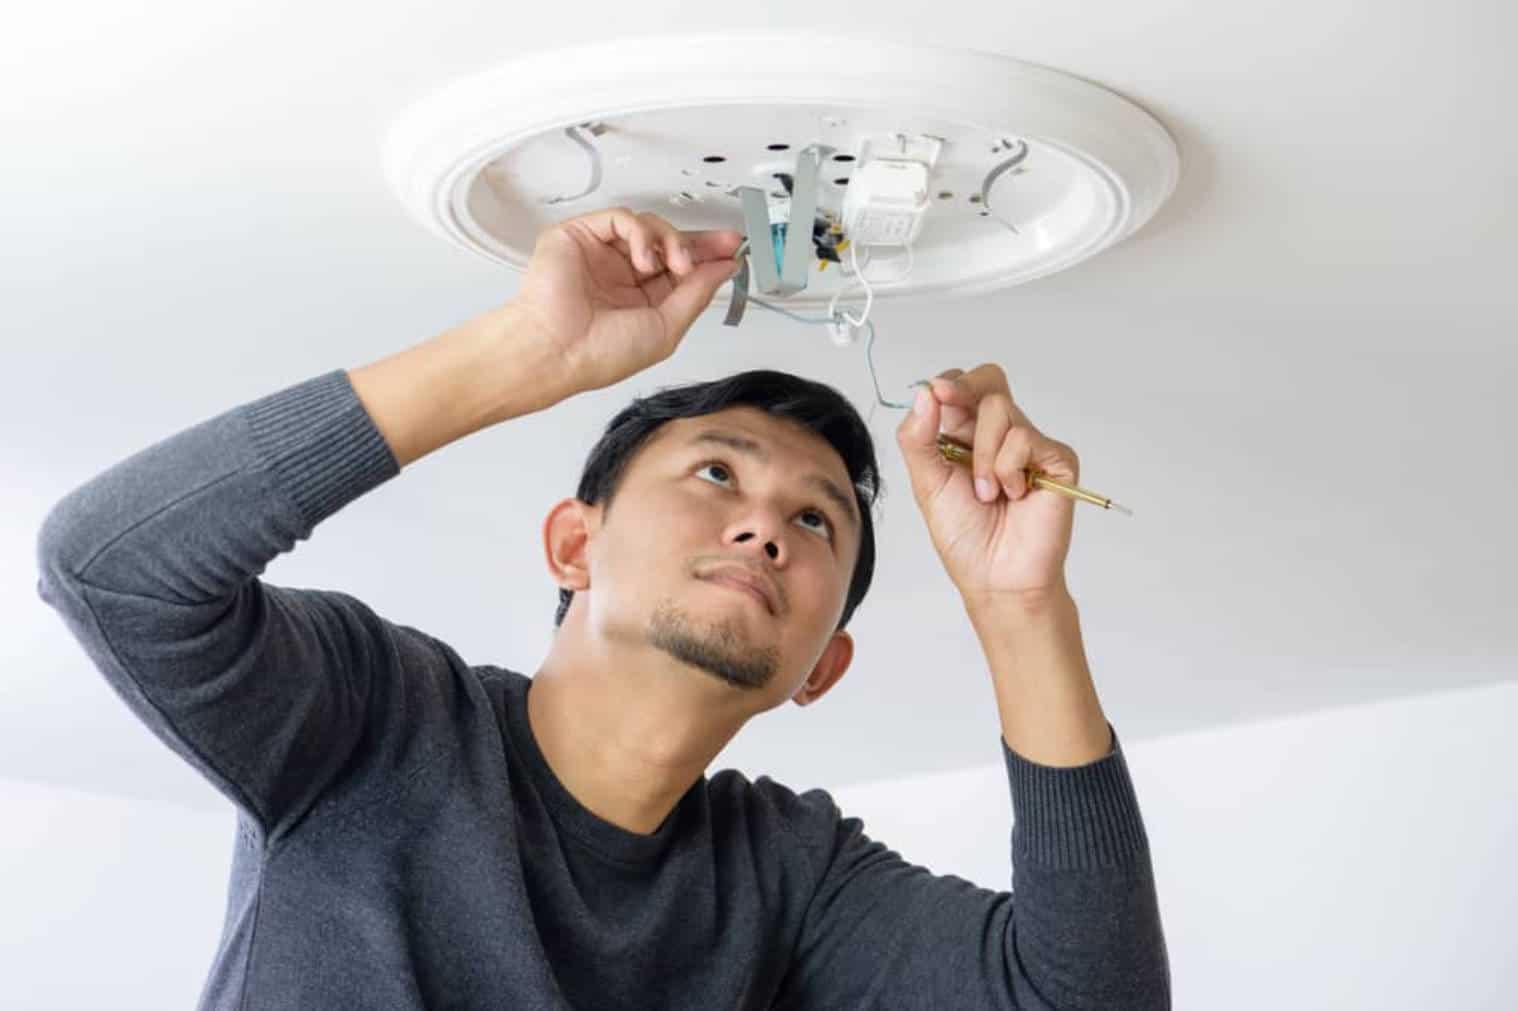
Step 3: Disconnect the Wires
With the light cover successfully removed, the next pivotal step in the process of removing a dome ceiling light is to disconnect the electrical wires that supply power to the fixture. This step is essential for safely detaching the old light and preparing for the installation of a new fixture.
To begin, carefully examine the wiring connections within the light fixture. You will typically encounter three wires: black (hot), white (neutral), and green or bare (ground). These wires are responsible for delivering electrical power to the light and ensuring proper functionality.
Using a voltage tester, double-check that the power has been effectively turned off. This precautionary measure is crucial to prevent any potential electrical hazards during the wire disconnection process. Once you have confirmed that the wires are not live, you can proceed with confidence, knowing that you are working in a safe environment.
Next, using a screwdriver, carefully loosen the wire connectors or screws that secure the electrical wires. Take care to support the fixture as you disconnect the wires to prevent it from falling. As you release the wires, it's important to note their respective positions and connections to ensure proper reattachment when installing the new light fixture.
After the wires have been detached, it's advisable to inspect them for any signs of wear, damage, or corrosion. If any issues are detected, it may be necessary to trim the wire ends to remove any compromised sections before installing the new fixture. Additionally, taking this opportunity to clean the exposed wires can help ensure optimal connectivity and performance for the replacement light.
Once the wires have been safely disconnected and inspected, it's prudent to secure the loose ends to prevent any accidental contact or tangling. Using electrical tape or wire connectors, carefully bundle and secure the wires to maintain a tidy and organized workspace. This simple yet crucial step can help prevent potential hazards and streamline the subsequent installation process.
By meticulously disconnecting the electrical wires, you have completed a fundamental phase in the process of removing a dome ceiling light. This step sets the stage for the subsequent task of removing the mounting bracket and preparing for the seamless installation of a new and improved light fixture.
Before removing a dome ceiling light, make sure to turn off the power at the circuit breaker to avoid any electrical hazards. Use a ladder to reach the light, then carefully unscrew the base and disconnect the wires. Be sure to have someone hold the light fixture while you work.
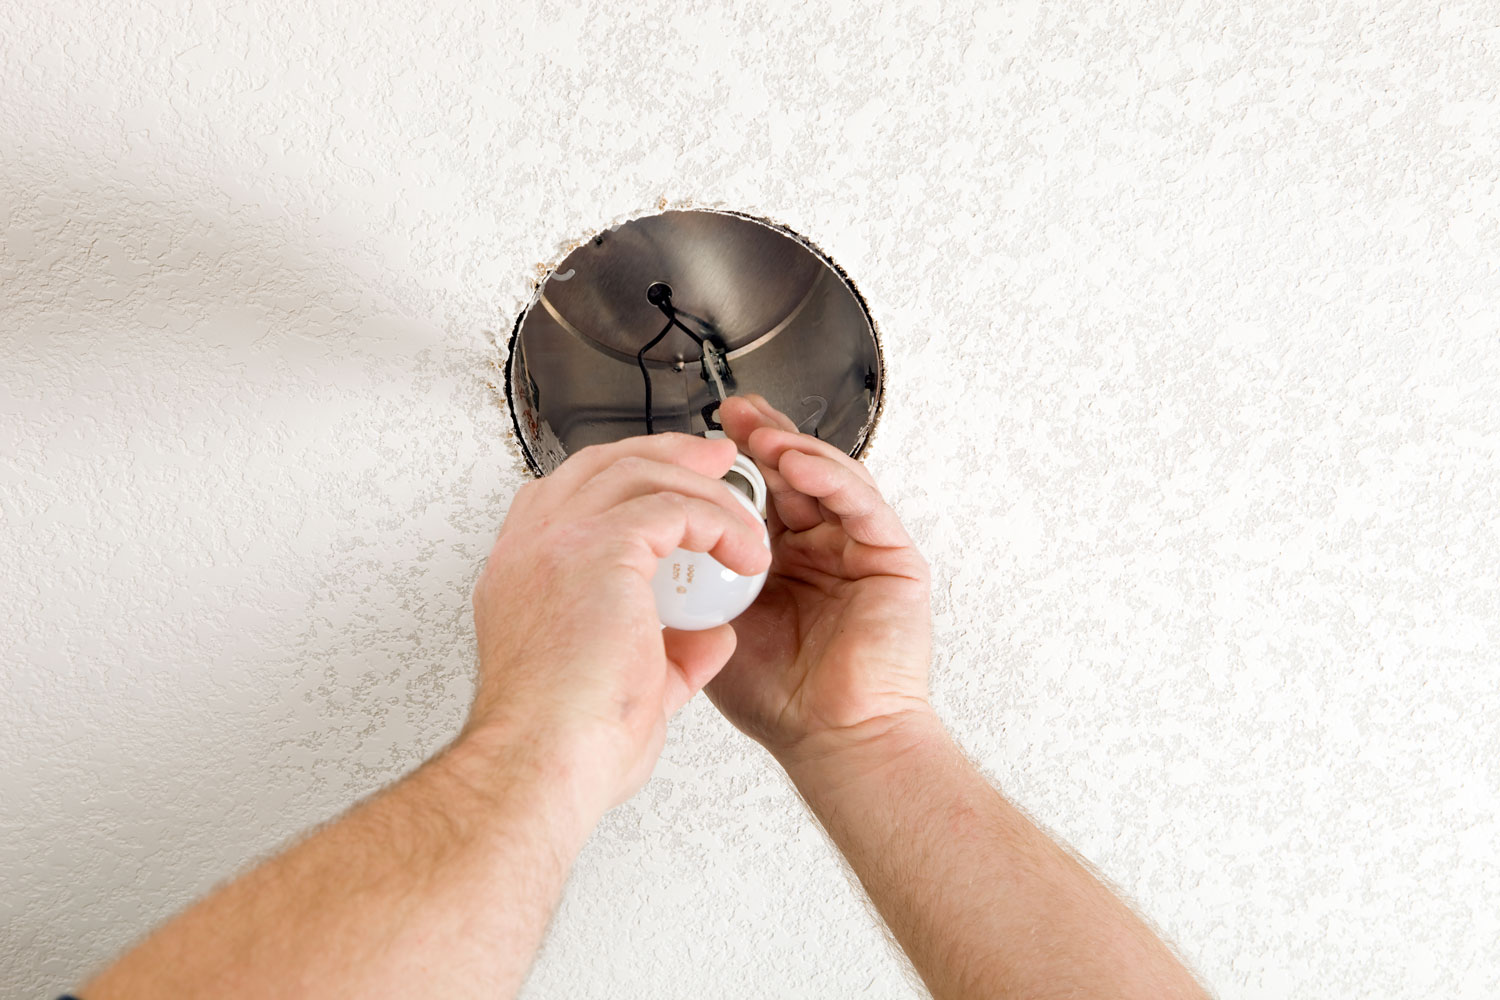
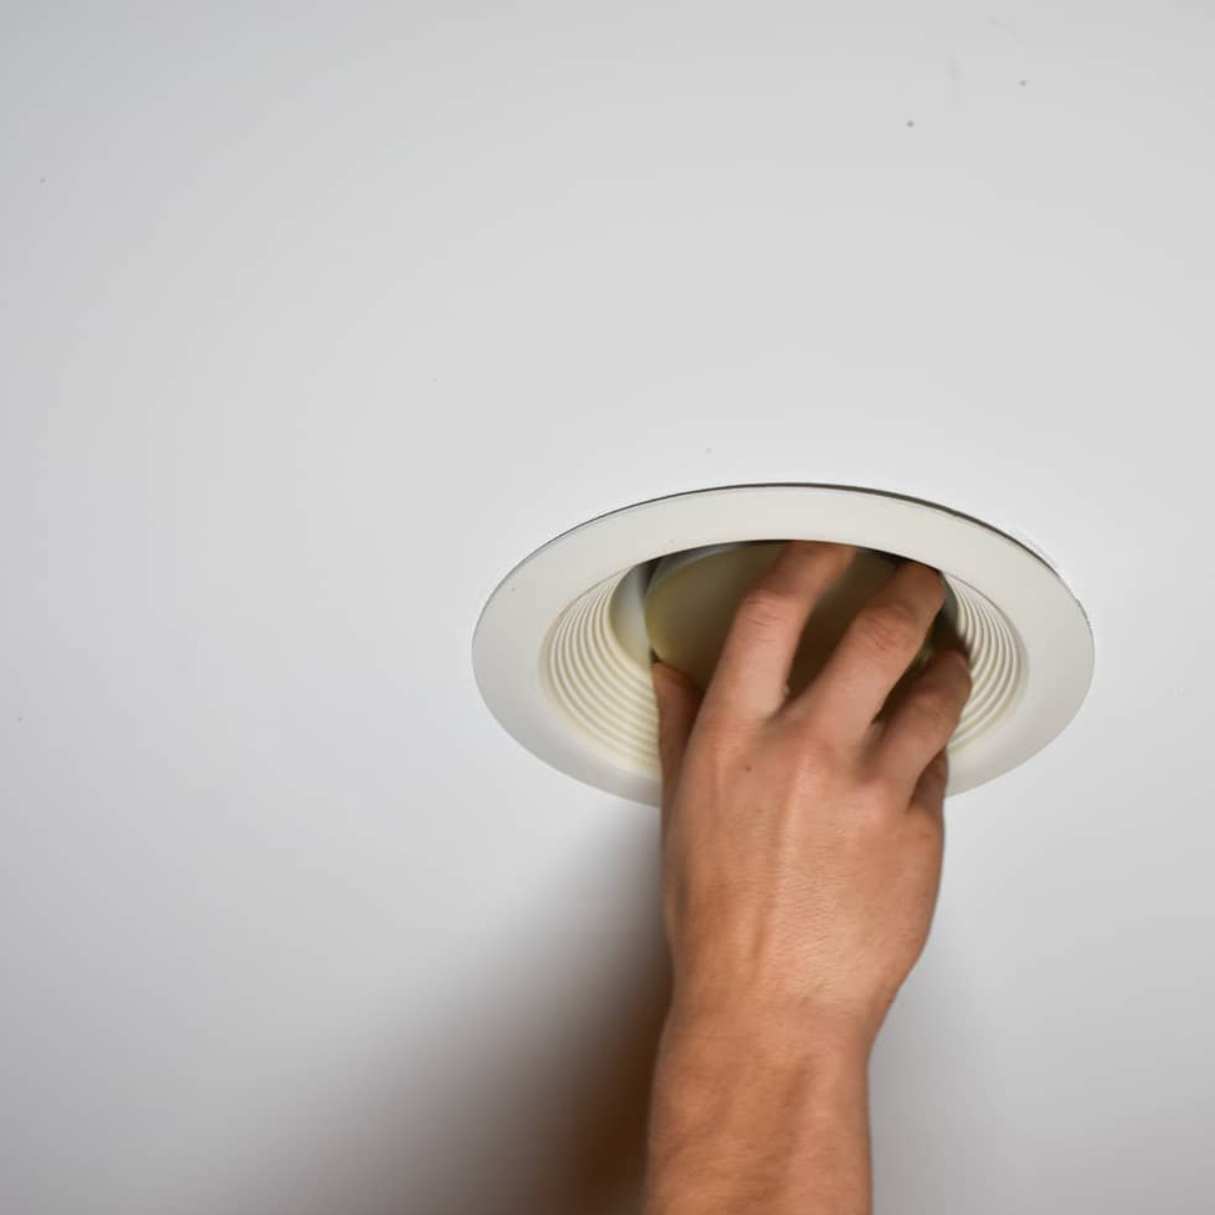
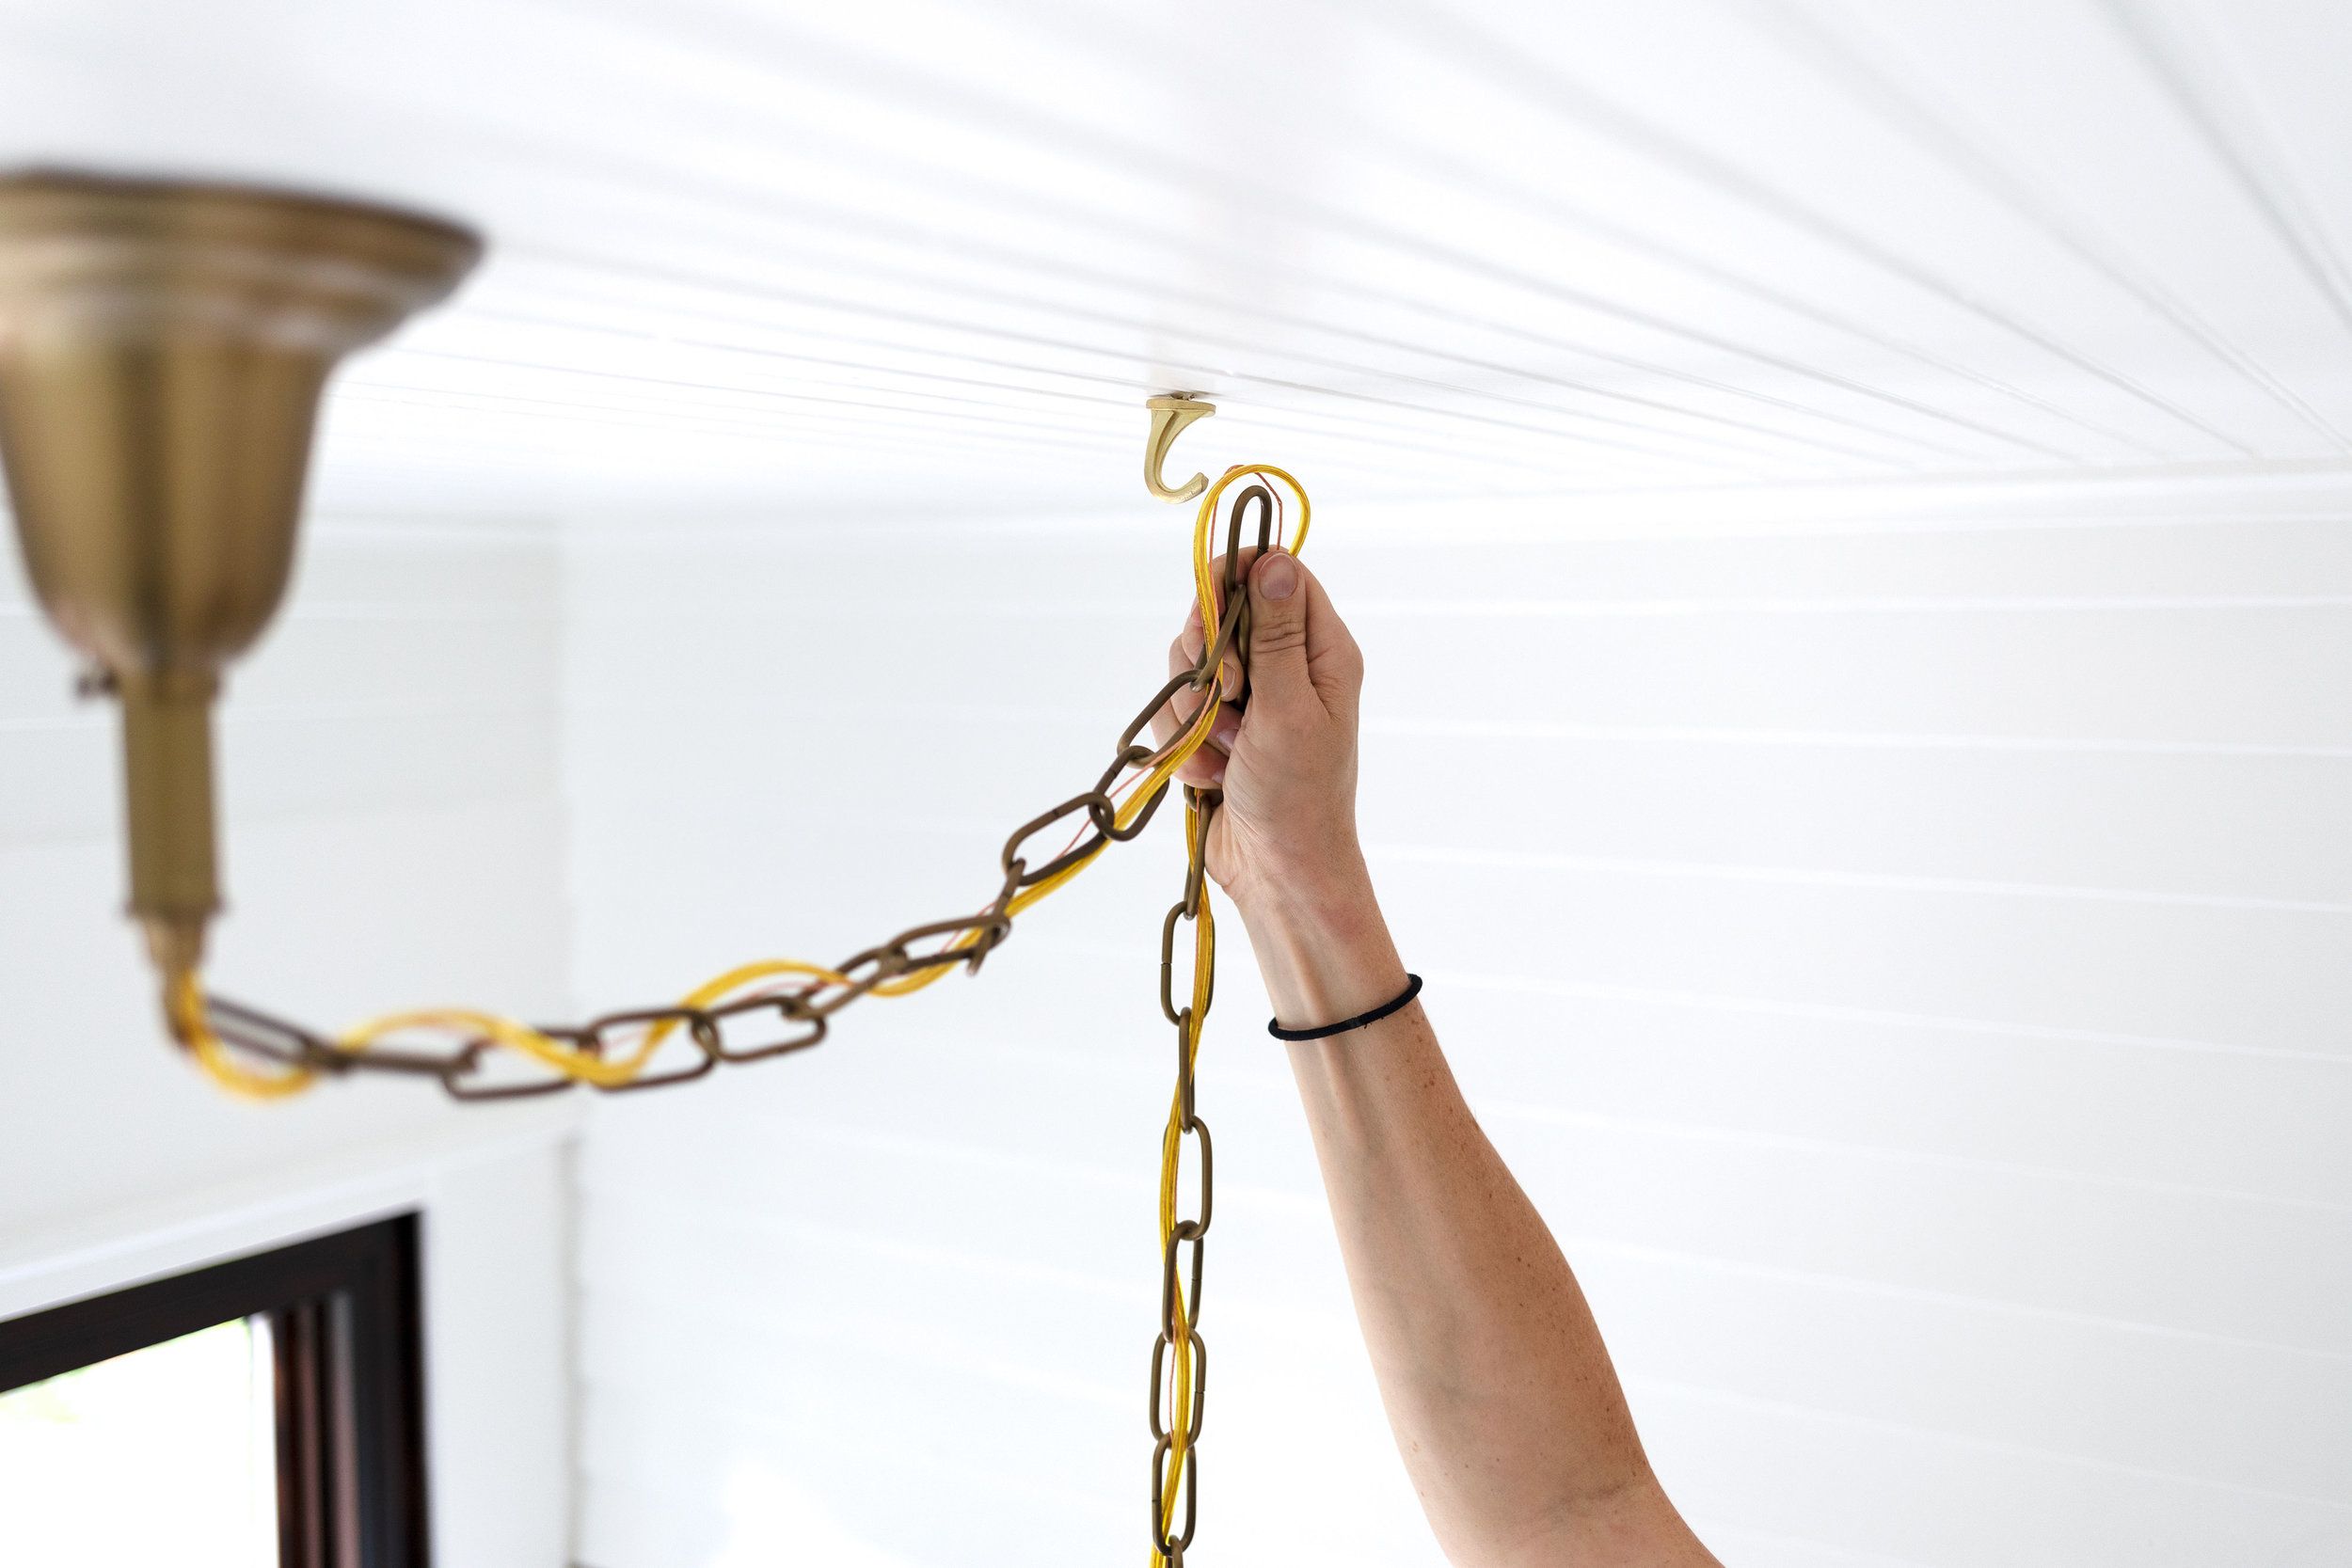
Step 4: Remove the Mounting Bracket
With the electrical wires safely disconnected and secured, the next crucial step in the process of removing a dome ceiling light is to remove the mounting bracket that holds the fixture in place. The mounting bracket is a key component that secures the light to the ceiling and facilitates its stability and functionality. By carefully dismantling the mounting bracket, you can effectively prepare the space for the installation of a new and improved light fixture.
To begin, carefully examine the mounting bracket to identify how it is affixed to the ceiling. In most cases, the bracket is secured with screws or bolts that anchor it to the electrical box within the ceiling. Using a screwdriver or appropriate tool, carefully loosen and remove the screws or bolts that are fastening the mounting bracket to the electrical box. It's important to provide adequate support to the fixture as you work to prevent it from becoming dislodged during this process.
As you remove the fasteners, take care to maintain a firm grip on the mounting bracket to ensure that it can be safely detached without causing any damage to the ceiling or surrounding components. Depending on the design of the fixture, the mounting bracket may have additional support arms or braces that need to be disengaged to fully release it from the ceiling.
Once the mounting bracket is successfully detached, carefully lower it from the ceiling, taking care to avoid any abrupt movements that could lead to accidental damage. It's advisable to have a secure grip on the bracket to ensure that it can be safely maneuvered out of the way, creating an open space for the installation of the new light fixture.
After the mounting bracket has been removed, take a moment to inspect the area within the ceiling to ensure that it is clean and free of any debris or obstructions. This brief assessment can help ensure a smooth and seamless transition when installing the new light fixture, allowing for optimal stability and support.
By methodically removing the mounting bracket, you have completed a pivotal phase in the process of removing a dome ceiling light. This step sets the stage for the subsequent task of installing the new light fixture, bringing you one step closer to achieving your desired lighting upgrade or replacement.
Read more: How To Remove A Boob Ceiling Light
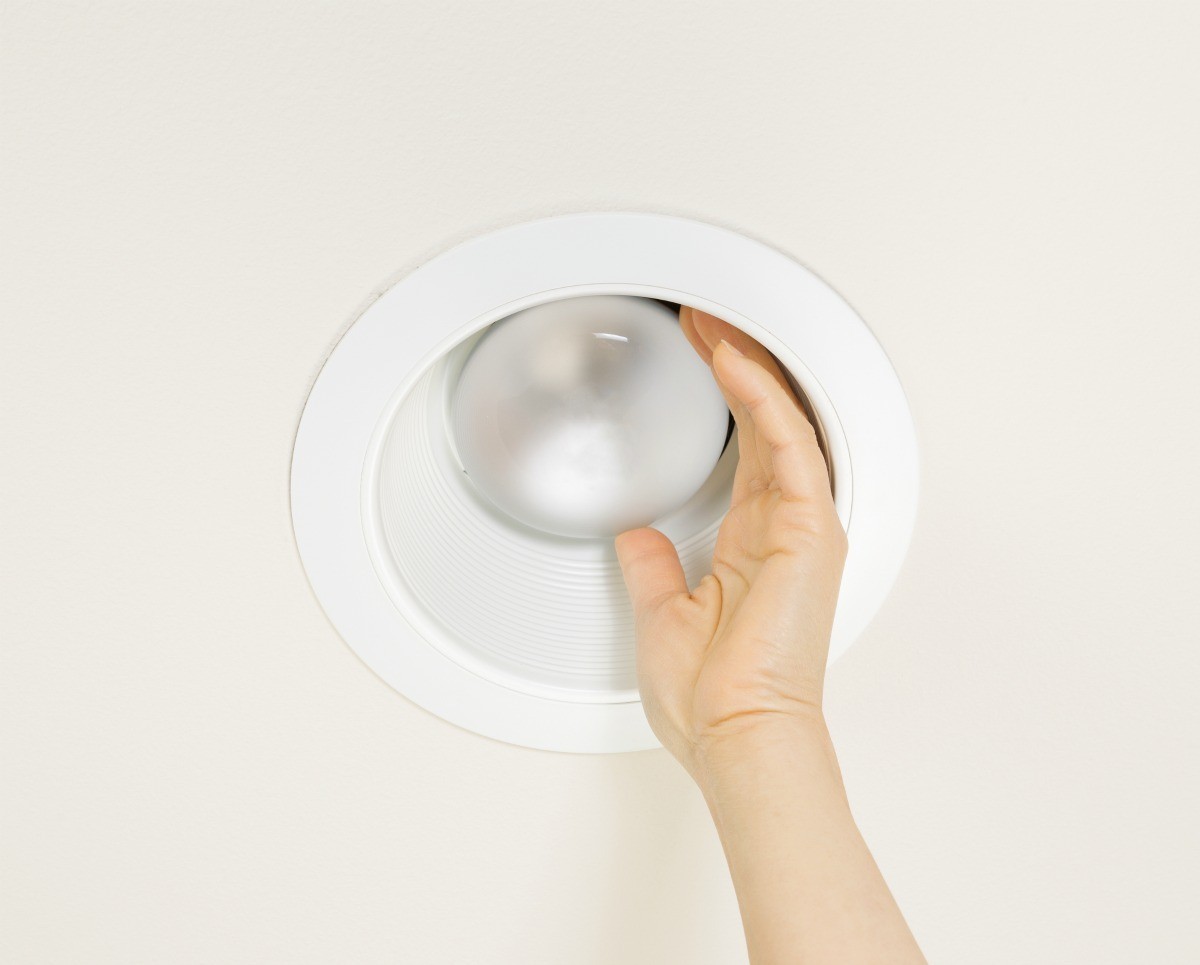
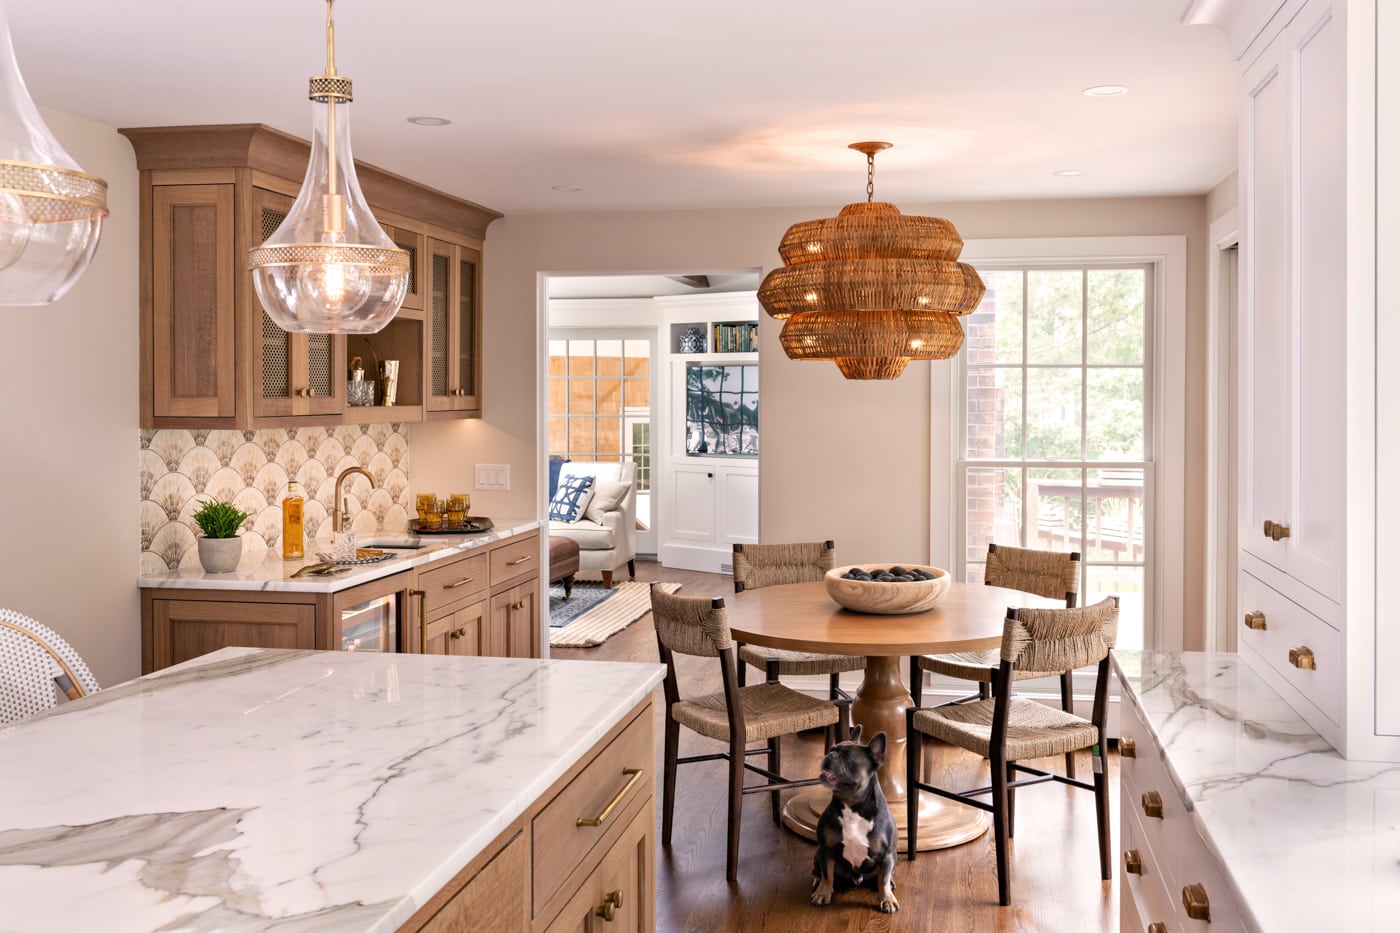
Step 5: Install the New Light Fixture
With the old dome ceiling light successfully removed, the final and transformative step in this process is to install the new light fixture. This phase marks the culmination of your efforts to upgrade or replace the existing light, and it presents an exciting opportunity to enhance the ambiance and functionality of your living space.
To begin, carefully unpack the new light fixture and familiarize yourself with its components and installation instructions. It's essential to review the manufacturer's guidelines and ensure that you have all the necessary tools and hardware at your disposal before proceeding. Taking a moment to inspect the fixture can also provide a sense of anticipation and enthusiasm for the upcoming installation.
Next, position the new light fixture at the designated installation site, aligning it with the electrical box in the ceiling. Depending on the design of the fixture, it may feature a mounting plate or bracket that needs to be secured to the electrical box using screws or bolts. Carefully follow the manufacturer's instructions to ensure that the fixture is properly aligned and supported for a secure installation.
Once the mounting plate is in place, carefully connect the electrical wires from the fixture to the corresponding wires in the ceiling. It's crucial to match the wires based on their color coding: black to black (hot), white to white (neutral), and green or bare to the grounding wire. Using wire connectors or screws, secure the connections tightly to ensure optimal conductivity and safety.
After the electrical connections are secure, gently tuck the wires into the electrical box, taking care to avoid any pinching or entanglement. This step is essential to create a neat and organized installation, minimizing the risk of interference with the fixture's components and ensuring a professional and polished outcome.
With the electrical wiring in place, carefully position the new light fixture onto the mounting plate, ensuring that it is aligned and seated securely. Depending on the design of the fixture, it may require a twist-lock or snap-on mechanism to affix it to the mounting plate. Follow the manufacturer's instructions to complete this step, taking care to support the fixture and prevent any accidental damage during the attachment process.
Once the new light fixture is securely installed, take a moment to admire the transformation and appreciate the enhanced illumination it brings to your living space. This final step signifies the successful completion of the installation process, marking a significant milestone in your journey to revitalize and elevate the lighting in your home.
By methodically installing the new light fixture, you have seamlessly transitioned from removing the old dome ceiling light to embracing a fresh and rejuvenated lighting solution. This transformative process has not only enhanced the aesthetics of your living space but also underscored your ability to undertake home improvement projects with confidence and proficiency.
Conclusion
In conclusion, the process of removing a dome ceiling light encompasses a series of essential steps that culminate in the successful transition to a new and improved lighting fixture. From the initial precaution of turning off the power supply to the meticulous disconnection of wires and the removal of the mounting bracket, each phase plays a pivotal role in ensuring a safe and seamless removal process. By adhering to these systematic steps, homeowners and DIY enthusiasts can confidently navigate the task of replacing or upgrading their dome ceiling lights, ushering in a fresh ambiance and enhanced functionality within their living spaces.
Furthermore, the installation of the new light fixture represents the culmination of this transformative journey, marking the transition from the old to the new. This final step not only signifies the successful completion of the removal process but also symbolizes the potential for revitalization and enhancement within the home environment. The installation of a new light fixture presents an opportunity to infuse a renewed sense of style, functionality, and illumination into the living space, ultimately contributing to a more inviting and aesthetically pleasing atmosphere.
By embracing this comprehensive guide and following the outlined steps, individuals can approach the task of removing a dome ceiling light with confidence and proficiency. The careful attention to safety measures, meticulous disconnection of wires, and methodical removal of the mounting bracket collectively contribute to a smooth and successful removal process. Additionally, the installation of the new light fixture serves as a rewarding culmination, offering a tangible representation of the transformative potential inherent in home improvement endeavors.
Ultimately, the process of removing a dome ceiling light is not merely a practical task but a journey toward enhancing the visual appeal, functionality, and ambiance of the home. Through a combination of safety-conscious practices, methodical execution, and a keen eye for detail, individuals can navigate this process with ease, paving the way for a refreshed and revitalized lighting solution within their living spaces.
Frequently Asked Questions about How To Remove A Dome Ceiling Light
Was this page helpful?
At Storables.com, we guarantee accurate and reliable information. Our content, validated by Expert Board Contributors, is crafted following stringent Editorial Policies. We're committed to providing you with well-researched, expert-backed insights for all your informational needs.


0 thoughts on “How To Remove A Dome Ceiling Light”