Home>Articles>How To Remove Whirlpool Refrigerator Light Bulb Cover
Articles
How To Remove Whirlpool Refrigerator Light Bulb Cover
Modified: August 24, 2024
Learn how to remove the light bulb cover on your Whirlpool refrigerator with this step-by-step guide. Browse more helpful articles on appliance maintenance and troubleshooting.
(Many of the links in this article redirect to a specific reviewed product. Your purchase of these products through affiliate links helps to generate commission for Storables.com, at no extra cost. Learn more)
Introduction
Welcome to this guide on how to remove the light bulb cover on a Whirlpool refrigerator. Whether you need to replace a burnt-out bulb or clean the cover, knowing how to properly remove it is essential. This article will walk you through the necessary steps to safely and effectively remove the light bulb cover on your Whirlpool refrigerator.
Having a well-lit refrigerator is important for easy organization and access to your food items. Regular maintenance, including changing the light bulb and cleaning the cover, can help ensure optimal visibility while also preventing potential issues. By following the steps outlined in this guide, you’ll be able to remove the light bulb cover with ease, allowing you to carry out necessary tasks efficiently.
Before we dive into the step-by-step process, let’s discuss the tools you’ll need:
- Screwdriver (flat-head or Phillips-head, depending on your refrigerator model)
- Clean cloth
Now that we have the necessary tools at hand, let’s move on to the next step: locating the light bulb cover on your Whirlpool refrigerator.
Key Takeaways:
- Easily remove, clean, and replace the light bulb cover on your Whirlpool refrigerator using simple tools and step-by-step instructions for optimal visibility and efficient maintenance.
- Safely and effectively remove the light bulb cover from your Whirlpool refrigerator, ensuring a well-lit and organized interior while preventing potential issues caused by a faulty bulb.
Read more: How To Change Light Bulb With Cover
Step 1: Prepare the necessary tools
Before you begin removing the light bulb cover on your Whirlpool refrigerator, it’s important to gather the essential tools. This step ensures that you have everything you need within reach, making the process smoother and more efficient.
The tools you’ll need for this task are:
- A screwdriver (flat-head or Phillips-head, depending on your refrigerator model).
- A clean cloth.
Now, let’s quickly go over the purpose of each tool:
- The screwdriver: The screwdriver is essential for loosening the screws that secure the light bulb cover in place. Make sure to have the appropriate screwdriver type (flat-head or Phillips-head) for your specific refrigerator model.
- The clean cloth: You’ll need a clean cloth to wipe down the light bulb cover, ensuring that it’s free from dust or debris. Keeping the cover clean will ultimately improve the visibility inside your refrigerator.
Now that you have the necessary tools, you’re ready to proceed to the next step: locating the light bulb cover on your Whirlpool refrigerator.
Step 2: Locate the light bulb cover
Locating the light bulb cover on your Whirlpool refrigerator is the next step in the process of removing it. The cover is typically located inside the refrigerator compartment and may vary in position depending on the refrigerator model you have. Here are some general guidelines to help you find it:
- Open the refrigerator door: Begin by opening the refrigerator door to gain access to the interior.
- Inspect the ceiling or walls: Look for a rectangular or circular-shaped cover attached to the ceiling or walls of the refrigerator compartment. Most Whirlpool refrigerators have the light bulb cover positioned near the front of the compartment, enabling it to illuminate the entire interior space.
- Check the corners: If you do not find the light bulb cover in the center or middle of the compartment, check the corners as some models have the cover positioned there.
Additionally, you can refer to your Whirlpool refrigerator’s user manual for specific instructions on locating the light bulb cover. The manual should provide diagrams or illustrations that can help you pinpoint its exact position.
Once you have located the light bulb cover, you’re ready to move on to the next step: actually removing the cover. Make sure you have your screwdriver and clean cloth readily available to carry out the removal process smoothly.
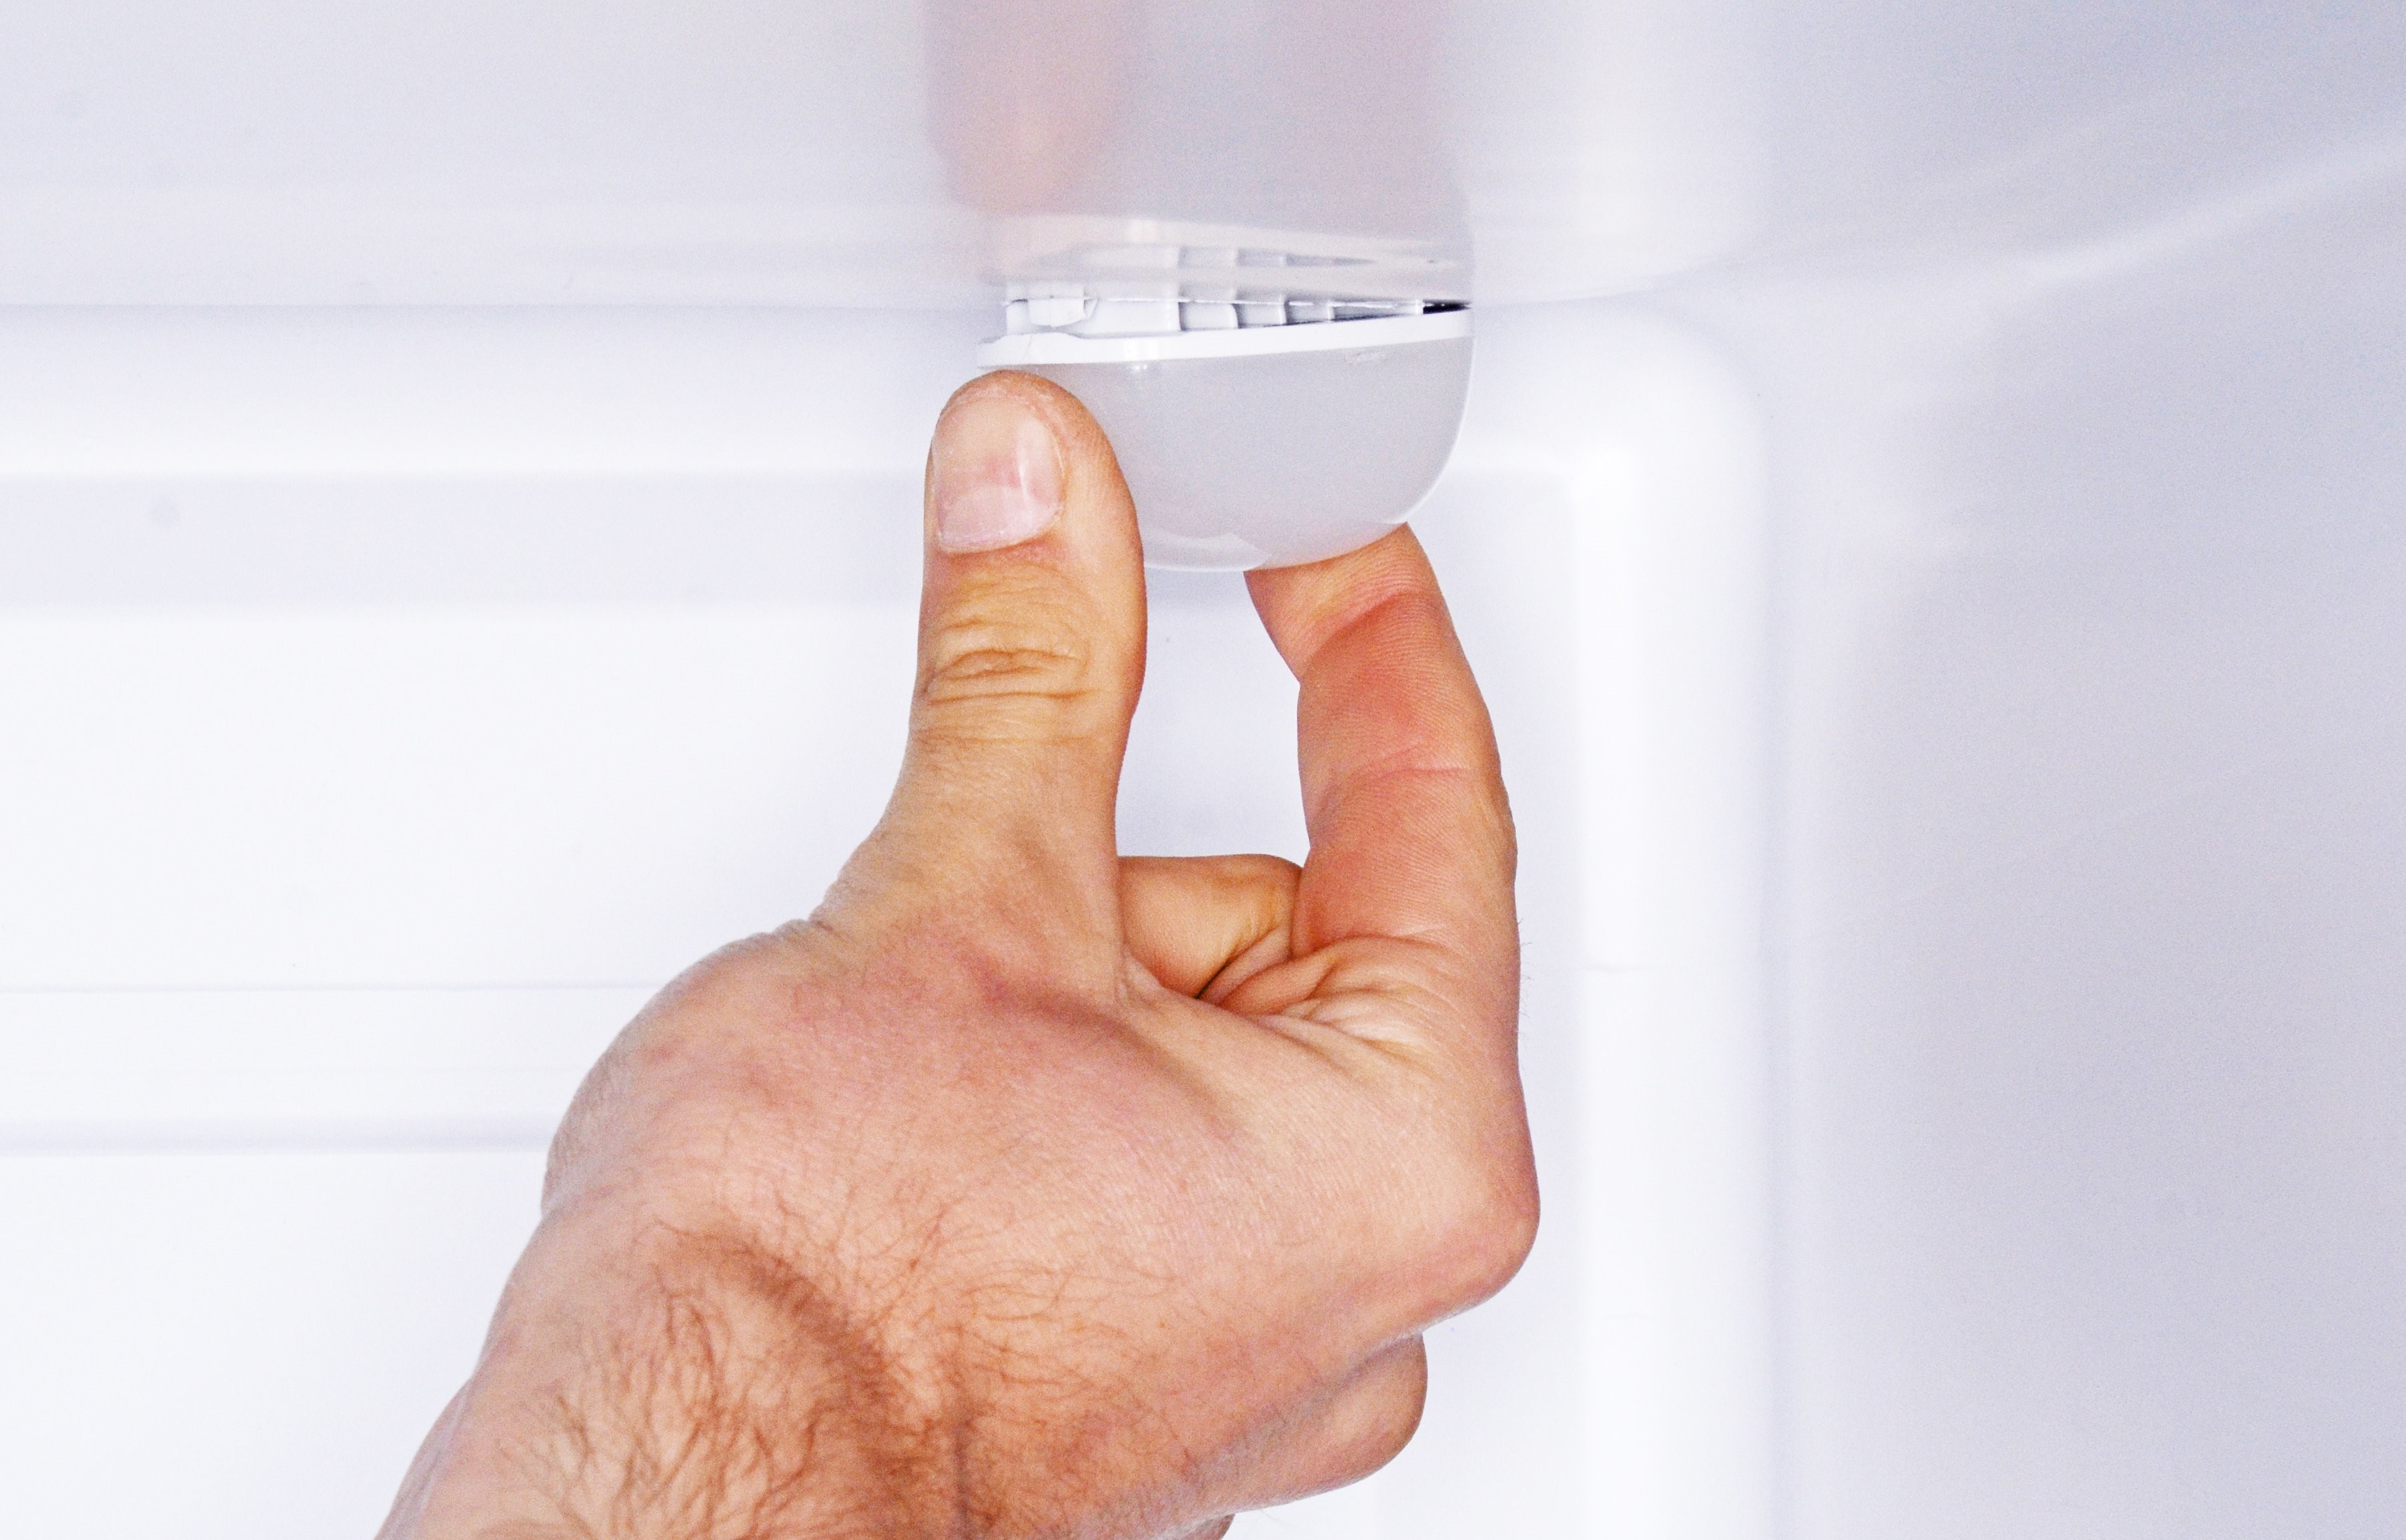
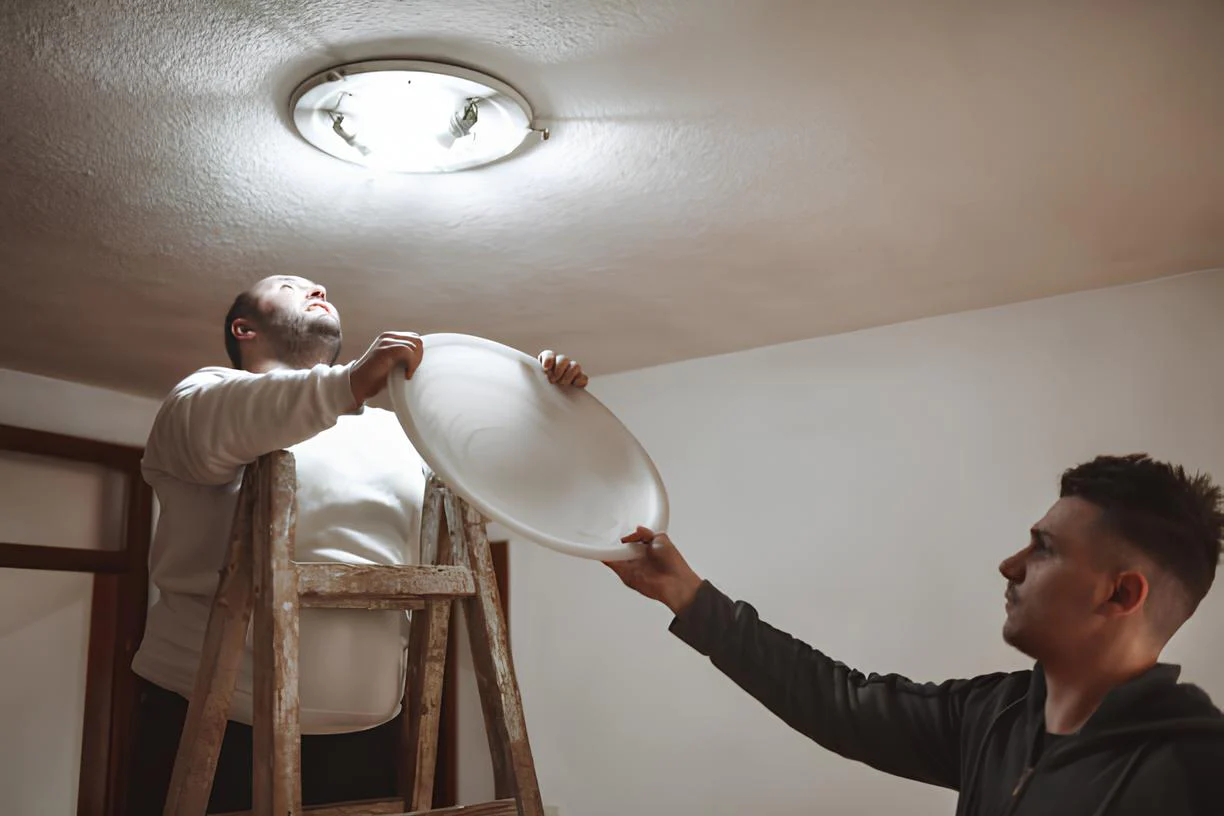
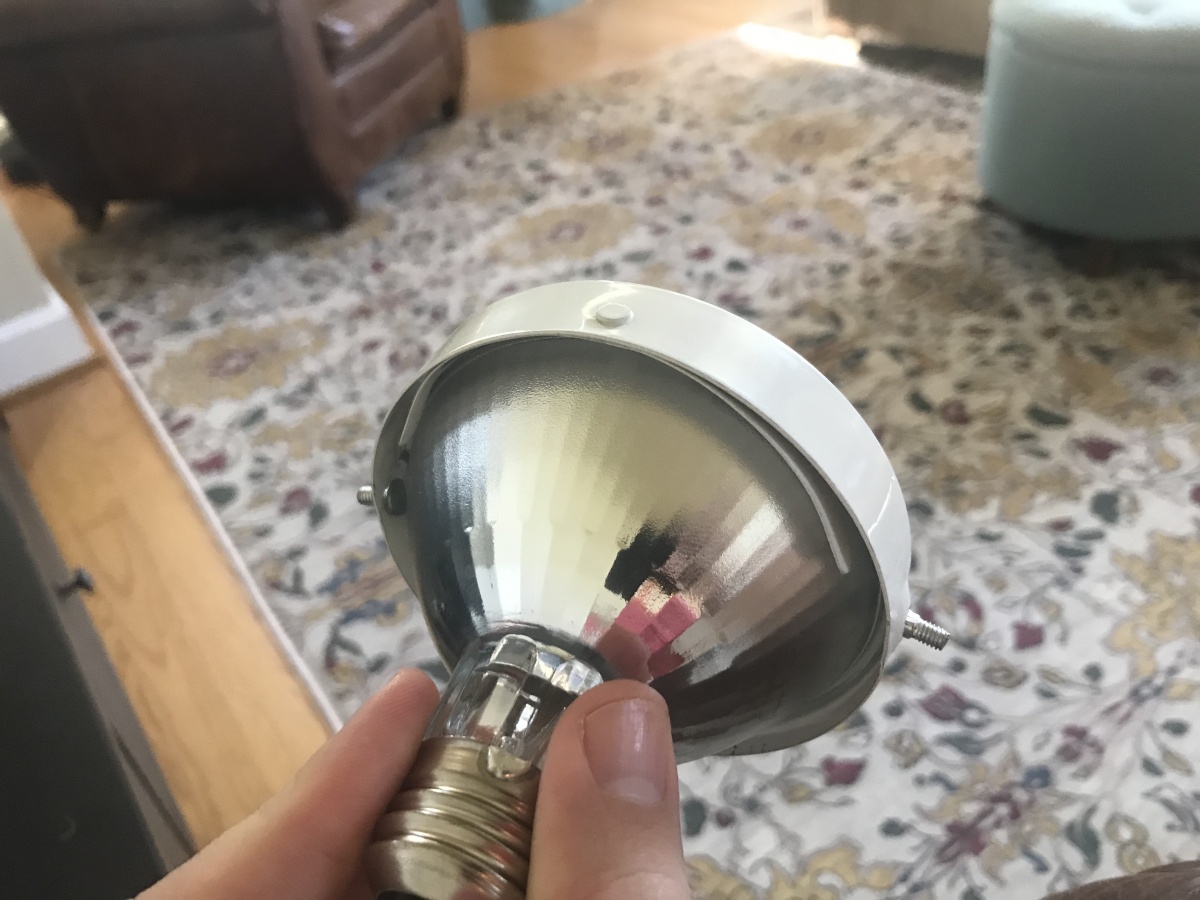
Step 3: Remove the light bulb cover
With the light bulb cover located, it’s time to remove it from your Whirlpool refrigerator. Follow these step-by-step instructions to ensure a successful removal:
- Disconnect the refrigerator: For safety purposes, unplug the refrigerator from the power source. This ensures that there is no risk of electric shock while you’re handling the light bulb cover.
- Prepare your screwdriver: Take your screwdriver (flat-head or Phillips-head, depending on your refrigerator model) and get ready to loosen the screws that secure the light bulb cover. Hold the handle firmly and position the tip of the screwdriver onto the screw head.
- Loosen the screws: Gently rotate the screwdriver counterclockwise to loosen the screws. Depending on your refrigerator model, there may be one or more screws securing the light bulb cover in place. Remove all the screws completely, but be careful not to misplace them.
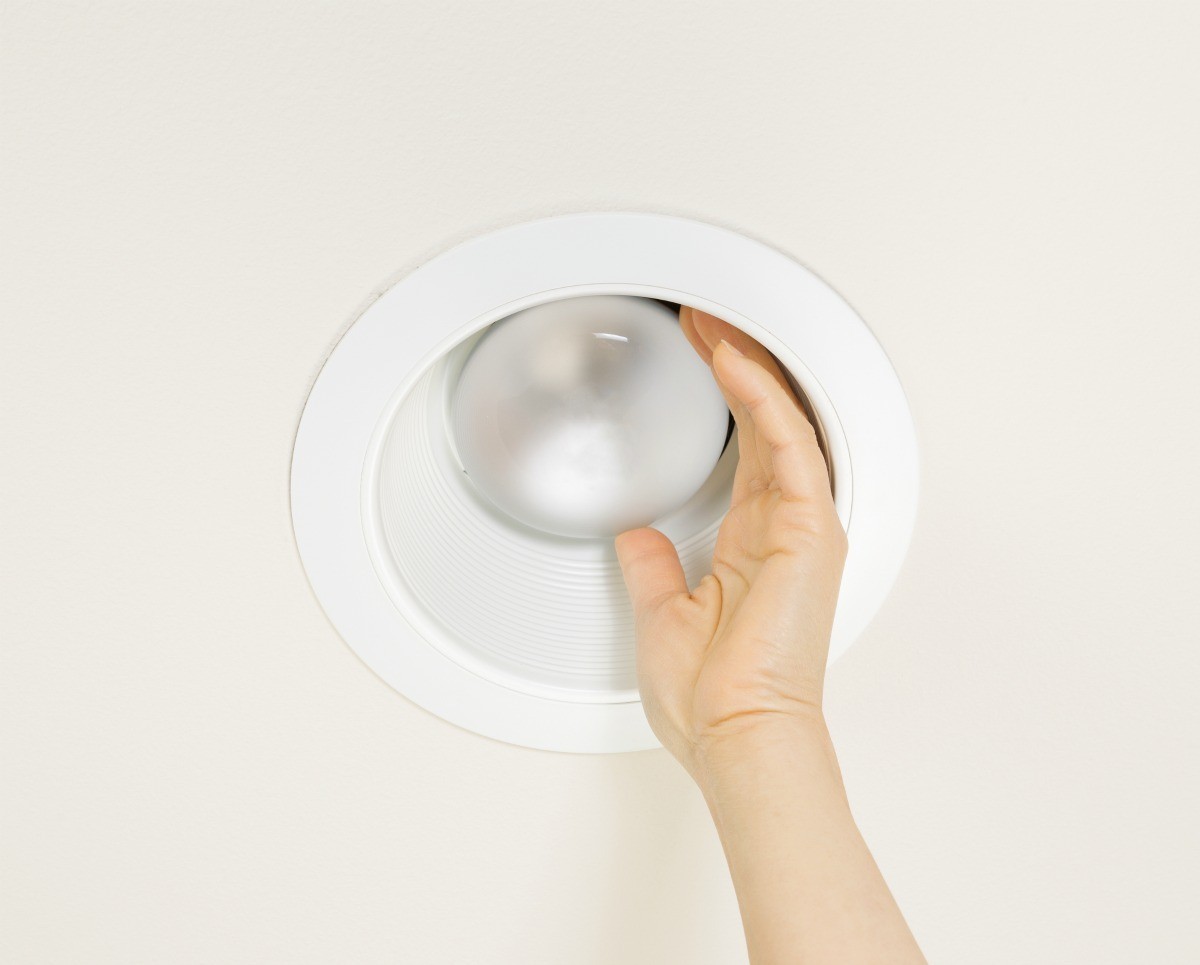
- Remove the light bulb cover: Once the screws are removed, carefully grasp the sides of the light bulb cover. Gently pull it downward and towards you to disengage it from any clips or hooks holding it in place. Be cautious not to pull too hard or hastily, as there may be electrical wires connected to the cover.
After following these steps, you should have successfully removed the light bulb cover from your Whirlpool refrigerator. Take a moment to inspect the cover and clean it with a cloth if necessary. Cleaning the cover helps maintain optimal visibility and prevents dust or debris buildup.
Now that the light bulb cover is removed, you have the option to replace the light bulb if needed. If you want to replace the bulb, proceed to Step 4. Otherwise, you can skip ahead to Step 5 for instructions on reinstalling the light bulb cover.
Before removing the light bulb cover on your Whirlpool refrigerator, make sure to unplug the appliance or switch off the power. Then, gently press and twist the cover counterclockwise to release it from the socket. Be careful not to apply too much force to avoid damaging the cover or the socket.
Step 4: Replace the light bulb (optional)
If you need to replace the light bulb in your Whirlpool refrigerator, this step-by-step guide will walk you through the process:
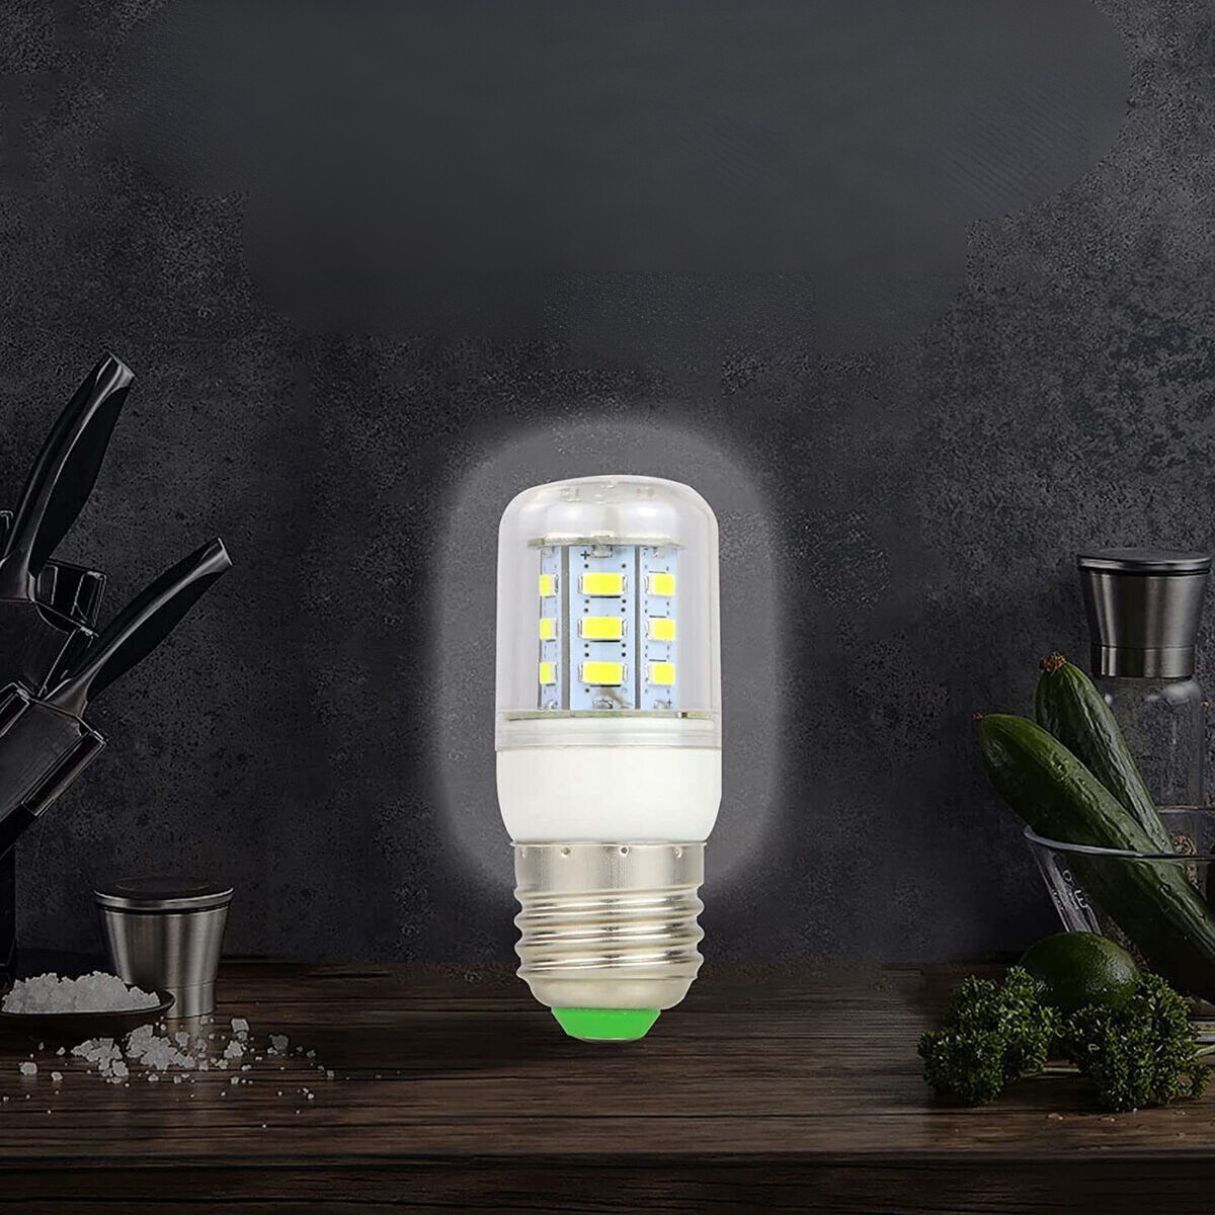
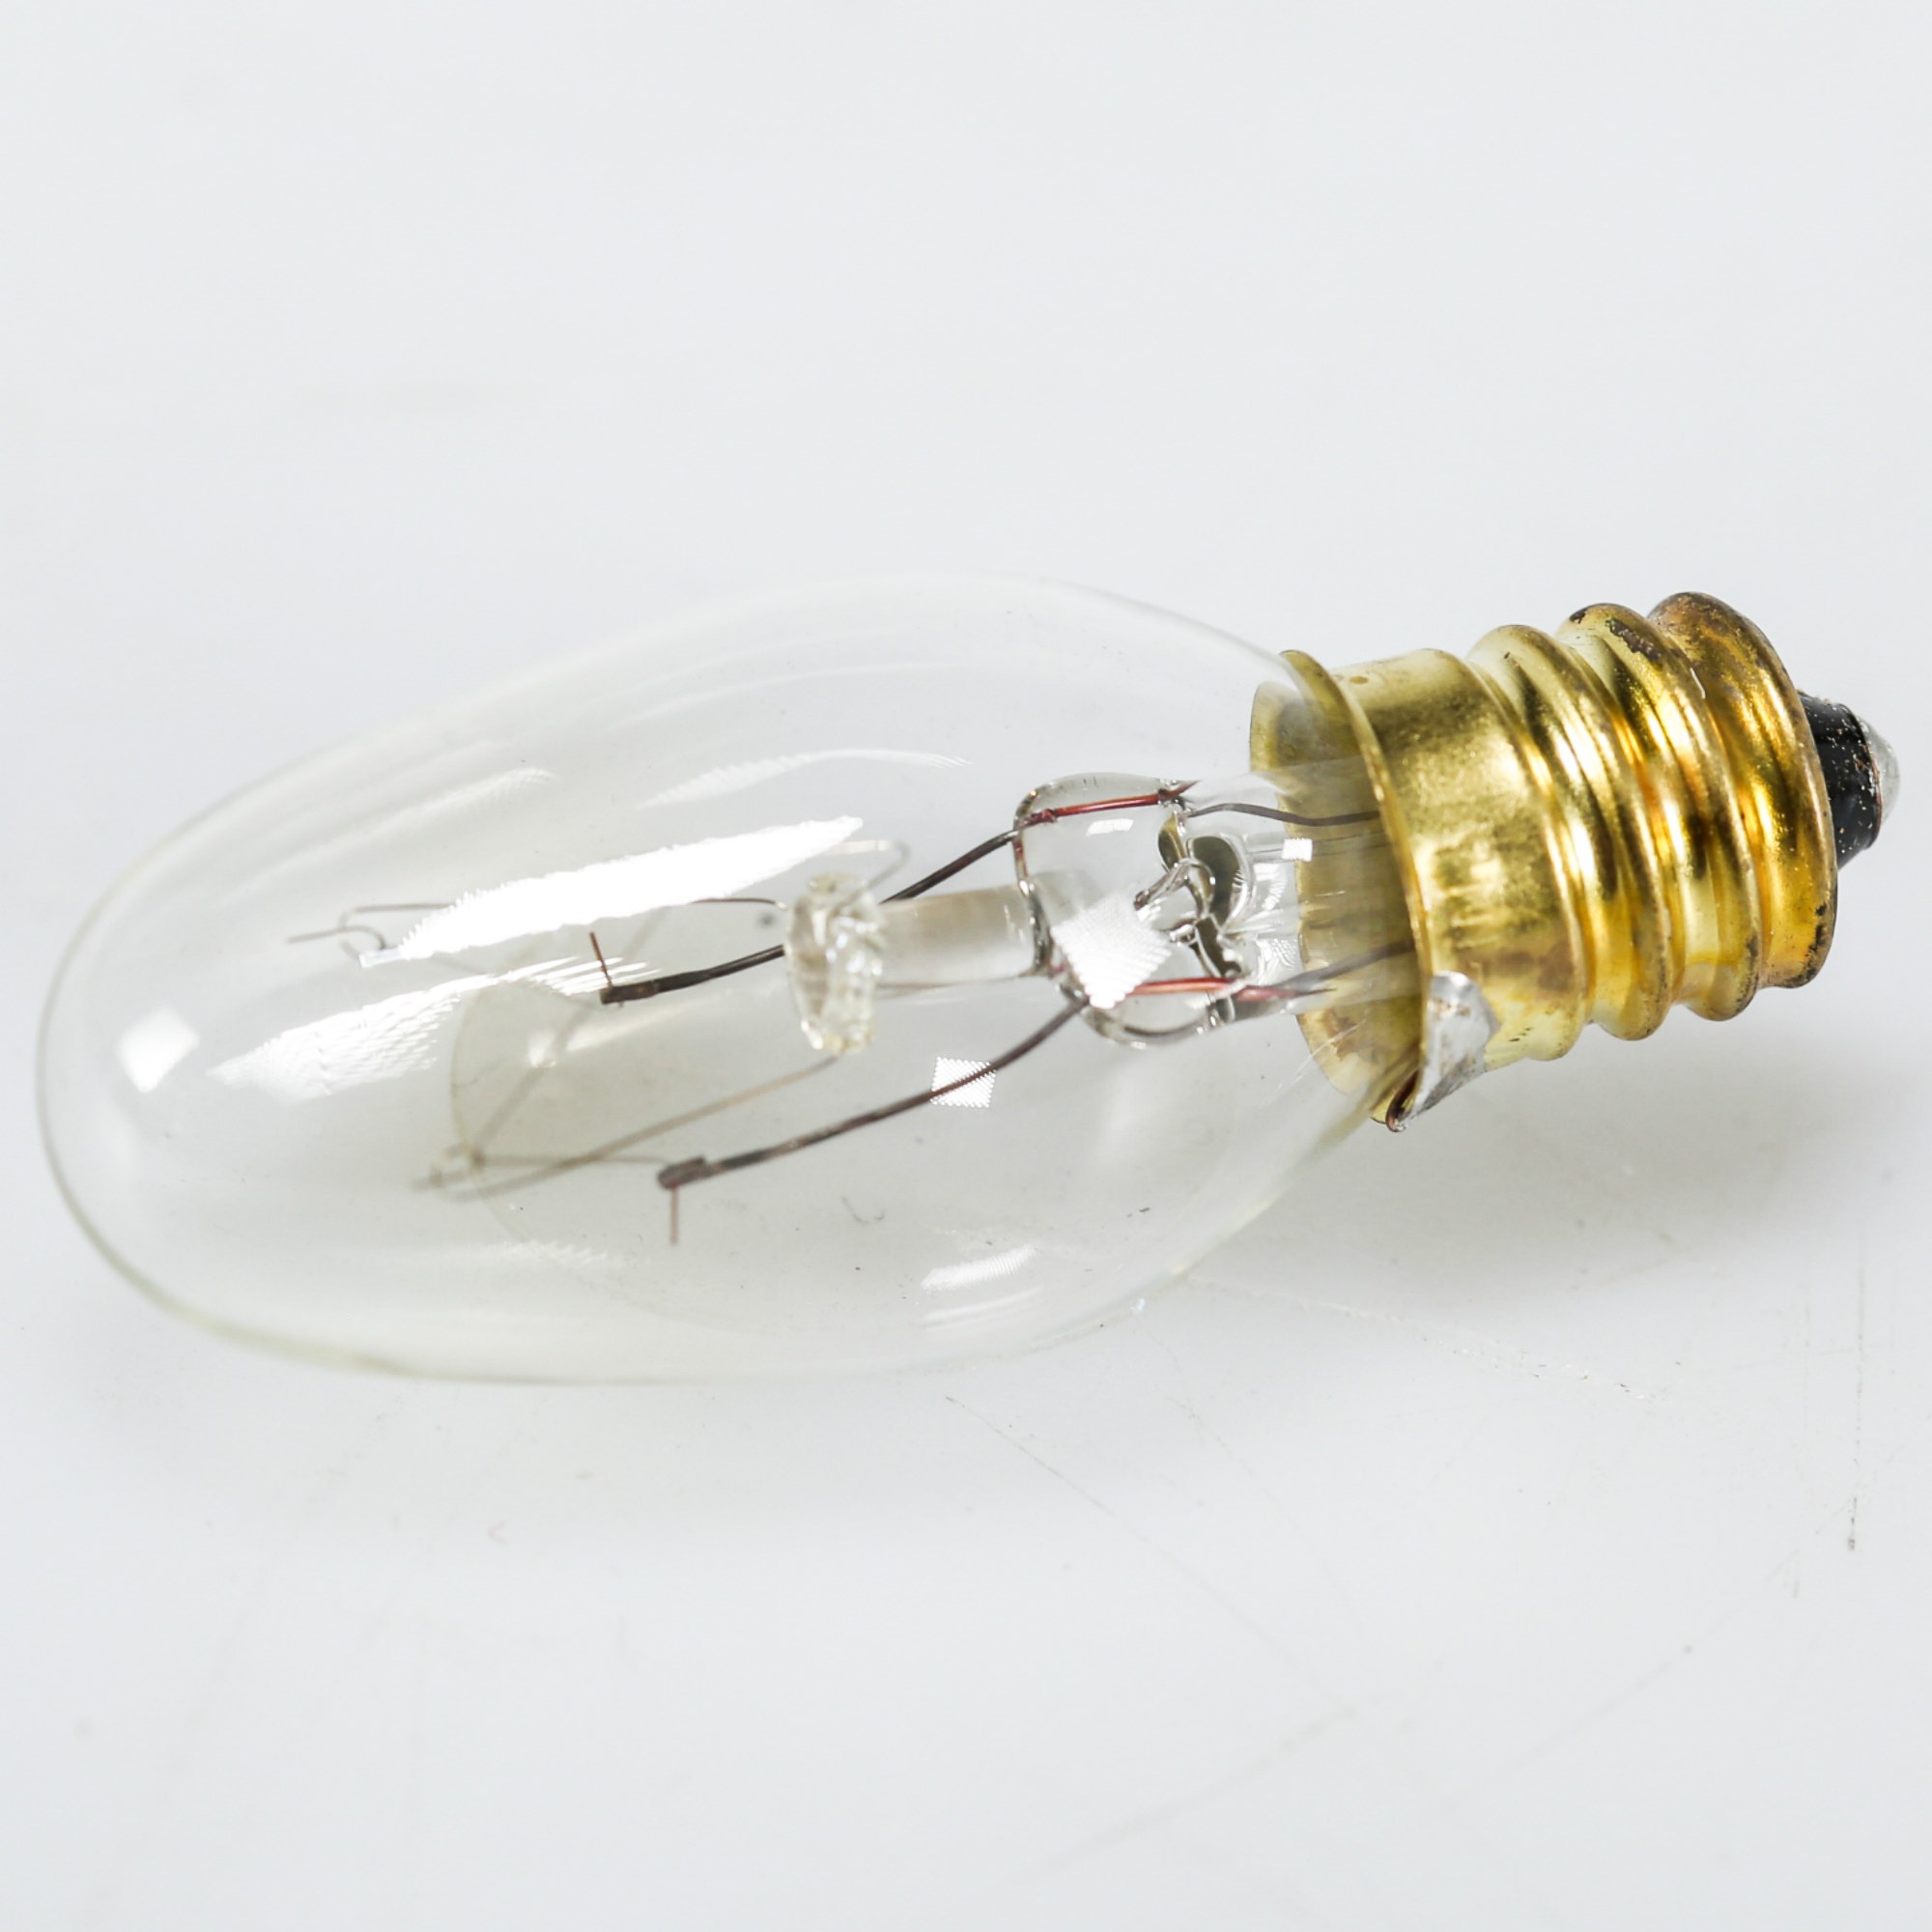
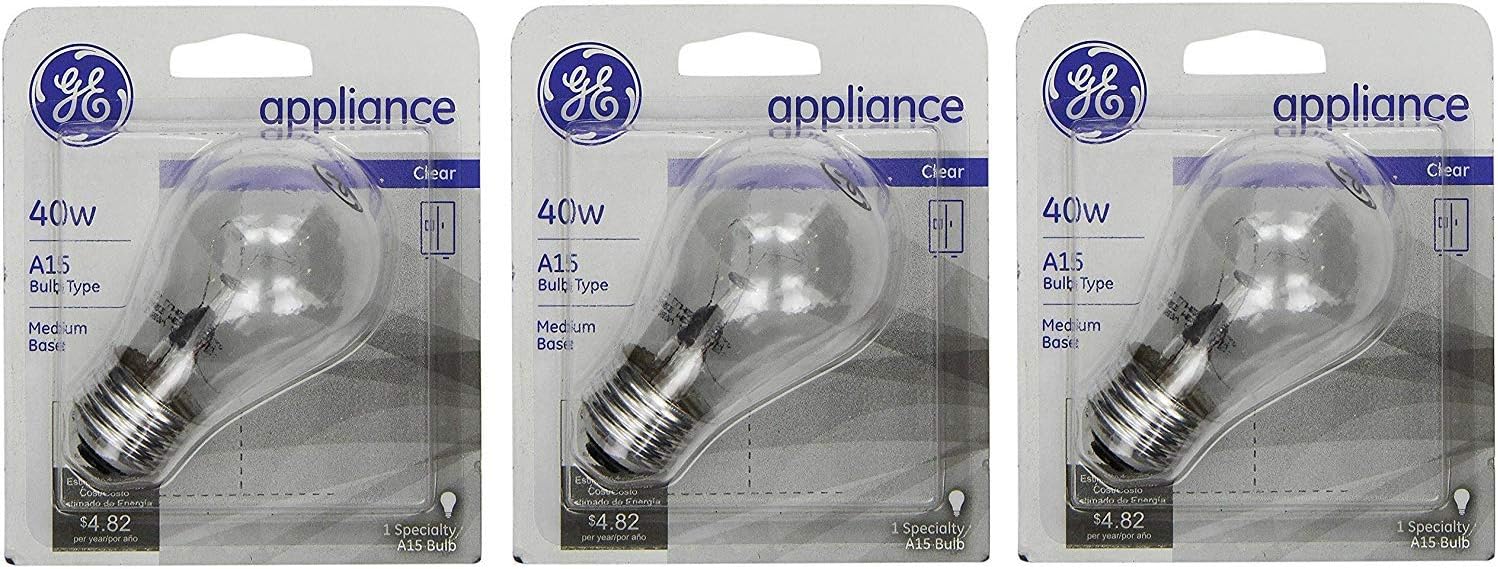
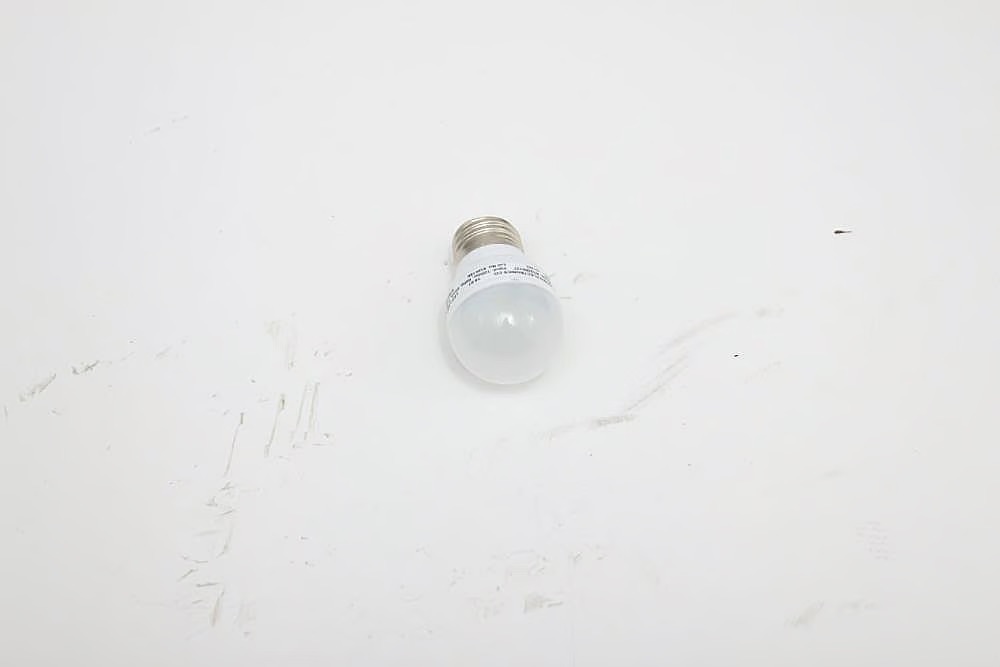
- Selecting the right bulb: Before replacing the bulb, make sure you have the correct replacement bulb for your specific refrigerator model. Consult your Whirlpool refrigerator’s user manual or check the existing bulb for its specifications.
- Remove the old bulb: If there is a bulb already in place, carefully unscrew it in a counterclockwise direction until it is completely detached from the socket. Dispose of the old bulb properly, following your local regulations for the disposal of light bulbs.
- Insert the new bulb: Take the new bulb and insert it into the socket. Rotate it clockwise until it is securely in place. Ensure that the bulb is snugly fitted, but be careful not to overtighten it as it could damage the socket or the bulb itself.
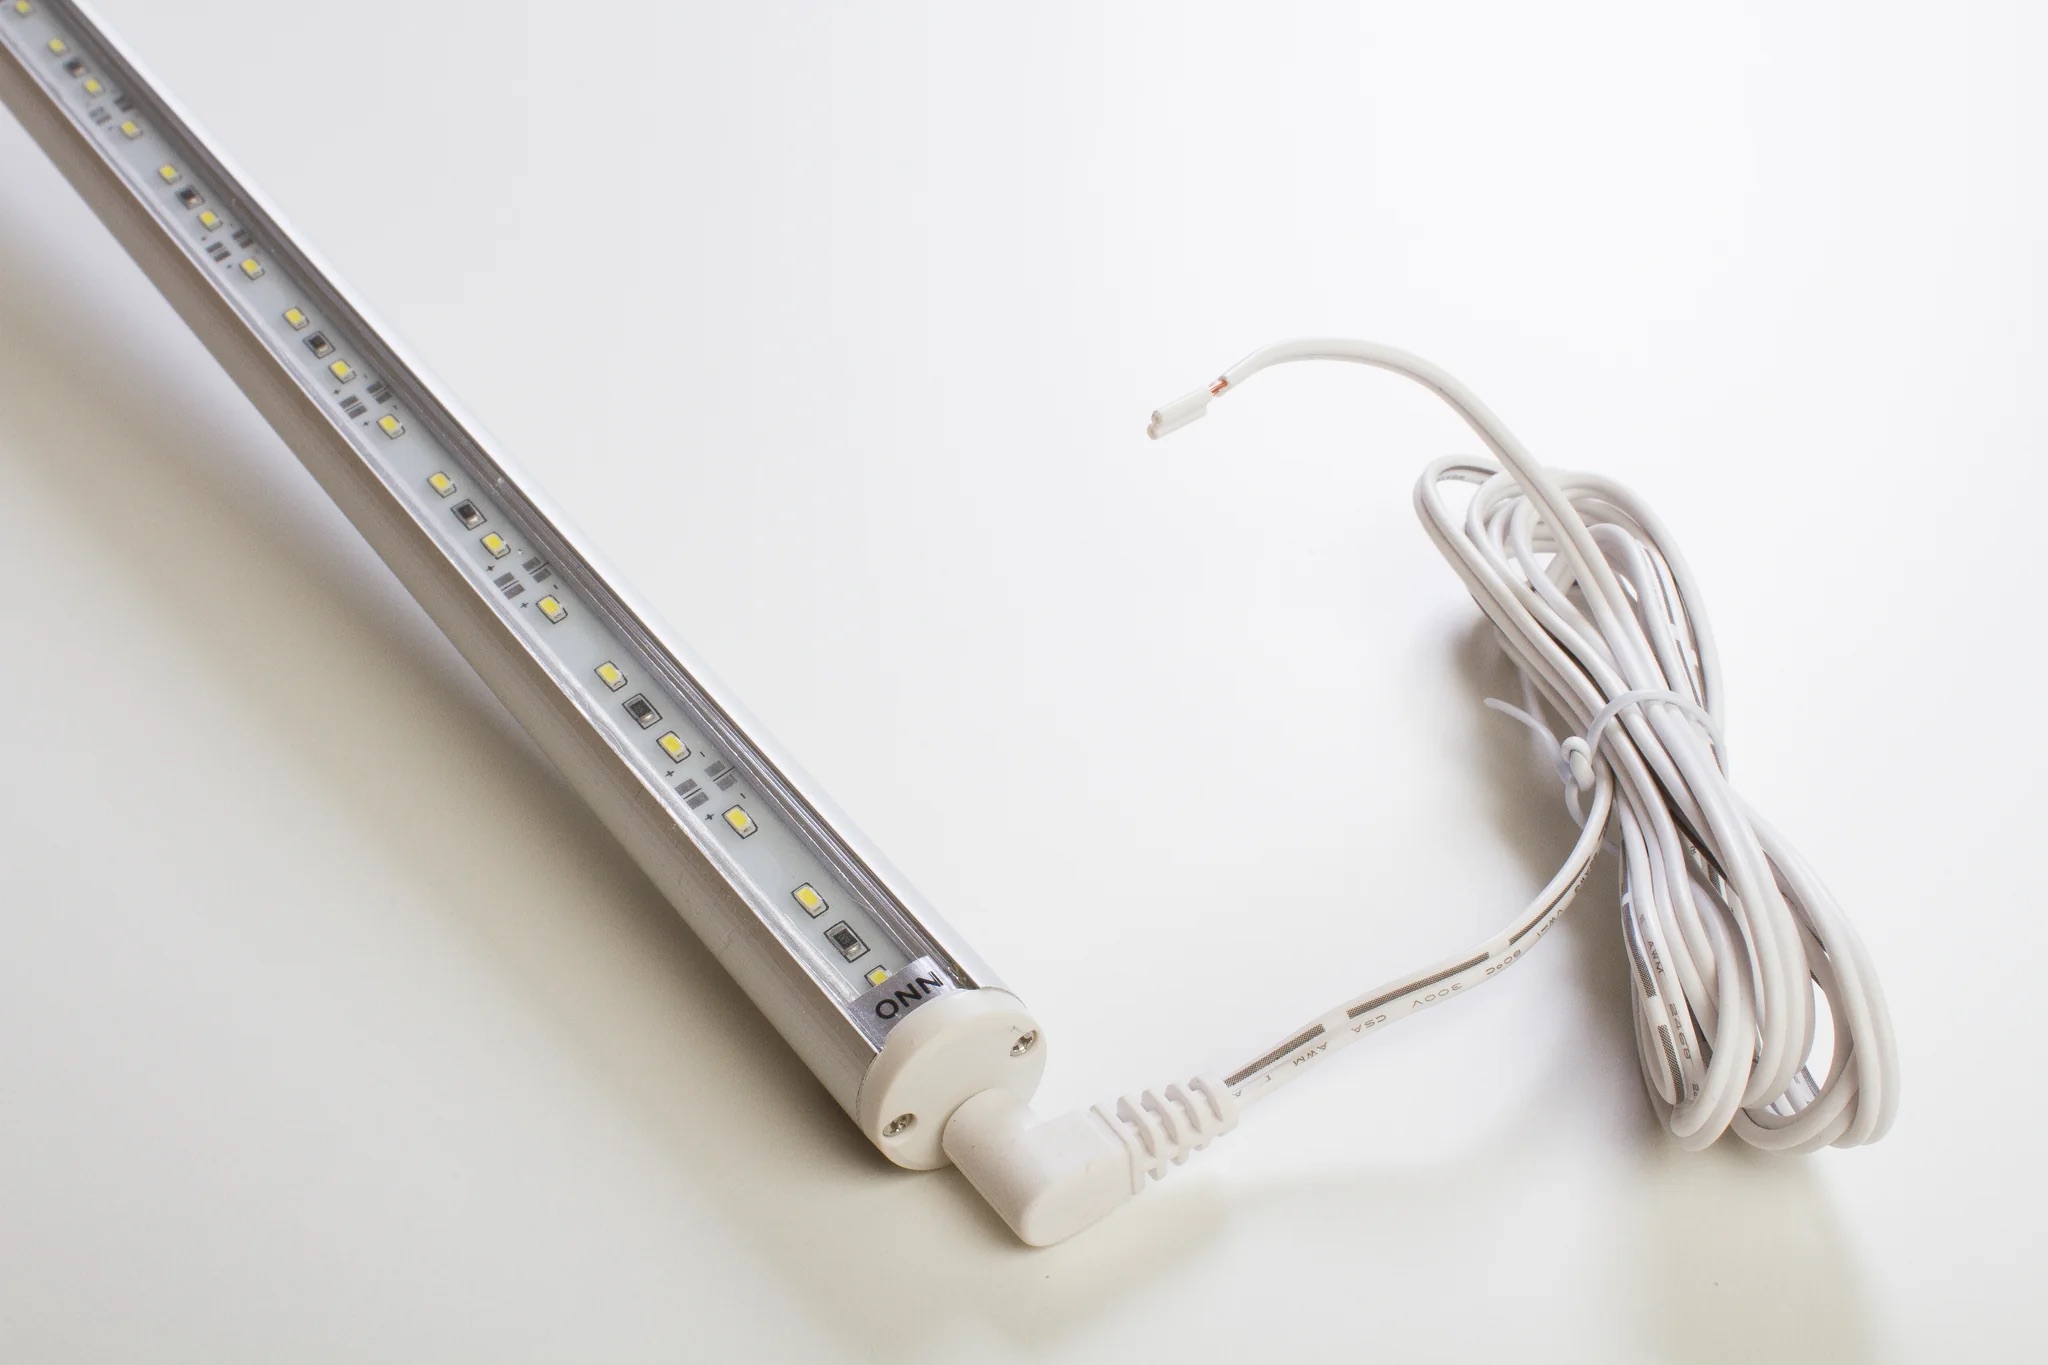
It’s important to note that not all Whirlpool refrigerator models may have a replaceable light bulb. Some models may have an LED light panel instead, which does not require regular replacement. In such cases, Step 4 can be skipped.
Now that you have successfully replaced the light bulb (if necessary), you can proceed to the final step: reinstalling the light bulb cover.
Read more: How To Change Refrigerator Light Bulb
Step 5: Reinstall the light bulb cover
After replacing the light bulb (if needed), it’s time to reattach the light bulb cover to your Whirlpool refrigerator. The following steps will guide you through the reinstallation process:
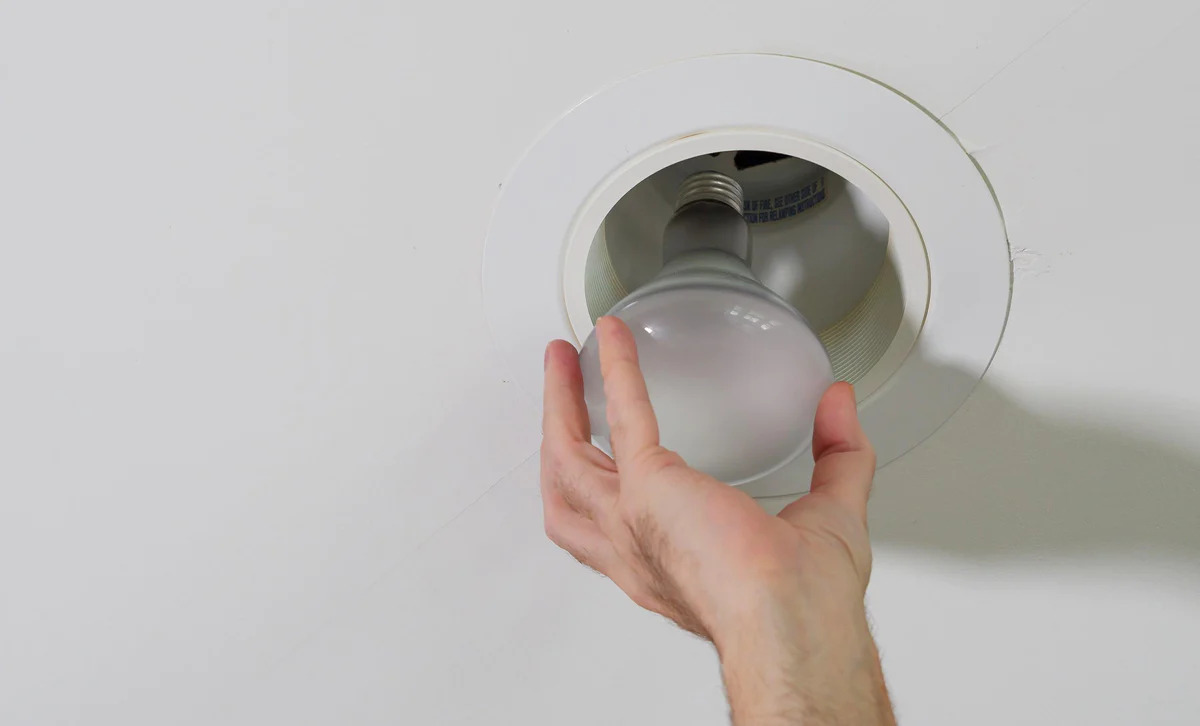
- Position the light bulb cover: Hold the light bulb cover in both hands and align it with the corresponding slots or hooks inside the refrigerator compartment. Ensure that it is properly aligned and positioned for a secure fit.
- Hook or slide the cover into place: Depending on your refrigerator model, you may need to hook or slide the cover to secure it in place. Pay close attention to any clips, tabs, or grooves that need to be engaged for a proper connection.
- Align the screw holes: With the cover in its correct position, align the screw holes on the cover with the corresponding holes on the refrigerator. This will ensure a proper fit and allow you to reinstall the screws effectively.
- Reattach the screws: Using your screwdriver, gently tighten the screws clockwisely to secure the light bulb cover. Be careful not to overtighten, as it could damage the cover or the refrigerator.
Once you have reattached the light bulb cover and tightened the screws, give it a gentle tug to ensure it is firmly in place. If the cover feels secure, you have successfully reinstalled it.
Finally, plug the refrigerator back into the power source. Check that the light bulb is functioning properly by opening and closing the refrigerator door. You should now have a fully operational and well-lit refrigerator!
Congratulations! You have completed the process of removing and reinstalling the light bulb cover on your Whirlpool refrigerator. Remember to dispose of any old bulbs properly and keep your refrigerator clean for optimal performance.
If you encounter any difficulties during this process or have additional questions, it is recommended to consult the user manual for your specific Whirlpool refrigerator model or contact Whirlpool customer support for further assistance.
Conclusion
Removing the light bulb cover on your Whirlpool refrigerator is a straightforward task that can be done with the right tools and careful steps. By following the instructions outlined in this guide, you can easily remove, clean, replace the bulb (if necessary), and reinstall the light bulb cover.
Regular maintenance, including cleaning the light bulb cover and replacing the bulb when needed, ensures optimal visibility inside your refrigerator. This not only helps in organizing and accessing your food items but also prevents any potential issues caused by a faulty or dim light bulb.
Remember to always have the necessary tools, such as a screwdriver and a clean cloth, when working on your refrigerator. Take the time to carefully locate the light bulb cover, remove it by loosening the screws, and clean it if necessary. If you need to replace the light bulb, make sure to choose the right replacement according to your refrigerator’s specifications. After replacing the bulb, reattach the light bulb cover securely by aligning and tightening the screws.
By following these steps, you’ll ensure that your Whirlpool refrigerator’s light bulb cover is in good condition, enhancing the visibility inside the fridge and making it easier for you to locate and access your food items.
If you have any difficulties during this process or need further assistance, refer to your Whirlpool refrigerator’s user manual or contact Whirlpool customer support for help.
Thank you for reading this guide, and we hope it has been helpful in successfully removing and reinstalling the light bulb cover on your Whirlpool refrigerator!
Now that you've mastered removing and replacing your fridge's light bulb cover, why stop there? Discover some of the best Whirlpool refrigerator ice makers for enhancing your kitchen's functionality. Also, maintaining your current appliance is just as vital. Learn the proper techniques for cleaning a refrigerator ice maker to ensure it runs smoothly and keeps your ice fresh. And while focusing on maintenance, consider the benefits of the best refrigerator light bulbs for ensuring everything is visible and energy-efficient.
Frequently Asked Questions about How To Remove Whirlpool Refrigerator Light Bulb Cover
Was this page helpful?
At Storables.com, we guarantee accurate and reliable information. Our content, validated by Expert Board Contributors, is crafted following stringent Editorial Policies. We're committed to providing you with well-researched, expert-backed insights for all your informational needs.


0 thoughts on “How To Remove Whirlpool Refrigerator Light Bulb Cover”