Articles
How To Repair A Knockdown Ceiling
Modified: December 7, 2023
Looking for articles on how to repair a knockdown ceiling? Find step-by-step guides and expert tips to fix your ceiling and restore its smooth finish.
(Many of the links in this article redirect to a specific reviewed product. Your purchase of these products through affiliate links helps to generate commission for Storables.com, at no extra cost. Learn more)
Introduction
A knockdown ceiling is a popular choice in many homes due to its textured and unique appearance. However, over time, these ceilings can suffer from cracks, holes, or other types of damage that may need to be repaired. Thankfully, with the right tools and techniques, you can easily restore your knockdown ceiling to its original pristine condition.
In this article, we will provide a step-by-step guide on how to repair a knockdown ceiling. We will cover everything from gathering the necessary materials and tools to the final step of painting the repaired area. Whether you’re a seasoned DIY enthusiast or a beginner, this guide will walk you through the entire process and help you achieve professional-looking results.
Before we dive into the repair process, it’s important to note that safety should always be a priority. Make sure to wear protective eyewear, a dust mask, and gloves when working with materials and tools. Additionally, ensure that the area is well-ventilated to avoid inhaling fumes from adhesives or paints.
Now that we have covered the basics, let’s dive into the step-by-step process of repairing a knockdown ceiling.
Key Takeaways:
- Repairing a knockdown ceiling is a manageable DIY project with the right tools and techniques. From patching small holes to priming and painting, following the step-by-step guide can help achieve professional-looking results.
- Proper preparation, assessment of damage, and attention to detail are crucial for restoring a knockdown ceiling. With patience and the right approach, anyone can successfully repair and enhance the appearance of their ceiling.
Read more: How To Knockdown Texture A Ceiling
Step 1: Gather Materials and Tools
Before you begin repairing your knockdown ceiling, it’s essential to gather all the necessary materials and tools. Having everything on hand will help streamline the process and prevent any delays or interruptions. Here’s a list of what you’ll need:
- Putty knife or taping knife
- Sanding block or sandpaper
- Joint compound or drywall mud
- Primer
- Paint roller and tray
- Paintbrush
- Drop cloths or plastic sheets
- Painter’s tape
- Ladder or step stool
- Safety goggles
- Dust mask
- Gloves
It’s crucial to use the right tools and materials for the job. A putty knife or taping knife will help with the application of joint compound and smoothing out the repaired area. A sanding block or sandpaper will be used to ensure a smooth and even surface. Joint compound or drywall mud is the key ingredient for patching and repairing damaged areas. Primer is essential to ensure proper adhesion of the paint, and a paint roller, tray, and brush will be used for applying the paint.
Don’t forget to protect your surroundings by laying down drop cloths or plastic sheets. Painter’s tape can be used to mask off any areas that you don’t want to get painted. Lastly, ensure that you have a sturdy ladder or step stool for reaching the ceiling safely, and wear safety goggles, a dust mask, and gloves to protect yourself during the process.
By gathering all the necessary materials and tools before you start, you’ll be fully prepared and ready to tackle the knockdown ceiling repair with confidence!
Step 2: Prepare the Work Area
Preparing the work area is an essential step before you start repairing your knockdown ceiling. Proper preparation will help ensure a clean and organized workspace, making the repair process more efficient and effective. Here’s how to prepare the work area:
- Move furniture and cover surfaces: If there is any furniture or belongings in the room, it’s best to remove them from the area or cover them with drop cloths or plastic sheets. This will protect them from dust and potential splatters during the repair process.
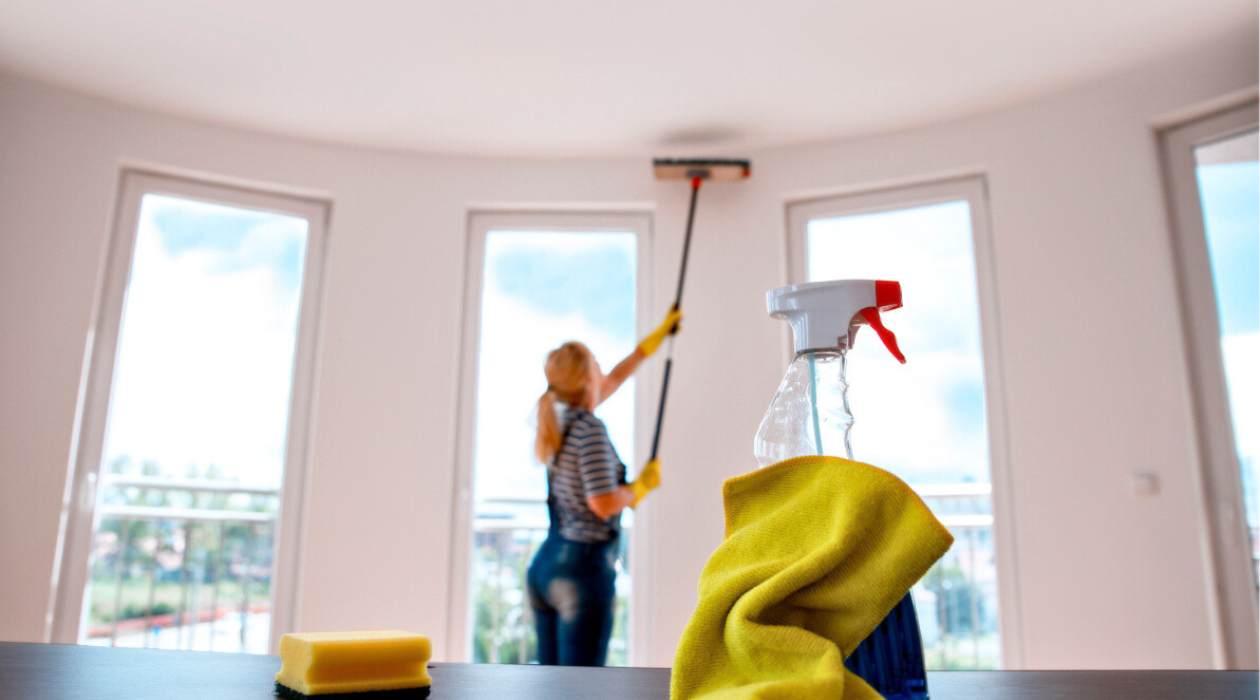
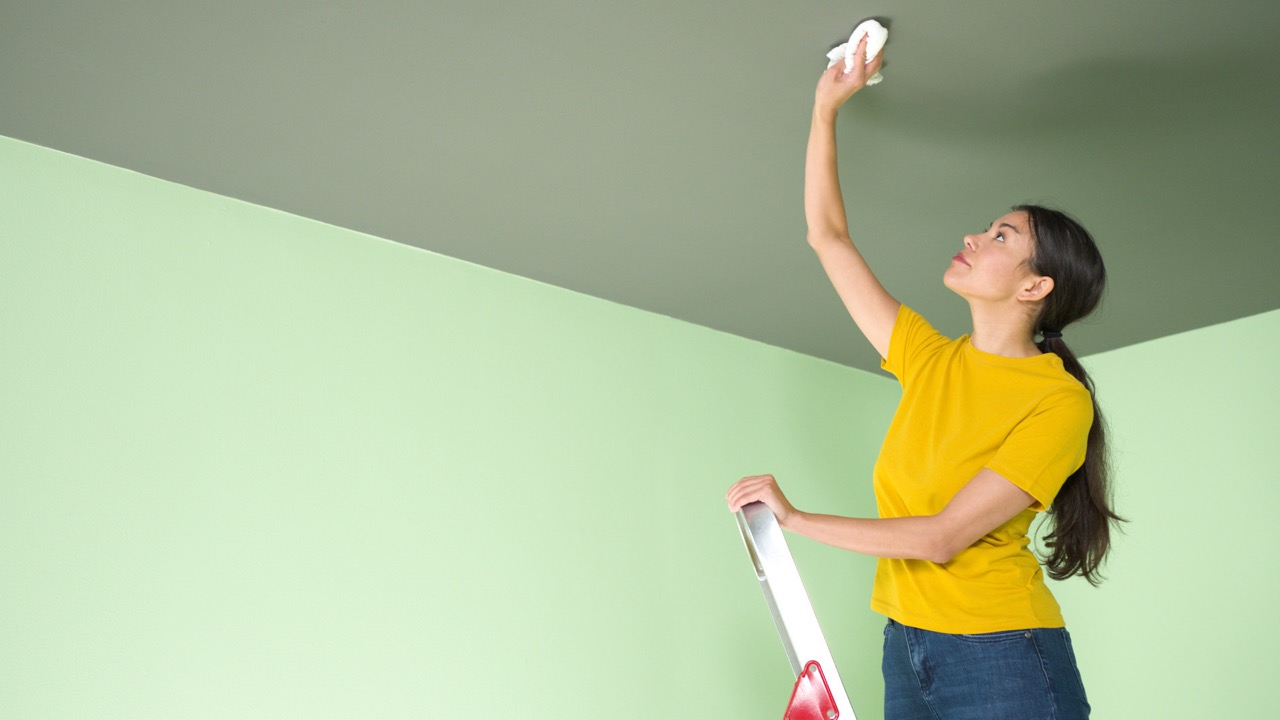
- Clean the ceiling: Use a microfiber cloth or a vacuum with a soft brush attachment to remove any dust or debris from the ceiling. Cleaning the surface will ensure better adhesion of the repair materials and a smoother finish.
- Secure loose areas: Inspect the knockdown ceiling for any loose areas or sections that may need reinforcement. Use a drywall screw or adhesive to secure any loose or sagging parts to the ceiling joists.
- Mask off areas: Use painter’s tape to mask off any areas adjacent to the damaged section that you want to protect from paint or other repair materials. This includes walls, trim, and light fixtures.
- Cover the floor: Lay down drop cloths or plastic sheets to protect the floor from dust, drips, or accidental spills. Make sure the cover is securely in place and extends beyond the work area to catch any debris.
Properly preparing the work area will ensure a smooth and successful knockdown ceiling repair. By moving furniture, covering surfaces, and cleaning the ceiling, you’ll create a clean and organized space to work in. Securing any loose areas and masking off adjacent surfaces will help maintain a neat and professional-looking result. Don’t forget to protect the floor with drop cloths or plastic sheets to minimize cleanup and potential damage.
Once your work area is prepared, you’re ready to move on to assessing and identifying the damage in the next step!
Step 3: Assess and Identify the Damage
Before you can begin repairing your knockdown ceiling, it’s essential to assess and identify the extent of the damage. This step will help you determine the right approach and materials needed for the repair. Here’s how to assess and identify the damage:
- Inspect the ceiling: Carefully examine the entire surface of the knockdown ceiling to identify any visible cracks, holes, or areas of water damage. Take note of the size and severity of the damage, as this will guide your repair strategy.
- Probe the damaged area: Use a putty knife or taping knife to gently probe the damaged area. This will help determine if there is any soft or weakened material that needs to be removed before proceeding with the repair.
- Address water damage: If you notice any signs of water damage such as discoloration, stains, or mold growth, it’s important to investigate and address the underlying issue before repairing the knockdown ceiling. Water damage may indicate a leak or moisture problem that needs to be fixed to prevent further damage.
- Determine the repair method: Based on the size and severity of the damage, determine the appropriate repair method. Smaller cracks and holes can typically be patched with joint compound or drywall mud, while larger damaged areas may require additional steps such as replacing the damaged section of drywall.
By assessing and identifying the damage, you’ll have a clear understanding of what needs to be repaired and how to proceed. Carefully inspecting the ceiling, probing the damaged area, and addressing any underlying water damage issues will ensure a thorough and effective repair. Additionally, determining the repair method based on the size and severity of the damage will help you select the right materials and techniques.
Once you’ve assessed and identified the damage, you can move on to the next step of patching small holes and cracks!
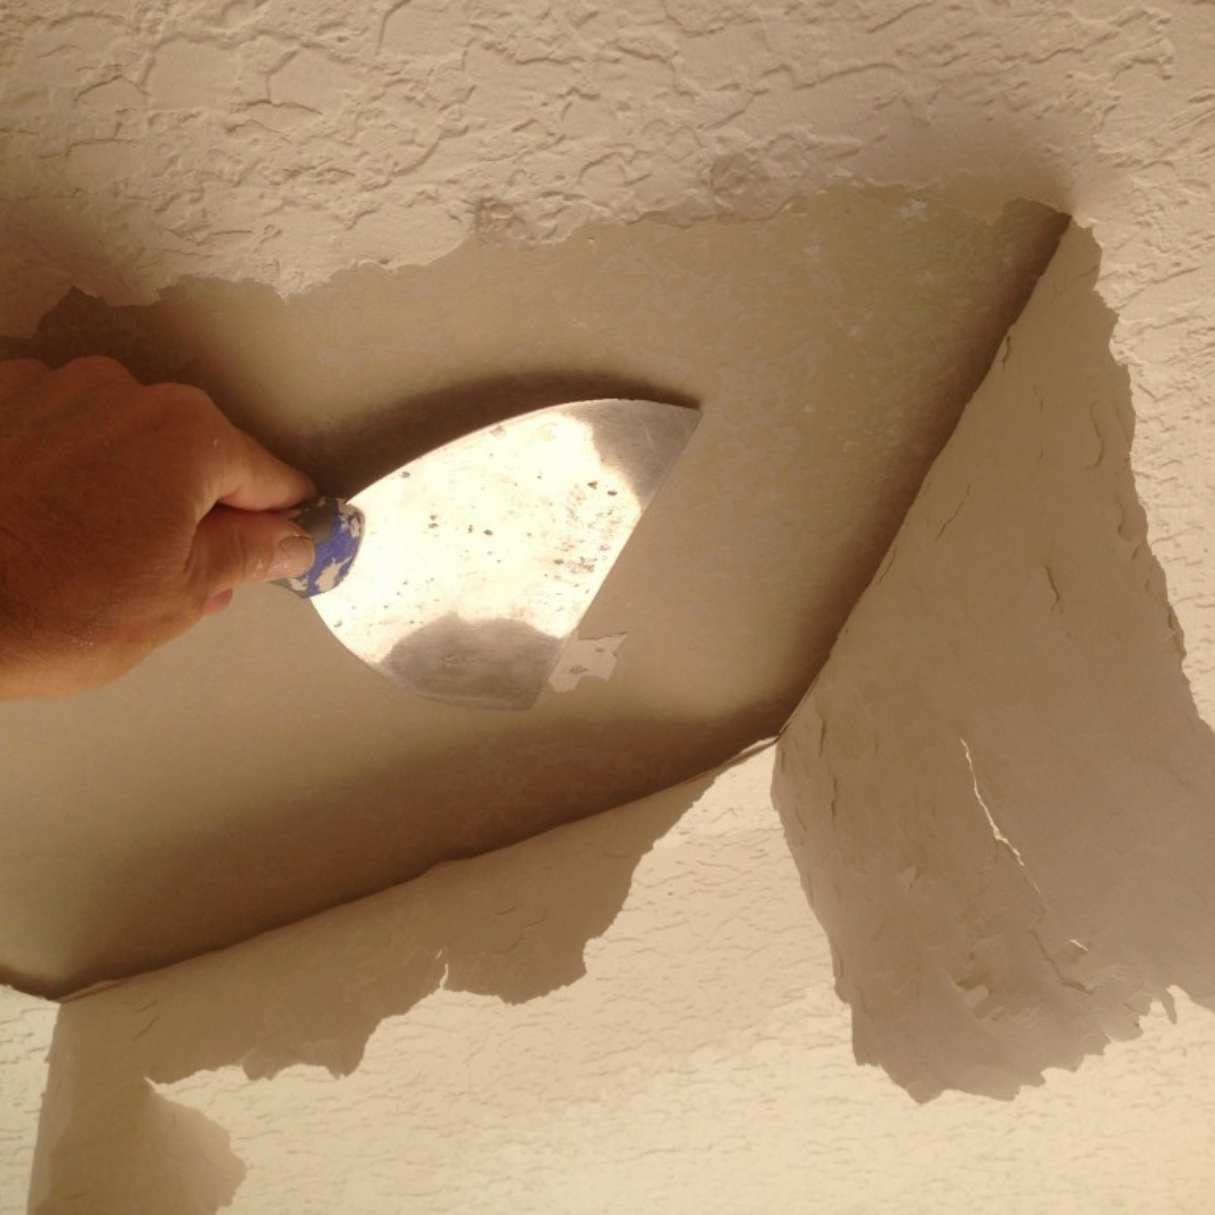
Step 4: Patching Small Holes and Cracks
Small holes and cracks in a knockdown ceiling can be easily repaired using joint compound or drywall mud. This step will guide you through the process of patching small holes and cracks to restore the integrity of your ceiling. Here’s how to do it:
- Clean the damaged area: Begin by cleaning the small holes or cracks using a brush or vacuum to remove any loose debris or dust.
- Apply joint compound: Take a small amount of joint compound or drywall mud on a putty knife or taping knife. Press the compound into the hole or crack, ensuring it fills the area completely. Use the edge of the knife to smooth the surface, ensuring it is flush with the surrounding ceiling.
- Smooth and feather the edges: To create a seamless finish, use the putty knife or taping knife to feather the edges of the patch. Gently blend the compound into the surrounding area, gradually tapering it out.
- Allow the compound to dry: Follow the manufacturer’s instructions to determine the drying time needed for the joint compound. Typically, it takes several hours to dry completely. Avoid touching or disturbing the patched area during this time.
- Sand the patched area: Once the joint compound is dry, use a sanding block or sandpaper to gently sand the patched area. Ensure a smooth and even finish by feathering out the edges and removing any excess compound. Wipe away any dust with a clean cloth.
Patching small holes and cracks in your knockdown ceiling is a relatively straightforward process. By cleaning the area, applying the joint compound, and smoothing and feathering the edges, you can achieve a seamless repair. Allow the compound to dry completely and then sand the patched area for a smooth finish.
Once you have patched the small holes and cracks, you can proceed to the next step of repairing larger damaged areas in your knockdown ceiling.
When repairing a knockdown ceiling, be sure to match the texture and pattern of the existing ceiling. Use a drywall compound to fill in any cracks or holes, then carefully apply the knockdown texture using a trowel or spray gun for a seamless finish.
Read more: How To Paint Vaulted Ceiling
Step 5: Repairing Larger Damaged Areas
If your knockdown ceiling has larger damaged areas such as large holes or extensive cracks, you’ll need to take additional steps to repair them. Follow these steps to effectively repair and restore larger damaged areas:
- Assess the damaged area: Before you begin the repair, carefully assess the extent of the damage. Determine if the damaged section needs to be replaced entirely or if it can be repaired using joint compound.
- Cut away damaged section: If the damaged area is beyond repair, use a utility knife or drywall saw to carefully cut away the damaged section. Cut along the lines of the nearest joists for added stability.
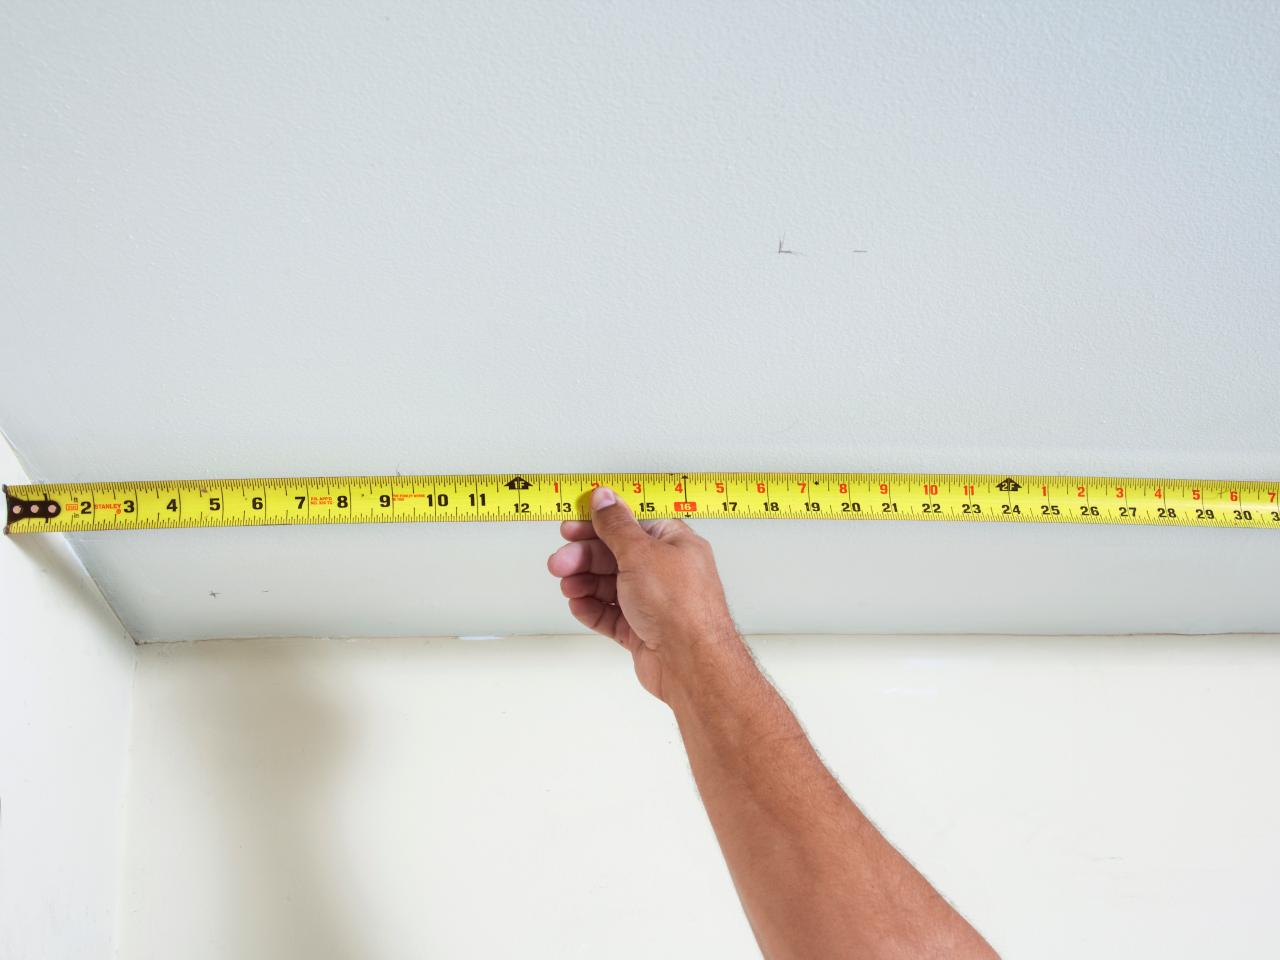
- Prepare the replacement piece: Measure and cut a new piece of drywall to fit the opening. Ensure it is of the same thickness as the existing ceiling. Use a utility knife or saw to make the cut.
- Attach the replacement piece: Apply construction adhesive to the back of the replacement piece and carefully fit it into the opening. Secure it to the ceiling joists using drywall screws. Counter-sink the screws slightly below the surface.
- Apply joint compound: Use a putty knife or taping knife to apply a thin layer of joint compound over the seams and screw indentations. Extend the compound slightly beyond the repaired area to blend it seamlessly with the rest of the ceiling texture.
- Feather and sand the repair: Once the joint compound is dry, use the putty knife or taping knife to feather the edges of the repair. Gradually blend it into the surrounding ceiling texture. Sand the repaired area to achieve a smooth finish.
Repairing larger damaged areas in your knockdown ceiling may require more time and effort, but it’s essential for a seamless and durable repair. Assess the damaged area, cut away the damaged section if necessary, and attach a replacement piece of drywall. Apply joint compound, feather the edges, and sand the repair for a smooth finish.
After successfully repairing the larger damaged areas, you can move on to the next step of sanding the repaired area to achieve an even texture across the entire ceiling.
Step 6: Sanding the Repaired Area
After patching and repairing the damaged areas in your knockdown ceiling, it’s important to sand the repaired sections to achieve a smooth and even texture. Sanding helps blend the repaired areas with the rest of the ceiling, creating a seamless finish. Follow these steps to effectively sand the repaired area:
- Gather the necessary materials: For sanding, you’ll need a sanding block or sandpaper (a medium-grit sandpaper, such as 120-grit, works well for most cases). Have a clean cloth or sponge on hand to wipe away dust.
- Begin sanding: Start by gently sanding the repaired area using broad, even strokes. Focus on the edges of the repair, as well as any rough or uneven areas. Sand the joint compound until it’s flush with the rest of the ceiling texture.
- Check the progress: Periodically stop sanding to assess your progress. Run your hand over the repaired area to feel for any bumps or irregularities. If needed, continue sanding until the repaired section matches the surrounding ceiling texture seamlessly.
- Clean the dust: After sanding, use a clean cloth or sponge to wipe away any sanding dust from the repaired area. It’s important to remove all dust before moving on to the next step to ensure proper adhesion of paint and a clean finish.
Proper sanding is crucial for achieving a professional-looking repair in your knockdown ceiling. Take your time and sand the repaired area carefully, paying attention to the edges and any rough spots. Regularly check your progress by running your hand over the surface and ensuring a smooth transition between the repaired area and the rest of the ceiling. Finally, clean away any sanding dust before moving on to the next step.
With the repaired area sanded to perfection, you’re now ready to prime the repaired section and prepare it for a fresh coat of paint!
Step 7: Prime the Repaired Area
After sanding the repaired area of your knockdown ceiling, it’s crucial to prime the surface before applying paint. Priming helps seal the repaired section, promotes better paint adhesion, and ensures a consistent finish. Follow these steps to effectively prime the repaired area:
- Gather the necessary materials: For priming, you’ll need a high-quality primer suitable for drywall, a paint roller, a tray, and a paintbrush.
- Protect the surrounding surfaces: Use painter’s tape and drop cloths to cover and protect any adjacent surfaces, walls, or fixtures that you don’t want to get primer on.
- Pour primer into a tray: Pour the primer into a paint tray, filling it to a suitable level for your roller. This will ensure even coverage and make it easier to load your roller.
- Prime the repaired area: Dip the roller into the primer, removing any excess by rolling it on the ridges of the tray. Apply an even coat of primer onto the repaired area, blending it into the surrounding ceiling texture. Use a paintbrush for any hard-to-reach areas or edges.
- Allow the primer to dry: Follow the manufacturer’s instructions for the recommended drying time of the primer. Typically, it takes a few hours to dry completely. Avoid touching or disturbing the primed area during this time.
Priming the repaired area of your knockdown ceiling is essential for achieving optimal paint adhesion and a smooth, consistent finish. By gathering the necessary materials and protecting adjacent surfaces, you’ll ensure a clean and precise priming process. Apply the primer evenly to the repaired area using a roller and brush, blending it seamlessly with the surrounding ceiling texture. Allow the primer to dry completely before moving on to the final step of painting your newly repaired knockdown ceiling.
With the repaired area primed and ready, it’s time to add a fresh coat of paint and bring your knockdown ceiling back to life!
Step 8: Paint the Ceiling
After priming the repaired area of your knockdown ceiling, it’s time to apply a fresh coat of paint to give it a seamless and finished look. Follow these steps to effectively paint your knockdown ceiling:
- Gather the necessary materials: For painting, you’ll need the desired paint color, a paint roller, a tray, a paintbrush, and a ladder or step stool.
- Protect the surrounding surfaces: Use painter’s tape and drop cloths to cover and protect any adjacent surfaces, walls, or fixtures that you don’t want to get paint on.
- Pour paint into a tray: Pour the desired paint color into a paint tray, filling it to a suitable level for your roller. This will make it easier to load the roller and ensure even coverage.
- Start painting: Dip the paint roller into the tray, removing excess paint by rolling it on the ridges. Begin by painting the edges of the repaired area using a paintbrush, ensuring to feather the edges with the surrounding ceiling. Then, use the roller to apply paint to the rest of the repaired area and blend it with the existing ceiling texture. Work in small sections, applying an even coat of paint.
- Allow the paint to dry: Follow the manufacturer’s instructions for the recommended drying time of the paint. It typically takes a few hours to dry, but it’s best to wait overnight for optimal results. Avoid touching or disturbing the painted area during this time.
- Inspect and touch up if needed: Once the paint has dried, inspect the painted area for any inconsistencies or missed spots. Use a brush or roller to touch up any areas that require additional paint to ensure a seamless finish.
Painting your knockdown ceiling is the final step in the repair process. By gathering the necessary materials and protecting adjacent surfaces, you’ll create a clean and organized painting environment. Apply the paint evenly with a roller and brush, blending the repaired area seamlessly with the rest of the ceiling. Allow the paint to dry completely before inspecting and touching up if necessary.
With the painting complete, take a step back and admire your beautifully repaired and freshly painted knockdown ceiling!
Overall, repairing a knockdown ceiling may seem like a daunting task, but by following these steps and using the right techniques, you can restore and enhance the appearance of your ceiling. Whether it’s patching small holes and cracks or repairing larger damaged areas, proper preparation, use of suitable materials, and attention to detail will result in a professional-looking finish. With the right tools and a little patience, you can achieve a knockdown ceiling that is as good as new!
Read more: How Much To Vault A Ceiling
Conclusion
Repairing a knockdown ceiling might seem like a challenging task, but with the right knowledge and techniques, you can achieve excellent results. By following the step-by-step process outlined in this article, you can restore your knockdown ceiling to its original beauty and ensure its longevity.
Throughout the repair process, it is important to gather all the necessary materials and tools, properly prepare the work area, assess and identify the damage, and patch any small holes or cracks. For larger damaged areas, it may be necessary to replace the affected sections of drywall. Sanding the repaired areas and priming the surface are crucial steps that help achieve a smooth finish and optimal paint adhesion.
Finally, applying a fresh coat of paint brings the entire repair process together, leaving you with a beautifully restored knockdown ceiling. Remember to take your time, pay attention to detail, and follow safety precautions when working on the ceiling.
By following these steps and taking the time to repair and maintain your knockdown ceiling, you can ensure its beauty and durability for years to come. Whether you’re a seasoned DIY enthusiast or a beginner, with the right guidance, repairing your knockdown ceiling can be a rewarding and satisfying project.
So go ahead and confidently tackle your knockdown ceiling repair. Enjoy the process, showcase your skills, and marvel at the transformation as your ceiling takes on a fresh and flawless appearance!
Frequently Asked Questions about How To Repair A Knockdown Ceiling
Was this page helpful?
At Storables.com, we guarantee accurate and reliable information. Our content, validated by Expert Board Contributors, is crafted following stringent Editorial Policies. We're committed to providing you with well-researched, expert-backed insights for all your informational needs.


0 thoughts on “How To Repair A Knockdown Ceiling”