Articles
How To Repair Balcony Floor
Modified: January 19, 2024
Discover effective articles on how to repair your balcony floor and restore its beauty. Get expert tips and step-by-step guides for a successful renovation.
(Many of the links in this article redirect to a specific reviewed product. Your purchase of these products through affiliate links helps to generate commission for Storables.com, at no extra cost. Learn more)
Introduction
Having a balcony is a wonderful feature of any home, providing a space to enjoy the outdoors and take in the view. However, over time, the floor of a balcony can become damaged due to weather elements, wear and tear, or improper maintenance. If you find yourself with a balcony that is in need of repair, fear not! With the right tools, materials, and a little bit of time, you can restore your balcony floor to its former glory.
In this article, we will guide you through the step-by-step process of repairing a balcony floor. From assessing the damage to applying a waterproof sealant, we have got you covered. So, roll up your sleeves and let’s get started on transforming your balcony into a safe and inviting space once again.
Key Takeaways:
- Transform your balcony into a safe and inviting space by following a step-by-step process to repair and restore the flooring. From assessing damage to applying a waterproof sealant, create a beautiful outdoor oasis.
- Enjoy a revitalized outdoor space with a successfully repaired balcony floor. Take the time to restore furniture and fixtures, and appreciate the transformed area for relaxation and entertainment.
Read more: What To Put On Balcony Floor
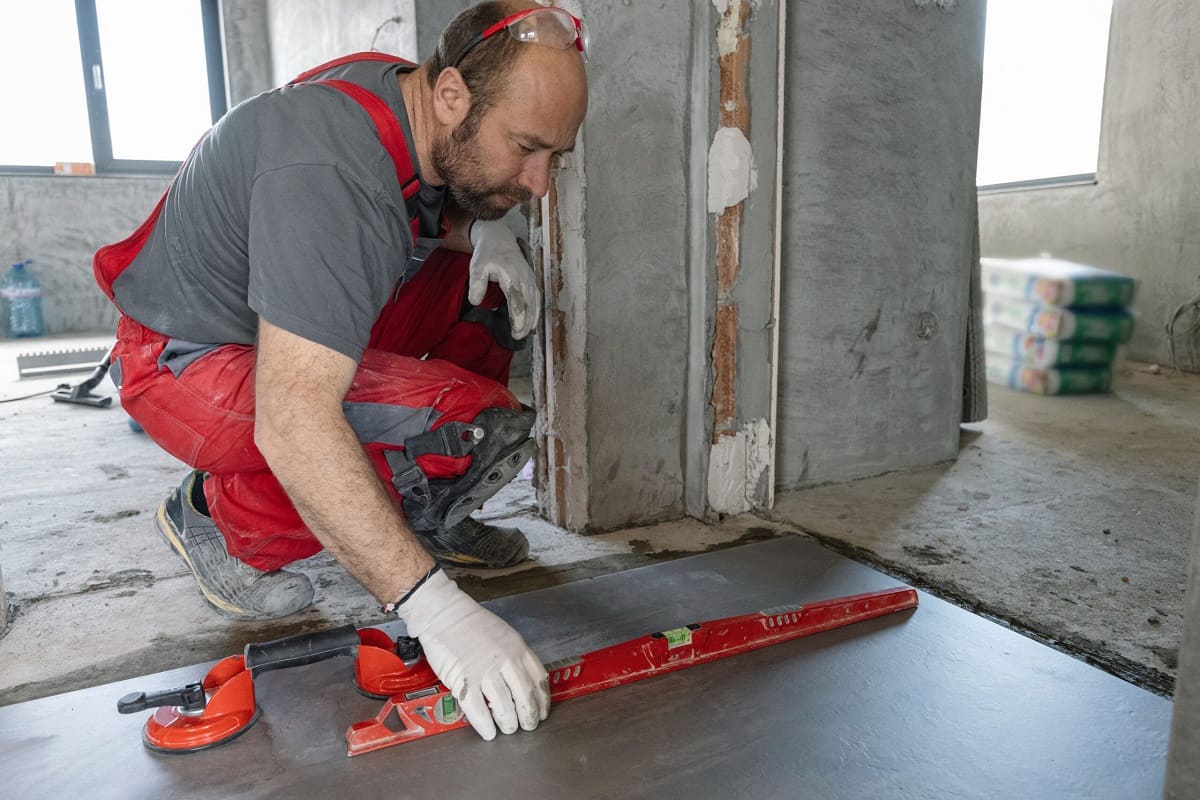
Step 1: Assess the damage
The first step in repairing your balcony floor is to carefully assess the extent of the damage. Walk around the entire balcony and inspect the floor for any cracks, loose tiles, or signs of water damage. Pay close attention to the corners and edges, as these areas are prone to wear and tear.
If you notice any small cracks or minor damage, it may be possible to repair them without replacing the entire floor. However, if the damage is extensive or if there are structural issues, it may be necessary to replace the flooring altogether.
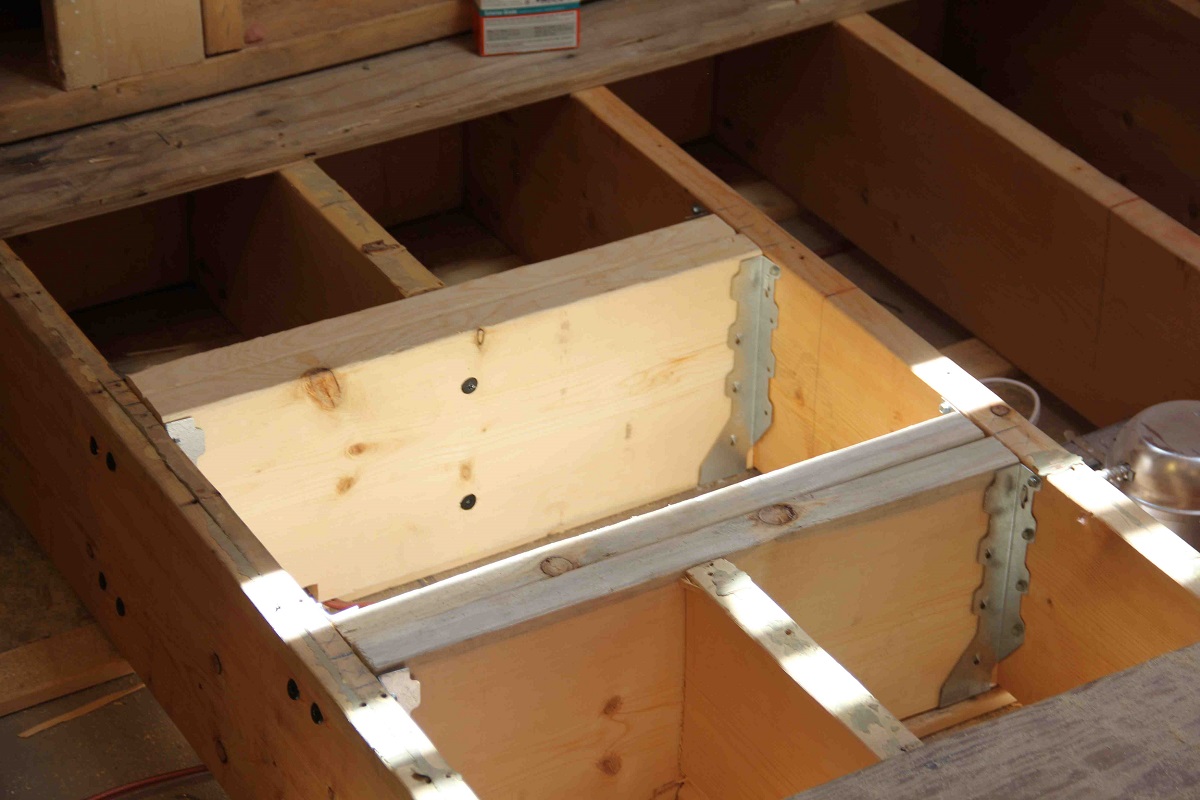
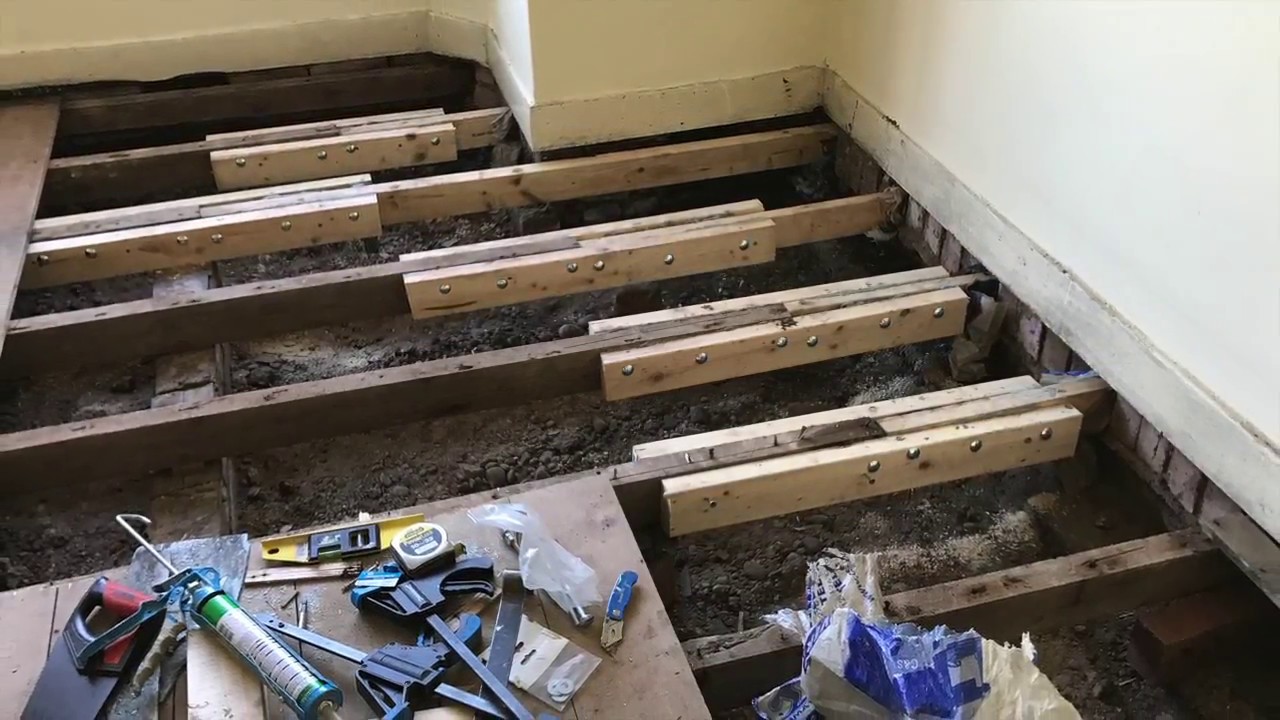
Additionally, it is important to check the condition of the underlying structure of the balcony. Look for any signs of rotting or weakening of the support beams. If you notice any structural issues, it is recommended to consult with a professional before proceeding with the repairs.
By thoroughly assessing the damage, you will have a clear understanding of the scope of the repair work that needs to be done and can plan accordingly. Remember to take notes or photos to keep track of the areas that require attention.
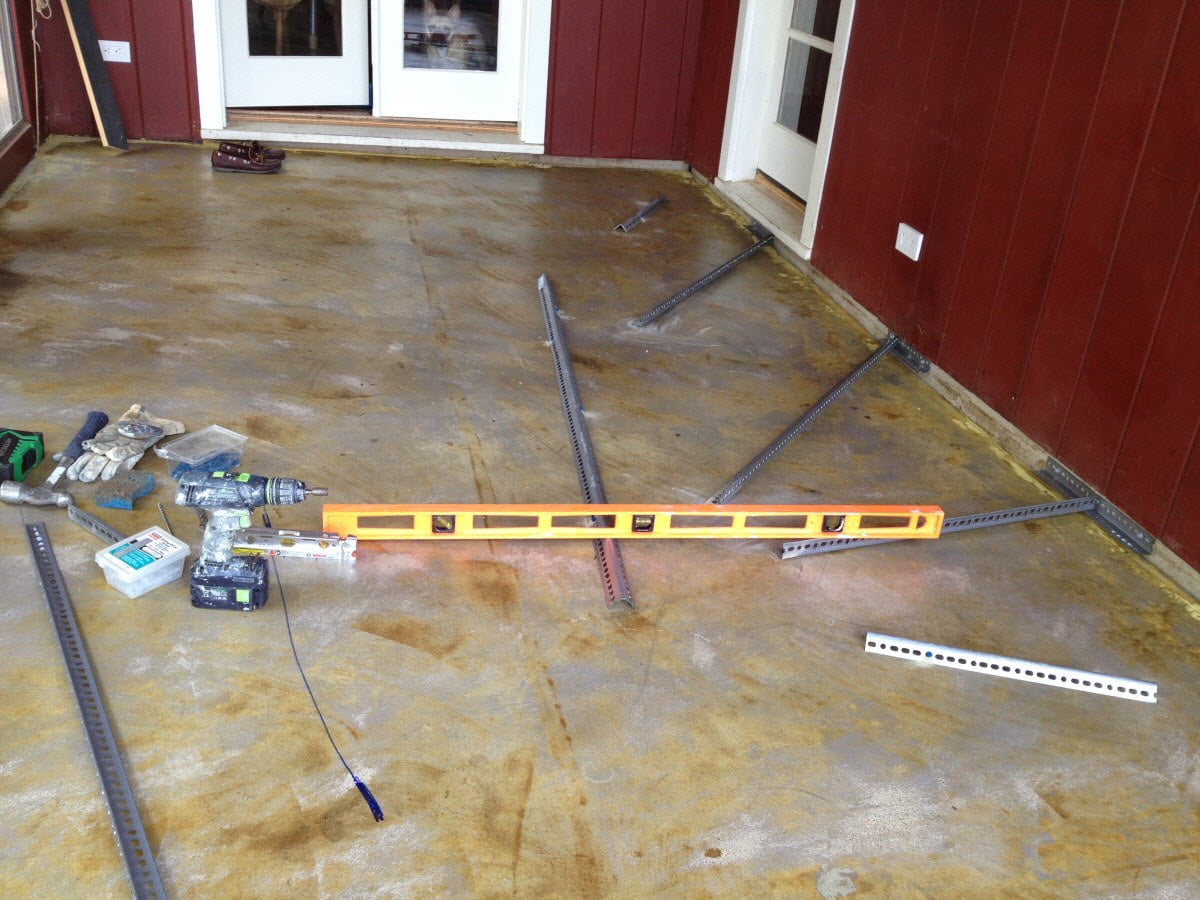
Step 2: Gather necessary tools and materials
Before you can begin repairing your balcony floor, it is essential to gather all the necessary tools and materials. Having everything on hand will save you time and effort during the repair process. Here are the tools and materials you will need:
- Protective gear (gloves, safety goggles, mask)
- Measuring tape
- Chisel or scraper
- Hammer
- Drill
- Pry bar
- Trowel
- Sanding block or sandpaper
- Caulk gun
- Waterproofing sealant
- Replacement tiles, if necessary
- Grout or mortar
- Bucket and sponge
- Cleaner or detergent
- Broom and dustpan
Ensure that you have all the tools and materials listed above before starting the repair process. This will help you work efficiently and avoid any unnecessary delays.
If you are unsure about which specific type of sealant or replacement tiles to use for your balcony floor, consult with a professional or a knowledgeable salesperson at your local hardware store. They can provide guidance based on the material and condition of your balcony floor.
Once you have gathered all the necessary tools and materials, you are ready to move on to the next step of the repair process: removing any furniture or fixtures from the balcony.
Step 3: Remove any furniture or fixtures
Before you begin repairing your balcony floor, it is important to clear the area of any furniture, plants, or other fixtures. This will give you ample space to work and protect your belongings from any potential damage.
Start by removing larger items such as chairs, tables, and potted plants. If possible, relocate them to a safe and secure area away from the balcony. Consider covering them with a tarp or protective sheet to prevent dust or debris from accumulating.
Next, remove any smaller fixtures such as wall-mounted decorations or hanging baskets. Take your time to carefully detach them or move them to a different location. It is advisable to label or take note of the positioning of these fixtures, as you will need to reinstall them once the repair work is complete.
During the removal process, be mindful of any sharp edges or fragile items that may require extra care. Use padding or bubble wrap to protect delicate items and avoid any accidents or breakages.
Once all furniture and fixtures have been cleared from the balcony, sweep away any loose debris or dirt. This will provide a clean and clear surface for the repair work. You can use a broom and dustpan or a vacuum cleaner to thoroughly clean the area.
With the balcony now empty and clean, you are ready to move on to the next step: cleaning the area.
Step 4: Clean the area
Before you can proceed with the repair work on your balcony floor, it is crucial to thoroughly clean the area to ensure proper adhesion of the materials and a successful repair. Here’s how to clean the area:
- Remove any loose dirt or debris using a broom or vacuum cleaner. Be sure to get into the corners and edges of the balcony.
- Prepare a cleaning solution by mixing a mild detergent or cleaner with water in a bucket. Follow the instructions on the cleaning product to achieve the proper dilution.
- Dip a sponge or mop into the cleaning solution and thoroughly scrub the entire balcony floor. Pay extra attention to any stained or dirty areas.
- Rinse the floor with clean water to remove any soap residue. You can use a hose or a bucket of water for this purpose.
- If there are stubborn stains or grime, use a scrub brush or a scrubbing pad to agitate the surface and remove the dirt. Be careful not to apply too much pressure that could damage the flooring material.
- Allow the balcony floor to fully dry before proceeding with the repair work. Depending on the weather conditions and the type of flooring material, this may take a few hours to a day.
Cleaning the area will not only improve the overall appearance of your balcony, but it will also ensure that the repair materials adhere properly to the surface. A clean and dry surface is essential for a successful repair.
Once the area is clean and dry, you are ready to move on to the next step: repairing or replacing the damaged flooring.
Inspect the balcony floor for any signs of damage such as cracks or water leakage. Repair any cracks with a concrete patching compound and apply a waterproof sealant to prevent future damage. Regular maintenance will help extend the life of your balcony floor.
Read more: How To Clean Wood Balcony Floor
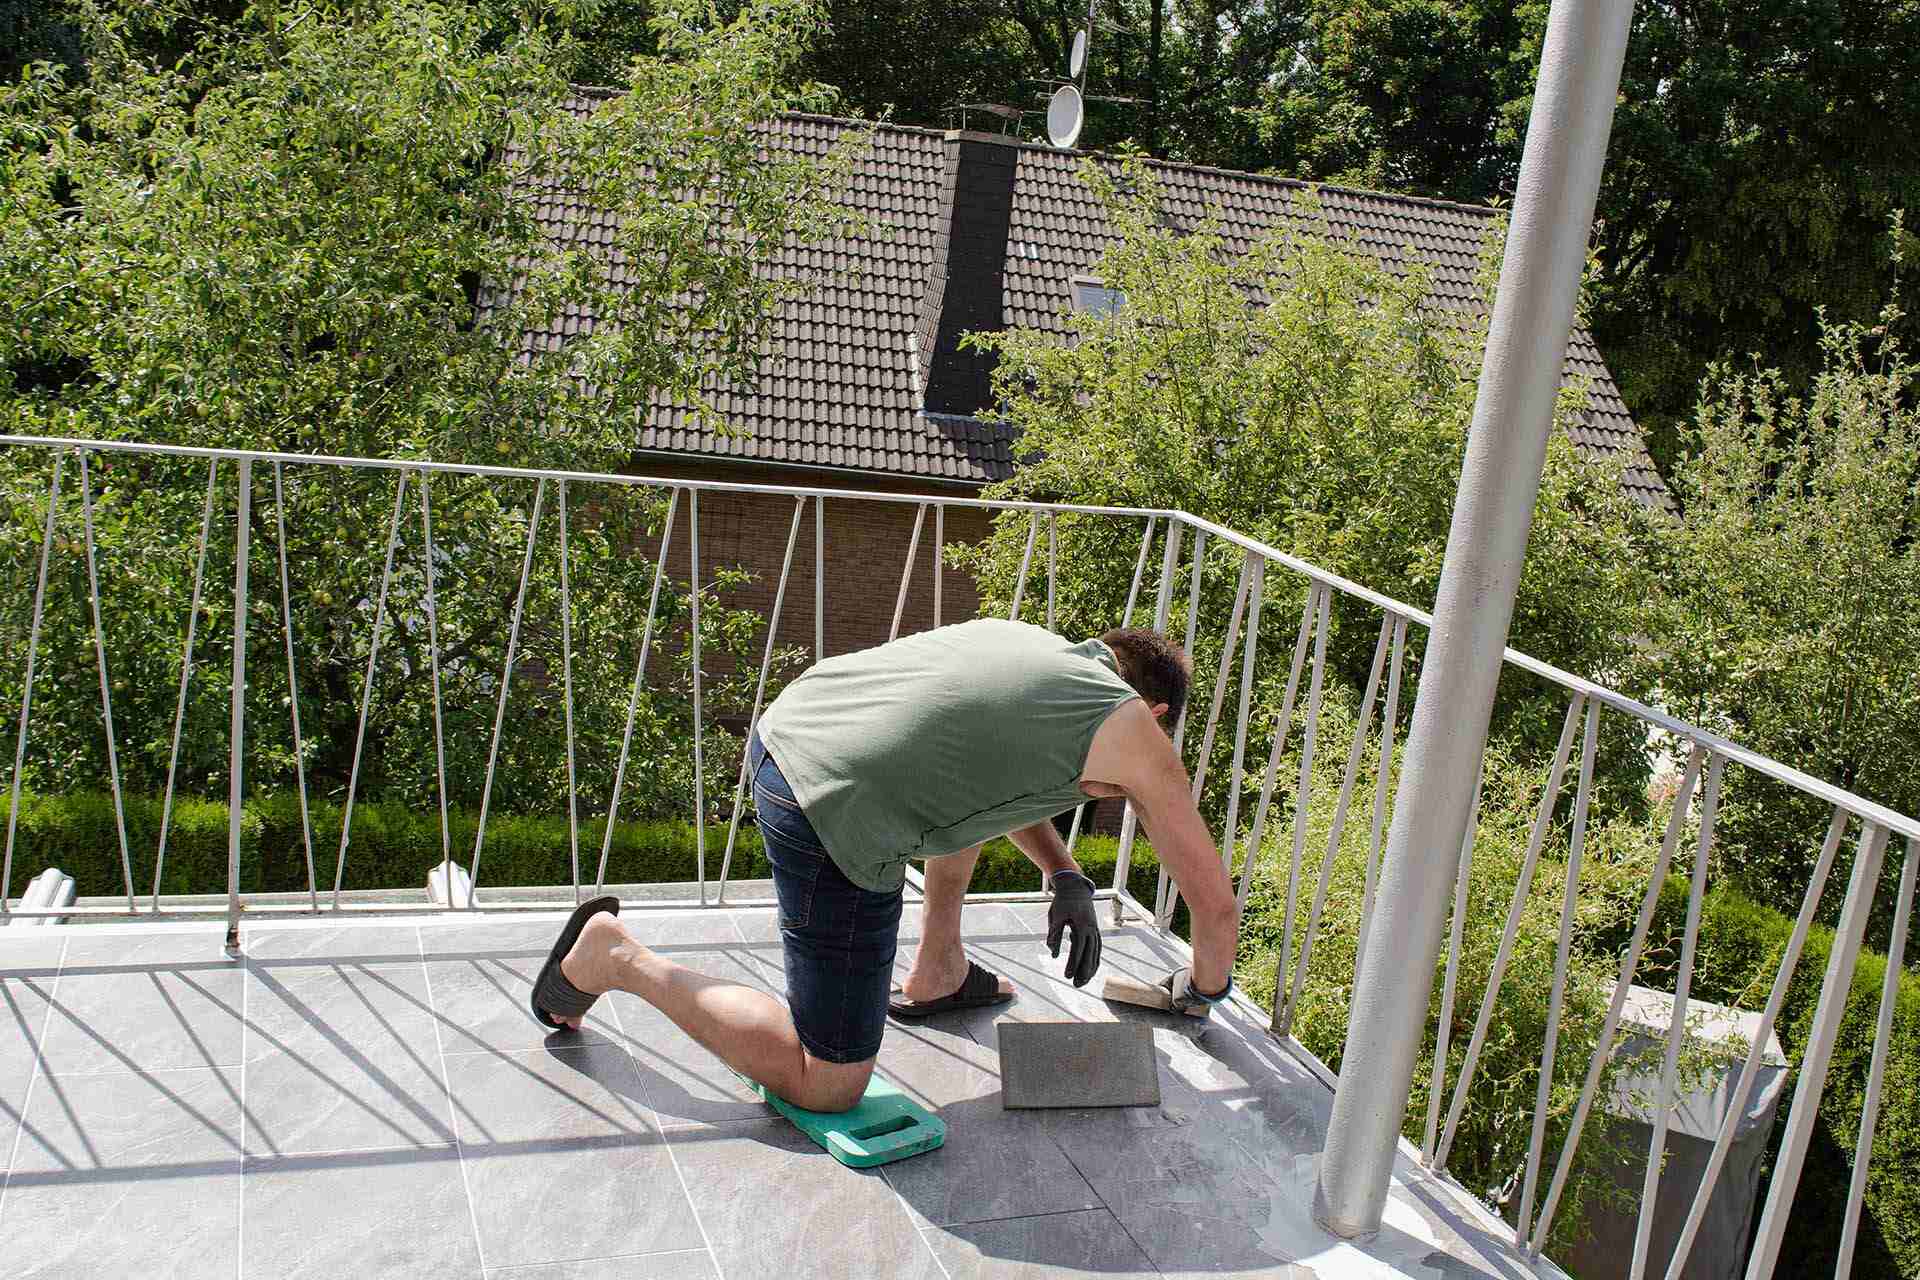
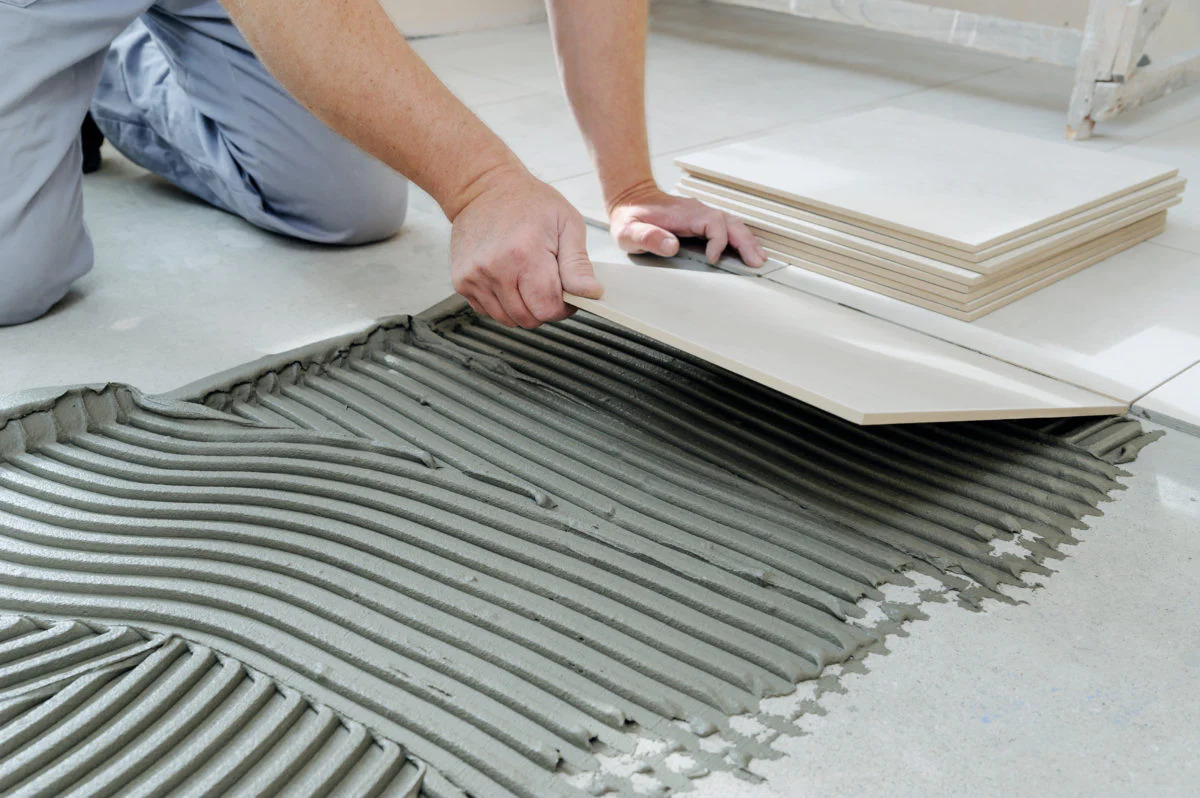
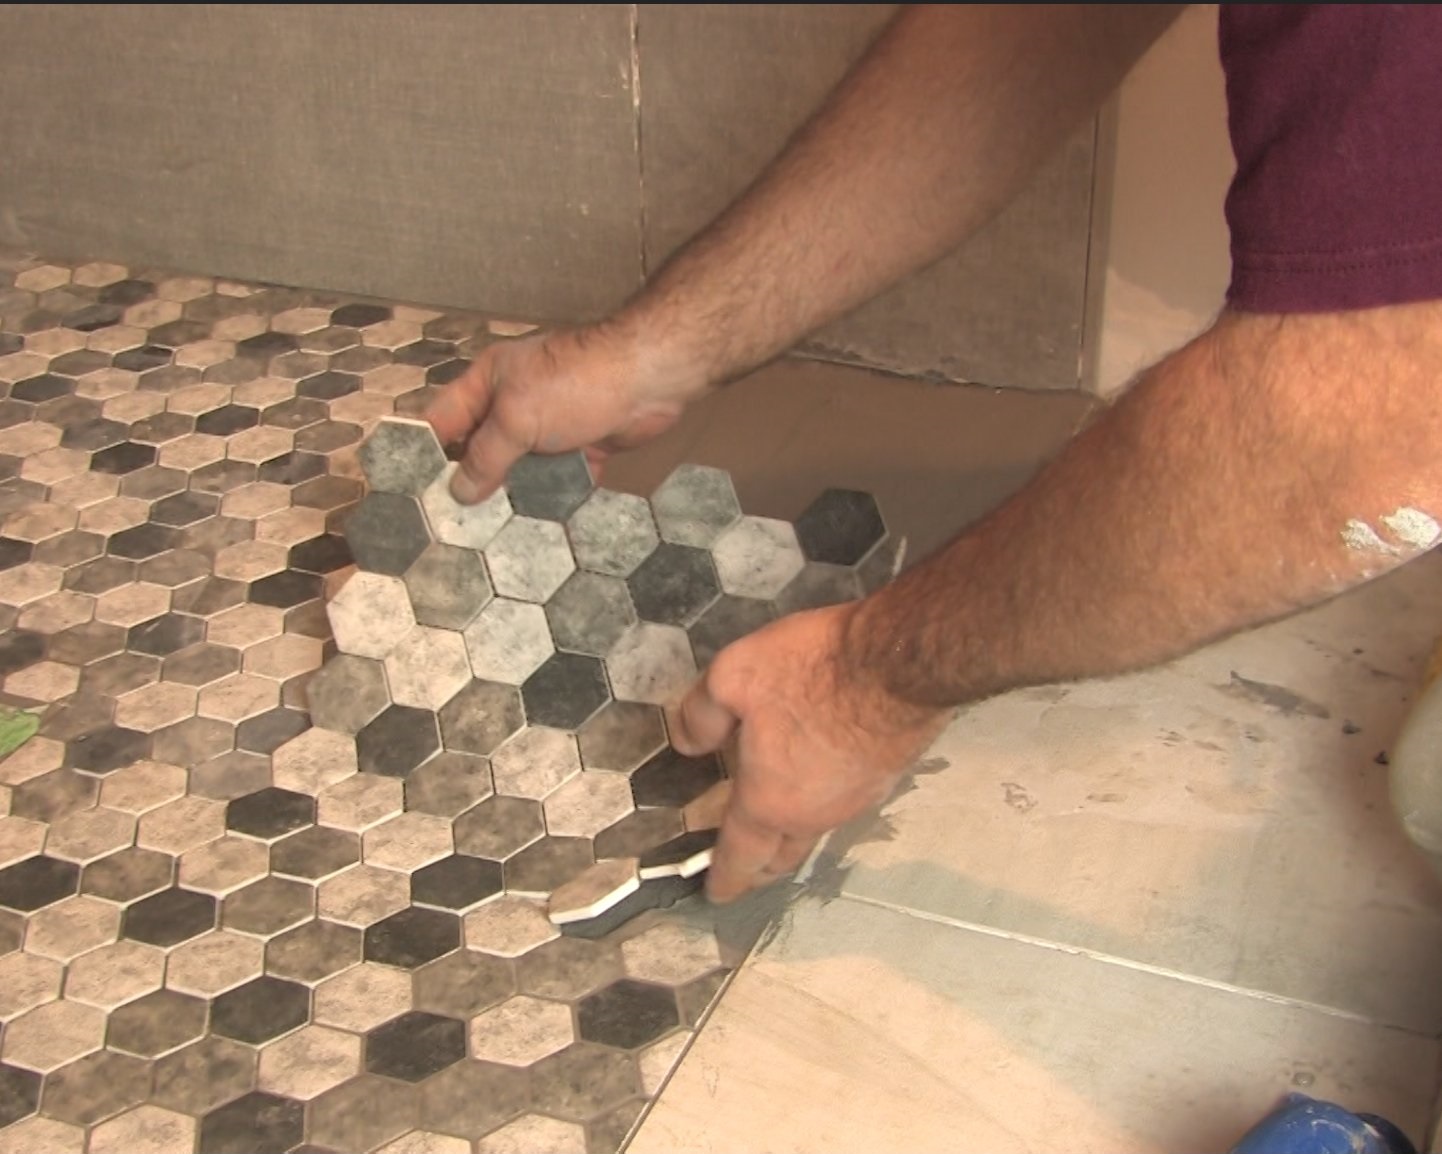
Step 5: Repair or replace damaged flooring
Now that your balcony floor is clean and dry, it’s time to address the damaged areas. Depending on the extent of the damage, you may need to either repair or replace the flooring. Here are the steps to follow:
- For minor cracks or small chips in the flooring, you can repair them using a suitable filler or patching compound. Follow the instructions on the product for the best results. Use a trowel or putty knife to apply the filler, smoothing it out to ensure a level surface.
- If there are larger cracks or sections of the floor that are significantly damaged, you may need to remove and replace those particular tiles or sections. Use a chisel or scraper to carefully remove the damaged tiles or sections. It is important to be gentle during this process to avoid causing additional damage.
- Once the damaged tiles or sections are removed, clean the area to remove any debris or dust. Ensure that the underlying surface is level and free from any loose materials before proceeding.
- If you are replacing tiles, apply a thin layer of mortar or adhesive to the back of the replacement tile. Press it firmly into place, ensuring that it is level with the surrounding tiles. Use spacers if necessary to maintain consistent spacing between the tiles.
- If you are repairing the surface, apply the appropriate filler or patching compound to the damaged area. Smooth it out using a trowel to create a flat and consistent surface.
- Allow the repaired or replaced flooring to dry and set according to the instructions provided by the manufacturer. This can take anywhere from a few hours to a few days, depending on the type of material and the weather conditions.
Remember to follow the manufacturer’s instructions carefully when using any fillers, patching compounds, mortars, or adhesives. Take your time during the repair process and ensure that each repaired or replaced section is level and securely in place.
Once the repaired or replaced flooring has fully dried and set, you can move on to the next step: applying a waterproofing sealant.
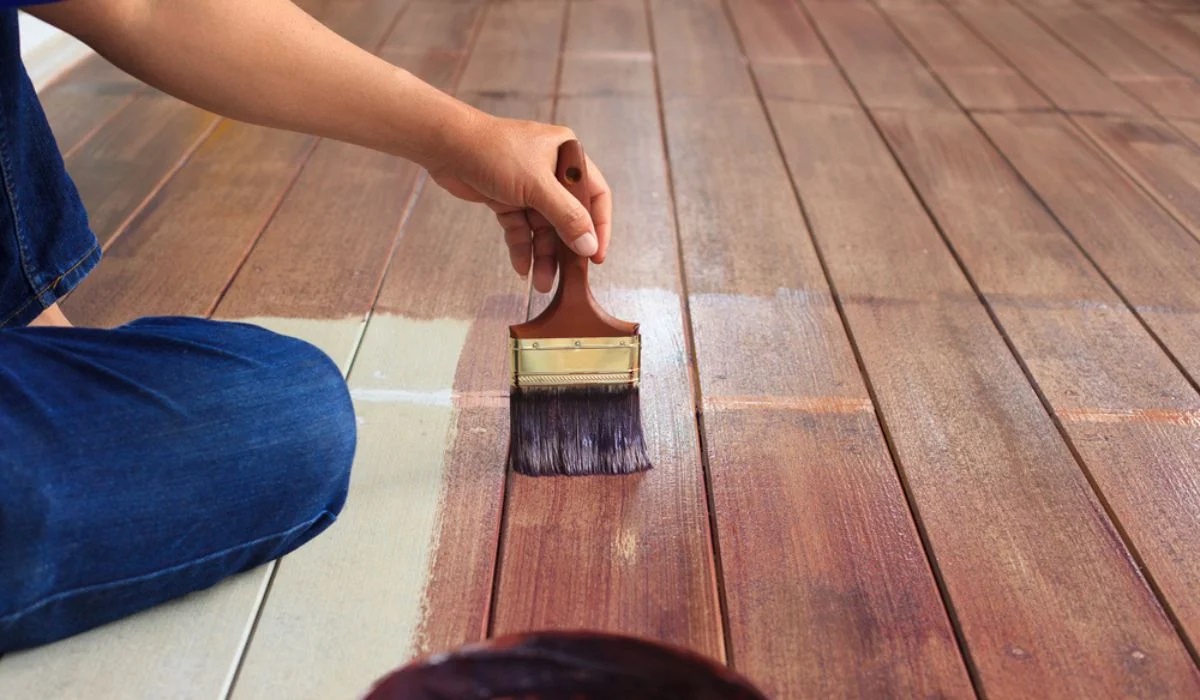
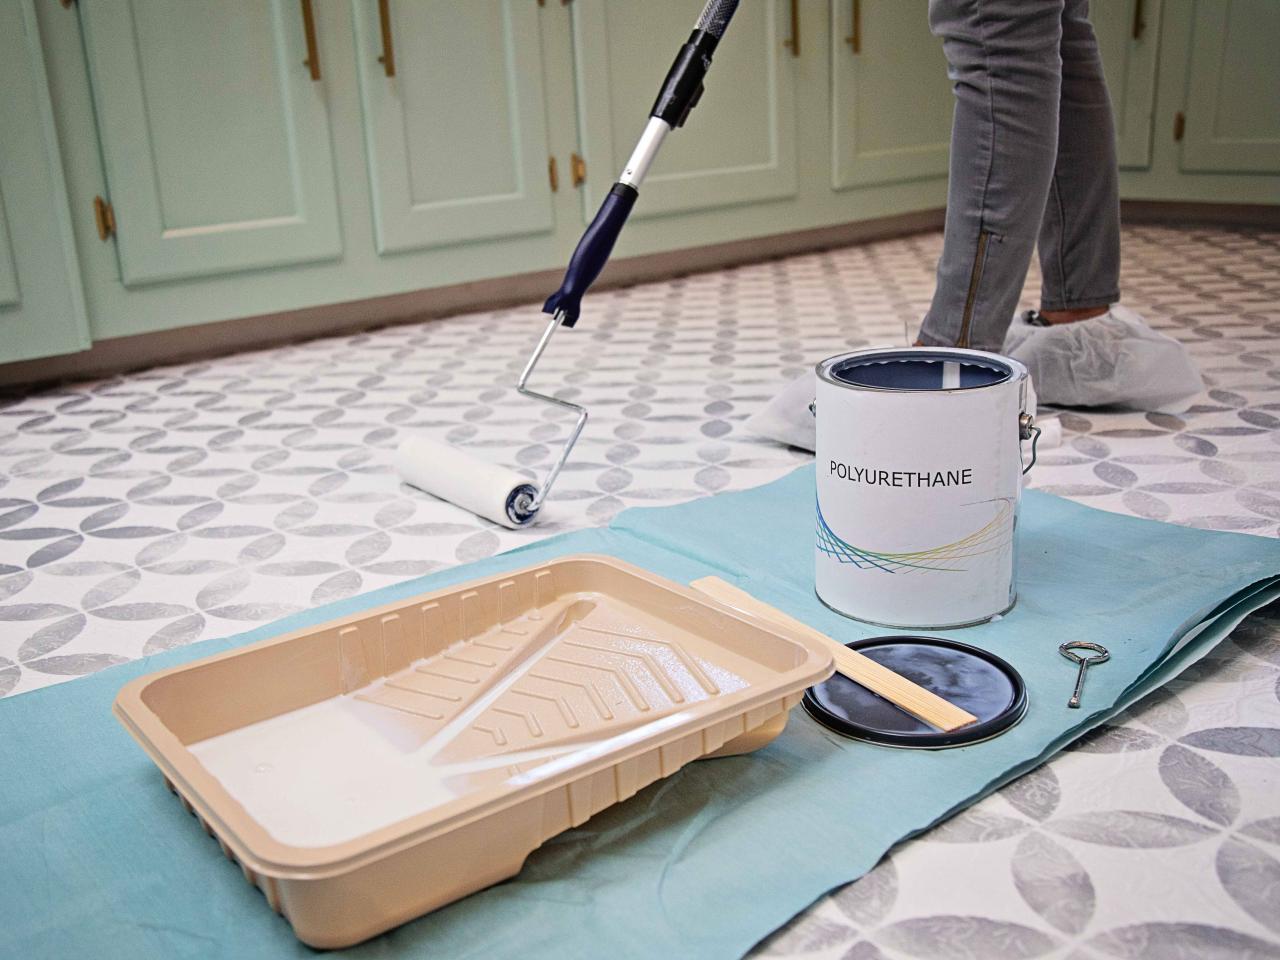
Step 6: Apply a waterproofing sealant
After repairing or replacing the damaged flooring on your balcony, it is crucial to apply a waterproofing sealant to protect the surface from future damage caused by water, moisture, and other weather elements. Here’s how to apply a waterproofing sealant:
- Choose a high-quality waterproofing sealant that is suitable for the material of your balcony floor. You can find these sealants at your local hardware or home improvement store.
- Read and follow the instructions provided by the sealant manufacturer for proper application.
- Ensure that the balcony floor is clean and dry before applying the sealant. Remove any dust or debris that may have accumulated during the repair process.
- Apply the waterproofing sealant using a brush or roller. Start from one corner of the balcony and work your way towards the exit, ensuring even coverage on the entire floor surface. Pay extra attention to the seams, edges, and any areas that are prone to water accumulation.
- Allow the sealant to dry according to the manufacturer’s instructions. This usually takes a few hours to a day, depending on the type of sealant and the weather conditions.
- Apply a second coat of sealant for added protection. This will help create a more durable and long-lasting barrier against water damage.
- Once the sealant is completely dry and cured, inspect the balcony floor for any missed areas or uneven application. Touch up these spots as necessary.
Applying a waterproofing sealant to your balcony floor is an essential step in maintaining its longevity and protecting it from the elements. It will help prevent water damage, cracking, and deterioration, ensuring that your balcony remains in good condition for years to come.
Once the waterproofing sealant has fully cured, you can proceed to the final step: allowing sufficient drying time.
Step 7: Allow sufficient drying time
After applying the waterproofing sealant to your balcony floor, it is important to allow sufficient drying time. This step ensures that the sealant fully sets and provides maximum protection for your balcony. Here’s what you need to do:
- Check the manufacturer’s instructions for the recommended drying time of the specific waterproofing sealant you have used. It can vary depending on the product and environmental conditions.
- Avoid walking or placing any furniture or fixtures on the balcony floor during the drying period. This will prevent any potential damage or smudging of the sealant.
- Consider sealing off access to the balcony to prevent accidental foot traffic and ensure that pets or children do not enter the area.
- During the drying time, monitor the balcony regularly to ensure that no one accidentally steps on the wet sealant or disrupts the drying process. Place warning signs if necessary.
- Allow ample ventilation in the area to aid in the drying process. Open windows or use fans to promote air circulation.
- Be patient and resist the urge to use the balcony prematurely. The drying time can range from a few hours to a few days, depending on various factors such as humidity, temperature, and the type of sealant used.
- Once the sealant is fully dried and cured, ensure that the balcony floor is safe and ready for use by conducting a thorough inspection. Look out for any signs of damage, uneven areas, or missed spots.
Allowing sufficient drying time is crucial to ensure the longevity and effectiveness of the waterproofing sealant. Rushing this step may result in a compromised sealant application and decrease its ability to protect your balcony floor from water damage. So, be patient and follow the recommended drying guidelines.
After the sealant has completely dried and you have conducted a thorough inspection, you can now move on to the final step: restoring furniture and fixtures to your balcony.
Step 8: Restore furniture and fixtures
With the balcony floor repaired, waterproofed, and fully dried, it’s time to bring back the furniture and fixtures to complete the restoration process. Follow these steps to restore your balcony:
- Refer to any notes or photos you took before removing the furniture and fixtures. This will help you remember their original placement and arrangement.
- Begin by carefully placing the larger furniture items, such as chairs, tables, and lounge chairs, back onto the balcony. Ensure that they are positioned in a way that maximizes space and allows for easy movement.
- Hang wall-mounted decorations, such as artwork or mirrors, back in their designated spots. Use a level to ensure they are straight and properly aligned.
- Reattach any hanging baskets or planters to their hooks or brackets. Fill them with your favorite plants to add a touch of greenery and life to your balcony.
- Take the time to clean and polish any fixtures, such as outdoor lighting or railings, before reinstalling them. This will help restore their appearance and maintain their functionality.
- If you made any modifications or repairs to the fixtures during the balcony restoration process, ensure that they are securely in place and functioning properly.
- Step back and evaluate the overall look and feel of your restored balcony. Make any final adjustments to the furniture and fixtures to create a comfortable and inviting space.
Restoring furniture and fixtures is the final touch in bringing life back to your balcony. It is a chance to reestablish the functionality and aesthetics of the space, allowing you to fully enjoy your outdoor oasis.
Take a moment to sit back, relax, and appreciate the hard work you put into repairing and restoring your balcony floor. With proper maintenance and care, your balcony will continue to be a beautiful and enjoyable part of your home for years to come.
Congratulations! You have successfully completed the process of repairing and restoring your balcony floor. Now it’s time to sit back, relax, and enjoy your newly revived outdoor space!
Read more: How To Build A Second Floor Balcony
Conclusion
Repairing and restoring a balcony floor is a rewarding and worthwhile project that can significantly improve the functionality and aesthetics of your outdoor space. By following the step-by-step process outlined in this article, you can successfully repair and revive your balcony floor, creating a safe and inviting area for relaxation and enjoyment.
Remember to start by assessing the damage to determine the scope of the repair work. Gather all the necessary tools and materials before removing furniture and fixtures from the balcony. Clean the area thoroughly to ensure a proper bond for the repair materials. Repair or replace any damaged flooring, and apply a waterproofing sealant to protect against future damage.
Throughout the entire process, take your time, follow instructions, and prioritize safety. Allow sufficient drying time for the sealant before restoring furniture and fixtures. By doing so, you can ensure a successful and long-lasting balcony floor repair.
With the restoration complete, take a moment to appreciate the transformed space. Your balcony is now ready to be enjoyed, whether it’s for morning coffees, evening sunsets, or entertaining guests.
Remember, regular maintenance and periodic inspections are key to preserving the integrity of your balcony floor. Keep an eye out for any signs of damage or wear, and address them promptly to prevent further issues.
Now that you have the knowledge and guidance to repair your balcony floor, take the initiative and embark on this exciting project. Enjoy the benefits of a revitalized outdoor space and create lasting memories on your beautifully restored balcony.
Frequently Asked Questions about How To Repair Balcony Floor
Was this page helpful?
At Storables.com, we guarantee accurate and reliable information. Our content, validated by Expert Board Contributors, is crafted following stringent Editorial Policies. We're committed to providing you with well-researched, expert-backed insights for all your informational needs.


0 thoughts on “How To Repair Balcony Floor”