Articles
How To Repair Mobile Home Interior Walls
Modified: October 19, 2024
Learn how to repair mobile home interior walls with our informative articles. From patching holes to repainting, we have all the tips and tricks you need.
(Many of the links in this article redirect to a specific reviewed product. Your purchase of these products through affiliate links helps to generate commission for Storables.com, at no extra cost. Learn more)
Introduction
Mobile homes have become a popular housing option for many people due to their affordability and flexibility. However, just like with any home, mobile homes can experience interior wall damage over time. Whether it’s small holes and cracks, water damage, or larger holes from accidents, repairing the interior walls of a mobile home is a necessary task to maintain its condition and appearance.
In this article, we will guide you through the process of repairing mobile home interior walls. We will cover how to assess the damage, gather the necessary materials, prepare the walls for repair, and address specific issues such as small holes and cracks, larger holes and damaged areas, and water damage. Additionally, we will cover the essential steps of applying primer and painting to give your repaired walls a fresh and finished look.
Repairing mobile home interior walls can be a simple and satisfying task, even for those with little to no experience in home repairs. By following the steps outlined in this article, you can save money on professional repairs and bring new life to your mobile home’s interior.
So, let’s begin the process of repairing mobile home interior walls and transform your living space into a place you can be proud of!
Key Takeaways:
- Transform your mobile home’s interior with simple wall repairs. Assess damage, gather materials, and follow step-by-step instructions to patch holes, address water damage, and apply primer and paint for a fresh look.
- Repairing mobile home interior walls is a satisfying DIY task. From small holes to water damage, follow the guide to restore your living space affordably and with professional results.
Read more: How To Frame A Door In An Interior Wall
Assessing the Damage
Before you start any repair work on the interior walls of your mobile home, it is essential to assess the extent of the damage. This step will help you determine the appropriate repair methods and materials needed for the job.
Start by thoroughly inspecting the walls for any visible signs of damage, such as holes, cracks, or water stains. Take note of the size and severity of each issue you find. Small holes and cracks can often be patched up with minimal effort, while larger holes or areas of extensive damage may require more extensive repair work.
Additionally, check for any underlying issues that may have contributed to the wall damage. For example, if you notice water stains, it could indicate a leak or moisture problem that needs to be addressed before proceeding with the repairs.
Take measurements of the affected areas and make a note of them. This will help you determine the materials needed for the repair work, such as drywall patches, joint compound, or paint.
It’s also helpful to take pictures of the damage for reference. This way, you can accurately communicate the extent of the damage to any professionals or hardware store employees you may consult.
Assessing the damage thoroughly will ensure that you plan and execute the repairs effectively. By understanding the scope of the damage, you can gather the necessary materials and focus on the appropriate repair methods. This will save you time, effort, and potential frustration as you move forward with the repair process.
Gathering the Necessary Materials
Once you have assessed the damage and identified the specific repairs needed for your mobile home interior walls, it’s time to gather the necessary materials. Having everything you need before starting the repair work will prevent delays and ensure a smoother process.
Here is a list of common materials you may need for repairing mobile home interior walls:
- Drywall patches or joint compound: These materials are used to fill in holes and cracks in the walls. Drywall patches are pre-cut pieces of drywall, while joint compound is a paste-like material for filling and smoothing the repaired areas.
- Sanding block or sandpaper: You will need these tools to smooth the repaired areas and create an even surface for painting.
- Putty knife or trowel: These tools are used for applying joint compound or patching material onto the walls.
- Primer: A quality primer is essential to ensure proper adhesion of the paint and provide a uniform finish.
- Paint: Choose a paint color and finish that complements your mobile home’s interior decor. Make sure to select paint that is suitable for the type of surface you are working on.
- Painter’s tape: Use painter’s tape to protect areas you don’t want to be painted, such as trim or fixtures.
- Drop cloth or plastic sheeting: To protect your flooring and furniture from any mess during the repair process.
- Sponge or damp cloth: These will come in handy for cleaning the walls and removing any debris or loose particles.
- Utility knife: A utility knife is useful for cutting drywall patches to the desired size and shape.
- Rags or paper towels: For wiping excess joint compound, cleaning tools, and keeping the work area tidy.
It’s important to note that exact material requirements may vary depending on the nature and extent of the damage you are addressing. Consider consulting with professionals or knowledgeable staff at your local hardware store for personalized recommendations.
By gathering all the necessary materials ahead of time, you can ensure a seamless repair process without the need for multiple trips to the store. This will save you valuable time and allow you to focus on the repairs at hand, bringing you closer to revitalizing your mobile home’s interior.
Preparing the Walls for Repair
Before you begin repairing the interior walls of your mobile home, it’s important to properly prepare the walls. This step will ensure that the repairs are successful and result in a seamless finish.
Here are the steps to prepare the walls for repair:
- Clear the area: Remove any furniture, decorations, or other items near the damaged areas. This will give you sufficient space to work and minimize the risk of any accidental damage.
- Clean the walls: Use a sponge or damp cloth to wipe down the walls around the damaged areas. Remove any debris, dust, or loose particles, as they can interfere with the repair process and affect the adhesion of the patching material.
- Protect surrounding surfaces: Use painter’s tape and drop cloths or plastic sheeting to cover any nearby surfaces that you want to protect from accidental splatters or damage, such as baseboards or flooring. This will make the cleanup process easier and prevent unwanted paint marks.
- Repair any underlying issues: If the wall damage is due to water leaks or moisture issues, it’s crucial to address these problems before proceeding with the repairs. Repair any leaks, fix any plumbing issues, or address any condensation problems to prevent further damage in the future.
- Remove loose paint or wallpaper: If there are any areas where the paint or wallpaper is peeling or loose, carefully remove it using a scraper or utility knife. This will ensure a smooth surface for the repairs and prevent future peeling or bubbling.
- Sand the damaged areas: If the damaged areas have rough edges or uneven surfaces, use sandpaper or a sanding block to smooth them out. This will create a clean and even surface for applying the patching material.
By properly preparing the walls for repair, you are setting the foundation for a successful restoration. Clearing the area, cleaning the walls, protecting surrounding surfaces, addressing underlying issues, and ensuring a smooth and even surface will contribute to a professional-looking finish.
With the walls properly prepped, you are now ready to proceed with the specific repairs needed for your mobile home interior walls. Whether it’s patching small holes and cracks, repairing larger holes and damaged areas, or addressing water damage, following the correct repair techniques will bring you closer to achieving a beautifully restored interior.
Patching Small Holes and Cracks
Small holes and cracks in the interior walls of your mobile home are a common issue that can be easily repaired. These imperfections can occur due to normal wear and tear, accidents, or the removal of wall fixtures. Fortunately, patching small holes and cracks is a straightforward process that doesn’t require advanced skills.
Here’s how you can patch small holes and cracks in your mobile home’s interior walls:
- Clean the damaged area: Use a sponge or damp cloth to clean the area around the hole or crack. Remove any loose debris or dust that may affect the adhesion of the patching material.
- Apply patching compound: Use a putty knife or trowel to apply a thin layer of patching compound over the hole or crack. Press the compound firmly into the damaged area, ensuring it fills the void completely.
- Smooth out the surface: After applying the patching compound, use the putty knife or trowel to smooth out the surface. Feather the edges of the compound to blend it seamlessly with the surrounding wall. This will create a smooth and even surface for painting.
- Allow the compound to dry: Follow the instructions on the patching compound packaging to determine the drying time. Typically, it takes a few hours for the compound to dry completely. Avoid touching or disturbing the patched area during this time.
- Sand and prime the area: Once the patching compound is dry, use sandpaper or a sanding block to gently smooth the surface of the repaired area. Wipe away any dust with a clean cloth. Apply a coat of primer to the patched area to ensure proper adhesion of the paint and a uniform finish.
- Paint the repaired area: After the primer has dried, you can proceed to paint the repaired area to match the surrounding wall. Use a brush or roller to apply the paint, ensuring smooth and even coverage. Allow the paint to dry completely before assessing if a second coat is required.
Patching small holes and cracks in your mobile home’s interior walls is a simple and effective solution to restore the overall appearance. By following these steps, you can achieve a seamless finish that will blend in with the rest of your wall and make the imperfections disappear.
Remember to take your time during the patching process and apply the patching compound in thin layers to prevent bulging or uneven surfaces. With proper preparation and attention to detail, your mobile home’s interior walls will soon look as good as new!
When repairing mobile home interior walls, use a putty knife to remove any damaged drywall or paneling. Then, apply joint compound to fill in any holes or cracks before sanding and repainting for a seamless finish.
Read more: How To Soundproof Interior Walls
Repairing Larger Holes and Damaged Areas
If your mobile home’s interior walls have larger holes or areas of extensive damage, a different approach is needed for a strong and lasting repair. While it may seem like a daunting task, repairing larger holes and damaged areas can still be accomplished with the right materials and techniques.
Here are the steps to repair larger holes and damaged areas in your mobile home’s interior walls:
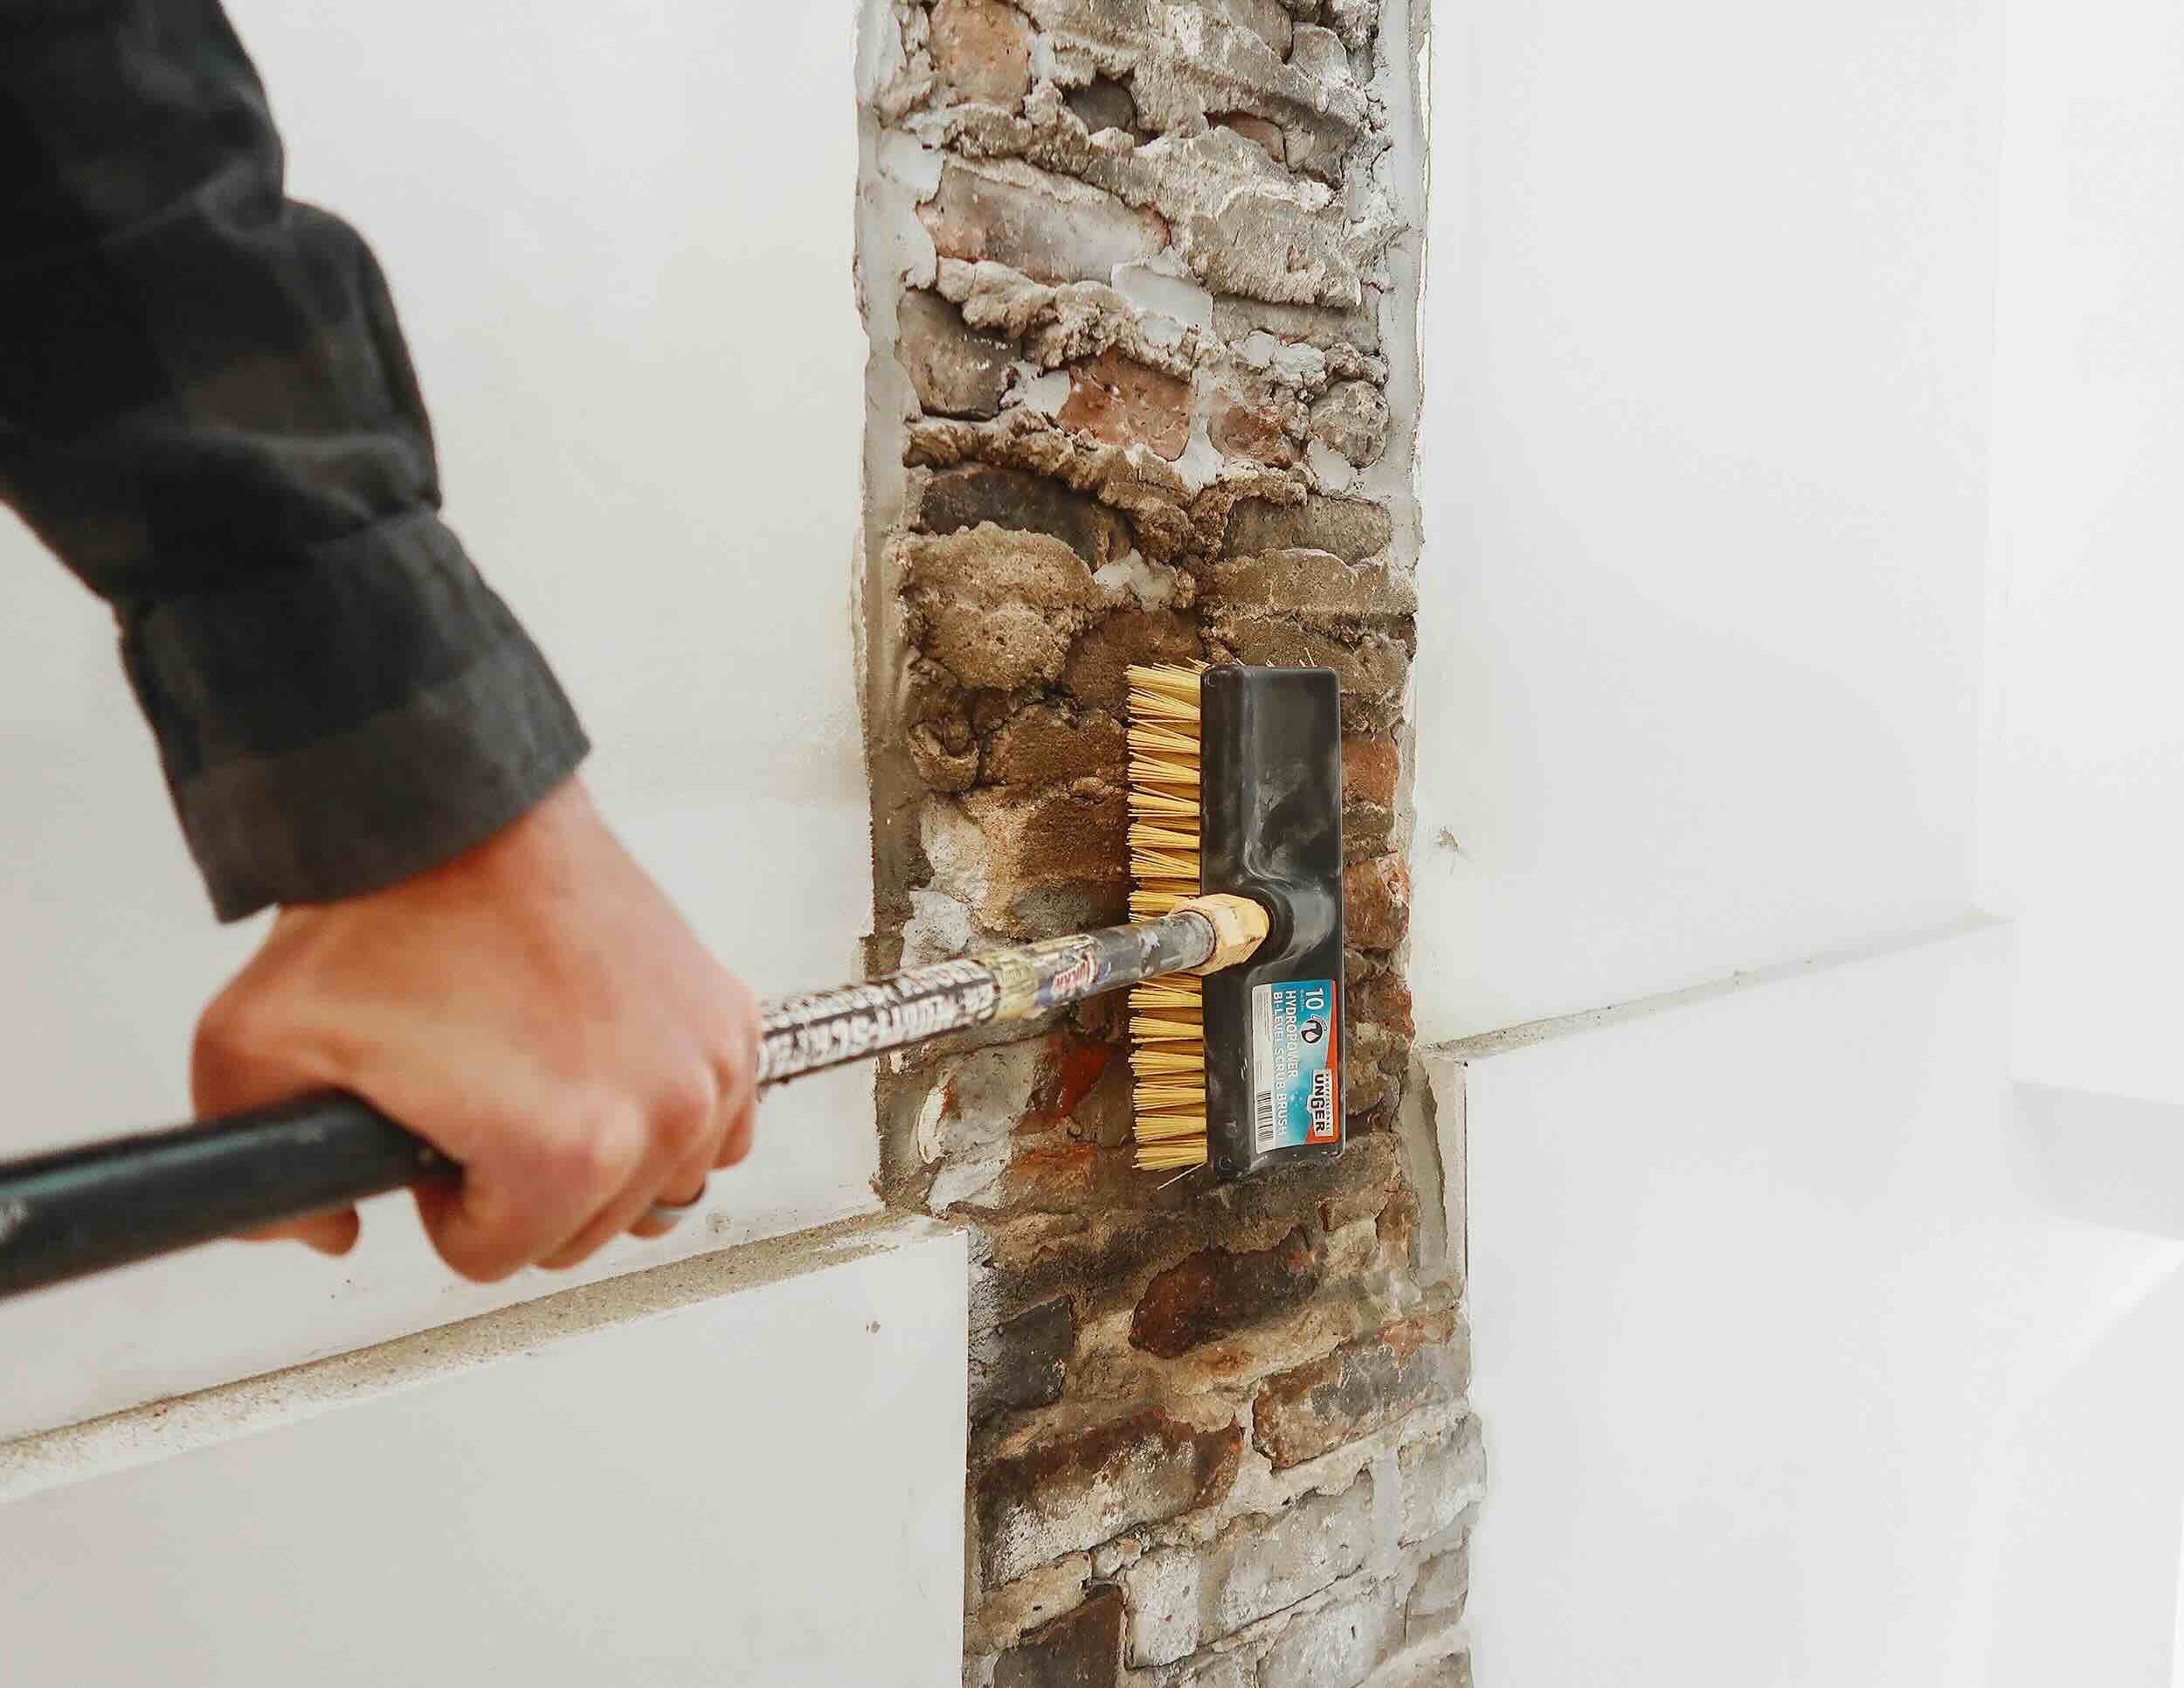
- Clean and prepare the damaged area: Thoroughly clean the damaged area, removing any loose debris, dust, or peeling paint. Ensure that the edges of the hole or damaged area are smooth and even.
- Create a patch: Measure the dimensions of the hole or damaged area and cut a piece of drywall that will fit perfectly as a patch. You can use a utility knife to cut the drywall to size.
- Insert the patch: Apply a layer of joint compound to the backside of the patch and carefully insert it into the hole or damaged area. Press firmly to ensure proper adhesion.
- Secure the patch: Use drywall screws to secure the patch in place. Place one screw in each corner of the patch, making sure it sits flush with the surrounding wall.
- Apply joint compound: Use a putty knife or trowel to apply a layer of joint compound around the edges of the patch. Extend the compound beyond the edges of the patch to create a feathered edge that blends with the surrounding wall. Smooth out the compound and let it dry according to the manufacturer’s instructions.
- Sand and repeat: Once the joint compound is dry, use sandpaper or a sanding block to smooth out the repaired area. Remove any excess compound and create a seamless transition between the patch and the rest of the wall. Apply a second layer of joint compound if necessary and repeat the sanding process.
- Prime and paint: After the repaired area is smooth and even, apply a coat of primer to ensure proper paint adhesion. Once the primer is dry, paint the repaired area to match the rest of the wall. Apply multiple coats if needed, allowing each coat to dry before applying the next one.
Repairing larger holes and damaged areas in your mobile home’s interior walls requires a bit more effort, but with patience and precision, you can achieve a professional-looking finish. By properly securing the patch, applying multiple layers of joint compound, and ensuring a smooth and seamless surface, you will restore the integrity and aesthetics of your walls.
Remember to take your time during each step of the repair process and allow sufficient drying time between coats of joint compound and paint. By following these steps, you can effectively repair larger holes and damaged areas in your mobile home’s interior walls and enjoy a beautifully restored living space.
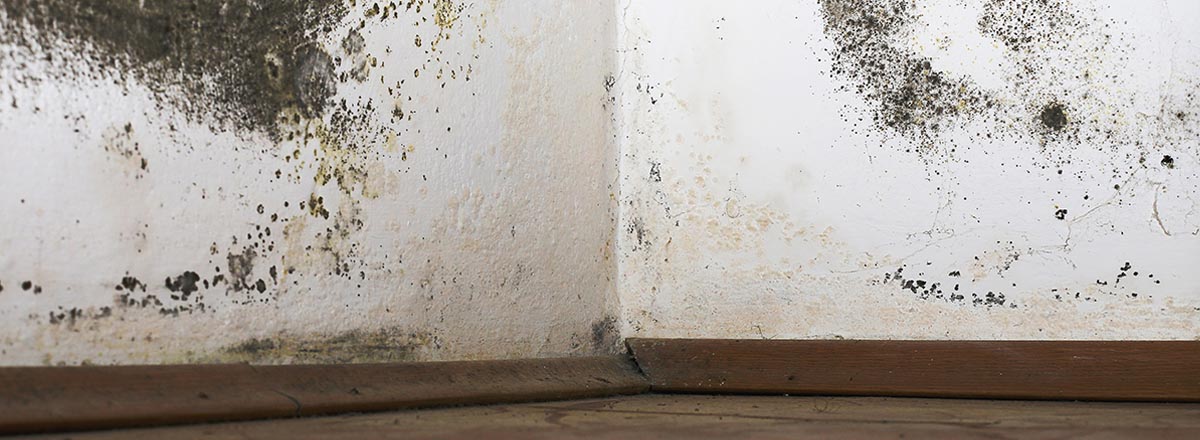
Fixing Water Damage
Water damage is a common issue that can occur in mobile homes, especially in areas prone to high humidity or leaks. If left unaddressed, water damage can cause structural issues and compromise the integrity of your mobile home’s interior walls. It’s crucial to fix water damage promptly to prevent further deterioration and restore the affected areas.
Here are the steps to fix water damage in your mobile home’s interior walls:
- Identify the source of the water: The first step in addressing water damage is to identify and fix the source of the water. Whether it’s a leaky pipe, a roof leak, or condensation issues, resolving the underlying problem is essential to prevent future damage.
- Dry the affected area: Using fans, dehumidifiers, or natural ventilation, dry the affected area thoroughly before proceeding with repairs. Ensure that there is no moisture present, as it can lead to mold growth or further damage.
- Remove damaged material: If the water damage is severe and has caused the wallboard or drywall to become soft or crumble, it will need to be removed and replaced. Carefully cut out the damaged section using a utility knife or saw, ensuring straight and clean edges.
- Address mold or mildew: If you notice mold or mildew growth on the affected walls, it’s important to address it before making repairs. Use a mixture of water and bleach to clean the affected area and kill any mold or mildew. Allow the area to dry completely.
- Replace damaged material: Measure and cut a new piece of wallboard or drywall to replace the damaged area. Secure it in place using screws or nails, making sure it sits flush with the surrounding wall.
- Apply joint compound: Once the new piece of wallboard or drywall is securely in place, apply a layer of joint compound to the seams and edges. Use a putty knife or trowel to smooth out the compound and create a seamless transition.
- Sand and finish: After the joint compound has dried, use sandpaper or a sanding block to smooth out the repaired area. Remove any excess compound and create a smooth surface. Wipe away any dust with a clean cloth.
- Prime and paint: Before painting the repaired area, apply a coat of primer to ensure proper adhesion. Once the primer has dried, paint the repaired area to match the rest of the wall, applying multiple coats if necessary.
Fixing water damage in your mobile home’s interior walls requires prompt action and thorough repairs. By addressing the source of the water, drying the area, replacing damaged material, and applying joint compound and paint, you can effectively fix water damage and restore the affected walls to their original condition.
Remember to wear protective equipment, such as gloves and a mask, when dealing with water-damaged materials or mold. If the water damage is extensive or you are unsure of your abilities, it’s best to consult a professional for guidance and assistance.
By taking the necessary steps to fix water damage, you can protect your mobile home’s interior walls from further deterioration and ensure a safe and healthy living environment.
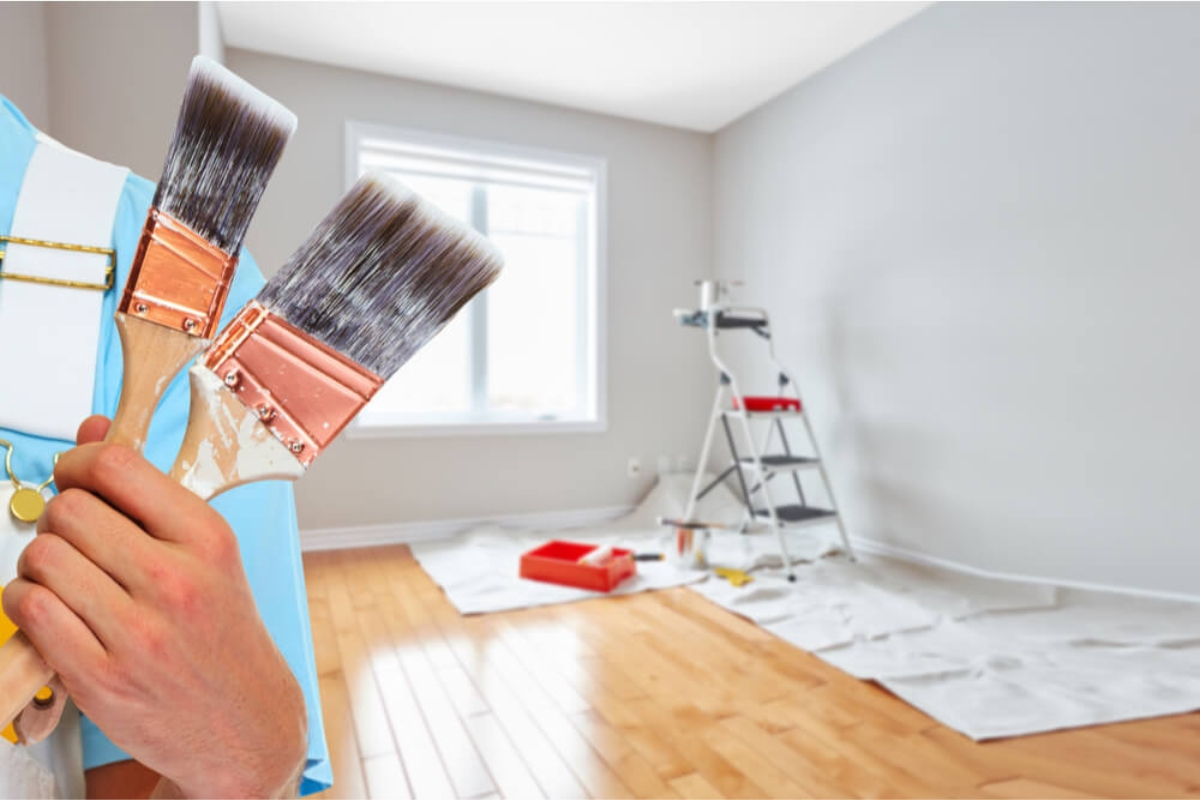
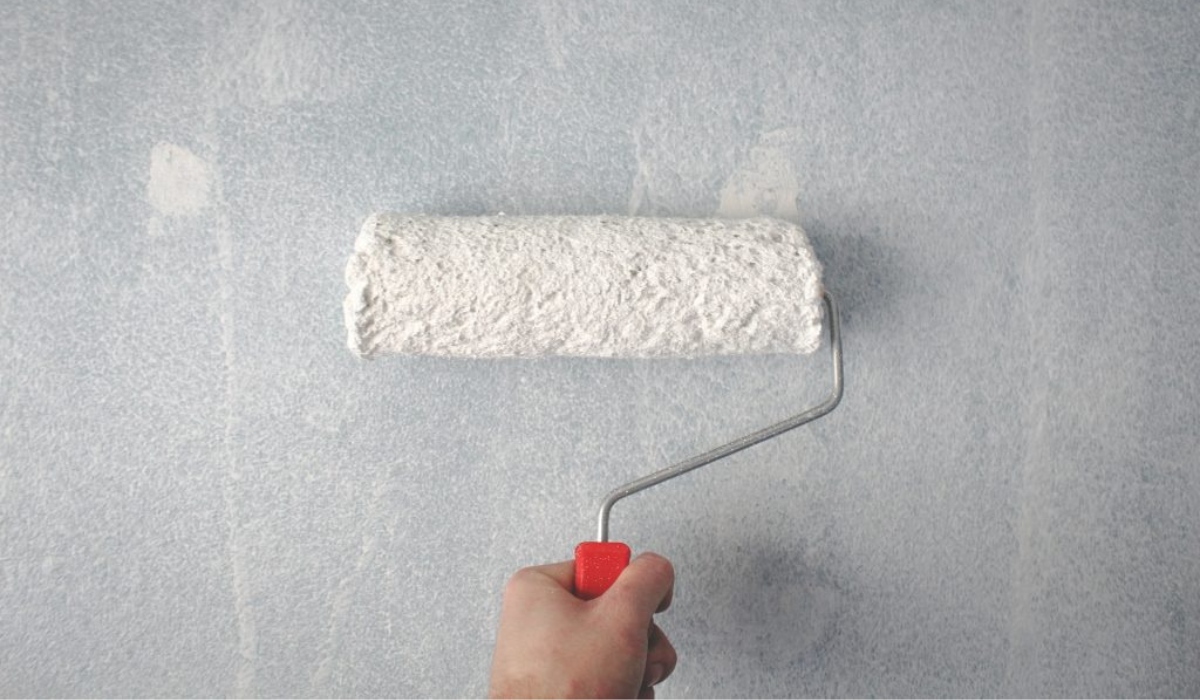
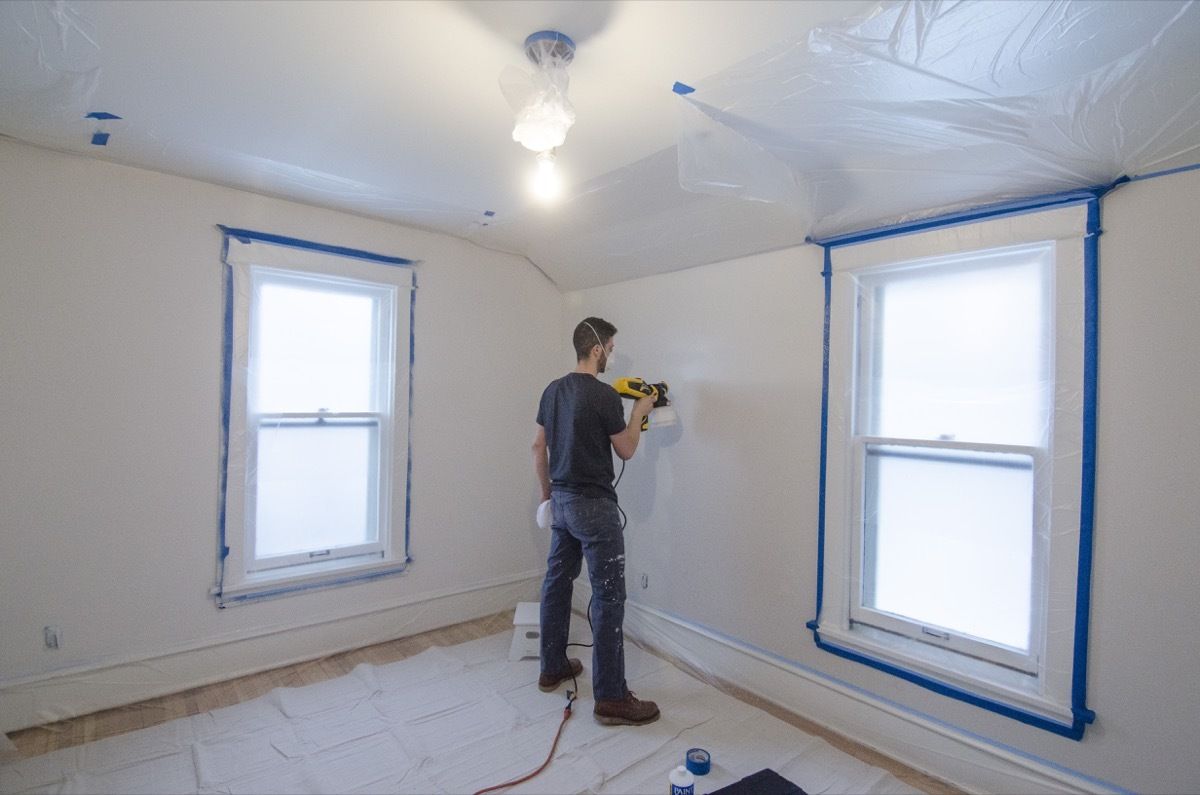
Applying Primer and Painting
Once you have repaired the interior walls of your mobile home, it’s time to apply primer and paint to give them a refreshed and finished look. Applying primer is an important step as it ensures proper adhesion of the paint and enhances the overall durability of the painted surface.
Here’s how to apply primer and paint to your mobile home’s interior walls:
- Clean the walls: Before applying primer, make sure the repaired walls are clean and free from dust or debris. Use a damp cloth or sponge to wipe down the walls and ensure a smooth surface for priming and painting.
- Protect surrounding areas: Use painter’s tape to cover any areas or surfaces you don’t want to be painted, such as trim, windows, or fixtures. Lay down drop cloths or plastic sheeting to protect your flooring and furniture from paint splatters.
- Choose the right primer: Select a quality primer that is suitable for the type of surface you are painting. For example, if you have repaired drywall, choose a primer specifically formulated for drywall surfaces. Follow the manufacturer’s instructions for application and drying time.
- Apply primer: Use a paint roller or brush to apply the primer evenly over the repaired areas and the rest of the wall. Work in small sections, starting from the top and working your way down. Make sure the primer is applied in a thin and even layer, allowing it to dry completely before proceeding.
- Sand the primer: Once the primer has dried, use fine-grit sandpaper or a sanding block to lightly sand the primed surface. This will create a smooth and even texture, ensuring optimal paint adhesion.
- Choose the paint: Select a paint color and finish that suits your desired aesthetic and complements your mobile home’s interior decor. Consider using a paint that is specifically formulated for interior walls and is durable and easy to clean.
- Apply paint: Use a paint roller or brush to apply the paint to the primed and sanded walls. Start from the top and work your way down, ensuring even coverage and smooth strokes. Apply multiple coats if needed, allowing proper drying time between each coat.
- Remove painter’s tape: Once the paint has dried, carefully remove the painter’s tape from the protected areas. This will reveal clean and crisp lines between the painted walls and the adjoining surfaces.
Applying primer and paint is the final step in rejuvenating your mobile home’s interior walls. The primer ensures proper adhesion and enhances the longevity of the paint, while the paint adds color and personality to your living space.
Remember to ventilate the area while priming and painting, and follow all safety precautions mentioned on the primer and paint containers. Consider adding a second coat of paint if necessary to achieve the desired color intensity and coverage.
With primer and paint, you can transform your repaired walls into a beautiful and welcoming space within your mobile home. Enjoy the satisfaction of a job well done and showcase your personal style in every room.
Conclusion
Repairing the interior walls of your mobile home is a crucial step in maintaining its condition and creating a comfortable living environment. Whether you’re dealing with small holes and cracks, water damage, or larger holes and damaged areas, taking the time to repair and refresh your walls can make a significant difference in the overall appearance and functionality of your mobile home.
By following the steps outlined in this article, you can successfully repair and restore your mobile home’s interior walls. Assessing the damage, gathering the necessary materials, preparing the walls for repair, patching small holes and cracks, addressing water damage, and applying primer and paint are all essential aspects of the repair process.
Remember to take your time, follow safety precautions, and pay attention to detail throughout the repair journey. Whether you’re a seasoned DIY enthusiast or a beginner, repairing mobile home interior walls is a task that can be accomplished with the right tools, materials, and techniques.
By giving your walls a fresh and finished look, you can enhance the aesthetics of your mobile home’s interior and create a space that reflects your personal style and preferences. Additionally, the repairs you make will contribute to the overall durability and longevity of your walls, ensuring they withstand the test of time.
Don’t hesitate to seek professional assistance if you encounter challenging repairs or need guidance along the way. Professionals can provide valuable expertise and ensure a successful outcome for your mobile home’s interior walls.
So, take the necessary steps, put your skills to work, and restore the beauty of your mobile home’s interior walls. With each repaired section, you’ll be one step closer to creating a cozy and inviting space that you can truly call home.
Frequently Asked Questions about How To Repair Mobile Home Interior Walls
Was this page helpful?
At Storables.com, we guarantee accurate and reliable information. Our content, validated by Expert Board Contributors, is crafted following stringent Editorial Policies. We're committed to providing you with well-researched, expert-backed insights for all your informational needs.

0 thoughts on “How To Repair Mobile Home Interior Walls”