
Articles
How To Retile Bathroom Floor
Modified: December 7, 2023
Learn how to retile your bathroom floor with helpful articles and step-by-step instructions. Upgrade your space with these easy-to-follow tips.
(Many of the links in this article redirect to a specific reviewed product. Your purchase of these products through affiliate links helps to generate commission for Storables.com, at no extra cost. Learn more)
Introduction
Welcome to our comprehensive guide on how to retile your bathroom floor. Whether you’re looking to update the look of your bathroom or fix broken or worn-out tiles, knowing how to properly retile the floor is an important skill for any homeowner or DIY enthusiast. This step-by-step article will guide you through the process, providing helpful tips and techniques along the way.
Retiling a bathroom floor can seem like a daunting task, but with the right tools, materials, and instructions, you can achieve professional-looking results. By following these steps, you can transform your bathroom into a fresh and inviting space.
Before we dive into the process of retiling your bathroom floor, it’s essential to note that this is a relatively advanced task that requires some basic knowledge of DIY projects. If you’re not confident in your abilities, it’s always a good idea to consult with a professional or seek assistance.
Now, let’s get started on transforming your bathroom floor!
Key Takeaways:
- Transform your bathroom with a professional-looking tile floor by following our comprehensive guide. From preparation to grouting, achieve stunning results with careful planning and execution.
- Ensure a successful bathroom floor retiling project by prioritizing safety, accurate measurements, and proper maintenance. Infuse your personal style and creativity for a stunning and durable end result.
Read more: How To Retile Backsplash
Step 1: Preparation
Before you begin the process of retiling your bathroom floor, it’s crucial to prepare the area properly. Proper preparation ensures a smooth and successful tiling project.
The first step in the preparation process is to clear the bathroom floor of any obstacles. Remove any furniture, rugs, or other items from the area so that you have a clear workspace.
Next, turn off the water supply to any fixtures in the bathroom, such as toilets or sinks. This precaution will prevent any accidental water damage during the tiling process.
Now, it’s time to assess the condition of your existing floor. Check for any damaged or loose tiles and determine whether they need to be replaced or repaired before proceeding with the retiling process.
If you decide to remove old tiles, it’s essential to ensure that the subfloor is in good condition. Inspect the subfloor for any signs of water damage or decay. If you notice any issues, it’s crucial to address them before moving forward to ensure a solid foundation for your new tiles.
In addition to checking the subfloor, it’s also essential to ensure that the existing tiles are clean and free of debris. Use a broom or vacuum to remove any dirt or dust from the surface. You can also use a mild detergent and water solution to clean the tiles if necessary. Allow the floor to dry completely before proceeding.
Lastly, gather all the necessary tools and materials for the tiling project. This includes tiles, adhesive, grout, a trowel, a notched trowel, a tile cutter, a grout float, a sponge, and safety equipment such as gloves and goggles.
By thoroughly preparing the area and gathering all the necessary tools and materials, you’ll be ready to tackle the next steps in the retiling process.
Step 2: Remove Old Tiles
Once you have prepared the area, the next step in the retile process is to remove the old tiles from the bathroom floor. This step is crucial to ensure a clean and smooth surface for installing the new tiles.
Start by protecting yourself with safety gear, such as safety goggles and gloves, to prevent any injuries from flying debris or sharp edges.
Begin by using a chisel and a hammer to gently tap and break a single tile near the edge of the floor. Be careful not to damage the subfloor while doing this. Once the first tile is removed, the process becomes easier.
Continue removing the tiles by using the chisel and hammer to break them up into smaller pieces. This will make it easier to pry them up from the floor. Use a putty knife or a similar tool to carefully pry up the broken tiles from the adhesive or mortar underneath.
Be patient and take your time during this process to avoid damaging the subfloor. If you encounter stubborn tiles that are difficult to remove, applying heat with a heat gun can help soften the adhesive and make the removal easier.
As you remove the tiles, be mindful of any damage or deterioration to the subfloor. If you notice any issues, such as rot or water damage, it’s essential to address them before proceeding with the retiling process. This may involve repairing or replacing sections of the subfloor.
Once all the old tiles are removed, use a broom or vacuum to thoroughly clean up any debris on the floor. This will provide a clean surface for installing the new tiles.
Removing old tiles can be a labor-intensive process, but it’s necessary to achieve a professional and long-lasting result. Take your time and exercise caution to ensure a smooth transition to the next step of the retiling process.
Step 3: Clean and Prepare the Subfloor
With the old tiles removed, it’s time to clean and prepare the subfloor for the installation of the new tiles. Properly preparing the subfloor is essential to ensure a smooth and durable foundation for your bathroom floor.
Start by thoroughly cleaning the subfloor. Remove any remaining debris, adhesive, or mortar from the surface. A scraper or putty knife can be helpful for this task. Be sure to remove any loose or protruding nails as well.
Next, inspect the subfloor for any damage or areas that require repair. Look for signs of rot or water damage and address these issues accordingly. It’s crucial to have a stable and solid subfloor to support the new tiles and prevent future problems.
If necessary, make any repairs to the subfloor before moving forward. This could involve replacing damaged sections, reinforcing weak areas, or applying a primer or sealant to prevent further damage. Ensure that the subfloor is clean, dry, and level before proceeding.
Before installing the new tiles, it’s important to consider the type of flooring material you will be using. Different types of tiles require specific preparations. For example, some types of tiles may require an underlayment or additional adhesive. Consult the manufacturer’s instructions for your specific tile to ensure proper preparation.
Additionally, it’s essential to check the moisture level of the subfloor. Excessive moisture can lead to tile damage and mold growth. Use a moisture meter to test the subfloor and ensure it meets the recommended moisture content before proceeding.
Once the subfloor is clean, dry, and in good condition, you’re ready to move on to the next step: layout and measuring the tiles.
Properly cleaning and preparing the subfloor sets the foundation for a successful tile installation. Taking the time to complete this step will ensure that your new tiles adhere properly and provide a durable and attractive bathroom floor for years to come.
Step 4: Layout and Measure Tiles
Before you start installing the new tiles, it’s crucial to plan out the layout and accurately measure the area. Proper planning ensures that the tiles are evenly distributed and that you have enough tiles to cover the entire floor.
Begin by determining the starting point for your tile installation. This is typically the center of the room or a focal point, such as a vanity or bathtub. A chalk line can be useful to mark the starting point and create a reference line.
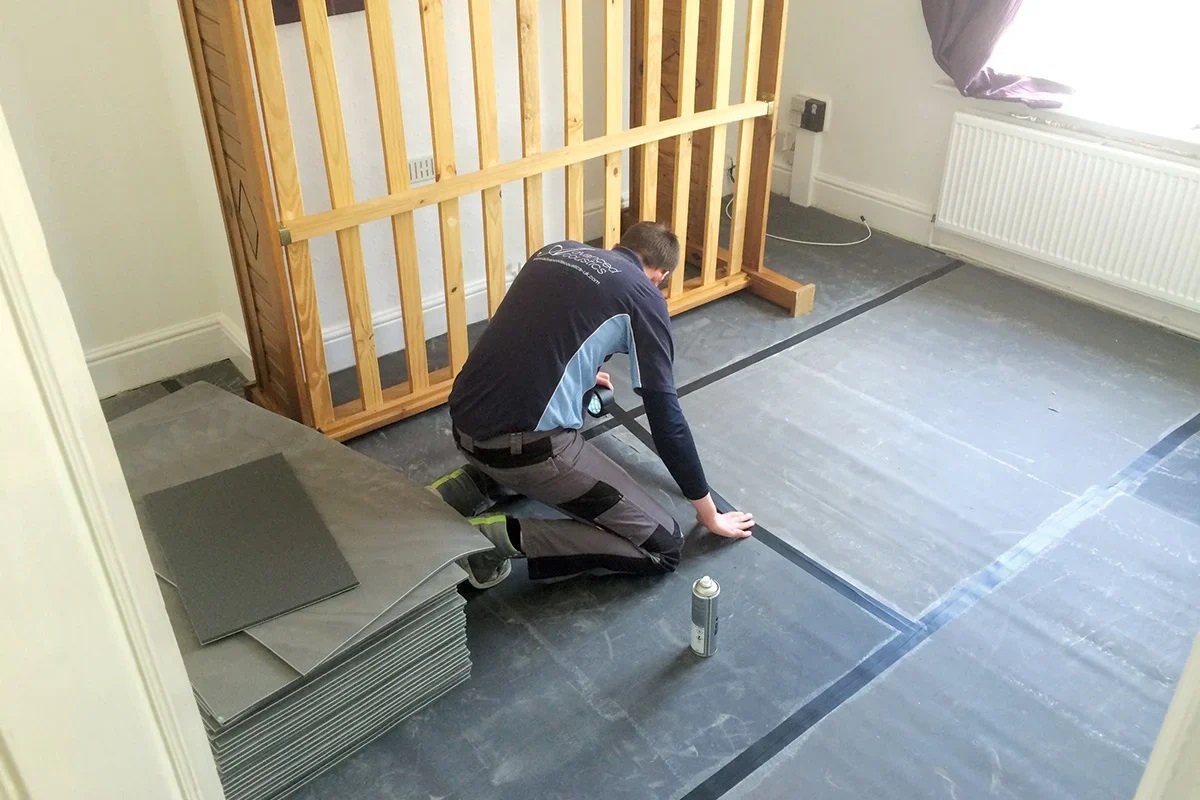
Next, dry-lay the tiles without adhesive to determine the best arrangement and pattern. This step allows you to visualize how the tiles will look before committing to the installation. Consider the placement of cuts and any specific pattern or design you want to achieve.
Once you’re satisfied with the layout, take accurate measurements of the floor area. Measure the length and width of the room and multiply these dimensions to calculate the total square footage. It’s always a good idea to add a few extra tiles to account for cuts and wastage.
When measuring, keep in mind any obstacles or irregularities in the room, such as vents or protrusions. Adjust your measurements accordingly to ensure a proper fit.
Consider using tile spacers during the layout process. These small plastic pieces help maintain consistent spacing between the tiles and ensure a professional finish. They can be easily inserted between tiles and removed once the adhesive is dry.
As you plan the layout and measure the tiles, it’s important to take note of any specific installation guidelines or recommendations for your chosen tile material. Different types of tiles may have different spacing requirements or installation techniques.
Once you have completed the layout and measured the area, you’re ready to move on to the next step: applying adhesive to the subfloor.
Proper planning and accurate measurements are essential for a successful tile installation. Taking the time to lay out the tiles and measure the area correctly will ensure a visually pleasing and well-fitted bathroom floor.
When retiling a bathroom floor, make sure to properly prepare the surface by removing the old tiles, cleaning the subfloor, and applying a suitable adhesive. This will ensure a strong and long-lasting bond for the new tiles.
Step 5: Apply Adhesive
With the layout and measurements complete, it’s time to move on to the next crucial step: applying adhesive to the subfloor. The adhesive is what will securely hold the tiles in place and provide a strong bond.
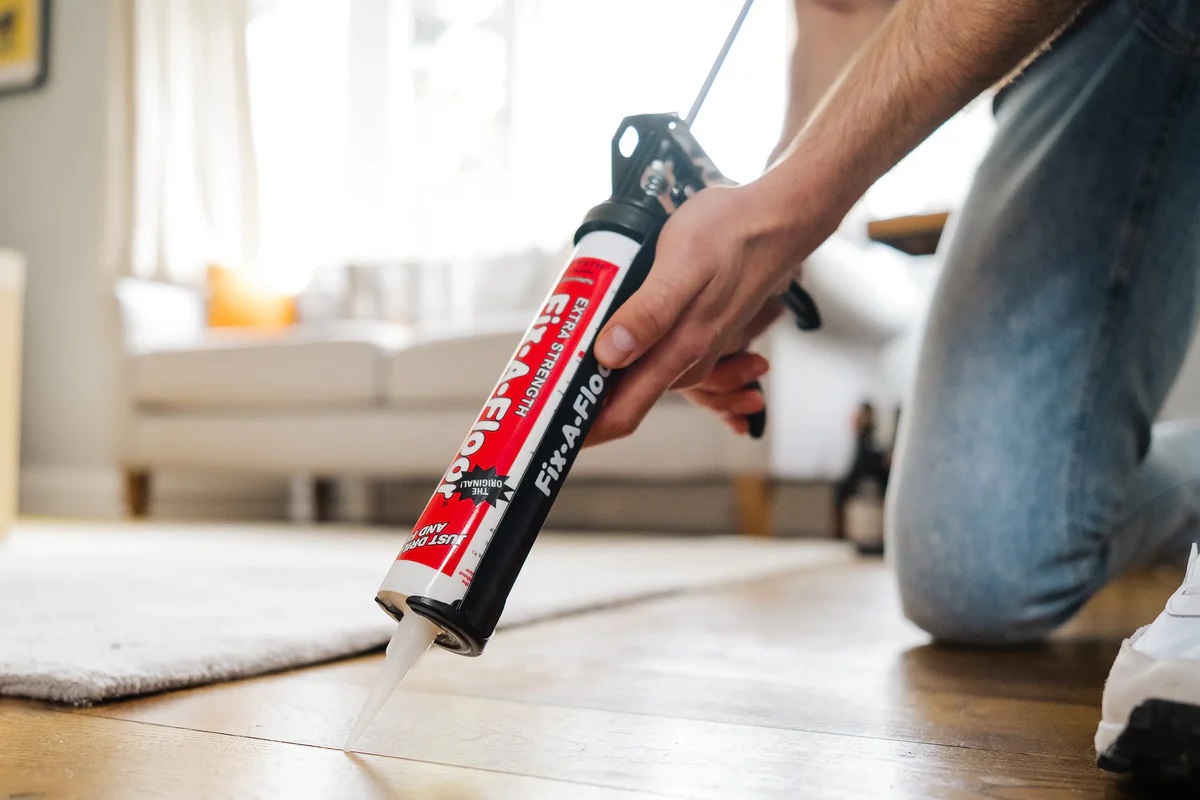
Start by selecting the appropriate adhesive for your tiles and subfloor. The type of adhesive you use will depend on the material of your tiles and the subfloor surface. Consult the manufacturer’s instructions or seek advice from a professional to ensure you choose the correct adhesive.
Begin by mixing the adhesive according to the manufacturer’s instructions. Use a trowel to mix the adhesive until it reaches a smooth and consistent consistency. Avoid mixing too much adhesive at once to prevent it from drying out before you can apply it.
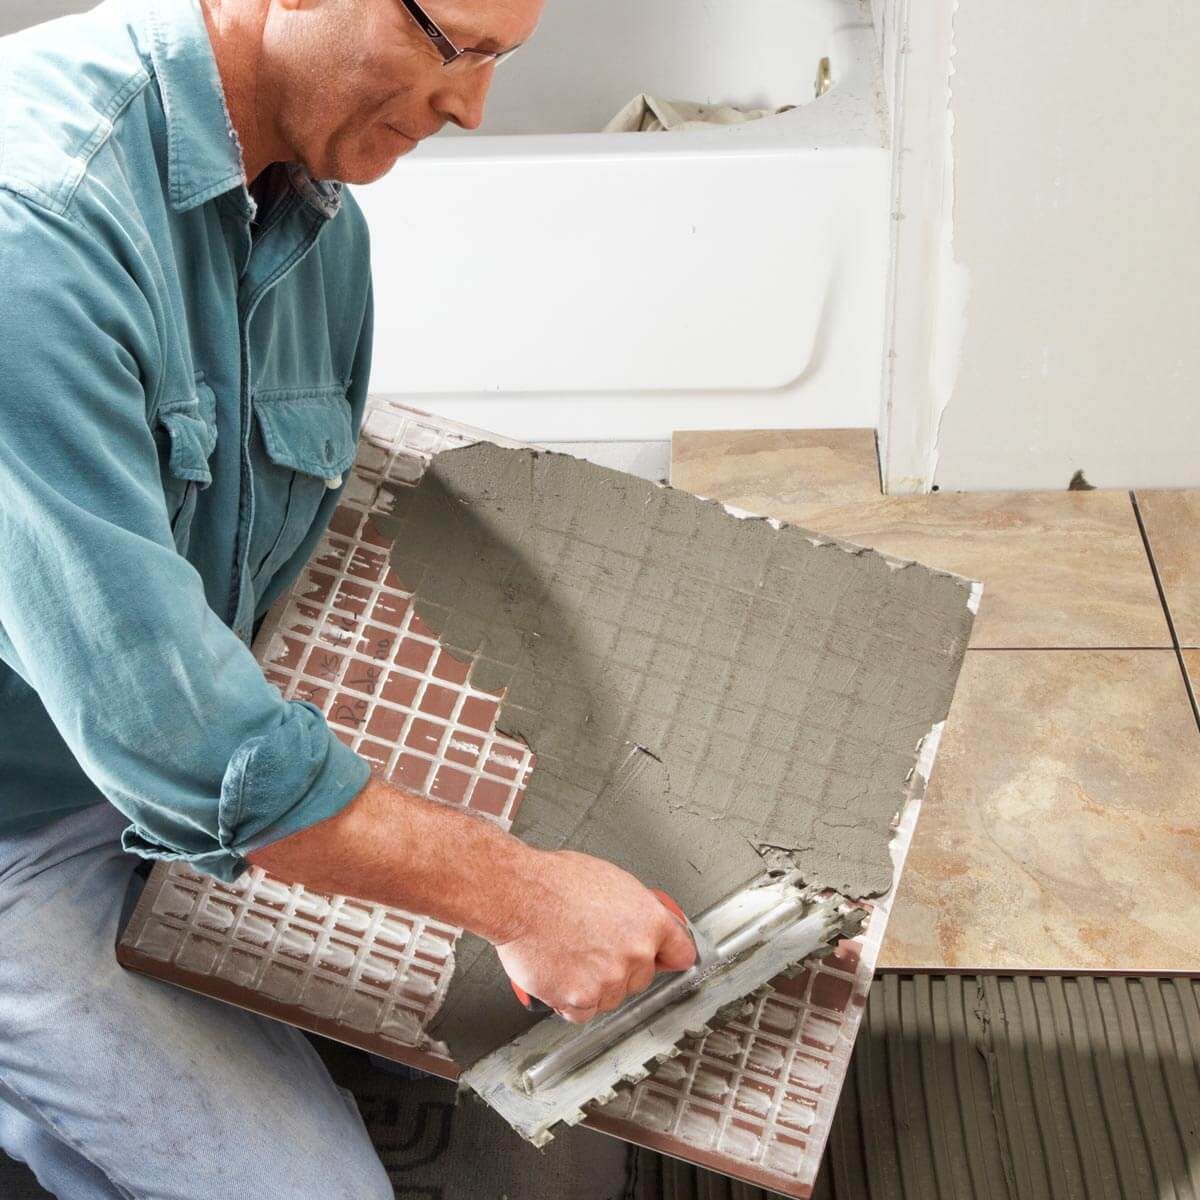
Apply the adhesive to the subfloor using the flat side of the trowel. Start at the reference line you created earlier and spread the adhesive in small, manageable sections. Remember to work quickly, as the adhesive can dry out if left exposed to air for too long.
Use the notched side of the trowel to create ridges or grooves in the adhesive. This helps create a better bond between the adhesive and the tiles. The size and depth of the notches will depend on the recommended trowel size for your specific tiles.
Press the tiles firmly into the adhesive, starting at the reference line and working your way outwards. Use a slight twisting motion to ensure good adhesion and to help level the tiles. Pay attention to the spacing between tiles and use tile spacers if necessary to maintain consistent spacing.
Continue applying adhesive and installing tiles according to your planned layout. Periodically check the alignment and level of the tiles to ensure they are even and straight. If any excess adhesive oozes up between the tiles, use a damp cloth or sponge to remove it before it dries.
Allow the adhesive to cure according to the manufacturer’s instructions before moving on to the next step. This typically takes 24-48 hours, but drying times may vary depending on factors such as humidity and temperature.
Applying adhesive is a critical step in the tiling process. Taking the time to apply it correctly and ensuring a strong bond will result in a durable and long-lasting bathroom floor.
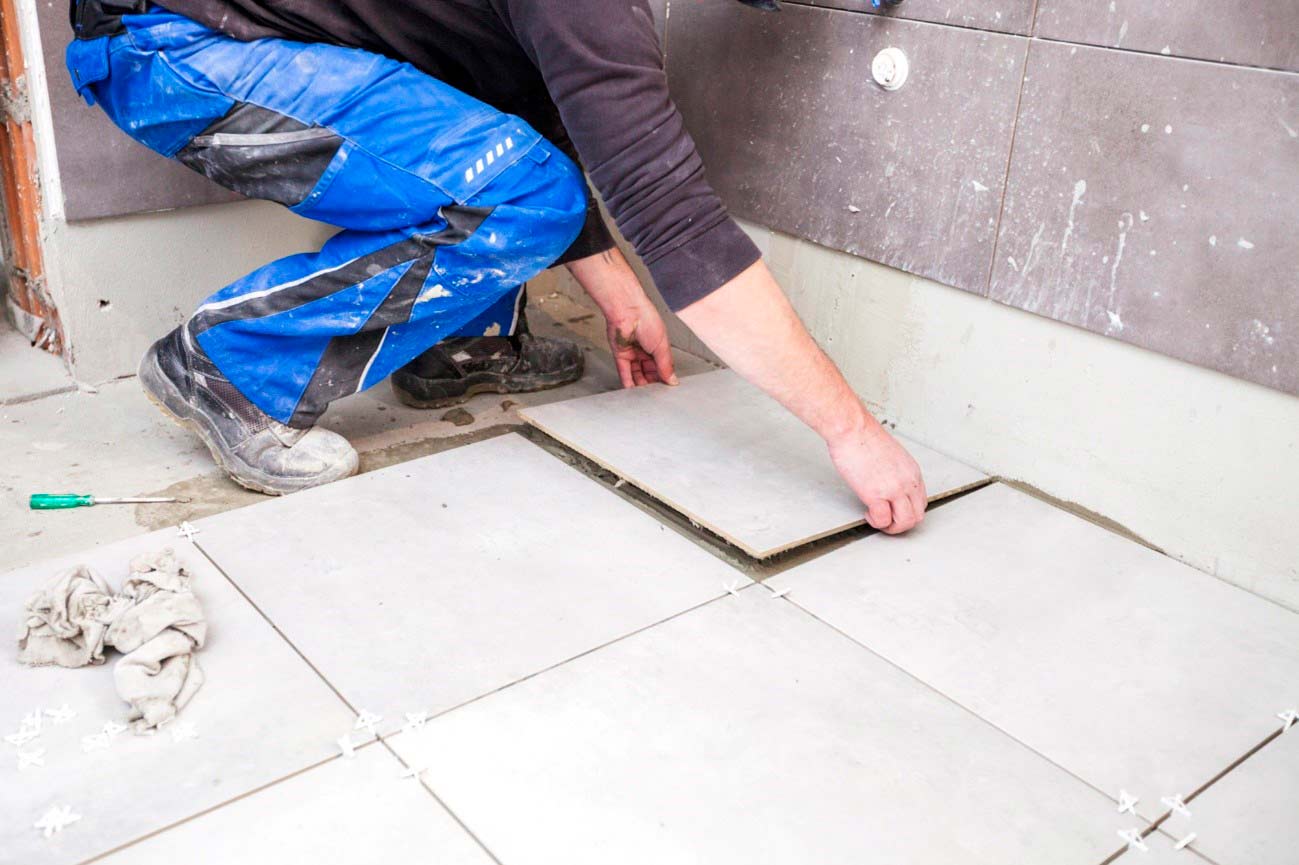
Step 6: Install the Tiles
After allowing the adhesive to cure, it’s time to move on to the exciting step of installing the tiles on your bathroom floor. This step brings your vision to life and transforms the space into a beautifully tiled oasis.
Start by removing any tile spacers that were used during the adhesive application. Gently twist and lift them out, taking care not to disturb the surrounding tiles.
Begin at the reference line and work your way outwards, carefully placing each tile onto the adhesive. Use a slight twisting motion to ensure the tile is firmly seated and fully embedded in the adhesive.
As you install the tiles, periodically check their alignment, level, and spacing. Use a level and a rubber mallet or a wooden block to gently tap the tiles into place if needed. This will ensure that they are flush with each other and create a uniform and professional look.
If you need to cut tiles to fit around edges, corners, or obstacles, use a tile cutter or a wet saw. Measure carefully and mark the tiles before making any cuts. When cutting, follow the manufacturer’s instructions to ensure accurate and precise cuts.
Continue installing the tiles, working in small sections and allowing each section to set before moving on to the next. This will prevent accidentally disturbing the freshly laid tiles.
As you progress, periodically clean any excess adhesive or grout from the surface of the tiles using a damp sponge or cloth. This will help maintain a clean and polished appearance.
Pay attention to any patterns or designs you planned during the layout process. Ensure that they are maintained as you install the tiles. Step back and assess the overall look and make any adjustments if necessary.
Continue laying tiles until the entire floor area is covered. Take your time and work diligently to ensure a high-quality installation. Remember to periodically check the alignment and level of the tiles to maintain a professional finish.
Once all the tiles are installed, allow them to set and bond to the adhesive according to the manufacturer’s instructions. This typically takes 24-48 hours but may vary depending on factors such as humidity and tile material.
Installing the tiles is a gratifying step in the tiling process. Seeing your bathroom floor come to life with each tile brings you one step closer to completing your project.
Step 7: Apply Grout
After the tiles have properly set, it’s time to apply the grout. Grout not only fills in the gaps between tiles but also adds stability and enhances the overall appearance of your bathroom floor.
Start by selecting the appropriate type and color of grout for your tiles. There are various options available, including sanded or unsanded grout and a wide range of colors to choose from. Consider the size of the grout lines and the desired look when making your selection.
Before applying grout, ensure that the gaps between the tiles are clean and free from any debris or adhesive. Use a brush or a vacuum to remove any loose particles. This will ensure that the grout adheres properly and provides a smooth finish.
Next, mix the grout according to the manufacturer’s instructions. Use a grout float or a trowel to apply the grout onto the tiles, making sure to press it firmly into the gaps. Hold the float at a 45-degree angle and work in a diagonal motion to ensure complete coverage.
As you apply the grout, make sure to remove any excess from the tile surface using the edge of the grout float. This will help create clean and even grout lines. Work in small sections to prevent the grout from drying out before you can clean it.
Once you have applied the grout, allow it to set for a short time according to the manufacturer’s instructions. This is known as the “slake” time and allows the grout to start curing.
After the slake time, use a damp sponge or grout haze remover to gently wipe away any grout residue from the tile surface. Rinse the sponge frequently and ensure that you do not remove any grout from the gaps. This step helps create a smooth and polished look.
As you clean the grout, take care not to disturb the grout lines or drag excess moisture between tiles. This can cause the grout to become weak or discolored. Wipe the tiles gently in a circular motion to avoid damaging the fresh grout.
Allow the grout to cure fully according to the manufacturer’s instructions. This typically takes several days, but curing times may vary depending on factors such as humidity and grout type.
Applying grout is the final touch that completes the tiling process. The grout not only fills in the gaps but also provides stability and a finished appearance to your bathroom floor.
Step 8: Clean and Finish
Now that the grout has cured, it’s time to clean and finish your newly tiled bathroom floor. This final step ensures that your tiles are sparkling clean and ready to be enjoyed for years to come.
Start by using a clean, damp sponge or cloth to remove any residue or haze left from the grout. Gently wipe the tiles in a circular motion, taking care not to disturb the freshly cured grout lines. This step will give your tiles a polished and professional look.
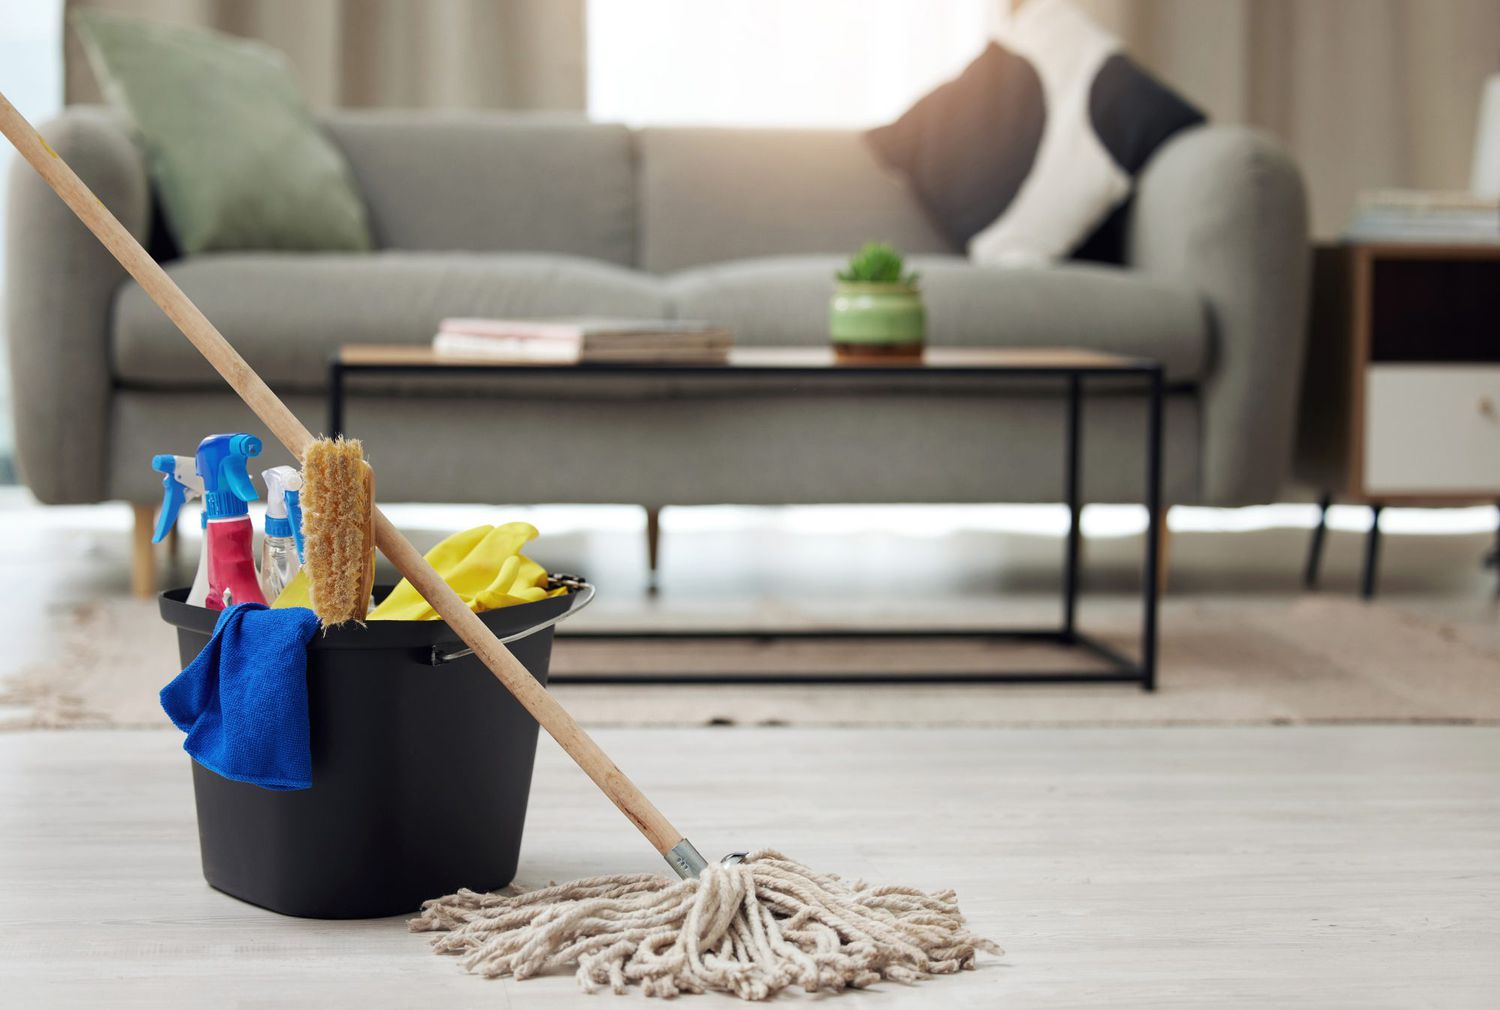
Next, thoroughly clean the entire floor surface to remove any dirt, dust, or grime. Use a mild detergent and warm water solution to mop the floor or scrub it with a soft brush. Avoid using harsh cleaners or abrasive materials that could damage the tiles.
Pay special attention to the grout lines, ensuring that they are clean and free from any debris. You can use a grout brush or an old toothbrush to scrub the grout if necessary. Rinse the floor with clean water to remove any traces of the cleaning solution.
After cleaning, allow the floor to air dry completely. Avoid walking on the freshly cleaned tiles until they are fully dry to prevent any smudges or footprints from appearing.
Once the floor is dry, you can apply a grout sealer if desired. A grout sealer helps protect the grout from stains and keeps it looking fresh over time. Follow the manufacturer’s instructions for the specific sealer you are using.
Lastly, take a moment to inspect the entire floor for any imperfections or areas that may need touch-ups. If you notice any uneven tiles, loose grout, or other issues, address them promptly to ensure a flawless finish.
Congratulations! You have successfully retiled your bathroom floor and completed the entire process. Take a step back and admire your hard work. Your newly tiled bathroom floor is now ready to be enjoyed and admired.
Remember to properly care for your tiled floor by regularly cleaning it with mild detergents and avoiding harsh chemicals or abrasive materials. With proper maintenance, your bathroom floor will stay beautiful and provide years of durability and elegance.
Conclusion
Retiling your bathroom floor is a challenging yet highly rewarding project that can transform the look and feel of your bathroom. By following the step-by-step guide we have provided, you can achieve professional results and create a stunning tile floor that brings joy and beauty to your space.
Throughout this article, we have covered every essential step, from preparation and removing old tiles to cleaning, measuring, and installing new tiles. We have emphasized the importance of proper planning, accurate measurements, and careful execution to ensure a successful outcome.
Remember, safety should always be a priority during any DIY project. Protect yourself by wearing gloves and goggles, especially when removing old tiles or handling sharp tools.
Additionally, take into consideration the type of tiles you choose, as different materials may require specific preparations and installation techniques. Research and consult the manufacturer’s guidelines to ensure you’re using the correct adhesives, grout, and tools for your specific tiles.
Proper maintenance of your newly tiled bathroom floor is also crucial for preserving its beauty and longevity. Regular cleaning and avoiding abrasive materials or harsh chemicals will help keep your tiles looking their best for years to come.
If you ever feel unsure or overwhelmed during the process, don’t hesitate to seek guidance from professionals or consult with knowledgeable experts. They can provide valuable advice and ensure your project is executed with precision.
By following this comprehensive guide and infusing your own creativity and personal style, you can achieve a stunning bathroom floor that reflects your taste and enhances the overall aesthetics of your space.
So, roll up your sleeves, get your tools ready, and embark on this exciting journey of retiling your bathroom floor. Enjoy the process and take pride in the beautiful end result you’ll be able to admire and appreciate every day.
Frequently Asked Questions about How To Retile Bathroom Floor
Was this page helpful?
At Storables.com, we guarantee accurate and reliable information. Our content, validated by Expert Board Contributors, is crafted following stringent Editorial Policies. We're committed to providing you with well-researched, expert-backed insights for all your informational needs.


0 thoughts on “How To Retile Bathroom Floor”