
Articles
How To Set Up Petsafe Wireless Fence
Modified: October 20, 2024
Learn how to set up a Petsafe wireless fence for your pet with our informative articles. Ensure their safety and freedom to roam with easy installation and expert guidance.
(Many of the links in this article redirect to a specific reviewed product. Your purchase of these products through affiliate links helps to generate commission for Storables.com, at no extra cost. Learn more)
Introduction
Welcome to our comprehensive guide on how to set up the Petsafe Wireless Fence system. If you’re a pet owner looking for a way to provide your furry friend with the freedom to roam while keeping them safe and secure, then the Petsafe Wireless Fence system is the perfect solution.
The Petsafe Wireless Fence system is a revolutionary way to establish a boundary for your pets without the need for traditional physical fences. It utilizes cutting-edge technology to create an invisible boundary that keeps your pets within a designated area. This system is not only effective but also convenient and easy to set up.
In this article, we will provide you with step-by-step instructions on how to set up the Petsafe Wireless Fence system and ensure that your pets stay happy, safe, and contained within your desired boundaries.
First, let’s take a closer look at how the Petsafe Wireless Fence system works and why it’s a popular choice among pet owners.
Key Takeaways:
- Setting up the Petsafe Wireless Fence system involves choosing the right location, preparing the system, and installing the transmitter and collar receiver. Thorough testing, training, and troubleshooting are essential for a successful and safe containment solution.
- Training your pet to use the Petsafe Wireless Fence system requires patience, consistency, and positive reinforcement. Monitoring your pet’s progress, adjusting the system as needed, and seeking assistance when troubleshooting are crucial for a smooth and reliable experience.
Read more: How To Line Up Fence Posts
Understanding the Petsafe Wireless Fence System
The Petsafe Wireless Fence system consists of two main components: the transmitter and the collar receiver. The transmitter acts as the central control unit, while the collar receiver is worn by your pet. Together, they work to create a virtual boundary within which your pet can safely roam.
The transmitter emits a radio signal that forms a circular boundary around it. This boundary can be adjusted to suit your specific needs, allowing you to set the distance at which your pet can roam. When your pet approaches the boundary, the collar receiver receives a signal, triggering a warning tone or a mild static correction, depending on the settings you have chosen.
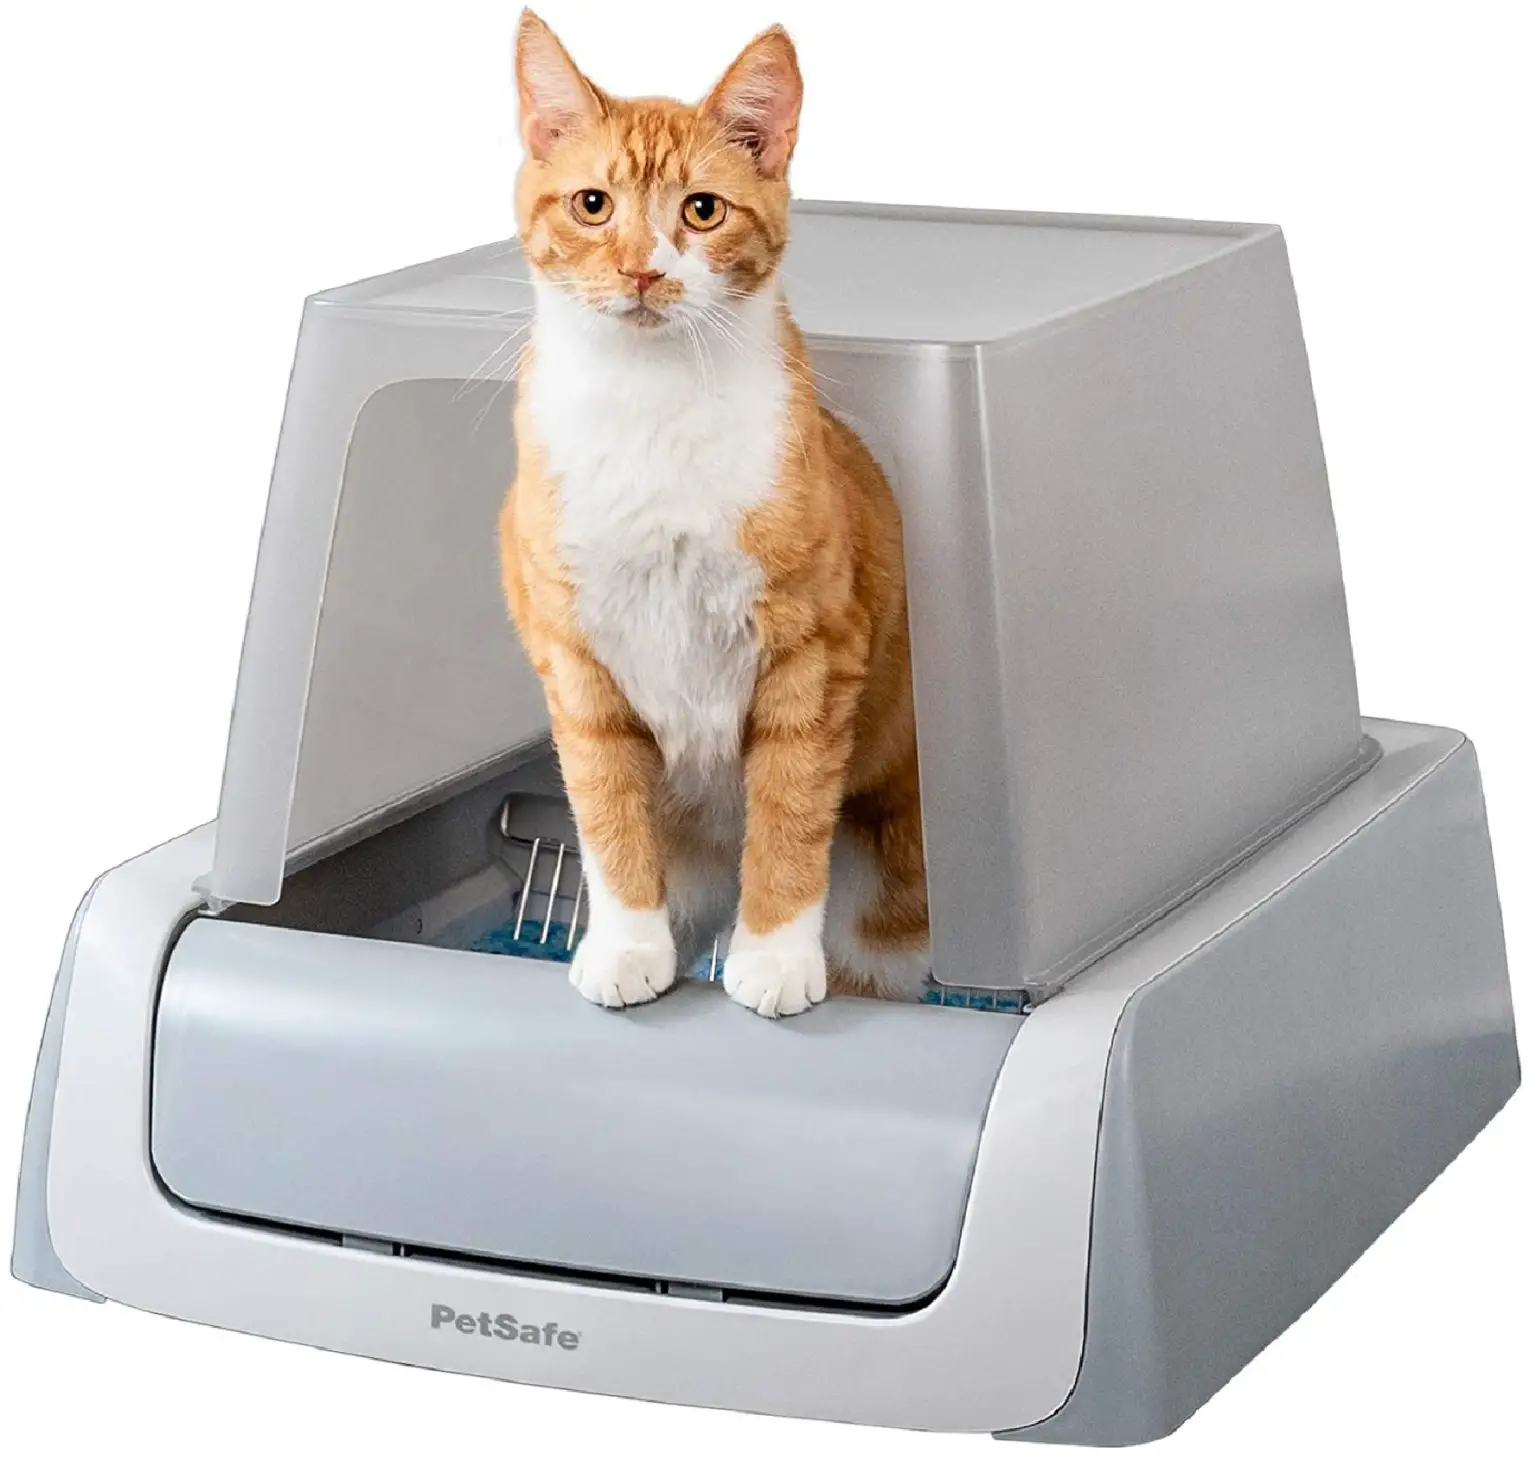
It’s important to note that the Petsafe Wireless Fence system is suitable for dogs over 8 pounds and cats over 6 pounds. The collar receiver is designed to be comfortable, lightweight, and waterproof, ensuring that your pet can wear it comfortably in various weather conditions.
The Petsafe Wireless Fence system offers several advantages over traditional physical fences. Firstly, it eliminates the need for unsightly and expensive fences that may not be suitable for certain properties. Additionally, it provides a more flexible solution, allowing you to easily adjust the boundary or move it to a different location if needed.
Now that you have a clearer understanding of how the Petsafe Wireless Fence system works, let’s move on to the next step: choosing the right location for your fence.
Choosing the Right Location for the Fence
When it comes to setting up the Petsafe Wireless Fence system, choosing the right location is crucial for its optimal functioning. Here are some key factors to consider:
1. Adequate Space: Ensure that you have enough space for your pet to roam comfortably within the designated boundary. Take into account the size and activity level of your pet when determining the size of the boundary.
2. Obstacles and Interference: Avoid placing the transmitter near large metal objects, as they can interfere with the signal. Also, keep the transmitter away from dense vegetation or other physical obstructions that may weaken or block the signal.
3. Power Source Accessibility: Make sure that the chosen location allows easy access to a power source for the transmitter. The transmitter needs to be plugged in at all times to ensure continuous operation.
4. Distance from Water Sources: Keep the transmitter away from water sources such as ponds, swimming pools, or sprinkler systems. Water can interfere with the signal transmission and affect the system’s overall performance.
5. Consider the Pet’s Habits: Take into account your pet’s behavior and habits. If your pet tends to spend most of its time in a specific area, choose a location that includes that area within the boundary. You want to create a boundary that suits your pet’s needs and prevents them from wandering off.
6. Easy Visibility: Ensure that the transmitter is easily visible and accessible for monitoring and adjustments. This will allow you to make any necessary changes to the boundary or settings as needed.
By considering these factors, you can select the ideal location for your Petsafe Wireless Fence system, ensuring a safe and effective containment solution for your beloved pet. Once you’ve identified the right location, it’s time to move on to the next step: preparing the Petsafe Wireless Fence system.
Preparing the Petsafe Wireless Fence System
Before setting up the Petsafe Wireless Fence system, it’s important to take a few preparatory steps to ensure a smooth installation process. Follow these guidelines to get started:
1. Read the User Manual: Familiarize yourself with the user manual provided by Petsafe. This will give you a clear understanding of the system and its components, as well as any specific instructions or precautions to follow during the installation process.
2. Gather the Necessary Equipment: Make sure you have all the required equipment for installation, including the transmitter, collar receiver, boundary flags, and any additional accessories that may come with the system.
3. Check the Batteries: If the collar receiver operates on batteries, ensure that they are fully charged or replace them with fresh batteries. This will ensure that the collar functions properly and is ready for use once the system is set up.
4. Clean the Collar Receiver: If the collar receiver has been previously used, clean it thoroughly to remove any dirt or debris. A clean collar will ensure proper contact between the receiver and your pet’s skin, ensuring consistent signal transmission.
5. Prepare the Boundary Flags: The boundary flags are visual markers that help your pet learn the boundaries of the invisible fence. Place the flags around the perimeter of the designated boundary, ensuring they are clearly visible to your pet.
6. Plan the Training Process: It is important to have a training plan in place to familiarize your pet with the new fence system. This may involve introducing them to the boundary flags, using positive reinforcement techniques, and gradually increasing their exposure to the static correction if necessary.
By taking these preparatory steps, you can ensure that you have everything you need and that the Petsafe Wireless Fence system is ready for installation. Now that you’re prepared, let’s move on to the next step: installing the transmitter.
Installing the Transmitter
The transmitter is the central control unit of the Petsafe Wireless Fence system. Follow these steps to properly install the transmitter:
1. Choose a Central Location: Select a central location for the transmitter that allows for optimal signal coverage. It should be near a power source and within range of the desired boundary area. Ensure that there are no large metal objects or obstructions that could interfere with the signal.
2. Plug in the Transmitter: Connect the transmitter to a power source using the provided power adapter. Make sure the power outlet is easily accessible and won’t be accidentally unplugged.
3. Adjust the Signal Strength: Use the signal strength dial on the transmitter to adjust the coverage area. Start with a low setting and gradually increase it until the desired boundary is achieved. Remember to account for obstructions and interference that may affect the signal strength.
4. Test the Signal: Walk around the boundary area with the collar receiver in hand. Listen for the warning tone or observe the static correction indicator to ensure that the signal is reaching the intended boundary. Adjust the signal strength if necessary.
5. Secure the Transmitter: Once you have determined the optimal signal strength and verified that the boundary is functioning properly, secure the transmitter in its designated location. Use screws, adhesive strips, or any other provided mounting materials to keep it in place.
6. Verify Signal Integrity: Take a walk around the boundary area with the collar receiver to ensure that the signal remains consistent and reliable. Investigate any areas where the signal may be weak or inconsistent, and reposition the transmitter if necessary.
By following these steps, you can successfully install the transmitter for your Petsafe Wireless Fence system. With the transmitter in place, it’s time to move on to the next step: setting up the collar receiver.
When setting up a Petsafe wireless fence, make sure to place the transmitter in a central location in your home and test the boundaries to ensure your pet’s safety.
Read more: How To Put Up Garden Fence
Setting Up the Collar Receiver
The collar receiver is a crucial component of the Petsafe Wireless Fence system, as it communicates with the transmitter and provides the necessary warnings and corrections to your pet. Here’s how to properly set up the collar receiver:
1. Adjust the Collar Strap: Ensure that the collar strap is adjusted to fit your pet’s neck comfortably. It should be snug but not too tight. Check the user manual for specific instructions on how to adjust the collar strap for your particular model.
2. Attach the Receiver to the Collar Strap: Securely attach the receiver unit to the collar strap according to the manufacturer’s instructions. Double-check that the receiver is properly aligned and fastened to prevent it from coming loose during your pet’s activities.
3. Insert and Test the Batteries: If your collar receiver is battery-operated, insert the batteries following the provided guidelines. Make sure they are properly inserted and that the battery compartment is securely closed. Test the collar receiver to ensure that it powers on and operates correctly.
4. Configure the Correction Level: Depending on your pet’s size and temperament, adjust the correction level on the collar receiver. Most systems offer multiple settings, ranging from low to high. Start with the lowest setting and observe your pet’s reaction to determine the appropriate level for training.
5. Introduce the Collar Receiver: Allow your pet to become familiar with the collar receiver before using the system. Let them sniff and inspect it, and use treats or positive reinforcement to create a positive association with the collar.
6. Attach the Collar Receiver to Your Pet: Once your pet is comfortable with the collar receiver, attach it to their neck. Ensure that the contact points on the collar are touching the skin and that the collar is properly fitted. Use the collar as directed by the manufacturer, ensuring it is neither too loose nor too tight on your pet’s neck.
With the collar receiver properly set up and attached to your pet, you are one step closer to providing them with a safe and secure environment. Now, it’s time to move on to the next step: testing and adjusting the fence.
Testing and Adjusting the Fence
After setting up the Petsafe Wireless Fence system and attaching the collar receiver to your pet, it’s important to test and adjust the fence to ensure its effectiveness and your pet’s safety. Follow these steps to properly test and adjust the fence:
1. Set the Boundary Flags: Place the boundary flags along the perimeter of the designated boundary. These visual markers will help your pet visually recognize the boundaries of their containment area.
2. Walk Towards the Boundary: With the collar receiver on your pet and the transmitter powered on, walk towards the boundary with your pet on a leash. Ensure that the warning tone or static correction is triggered when you approach the boundary.
3. Observe Your Pet’s Reaction: Pay close attention to your pet’s behavior as they approach the boundary. Look for signs of hesitation, recognition of the boundary flags, or any signs of fear or distress. If necessary, adjust the correction level on the collar receiver to ensure it is effective without being overly intense for your pet.
4. Test Different Areas: Walk your pet around different parts of the boundary to verify consistent signal reception and adherence to the designated boundaries. If you notice any inconsistencies or weak signal areas, consider repositioning the transmitter or adjusting the signal strength accordingly.
5. Reinforce Boundaries with Training: During the testing process, continue to reinforce the boundaries with positive reinforcement and training techniques. Use treats, praise, and rewards to create positive associations and help your pet understand the limits of their designated area.
6. Make Necessary Adjustments: Based on your observations and testing, make any necessary adjustments to the boundary, signal strength, or collar settings. Ensure that the system provides a safe and effective containment solution for your pet.
By thoroughly testing and adjusting the fence, you can ensure that your pet understands the boundaries and experiences minimal discomfort or confusion while using the Petsafe Wireless Fence system. Now, let’s move on to the crucial step of training your pet to use the fence.
Training Your Pet to Use the Fence
Training your pet to use the Petsafe Wireless Fence system is essential to their safety and understanding of boundaries. Follow these steps to effectively train your pet:
1. Introduce Your Pet to the Boundary Flags: Allow your pet to familiarize themselves with the boundary flags placed around the perimeter. Let them explore and sniff the flags, associating them with the invisible boundaries.
2. Begin Training Indoors: Start training your pet indoors in a controlled environment. Place the collar receiver on your pet, ensuring they are comfortable and relaxed. Guide them towards the boundary flags while using treats and positive reinforcement to create a positive association.
3. Use Visual and Audible Cues: Walk towards the boundary flags with your pet on a leash, allowing them to hear the warning tone emitted by the collar receiver. Simultaneously, use a verbal cue or hand signal to indicate the boundary. Reward your pet for stopping or turning away from the boundary.
4. Gradually Increase Exposure: Over time, gradually increase your pet’s exposure to the boundary and reduce their reliance on the leash. Repeat the training sessions and gradually remove the leash, always observing your pet’s reaction and providing rewards for correct behavior.
5. Monitor Your Pet’s Progress: Watch your pet closely during training sessions and in the initial stages of using the fence. Observe their behavior, body language, and response to the warning tone or static correction. Assess their understanding of the boundaries and adjust training accordingly.
6. Consistency and Positive Reinforcement: Be consistent in your training approach and use positive reinforcement techniques consistently. Reward your pet for staying within the boundaries and exhibiting good behavior. Avoid punishment or negative reinforcement, as it can confuse or scare your pet.
7. Gradually Phase Out Rewards: As your pet becomes more familiar with the boundaries and consistently respects them, gradually reduce the frequency of treats and rewards. However, occasional rewards and praise can reinforce good behavior and remind your pet of the boundaries.
8. Supervise Outdoor Activities: Initially, supervise your pet’s outdoor activities while they are using the wireless fence. Ensure they are staying within the boundaries and reinforce training if needed. Over time, as your pet becomes accustomed to the system, you can gradually increase their unsupervised outdoor time.
Remember that every pet is unique, and training progress may vary. Patience, consistency, and positive reinforcement are key for successful training with the Petsafe Wireless Fence system. With time and proper training, your pet will understand and respect the boundaries, allowing them to safely enjoy their outdoor space.
Now that you have a good understanding of the training process, let’s move on to the next section: troubleshooting tips.
Troubleshooting Tips
As with any system, you may encounter occasional challenges or issues when setting up or using the Petsafe Wireless Fence system. Here are some troubleshooting tips to help you overcome common obstacles:
1. Weak Signal: If you notice a weak signal or inconsistent boundaries, try repositioning the transmitter to a higher location or a more central spot in your property. Ensure that there are no obstructions or metal objects interfering with the signal.
2. Collar Receiver Not Responding: If the collar receiver does not seem to be responding to the boundary, check the batteries and verify that they are properly inserted and not depleted. Clean the contact points on the collar receiver and ensure a secure fit on your pet’s neck.
3. Adjusting Signal Range: If you need to adjust the signal range or boundaries, refer to the user manual for instructions specific to your Petsafe Wireless Fence system model. Follow the recommended steps to modify the signal strength or increase/decrease the boundary area.
4. Training Challenges: If you’re facing difficulties during training, review your training techniques and ensure that you’re providing consistent and positive reinforcement. Seek advice from professional trainers or consult online resources for additional tips and strategies.
5. Incorrect Static Corrections: If you find that the static corrections are too intense or not activating when your pet crosses the boundary, adjust the correction level on the collar receiver. Start with the lowest setting and gradually increase it until you find the appropriate level for your pet.
6. Weather Interference: Extreme weather conditions, such as heavy rain or snowfall, can interfere with the signal transmission. Keep an eye on the system during severe weather and make adjustments if necessary. Consider using a waterproof cover for the transmitter during heavy rain events.
7. Collar Fit and Comfort: Regularly check the collar fit and ensure that it is not too loose or too tight on your pet’s neck. Make sure the contact points are making proper contact with your pet’s skin and adjust the strap if needed. Regularly clean the collar receiver to prevent skin irritations.
If you’re still experiencing issues with the Petsafe Wireless Fence system after troubleshooting, reach out to Petsafe’s customer support for further assistance. They can provide additional guidance and help resolve any technical or operational challenges you may be facing.
Remember, patience and perseverance are key when troubleshooting. With proper maintenance and problem-solving approaches, you can ensure a smooth and reliable experience with the Petsafe Wireless Fence system.
Now that you’re equipped with troubleshooting knowledge, let’s wrap up this guide.
Read more: How Does Wireless Dog Fence Work
Conclusion
Congratulations on successfully setting up your Petsafe Wireless Fence system! With this revolutionary containment solution, you can provide your pet with the freedom to roam while ensuring their safety and security within the designated boundaries.
We discussed the importance of understanding the Petsafe Wireless Fence system and choosing the right location for optimal functionality. Preparing the system and properly installing the transmitter and collar receiver are vital steps to ensure a seamless experience.
Testing and adjusting the fence, along with consistent training, play a significant role in familiarizing your pet with the boundaries and ensuring their compliance. Remember to use positive reinforcement techniques and monitor their progress throughout the training process.
If you encounter any issues along the way, refer to the troubleshooting tips provided to overcome common challenges. Don’t hesitate to reach out to Petsafe’s customer support for additional assistance if needed.
With the Petsafe Wireless Fence system in place, you can enjoy peace of mind knowing that your pet can safely explore and play within the boundaries you’ve established. It offers convenience, flexibility, and a reliable way to contain your pet without the need for traditional physical fences.
Remember to regularly check the system, ensure collar fit and comfort, and maintain open communication with your pet through positive reinforcement. This will ensure a positive experience for both you and your furry friend.
Thank you for choosing the Petsafe Wireless Fence system and dedicating the time and effort to set it up correctly. Your commitment to your pet’s safety and well-being is evident, and we hope this guide has been informative and helpful.
Enjoy the freedom and security that the Petsafe Wireless Fence system brings to you and your pet. Here’s to many happy and safe adventures together!
Frequently Asked Questions about How To Set Up Petsafe Wireless Fence
Was this page helpful?
At Storables.com, we guarantee accurate and reliable information. Our content, validated by Expert Board Contributors, is crafted following stringent Editorial Policies. We're committed to providing you with well-researched, expert-backed insights for all your informational needs.


0 thoughts on “How To Set Up Petsafe Wireless Fence”