Home>Home Maintenance>Home Repair: How To Add Studs To A Wall
Home Maintenance
Home Repair: How To Add Studs To A Wall
Modified: May 6, 2024
Learn how to easily add studs to your wall for strong and secure home maintenance. Discover step-by-step instructions and expert tips in this comprehensive home repair guide.
(Many of the links in this article redirect to a specific reviewed product. Your purchase of these products through affiliate links helps to generate commission for Storables.com, at no extra cost. Learn more)
Introduction
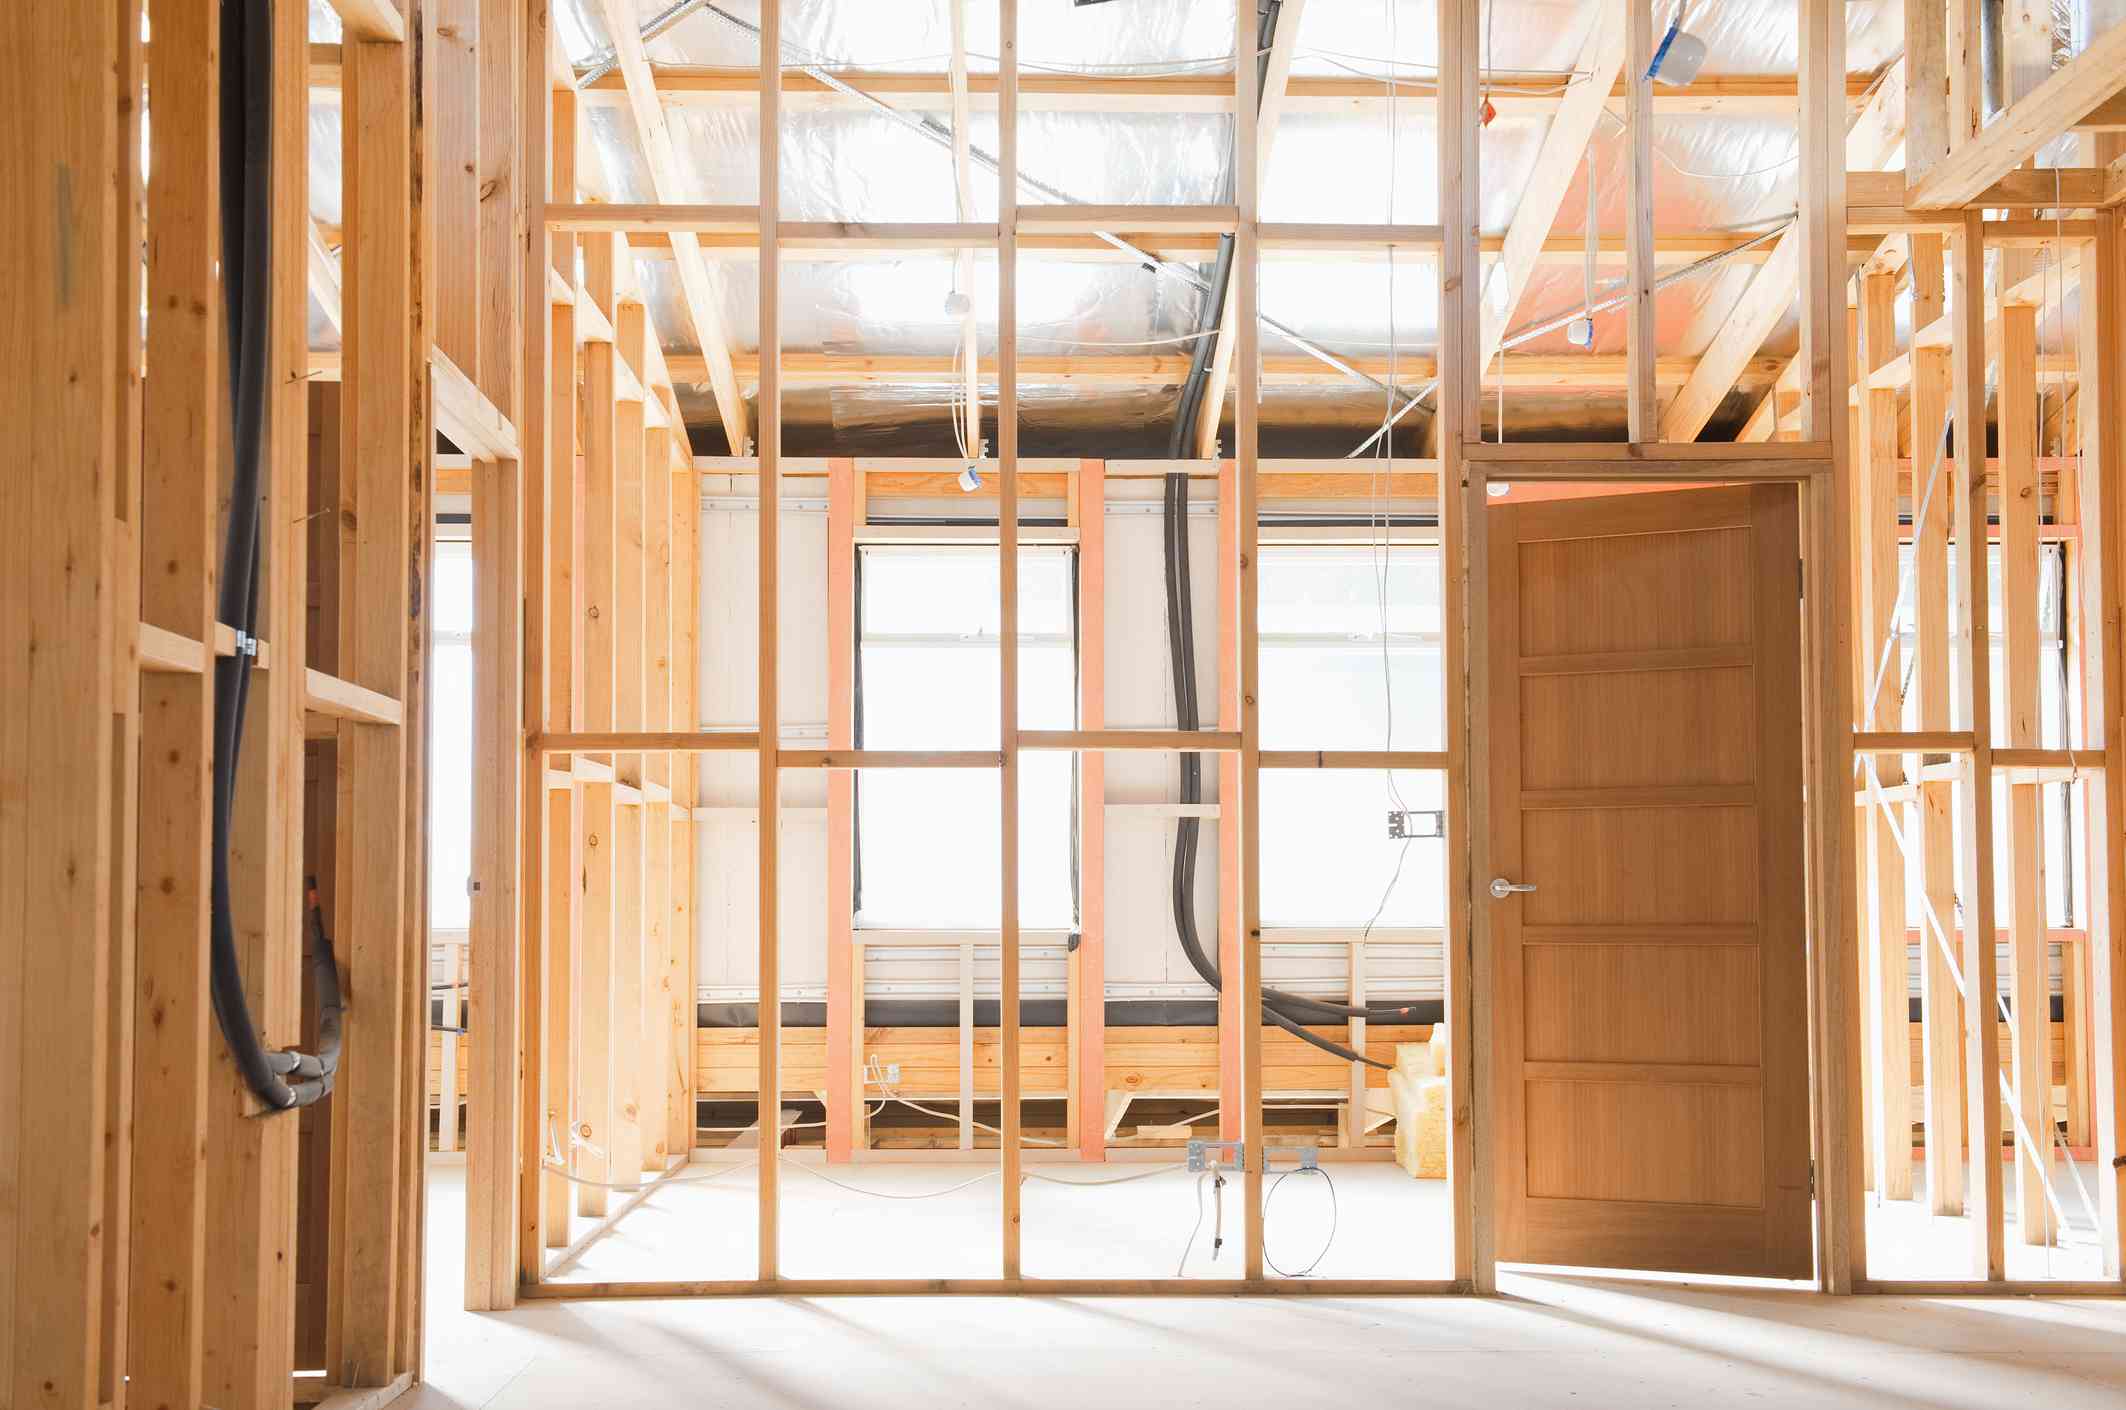
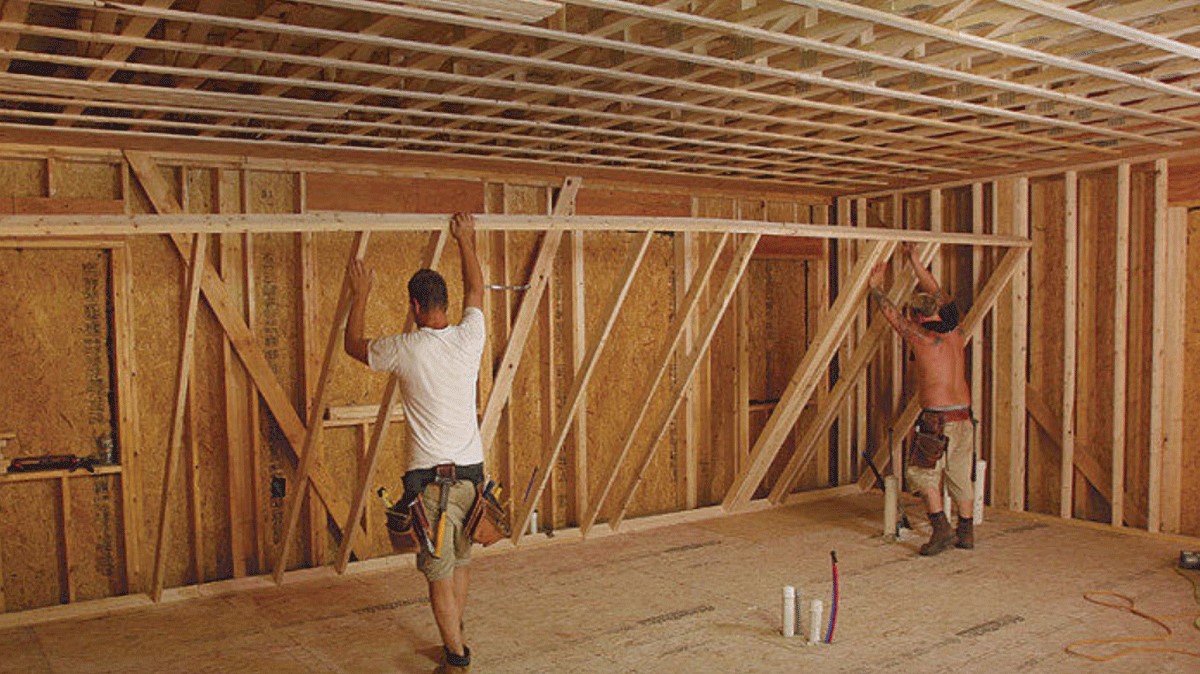
Welcome to the world of home maintenance! One crucial aspect of maintaining a safe and sturdy home is ensuring that the walls are structurally sound. Walls serve as the foundation of your home’s framework and provide support for various fixtures such as shelves, cabinets, and wall-mounted TVs. In some cases, you may need to add additional studs to strengthen or reinforce a wall.
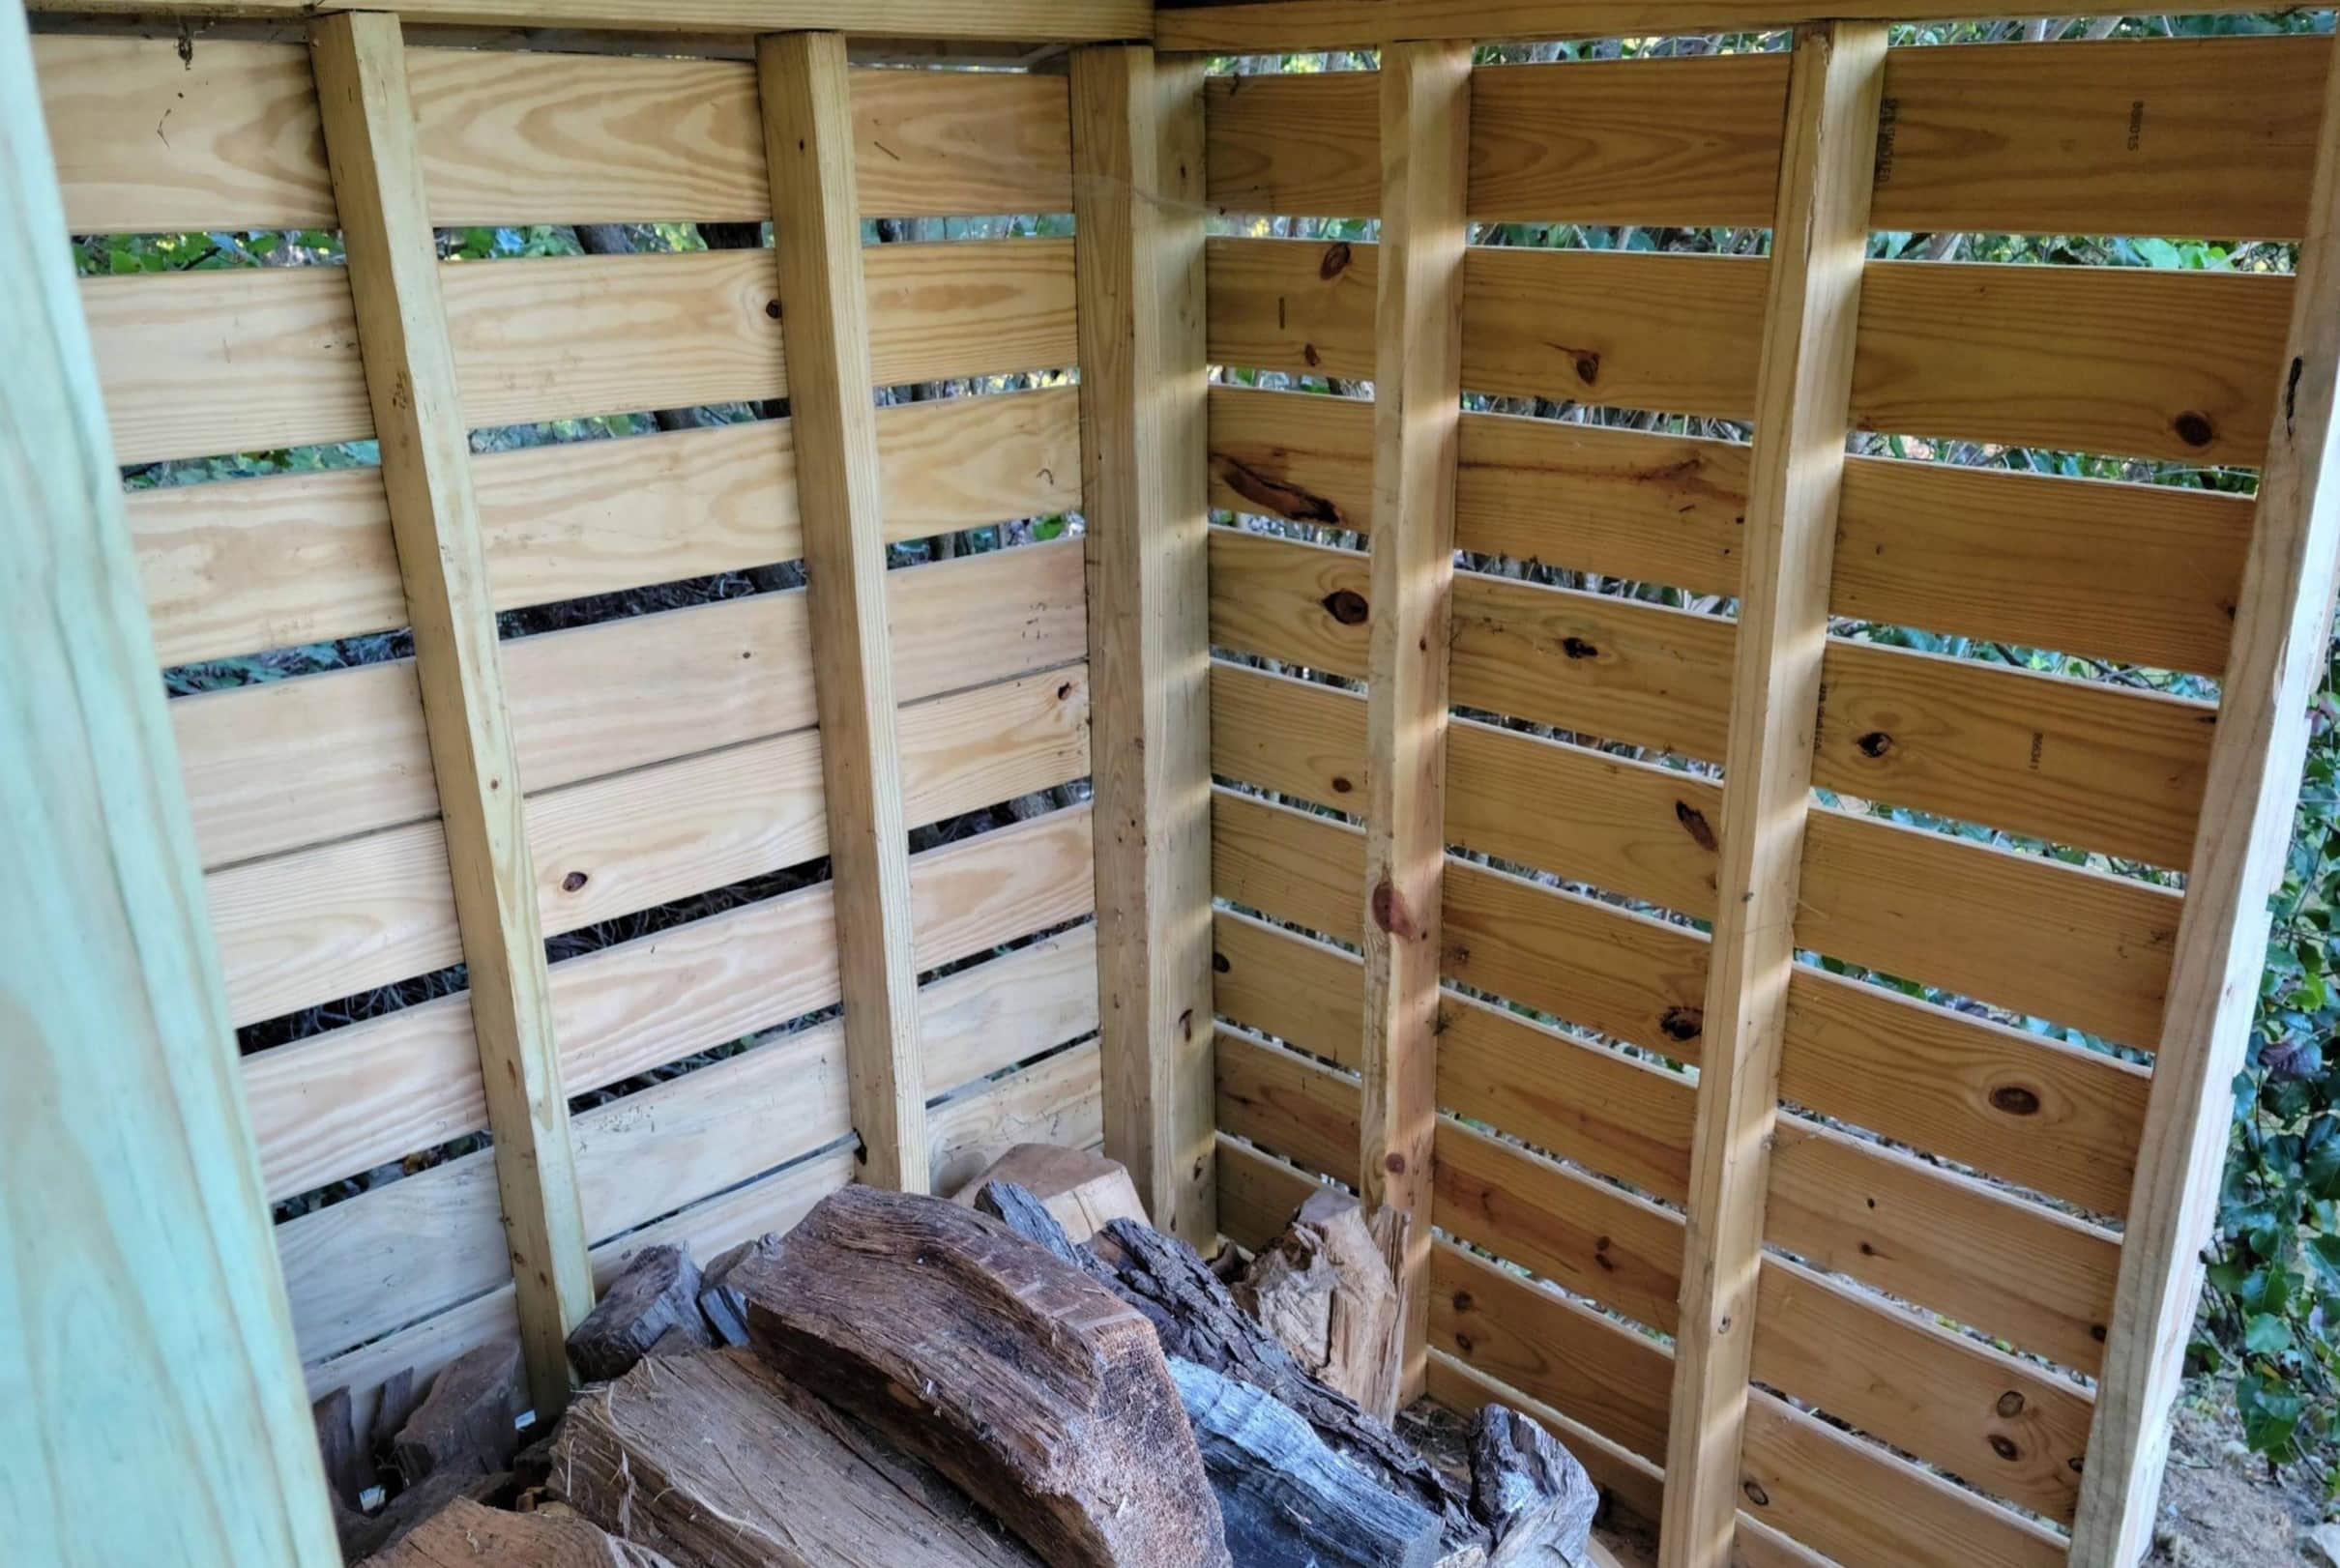
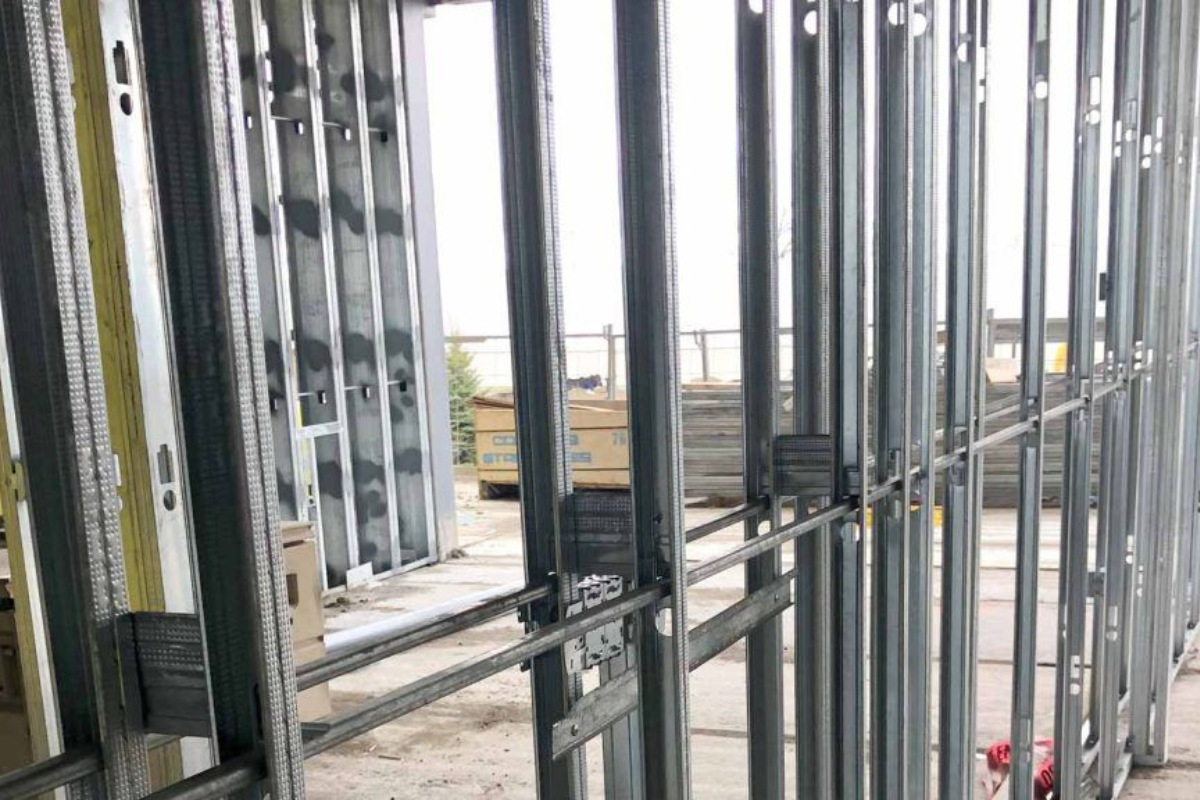
A stud is a vertical framing member typically made of wood or metal that is used to provide support and stability to a wall. Studs play a vital role in distributing the weight and load-bearing capabilities of a wall, making them essential for structural integrity. Adding studs to a wall can be necessary when constructing a new wall or when you need to reinforce an existing one.
In this article, we will guide you through the process of adding studs to a wall. With the right tools, materials, and knowledge, you can tackle this home repair project and enhance the stability and durability of your walls.
Before we dive into the step-by-step process, let’s take a look at the tools and materials you’ll need for this project.
Key Takeaways:
- Adding studs to a wall is essential for maintaining a sturdy home. By following the steps in this guide, you can enhance your wall’s strength and create a solid foundation for fixtures and supports.
- Proper assessment, careful measurement, and precise installation are key to a successful project. By reinforcing the studs and finishing the wall, you’ll enjoy visually appealing and long-lasting results.
Tools and Materials Needed
Before you begin adding studs to a wall, gather the necessary tools and materials to ensure a smooth and efficient project. Here’s a list of what you’ll need:
- Stud finder: A stud finder is a handheld device that helps you locate existing studs behind the wall surface.
- Tape measure: Essential for accurate measurement and marking of stud positions.
- Level: Ensures that the studs are plumb and level for proper installation.
- Drill: Used for drilling holes and attaching the new studs to the wall.
- Hammer: Helps in driving nails or screws into the studs.
- Saw: May be needed to cut the new studs to the required length.
- Construction adhesive: Provides additional strength and stability when attaching the studs to the wall.
- Wood screws or nails: Used to secure the new studs to the existing wall or structure.
- Drywall or wallboard: Required for finishing the wall after adding the studs.
- Drywall screws: Used to attach the drywall to the studs.
- Joint compound: Used for filling gaps and seams between the drywall sheets.
- Sanding block or sandpaper: Helps in smoothing the joint compound and achieving a seamless finish.
- Paint or wallpaper: If desired, you will need paint or wallpaper to complete the wall’s final look.
Having these tools and materials on hand will make the process of adding studs to a wall much more convenient. Now that you’re equipped let’s move on to the step-by-step process of adding studs to a wall.
Step 1: Assess the Wall and Determine Stud Placement
Before you begin adding studs to the wall, it’s important to assess the wall’s condition and determine the optimal placement for the new studs. Start by examining the wall for any existing studs. If there are already studs in place, you’ll need to determine the spacing between them, which is typically 16 or 24 inches apart.
Use a stud finder to locate the existing studs. Start at one end of the wall and move the stud finder horizontally until it indicates that a stud has been detected. Mark the location of each stud using a pencil or tape. This step is essential to ensure that you’re adding new studs in the proper alignment with the existing ones.
If the wall does not have any existing studs or if you’re adding additional studs for added support, you’ll need to determine the ideal spacing for the new studs. In most cases, a spacing of 16 inches on center is sufficient for residential walls. However, if you anticipate heavy loads or need extra stability, consider spacing the studs closer together, around 12 inches on center.
Once you have determined the stud spacing, use a tape measure to measure and mark the positions of the new studs on the wall. Start from one end of the wall and measure the desired distance between each stud, marking it with a pencil. Repeat this process until you have marked the positions for all the new studs.
By assessing the wall’s condition and determining the stud placement, you are setting a solid foundation for the rest of the project. In the next step, we’ll look at how to locate the existing studs in more detail.
Step 2: Locate Existing Studs
Locating existing studs is a crucial step in adding new studs to a wall. It ensures that the new studs are properly aligned with the existing ones and provides a sturdy framework for your wall. Here’s how you can locate the existing studs:
1. Use a stud finder: A stud finder is a handy tool that helps you detect the presence of studs behind the wall surface. Hold the stud finder against the wall and slowly move it horizontally until it indicates the presence of a stud. Different stud finders may have different indicators, such as a light or sound. Once the stud finder signals the presence of a stud, mark the location with a pencil or tape.
2. Use visual cues: In some cases, you may be able to identify the location of studs through visual cues. Look for subtle changes in the wall texture or nail pops, which could indicate the presence of a stud. You can also use a tap test by gently tapping the wall with your knuckles. A solid, thudding sound signifies the presence of a stud, while a hollow sound indicates an empty space.
3. Verify stud placement: Once you have marked the location of a stud, verify its placement by measuring the distance from the adjacent wall or corner. Typically, studs are placed at regular intervals, such as 16 or 24 inches on center. Use a tape measure to ensure that the marked stud aligns with the expected spacing from neighboring studs.
Repeat these steps along the wall surface to locate all existing studs. By accurately identifying the existing stud positions, you can proceed to the next step of measuring and marking the positions for the new studs.
In the next step, we’ll discuss how to measure and mark the positions for the new studs based on your desired spacing.
Step 3: Measure and Mark Stud Positions
Now that you have located the existing studs, it’s time to measure and mark the positions for the new studs. This step ensures proper spacing and alignment, creating a strong and stable wall structure. Here’s how you can measure and mark the stud positions:
1. Determine stud spacing: Decide on the spacing between the new studs based on your specific needs. The standard spacing for residential walls is typically 16 inches on center, meaning the center of each stud is 16 inches apart. However, you may choose to adjust the spacing depending on the wall’s load-bearing requirements or your desired level of stability.
2. Start measuring: Begin measuring from one end of the wall, aligning the tape measure vertically along the wall’s surface. Place the first mark at the desired distance from the corner or adjacent stud, depending on your chosen spacing. For example, if you’re using 16-inch spacing, the first mark will be 16 inches from the corner or adjacent stud.
3. Mark the rest of the studs: Continue measuring along the wall, placing additional marks at the same distance as determined in the previous step. Use a pencil or tape to mark each stud position. Repeat this process until you have marked the positions for all the new studs along the entire length of the wall.
4. Double-check measurements: Once you have marked all the stud positions, double-check your measurements to ensure accuracy. Use the tape measure to confirm that the distance between each marked stud aligns with your chosen spacing. Adjust the positions if necessary to maintain consistent spacing.
By measuring and marking the stud positions, you’re creating a guide for installing the new studs in the correct locations. In the next step, we’ll cover how to attach the new studs securely to the wall.
When adding studs to a wall, make sure to measure and mark the placement of the new studs accurately. Use a level to ensure they are straight before securing them in place.
Read more: How To Add Wall Insulation To Existing Walls
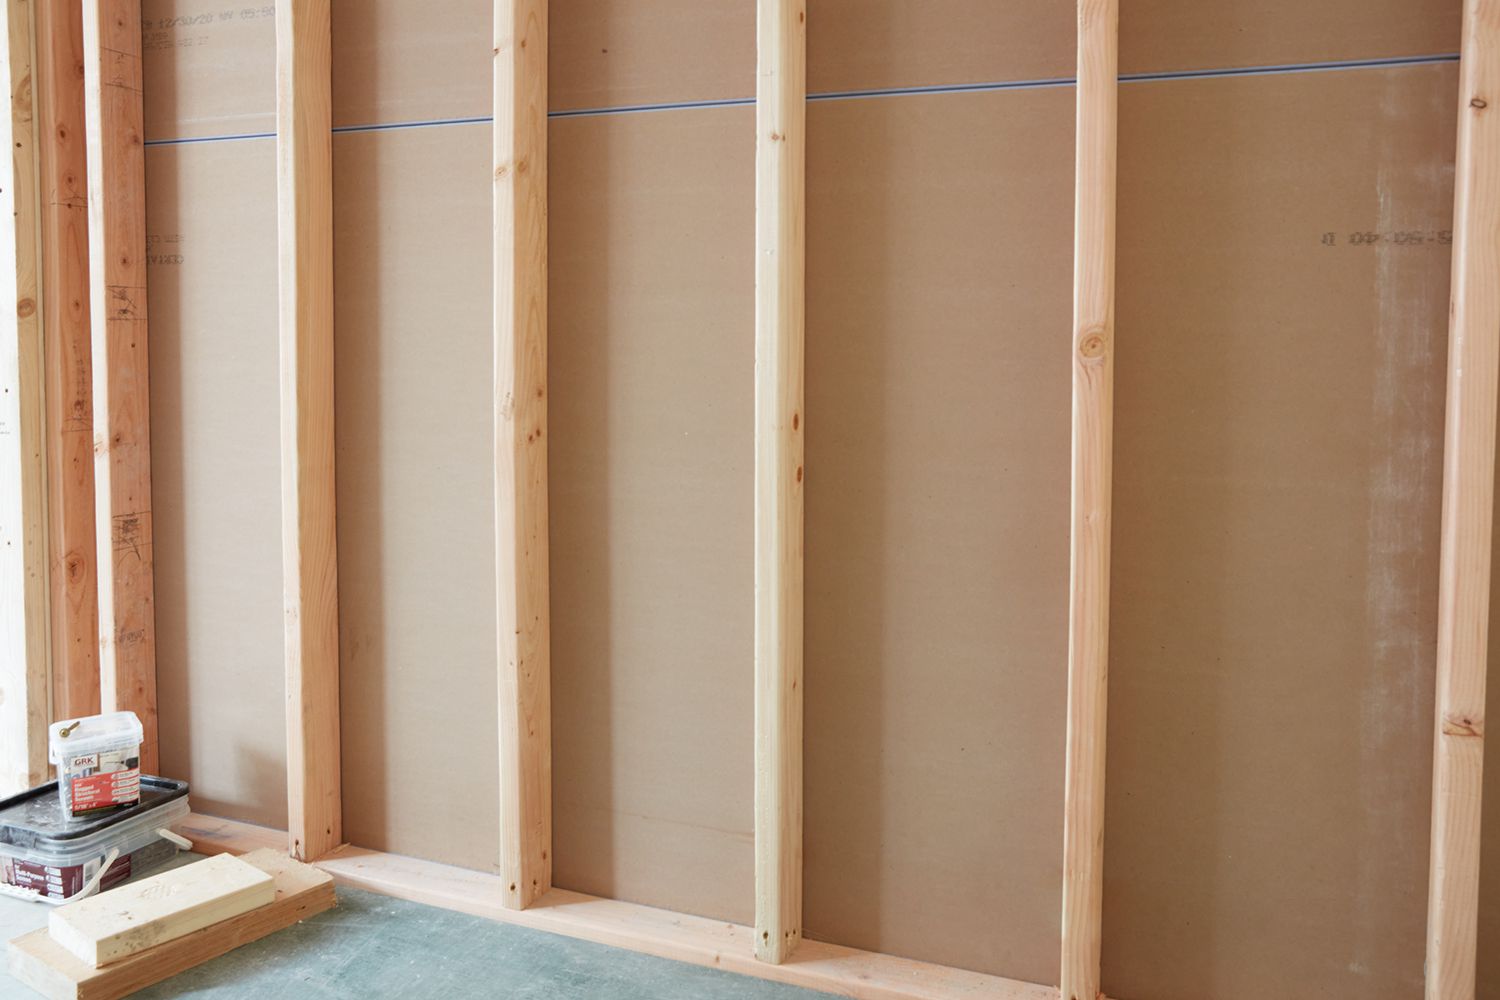
Step 4: Attach New Studs
Now that you have assessed the wall, located existing studs, and marked the positions for the new studs, it’s time to attach the new studs to the wall. This step is crucial in enhancing the structural integrity and strength of the wall. Here’s how you can attach the new studs:
1. Cut the studs to the required length: Using a saw, cut the new studs to the appropriate length based on your measurements. Ensure that each stud fits snugly between the floor and ceiling or the top and bottom plates of the wall.
2. Apply construction adhesive: Apply a generous amount of construction adhesive to the back of each new stud. The adhesive will provide additional strength and stability when attaching the new studs to the wall.
3. Position the stud: Place the first new stud against the wall, aligning it with the marked position. Ensure that the stud is plumb (vertically straight) and level using a level tool. Adjust as needed to achieve proper alignment.
4. Secure the stud: Use a drill to make pilot holes through the new stud and into the wall. Insert wood screws or nails through the pilot holes and into the wall to firmly secure the stud in place. Repeat this process for each new stud, ensuring proper alignment and secure attachment.
5. Check for stability: After attaching each new stud, check for stability by gently applying pressure or shaking the stud. It should be firmly attached to the wall and not wobble or move. Make any necessary adjustments or reinforce the attachment if needed.
Continue attaching the remaining new studs one by one, following the same process of applying adhesive, positioning, securing, and checking for stability. Take your time to ensure that each stud is properly attached and contributes to the overall strength of the wall.
In the next step, we’ll discuss how to reinforce the studs for added support.
Step 5: Reinforce Studs for Added Support
Adding studs to a wall can enhance its strength and stability, but it’s important to reinforce the studs for additional support. This step is particularly crucial if you’re planning to hang heavy items or if you want to ensure the longevity of the wall. Here are some ways to reinforce the studs:
1. Install blocking: Blocking refers to the process of installing horizontal boards between the studs. These boards provide extra support and prevent the studs from warping or twisting over time. Measure and cut the blocking to fit snugly between the studs, then secure them in place using screws or nails.
2. Use diagonal bracing: Another effective method of reinforcing studs is to use diagonal bracing. This involves installing diagonal boards that connect the studs in an X-shaped pattern. Diagonal bracing helps distribute the load more evenly and increases the wall’s overall stability. Measure and cut the diagonal bracing boards to the appropriate length, then attach them using screws or nails.
3. Add plywood panels: For even greater reinforcement, consider attaching plywood panels to cover the entire wall or specific sections. Plywood acts as a solid backing and adds rigidity to the wall. Measure and cut the plywood panels to fit the desired area, then attach them to the studs using screws or nails.
4. Consult a professional: If you’re unsure about the structural integrity of the wall or need expert advice, consider consulting a professional contractor or engineer. They can provide guidance specific to your situation and recommend additional reinforcement methods if necessary.
By reinforcing the studs, you’re adding an extra layer of support and ensuring the longevity and stability of the wall. Take the time to implement these reinforcement techniques for added peace of mind.
In the next step, we’ll discuss how to fill and finish the wall to complete the project.
Step 6: Fill and Finish the Wall
After adding and reinforcing the studs, it’s time to fill and finish the wall to create a polished and seamless appearance. This step involves covering the studs and any gaps with drywall and applying the necessary finishing touches. Here’s the process for filling and finishing the wall:
1. Cut and install drywall: Measure and cut the drywall sheets to fit the areas between the new studs. Use a utility knife to score the drywall along your measurements, then snap it along the scored line. Position the drywall sheets against the studs, leaving a small gap at the edges for expansion. Secure the drywall to the studs using drywall screws.
2. Fill the seams and gaps: Apply joint compound to the seams and gaps between the drywall sheets using a putty knife. Press the compound firmly into the gaps and smooth it over the seams to create a seamless surface. Allow the compound to dry according to the manufacturer’s instructions.
3. Sand the surface: Once the joint compound is completely dry, use sandpaper or a sanding block to smooth out any rough areas or ridges. Sand the surface until it’s smooth and even, taking care not to damage the surrounding areas. Wipe away any dust with a clean cloth.
4. Apply additional coats: Depending on the desired finish, you may need to apply additional coats of joint compound. Repeat the process of applying, drying, and sanding until you achieve a smooth and seamless surface.
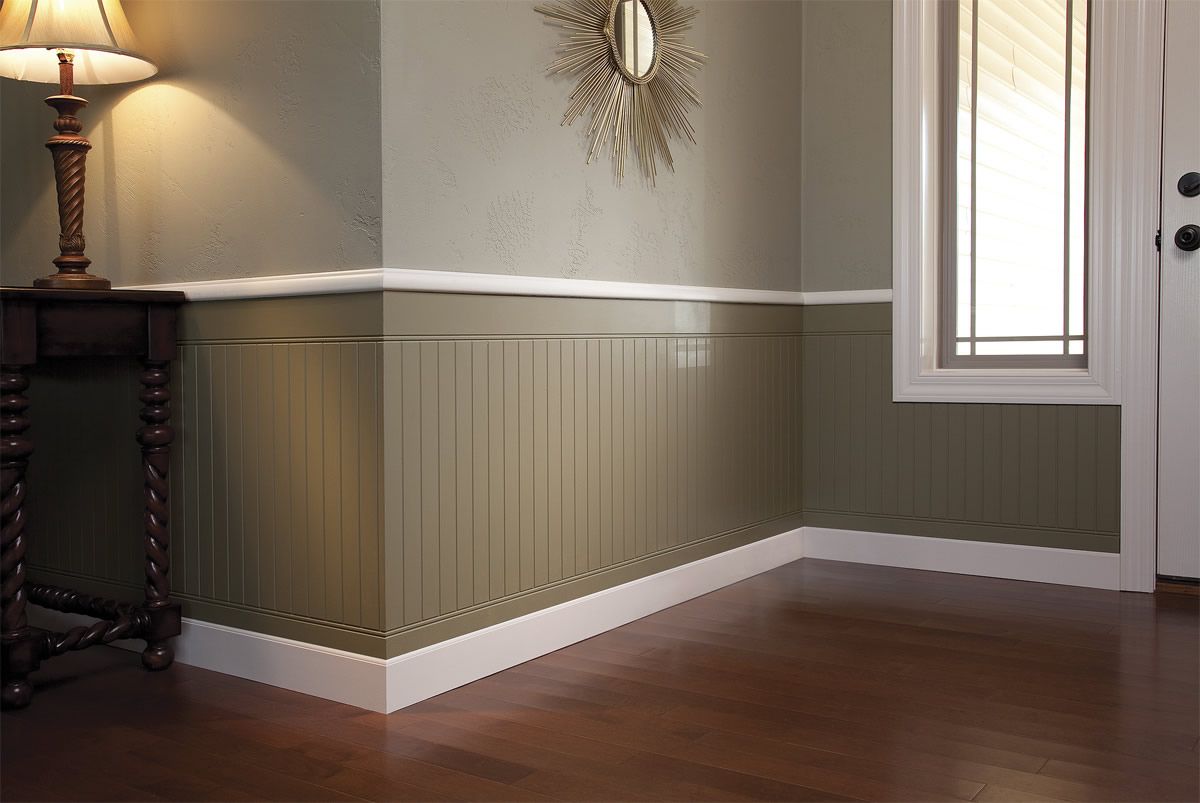
5. Prime and paint: After the final coat of joint compound is dry and sanded, apply a coat of primer to the entire wall surface. This will create a uniform base and help the paint adhere properly. Once the primer is dry, apply your chosen paint color or finish to complete the wall.
By filling and finishing the wall, you’re not only concealing the studs but also creating a visually appealing surface that blends seamlessly with the rest of the room. Take your time and ensure a smooth and well-finished result.
With the completion of this final step, your project of adding studs to the wall is finished! Enjoy the enhanced stability and strength of your home’s walls.
Conclusion
Congratulations on completing the process of adding studs to your wall! By following the steps outlined in this guide, you have enhanced the structural integrity and stability of your home. Adding studs not only contributes to the strength of the wall but also creates a solid foundation for various fixtures and supports throughout your space.
Remember, the key to a successful project is proper assessment, careful measurement, and precise installation. By assessing the wall, locating existing studs, and marking the positions for the new studs, you laid the groundwork for a seamless process. Attaching the new studs securely, reinforcing them for added support, and filling and finishing the wall provided the finishing touches necessary for a polished and visually appealing result.
As you enjoy the benefits of your newly strengthened walls, it’s essential to keep in mind the importance of regular maintenance. Periodically inspect the studs and the overall condition of the walls to address any potential issues early on. Prompt repairs and maintenance will ensure that your walls continue to provide the necessary support for the longevity and safety of your home.
Should you encounter any challenges or require additional guidance, don’t hesitate to consult a professional contractor or engineer. They can offer expert advice tailored to your specific situation and help address any concerns you may have.
Adding studs to a wall is a rewarding home repair project that not only improves the structural integrity of your home but also offers peace of mind. By following these steps and taking the time to reinforce and finish the wall, you’ve made a lasting investment in the quality and durability of your living space.
Now, enjoy your newly reinforced and beautifully finished walls, and take pride in your home maintenance accomplishments!
Ready to tackle more home projects? If you’ve enjoyed learning about wall stud installation, you’ll love our guide on DIY home improvement. It's packed with practical advice to boost your skills. Next, make sure to check out our simple steps for wall framing, ensuring your next build is as straightforward as can be. And for those thinking ahead to the finishing touches, our roundup of the best hardwood floors for home renovation offers valuable insights to elevate your space beautifully.
Frequently Asked Questions about Home Repair: How To Add Studs To A Wall
Was this page helpful?
At Storables.com, we guarantee accurate and reliable information. Our content, validated by Expert Board Contributors, is crafted following stringent Editorial Policies. We're committed to providing you with well-researched, expert-backed insights for all your informational needs.