Home>Construction & Tools>Building Materials>How To Make Brick Look Aged

Building Materials
How To Make Brick Look Aged
Modified: October 19, 2024
Learn how to make your building materials look aged with these expert tips and techniques. Transform your bricks and achieve a timeless, weathered appearance. Ideal for DIY enthusiasts and professional builders.
(Many of the links in this article redirect to a specific reviewed product. Your purchase of these products through affiliate links helps to generate commission for Storables.com, at no extra cost. Learn more)
Introduction
Creating an aged brick look can infuse a sense of timeless charm and rustic elegance into any space. Whether you're renovating a historic property or aiming to add character to a modern setting, achieving an aged brick appearance can be a game-changer. This process involves more than just slapping on a coat of paint; it requires careful consideration of the type of bricks, meticulous preparation, and skillful application techniques. In this guide, we will delve into the art of transforming ordinary bricks into weathered, vintage masterpieces. From selecting the right bricks to the final sealing process, we will walk you through the steps to achieve a stunning aged brick look that will stand the test of time. So, roll up your sleeves and let's embark on this journey to give your space a touch of timeless allure.
Key Takeaways:
- Embrace the art of aging bricks to transform ordinary ones into captivating, weathered masterpieces that infuse spaces with timeless allure and rustic charm.
- Select the right bricks, prepare them meticulously, apply the aged look skillfully, and seal the finished product thoughtfully to breathe new life into any space.
Read more: How To Make Brick Look New
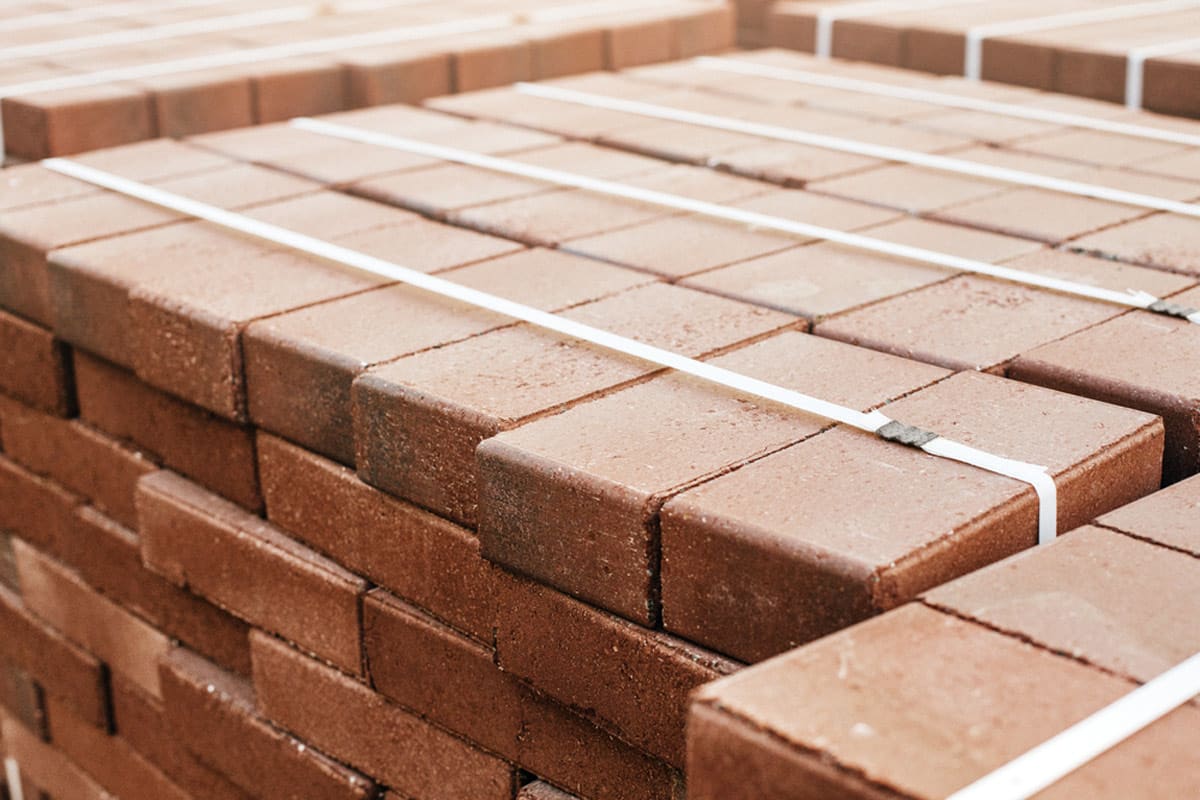
Choosing the Right Bricks
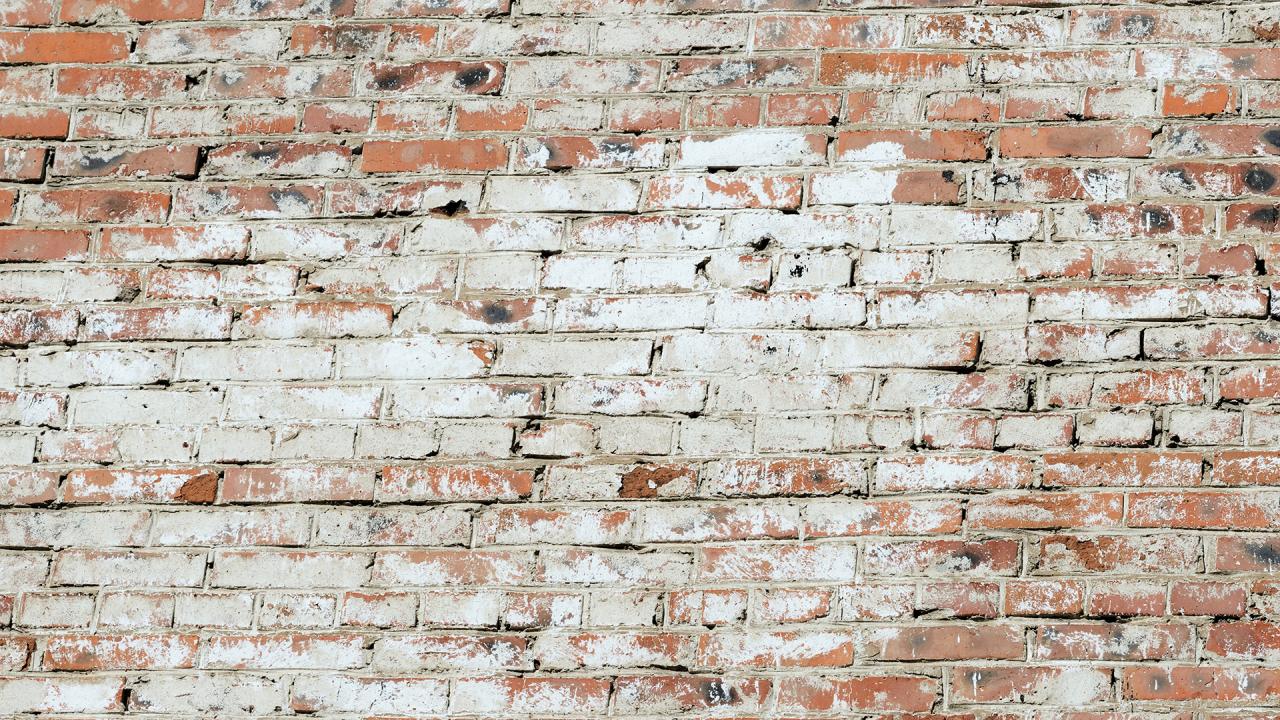
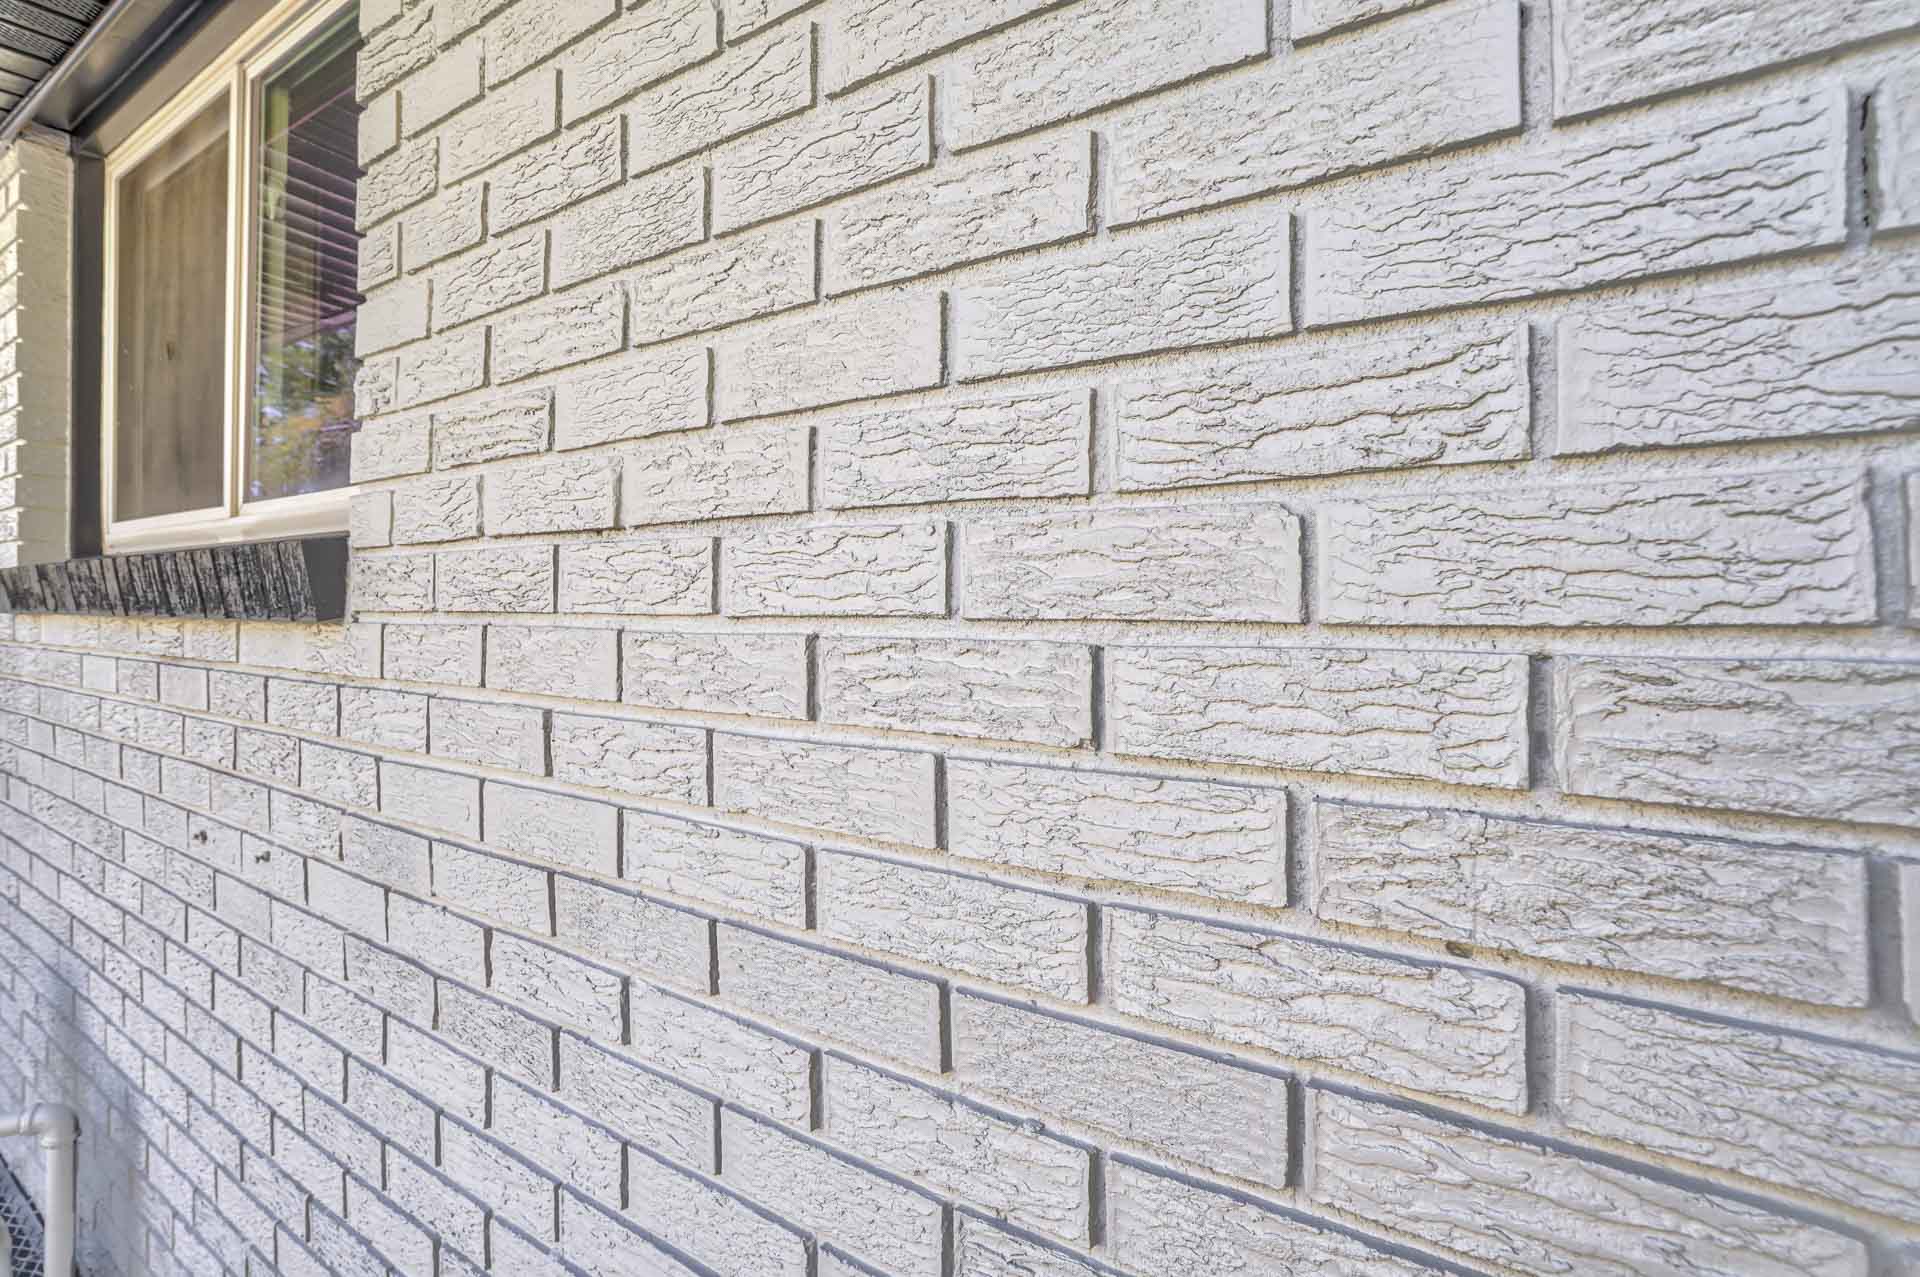
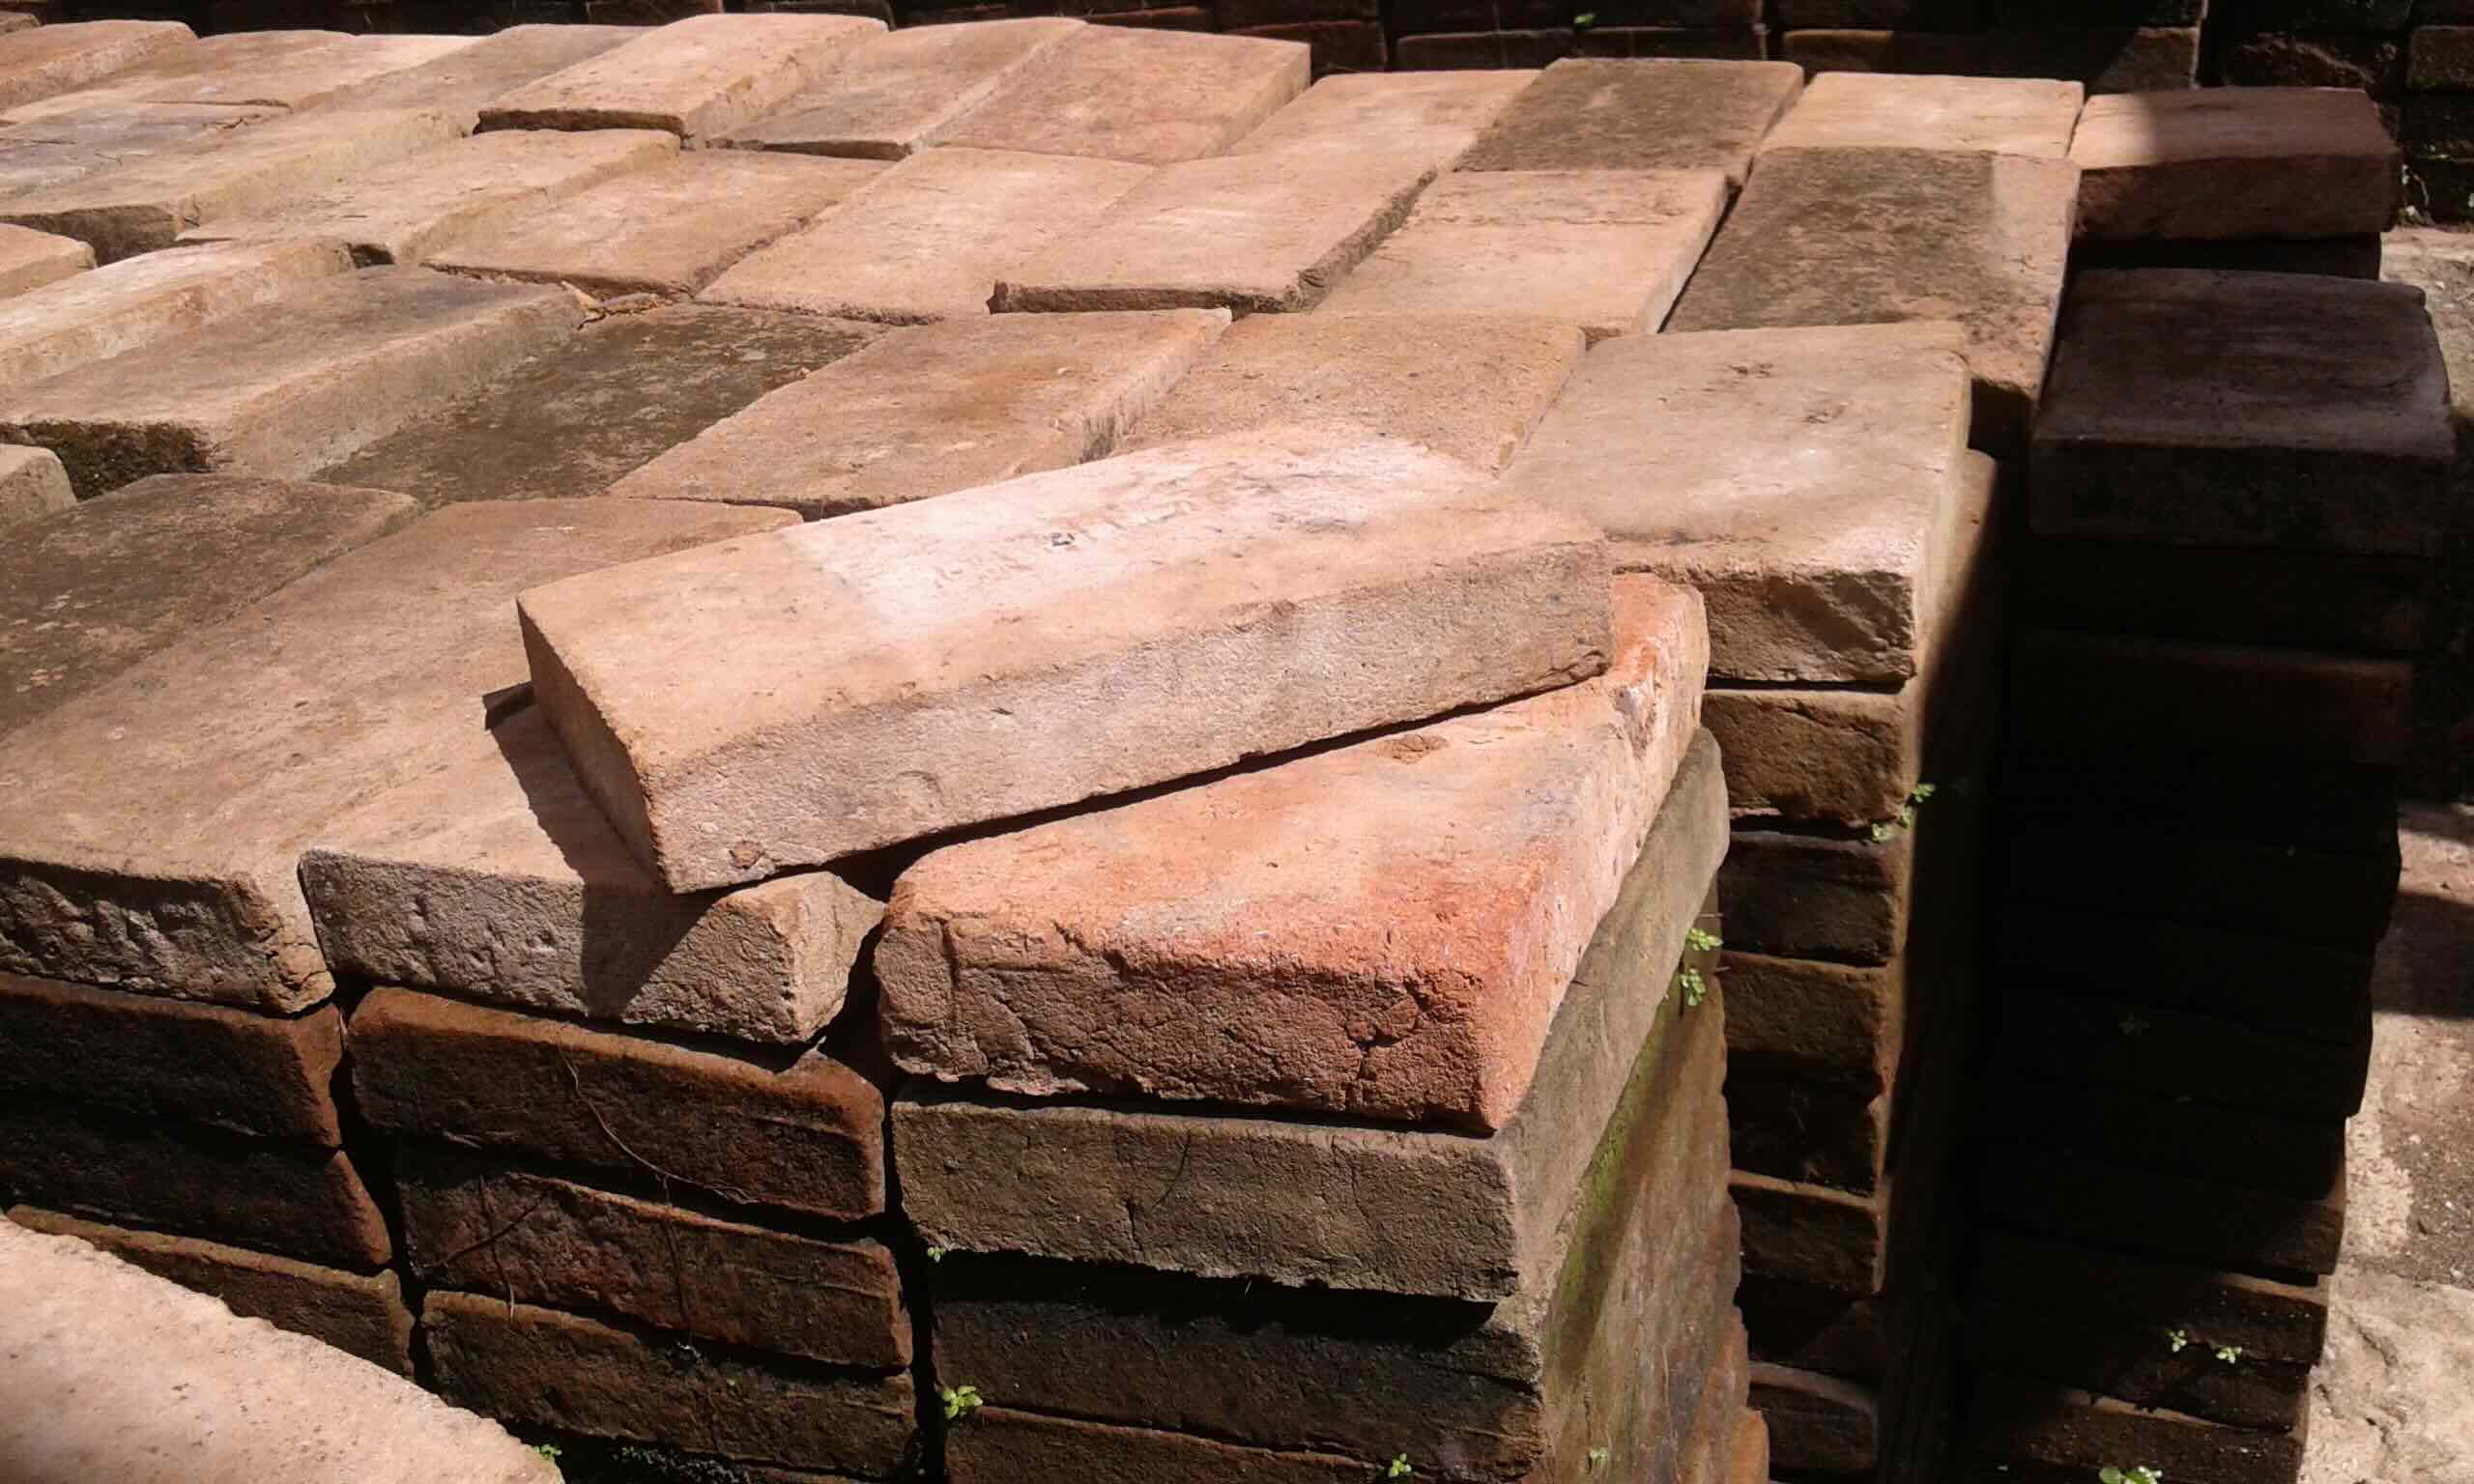
Before commencing the process of aging your bricks, it’s crucial to select the right type of bricks. The ideal bricks for achieving an aged look are typically those with a rough texture and varied color tones. Reclaimed bricks, often sourced from old buildings or structures, are an excellent choice due to their weathered appearance. These bricks have unique imperfections, such as chips, cracks, and discolorations, which contribute to their authentic aged look.
Alternatively, if reclaimed bricks are not readily available, you can opt for new bricks that mimic the characteristics of aged ones. Look for bricks with an irregular surface texture and subtle color variations, as these features will enhance the authenticity of the aged look.
When selecting bricks, consider the overall aesthetic you wish to achieve. Whether you prefer a more uniform weathered appearance or a blend of rich, earthy tones, the choice of bricks will significantly influence the final outcome. Additionally, ensure that the chosen bricks are suitable for the intended application, whether it’s an interior accent wall, an exterior facade, or a fireplace surround.
By carefully choosing the right bricks as the foundation for your aged brick project, you set the stage for a stunning transformation that exudes character and history.
Preparing the Bricks
Properly preparing the bricks is a crucial step in achieving an authentic aged look. This process involves cleaning the bricks to remove any dirt, debris, or existing coatings that may hinder the adhesion of the aging solution.
Begin by thoroughly cleaning the bricks using a stiff-bristled brush or a pressure washer to eliminate dirt, grime, and loose particles. Pay close attention to the crevices and surface irregularities to ensure a clean and uniform base for the aging treatment.
Once the bricks are clean and free of contaminants, allow them to dry completely before proceeding to the next stage. This ensures that the aging solution adheres effectively and penetrates the surface of the bricks, resulting in a more natural and lasting weathered appearance.
In addition to cleaning, consider roughening the surface of the bricks slightly to enhance the adhesion of the aging solution. This can be achieved by lightly sanding the bricks or using a wire brush to create subtle texture variations. However, exercise caution to avoid altering the structural integrity of the bricks during this process.
By meticulously preparing the bricks, you create an optimal canvas for the subsequent aging treatment, allowing the desired weathered effect to develop seamlessly and authentically.
To make brick look aged, use a mixture of water and muriatic acid to lightly wash the surface. Then, apply a diluted coat of paint in a darker shade to create a weathered appearance.
Applying the Aged Look
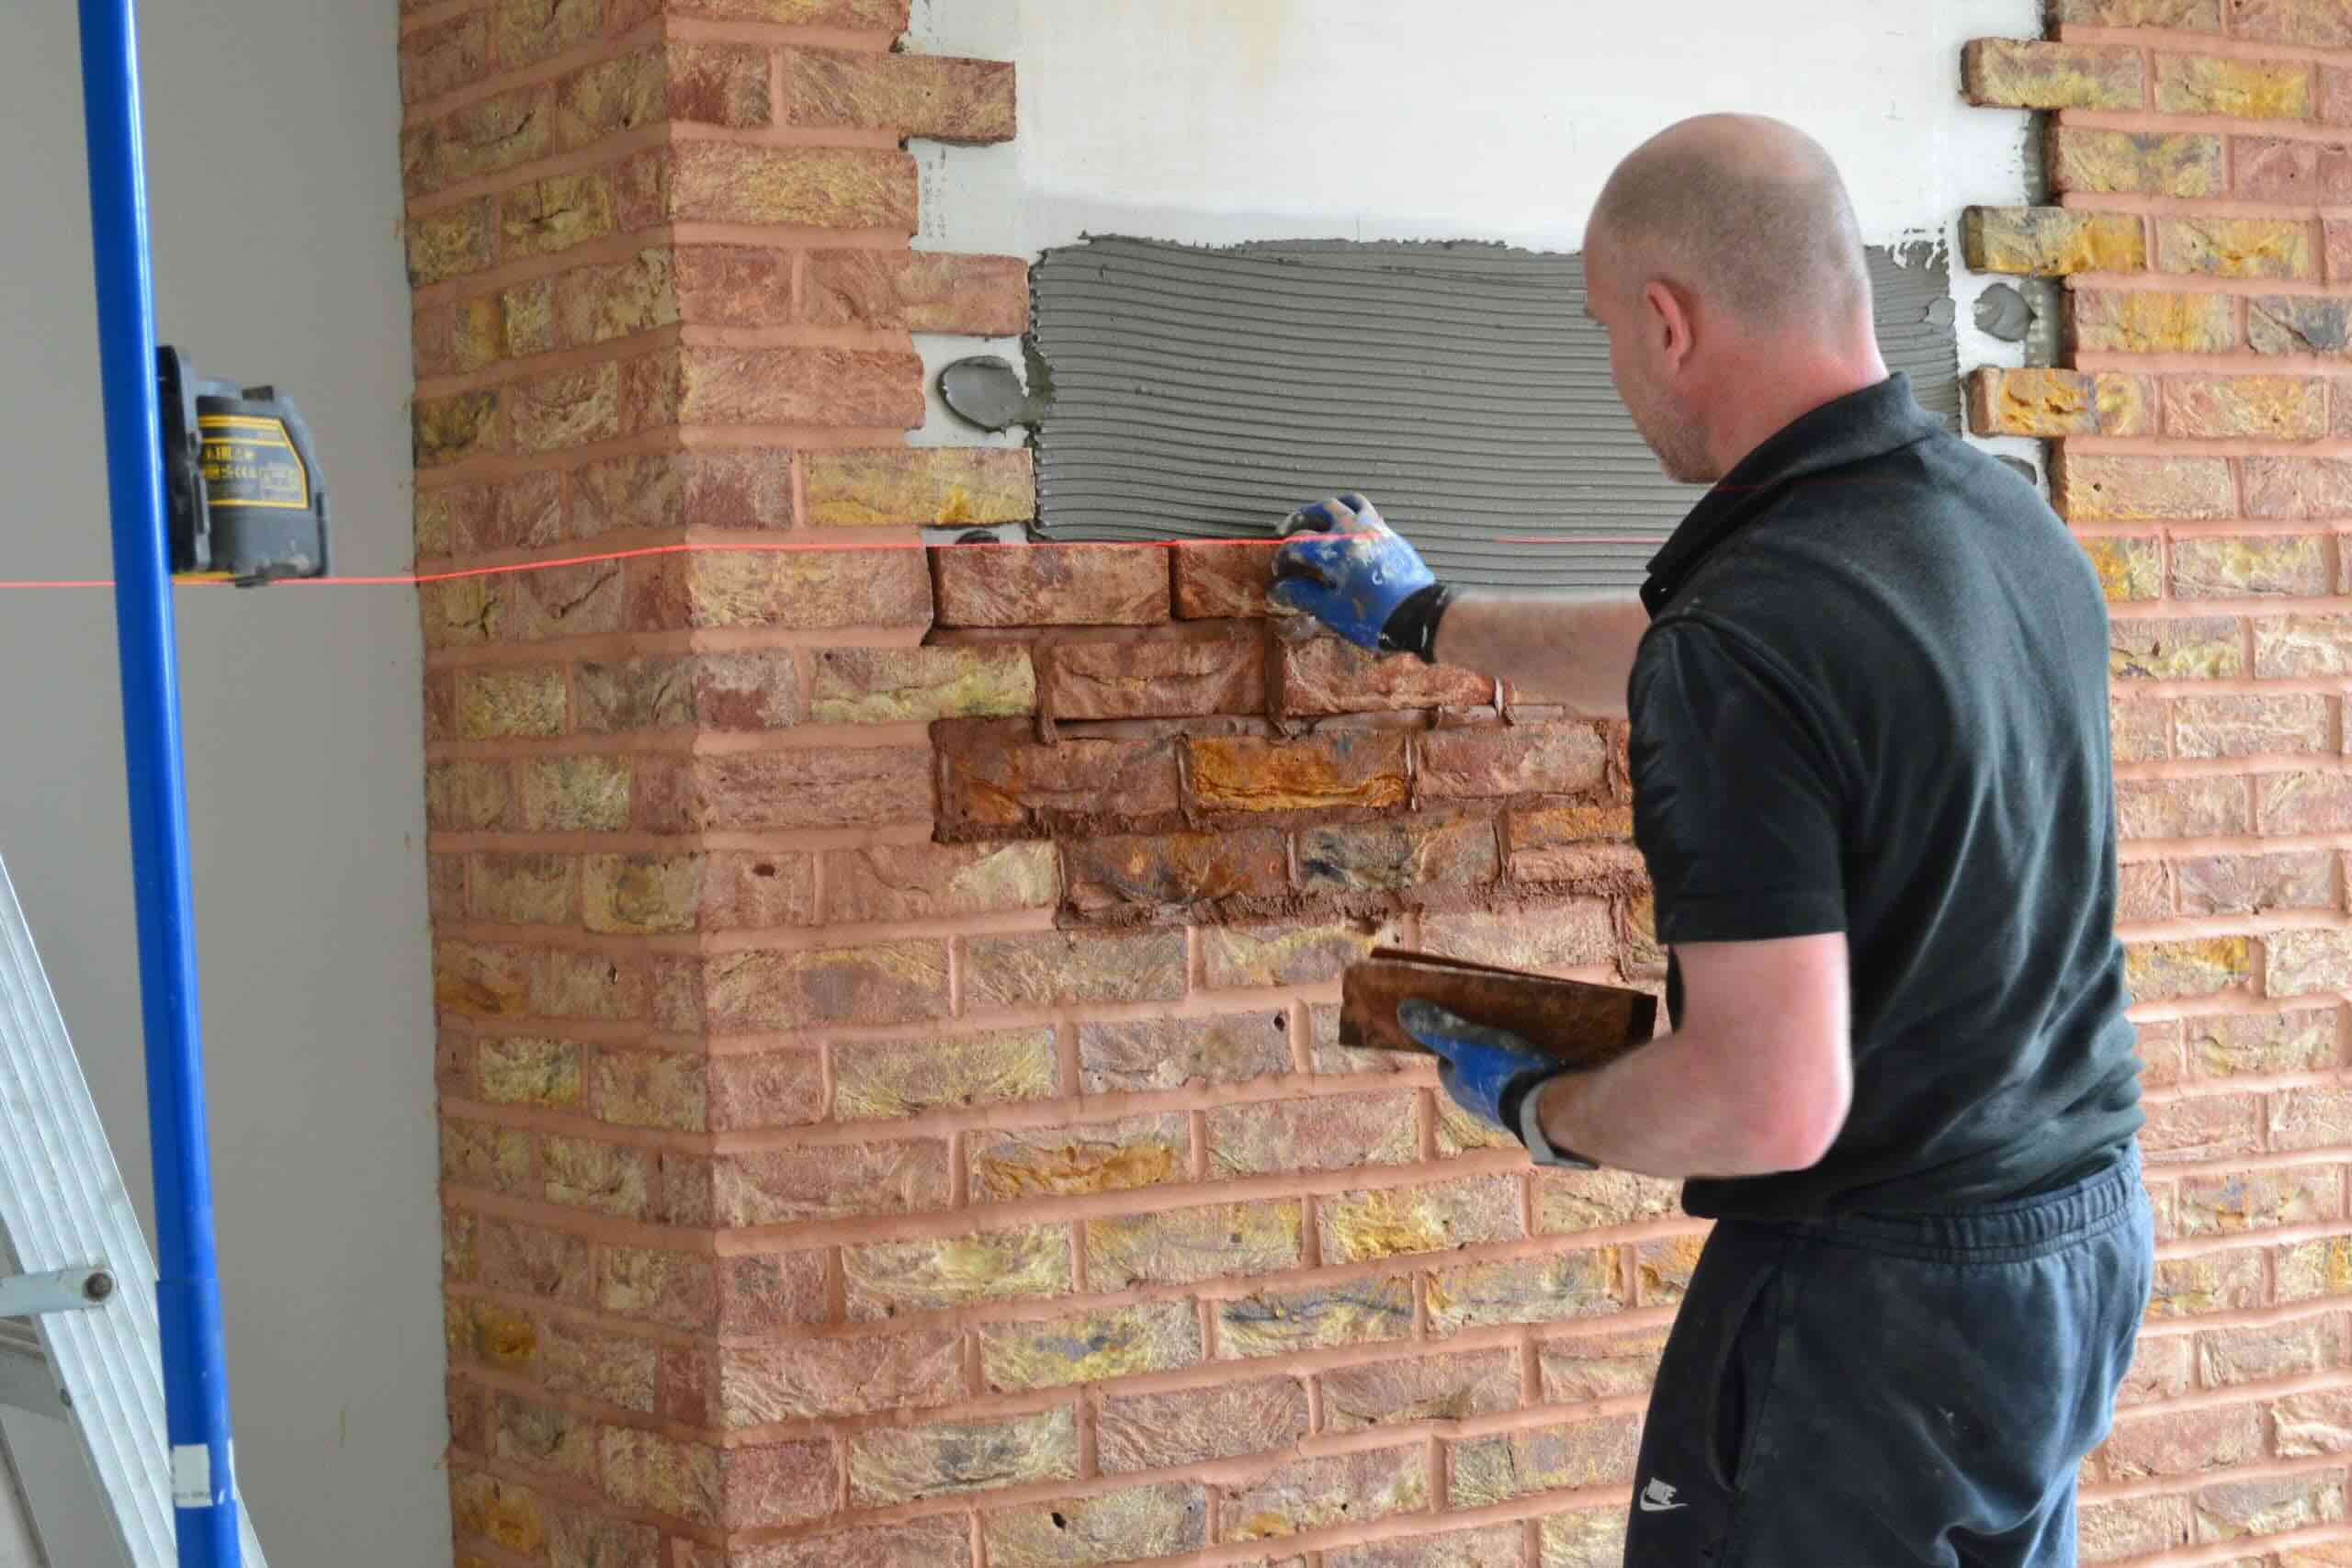
Now comes the transformative stage of applying the aged look to the prepared bricks. There are various methods to achieve this, each offering distinct results. One popular approach is using a lime wash or slurry, which involves creating a mixture of lime, pigment, and water to create a thin, translucent coating that settles into the porous surface of the bricks.
To create a lime wash, combine hydrated lime powder with water to form a smooth, consistent mixture. Add natural pigments, such as earthy tones or subdued hues, to achieve the desired aged appearance. Apply the lime wash to the bricks using a brush or sprayer, working in small sections to ensure even coverage. Allow the wash to partially dry before gently removing excess material with a sponge or cloth, revealing the underlying texture of the bricks while imparting a weathered patina.
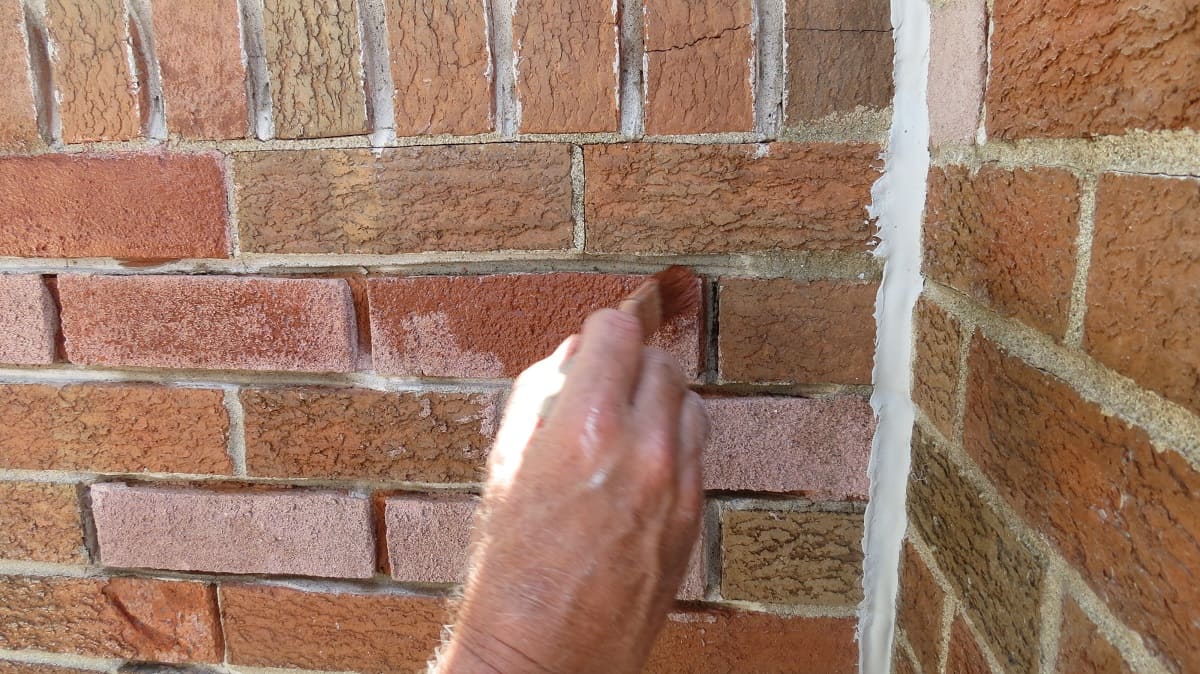
Another method involves the use of specialized aging solutions or stains designed specifically for bricks. These products are formulated to mimic the natural weathering process, imparting authentic discoloration and patination to the surface of the bricks. Apply the aging solution according to the manufacturer’s instructions, ensuring thorough coverage and allowing the solution to interact with the bricks to achieve the desired aged effect.
For a more hands-on approach, consider dry brushing or sponging diluted paint or stain onto the bricks to create subtle color variations and mimic the nuanced aging patterns found in weathered bricks. This technique allows for artistic freedom and customization, enabling you to tailor the level of distress and weathering to suit your aesthetic preferences.
Regardless of the method chosen, take a thoughtful and deliberate approach to applying the aged look, embracing the opportunity to impart character and history to the bricks, ultimately transforming them into captivating focal points within your space.
Sealing the Aged Bricks
Once the desired aged look has been achieved, it’s essential to protect and preserve the appearance of the bricks by sealing them. Sealing not only enhances the longevity of the aged finish but also facilitates easier maintenance and cleaning in the long run.
Before sealing the aged bricks, ensure that they are completely dry to prevent trapping moisture within the porous surface. Select a high-quality brick sealant or masonry sealer specifically designed to protect and enhance the appearance of aged bricks. These sealants are available in various finishes, including matte, satin, and gloss, allowing you to further customize the visual impact of the aged bricks.
Prior to application, carefully read and follow the manufacturer’s instructions for the chosen sealant. Apply the sealant evenly using a brush, roller, or sprayer, working in manageable sections to achieve consistent coverage. Allow the initial coat to dry as recommended before applying additional coats, if necessary, to achieve the desired level of protection and sheen.
Sealing the aged bricks not only safeguards the weathered appearance but also provides added resistance to stains, moisture, and UV damage, ensuring that the aged look remains vibrant and enduring over time. Additionally, the sealant serves as a barrier against dust and dirt accumulation, simplifying the maintenance of the aged bricks and preserving their captivating allure for years to come.
Read more: How To Make A Brick House Look Modern
Conclusion
Transforming ordinary bricks into aged masterpieces is a captivating journey that yields timeless allure and rustic charm. By carefully selecting the right bricks, diligently preparing them, skillfully applying the aged look, and thoughtfully sealing the finished product, you can breathe new life into any space, infusing it with the rich character of weathered antiquity.
Embracing the art of aging bricks allows for boundless creativity and personal expression, as each step in the process contributes to the creation of a unique and evocative aesthetic. Whether you’re aiming to evoke the grandeur of a bygone era or seeking to add warmth and character to a contemporary setting, the aged brick transformation offers a versatile and impactful solution.
As you embark on your journey to create aged bricks, remember that attention to detail and a patient, methodical approach are key to achieving an authentic and enduring result. Each phase of the process, from selecting the perfect bricks to the final sealing, presents an opportunity to infuse the aged bricks with a story, a history, and a sense of timeless elegance.
Ultimately, the art of making bricks look aged transcends mere aesthetics; it encapsulates the essence of craftsmanship, artistry, and the timeless beauty of weathered materials. The aged brick look not only enhances the visual appeal of a space but also fosters a connection to tradition and heritage, inviting admiration and intrigue.
So, as you venture into the realm of aging bricks, allow your creativity to flourish, and revel in the transformation of simple bricks into captivating testaments of enduring beauty and character.
Frequently Asked Questions about How To Make Brick Look Aged
Was this page helpful?
At Storables.com, we guarantee accurate and reliable information. Our content, validated by Expert Board Contributors, is crafted following stringent Editorial Policies. We're committed to providing you with well-researched, expert-backed insights for all your informational needs.


0 thoughts on “How To Make Brick Look Aged”