Home>diy>Architecture & Design>How To Create Floor Plan In Excel

Architecture & Design
How To Create Floor Plan In Excel
Modified: August 17, 2024
Learn how to create a professional floor plan in Excel with step-by-step instructions. Perfect for architects and designers looking to streamline their process.
(Many of the links in this article redirect to a specific reviewed product. Your purchase of these products through affiliate links helps to generate commission for Storables.com, at no extra cost. Learn more)
Introduction
Creating a floor plan is an essential step in the process of designing or renovating a space. It allows you to visualize the layout, flow, and dimensions of the area, helping you make informed decisions about furniture arrangement, traffic patterns, and overall functionality. While there are several software options available for creating floor plans, you may be surprised to learn that you can create a basic floor plan right in Microsoft Excel.
In this article, we will guide you through the steps to create a floor plan in Excel. Whether you’re an architect, interior designer, homeowner, or simply someone looking to rearrange their space, Excel can be a valuable tool for creating a visual representation of your ideas.
Before we dive into the steps, it’s important to note that while Excel is a versatile program, it does have its limitations in terms of design capabilities and scalability. Hence, this method is best suited for creating simple floor plans or for those who are already familiar with Excel’s features and prefer to work within its interface.
Ready to get started? Let’s jump into the first step!
Key Takeaways:
- Create basic floor plans in Excel using grid-like interface and versatile tools. Customize appearance, add labels, dimensions, and save or print for cost-effective visualization and planning.
- Excel’s limitations in complex designs, but convenient for simple floor plans. Empowers users to optimize functionality and make informed decisions about space design.
Read more: How To Create A Floor Plan For Free
Step 1: Open Excel and create a new workbook
The first step in creating a floor plan in Excel is to open the program and create a new workbook. If you already have Excel installed on your computer, you can simply double-click the Excel icon to launch the program.
Once Excel is open, you will see a blank workbook on your screen. This is where you will build your floor plan. If you prefer to work with a template, you can also search online for pre-designed floor plan templates that can be imported into Excel.
Before you start creating your floor plan, it’s a good idea to familiarize yourself with Excel’s layout and tools. The toolbar at the top of the screen contains various tabs such as Home, Insert, Page Layout, Formulas, and more. These tabs contain different functions and formatting options that will come in handy as you create your floor plan.
Excel also has a grid-like interface with cells arranged in rows and columns. This grid will serve as the foundation for your floor plan, allowing you to create rooms, walls, and other elements by using the cells as building blocks.
Now that you have the basics of Excel covered, you’re ready to move on to the next step and start adjusting the grid size and page setup to match your floor plan’s requirements.
Step 2: Adjust the grid size and page setup
Once you have created a new workbook in Excel, the next step is to adjust the grid size and page setup to match the dimensions of your floor plan.
To adjust the grid size, you can modify the width and height of the cells in Excel. By default, the width of a cell is set to 8.43 characters and the height is set to 12.75 points. However, these values can be changed according to your needs.
To resize the cells, select the range of cells that you want to modify. You can do this by clicking and dragging your mouse over the desired area. Once the cells are selected, right-click on any of the selected cells and choose “Format Cells” from the context menu. In the Format Cells dialog box, go to the “Alignment” tab and adjust the width and height under the “Row Height” and “Column Width” sections, respectively.
Keep in mind that you may need to experiment with different cell sizes to achieve the desired scale for your floor plan. For example, you could set a cell’s width to represent 1 foot and the height to represent 1 inch. This way, each cell in your grid would represent a square foot of space.
Once you have adjusted the grid size, you can also customize the page setup to match your floor plan. This includes setting the paper size, margins, and orientation. To access the page setup options, go to the “Page Layout” tab in Excel’s toolbar and click on the “Page Setup” group. Here, you can define the paper size (e.g., A4, Letter, Legal), adjust the margins, and select the orientation (portrait or landscape).
By customizing the grid size and page setup in Excel, you can create a canvas that accurately represents the dimensions and layout of your floor plan. With these adjustments in place, you’re now ready to move on to the next step and start creating the walls and rooms in your floor plan.
Step 3: Create the walls and rooms
With the grid size and page setup adjusted to match your floor plan dimensions, it’s time to create the walls and rooms in Excel.
Start by selecting a range of cells where you want to draw a wall. You can do this by clicking and dragging your mouse over the desired area. Once the cells are selected, you can apply the formatting options to create the appearance of a wall. For example, you can change the fill color of the cells to represent the material of the wall or use borders to outline the shape of the wall.
To draw a room, repeat the same process of selecting a range of cells and applying formatting options. You can experiment with different colors or patterns to represent different types of rooms, such as bedrooms, living rooms, or bathrooms. You can also resize the cells to match the desired size of each room.
Excel’s grid system makes it easy to align the walls and rooms, ensuring that your floor plan looks organized and professional. You can use the “Align” options in the toolbar to align the cells vertically or horizontally and achieve precise positioning.
As you create the walls and rooms, it’s helpful to work with layers. By creating separate layers, you can easily toggle the visibility of different elements and make adjustments without affecting other parts of the floor plan. To create a new layer, right-click on the sheet tab at the bottom of the Excel window, select “Insert” from the context menu, and choose “Worksheet” to create a new sheet. You can then draw the walls and rooms on different sheets to keep them organized.
Remember to label each room and wall to indicate its purpose or dimensions. You can do this by inserting text boxes in Excel and positioning them near the corresponding elements. To insert a text box, go to the “Insert” tab in the toolbar, click on “Text Box,” and then click and drag on the worksheet to draw the text box. Type your labels into the text box, and you can customize the font, size, and alignment using the formatting options.
By creating the walls and rooms in Excel, you’re able to visualize the layout of your floor plan and make adjustments as needed. In the next step, we’ll explore how to add doors, windows, and other features to enhance the functionality of your floor plan.
Step 4: Add doors, windows, and other features
Once you have created the walls and rooms in your floor plan, it’s time to add doors, windows, and other features to enhance the functionality and aesthetics of the space.
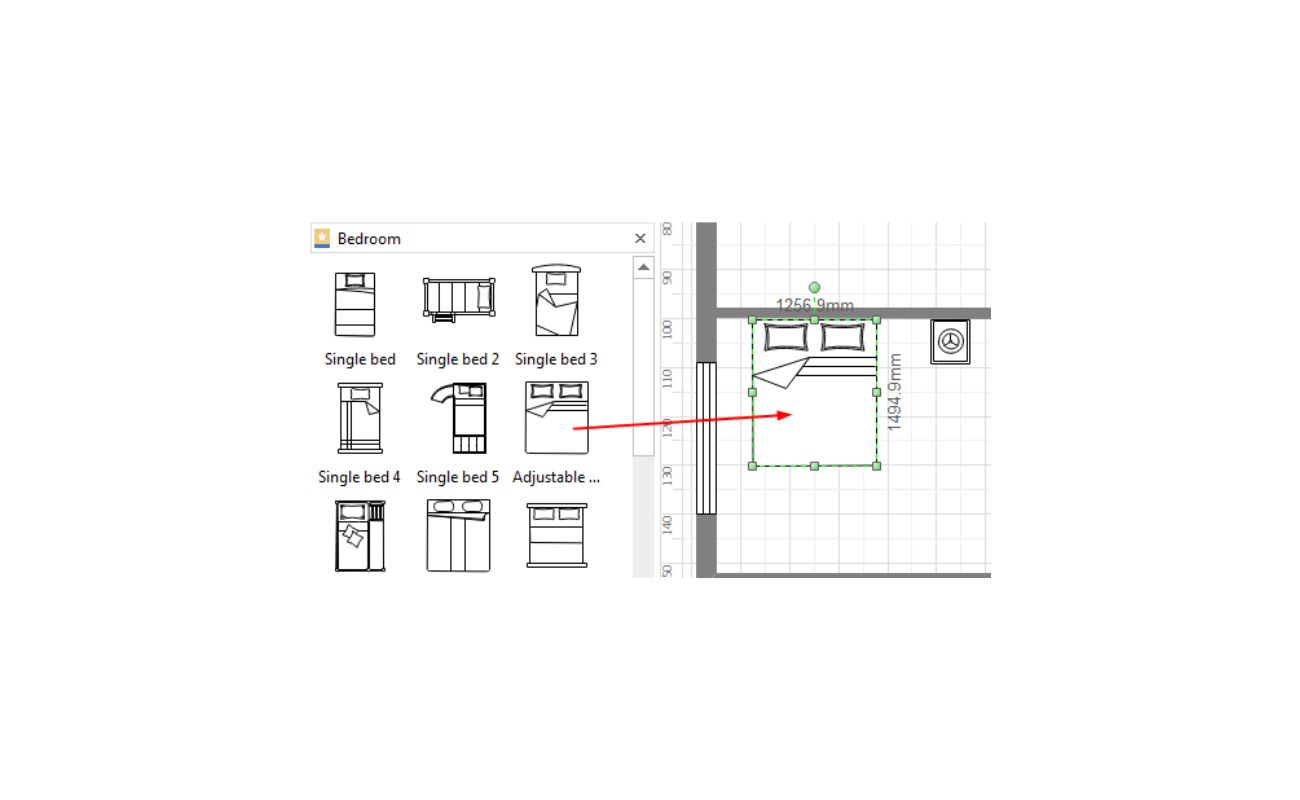
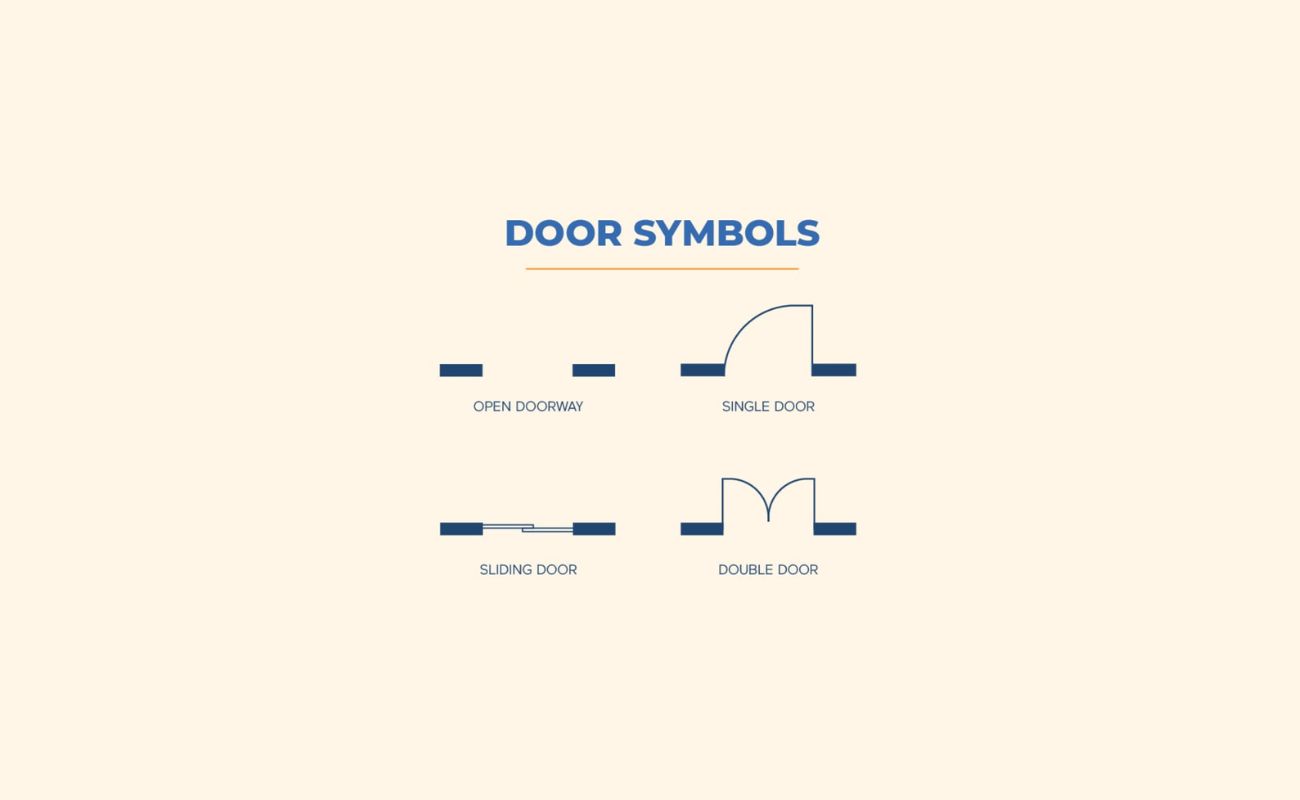
To add doors and windows, you can use Excel’s built-in shapes tool. Go to the “Insert” tab in the toolbar and click on “Shapes.” From the dropdown, choose the shape that represents a door or window, such as a rectangle or an arc. Click and drag on the worksheet to draw the shape, adjusting its size to match the dimensions of the door or window. You can then resize and position the shape to place it within the walls of the corresponding room.
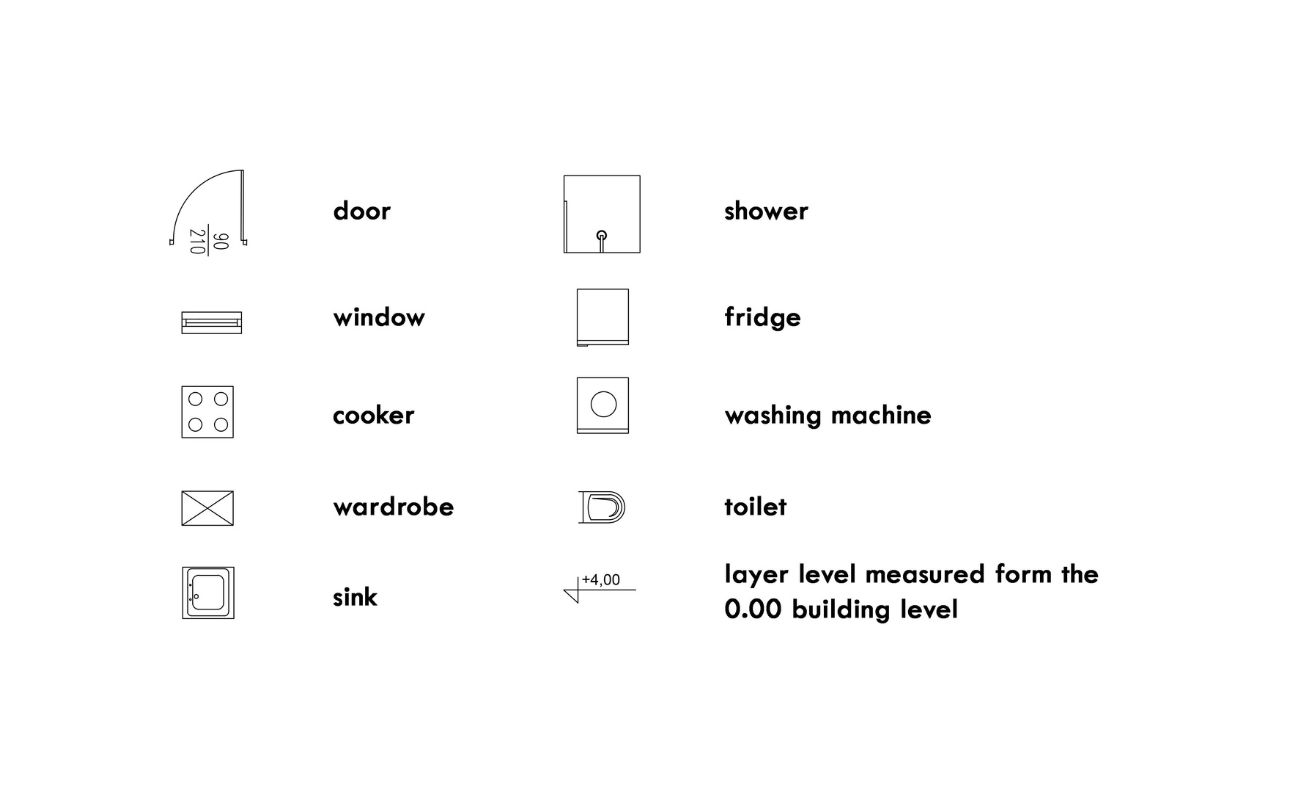
In addition to doors and windows, you can also add other features such as stairs, kitchen appliances, or furniture. Excel provides a wide range of shapes to choose from, or you can even import custom shapes if needed. Simply select the desired shape, click and drag on the worksheet to draw it, and adjust its size and position to fit within the floor plan.
When adding features to your floor plan, it’s important to consider the scale and proportion. Ensure that the size of the features accurately represents their real-life counterparts. This will help you visualize how the space will function and allow for proper placement of furniture and other elements.
Similar to the walls and rooms, you can use different colors or patterns to differentiate the doors, windows, and other features. This will make your floor plan more visually appealing and easier to understand.
Remember to label each feature to provide additional information about its purpose or dimensions. You can use text boxes in Excel to insert labels near the corresponding elements, similar to what we discussed in the previous step.
By adding doors, windows, and other features to your floor plan in Excel, you can create a detailed and functional representation of your space. These elements will help you envision how the layout will work and enable you to make informed decisions about the design. Now that you’ve added the necessary features, let’s move on to the next step and explore how to add labels and dimensions to your floor plan.
Use the “Shapes” tool in Excel to create walls, doors, and windows. Use the gridlines to align and space out the elements accurately. Use different colors to differentiate between walls and openings.
Read more: How To Create A Floor Plan In Word
Step 5: Add labels and dimensions
To provide additional information and clarity to your floor plan, it is essential to add labels and dimensions. This step allows you to communicate specific details about the various elements in your floor plan.
To begin, select the text box tool from the “Insert” tab in the Excel toolbar. Click and drag on the worksheet to draw a text box near the element you wish to label, such as a room or a feature. Type the appropriate label inside the text box, and use the formatting options to customize the text’s font, size, and alignment. Repeat this process for each element you want to label.
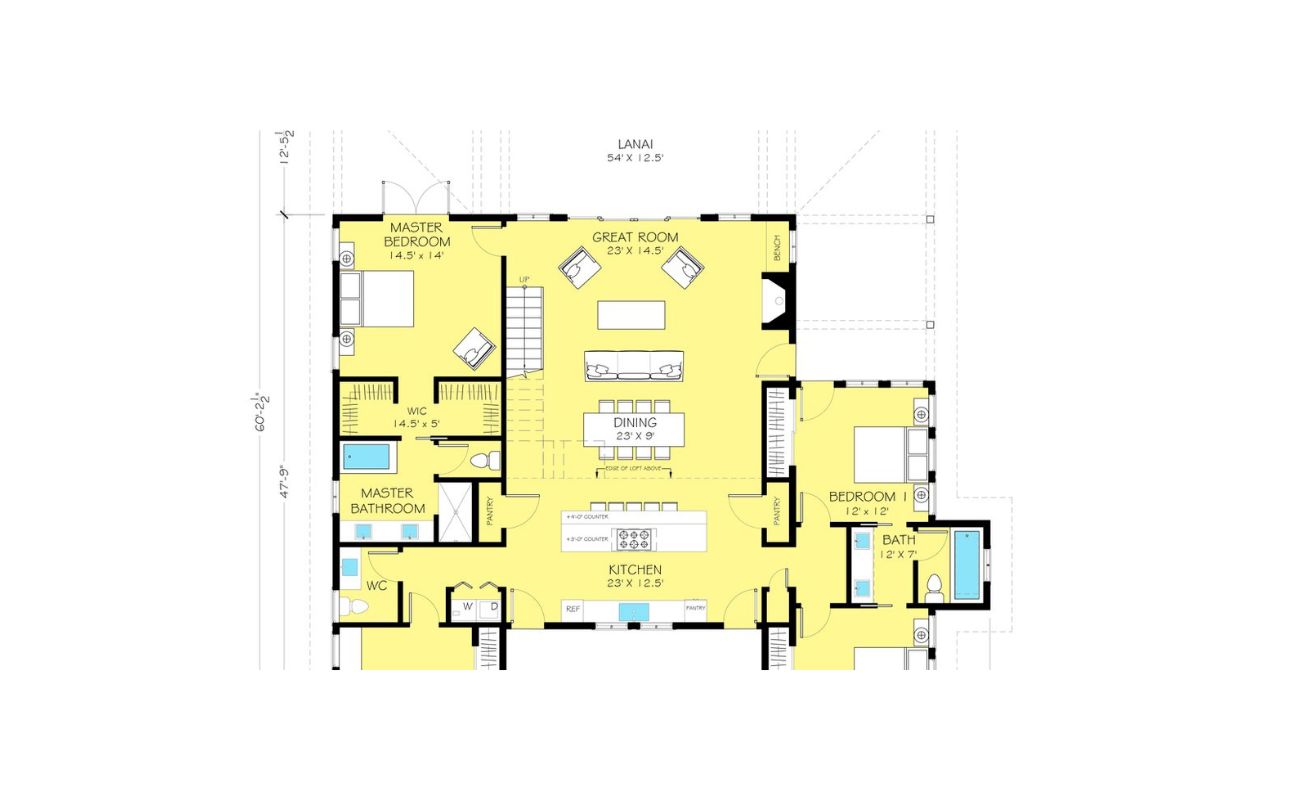
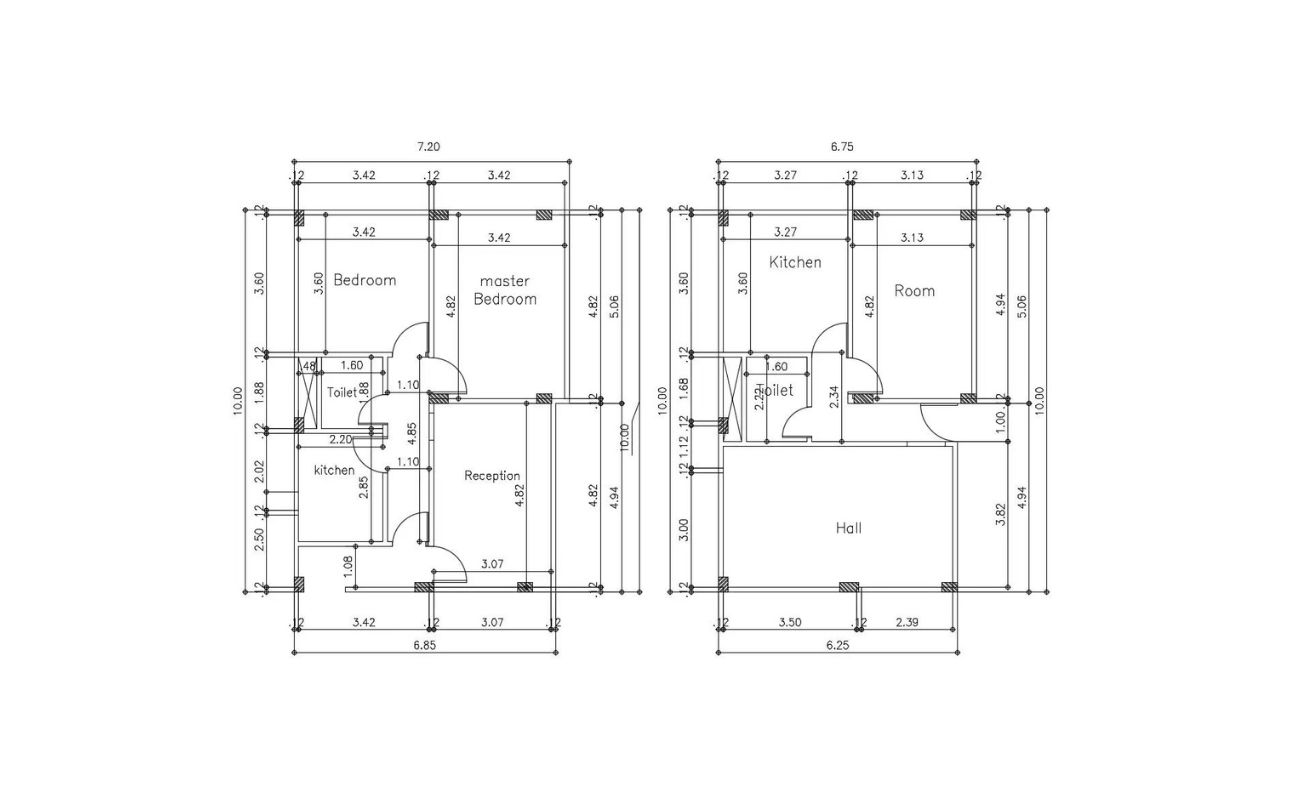
When adding dimensions, it’s important to accurately represent the physical measurements in your floor plan. Excel provides a variety of options to showcase dimensions, such as using arrows, lines, or text boxes. Select the appropriate tool from the shapes menu, and draw the necessary lines or shapes to indicate the dimensions of a wall, room, or feature. Include the measurements in feet and inches, ensuring that they align with the scale you have chosen for your floor plan.
For more complex floor plans, it may be helpful to create a legend or key to explain any symbols or abbreviations used in your floor plan. This will provide clarity to the viewer and make it easier to understand the different elements and annotations present.
Adding labels and dimensions to your floor plan not only enhances its visual appeal but also makes it more informative and user-friendly. By providing clear and concise information, you facilitate better communication and understanding of your design concept.
Now that you have added labels and dimensions, you can move on to the next step and explore how to customize the floor plan with colors and styles.
Step 6: Customize the floor plan with colors and styles
Customizing the colors and styles of your floor plan can greatly enhance its visual appeal and provide a more engaging representation of your design. Excel offers various tools and options for customizing the appearance of your floor plan.
One way to customize your floor plan is by applying color to the walls, rooms, doors, windows, and other features. You can do this by selecting the desired element and using the “Fill Color” option in Excel’s toolbar. Experiment with different colors to create a visually pleasing and cohesive design. For example, you can use warm and inviting colors for living spaces, calming colors for bedrooms, and vibrant colors for accent walls or features.
In addition to color, you can apply different styles to your floor plan to enhance its aesthetics. Excel provides various formatting options, such as gradients, patterns, and textures, that you can use to add depth and visual interest to your floor plan. These styles can be applied to elements like walls, floors, or even furniture. Consider using patterns or textures that match the theme or style of the space you are designing.
Another way to customize your floor plan is by adjusting the line thickness and style. By modifying the borders of the cells or shapes, you can create a more defined and polished look. Excel offers different line styles such as solid, dashed, or dotted lines, as well as the option to adjust the thickness of the lines.
Remember to maintain consistency in your color and style choices throughout the floor plan. This will ensure a cohesive and harmonious design that is visually appealing and easy to understand.
By customizing the colors and styles, you can bring your floor plan to life and make it more visually engaging for yourself and others. Now that you have customized your floor plan, it’s time to save and print it, which we will cover in the next step.
Step 7: Save and print the floor plan
Once you have finished creating and customizing your floor plan in Excel, it’s important to save your work and make it available for future reference or sharing with others. Saving your floor plan is simple and can be done in a few easy steps.
To save your Excel floor plan, click on the “File” tab in Excel’s toolbar and select “Save” or “Save As” from the dropdown menu. Choose a location on your computer or cloud storage where you want to save the file, and provide a descriptive name for easy identification. Select the appropriate file format (XLSX or CSV) and click “Save” to complete the process. It is recommended to save your floor plan regularly during the creation process to prevent any loss of data.
After saving your floor plan, you may want to print a physical copy to have a tangible representation of your design. To print your Excel floor plan, go to the “File” tab and select “Print” from the dropdown menu. This will open the Print menu, where you can customize various print settings such as page orientation, paper size, and scaling options. Preview the print layout using the Print Preview option to ensure the floor plan is correctly formatted for printing. Once you are satisfied with the settings, click on the “Print” button to generate a hard copy of your floor plan.
When printing your floor plan, it is important to consider the scale. Ensure that the printed version accurately represents the measurements and proportions of your design. You may need to adjust the print settings, such as scaling or page setup, to achieve the desired outcome.
If you prefer to share your floor plan digitally, you can also save it as a PDF file. Simply go to the “File” tab, select “Save As,” choose PDF as the file format, and save it to your desired location. This will create a PDF version of your floor plan that can be easily shared via email or other digital platforms.
By saving and printing your floor plan, you have a convenient way to preserve and present your design ideas. Whether in digital or printed form, your floor plan will serve as a valuable reference during the implementation phase of your project or when discussing design concepts with clients or contractors.
Congratulations! You have successfully created, customized, and saved your floor plan using Microsoft Excel. With its versatility and user-friendly interface, Excel proves to be a handy tool for visualizing and planning your space.
Whether you’re an architect, interior designer, homeowner, or simply an individual with a passion for design, Excel’s floor plan capabilities provide a practical and accessible way to bring your ideas to life. By following the steps outlined in this article, you now have the knowledge and skills to create floor plans that accurately represent your vision.
Now, it’s time to take your floor plan to the next level and start turning your design dreams into reality!
Conclusion
Creating a floor plan in Excel is a cost-effective and accessible option for visualizing and planning your space. With its grid-like interface and versatile tools, Excel provides a platform to create detailed and professional floor plans, whether you’re an architect, interior designer, or homeowner.
Throughout this article, we have guided you through the steps to create a floor plan in Excel, from opening a new workbook to customizing the appearance and saving the final design. By adjusting the grid size and page setup, creating walls and rooms, adding doors and windows, and incorporating labels and dimensions, you have been able to create a comprehensive representation of your space.
Furthermore, by customizing the floor plan with colors, styles, and printing options, you can enhance its visual appeal and make it more engaging for yourself and others. Excel’s flexibility allows you to experiment with various design elements and create a floor plan that accurately reflects your vision.
Remember that while Excel is a powerful tool for creating floor plans, it does have its limitations when it comes to complex designs or high-level rendering. In such cases, specialized software may provide more advanced features. However, for simple floor plans or those who prefer working within Excel’s interface, this method offers a convenient and efficient solution.
Whether you’re renovating your home, designing a commercial space, or simply rearranging your furniture, a well-executed floor plan is crucial for effective planning and decision-making. The ability to visualize the layout, flow, and dimensions of a space empowers you to optimize functionality and create a harmonious environment.
With the knowledge gained from this article, you now have the necessary skills to create a floor plan in Excel and bring your design ideas to life. So go ahead and unleash your creativity, experiment with different layouts, and create floor plans that truly reflect your vision and meet your needs.
So why wait? Open Excel, start a new workbook, and begin transforming your ideas into a visually stunning and practical floor plan. Happy designing!
Frequently Asked Questions about How To Create Floor Plan In Excel
Was this page helpful?
At Storables.com, we guarantee accurate and reliable information. Our content, validated by Expert Board Contributors, is crafted following stringent Editorial Policies. We're committed to providing you with well-researched, expert-backed insights for all your informational needs.





0 thoughts on “How To Create Floor Plan In Excel”