Home>diy>Architecture & Design>How To Draw Chairs On A Floor Plan

Architecture & Design
How To Draw Chairs On A Floor Plan
Modified: August 17, 2024
Learn how to draw chairs on a floor plan with our architecture design guide. Enhance your skills and create stunning layouts for any space.
(Many of the links in this article redirect to a specific reviewed product. Your purchase of these products through affiliate links helps to generate commission for Storables.com, at no extra cost. Learn more)
Introduction
When it comes to designing a space, whether it’s a home, office, or any other type of building, the floor plan is a crucial element. It serves as the blueprint that guides architects, designers, and contractors in creating a functional and visually pleasing environment. One key aspect of a floor plan is the placement and arrangement of furniture, including chairs.
Chairs are an essential component of any room, providing comfort and functionality. Drawing chairs on a floor plan may seem like a daunting task, especially for those without a background in design or architecture. However, with a little guidance and understanding of basic principles, anyone can learn how to accurately represent chairs on a floor plan.
In this article, we will outline the step-by-step process of drawing chairs on a floor plan. From measuring the room to finalizing the floor plan, we will cover all the necessary aspects to ensure your chairs are accurately depicted.
So, grab your measuring tape and sharpen your pencil, as we dive into the world of floor plan design!
Key Takeaways:
- Mastering the skill of drawing chairs on a floor plan involves meticulous measurement, accurate scaling, and attention to detail, resulting in visually appealing and functional room designs.
- A well-executed floor plan not only aids in visualizing furniture layout but also serves as a comprehensive guide for architects, designers, and homeowners, enhancing the overall design process.
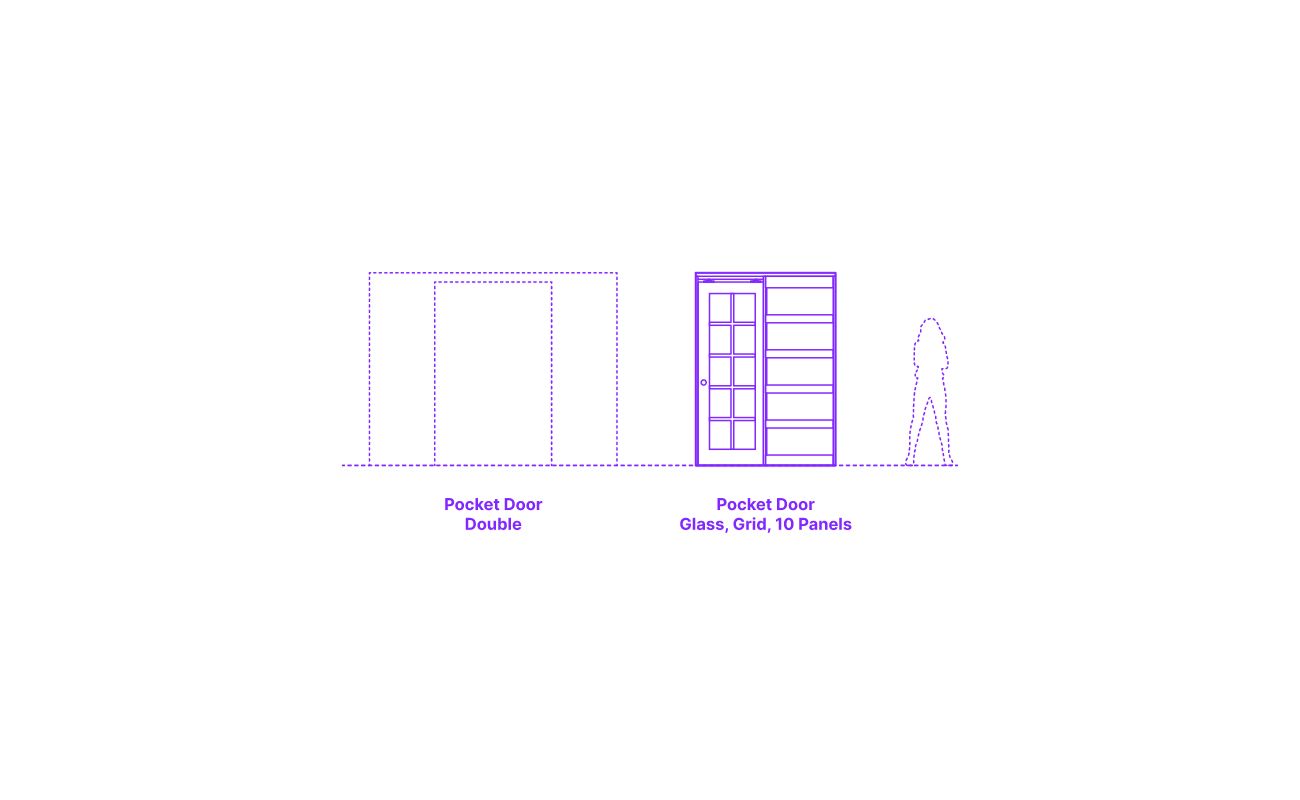
Read more: How To Draw An Evacuation Floor Plan
Step 1: Measure the Room
Before you begin drawing chairs on a floor plan, it is essential to measure the room accurately. This step ensures that your floor plan reflects the actual dimensions of the space, providing a solid foundation for your design.
Start by using a measuring tape to measure the length and width of the room. Measure each wall from one corner to another, taking note of the measurements in feet or meters. It is crucial to be precise in your measurements, as even small inaccuracies can impact the overall layout of the room.
Additionally, measure the height of the ceiling, as this information will be valuable when determining the placement of furniture. In some cases, you may need to account for architectural elements such as beams or sloping ceilings.
As you measure the room, make a rough sketch or take notes of the measurements on a separate piece of paper. This will serve as a reference when you begin drawing the floor plan and placing the chairs.
Keep in mind that it’s important to measure not just the main area of the room but also any alcoves, built-in cabinets, or other features that may impact the layout. By capturing these measurements accurately, you’ll be able to create a more realistic and functional floor plan.
Once you have completed the measurements, double-check your figures to ensure accuracy. It’s always a good idea to have someone else review your measurements or use laser measuring tools for added precision.
With the room properly measured, you can move on to the next step: determining the scale of your floor plan.
Step 2: Determine the Scale
After measuring the room, the next step in drawing chairs on a floor plan is determining the scale. The scale is a representation of the room’s dimensions in a reduced or enlarged form, allowing you to accurately depict furniture and other elements within the space.
Choosing an appropriate scale depends on the size of the room and the level of detail you wish to include. Common scales for floor plans include 1/4 inch = 1 foot or 1/50 scale, where each unit on the floor plan represents a certain measurement in real life.
To determine the scale, divide the room’s measurements by the desired scale factor. For example, if you have a room that is 20 feet long, and you choose a 1/4 inch = 1 foot scale, you would divide 20 by 4, resulting in a representation of 5 inches on the floor plan.
Once you have determined the scale, you can draw a straight line to represent one wall of the room on a separate sheet of graph paper or a digital design tool. Use a ruler to ensure the line is straight and matches the scaled length of the wall.
It’s important to note that the scale should be consistent throughout your floor plan. This means that each element, including chairs, should be drawn to scale to maintain accuracy and proportionality.
By using a scale, you can effectively represent chairs and other furniture in relation to the room’s dimensions. This scale will guide you in drawing the chairs on the floor plan accurately and help you achieve a well-balanced and visually appealing design.
With the scale determined, you are ready to move on to the next step: starting with the walls.
Step 3: Start with the Walls
Once you have measured the room and determined the scale, it’s time to begin drawing the floor plan. Start by drawing the walls of the room, as they form the foundation of the space and provide a framework for placing the chairs.
Using a pencil and ruler, carefully draw each wall of the room on your graph paper or digital design tool. Ensure that the walls are accurately represented in terms of length and angles. Use the scale determined in the previous step to maintain proportionality.
When drawing the walls, consider any architectural elements such as doors, windows, or columns. These features will impact the placement of chairs, so it’s important to capture them accurately on the floor plan.
If there are any recessed areas or alcoves in the room, be sure to include them in your drawing as well. These spaces can be used to position chairs or other furniture, and their inclusion adds depth and detail to the floor plan.
As you draw the walls, it may be helpful to label them with letters (e.g., A, B, C) or numbers (e.g., 1, 2, 3) to identify each wall individually. This labeling system will make it easier to reference specific areas of the room when placing chairs.
Remember to take your time and be precise when drawing the walls. Accuracy in this step will ensure that your floor plan provides an accurate representation of the room and serves as a solid foundation for placing chairs and other furniture.
With the walls in place, you are ready to move on to the next step: drawing the outline of the chairs.
Step 4: Draw the Outline of the Chairs
Now that you have the walls of the room in place, it’s time to draw the outline of the chairs on your floor plan. This step involves sketching the basic shape and size of each chair, allowing you to visualize their placement within the space.
Begin by considering the type of chairs you plan to include in the room. Are they armchairs, dining chairs, or office chairs? Each type may have a different shape and size, so it’s important to be mindful of these factors when drawing their outline.
Using your pencil, lightly sketch the shape of each chair in the desired location on the floor plan. Start with simple geometric shapes to represent the seat and backrest of the chair. For example, a dining chair can be represented by a rectangle for the seat and a slanted line for the backrest.
As you draw the outline of the chairs, refer to the measurements and scale determined in the previous steps. Ensure that the size and proportion of the chairs align with the dimensions of the room and the scale of the floor plan. This will help you achieve an accurate representation of the chairs and maintain a harmonious layout.
Don’t worry about adding too many details at this stage. The goal is to establish the general position of the chairs within the space. You can refine and add more details in the next step.
Take your time with this step and experiment with different arrangements of the chairs. Consider the flow of the room and how people will move around the space. Play with angles and orientations to find the most visually pleasing and functional layout.
With the outline of the chairs drawn, it’s time to move on to the next step: adding details and dimensions.
When drawing chairs on a floor plan, use a simple rectangular shape to represent the seat and backrest, and four straight lines to indicate the legs. Keep the scale consistent with the rest of the floor plan for accuracy.
Read more: How To Draw A Door In A Floor Plan
Step 5: Add Details and Dimensions
Now that you have the basic outline of the chairs in place, it’s time to add more details and dimensions to your floor plan. This step involves refining the shape of the chairs, specifying their dimensions, and adding any additional elements that contribute to their realistic representation.
Start by focusing on the shape of the chairs. Using your pencil, carefully refine the outline of each chair, paying attention to the curves, angles, and proportions. Take into consideration the specific design and style of the chairs you are representing, as this will influence their overall shape.
Next, add the dimensions to the chairs. Measure the seat width, seat depth, and height of each chair using your measuring tape. Use these measurements to accurately depict the size of the chairs on the floor plan. For example, if a dining chair has a seat width of 18 inches, ensure that the seat width of the chair on the floor plan matches this measurement.
In addition to the chairs themselves, consider adding other relevant details to your floor plan. For example, if the chairs have armrests, include them in the drawing. You can also add details such as chair legs, cushions, or any other distinctive features that make the chairs unique.
Labeling the dimensions on the floor plan is also important. Add text or numbers next to each chair to indicate the dimensions, such as the seat width, seat depth, and chair height. This information will be valuable when finalizing the placement of the chairs and ensuring they fit harmoniously within the room.
Remember to maintain consistency with the scale throughout your floor plan. The dimensions you add should be proportional to the scale determined earlier, reflecting the size of the chairs in relation to the room’s dimensions.
By adding these details and dimensions to your floor plan, you are creating a more accurate and visually informative representation of the chairs. This will help you visualize how the chairs will fit within the space and contribute to the overall design of the room.
With the details and dimensions in place, you can move on to the next step: labeling the chairs.
Step 6: Label the Chairs
Now that you have added details and dimensions to your floor plan, it’s time to label the chairs. Labeling the chairs will help you identify each chair and make it easier to reference them when discussing your floor plan with others.
Start by assigning a unique identifier to each chair. You can use letters, numbers, or a combination of both. For example, you can label the chairs as Chair A, Chair B, Chair C, or Chair 1, Chair 2, Chair 3. Ensure that the labels are clear and legible on the floor plan.
Place the labels next to or underneath each chair, making sure they do not obstruct the overall drawing. This way, you can easily refer to specific chairs when discussing the floor plan or making any necessary adjustments.
In addition to labeling the chairs, you may also want to consider adding annotations or notes to provide further information about each chair. For example, you can include descriptions such as “armchair with leather upholstery” or “dining chair with wooden frame.” These additional details can help others understand the design and characteristics of the chairs.
Labeling the chairs not only helps with identification, but it also improves the overall clarity and usefulness of your floor plan. It allows you to communicate your design intentions effectively and ensures that everyone involved in the project has a clear understanding of the furniture layout.
With the chairs labeled, you are ready for the final step: finalizing the floor plan.
Step 7: Finalize the Floor Plan
After all the meticulous work of measuring, scaling, drawing, and labeling, it’s time to finalize your floor plan. This step involves reviewing the entire floor plan, making any necessary adjustments, and ensuring that all elements come together harmoniously.
Start by reviewing the placement of the chairs within the room. Consider factors such as traffic flow, balance, and functionality. Ensure that the chairs are positioned in a way that allows for easy movement and comfortable seating. Make adjustments as needed to create a layout that best suits the space.
Take a step back and evaluate the overall aesthetic of the floor plan. Does it reflect your desired design style? Are the proportions and scale pleasing to the eye? Make any necessary revisions to achieve the desired visual appeal.
Next, review the dimensions and labels on the floor plan. Double-check that they are accurate and clearly legible. Verify that the dimensions align with the actual measurements and that the labels correspond correctly to each chair.
Consider adding any finishing touches to enhance the clarity and presentation of the floor plan. This may include utilizing different lineweights or adding colors to distinguish various elements or providing a legend that explains the symbols or annotations used in the floor plan.
Finally, step back and assess the floor plan as a whole. Ensure that it accurately represents the room and effectively communicates your design intentions. It should serve as a comprehensive guide for both yourself and others involved in the project.
Once you are satisfied with the final floor plan, make copies or save digital versions for future reference. These floor plans can serve as a valuable tool throughout the design process, aiding in communication, decision-making, and as a reference for contractors or other professionals involved in the project.
Congratulations! You have successfully drawn chairs on a floor plan. By following these steps and paying attention to detail, you have created a visual representation that accurately showcases the placement and arrangement of the chairs within a room.
Remember, a well-executed floor plan can be an invaluable asset, providing clarity and guidance throughout the design process. Whether you are an architect, interior designer, or simply a design enthusiast, mastering the skill of drawing chairs on a floor plan will enhance your ability to create functional and visually appealing spaces.
So, go ahead and put your newfound knowledge into practice, and let your creativity shine through your floor plan designs!
Conclusion
Designing a floor plan involves careful consideration of various elements, and drawing chairs on a floor plan is an essential aspect of creating a well-designed and functional space. By following the step-by-step process outlined in this article, you can confidently and accurately depict chairs on your floor plans.
From measuring the room and determining the scale to drawing the walls and outlining the chairs, each step contributes to creating a comprehensive floor plan that showcases the placement and arrangement of furniture. Adding details, dimensions, and labels further enhances the realism and usefulness of the floor plan, allowing for clear communication and understanding.
A well-executed floor plan not only aids in visualizing the furniture layout but also serves as a guide for the overall design of a space. Whether you are an architect, interior designer, or simply a homeowner looking to plan furniture placement, drawing chairs on a floor plan is an invaluable skill to possess.
Remember to maintain accuracy, attention to detail, and consistency in scale throughout the drawing process. Consider factors such as traffic flow, balance, and functionality when placing chairs within the room. These considerations will result in a floor plan that is not only aesthetically pleasing but also practical and user-friendly.
By mastering the skill of drawing chairs on a floor plan, you will have the ability to create spaces that are both visually pleasing and functional. So, grab your measuring tape, sharpen your pencil, and let your creativity flow as you bring your floor plans to life!
Happy designing!
Now that you've mastered drawing chairs on a floor plan, why not broaden your understanding of the entire concept? Dive into our detailed overview on what exactly a floor plan is. You'll uncover the essentials of creating versatile and functional layouts for any environment, whether for home or business use. With this knowledge, every room design will snap into place more logically and beautifully.
Frequently Asked Questions about How To Draw Chairs On A Floor Plan
Was this page helpful?
At Storables.com, we guarantee accurate and reliable information. Our content, validated by Expert Board Contributors, is crafted following stringent Editorial Policies. We're committed to providing you with well-researched, expert-backed insights for all your informational needs.


0 thoughts on “How To Draw Chairs On A Floor Plan”