Home>Furniture & Design>Bathroom Accessories>How To Remove Anti Scald Valve Bathtub
Bathroom Accessories
How To Remove Anti Scald Valve Bathtub
Modified: May 6, 2024
Learn how to remove the anti-scald valve from your bathtub to make way for new bathroom accessories. Follow our step-by-step guide for a hassle-free process.
(Many of the links in this article redirect to a specific reviewed product. Your purchase of these products through affiliate links helps to generate commission for Storables.com, at no extra cost. Learn more)
Introduction
Removing an anti-scald valve from a bathtub may seem like a daunting task, but with the right tools and a clear understanding of the process, it can be a manageable DIY project. An anti-scald valve, also known as a pressure-balancing valve, is an essential component of a bathtub's plumbing system. Its primary function is to regulate the water temperature, ensuring that the water does not reach scalding temperatures, especially when there are fluctuations in the water pressure.
Over time, these valves may develop issues such as leaks, reduced water flow, or temperature irregularities, prompting the need for removal and potential replacement. Whether you are replacing a faulty valve or simply performing maintenance, understanding the steps involved in removing an anti-scald valve is crucial to the successful completion of the task.
In this comprehensive guide, we will walk you through the step-by-step process of removing an anti-scald valve from your bathtub. From gathering the necessary tools and materials to safely turning off the water supply and carefully disassembling the valve, each step is essential to ensure a smooth and efficient removal process. Additionally, we will touch on the optional step of installing a new valve, providing you with the knowledge and confidence to tackle this task with ease.
By following this guide, you will not only gain a deeper understanding of your bathtub's plumbing system but also acquire the skills to address potential issues related to anti-scald valves. So, roll up your sleeves, gather your tools, and let's embark on this DIY journey to remove the anti-scald valve from your bathtub.
Key Takeaways:
- Removing an anti-scald valve from your bathtub is a manageable DIY project that requires gathering tools, turning off the water supply, and carefully disassembling the valve. It’s a great opportunity to learn about your bathtub’s plumbing system!
- Replacing the valve with a new one is optional but can enhance your bathtub’s efficiency. Reassembling the handle and trim plate is the final step to restore the fixture’s functionality and visual appeal.
Step 1: Gather necessary tools and materials
Before embarking on the task of removing the anti-scald valve from your bathtub, it is crucial to gather all the essential tools and materials to ensure a smooth and efficient process. Here's a comprehensive list of items you will need:
Tools:
- Adjustable wrench: This versatile tool will be used to loosen and remove various components of the valve assembly.
- Phillips and flat-head screwdrivers: These will come in handy for removing screws and other fasteners.
- Needle-nose pliers: Useful for gripping and manipulating small components within the valve assembly.
- Allen wrench set: Some anti-scald valves may have set screws that require an Allen wrench for removal.
- Pipe wrench: If the valve is connected to threaded pipes, a pipe wrench will be necessary for disconnecting the pipes.
- Tub and shower valve socket wrench set: This specialized tool is designed for removing the valve stem assembly from the wall.
Materials:
- Replacement gaskets or O-rings: It's a good practice to have these on hand in case the existing gaskets are worn or damaged during the removal process.
- Plumber's tape: Also known as Teflon tape, this will be used to seal threaded connections when reassembling the plumbing components.
- Clean rags or towels: Having these nearby will help you wipe away any excess water or debris as you work on the valve.
- Bucket or container: To catch any water that may drain from the pipes when the water supply is turned off.
- Flashlight: A reliable light source will be invaluable, especially if the work area is dimly lit.
By ensuring that you have all the necessary tools and materials at your disposal, you can proceed with confidence, knowing that you are well-equipped to tackle the task at hand. With these items in hand, you are ready to move on to the next step in the process of removing the anti-scald valve from your bathtub.
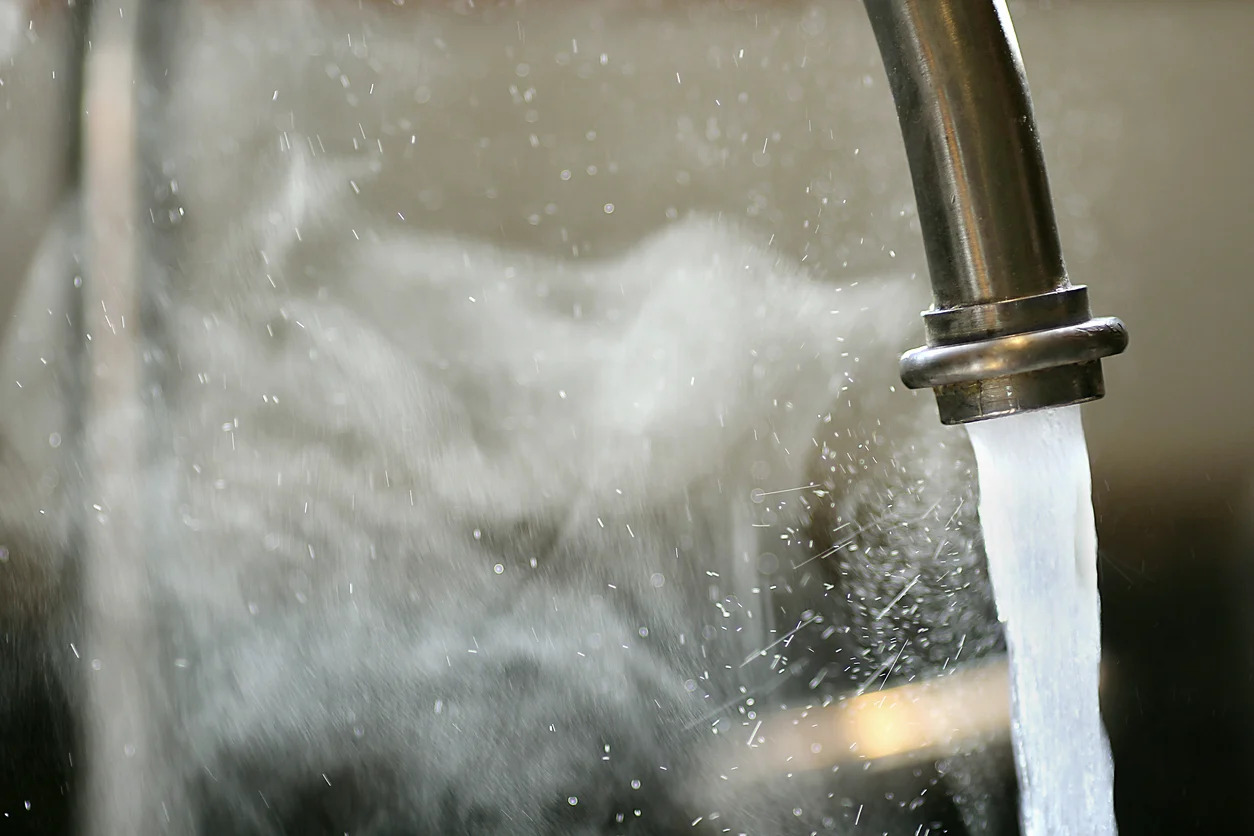
Step 2: Turn off the water supply
Before beginning the process of removing the anti-scald valve from your bathtub, it is crucial to ensure that the water supply to the valve is completely shut off. This step is essential for your safety and to prevent any potential water damage during the removal process.
-
Locate the Water Shut-Off Valve: The water shut-off valve for your bathtub may be located in different places depending on the plumbing setup. In many cases, the shut-off valve is positioned near the bathtub, often in an access panel or behind the bathtub fixture. If you are unable to locate the shut-off valve for the bathtub, consider shutting off the main water supply to your home.
-
Turn Off the Water: Once you have located the shut-off valve, turn it clockwise to shut off the water supply. It's important to verify that the water flow to the bathtub has ceased by turning on the faucet and ensuring that no water is running.
-
Drain Excess Water: After shutting off the water supply, it's advisable to drain any remaining water from the bathtub's plumbing system. To do this, turn on the bathtub faucet and allow any residual water to drain out. You can also use a bucket or container to catch any water that may flow out when the faucet is turned on.
-
Test for Water Flow: Double-check that the water supply is indeed turned off by attempting to turn on the bathtub faucet. If no water flows out, you can proceed with confidence, knowing that the water supply to the anti-scald valve has been successfully shut off.
By diligently following these steps to turn off the water supply, you are taking a crucial safety measure before proceeding with the removal of the anti-scald valve. Ensuring that the water supply is completely turned off will minimize the risk of water leakage and create a safer working environment as you progress through the subsequent steps of the removal process.
Read more: How To Replace A Bathtub Valve
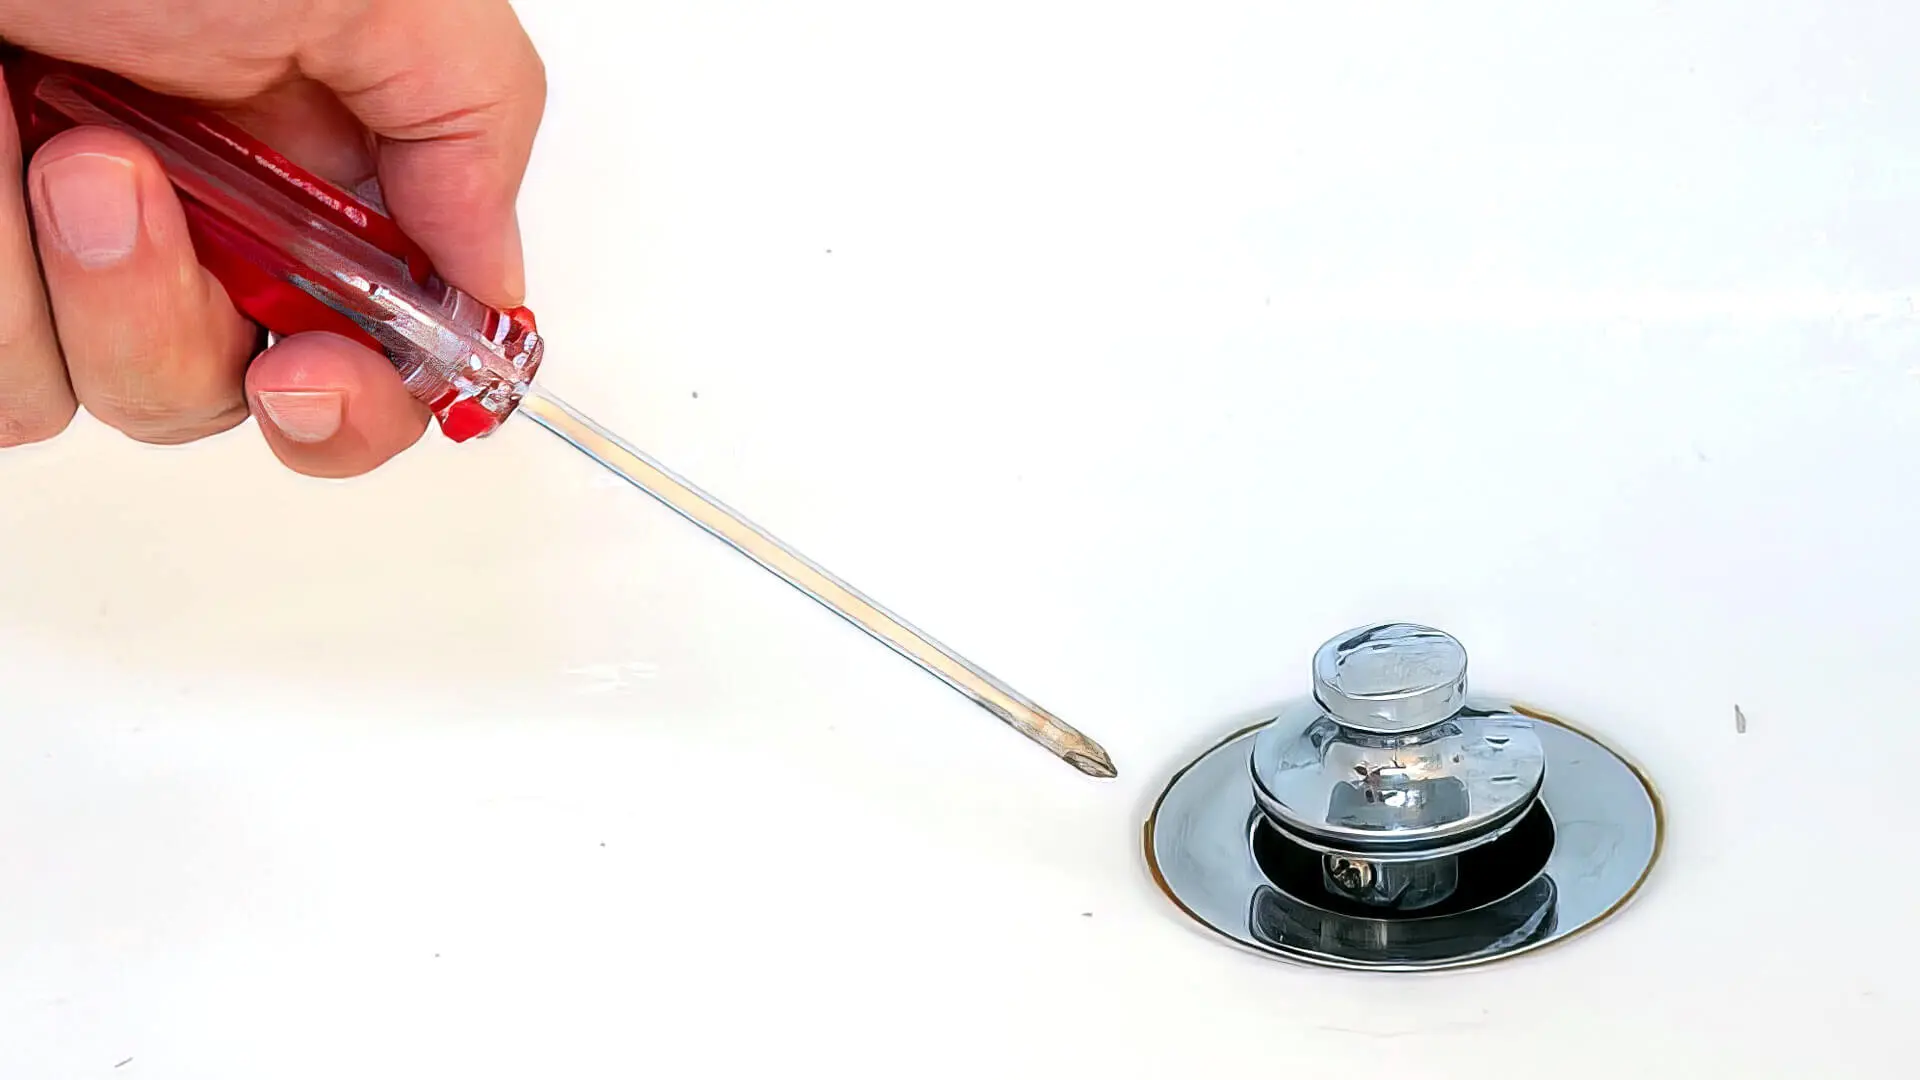
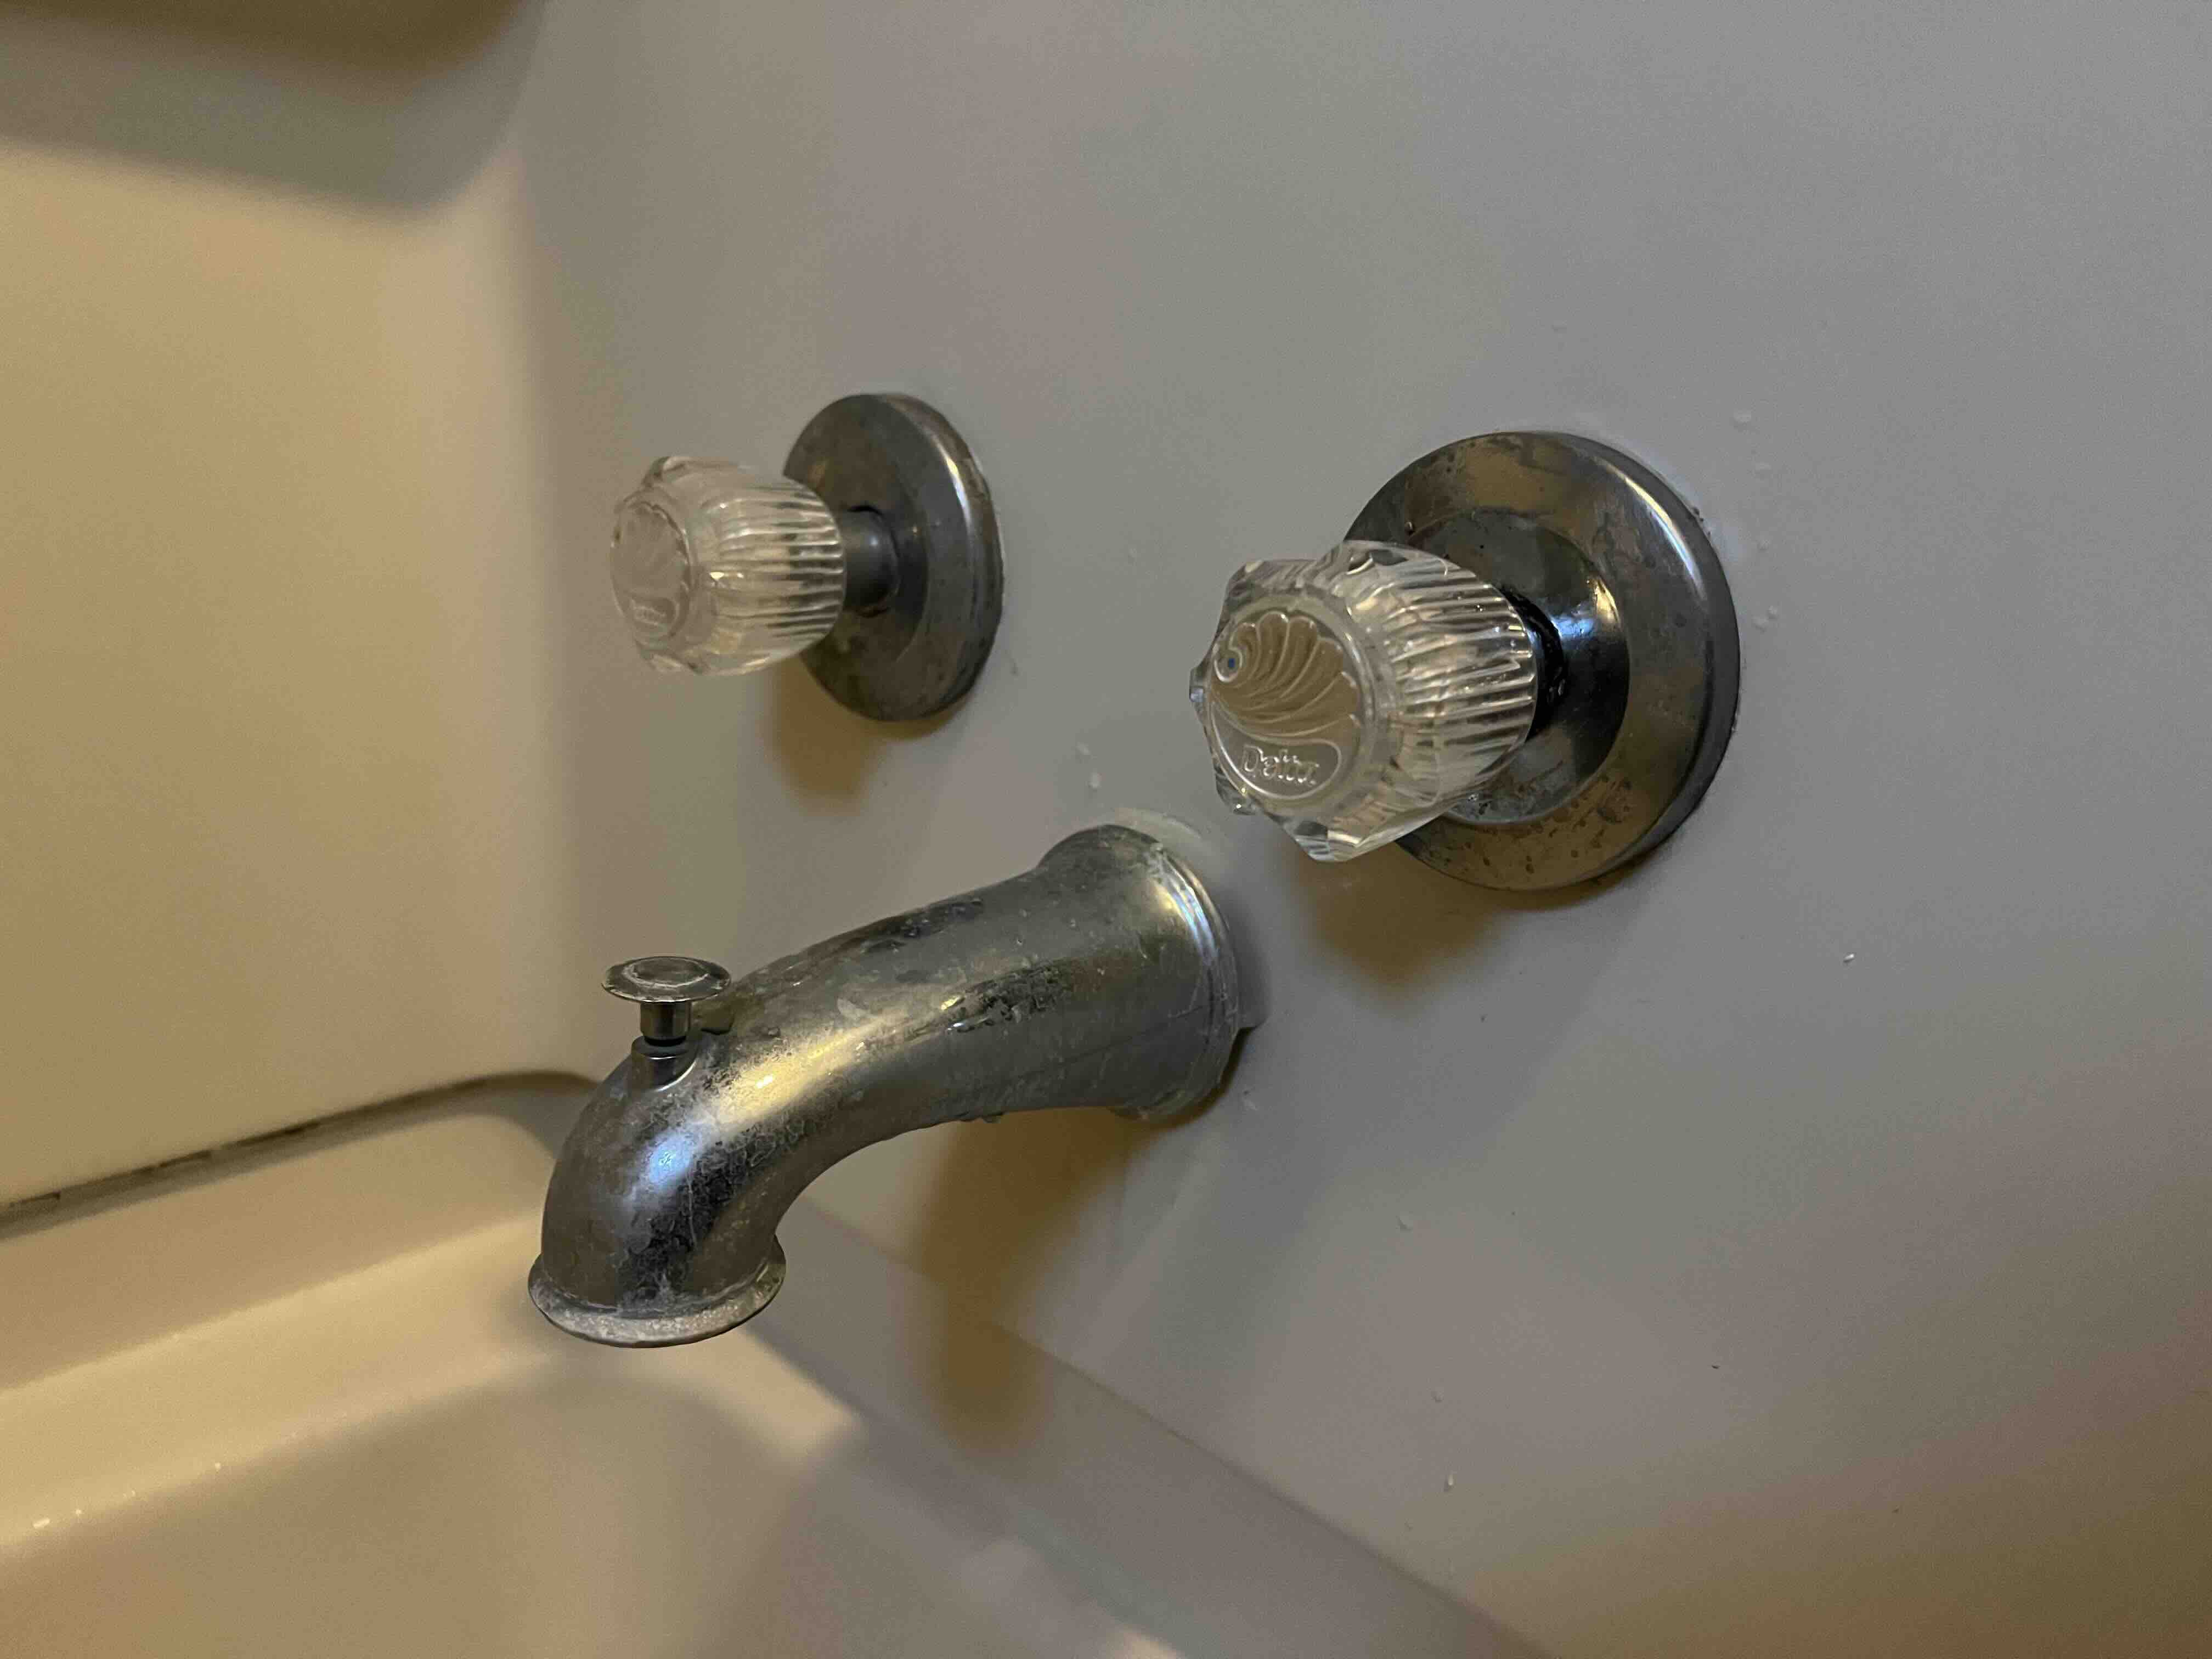
Step 3: Remove the handle and trim plate
Removing the handle and trim plate is a crucial step in the process of removing an anti-scald valve from your bathtub. This step involves disassembling the visible components of the valve to gain access to the internal mechanisms. Here's a detailed guide on how to remove the handle and trim plate:
-
Identify the Type of Handle: Bathtub handles can vary in design, with some featuring a screw-on cap or cover while others may have a set screw located under a decorative cap. Inspect the handle to determine the type of fastening mechanism it utilizes.
-
Remove the Handle Cover or Cap: If the handle has a cover or cap, carefully pry it off using a flat-head screwdriver or a similar tool. This will expose the fastening screw or set screw underneath.
-
Loosen and Remove the Fastening Screw: Using an appropriate screwdriver or Allen wrench, loosen and remove the fastening screw that secures the handle to the valve stem. Keep the screw in a safe place to prevent misplacement.
-
Detach the Handle: Once the fastening screw has been removed, gently pull the handle away from the valve stem. In some cases, the handle may be secured tightly due to mineral deposits or corrosion. If this is the case, carefully wiggle the handle while pulling to loosen it from the valve stem.
-
Locate and Remove the Trim Plate: With the handle removed, the trim plate, also known as the escutcheon, will be visible. The trim plate is typically secured to the wall with screws. Use a suitable screwdriver to remove these screws and detach the trim plate from the wall.
-
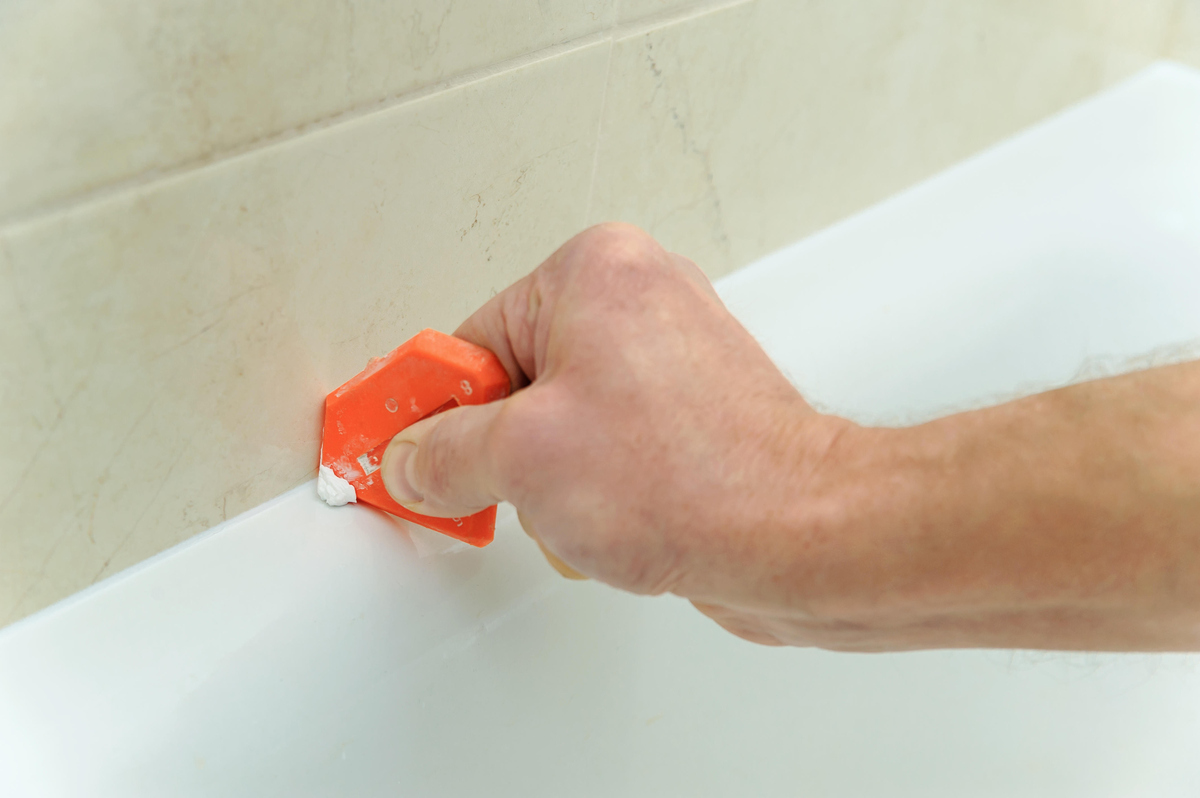
Inspect for Sealant or Caulk: In some installations, the trim plate may be sealed to the wall with silicone caulk or another type of sealant. Carefully inspect the perimeter of the trim plate and, if necessary, use a utility knife to cut through the sealant before removing the trim plate.
-
Set Aside the Components: Once the handle and trim plate have been removed, set them aside in a safe place. Take note of the orientation and arrangement of the components to facilitate reassembly later.
By following these detailed steps, you can successfully remove the handle and trim plate, gaining access to the underlying components of the anti-scald valve. With these components removed, you are ready to proceed to the next steps in the process of removing the anti-scald valve from your bathtub.
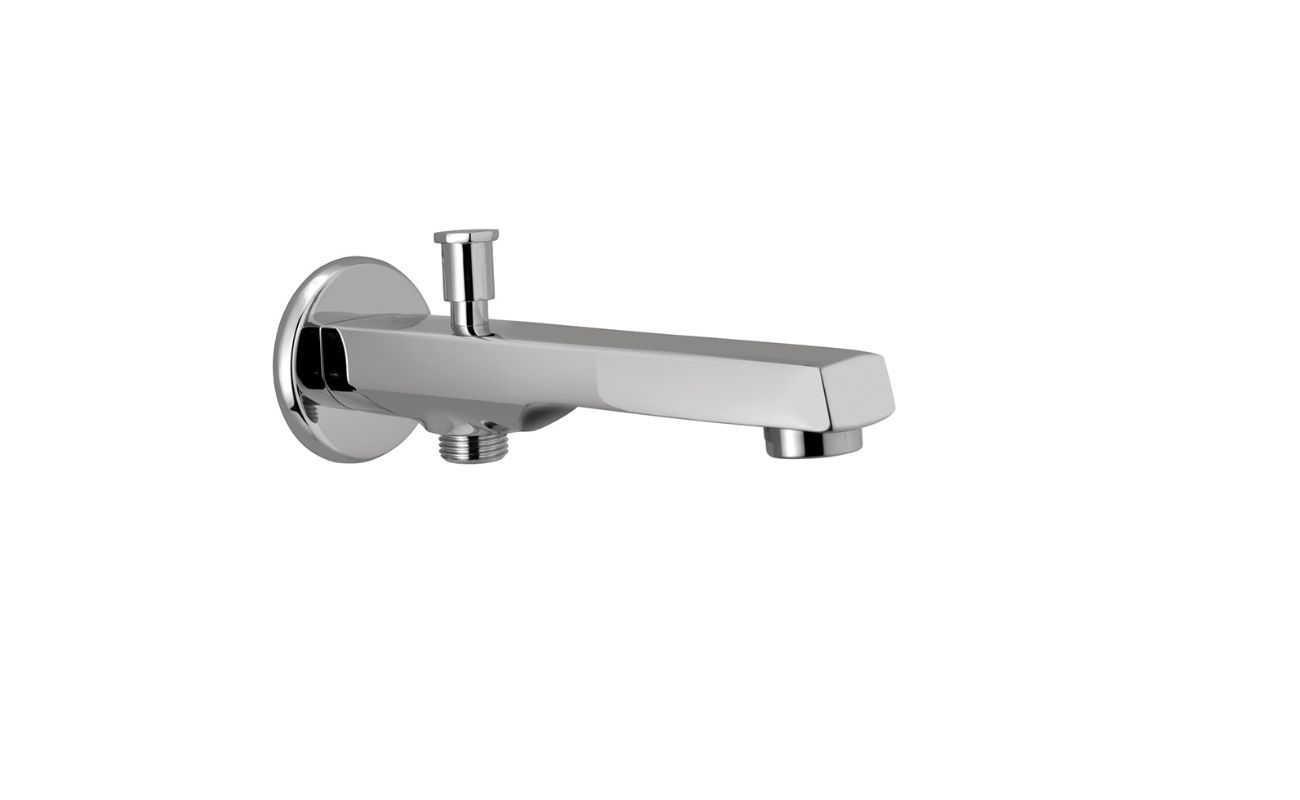
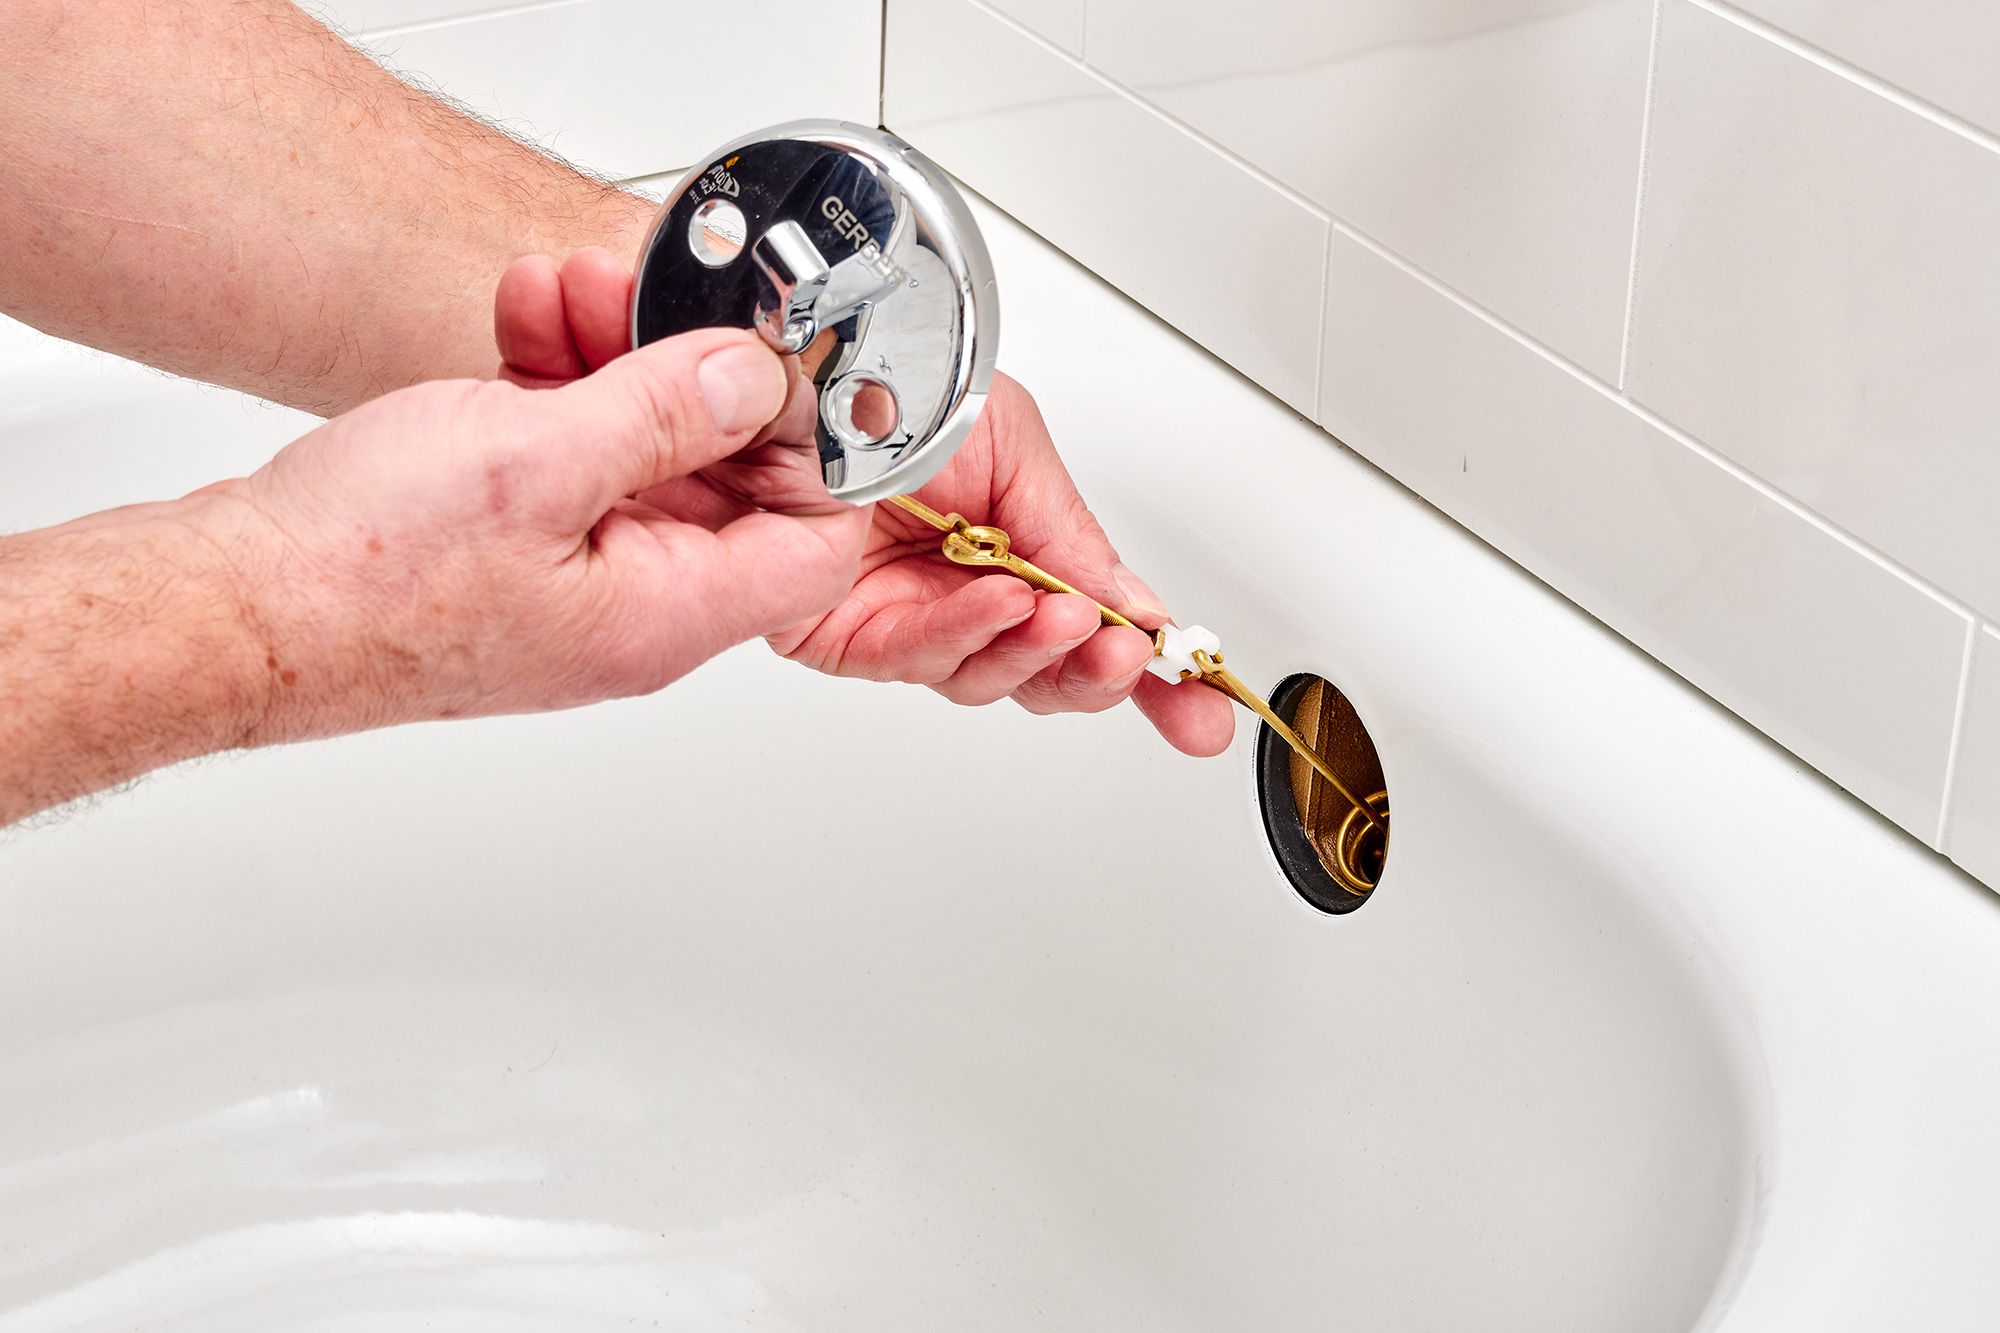
Step 4: Remove the anti-scald valve
With the handle and trim plate successfully removed, you now have access to the anti-scald valve, the central component of the bathtub's pressure-balancing system. Removing the anti-scald valve involves disassembling the internal components and disconnecting it from the plumbing. Here's a detailed guide on how to remove the anti-scald valve from your bathtub:
-
Inspect the Valve Assembly: Before proceeding with the removal, take a moment to inspect the valve assembly. Note the orientation of the valve body and any additional components such as the valve cartridge or balancing spool. Understanding the configuration of the valve will be helpful during reassembly.
-
Disconnect the Valve Assembly: Using an adjustable wrench, carefully disconnect the valve assembly from the hot and cold water supply lines. Turn the nuts counterclockwise to loosen and remove them. Be prepared for residual water to drain from the disconnected lines.
-
Remove the Valve Retaining Nut: The valve assembly is typically secured to the wall with a retaining nut. Use a suitable wrench to loosen and remove this nut, allowing the valve body to be pulled out from the wall. Take care not to force the valve assembly, as it may be connected to other internal components.
-
Extract the Valve Assembly: With the retaining nut removed, gently pull the valve assembly out from the wall. It may be necessary to wiggle the assembly to loosen it from any remaining connections. Take note of the orientation of the valve assembly as it is removed.
-
Inspect for Debris and Corrosion: Once the valve assembly is removed, inspect the surrounding area for any debris, mineral buildup, or corrosion. Use a flashlight to illuminate the interior of the valve cavity and ensure that it is clean and free from obstructions.
-
Set Aside the Valve Assembly: Place the removed valve assembly in a safe and clean area, taking care to avoid damage to the internal components. Keep track of any accompanying parts such as the valve cartridge or balancing spool, as these may need to be replaced or reinstalled.
By following these detailed steps, you can successfully remove the anti-scald valve from your bathtub, paving the way for potential replacement or maintenance. With the valve assembly removed, you are now equipped to proceed with any necessary repairs or the installation of a new valve, if required.
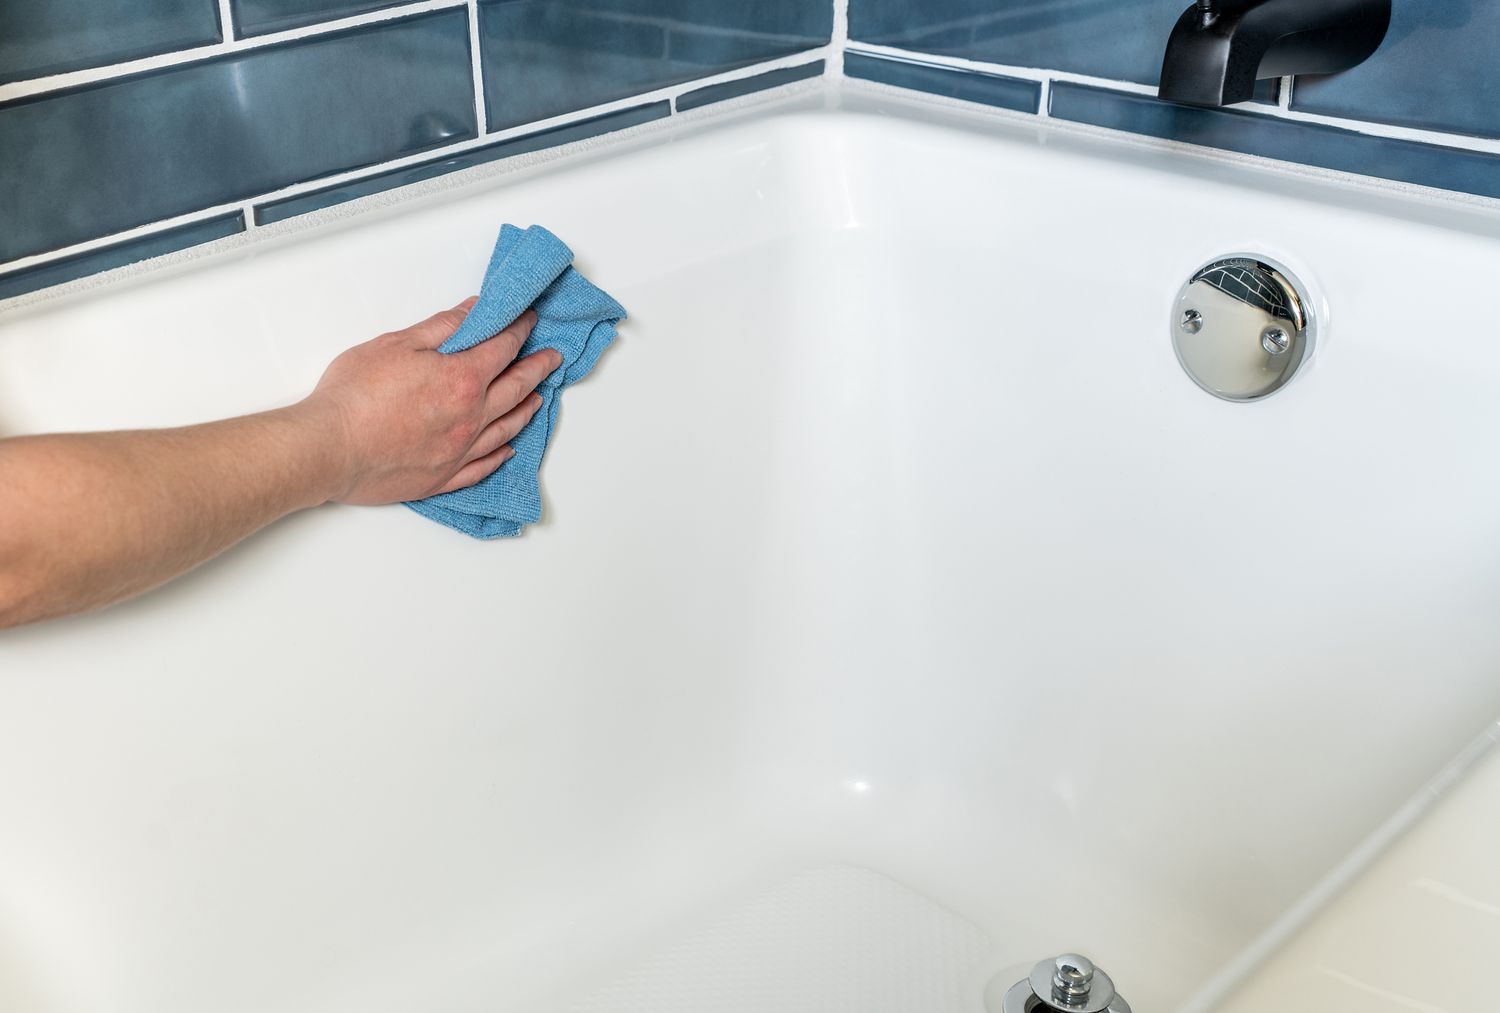
Before removing the anti-scald valve in your bathtub, make sure to turn off the water supply to the bathtub. Use a wrench to carefully unscrew the valve from the pipe, and then replace it with a new one if necessary.
Step 5: Install the new valve (optional)
Installing a new valve is an optional yet beneficial step that can enhance the functionality and efficiency of your bathtub's plumbing system. Whether you are replacing a faulty valve or upgrading to a more advanced model, the installation process requires careful attention to detail and precision. Here's a comprehensive guide on how to install a new anti-scald valve in your bathtub:
-
Select the Replacement Valve: Before proceeding with the installation, ensure that you have selected a suitable replacement valve that is compatible with your bathtub's plumbing system. Consider factors such as the valve type, size, and features to ensure a seamless installation process.
-
Prepare the Valve and Components: Unbox the new valve and inspect it for any visible damage or defects. Familiarize yourself with the components of the new valve, including the valve body, cartridge, and any accompanying hardware. Ensure that all necessary components are included and in good condition.
-
Clean and Prepare the Valve Cavity: If you have removed the old valve, take this opportunity to clean and prepare the valve cavity for the installation of the new valve. Use a clean rag or brush to remove any debris, mineral buildup, or old sealant from the cavity. Ensure that the area is dry and free from obstructions.
-
Position and Secure the New Valve: Carefully position the new valve in the valve cavity, aligning it with the hot and cold water supply lines. Ensure that the valve body is oriented correctly, with the hot water inlet on the appropriate side. Once positioned, secure the valve in place using the retaining nut, tightening it with an adjustable wrench.
-
Connect the Water Supply Lines: Reconnect the hot and cold water supply lines to the corresponding inlets on the new valve. Use an adjustable wrench to tighten the connections, ensuring a secure and leak-free fit. Apply plumber's tape to the threaded connections to create a watertight seal.
-
Install the Valve Cartridge or Balancing Spool: If the new valve includes a cartridge or balancing spool, carefully insert it into the valve body according to the manufacturer's instructions. Ensure that the cartridge is aligned properly and securely seated within the valve body.
-
Test the Water Flow and Temperature: With the new valve installed, turn on the water supply and test the flow and temperature of the water. Check for any leaks or irregularities in water temperature. Make any necessary adjustments to the valve to ensure optimal performance.
By following these detailed steps, you can successfully install a new anti-scald valve in your bathtub, enhancing the safety and functionality of your plumbing system. Whether you are performing a routine replacement or upgrading to a more advanced valve, the installation process is a valuable opportunity to optimize your bathtub's water temperature regulation.
Step 6: Reassemble the handle and trim plate
After successfully removing the anti-scald valve and, if applicable, installing a new valve, the final step involves reassembling the handle and trim plate to restore the aesthetic and functional integrity of your bathtub. This step is essential to ensure that the visible components of the valve assembly are securely in place and properly aligned. Here's a detailed guide on how to reassemble the handle and trim plate:
-
Position the Trim Plate: Begin by positioning the trim plate, also known as the escutcheon, against the wall in alignment with the valve assembly. Ensure that the screw holes on the trim plate align with the corresponding holes on the wall. This step sets the foundation for the reassembly of the handle and the overall visual appeal of the fixture.
-
Secure the Trim Plate: Using the screws that were removed during the disassembly process, carefully secure the trim plate to the wall. Tighten the screws using a suitable screwdriver, ensuring that the trim plate is firmly attached and flush against the wall. If the trim plate was sealed with caulk during the initial installation, reapply a thin bead of silicone caulk around the perimeter to create a watertight seal.
-
Reattach the Handle: With the trim plate securely in place, proceed to reattach the handle to the valve stem. Align the handle with the valve stem, taking note of any orientation indicators or alignment grooves. Once aligned, insert the fastening screw or set screw and tighten it using the appropriate tool. Ensure that the handle is snug and does not wobble, indicating a secure attachment.
-
Test the Handle Operation: After reassembly, test the operation of the handle by turning it to adjust the water flow and temperature. Verify that the handle moves smoothly and that the water flow and temperature respond as expected. This step ensures that the handle is functioning correctly and that the reassembly process has been executed accurately.
-
Inspect for Leaks and Misalignments: Once the handle and trim plate are reassembled, inspect the entire fixture for any signs of leaks, misalignments, or aesthetic irregularities. Run the water and observe the fixture closely to ensure that all components are securely in place and that the trim plate provides a clean and seamless finish against the wall.
By following these detailed steps to reassemble the handle and trim plate, you can effectively complete the process of removing and potentially replacing the anti-scald valve in your bathtub. This final step not only restores the visual appeal of the fixture but also ensures that the handle and trim plate are securely in place, contributing to the overall functionality and aesthetics of your bathtub.
Read more: How To Remove A Bathtub Handle
Conclusion
In conclusion, the process of removing an anti-scald valve from a bathtub involves a series of systematic steps that require careful attention to detail and a basic understanding of plumbing components. By following the comprehensive guide outlined in this article, you have gained valuable insights into the essential steps involved in this DIY endeavor.
From gathering the necessary tools and materials to safely turning off the water supply and carefully disassembling the valve, each step is crucial to ensure a smooth and efficient removal process. Additionally, the optional step of installing a new valve provides an opportunity to enhance the functionality and efficiency of your bathtub's plumbing system.
By diligently following the step-by-step instructions, you have acquired the knowledge and confidence to tackle the removal of an anti-scald valve with ease. Whether you are addressing a faulty valve, performing maintenance, or considering an upgrade, this guide equips you with the skills to navigate the process effectively.
Furthermore, the reassembly of the handle and trim plate serves as the final touch, restoring the aesthetic and functional integrity of your bathtub fixture. By ensuring that all components are securely in place and properly aligned, you contribute to the overall functionality and visual appeal of your bathtub.
It is important to note that while the removal and potential replacement of an anti-scald valve can be a rewarding DIY project, it is essential to exercise caution and, if necessary, seek professional assistance if you encounter complex plumbing issues.
In essence, this guide empowers you to take control of your bathtub's plumbing system, providing you with the knowledge and skills to address potential issues related to anti-scald valves. By understanding the intricacies of this essential component, you are better equipped to maintain and optimize the safety and comfort of your bathing experience.
As you embark on this DIY journey, remember that each step is an opportunity to enhance your understanding of your bathtub's plumbing system and to cultivate valuable skills that contribute to the maintenance and improvement of your home.
With this comprehensive guide at your disposal, you are well-prepared to tackle the task of removing an anti-scald valve from your bathtub, ensuring a safe and efficient process from start to finish.
Now that you've mastered removing an anti-scald valve, why stop there? Dive into our next guide on how long a bathroom renovation takes. Understanding the duration of such projects can help you plan better and ensure everything runs smoothly. So, if you're curious about turning that dream bathroom into reality without any surprises, make sure to check out our comprehensive guide next!
Frequently Asked Questions about How To Remove Anti Scald Valve Bathtub
Was this page helpful?
At Storables.com, we guarantee accurate and reliable information. Our content, validated by Expert Board Contributors, is crafted following stringent Editorial Policies. We're committed to providing you with well-researched, expert-backed insights for all your informational needs.


0 thoughts on “How To Remove Anti Scald Valve Bathtub”