Home>Furniture & Design>Interior Design Trends>How To Smooth Glass Edges

Interior Design Trends
How To Smooth Glass Edges
Modified: October 18, 2024
Learn how to smooth glass edges with our expert interior design tips. Discover the latest interior design trends for creating sleek and polished glass surfaces. Unlock the secrets to achieving a flawless finish.
(Many of the links in this article redirect to a specific reviewed product. Your purchase of these products through affiliate links helps to generate commission for Storables.com, at no extra cost. Learn more)
Introduction
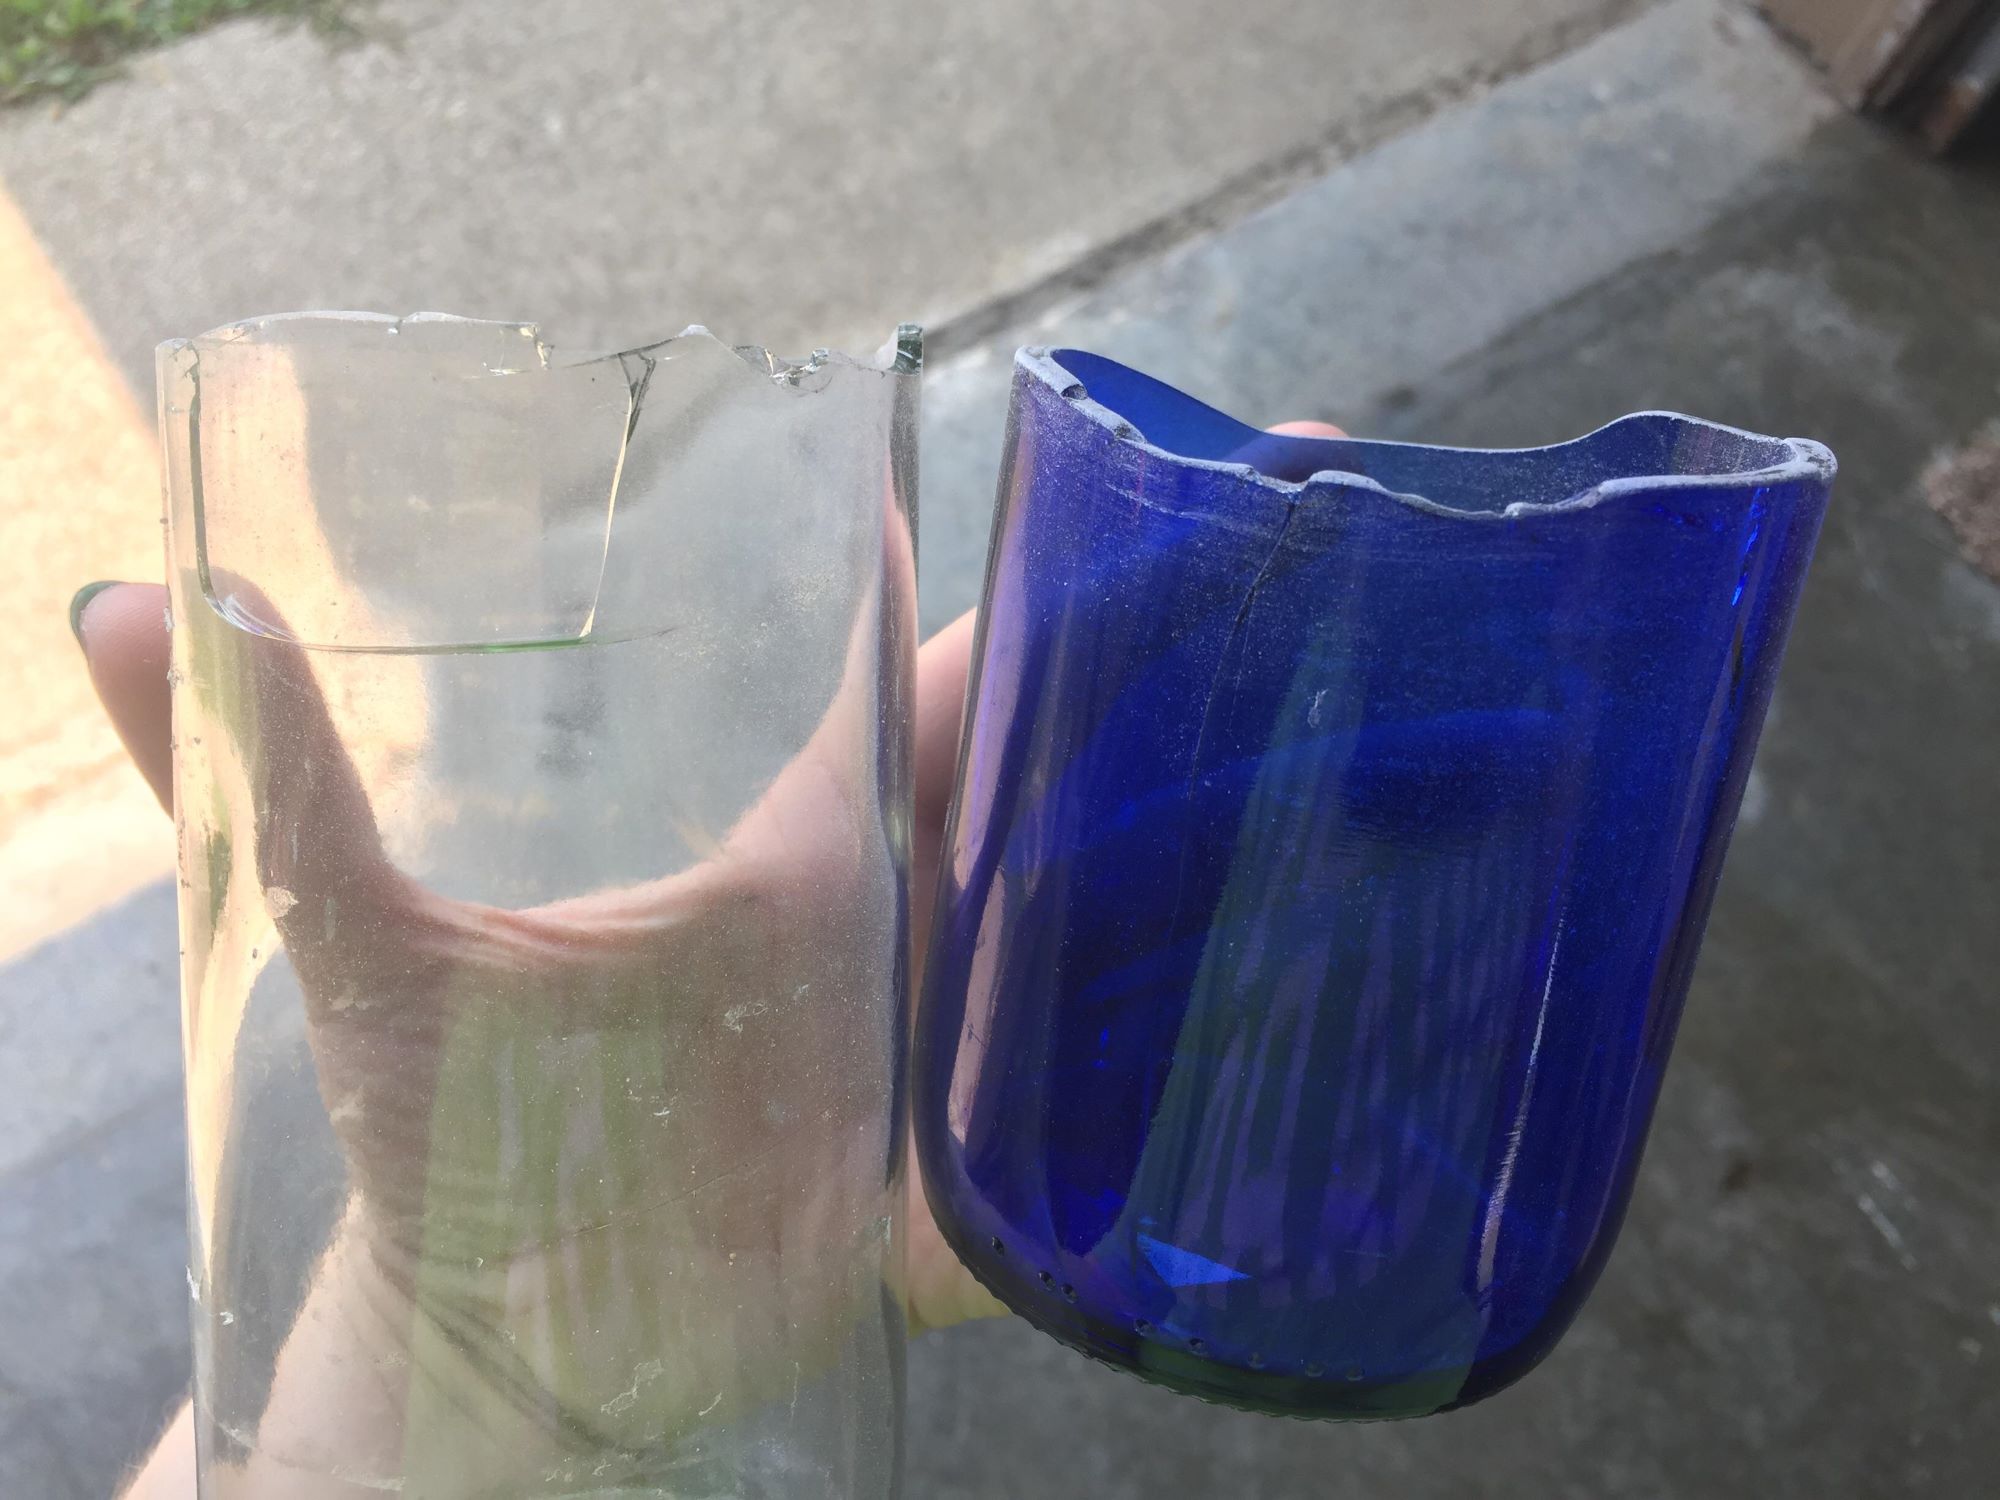
Smoothing glass edges is a crucial step in various DIY projects, such as creating custom glassware, repairing windows, or crafting stained glass art. Whether you're a seasoned artisan or a novice enthusiast, mastering the art of smoothing glass edges is a valuable skill that can elevate the quality and safety of your glass-based creations.
When working with glass, it's essential to ensure that the edges are smooth and free from sharp, jagged edges that can pose a risk of injury. By following the proper techniques and using the right tools, you can achieve professional-looking results while safeguarding against potential accidents.
In this comprehensive guide, we will delve into the step-by-step process of smoothing glass edges, from gathering the necessary tools and materials to implementing safety precautions and executing the smoothing techniques. Whether you're embarking on a small-scale glass project or tackling a larger endeavor, this guide will equip you with the knowledge and confidence to achieve smooth, polished glass edges with precision and finesse.
So, roll up your sleeves, gather your supplies, and let's embark on a journey to master the art of smoothing glass edges. With the right guidance and a dash of creativity, you'll soon be on your way to creating stunning glass pieces that are not only visually appealing but also safe to handle and admire.
Key Takeaways:
- Mastering the art of smoothing glass edges is essential for creating safe and professional-quality glass pieces, and it’s a journey filled with creativity, precision, and attention to detail.
- By following the step-by-step process and prioritizing safety, DIY enthusiasts can confidently refine and polish glass edges, unlocking a world of creative possibilities and ensuring visually captivating and safe glass-based creations.
Tools and Materials Needed
When it comes to smoothing glass edges, having the right tools and materials at your disposal is essential for achieving professional results. Here's a comprehensive list of items you'll need to effectively smooth glass edges:
Tools:
-
Glass Grinder: A high-quality glass grinder equipped with diamond bits is indispensable for effectively shaping and smoothing glass edges. Look for a grinder with variable speed settings to accommodate different glass thicknesses and achieve precise results.
-
Diamond Hand Pads: These handheld abrasive pads, embedded with diamond particles, are ideal for refining and smoothing the edges of glass pieces. They come in various grit sizes, allowing you to progress from coarse to fine abrasion for a polished finish.
-
Glass Router or Router Bit: For larger glass pieces or intricate designs, a glass router or router bit attachment for a rotary tool can be used to refine edges and create custom profiles.
-
Safety Equipment: Prioritize safety by wearing protective gear, including safety goggles, a dust mask, and work gloves to shield your eyes, respiratory system, and hands from glass particles and debris.
Materials:
-
Glass Pieces: Whether you're working on a stained glass project, repairing a glass surface, or creating custom glassware, ensure you have the glass pieces ready for edge smoothing.
-
Coolant/Lubricant: Using a coolant or lubricant during the grinding process helps dissipate heat and prevents glass from overheating, reducing the risk of cracks and ensuring smoother edge refinement.
-
Marker or Paint Pen: Marking the areas to be smoothed on the glass surface is essential for precision and consistency throughout the smoothing process.
-
Cleaning Supplies: Have a supply of glass cleaner, lint-free cloths, and rubbing alcohol on hand to thoroughly clean the glass surfaces before and after the smoothing process.
By assembling these essential tools and materials, you'll be well-equipped to embark on the journey of smoothing glass edges with confidence and precision. With the right resources at your disposal, you can elevate your glass crafting endeavors and ensure the safety and quality of your finished pieces.
Safety Precautions
When working with glass and utilizing tools for edge smoothing, prioritizing safety is paramount to prevent accidents and minimize potential hazards. Here are essential safety precautions to adhere to throughout the glass edge smoothing process:
-
Protective Gear: Prior to commencing any glass edge smoothing activities, ensure that you are equipped with the necessary protective gear. This includes safety goggles to shield your eyes from glass particles and debris, a dust mask to prevent inhalation of fine glass dust, and work gloves to safeguard your hands from sharp edges and abrasive materials.
-
Workspace Preparation: Set up your workspace in a well-ventilated area with ample lighting. Clear the work surface of any clutter or obstructions to minimize the risk of accidental falls or collisions. Additionally, ensure that the workspace is free from any flammable materials to prevent potential fire hazards.
-
Stable Work Surface: When using a glass grinder or other tools, ensure that the work surface is stable and secure to prevent accidental movement or slippage. A stable work surface is essential for maintaining control and stability during the glass edge smoothing process.
-
Proper Tool Handling: Familiarize yourself with the proper handling and operation of the glass smoothing tools. Follow the manufacturer's instructions for the safe and effective use of each tool, including the glass grinder, diamond hand pads, and any other equipment utilized in the smoothing process.
-
Coolant/Lubricant Usage: If utilizing a glass grinder or router, use a suitable coolant or lubricant to reduce heat buildup during the smoothing process. This not only aids in achieving smoother edges but also helps prevent the glass from overheating and potentially cracking.
-
Mindful Movement: Exercise caution when handling glass pieces and tools, ensuring deliberate and controlled movements to minimize the risk of accidental slips or mishandling. Avoid sudden or jerky movements that could lead to injury or damage to the glass surfaces.
-
Clean-Up and Maintenance: After completing the glass edge smoothing process, thoroughly clean the work area to remove any glass particles, debris, or residual coolant. Properly store the tools and materials in designated areas to prevent accidental exposure or misuse.
By adhering to these safety precautions, you can create a secure and controlled environment for smoothing glass edges, mitigating potential risks, and ensuring a safe and productive glass crafting experience. Prioritizing safety not only safeguards against accidents but also contributes to the overall success and enjoyment of your glass-based projects.
Read more: How To Repair Chipped Glass Edge
Steps to Smooth Glass Edges
-
Prepare the Workspace: Begin by setting up your workspace in a well-lit and well-ventilated area. Clear the work surface of any clutter and ensure that it is stable and secure. Gather all the necessary tools and materials, including the glass pieces to be smoothed, the glass grinder, diamond hand pads, safety goggles, dust mask, and work gloves.
-
Mark the Edges: Using a marker or paint pen, carefully mark the areas of the glass edges that require smoothing. This step is crucial for maintaining precision and consistency throughout the smoothing process.
-
Put on Safety Gear: Prioritize safety by wearing protective gear, including safety goggles, a dust mask, and work gloves. Protecting your eyes, respiratory system, and hands is essential when working with glass and abrasive materials.
-
Grinding Process: If using a glass grinder, carefully position the glass piece against the grinder's bit and turn on the machine. Gently guide the glass along the grinder, allowing the diamond bit to gradually smooth the edges. Exercise patience and control to achieve even and precise results.
-
Refinement with Diamond Hand Pads: After the initial grinding, use diamond hand pads to further refine and smooth the edges. Begin with a coarser grit pad and gradually progress to finer grits for a polished finish. Apply even pressure and maintain a consistent motion to achieve uniform smoothness.
-
Coolant/Lubricant Application: If utilizing a glass grinder, apply a suitable coolant or lubricant to the glass surface during the grinding process. This helps dissipate heat and prevents the glass from overheating, reducing the risk of cracks and ensuring smoother edge refinement.
-
Inspect and Clean: Once the edges are smoothed to your satisfaction, carefully inspect the glass for any remaining rough spots or imperfections. Use a lint-free cloth and glass cleaner to thoroughly clean the smoothed edges, removing any residual glass particles and coolant.
-
Final Touches: If desired, use a glass router or router bit attachment to create custom profiles or further refine the edges. This step is ideal for achieving specific design elements or intricate edge details.
By following these step-by-step instructions, you can effectively smooth glass edges with precision and finesse, resulting in professional-looking and safe glass pieces for your various crafting endeavors. Remember to prioritize safety throughout the process and take your time to achieve the desired smoothness and quality in your glass creations.
Finishing Touches
After completing the primary smoothing process, attending to the finishing touches is essential to elevate the overall quality and aesthetics of the glass edges. This phase allows for the refinement of details and the addition of custom profiles, further enhancing the visual appeal and functionality of the glass pieces. Here's a detailed exploration of the crucial finishing touches to consider when smoothing glass edges:
Custom Profiles with Glass Router or Router Bit
If your project calls for specific edge profiles or intricate designs, utilizing a glass router or a router bit attachment for a rotary tool can provide the means to achieve tailored edge details. Whether it's creating beveled edges, decorative grooves, or unique contours, the glass router enables precise customization, adding a touch of sophistication to the glass pieces. By carefully maneuvering the router along the edges, you can impart personalized profiles that complement the overall design and purpose of the glasswork.
Polishing for a Flawless Finish
Following the initial smoothing and shaping process, polishing the glass edges is paramount to achieve a flawless, professional finish. Diamond hand pads, available in fine grits, serve as the perfect tool for refining the edges to a smooth, lustrous sheen. By methodically applying the finer grit pads with gentle pressure, you can eliminate any remaining imperfections and ensure that the edges exhibit a pristine, mirror-like polish. This final polishing step not only enhances the visual allure of the glass but also contributes to a tactilely pleasing and safe end product.
Read more: How To Smooth Ceiling
Quality Inspection and Cleaning
Once the finishing touches have been applied, conducting a meticulous quality inspection is crucial to identify any overlooked rough spots or irregularities. Carefully examine the smoothed edges under adequate lighting, ensuring that they meet the desired standards of smoothness and uniformity. Following the inspection, thorough cleaning of the glass edges is imperative to remove any residual glass particles, coolant, or polishing residue. Utilizing a lint-free cloth and a suitable glass cleaner, meticulously wipe the edges to reveal their pristine, polished state, ready for integration into your glass-based creations.
By incorporating these meticulous finishing touches into the glass edge smoothing process, you can elevate the quality, functionality, and visual appeal of your glass pieces. Whether you're crafting custom glassware, restoring glass surfaces, or creating intricate stained glass art, the application of these refined details ensures that your glasswork exudes professionalism and craftsmanship. With the finishing touches complete, your smoothed glass edges are primed to enhance the beauty and safety of your diverse glass-based projects.
Conclusion
In conclusion, mastering the art of smoothing glass edges is a valuable skill that empowers DIY enthusiasts and artisans to create stunning, safe, and professional-quality glass pieces. By following the comprehensive steps outlined in this guide and adhering to essential safety precautions, individuals can confidently embark on a journey to refine and polish glass edges with precision and finesse.
The process begins with meticulous preparation, ensuring that the workspace is well-equipped and organized for the glass edge smoothing endeavor. Marking the edges and donning the necessary protective gear sets the stage for a controlled and secure working environment. Utilizing specialized tools such as the glass grinder and diamond hand pads enables the gradual refinement of the glass edges, resulting in smooth and polished surfaces.
Furthermore, the incorporation of finishing touches, such as custom profiles with a glass router, meticulous polishing, and thorough quality inspection and cleaning, elevates the overall quality and visual appeal of the smoothed glass edges. These refined details not only enhance the aesthetics of the glass pieces but also contribute to their functionality and safety, making them suitable for a myriad of creative projects and practical applications.
By prioritizing safety, patience, and attention to detail throughout the glass edge smoothing process, individuals can achieve professional-looking results while safeguarding against potential hazards. Whether crafting custom glassware, restoring glass surfaces, or creating intricate stained glass art, the ability to masterfully smooth glass edges opens the door to a world of creative possibilities and ensures the production of safe and visually captivating glass-based creations.
In essence, the journey of smoothing glass edges is a blend of craftsmanship, precision, and creativity, culminating in the transformation of raw glass pieces into refined, polished works of art. With the knowledge and techniques acquired from this guide, individuals can confidently embark on their glass edge smoothing endeavors, knowing that they possess the skills and expertise to create exceptional glass pieces that are both visually striking and safe for handling and display.
Frequently Asked Questions about How To Smooth Glass Edges
Was this page helpful?
At Storables.com, we guarantee accurate and reliable information. Our content, validated by Expert Board Contributors, is crafted following stringent Editorial Policies. We're committed to providing you with well-researched, expert-backed insights for all your informational needs.


0 thoughts on “How To Smooth Glass Edges”