Home>Furniture & Design>Outdoor Furniture>How To Change Outdoor Lantern Light Bulb


Outdoor Furniture
How To Change Outdoor Lantern Light Bulb
Modified: August 26, 2024
Learn how to easily change the light bulb in your outdoor lantern with our step-by-step guide. Keep your outdoor furniture well-lit and stylish.
(Many of the links in this article redirect to a specific reviewed product. Your purchase of these products through affiliate links helps to generate commission for Storables.com, at no extra cost. Learn more)
Introduction
Welcome to the world of outdoor lighting! Whether you're looking to brighten up your patio, illuminate your garden, or add a touch of ambiance to your outdoor space, outdoor lanterns are a fantastic way to achieve all of the above. These versatile fixtures not only provide practical lighting but also contribute to the overall aesthetic of your outdoor area, creating a warm and inviting atmosphere for relaxation and entertainment.
However, as with any type of lighting, outdoor lanterns require maintenance and occasional bulb replacement to ensure they continue to illuminate your outdoor space effectively. In this guide, we'll walk you through the process of changing the light bulb in your outdoor lantern, providing you with the knowledge and confidence to tackle this task with ease.
So, grab your tools and let's shed some light on the simple yet essential process of changing an outdoor lantern light bulb.
Key Takeaways:
- Safely and confidently change outdoor lantern light bulbs by following safety precautions, gathering necessary tools, and seamlessly removing and installing the new bulb.
- Enjoy the transformative power of outdoor lighting by maintaining and enhancing your outdoor lantern, creating a warm and inviting atmosphere for relaxation and entertainment.
Read more: How To Change Bulb In Outdoor Light Fixture
Safety Precautions
Before diving into the process of changing the light bulb in your outdoor lantern, it’s crucial to prioritize safety. Working with electricity and light fixtures requires careful attention to prevent accidents and ensure a smooth and secure replacement process. Here are some essential safety precautions to keep in mind:
- Power Off: Begin by turning off the power supply to the outdoor lantern. This can typically be done by switching off the circuit breaker or disconnecting the power source. Confirm that the power is indeed off by testing the light switch or using a voltage tester.
- Cool Down: If the outdoor lantern has been in use, allow it to cool down before handling the fixture and the light bulb. Hot surfaces can pose a burn risk, so exercising patience is key.
- Stable Surface: Perform the bulb replacement on a stable and secure surface. This will minimize the risk of accidentally dropping the bulb or the fixture during the process.
- Protective Gear: Consider wearing gloves to protect your hands from any sharp edges or residual heat from the fixture. Safety glasses can also be beneficial, especially if there is any accumulated debris or dust around the fixture.
- Compatibility Check: Before purchasing a replacement bulb, ensure that it is compatible with your specific outdoor lantern model. Using the wrong type of bulb can lead to malfunctions and potential safety hazards.
By adhering to these safety precautions, you can approach the task of changing the outdoor lantern light bulb with confidence and peace of mind, knowing that you are prioritizing your well-being throughout the process.
Gather Your Tools
Before embarking on the journey of replacing the light bulb in your outdoor lantern, it’s essential to gather the necessary tools and materials to ensure a smooth and efficient process. Here’s a list of items you’ll need:
- Replacement Bulb: Identify the type of bulb required for your outdoor lantern. This may be an LED bulb, incandescent bulb, or a specific specialty bulb designed for outdoor use. Refer to the manufacturer’s guidelines for the correct specifications.
- Gloves: While not mandatory, wearing gloves can provide added protection, especially if the fixture or bulb has residual heat. Opt for a pair of gloves that allow for dexterity and grip.
- Ladder or Step Stool: Depending on the height of your outdoor lantern, you may need a stable and secure platform to reach the fixture comfortably. Ensure that the ladder or step stool is in good condition and positioned on a level surface.
- Clean Cloth: Having a clean, lint-free cloth on hand can be beneficial for wiping down the fixture and removing any accumulated dust or debris before and after the bulb replacement.
- Safety Glasses: While optional, safety glasses can provide an additional layer of protection for your eyes, especially if there is any risk of debris or dust dislodging during the process.
- Voltage Tester (Optional): If you want to double-check that the power supply to the outdoor lantern is indeed off, a voltage tester can provide peace of mind before proceeding with the replacement.
By ensuring you have these tools and materials at your disposal, you’ll be well-prepared to tackle the task of changing the light bulb in your outdoor lantern. With safety in mind and the necessary equipment on hand, you’re ready to illuminate your outdoor space once again.
Remove the Old Bulb
With your tools gathered and safety precautions in place, it’s time to begin the process of removing the old bulb from your outdoor lantern. Follow these steps to safely and effectively remove the existing bulb:
- Power Off: Confirm that the power supply to the outdoor lantern is switched off. This is a critical step to prevent any electrical mishaps during the bulb removal process.
- Cool Down: If the outdoor lantern has been in use, allow it to cool down to a safe temperature before proceeding. This will minimize the risk of burns and ensure a comfortable working environment.
- Access the Bulb: Depending on the design of your outdoor lantern, access the bulb compartment or opening. This may involve removing a glass or plastic cover, unscrewing a protective casing, or accessing the bulb directly from the top or bottom of the fixture.
- Remove the Bulb: Carefully unscrew or unclip the old bulb from its socket. If it’s a screw-in type bulb, turn it counterclockwise to loosen it from the socket. For other bulb designs, consult the manufacturer’s instructions for the appropriate removal method.
- Dispose of the Old Bulb: Once the old bulb is removed, handle it with care, especially if it’s a fragile incandescent bulb. If the bulb is non-functional, dispose of it according to your local regulations for proper bulb disposal.
- Clean the Fixture: Take this opportunity to clean the interior and exterior of the fixture, removing any dust, debris, or accumulated dirt. A clean cloth can be used to gently wipe the surfaces, ensuring that the new bulb will shine brightly without obstruction.
By following these steps, you can safely and effectively remove the old bulb from your outdoor lantern, setting the stage for the next exciting phase: installing the new bulb. With the old bulb out of the way, you’re one step closer to restoring the radiant glow of your outdoor lighting.
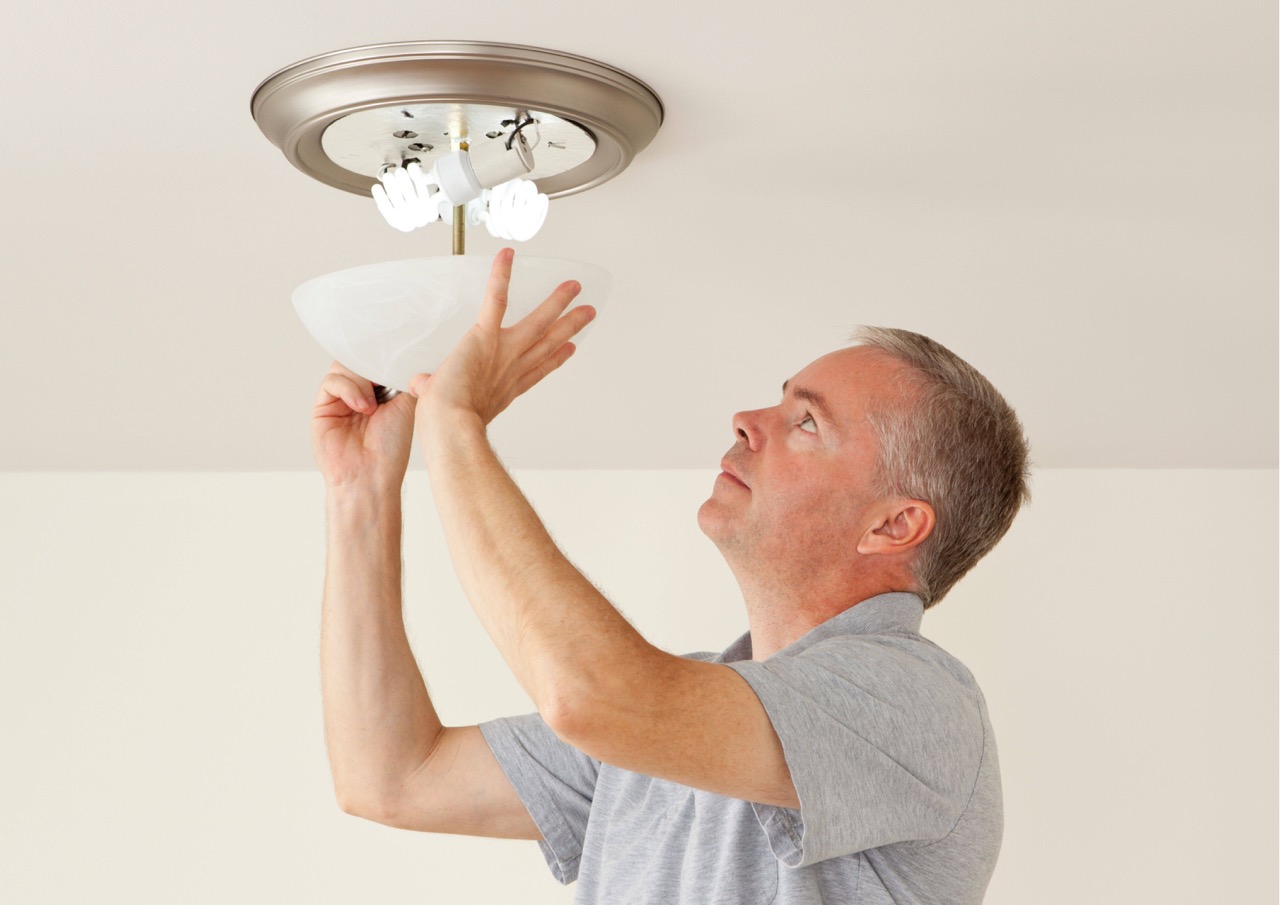
Make sure the power is off before changing the bulb. Use a stable ladder and wear gloves to protect your hands. Twist the old bulb out and replace it with a new one of the same wattage.
Install the New Bulb
Now that the old bulb has been safely removed and the fixture is clean and ready, it’s time to usher in a new era of illumination by installing the replacement bulb in your outdoor lantern. Follow these steps to seamlessly integrate the new bulb into your outdoor lighting setup:
- Select the Correct Bulb: Ensure that the replacement bulb matches the specifications required for your outdoor lantern. This includes the correct bulb type, size, and wattage, as indicated by the manufacturer’s guidelines.
- Prepare the Bulb: If the new bulb is packaged with any protective coverings or sleeves, remove them as directed by the manufacturer. Inspect the bulb to ensure it’s free from any defects or damage before installation.
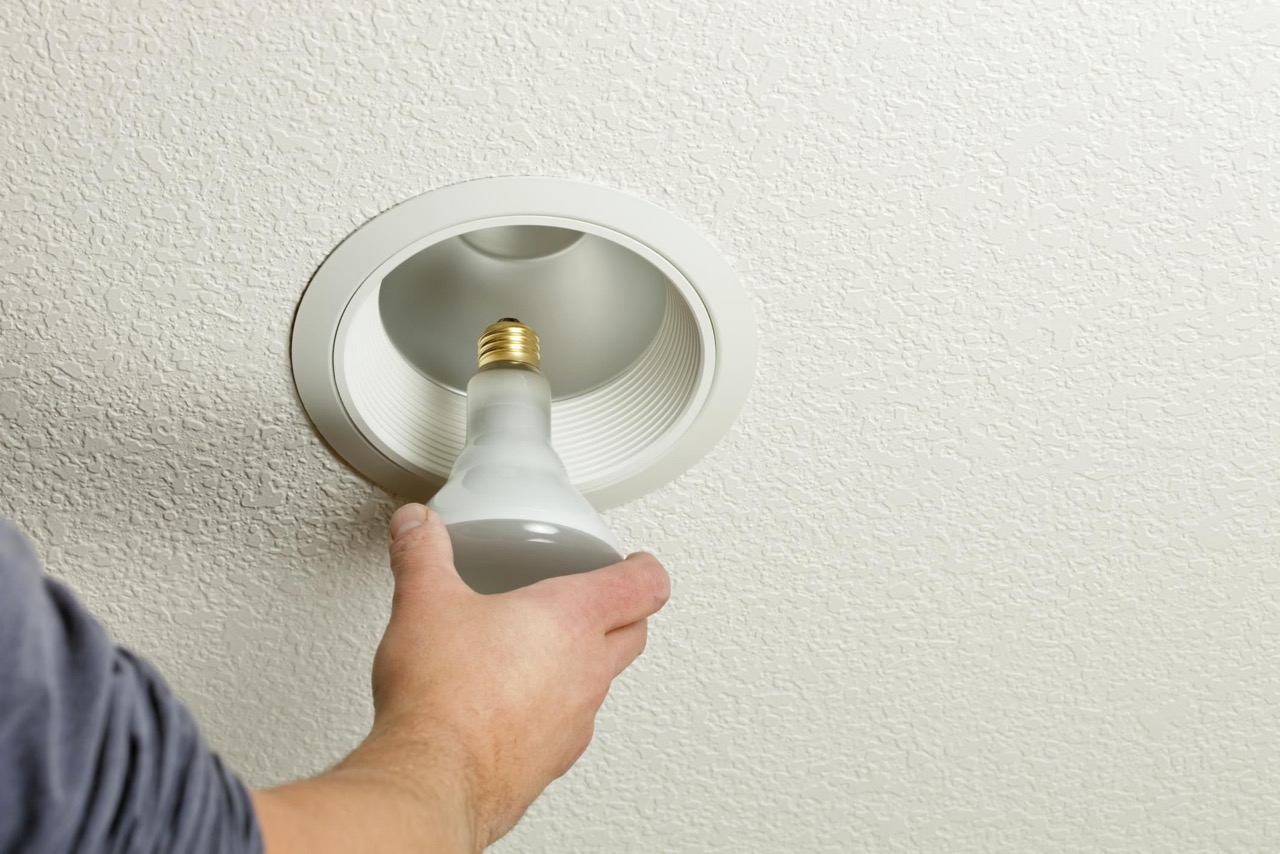
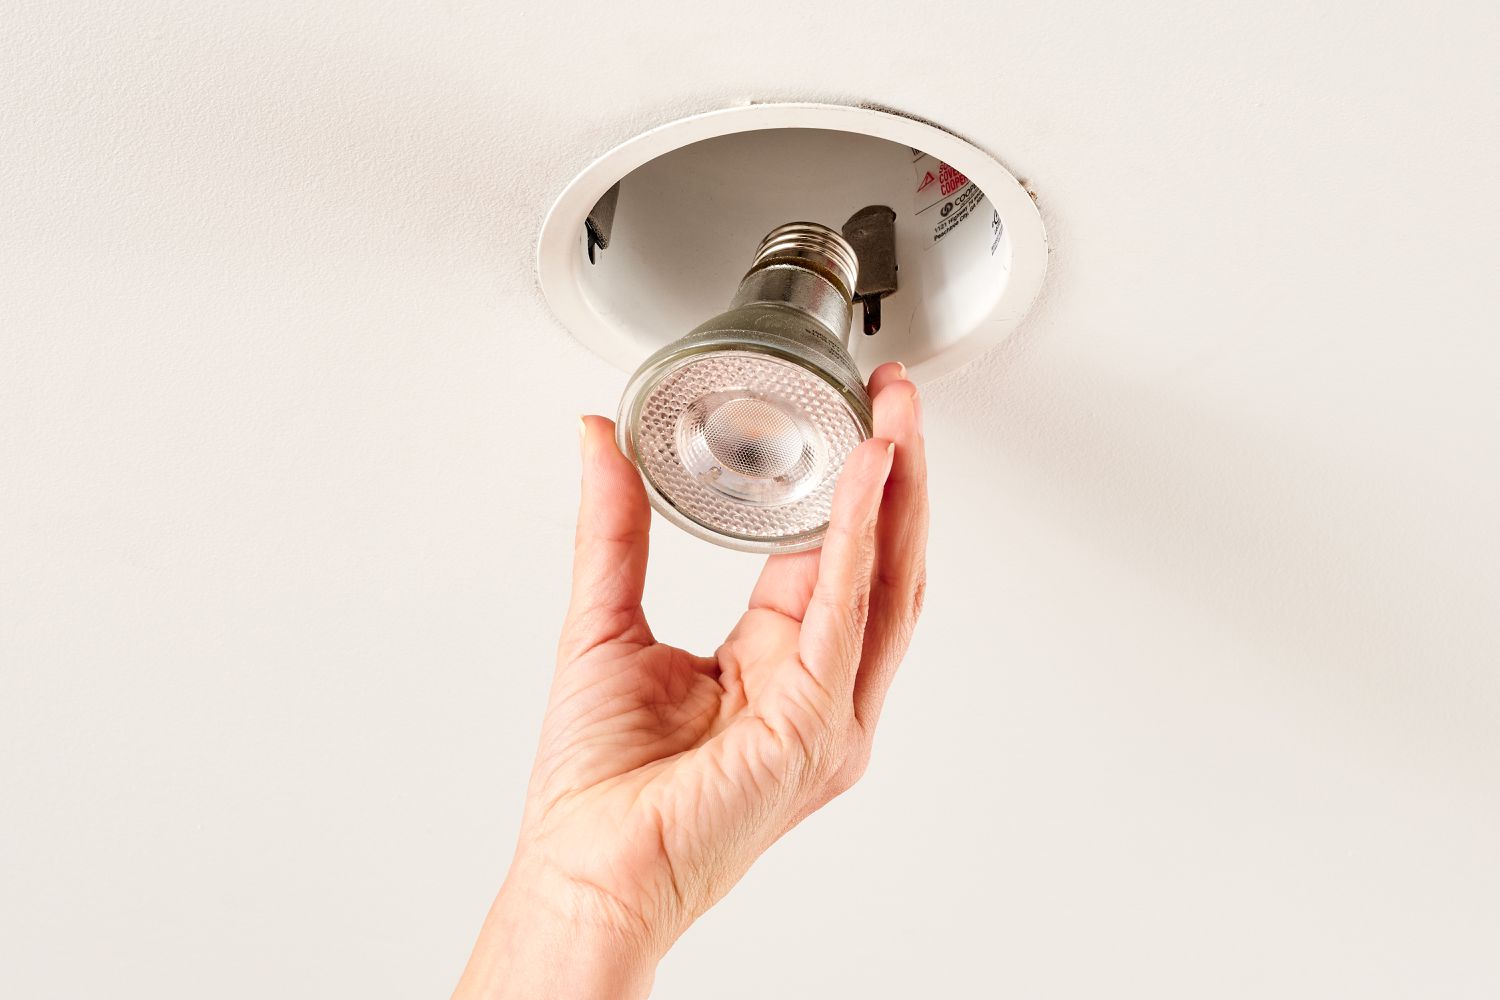
- Position the Bulb: Carefully position the new bulb at the socket or fixture opening, aligning it properly for a secure fit. For screw-in bulbs, gently insert the base into the socket and rotate it clockwise until it is snugly in place. For other bulb types, follow the specific installation instructions provided.
- Secure the Bulb: Once the bulb is in position, ensure that it is securely seated within the fixture. Avoid overtightening the bulb, as this can lead to damage or malfunction. Follow any specific guidelines provided by the manufacturer for securing the bulb in place.
- Replace the Covering: If the outdoor lantern features a glass or plastic covering, reattach it securely to the fixture. Ensure that it is properly aligned and fastened according to the manufacturer’s recommendations.
- Power On: With the new bulb successfully installed, it’s time to restore power to the outdoor lantern. Turn the power supply back on and test the light to ensure that the new bulb illuminates your outdoor space effectively.
By following these steps, you can seamlessly install the new bulb in your outdoor lantern, bringing renewed radiance to your outdoor environment. With the new bulb in place, it’s time to illuminate your outdoor space and bask in the warm glow of your refreshed outdoor lighting setup.
Read more: How To Change Outdoor Sensor Light Bulb
Test the Light
With the new bulb securely installed in your outdoor lantern, it’s essential to conduct a thorough test to ensure that the light functions as intended. Follow these steps to verify the performance of the newly installed bulb and make any necessary adjustments:
- Power On: Turn on the power supply to the outdoor lantern, activating the light and allowing the new bulb to illuminate your outdoor space.
- Observe the Illumination: Take a moment to observe the brightness, color, and coverage of the light emitted by the new bulb. Ensure that it aligns with your expectations and provides the desired level of illumination for your outdoor area.
- Check for Flickering or Dimness: Watch for any signs of flickering or dimness in the light, as these issues may indicate a loose connection or an incompatible bulb. If you notice any irregularities, power off the fixture and inspect the bulb and its seating to address any potential issues.
- Make Adjustments: If the light output is satisfactory, but you notice any misalignments or unevenness in the illumination, consider adjusting the positioning of the bulb or the covering to optimize the light distribution.
- Confirm Stability: Ensure that the newly installed bulb remains securely in place during the testing phase. If you detect any instability or vibrations, power off the fixture and reevaluate the bulb’s seating and security within the fixture.
- Finalize Adjustments: Once any necessary adjustments have been made, retest the light to confirm that the new bulb delivers consistent and reliable illumination throughout your outdoor space.
By testing the light thoroughly, you can verify the successful installation of the new bulb and address any potential issues that may affect its performance. With the light shining brightly and evenly, you can take pride in your adeptness at refreshing and maintaining your outdoor lighting setup.
Conclusion
Congratulations! You’ve successfully navigated the process of changing the light bulb in your outdoor lantern, revitalizing the luminous charm of your outdoor space. By following the safety precautions, gathering the necessary tools, and executing the seamless removal and installation of the bulb, you’ve demonstrated your capability in maintaining and enhancing your outdoor lighting setup.
As you bask in the radiant glow of your newly installed bulb, take a moment to appreciate the transformative power of outdoor lighting. Whether you’re creating a welcoming ambiance for gatherings, illuminating pathways for safe navigation, or accentuating the beauty of your outdoor decor, your outdoor lantern plays a pivotal role in enhancing your outdoor environment.
Remember to periodically inspect and maintain your outdoor lantern to ensure that it continues to shine brightly and reliably. By staying attuned to the condition of the bulbs, fixtures, and power supply, you can prolong the lifespan of your outdoor lighting and continue to enjoy the enchanting allure it brings to your outdoor oasis.
With your newfound expertise in changing outdoor lantern light bulbs, you’re well-equipped to keep your outdoor space aglow with warmth and radiance. Embrace the art of outdoor illumination, and let your creativity and practical know-how converge to elevate the allure of your outdoor haven.
So, as the sun sets and the stars emerge, let your outdoor lantern cast its luminous spell, creating an enchanting atmosphere that beckons you and your guests to revel in the beauty of your outdoor sanctuary.
Frequently Asked Questions about How To Change Outdoor Lantern Light Bulb
Was this page helpful?
At Storables.com, we guarantee accurate and reliable information. Our content, validated by Expert Board Contributors, is crafted following stringent Editorial Policies. We're committed to providing you with well-researched, expert-backed insights for all your informational needs.





0 thoughts on “How To Change Outdoor Lantern Light Bulb”