Home>Furniture>Bedroom Furniture>How To Build A Queen Bed Frame
Bedroom Furniture
How To Build A Queen Bed Frame
Modified: August 28, 2024
Looking to upgrade your bedroom furniture? Learn how to build a queen bed frame and create a stylish and comfortable space.
(Many of the links in this article redirect to a specific reviewed product. Your purchase of these products through affiliate links helps to generate commission for Storables.com, at no extra cost. Learn more)
Introduction
Welcome to the guide on how to build a queen bed frame. If you’re tired of your old, squeaky bed frame and want to upgrade to a sturdy, stylish, and comfortable queen-sized bed, you’ve come to the right place.
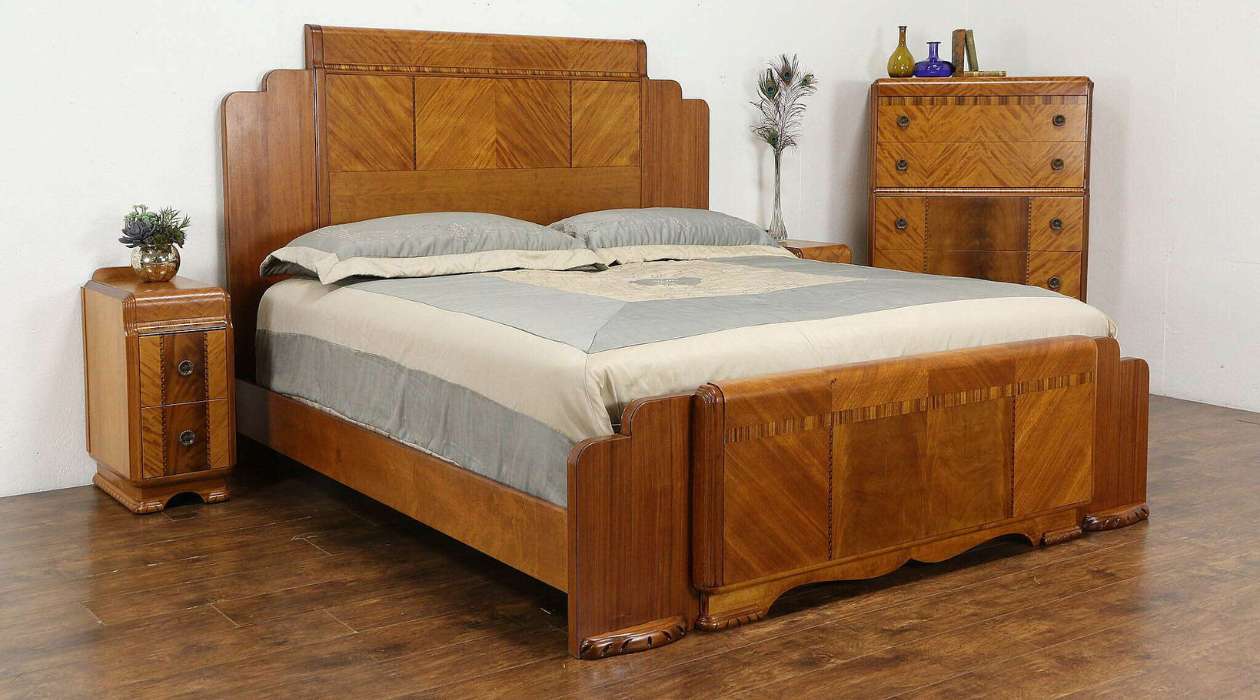
A queen bed frame is not only a functional piece of furniture but also a centerpiece of your bedroom. A well-built and visually appealing bed frame can transform your entire sleeping experience. Whether you’re a DIY enthusiast or just looking for a weekend project, building your own queen bed frame can be a rewarding and cost-effective endeavor.
Before we dive into the step-by-step process of building a queen bed frame, let’s go over the materials you’ll need. It’s important to gather all the necessary tools and supplies before starting the construction to ensure a smooth and efficient build.
Key Takeaways:
- Building your own queen bed frame is a rewarding DIY project that allows for customization and craftsmanship, creating a sturdy, stylish, and comfortable centerpiece for your bedroom.
- Prioritize safety, take your time, and follow the step-by-step instructions to ensure the best results when constructing your queen bed frame. Enjoy the satisfaction and pride of creating a unique and tailored sleeping space.
Read more: How To Build A Bed Frame
Materials Needed
Before you get started, make sure you have the following materials and tools:
- 2×4 lumber: You’ll need enough lumber to create the frame of the bed, including the headboard, footboard, and side rails. The quantity will depend on the dimensions of your bed frame.
- Plywood: It’s recommended to use plywood for the slats that will support the mattress. Choose a thick and sturdy plywood that can handle the weight.
- Screws: Opt for screws that are long enough to secure the joints of the bed frame properly. Make sure they are corrosion-resistant to ensure the longevity of your bed frame.
- Drill: A power drill will be necessary for drilling pilot holes and attaching the components together.
- Saw: You’ll need a saw to cut the lumber and plywood to the required lengths.
- Sandpaper or sander: Smooth out any rough edges and surfaces on the wood using sandpaper or a sander.
- Wood glue: This will help reinforce the joints and add stability to the bed frame.
- Measuring tape: Accurate measurements are crucial for the construction of a sturdy and well-fitting bed frame.
- Paint or stain: Choose a paint or stain that matches your preferred aesthetic to finish the bed frame.
- Paintbrushes or foam rollers: These will be used to apply the paint or stain evenly.
Once you have gathered all the materials and tools, you’re ready to move on to the construction process. Remember to take safety precautions and work in a well-ventilated area. Now, let’s get started on building your queen bed frame!
Step 1: Measure and Cut the Wood
Before you start assembling your queen bed frame, you need to measure and cut the wood to the appropriate lengths. This step is crucial to ensure that all the components fit together correctly.
Here’s how you can proceed:
- Measure the dimensions: Determine the dimensions of your queen bed frame. Standard queen bed dimensions are typically 60 inches wide by 80 inches long, but you can adjust the measurements to fit your specific needs.
- Prepare the headboard and footboard: Cut two pieces of the 2×4 lumber to match the desired height of your headboard and footboard. Use a saw to make precise cuts, and double-check the measurements before proceeding.
- Create the side rails: Cut two more pieces of the 2×4 lumber to match the length of your bed frame. These pieces will serve as the side rails that connect the headboard and footboard.
- Cut the slats: Measure the width of your bed frame and cut the plywood into several slats that will support the mattress. Make sure each slat is evenly spaced to provide adequate support.
- Label and organize the wood: To avoid confusion during the assembly process, label each piece of wood with its corresponding position in the bed frame. This will make it easier to follow the instructions later on.
Remember to always wear protective gear, such as safety goggles and gloves, when using power tools. Take your time and double-check your measurements to ensure accuracy.
With the wood cut to the appropriate lengths, you’re now ready to move on to the next step: assembling the headboard and footboard.
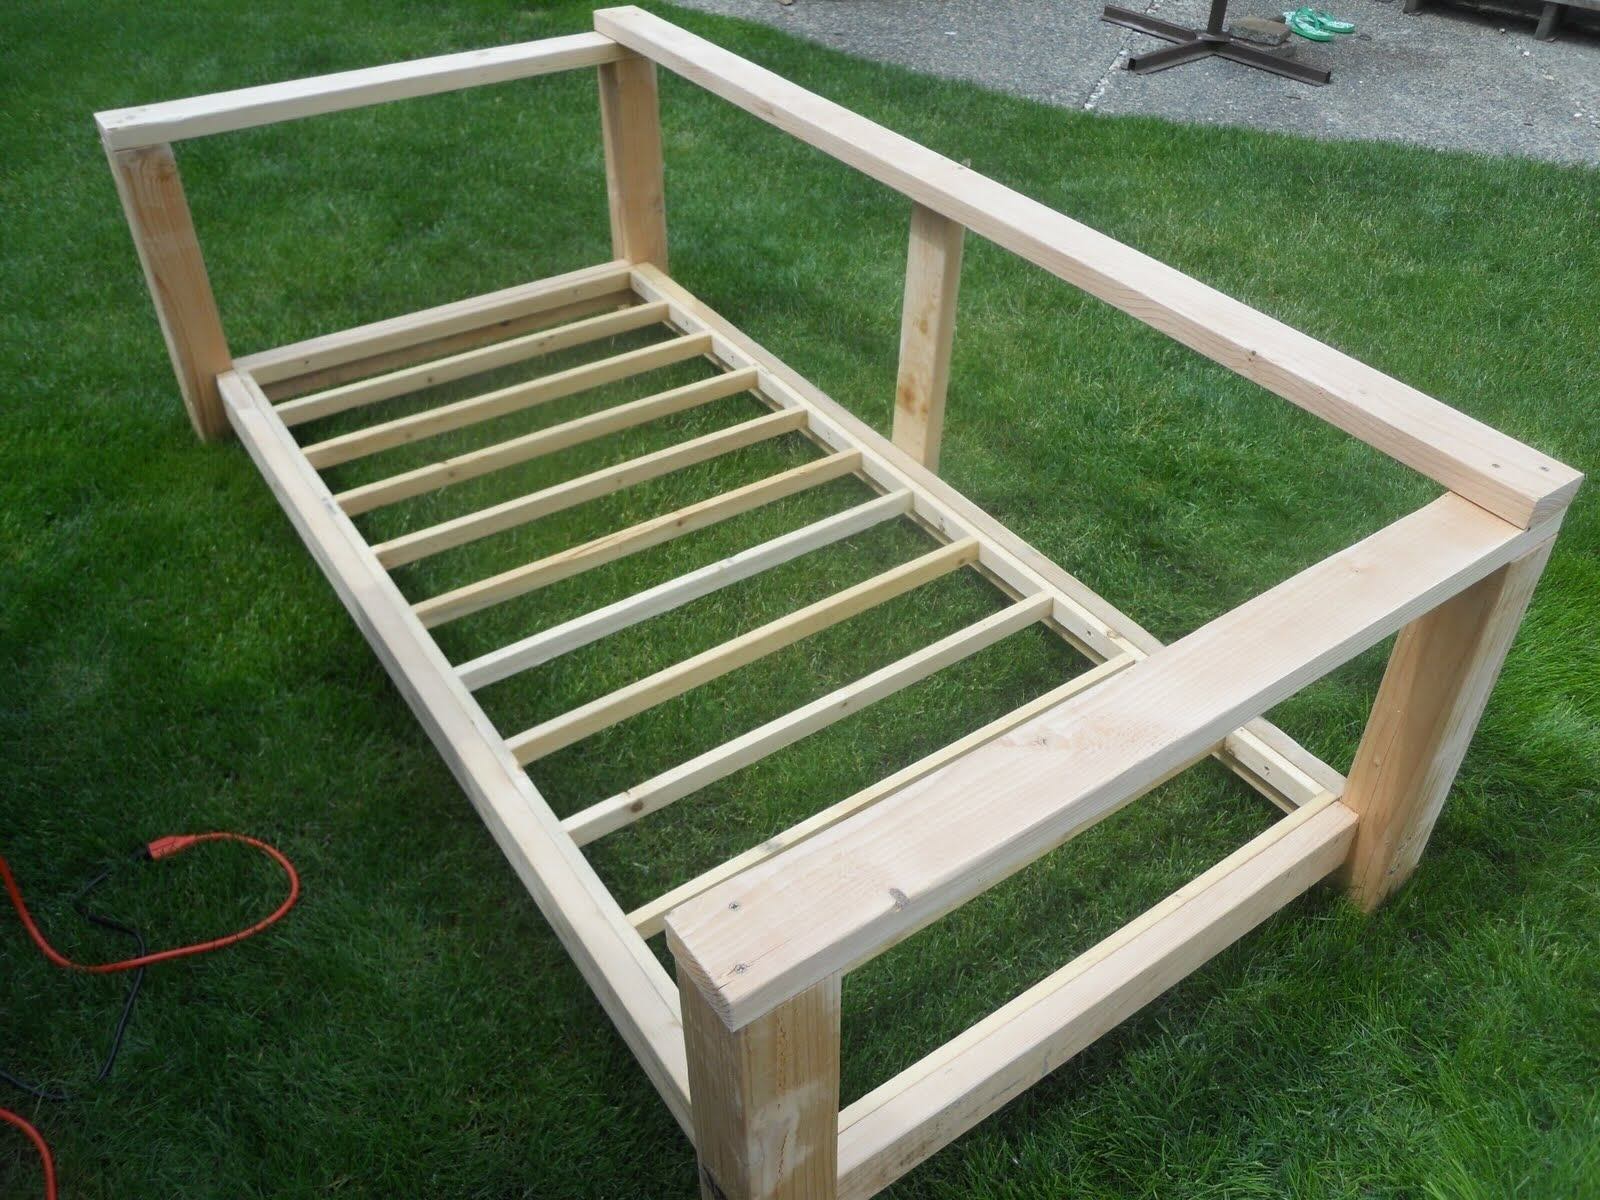
Step 2: Assemble the Headboard and Footboard
Now that you have the wood cut to the correct dimensions, it’s time to assemble the headboard and footboard of your queen bed frame. This step will give your bed frame its defining structure and aesthetics.
Follow these steps to assemble the headboard and footboard:
- Lay out the pieces: Start by laying out the pieces of the headboard and footboard on a flat surface. Arrange them according to the desired design and ensure they align correctly.
- Attach the vertical posts: Take one of the vertical posts and apply wood glue along one edge. Align it with one end of the headboard or footboard, then secure it in place using screws. Repeat this step for the remaining vertical posts.
- Install the horizontal support beams: Measure and cut the 2×4 lumber to create the horizontal support beams. Space them evenly between the vertical posts and attach them using wood glue and screws.
- Add decorative elements (optional): If you’d like to add some decorative elements to your headboard or footboard, now is the time to do so. This could include additional pieces of wood, trim, or other embellishments. Secure them in place using wood glue and screws.
- Repeat the process for the footboard: Once you’ve assembled the headboard, repeat the same steps to assemble the footboard. Make sure the dimensions and design match the headboard.
Once both the headboard and footboard are fully assembled and secure, you’re one step closer to completing your queen bed frame. The next step is attaching the side rails to connect the two.
When building a queen bed frame, make sure to use sturdy and durable materials such as hardwood or metal to ensure the frame can support the weight of the mattress and occupants.
Step 3: Attach the Side Rails
In this step, we will attach the side rails to connect the headboard and footboard of your queen bed frame. The side rails provide stability and support to the structure, ensuring a secure and durable bed frame.
Follow these steps to attach the side rails:
- Position the headboard and footboard: Place the headboard and footboard in the desired position, ensuring they are aligned correctly. Use clamps or an extra pair of hands to hold them steady.
- Measure and mark the placement of the side rails: Take the side rails and measure the distance from the bottom of the headboard and footboard. Mark this measurement on both sides using a pencil or marker.
- Attach the side rails: Position the side rails between the markings and align them with the headboard and footboard. Apply wood glue to the ends of the side rails and secure them in place using screws. Make sure the rails are parallel to the ground and flush with the top edges of the headboard and footboard.
- Reinforce the joints: To provide extra stability, you can reinforce the joints where the side rails meet the headboard and footboard. Use L-brackets or corner braces and screws to secure the connections. This will add strength and prevent any wobbling or shifting.
Once the side rails are securely attached, you can move on to the next step: installing the slats that will support your mattress.
Note: If you prefer a bed frame with additional support, you can also add a center support beam that runs from the headboard to the footboard. This optional step can provide added durability and prevent sagging in the middle over time.
Read more: How To Assemble A Queen Size Bed Frame
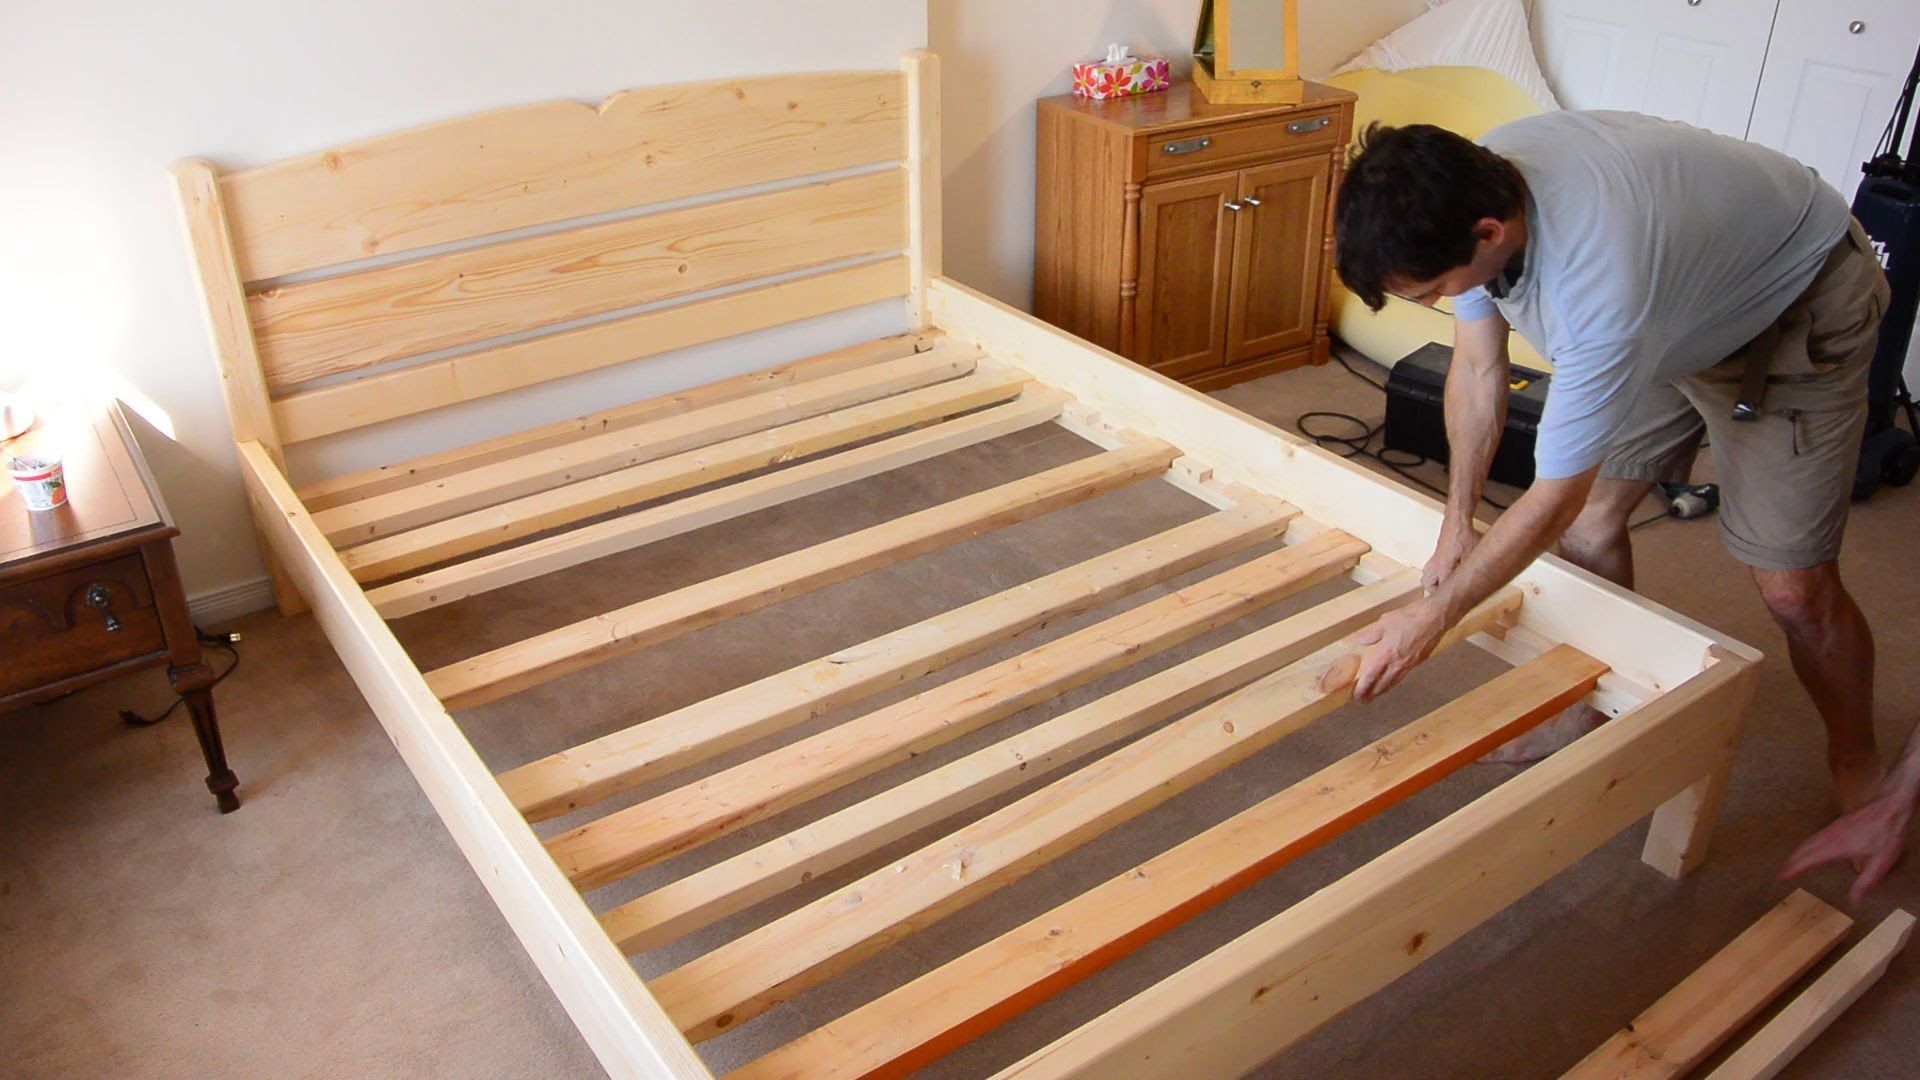
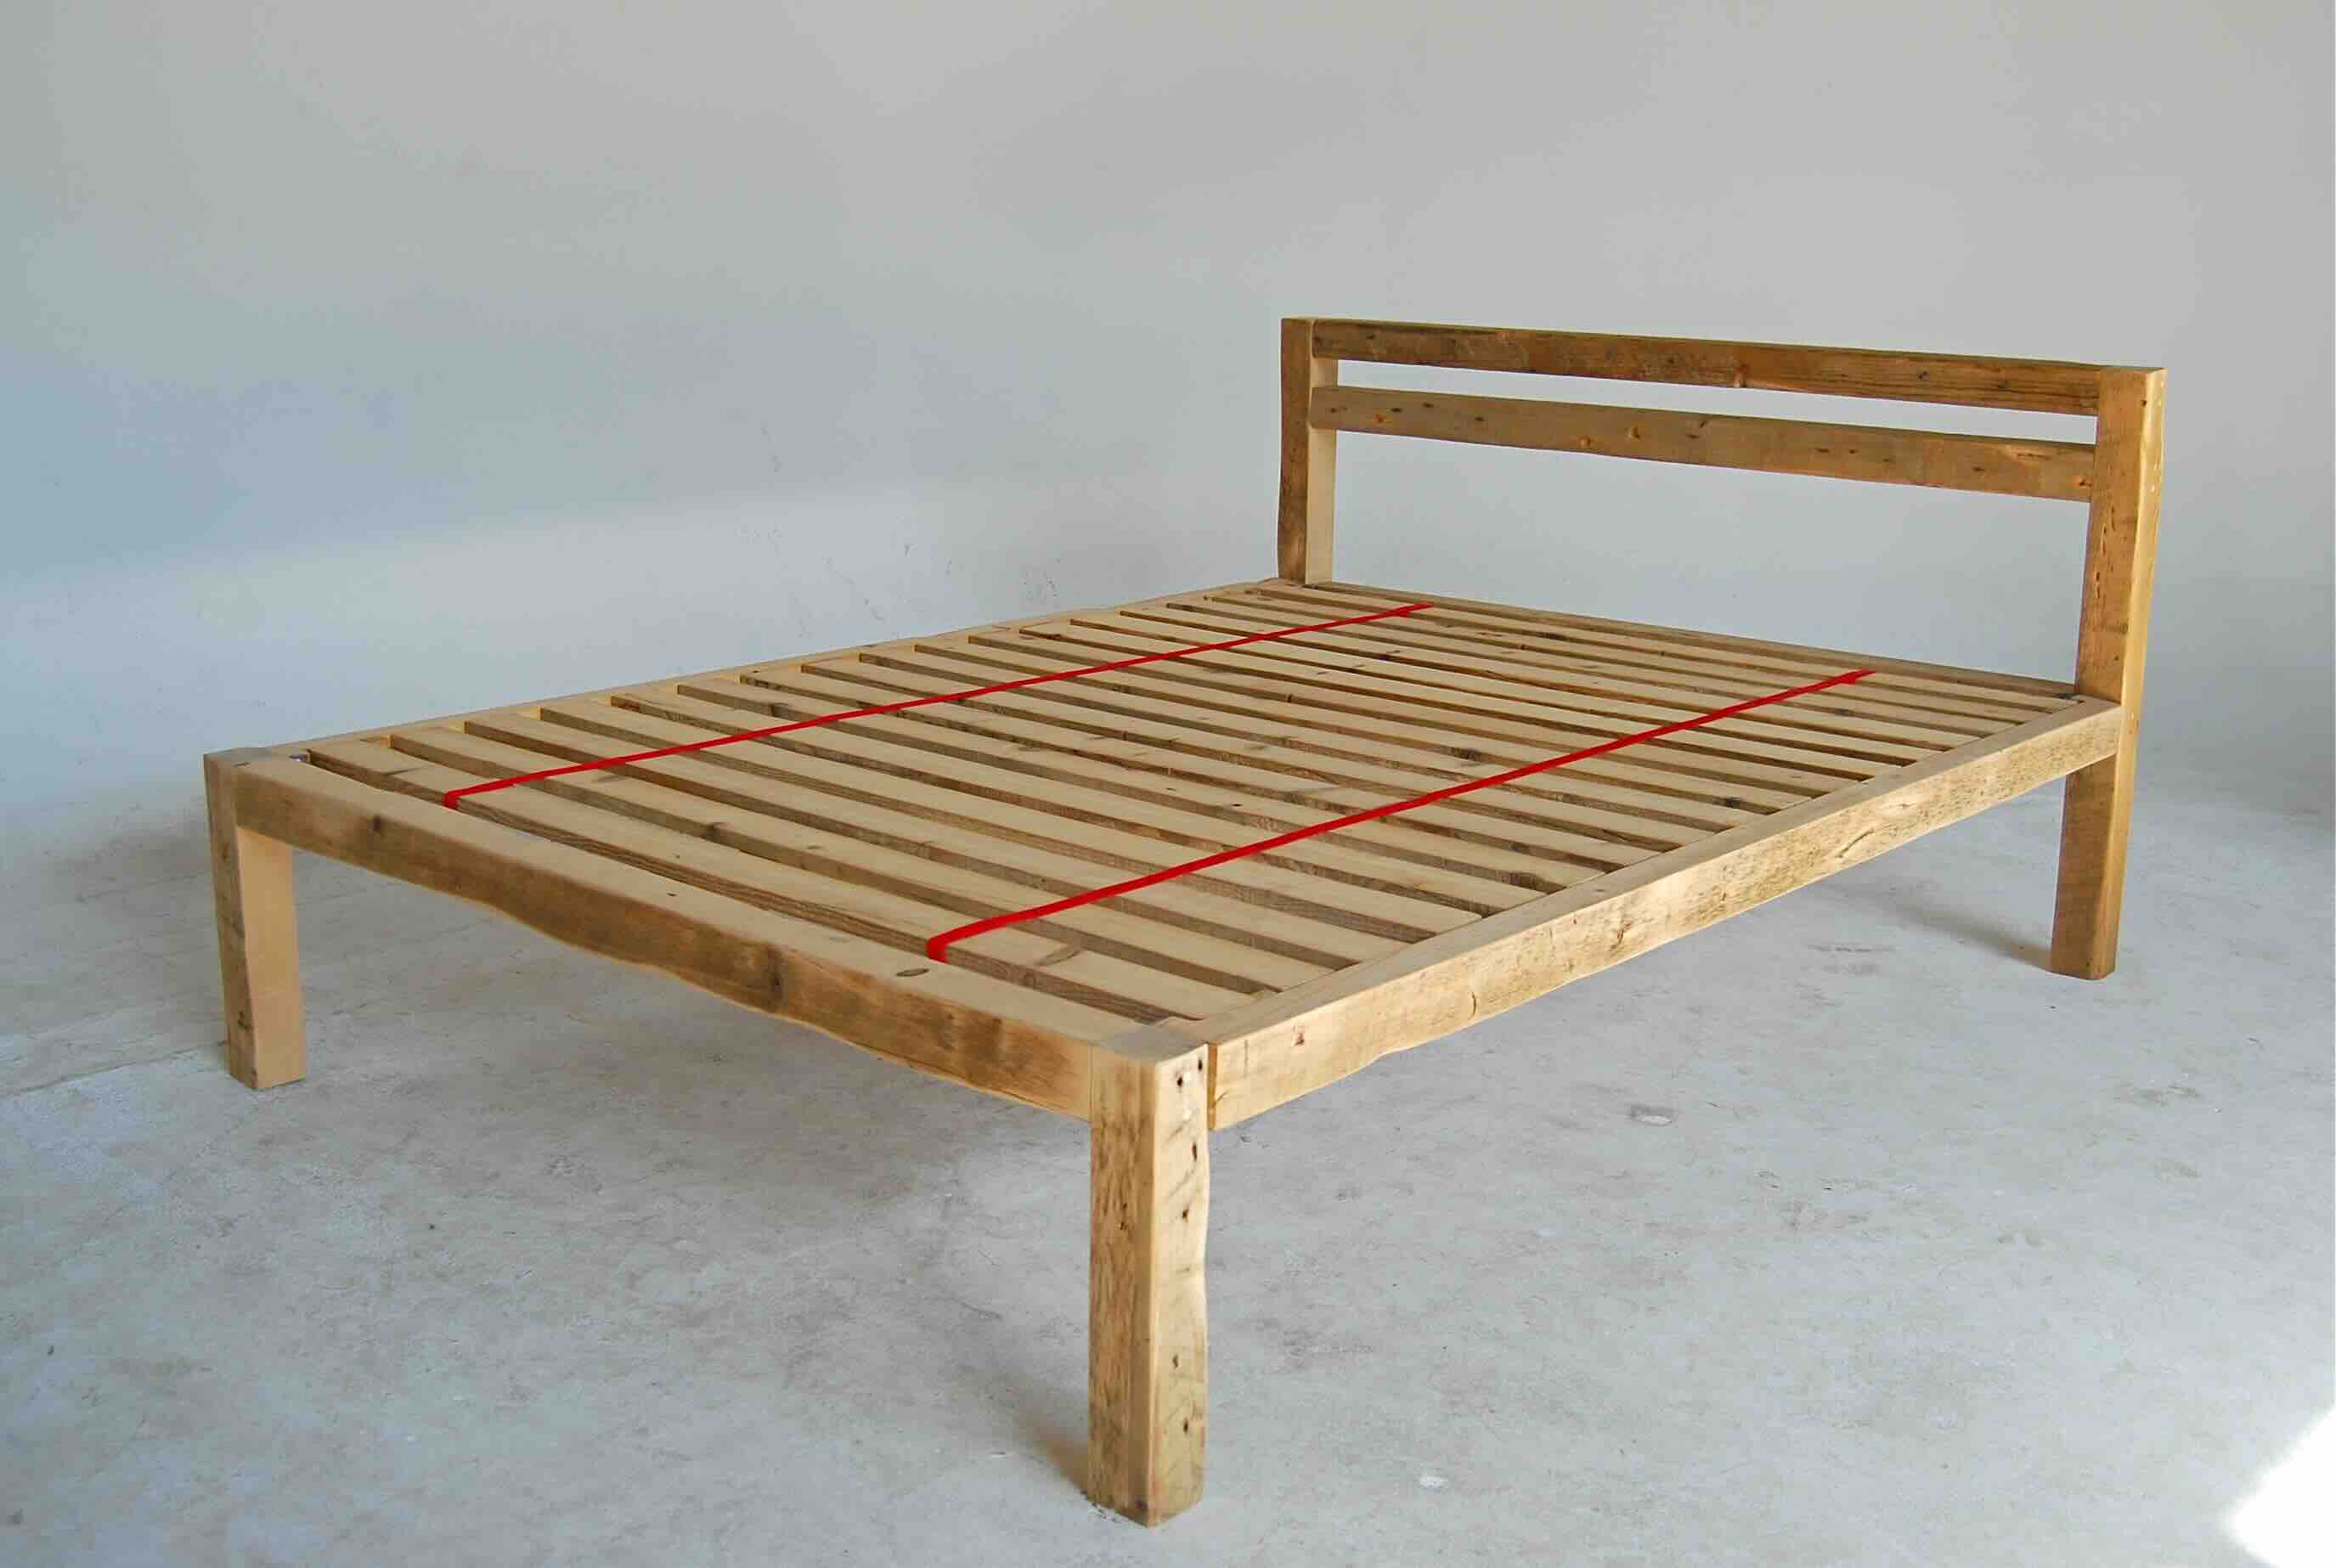
Step 4: Install the Slats
Now that the headboard, footboard, and side rails are securely connected, it’s time to install the slats that will provide support for your mattress. These slats distribute the weight evenly and prevent sagging, ensuring a comfortable and restful sleep.
Follow these steps to install the slats:
- Measure and mark the spacing: Start by measuring the width of your bed frame. Divide this measurement by the number of slats you intend to install, leaving even spacing between each slat. Mark these measurements along the side rails and the center support beam (if applicable).
- Position the slats: Take the plywood slats and lay them across the marked measurements, ensuring they are evenly spaced. The slats should span from one side rail to the other, with any excess trimmed if necessary.
- Screw the slats into place: Once the slats are positioned correctly, secure them to the side rails using screws. Make sure the screws are long enough to go through the slats and into the side rail without protruding.
- Optional reinforcement: To ensure the slats stay in place, you can add additional support by attaching wooden cleats across the slats. These cleats act as extra guides and prevent the slats from shifting or moving during use.
With the slats installed, your queen bed frame is almost complete. The final step is to sand and finish the bed frame to make it smooth and visually appealing.
Step 5: Sand and Finish the Bed Frame
Now that the structural components of your queen bed frame are complete, it’s time to give it a polished and finished look. Sanding and finishing the bed frame not only enhances its appearance but also ensures a smooth surface, free from splinters or rough edges.
Follow these steps to sand and finish your bed frame:
- Sand the wood surfaces: Start by sanding the entire bed frame, including the headboard, footboard, side rails, and slats. Use sandpaper or a sander to remove any rough spots, splinters, or visible imperfections. Start with a coarse-grit sandpaper and gradually move to finer grits for a smoother finish.
- Remove dust: After sanding, use a clean cloth or brush to remove any dust or debris from the surfaces of the bed frame. This will ensure a clean and smooth application of the finishing material.
- Choose a finish: Depending on your personal preference, you can choose to paint, stain, or apply a clear coat to protect and enhance the natural beauty of the wood. Consider the overall aesthetic of your bedroom and select a finish that complements the style.
- Apply the finish: Using a paintbrush or foam roller, apply the chosen finish to all the wood surfaces of your bed frame. Follow the manufacturer’s instructions regarding the application technique, drying time, and number of coats required. Allow the finish to dry completely before moving the bed frame.
- Optional touch-ups: Once the finish is dry, inspect the bed frame for any areas that may need touch-ups or additional coats of finish. Sand any rough spots or drips and reapply the finish as needed to achieve the desired result.
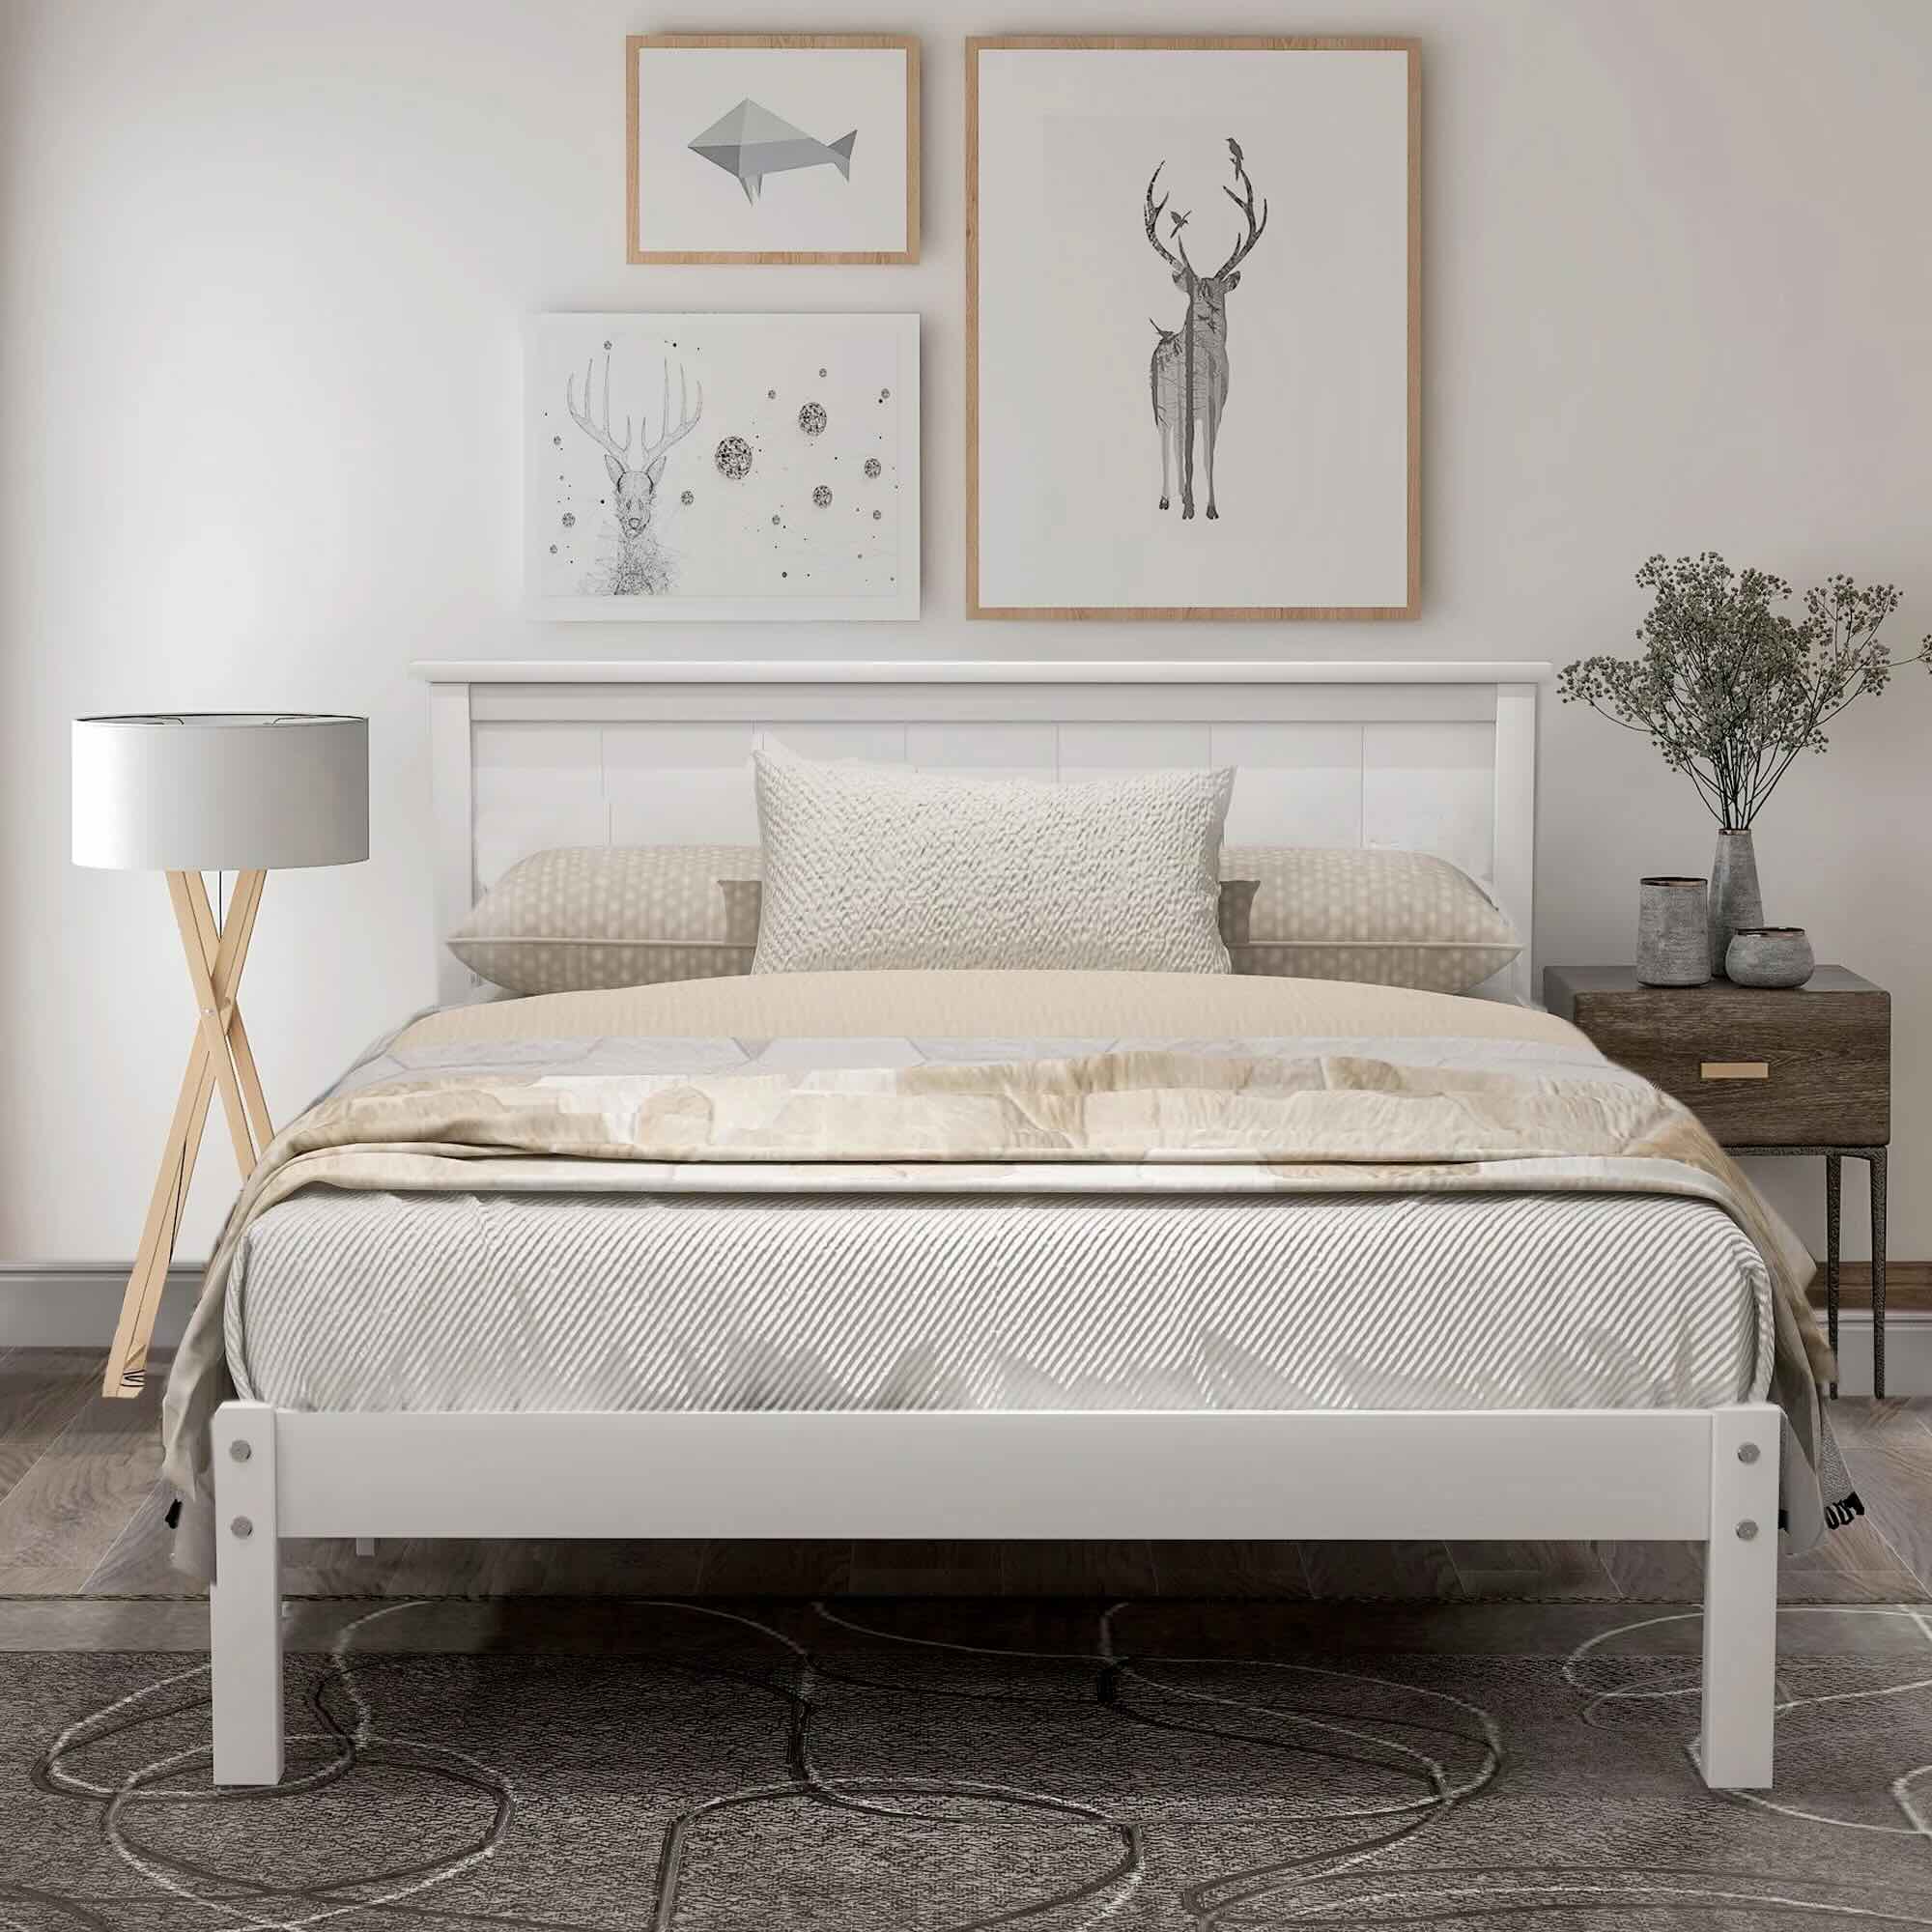
With the bed frame sanded and finished, you can now enjoy your newly built queen bed. Give the finish ample time to fully cure before placing the mattress onto the slats. Now, all that’s left is to dress the bed with your favorite bedding and pillows for a cozy and inviting sleep space.
Congratulations on successfully building your own queen bed frame! Not only have you created a functional piece of furniture, but you’ve also added a touch of craftsmanship to your bedroom.
Conclusion
Building your own queen bed frame is a rewarding and fulfilling project that allows you to customize your sleeping space to your exact preferences. By following these steps and utilizing the right materials and tools, you can create a sturdy, stylish, and comfortable bed frame that will enhance the overall look and feel of your bedroom.
Throughout this guide, we have covered the essential steps to construct a queen bed frame, including measuring and cutting the wood, assembling the headboard and footboard, attaching the side rails, installing the slats, and finally, sanding and finishing the bed frame.
Remember to prioritize safety during the construction process by wearing appropriate protective gear and working in a well-ventilated area. Take your time, double-check your measurements, and follow the instructions closely to ensure the best results.
With your finished queen bed frame, you have a solid foundation to support a comfortable mattress and provide you with a restful night’s sleep. The satisfaction and pride that come with building your own furniture are unparalleled, making your sleeping space truly unique and tailored to your personal taste.
Now it’s time to enjoy the fruits of your labor by adorning your new bed frame with your favorite bedding, pillows, and accessories. Create a cozy and inviting atmosphere that reflects your style and personality.
Whether you’re a skilled DIY enthusiast or just starting your woodworking journey, building a queen bed frame is a project that anyone can tackle with the right guidance and tools. So gather your materials, set aside some time, and embark on this exciting journey to create a beautiful and functional piece of bedroom furniture that you can be proud of.
Frequently Asked Questions about How To Build A Queen Bed Frame
Was this page helpful?
At Storables.com, we guarantee accurate and reliable information. Our content, validated by Expert Board Contributors, is crafted following stringent Editorial Policies. We're committed to providing you with well-researched, expert-backed insights for all your informational needs.


0 thoughts on “How To Build A Queen Bed Frame”