Home>Furniture>Bedroom Furniture>How To Build A Murphy Bed Frame

Bedroom Furniture
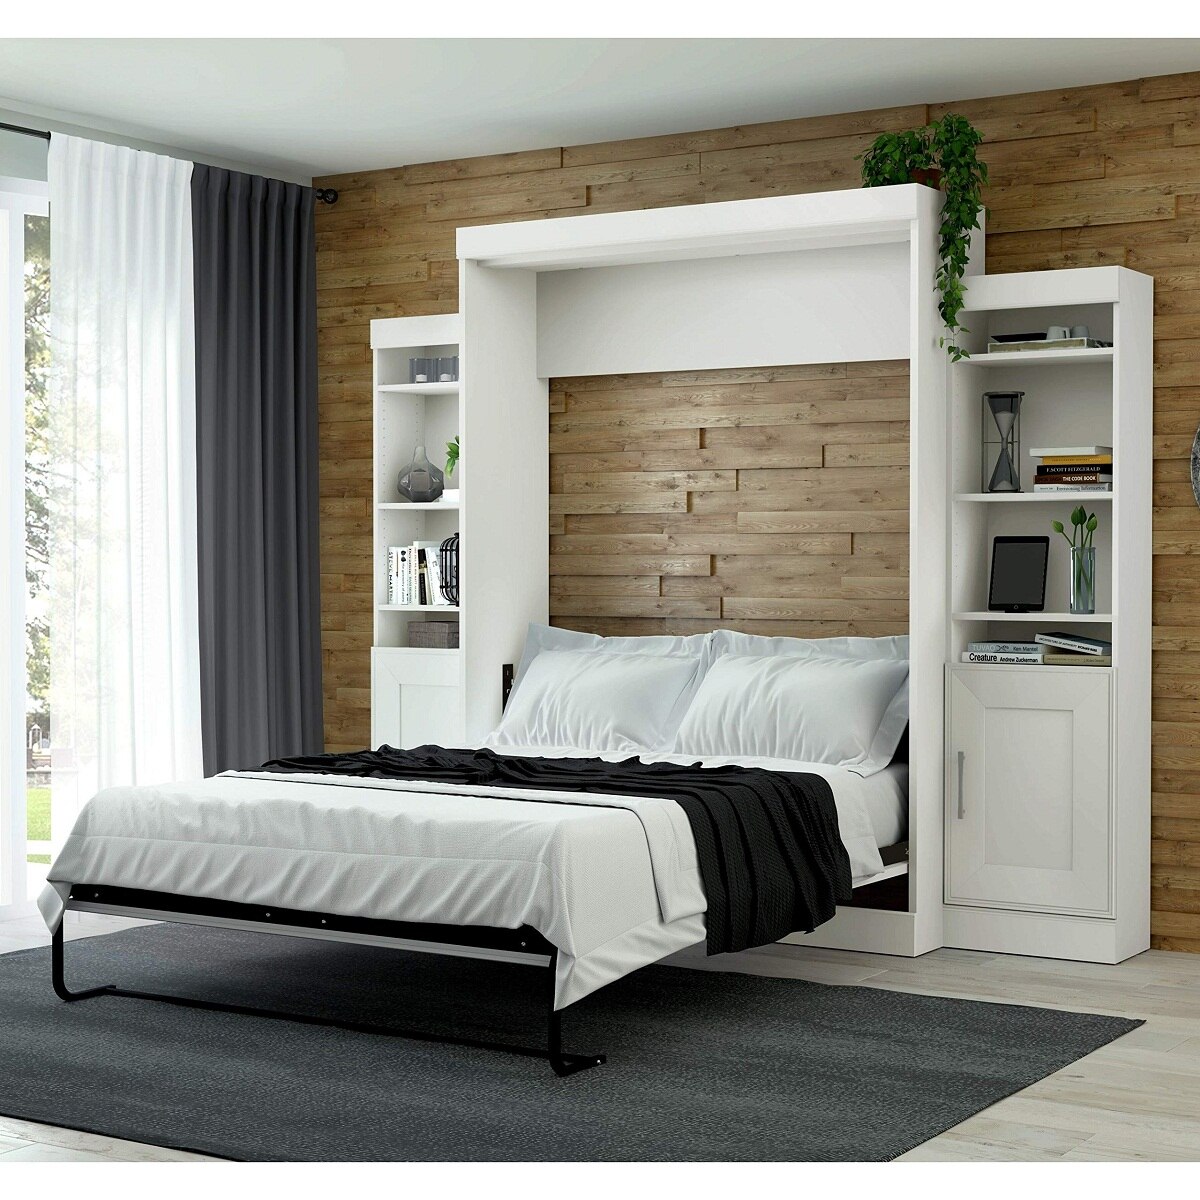
How To Build A Murphy Bed Frame
Modified: August 17, 2024
Discover the step-by-step process of building a sturdy and space-saving Murphy bed frame for your bedroom. Get creative with your bedroom furniture and save valuable space with this DIY project.
(Many of the links in this article redirect to a specific reviewed product. Your purchase of these products through affiliate links helps to generate commission for Storables.com, at no extra cost. Learn more)
Introduction
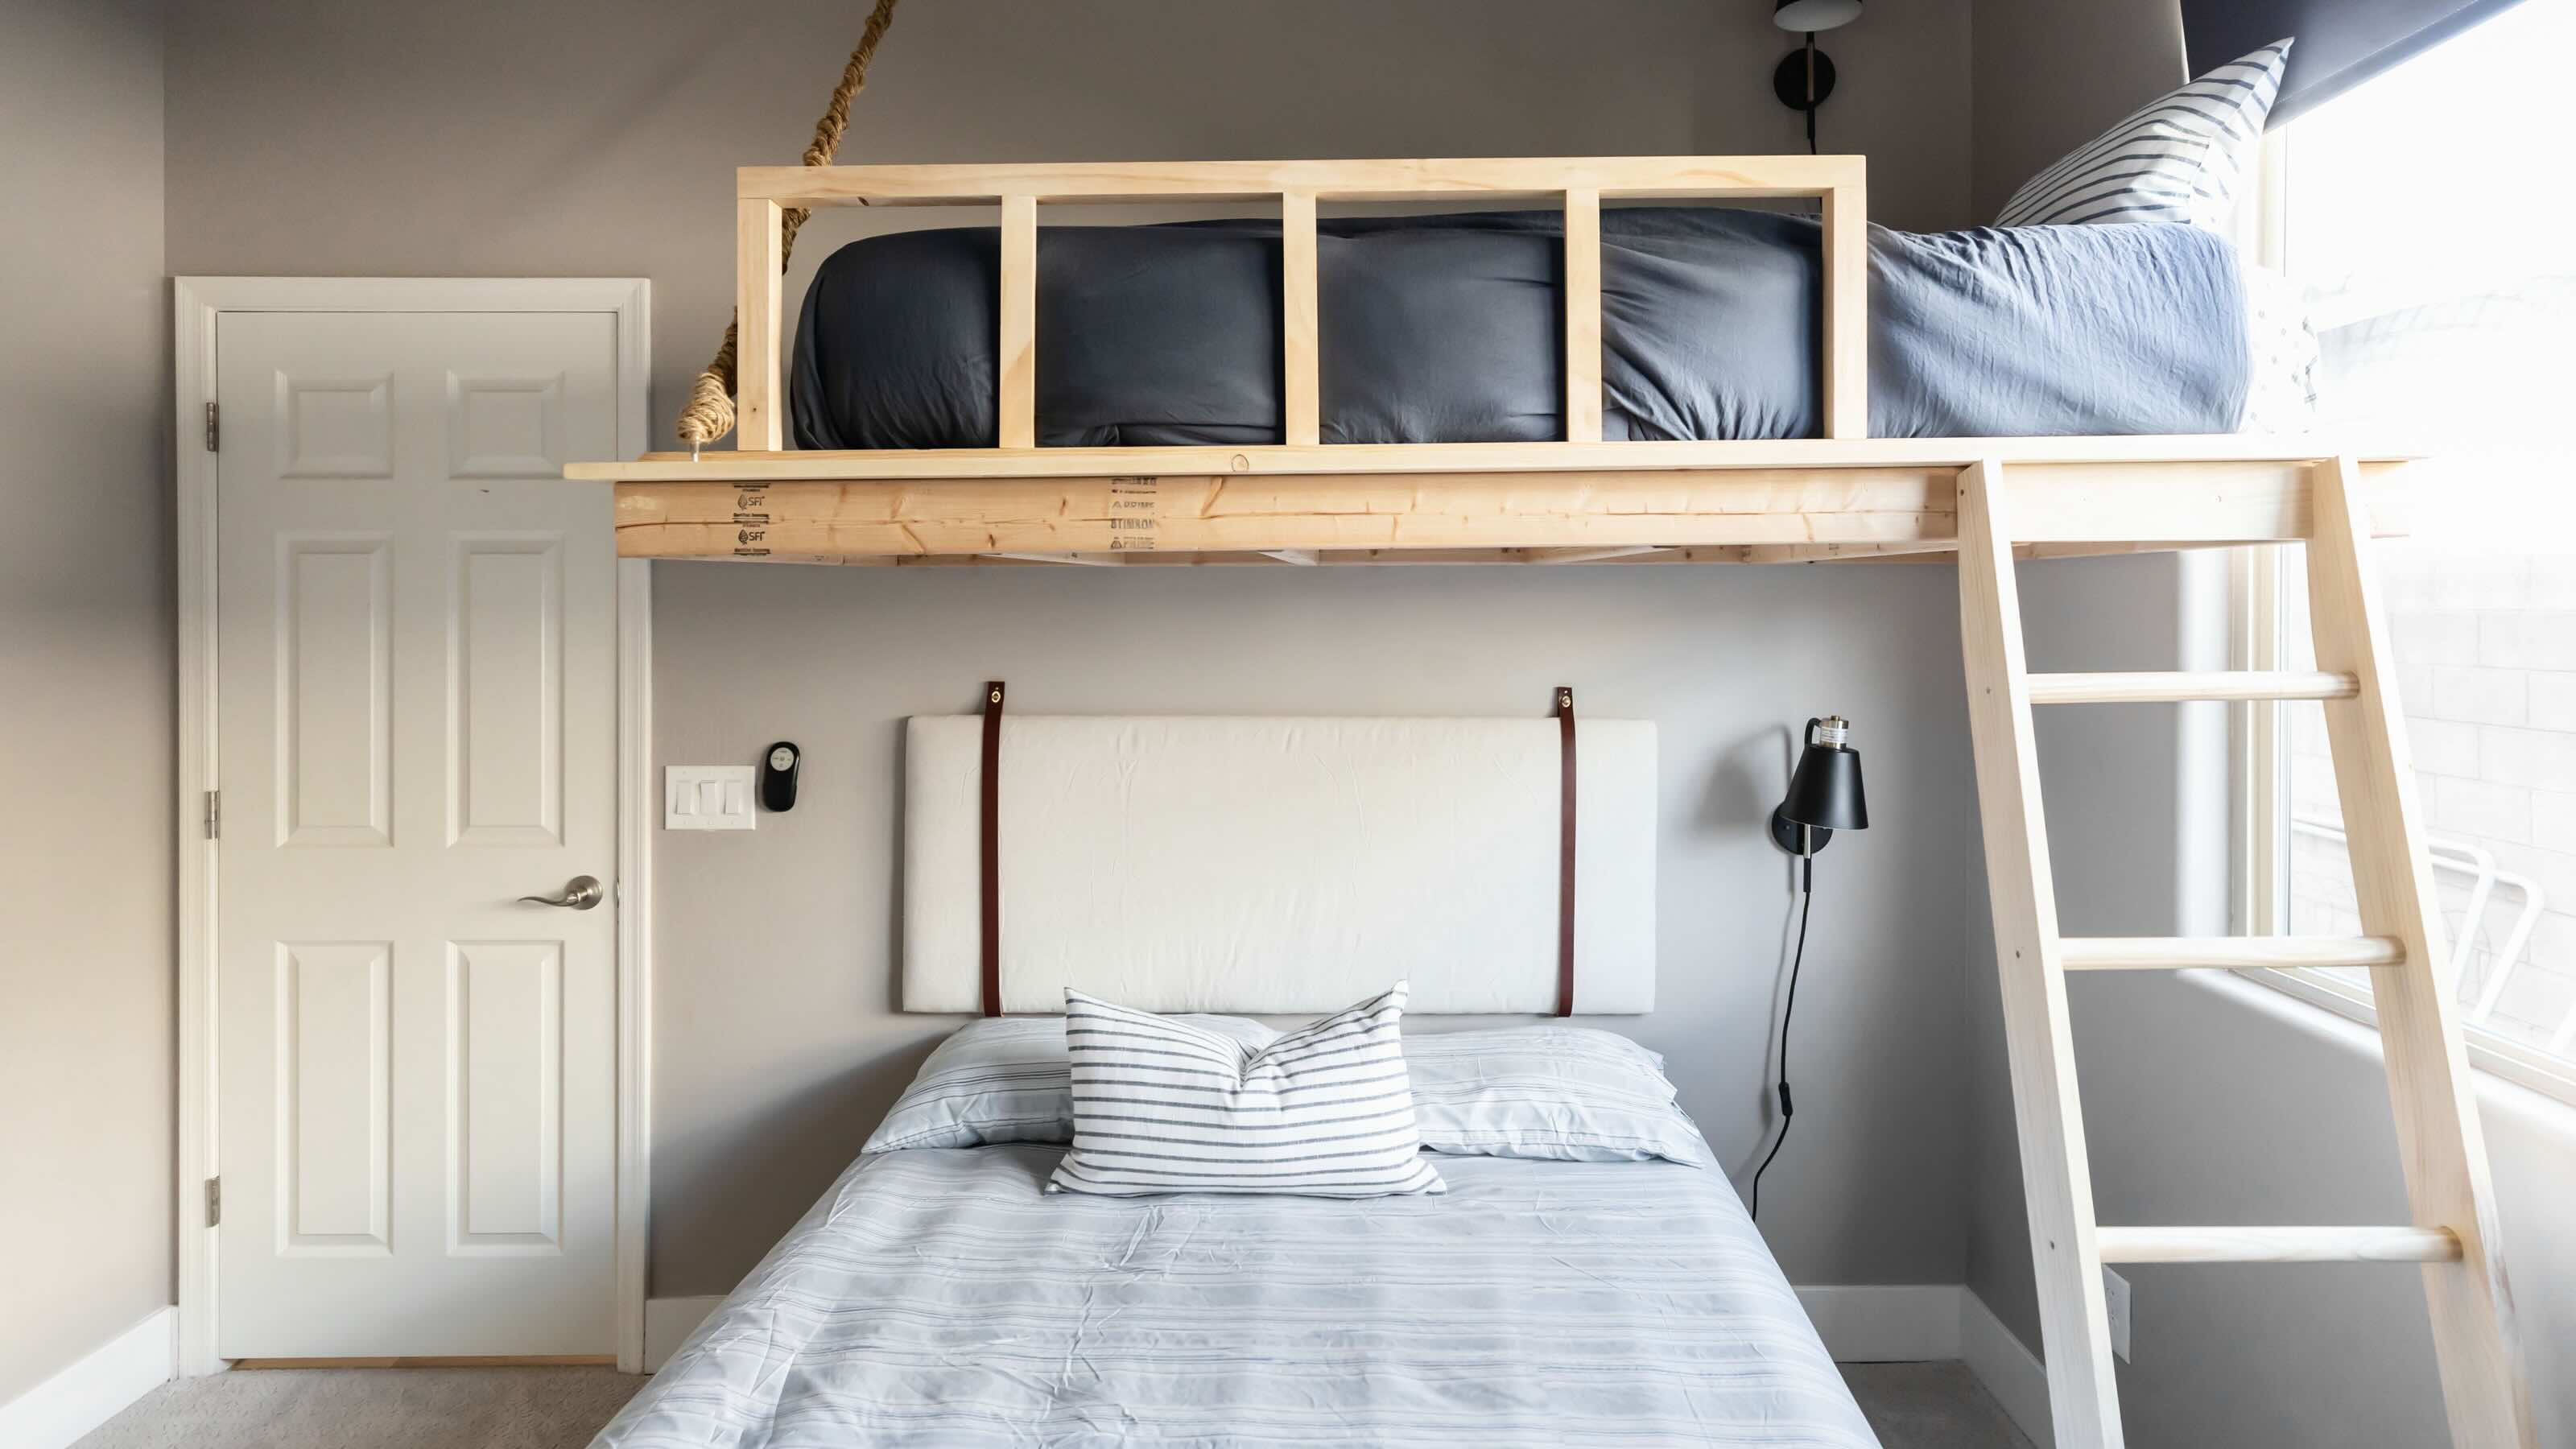
Are you looking for a space-saving solution for your bedroom? Look no further than a Murphy bed frame. A Murphy bed, also known as a wall bed or pull-down bed, is a versatile piece of furniture that can be neatly stored against a wall when not in use, providing you with extra space in your bedroom.
Building your own Murphy bed frame can be a rewarding project and a cost-effective alternative to buying one. In this article, we will guide you through the process of building a Murphy bed frame from scratch, ensuring that you have all the necessary information to create a functional and stylish addition to your bedroom.
Before we dive into the construction process, let’s take a look at the different materials and tools you will need to ensure a successful build.
Key Takeaways:
- Building a Murphy bed frame involves choosing durable materials, precise measurements, and sturdy hardware. The process includes assembling the main frame, installing the mechanism, and adding support systems for a functional and stylish outcome.
- Personalizing the Murphy bed frame with decorative panels, finishing touches, and lighting options enhances its appearance and functionality. DIY enthusiasts can enjoy the space-saving benefits and creative satisfaction of building their own Murphy bed.
Read more: How To Build A Bed Frame
Choosing the Right Materials
When it comes to selecting the materials for your Murphy bed frame, durability, stability, and aesthetics are key factors to consider. Here are the primary components and materials you will need:
- Frame Materials: The main frame structure can be constructed using high-quality solid wood or plywood. Solid wood, such as maple or oak, offers superior strength and is aesthetically pleasing. If you opt for plywood, make sure it is of good quality and has a smooth finish.
- Hardware: The success of your Murphy bed frame greatly relies on the quality of the hardware you choose. Look for a reliable and sturdy Murphy bed mechanism that includes a gas spring or piston system for smooth opening and closing.
- Screws and Fasteners: Use high-quality screws and fasteners that are appropriate for the type of material you are working with. Ensure they are strong enough to withstand the weight of the bed and provide secure and stable connections.
- Decorative Panels: To enhance the overall appearance of your Murphy bed frame, you can choose decorative panels made of high-quality wood veneer, laminate, or even textured wallpaper. These panels will be attached to the face and side of the bed frame.
- Finishing Materials: Depending on the type of wood or material you use, you may need finishing materials such as paint, stain, or varnish to protect the surface and achieve the desired appearance.
Remember, it’s important to choose materials that suit your personal preferences, budget, and the overall style of your bedroom. Take the time to explore different options and consider consulting with a professional if you need guidance on selecting the right materials for your project.
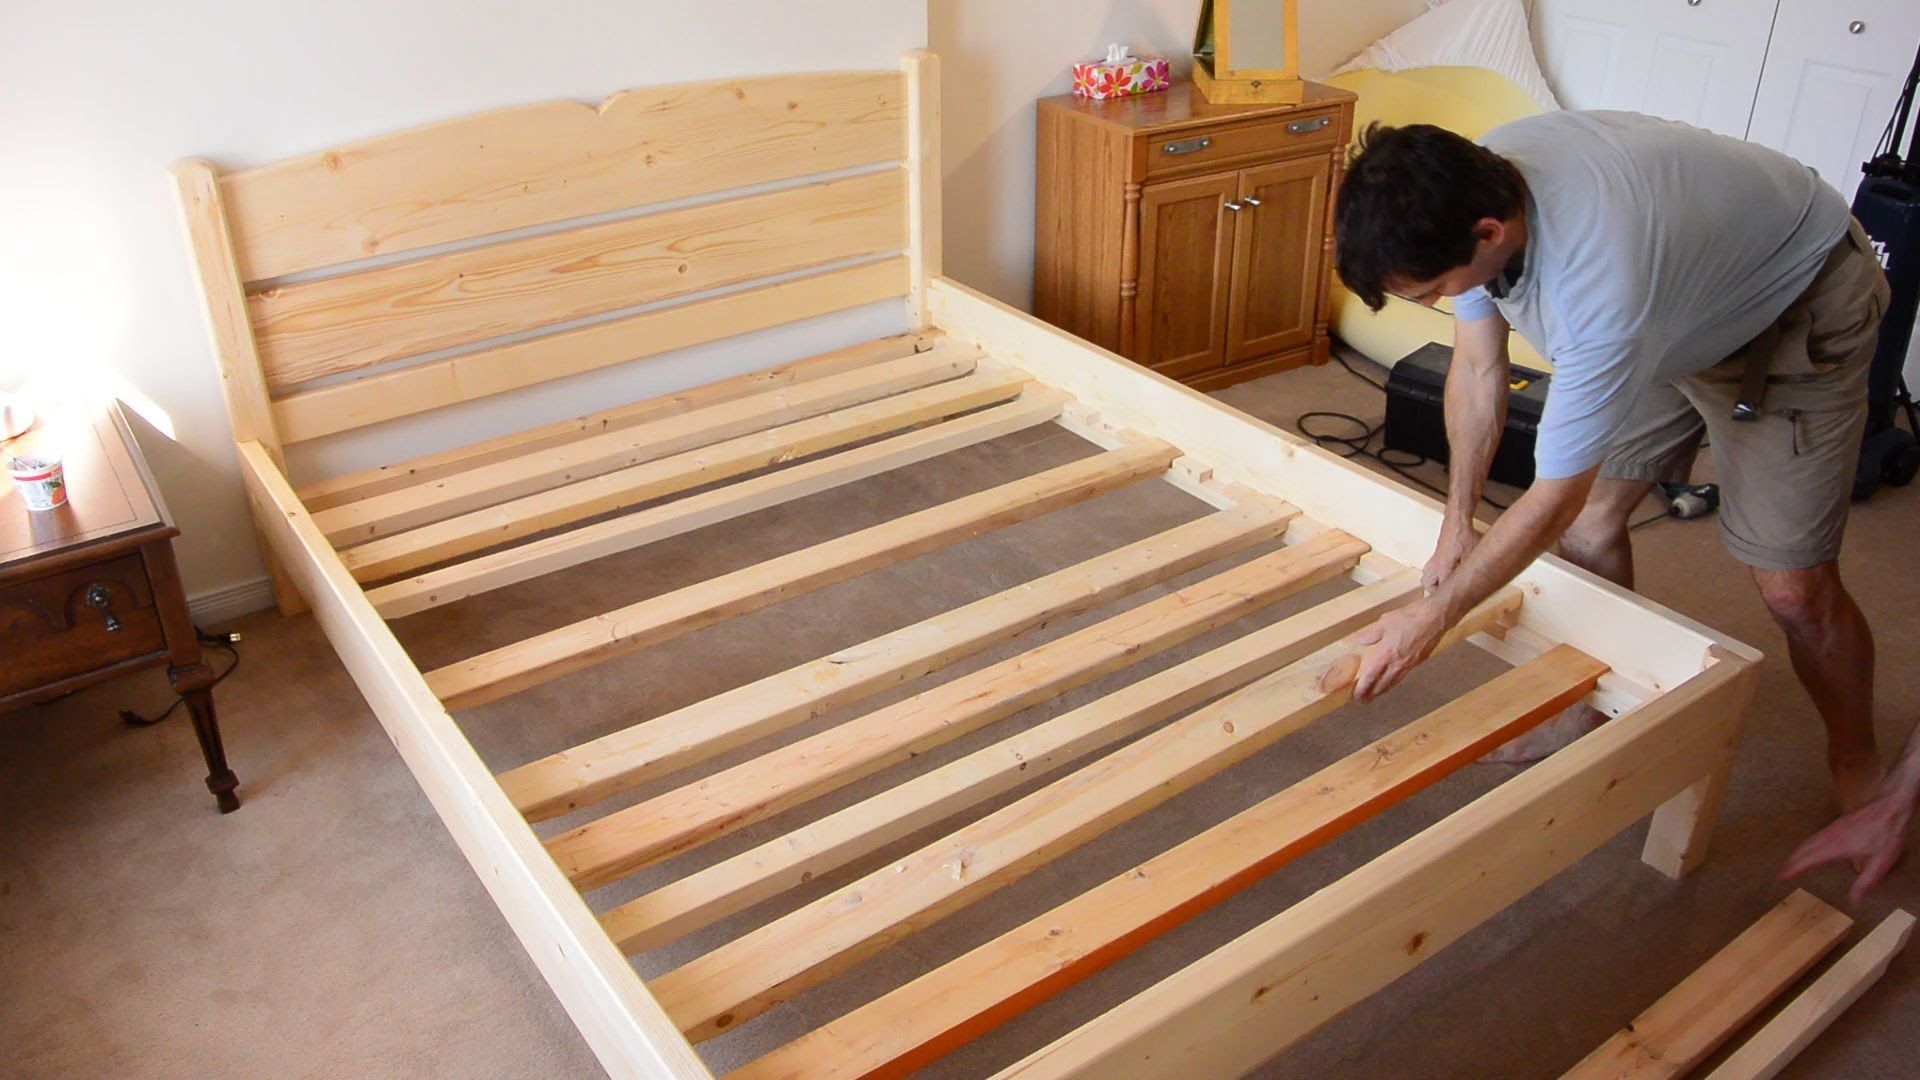
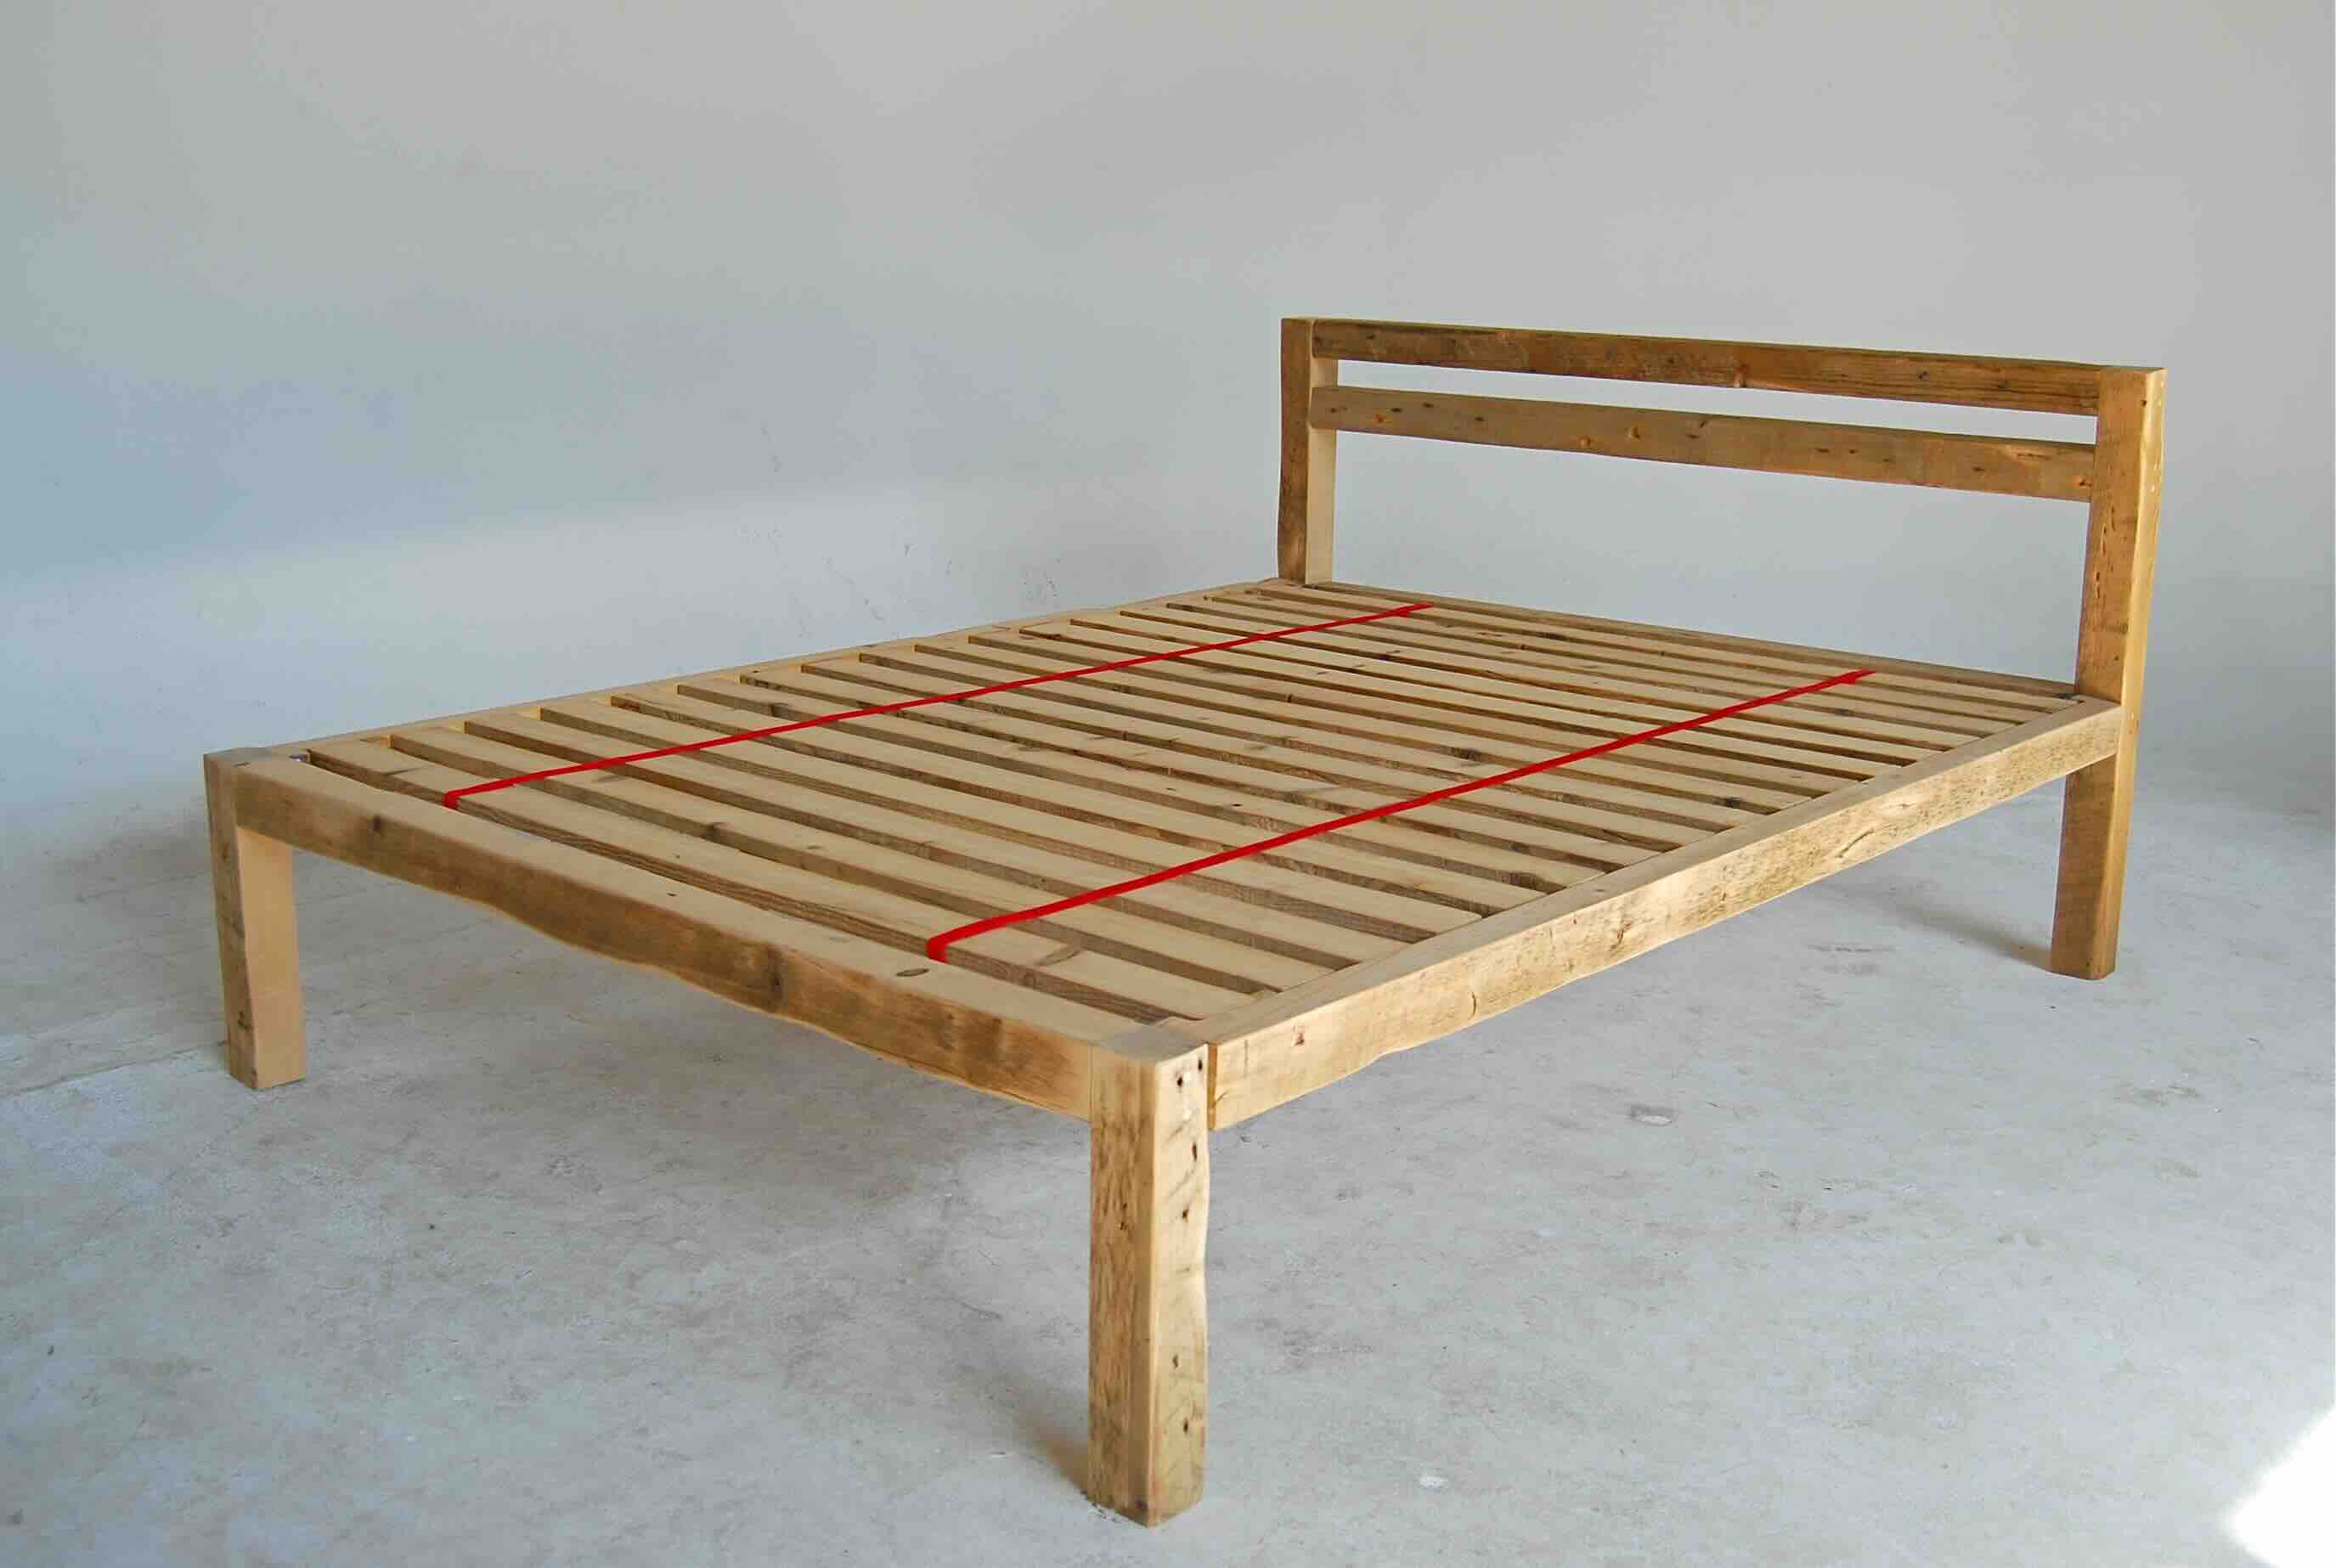
Measuring and Cutting the Frame Components
Precise measurements and accurate cuts are essential for building a sturdy and functional Murphy bed frame. Follow these steps to ensure that your frame components are measured and cut correctly:
- Measure the Dimensions: Begin by measuring the length, width, and height of your mattress. These measurements will serve as the basis for determining the dimensions of your Murphy bed frame. Make sure to account for any additional space needed for the Murphy bed mechanism and hardware.
- Calculate the Frame Dimensions: Once you have the mattress measurements, calculate the dimensions for the main frame components. This includes the frame sides, top, bottom, and cross supports. Remember to consider the thickness of the materials you are using when making your calculations.
- Mark and Cut the Frame Components: Transfer the measurements onto your selected wood or plywood and use a tape measure, ruler, or square to mark the cutting lines. Double-check your measurements to ensure accuracy. Use a circular saw, table saw, or jigsaw to cut the frame components according to the marked lines.
- Smooth and Sand the Edges: After cutting the frame components, use sandpaper or a power sander to smooth any rough edges or uneven surfaces. Pay special attention to the areas where the frame components will be joined together.
- Label the Frame Components: To avoid confusion during the assembly process, it’s helpful to label each frame component with a pencil or marker. This will make it easier to identify and correctly position the pieces.
Remember to exercise caution when handling power tools and wear appropriate safety gear, such as goggles and gloves. Take your time with the measurement and cutting process to ensure accuracy and precision. With well-measured and accurately cut frame components, you’ll be ready to move on to the assembly stage of your Murphy bed frame construction.
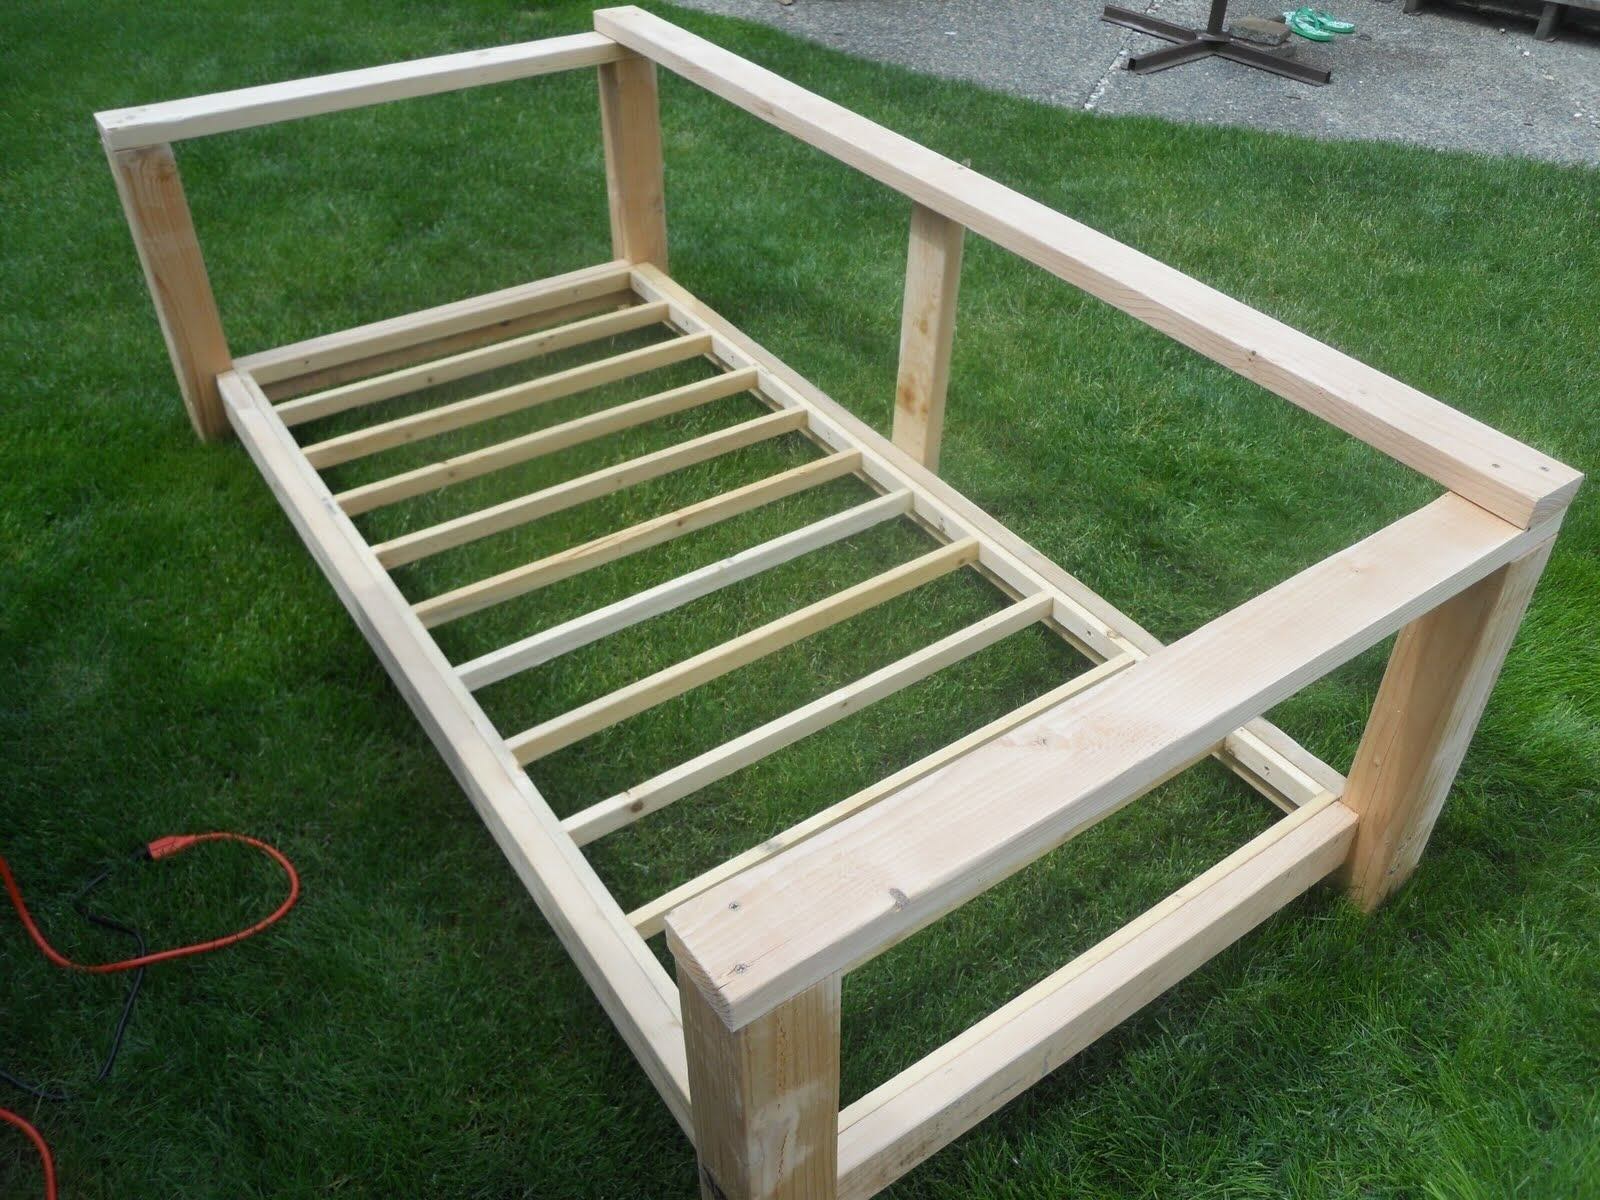
Assembling the Main Frame Structure
Now that you have your frame components cut and prepared, it’s time to assemble the main structure of your Murphy bed frame. Follow these steps to ensure a solid and stable frame:
- Begin by assembling the frame sides. Place one side piece vertically and attach the top and bottom components using screws and fasteners. Use a drill or screwdriver to secure the pieces together firmly. Repeat this step for the other side of the frame.
- Next, attach the cross supports between the frame sides. Measure and mark the locations for the cross supports, ensuring they are evenly spaced. Attach the cross supports using screws or fasteners, making sure they are flush with the sides of the frame.
- Check for stability and adjust if needed. Use a level to ensure that the frame is even and straight. Make any necessary adjustments to ensure a sturdy and level frame.
- Test the opening and closing mechanism. If you have a Murphy bed mechanism with a gas spring or piston system, attach it to the frame according to the manufacturer’s instructions. Test the mechanism to ensure it operates smoothly and securely.
- Double-check the frame’s stability and make any final adjustments. It’s essential to ensure that the frame is structurally sound and can support the weight of the mattress. If necessary, reinforce any weak areas with additional screws or braces.
By following these steps, you will create a solid and reliable main frame structure for your Murphy bed. Once the main frame is assembled, you can proceed to the next step of installing the Murphy bed mechanism.
Installing the Murphy Bed Mechanism
Installing the Murphy bed mechanism is a crucial step in building your Murphy bed frame. This mechanism allows for the smooth and safe operation of the bed, allowing it to be easily folded up against the wall when not in use. Follow these steps to properly install the Murphy bed mechanism:
- Refer to the manufacturer’s instructions: Different Murphy bed mechanisms may have specific installation requirements. Carefully read and follow the instructions provided by the manufacturer to ensure proper installation.
- Position the mechanism: Place the Murphy bed mechanism in the center of the main frame structure. Ensure that it is aligned properly and centered both horizontally and vertically.
- Secure the mechanism to the frame: Using the recommended screws or fasteners provided by the manufacturer, attach the Murphy bed mechanism to the frame. Make sure to tighten the screws securely to ensure stability.
- Test the mechanism: After the installation is complete, test the Murphy bed mechanism to ensure it operates smoothly. Open and close the bed several times to ensure that there are no issues or obstructions. If any adjustments or fine-tuning are needed, make them at this stage.
- Ensure proper clearance: It’s important to ensure that there is enough clearance around the Murphy bed frame for it to fully open and close without any obstructions. Ensure that there is sufficient space above the bed for the mattress to fold down without hitting the ceiling.
Remember, the installation process may vary depending on the specific Murphy bed mechanism you are using. Always refer to the manufacturer’s instructions and guidelines to ensure a proper and secure installation. Once the mechanism is installed, you can proceed with attaching the support systems to provide additional stability to your Murphy bed frame.
When building a Murphy bed frame, be sure to use high-quality materials and hardware to ensure the bed is sturdy and safe for use. Additionally, follow the manufacturer’s instructions carefully to ensure proper installation.
Read more: What Is A Murphy Bed
Attaching the Support Systems
Attaching the support systems is an important step in ensuring the stability and durability of your Murphy bed frame. These support systems help distribute the weight of the mattress and provide additional strength to the frame. Follow these steps to properly attach the support systems:
- Lift and fold down the Murphy bed frame: Carefully lift and fold down the Murphy bed frame into the open position. This will allow you to access the underside of the bed frame for attaching the support systems.
- Install the slat support system: Place the slats horizontally across the bed frame, ensuring they are evenly spaced. Attach them securely to the frame using screws or fasteners. The slats help support the mattress and prevent it from sagging.
- Attach additional support brackets: Depending on the size and weight of your mattress, you may need to install additional support brackets along the sides and center of the bed frame. These brackets provide extra reinforcement and prevent the mattress from shifting or collapsing.
- Verify stability and adjust if necessary: Once the support systems are attached, check the stability of the bed frame. Test the mattress by applying gentle pressure to different areas to ensure that it remains securely in place and doesn’t wobble or sag.
- Make any necessary adjustments or reinforcements: If you notice any areas that require additional support or reinforcement, take the time to make the necessary adjustments. This could include adding extra screws, braces, or support posts to ensure the frame is structurally sound.
By following these steps, you will ensure that your Murphy bed frame has the necessary support systems in place to provide a stable and comfortable sleeping surface. Once the support systems are properly attached, you can move on to adding the face and side panels to complete the aesthetic look of your Murphy bed.
Adding the Face and Side Panels
Adding the face and side panels to your Murphy bed frame is the finishing touch that will enhance both the functionality and aesthetics of your bed. These panels will not only provide a clean look to the bed when it’s folded up, but they will also conceal the mechanism and create a cohesive appearance with the rest of your bedroom decor. Follow these steps to add the face and side panels:
- Measure and cut the panels: Measure the dimensions of the face and side areas of the Murphy bed frame. Transfer these measurements to your chosen decorative panels, such as wood veneer, laminate, or textured wallpaper. Use a saw or cutting tool appropriate for your chosen material to cut the panels to size.
- Attach the panels to the bed frame: Carefully align the panels with the front and side edges of the bed frame. Use screws or adhesive to attach the panels securely. Make sure to countersink the screws or use finishing nails to ensure a smooth and seamless appearance.
- Sand and finish the panels: After attaching the panels, use sandpaper or a power sander to smooth any rough edges or surfaces. Apply a finish or sealant to protect the panels and enhance their appearance. You can choose to paint, stain, or varnish the panels depending on your desired aesthetic.
- Ensure proper functionality: Test the folding and unfolding of the bed with the panels attached to ensure that they do not interfere with the mechanism. Check that the panels do not obstruct the smooth operation of the Murphy bed and that they fit snugly against the frame when the bed is folded up.
- Add decorative elements (optional): If desired, you can further enhance the appearance of your Murphy bed by adding decorative elements such as trim, molding, or hardware. These additional touches can complement your bedroom decor and give your bed a unique and personalized look.
With the face and side panels attached, your Murphy bed frame will have a polished and professional appearance. Take the time to ensure that the panels are securely fastened and that they maintain the functionality of the bed. Lastly, add any finishing touches or decorative elements that will truly make your Murphy bed a standout piece in your bedroom.
Finishing Touches and Decorative Options
Now that your Murphy bed frame is assembled and the panels are in place, it’s time to add the final finishing touches and explore various decorative options. These details will not only enhance the overall appearance of your Murphy bed but also personalize it to your unique style and taste. Here are some ideas to consider:
- Finishing the wood: If you have used solid wood for your Murphy bed frame, you can further enhance its natural beauty by applying a wood stain or clear varnish. This will protect the wood and bring out its rich tones.
- Painting or wallpapering the panels: The face and side panels can be painted in a color that complements your bedroom decor. You can also consider using textured wallpaper to add depth and visual interest to the panels.
- Adding decorative molding: Install decorative molding along the edges of the face and side panels to give your Murphy bed an elegant and polished look. Choose molding styles that match the overall style of your bedroom.
- Incorporating lighting: Install LED strip lights or puck lights on the underside of the Murphy bed frame to create a warm and inviting ambiance in your bedroom. This will also provide practical lighting for reading or navigating the room at night.
- Customizing hardware: Consider swapping out standard hardware with decorative knobs or handles that complement the style of your bedroom. This small change can make a big difference in the overall aesthetics of your Murphy bed.
- Accessorizing the surrounding area: To complete the look, add tasteful decor elements around your Murphy bed, such as artwork, decorative pillows, or a cozy rug. These accessories will help tie the bed into the overall design of your bedroom.
Feel free to get creative and explore different options that align with your personal style and preferences. The finishing touches and decorative options will elevate your Murphy bed from a practical piece of furniture to a focal point in your bedroom.
Conclusion
Congratulations! You have successfully learned how to build a Murphy bed frame from scratch. By following the steps outlined in this article, you have created a space-saving and versatile piece of furniture that will add functionality and style to your bedroom.
Building your own Murphy bed frame allows for customization and cost savings compared to buying a pre-made one. From choosing the right materials to assembling the main frame structure, installing the Murphy bed mechanism, attaching support systems, adding the face and side panels, and applying finishing touches, you have taken each step to ensure a sturdy and visually appealing Murphy bed.
Remember, safety should always be a priority during any DIY project. Take your time, follow the manufacturer’s instructions carefully, and use appropriate safety gear when working with tools and materials.
Now that your Murphy bed frame is complete, enjoy the benefits of having a space-saving solution in your bedroom. Whether you need extra room for activities during the day or a comfortable sleeping space at night, your Murphy bed frame will serve its purpose brilliantly.
Don’t forget to take pride in your accomplishment and share your creation with others. Spread the knowledge and inspire friends and family to explore their own DIY projects.
Thank you for joining us on this journey of building a Murphy bed frame. We hope you find joy and satisfaction in the process and enjoy the convenience and elegance that your Murphy bed brings to your bedroom.
Frequently Asked Questions about How To Build A Murphy Bed Frame
Was this page helpful?
At Storables.com, we guarantee accurate and reliable information. Our content, validated by Expert Board Contributors, is crafted following stringent Editorial Policies. We're committed to providing you with well-researched, expert-backed insights for all your informational needs.


0 thoughts on “How To Build A Murphy Bed Frame”