Home>Furniture>Bedroom Furniture>How To Build An Upholstered Bed Frame
Bedroom Furniture
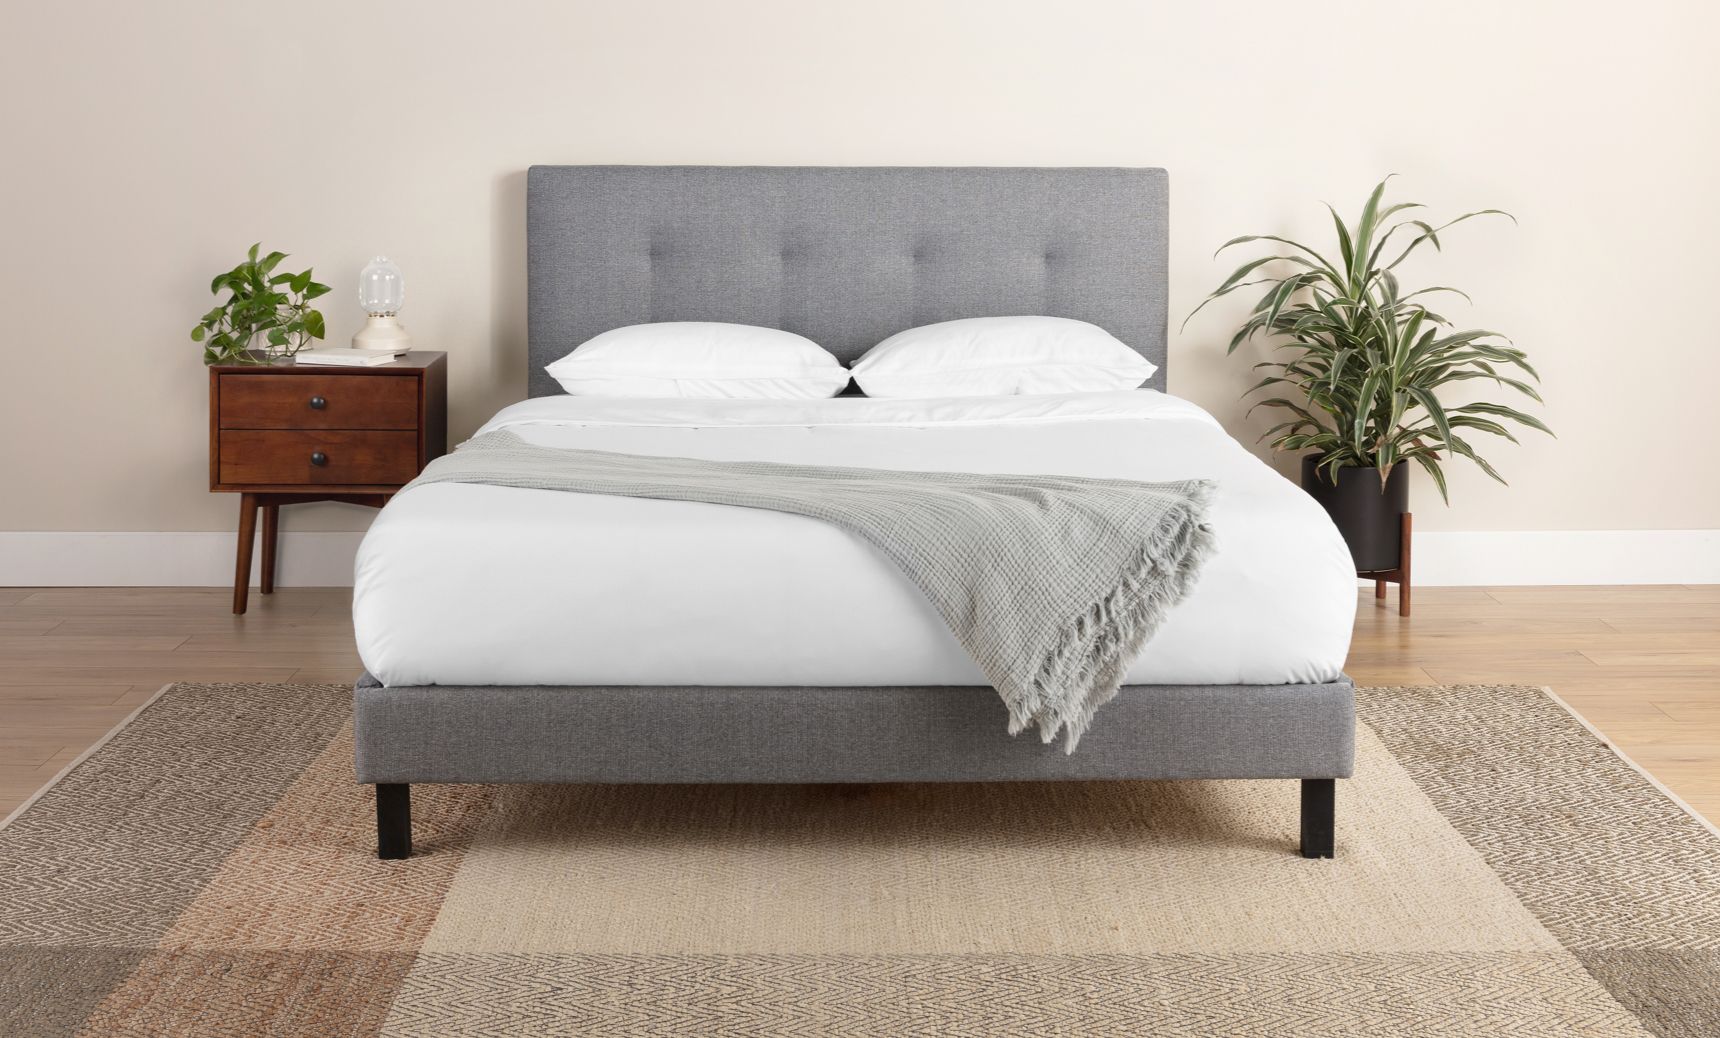
How To Build An Upholstered Bed Frame
Modified: March 1, 2024
Learn how to build an exquisite upholstered bed frame for your bedroom with our step-by-step guide. Create a stunning focal point with this DIY bedroom furniture project!
(Many of the links in this article redirect to a specific reviewed product. Your purchase of these products through affiliate links helps to generate commission for Storables.com, at no extra cost. Learn more)
Introduction
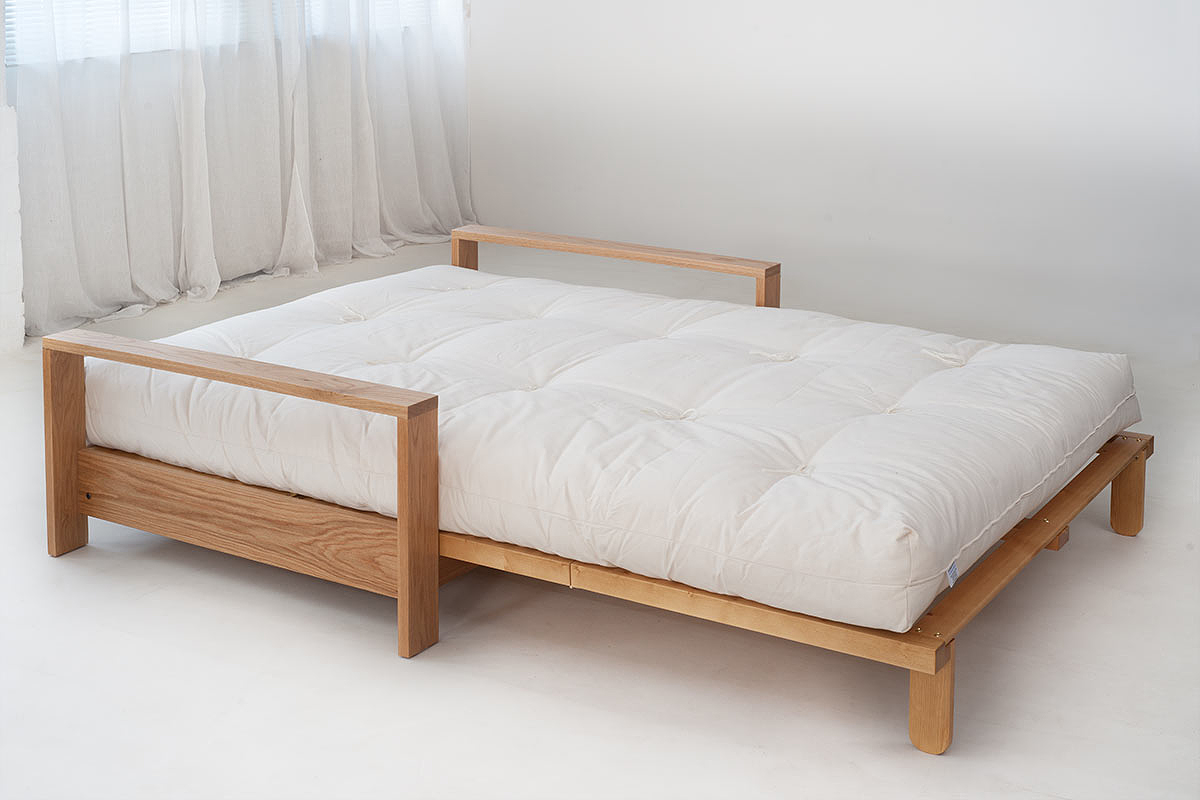
Creating the perfect bedroom oasis starts with choosing the right furniture, and what could be more essential than a comfortable and stylish bed frame? An upholstered bed frame not only adds a touch of luxury to your bedroom, but it also provides a cozy and inviting space to relax and unwind.
Building your own upholstered bed frame may seem like a daunting task, but with the right materials and a little bit of DIY know-how, you can create a beautiful piece that suits your personal style and enhances the overall aesthetic of your bedroom. In this article, we will guide you through the step-by-step process of How To Build An Upholstered Bed Frame, from gathering materials and tools to adding the finishing touches.
Whether you’re a seasoned DIYer or a beginner looking to take on a new project, building an upholstered bed frame is a rewarding endeavor that allows you to customize every aspect, from the size and shape to the fabric and design. So, roll up your sleeves and let’s get started on creating the bed frame of your dreams!
Key Takeaways:
- Create a customized and comfortable centerpiece for your bedroom by following the step-by-step guide to building an upholstered bed frame. Enjoy the process of tapping into your creativity and craftsmanship to bring your vision to life.
- Elevate the overall look and feel of your bedroom with a personalized upholstered bed frame. From gathering materials to adding finishing touches, enjoy the rewarding DIY project and the luxurious comfort of your creation.
Read more: How To Upholster A Bed Frame
Step 1: Gather Materials and Tools
Before you begin building your upholstered bed frame, it’s important to gather all the necessary materials and tools. Here’s a list of what you’ll need:
- Wood: Choose high-quality wood for the frame, such as plywood or hardwood boards, in the desired size for your bed.
- Upholstery Fabric: Select a durable and aesthetically pleasing fabric that complements your bedroom decor. Make sure you have enough fabric to cover the entire frame and extra for any patterns or tufting.
- Foam Padding: Opt for high-density foam padding to provide a comfortable surface to lean against. Measure and cut the foam to fit the headboard and footboard.
- Batting: Purchase batting to wrap around the foam padding and provide a smooth and plush finish.
- Screws and Nails: Choose appropriate screws and nails based on the thickness of your wood. Make sure they are long enough to secure the frame securely.
- Upholstery Tacks or Staples: Depending on your preference, you can use upholstery tacks or staples to secure the fabric to the frame.
- Wood Glue: Use wood glue to strengthen the joints of the frame and ensure its durability.
- Measuring Tape and Ruler: These will be essential for accurately measuring and marking the dimensions of your bed frame.
- Saw: If your wood needs cutting, have a saw at hand to trim it to the desired size.
- Electric Drill or Screwdriver: You’ll need a drill or screwdriver to attach the frame parts together.
- Staple Gun: If you’re using upholstery staples, a staple gun will make the process much easier and faster.
- Hammer: A hammer will come in handy for securing upholstery tacks or pounding nails, if necessary.
- Scissors or Utility Knife: These tools will be used to cut the fabric, batting, and foam to the desired size.
Once you have gathered all the necessary materials and tools, you’re ready to move on to the next step: preparing the headboard and footboard.
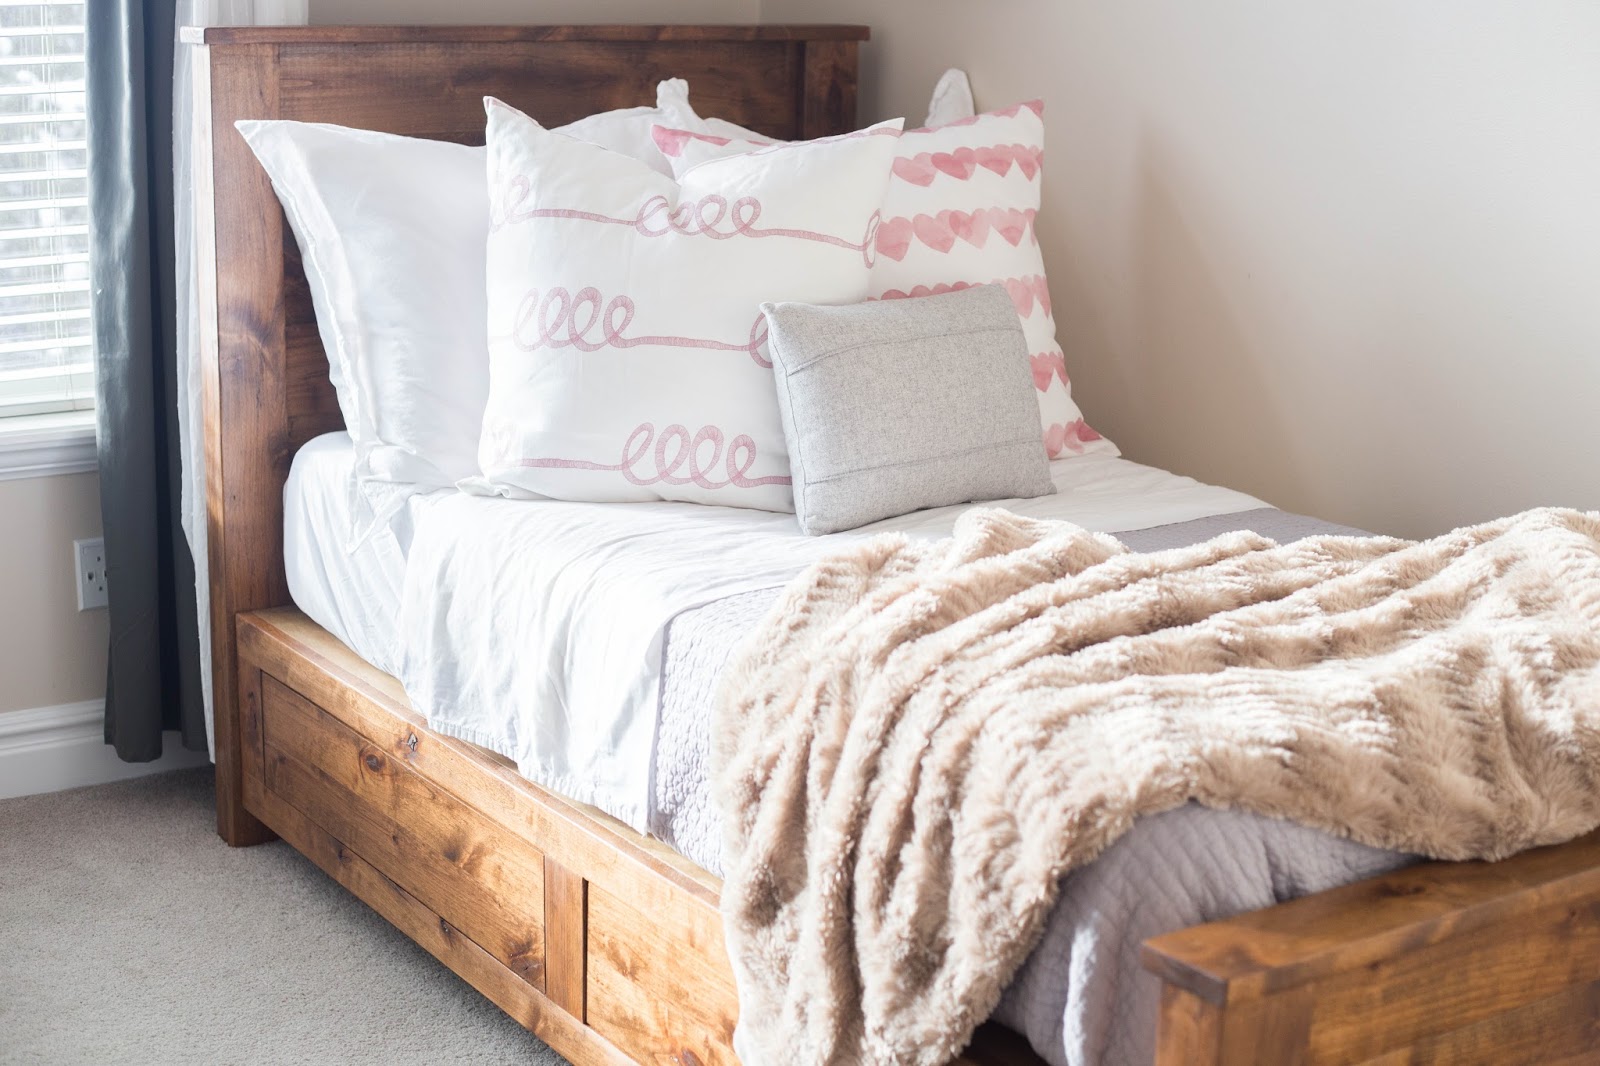
Step 2: Prepare the Headboard and Footboard
Now that you have all your materials and tools ready, it’s time to prepare the headboard and footboard for your upholstered bed frame. Follow these steps:
- Measure and Mark: Using a measuring tape and ruler, measure and mark the desired dimensions for your headboard and footboard on the wood. It’s important to ensure that the measurements are accurate to achieve a well-fitted frame.
- Cut the Wood: Using a saw, carefully cut the wood along the marked lines to create the headboard and footboard pieces. Remember to wear safety goggles and gloves for protection.
- Sand the Edges: Use sandpaper or a sanding machine to smooth out any rough edges and corners of the wood. This will prevent splinters and give the frame a polished look.
- Attach Supports: Determine the height of the supports you want for your headboard and footboard. Cut suitable pieces of wood and attach them vertically to the backside of the headboard and footboard using screws and wood glue. These support pieces will help give the frame stability and strength.
- Pre-drill Holes: Before attaching the supports, pre-drill pilot holes in the wood to prevent splitting when inserting screws. Make sure the pilot holes are slightly smaller than the screws you are using.
- Secure the Supports: Line up the supports with the backside of the headboard and footboard, ensuring they are level and centered. Attach them using the pre-drilled holes and screws.
- Optional: Design Details: If you want to add any design details, such as decorative moldings or curves, now is the time to do so. Use a jigsaw or other appropriate tools to create the desired shapes.
Once you have prepared the headboard and footboard, you’re ready to move on to the next step: building the frame structure.
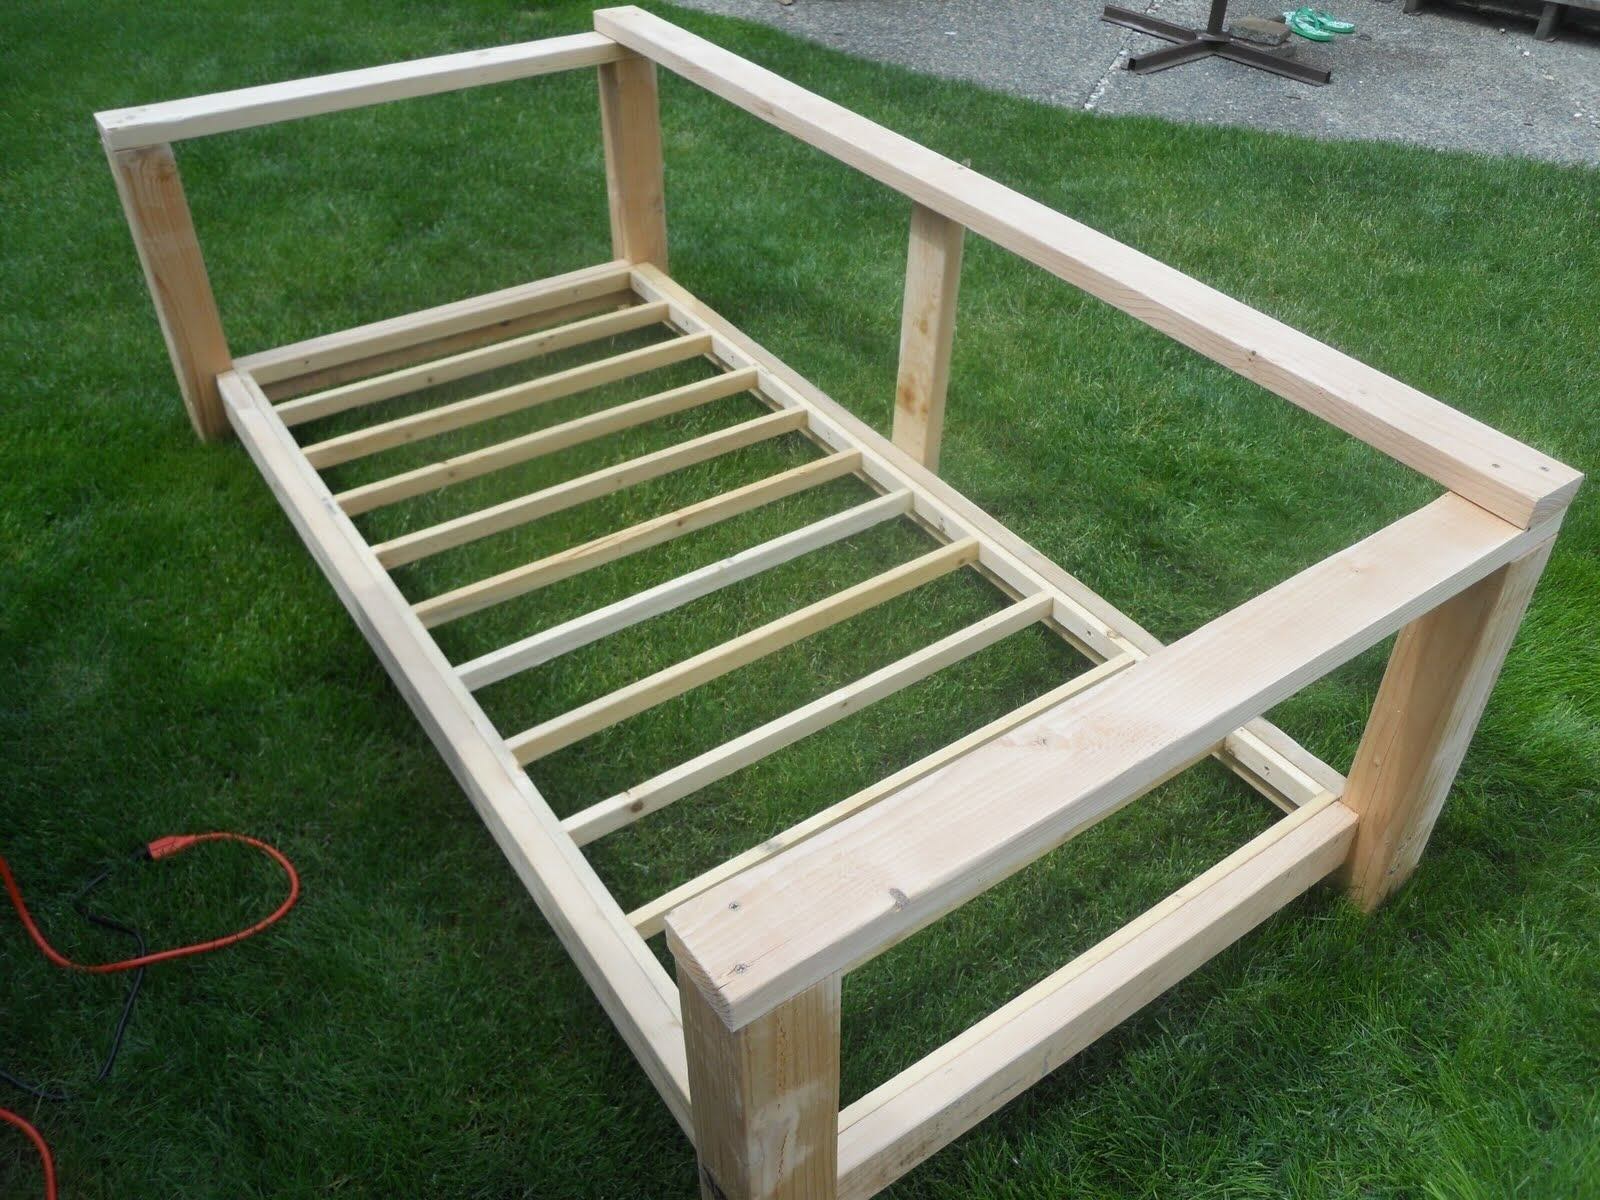
Step 3: Build the Frame Structure
With the headboard and footboard prepared, it’s time to build the frame structure for your upholstered bed. Follow these steps:
- Measure and Cut Side Rails: Measure the distance between the headboard and footboard to determine the length of the side rails. Cut two pieces of wood to this length.
- Attach Side Rails: Position the side rails between the headboard and footboard, ensuring they are level and parallel. Use screws and wood glue to attach the side rails to the supports on the headboard and footboard.
- Reinforce Corners: To strengthen the corners of the frame, consider adding corner brackets or L-brackets where the side rails meet the headboard and footboard. This will add stability and prevent the frame from wobbling.
- Add Center Support: For additional support, especially if you have a larger bed frame, consider adding a center support beam. Measure the distance between the side rails and cut a piece of wood to fit. Attach it to the center of the side rails using screws and wood glue.
- Check Stability: Once the frame structure is assembled, check for stability by gently shaking the frame. If it feels sturdy and secure, you’re ready to move on to the next step. If not, reinforce any weak areas with additional screws or braces.
Building the frame structure is a crucial step in ensuring the stability and durability of your upholstered bed frame. Taking the time to properly measure, cut, and secure the pieces will result in a solid foundation for the upholstery process.
Next, we’ll move on to Step 4: attaching the upholstered panels to the frame.
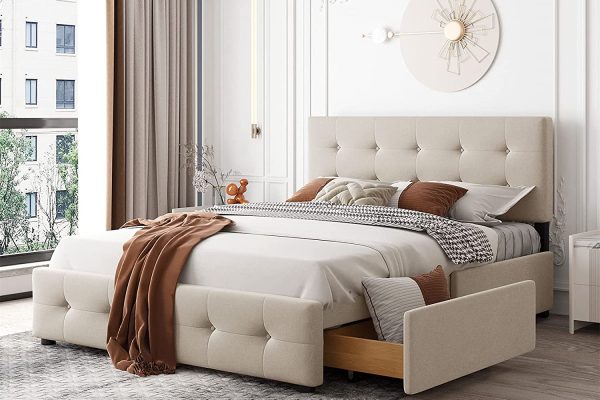
Step 4: Attach the Upholstered Panels
Now that the frame structure is ready, it’s time to attach the upholstered panels to create the soft and luxurious look of your upholstered bed frame. Follow these steps:
- Measure and Cut Fabric: Measure and cut the upholstery fabric to fit the dimensions of the headboard and footboard, leaving extra fabric for wrapping around the edges.
- Wrap the Panels: Lay the fabric face down on a clean, flat surface. Place the headboard or footboard face down on top of the fabric. Start by pulling one side of the fabric tightly over the panel and staple it to the backside of the wood using a staple gun. Repeat this process for the opposite side, pulling the fabric taut and securing it with staples.
- Continue with Other Sides: Move to the remaining sides of the headboard or footboard, pulling the fabric tightly over the edges and securing it with staples. Be sure to create neat corners by folding the fabric and stapling it securely.
- Trim Excess Fabric: Once all the sides are stapled, trim any excess fabric using scissors or a utility knife. Be careful not to cut too close to the staples to avoid unraveling.
- Repeat for the Other Panel: Repeat the fabric wrapping process for the other panel, whether it’s the headboard or footboard, ensuring the fabric is pulled tightly and evenly across the surface.
- Optional: Tufting or Detailing: If you want to add tufting or other decorative detailing to your upholstered panels, now is the time to do so. Follow specific tufting instructions or add any desired buttons or trimmings.
Attaching the upholstered panels is a critical step in achieving the desired look and comfort of your upholstered bed frame. Take your time to ensure the fabric is smooth and wrinkle-free, and the edges are neatly stapled for a professional finish.
In the next step, we’ll guide you through adding the legs and support system to complete the construction of your upholstered bed frame.
When building an upholstered bed frame, make sure to use high-quality, durable materials for the frame and upholstery to ensure longevity and comfort.
Read more: What Is An Upholstered Bed Frame
Step 5: Add the Legs and Supports
Adding the legs and support system to your upholstered bed frame will provide stability, elevate the frame, and ensure it is properly supported. Follow these steps to complete this step:
- Choose Bed Legs: Select bed legs that match the style and height you desire. They should be strong enough to support the weight of the frame and mattress. Wooden or metal legs are common choices.
- Attach Mounting Plates: If your bed legs require mounting plates, attach them to the corners of the frame according to the manufacturer’s instructions and using appropriate screws or bolts.
- Secure the Legs: Once the mounting plates are in place, screw or bolt the bed legs into the plates. Ensure that each leg is securely attached and level with the ground. Repeat this process for all four corners.
- Add Central Supports: Depending on the size of your bed frame and the weight it will bear, you may need to add central supports. These can be additional legs or a sturdy center beam. Attach the supports to the frame using screws or bolts.
- Check Stability and Leveling: Once all the legs and supports are in place, give your upholstered bed frame a gentle shake to test its stability. If any legs feel wobbly, tighten the screws or bolts. Additionally, use a level to ensure that the frame is horizontally aligned.
Adding legs and supports to your upholstered bed frame is essential to provide proper support and stability. Take the time to select sturdy legs and ensure they are securely attached to prevent any wobbling or instability.
Next, we’ll move on to Step 6: the exciting process of upholstering your bed frame and bringing it to life.
Step 6: Upholster the Bed Frame
Upholstering the bed frame is the step where you bring the fabric to life and transform your frame into a cozy and inviting piece of furniture. Follow these steps to upholster your bed frame:
- Prepare the Fabric: Lay your chosen fabric over the fully constructed bed frame, ensuring it is centered and positioned how you want it to look. Smooth out any wrinkles or unevenness.
- Secure the Fabric: Starting from one side of the bed frame, fold the fabric over the edge and secure it to the frame using upholstery tacks or a staple gun. Be sure to pull the fabric taut as you go along to avoid any sagging or bunching.
- Work Your Way Around: Continue folding and securing the fabric, working your way around the bed frame. Repeat the process on all sides, making sure the fabric is smooth and tight.
- Finish the Corners: When you reach the corners, create neat folds or pleats to ensure a clean and professional finish. Use tacks or staples to secure the fabric in place.
- Trim Excess Fabric: Once all the fabric is securely attached and smooth, trim any excess fabric using scissors or a utility knife. Take care to cut close to the tacks or staples without damaging the fabric or the frame.
- Inspect and Make Adjustments: Take a step back and inspect the upholstered bed frame. Ensure that the fabric is even, without any visible wrinkles or loose areas. Make any necessary adjustments or tighten any loose tacks or staples.
Upholstering your bed frame is a creative and rewarding process that allows you to showcase your personal style and create a unique piece of furniture. Take your time and pay attention to detail to ensure a professional and polished appearance.
Now that your bed frame is beautifully upholstered, we’ll move on to Step 7: installing the bed slats to provide support for your mattress.
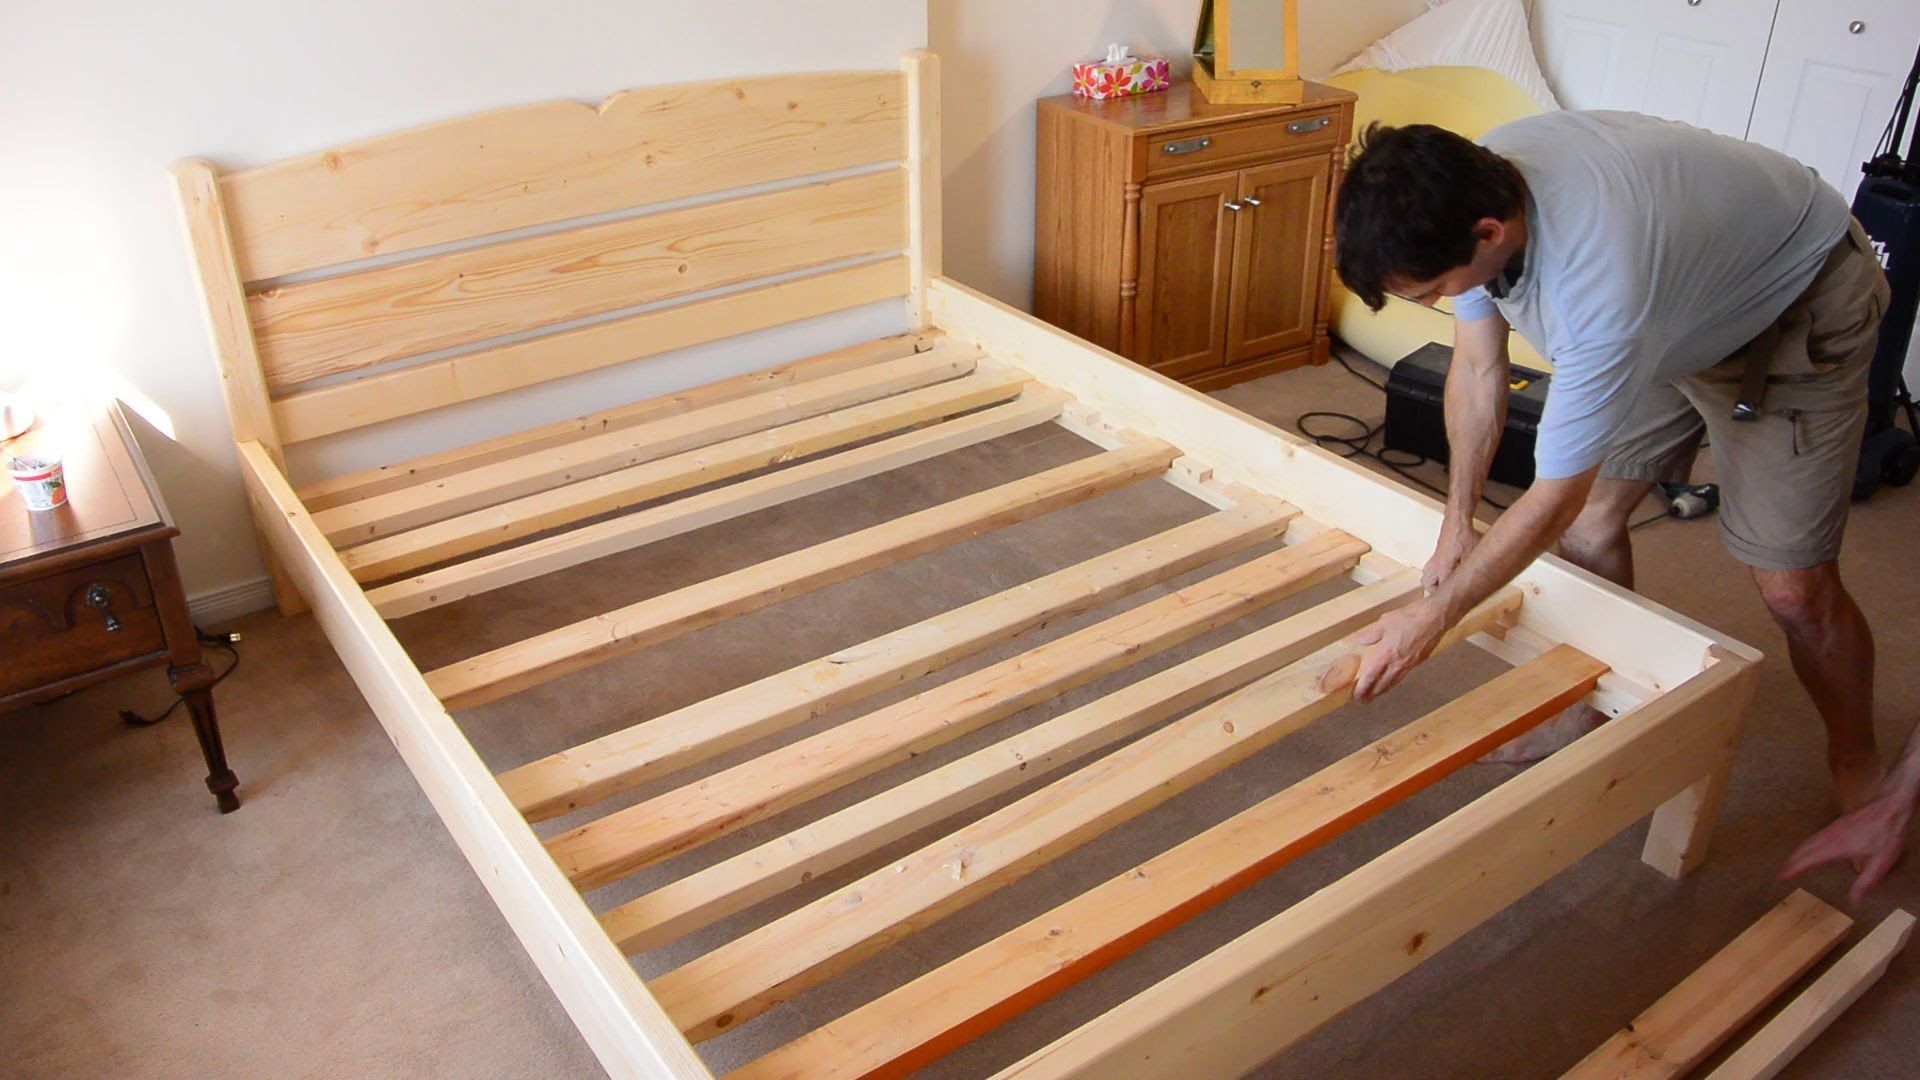
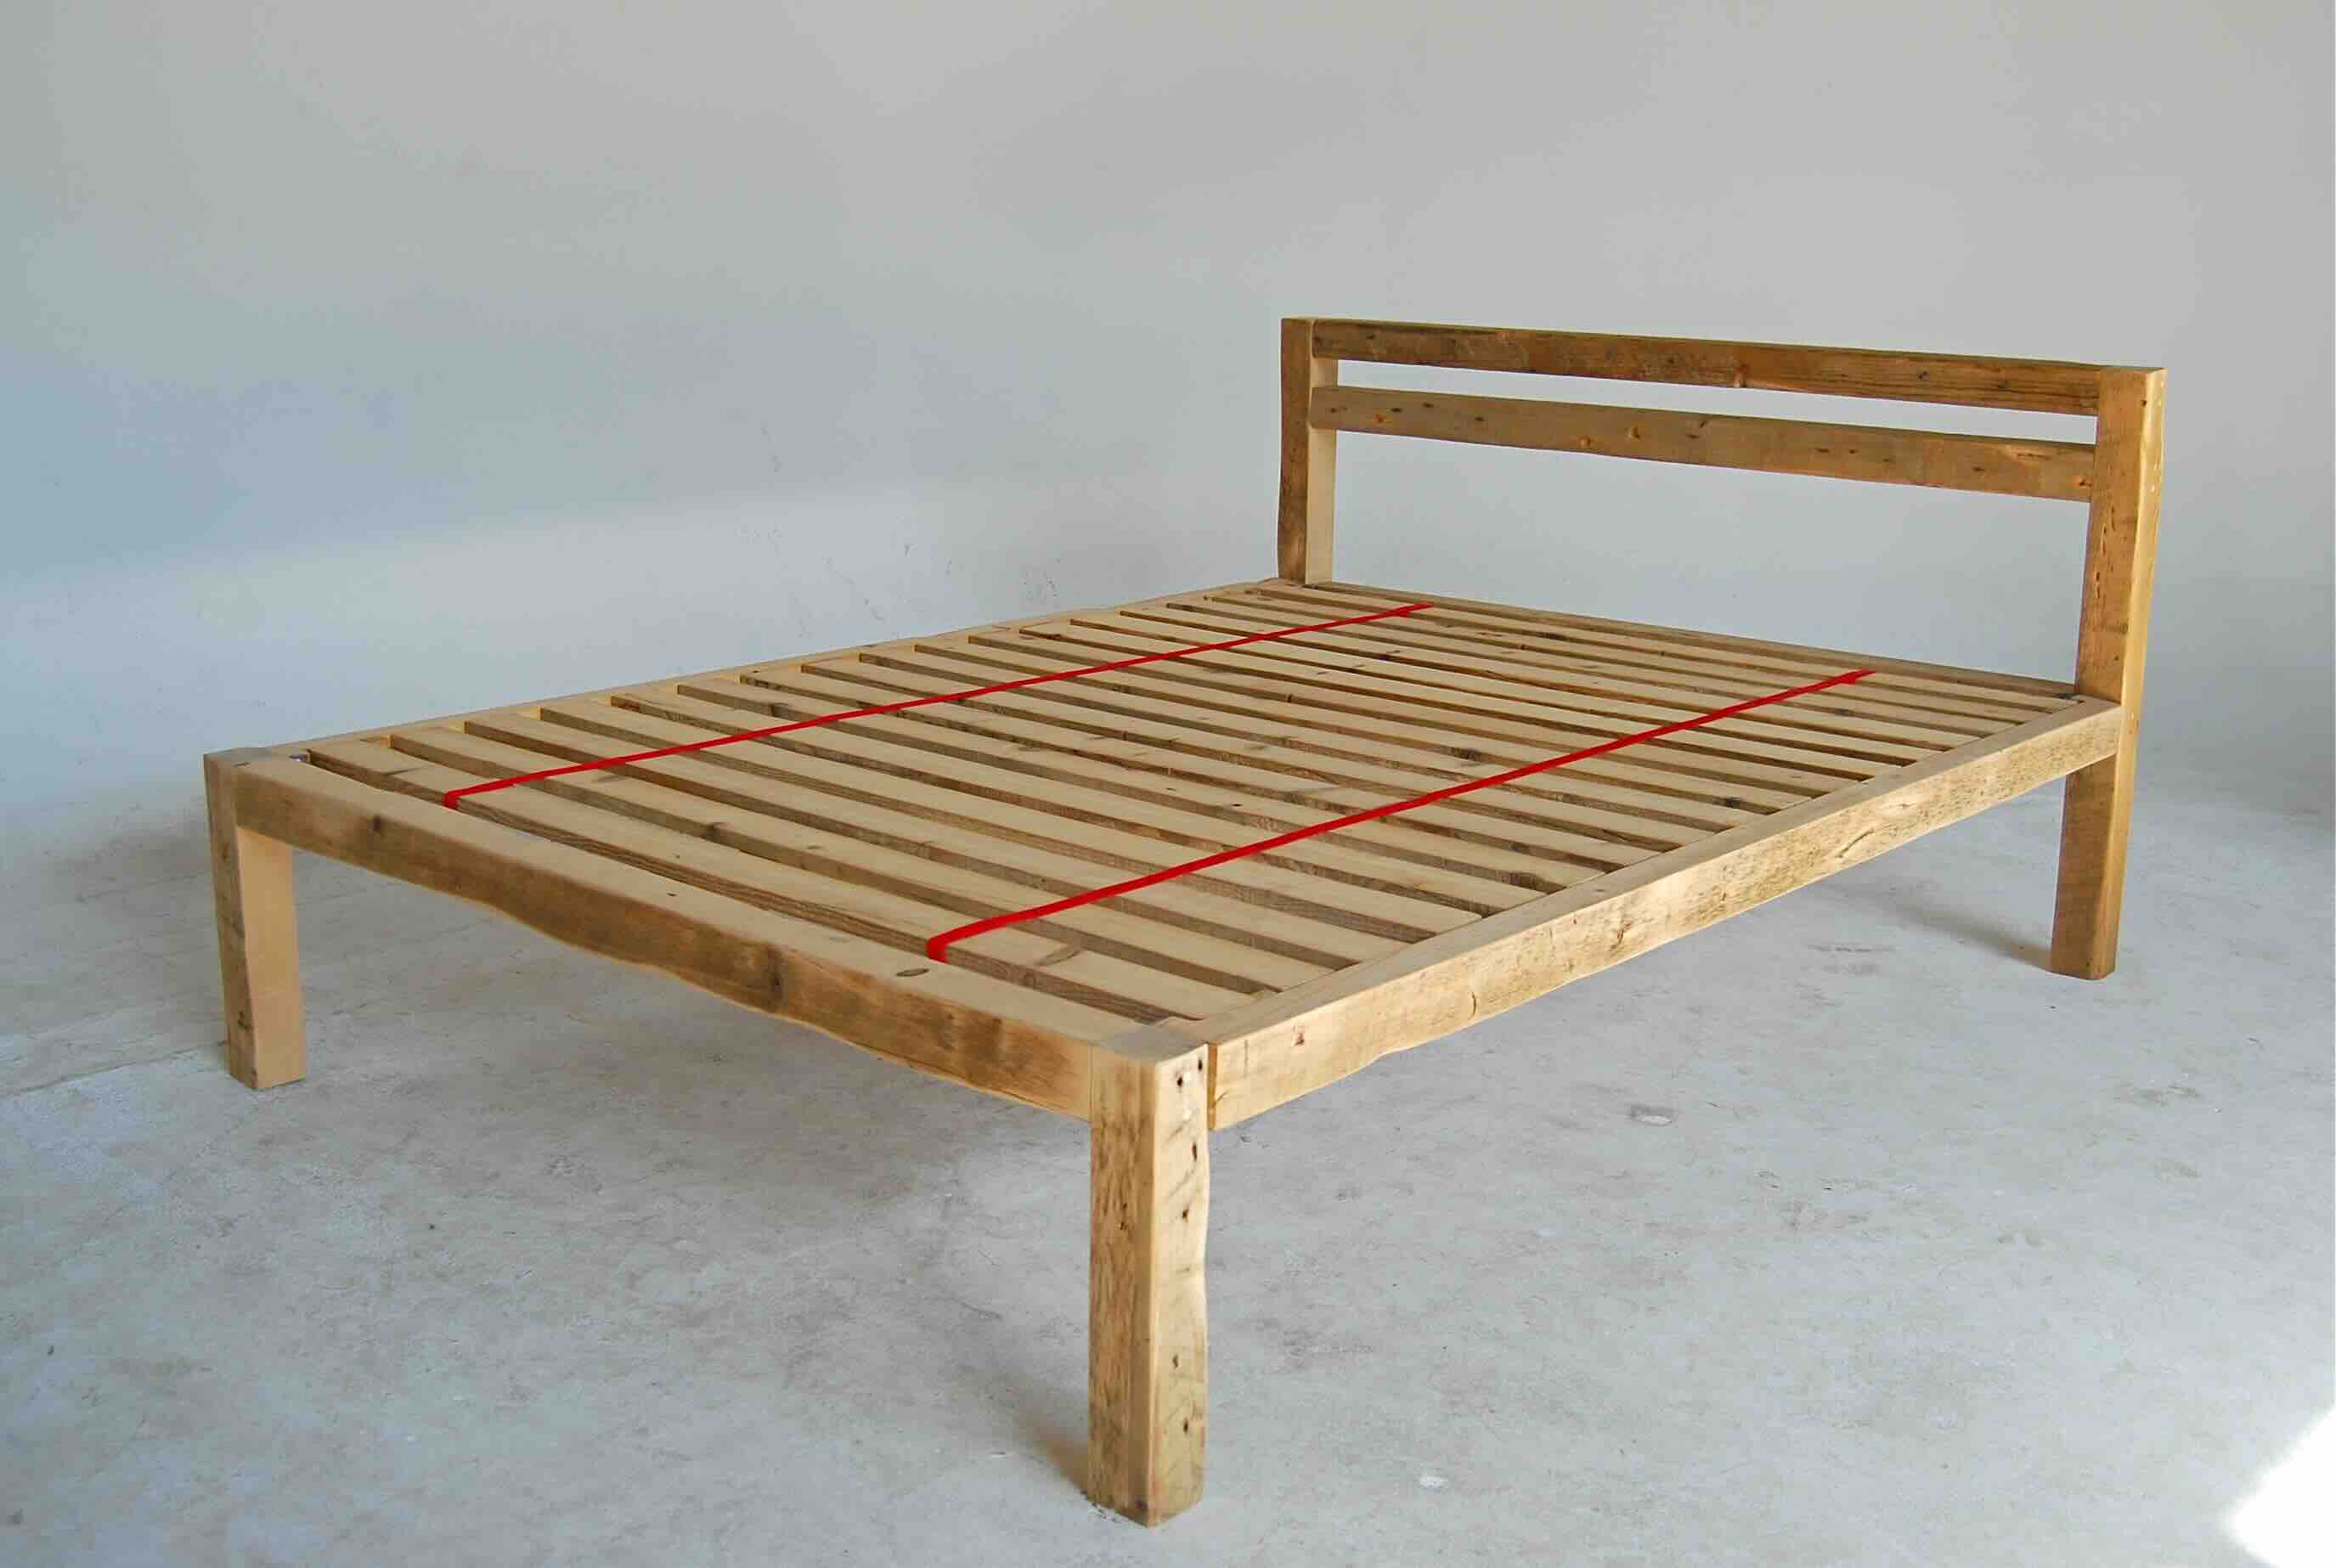
Step 7: Install the Bed Slats
Installing the bed slats is a crucial step in creating a stable and supportive base for your mattress. Follow these steps to properly install the bed slats:
- Measure and Cut Slats: Measure the distance between the side rails of your bed frame to determine the length of the slats. Cut the slats to the correct size using a saw or have them cut at a home improvement store.
- Spacing and Placement: Determine how many slats you will need based on the size of your bed frame and the desired support. The general rule of thumb is to have a slat every 2-4 inches to evenly distribute the weight of the mattress. Place the slats evenly across the width of the bed frame, starting from the headboard to the footboard.
- Secure the Slats: Lay the slats perpendicular to the side rails, ensuring they are evenly spaced and aligned. Depending on your bed frame, they may rest on top of the support beams or attach to them using screws or brackets. Use the appropriate fasteners to secure the slats in place.
- Double Check Stability: Once all the slats are securely installed, give the bed frame a gentle shake to ensure the slats are stable and not shifting. Make any necessary adjustments or reinforce the slats if needed.
Properly installed bed slats play a crucial role in supporting your mattress and ensuring a comfortable night’s sleep. Taking the time to measure, space, and secure the slats will provide a solid foundation for your mattress.
With the bed slats in place, we can proceed to Step 8: adding the finishing touches to complete your upholstered bed frame.
Step 8: Finishing Touches
Now that the construction of your upholstered bed frame is complete, it’s time to add the finishing touches to enhance its appearance and functionality. Follow these steps to put the finishing touches on your bed frame:
- Clean and Inspect: Take a moment to clean the frame of any dust or debris. Inspect the entire bed frame to ensure there are no loose screws, tacks, or staples. Tighten or fix anything that needs attention.
- Protective Covering: Consider adding a protective covering to the bottom of your bed frame. This can help prevent any damage to your flooring and reduce noise caused by movement.
- Optional Headboard Padding: If you desire a more cushioned headboard, consider attaching additional foam padding or a padded headboard liner. This can add extra comfort and a luxurious touch to your bed frame.
- Accent Pillows or Throw Blankets: Enhance the overall look of your upholstered bed frame by adding accent pillows or a cozy throw blanket. Choose patterns and colors that complement the fabric of your bed frame and match your bedroom decor.
- Bed Skirt or Valance: If you prefer a more polished look, consider adding a bed skirt or valance to hide the space between the bed frame and the floor. This can give your bed a finished and elegant appearance.
- Decorative Bed Frame Legs: Replace the standard bed frame legs with more decorative or ornate legs to give your upholstered bed frame a unique and personalized touch. This small change can make a big difference in the overall aesthetics.
- Regular Maintenance: To keep your upholstered bed frame looking its best, regularly vacuum the upholstery fabric to remove dust and dirt. If there are any spills or stains, address them promptly with appropriate cleaning solutions.
Adding these finishing touches will help elevate the overall look and feel of your upholstered bed frame. Take the time to select accessories and decorative elements that reflect your personal style and create a cozy and inviting space in your bedroom.
Congratulations! You have successfully completed all the steps in building and finishing your upholstered bed frame. Enjoy your newfound comfort and style!
If you found this guide helpful, feel free to share it with others who may be interested in building their own upholstered bed frame. Sweet dreams!
Read more: How To Build A Bed Frame
Conclusion
Building an upholstered bed frame is a rewarding and fulfilling DIY project that allows you to create a customized and comfortable centerpiece for your bedroom. By following the step-by-step guide outlined in this article, you have learned how to gather materials and tools, prepare the headboard and footboard, build the frame structure, attach the upholstered panels, add the legs and supports, upholster the bed frame, install the bed slats, and add the finishing touches.
Throughout the process, you have tapped into your creativity, craftsmanship, and attention to detail to bring your vision to life. The bed frame you have constructed is not only functional but also a reflection of your personal style and taste.
Remember, as with any DIY project, it is important to take your time, follow safety measures, and consult any relevant resources or guides if needed. Building an upholstered bed frame requires patience and precision, but the result is a durable and beautiful piece of furniture that will bring both comfort and aesthetic appeal to your bedroom.
Now it’s time to enjoy the fruits of your labor. Relax and unwind in the luxurious comfort of your new upholstered bed frame. Personalize it with accent pillows, throws, and other decor items that make it uniquely yours. And don’t forget to keep it well-maintained to ensure its longevity and continued beauty.
We hope this guide has been instrumental in guiding you through the process of building your own upholstered bed frame. Happy sleeping, and sweet dreams!
Frequently Asked Questions about How To Build An Upholstered Bed Frame
Was this page helpful?
At Storables.com, we guarantee accurate and reliable information. Our content, validated by Expert Board Contributors, is crafted following stringent Editorial Policies. We're committed to providing you with well-researched, expert-backed insights for all your informational needs.


0 thoughts on “How To Build An Upholstered Bed Frame”