
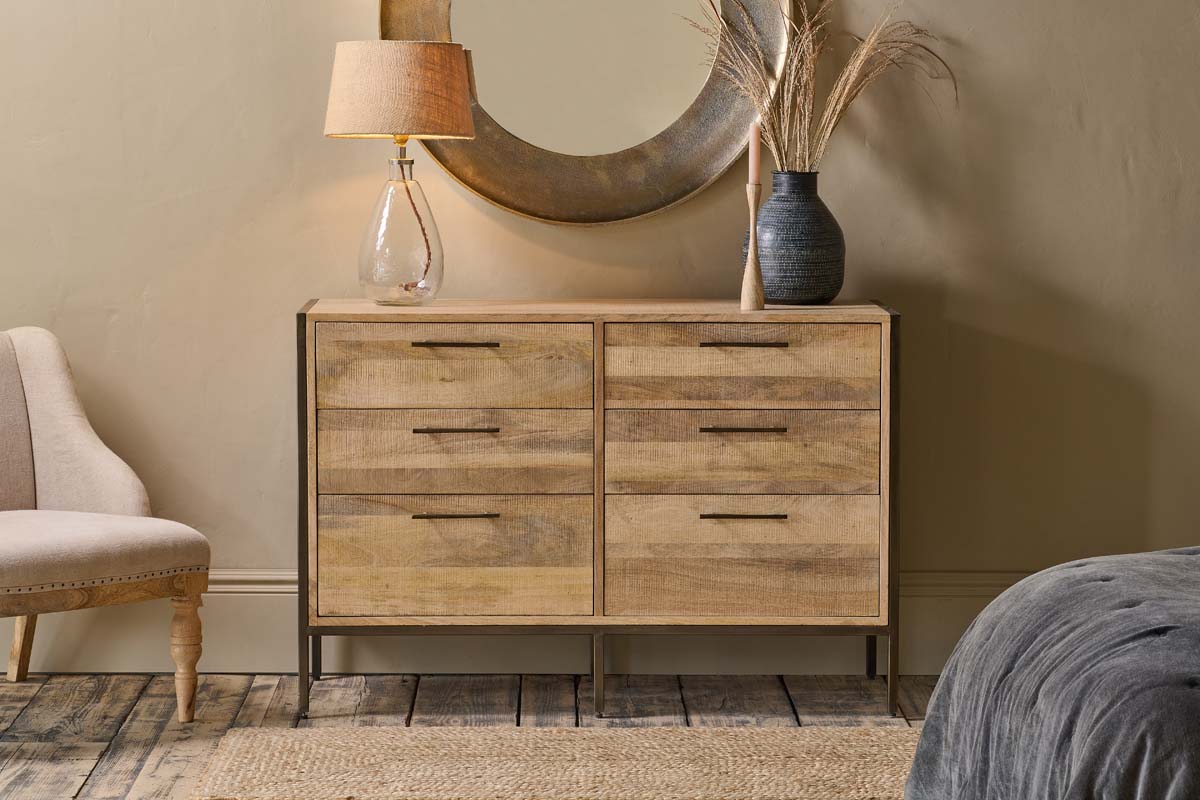
Furniture
How To Fix Water-Damaged Wood Dresser
Modified: August 26, 2024
Learn how to fix water-damaged furniture, specifically a wood dresser, with our step-by-step guide. Protect and restore your favorite piece!
(Many of the links in this article redirect to a specific reviewed product. Your purchase of these products through affiliate links helps to generate commission for Storables.com, at no extra cost. Learn more)
Introduction
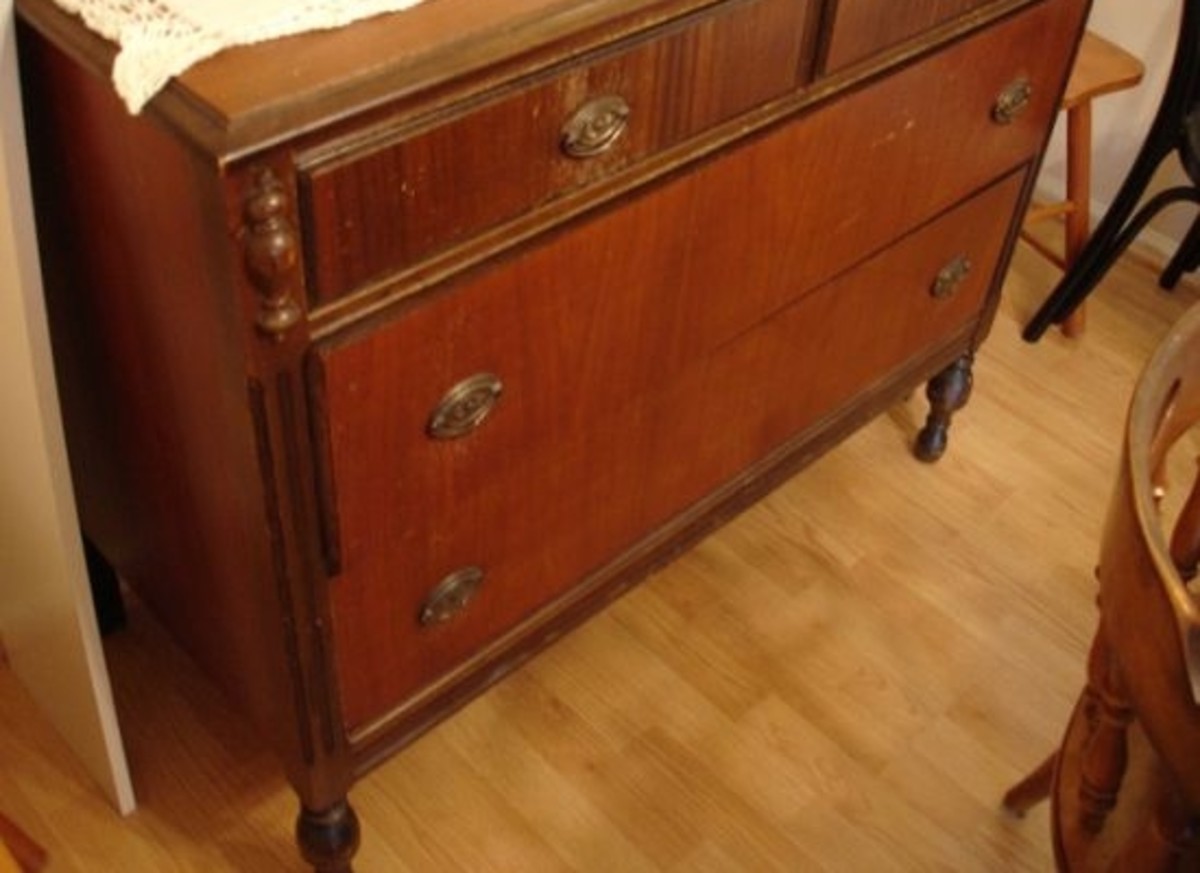
Water damage can be a nightmare for homeowners, especially when it affects their prized furniture pieces. If you own a beloved wood dresser that has suffered from water damage, you may be wondering how to salvage it and restore it to its former glory. Luckily, with the right knowledge and a bit of elbow grease, you can fix water-damaged wood dressers and bring them back to life.
In this article, we will guide you through the process of assessing and repairing water damage on a wood dresser. From removing water stains to drying the wood and refinishing the surface, we will cover each step in detail. So, put on your DIY hat and let’s get started!
Key Takeaways:
- Assess the extent of water damage on your wood dresser by checking for stains, warping, and mold. Thorough evaluation helps determine the necessary repairs and whether professional assistance is needed.
- Prevent future water damage by keeping the dresser away from water sources, using protective mats, and maintaining proper humidity levels. Regular inspections and proactive measures can safeguard your dresser’s longevity.
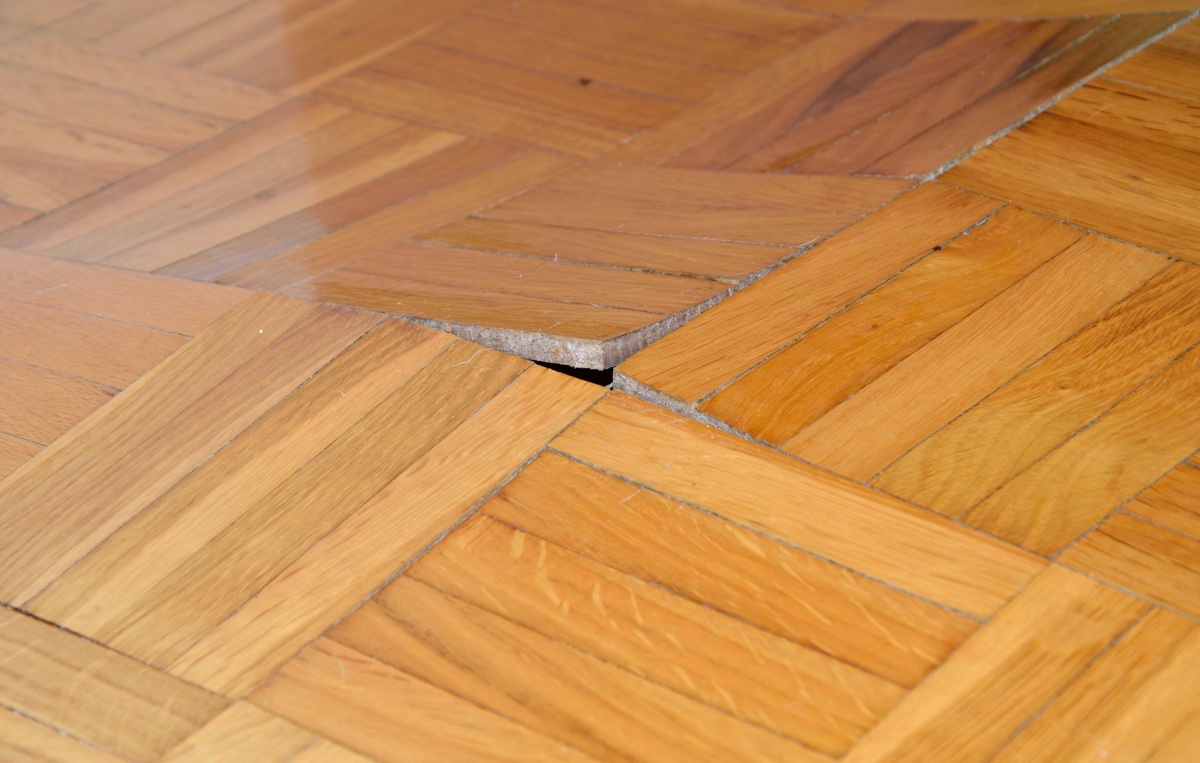
Read more: How To Fix Water Damaged Wood Floor
Assessing the Water Damage
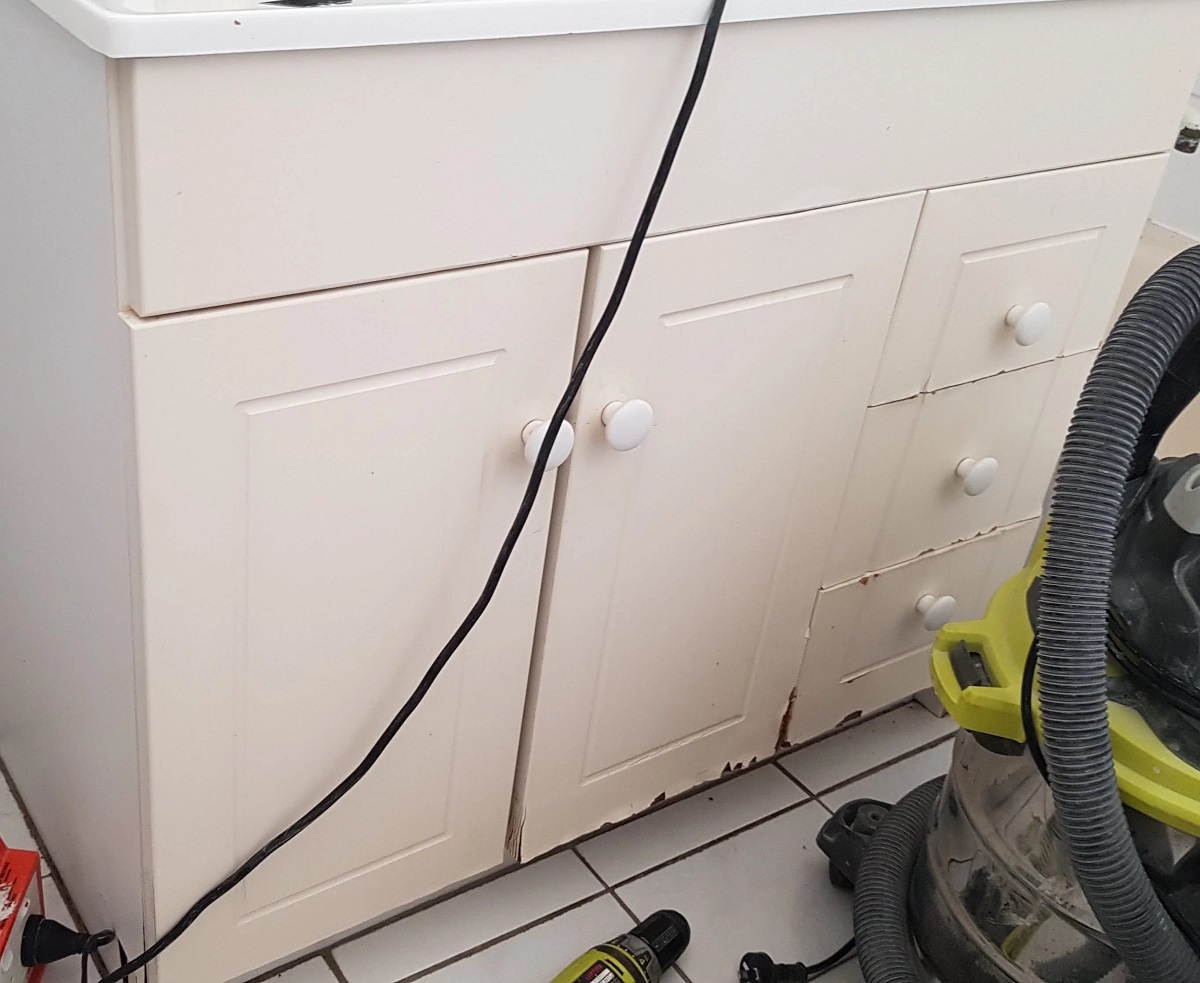
The first step in fixing a water-damaged wood dresser is to assess the extent of the damage. Water damage can manifest in different ways, such as water stains, warping, swelling, or even mold growth. By carefully examining the dresser, you can determine the best course of action for restoration.
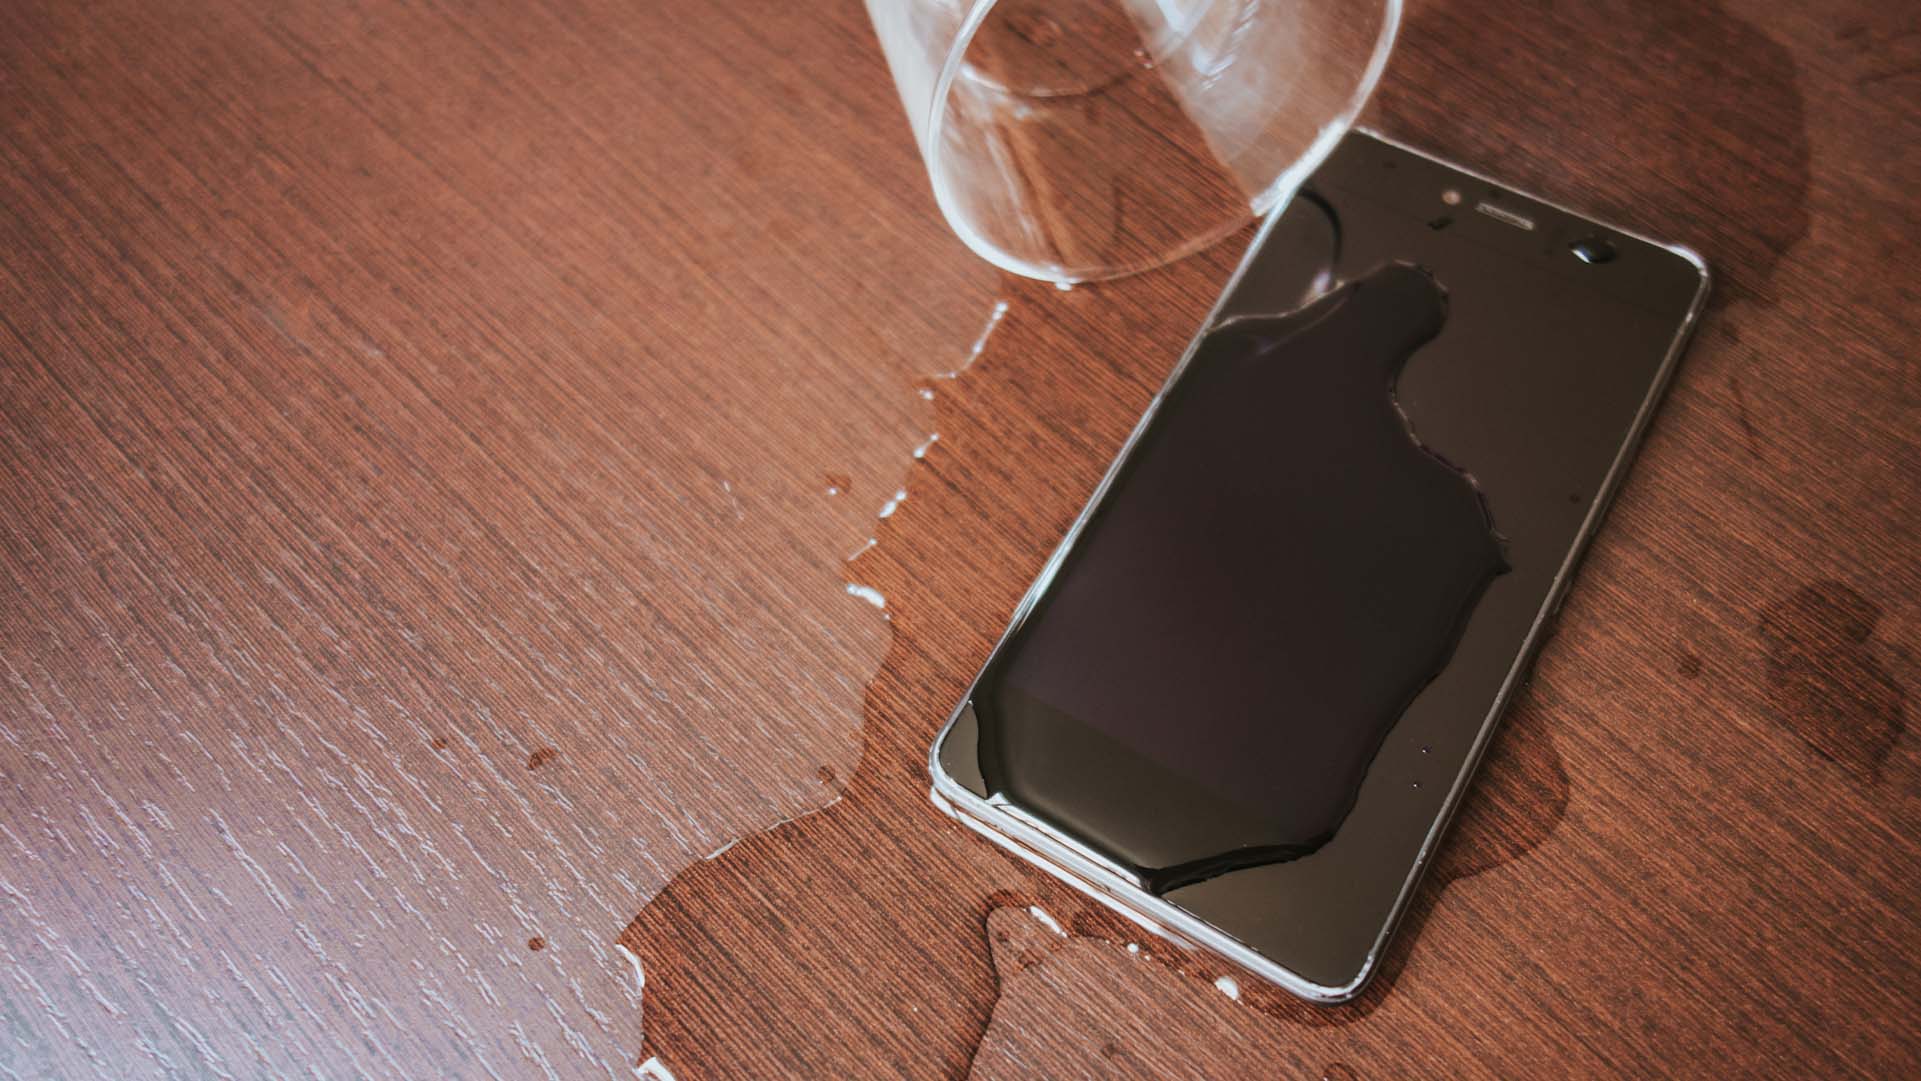
Start by inspecting the surface of the dresser for any visible signs of water stains. These stains may appear as dark rings or discoloration on the wood. Use a cloth or sponge dampened with water to gently wipe the surface and see if the stains are superficial or if they penetrate deep into the wood.
Next, check for any warping or swelling of the wood. Water can cause the wood to expand, leading to misalignment or uneven surfaces. Run your hand along the dresser to feel for any irregularities or bumps. If the wood feels damp or soft, it indicates that the water has penetrated deeply and may require more extensive repairs.
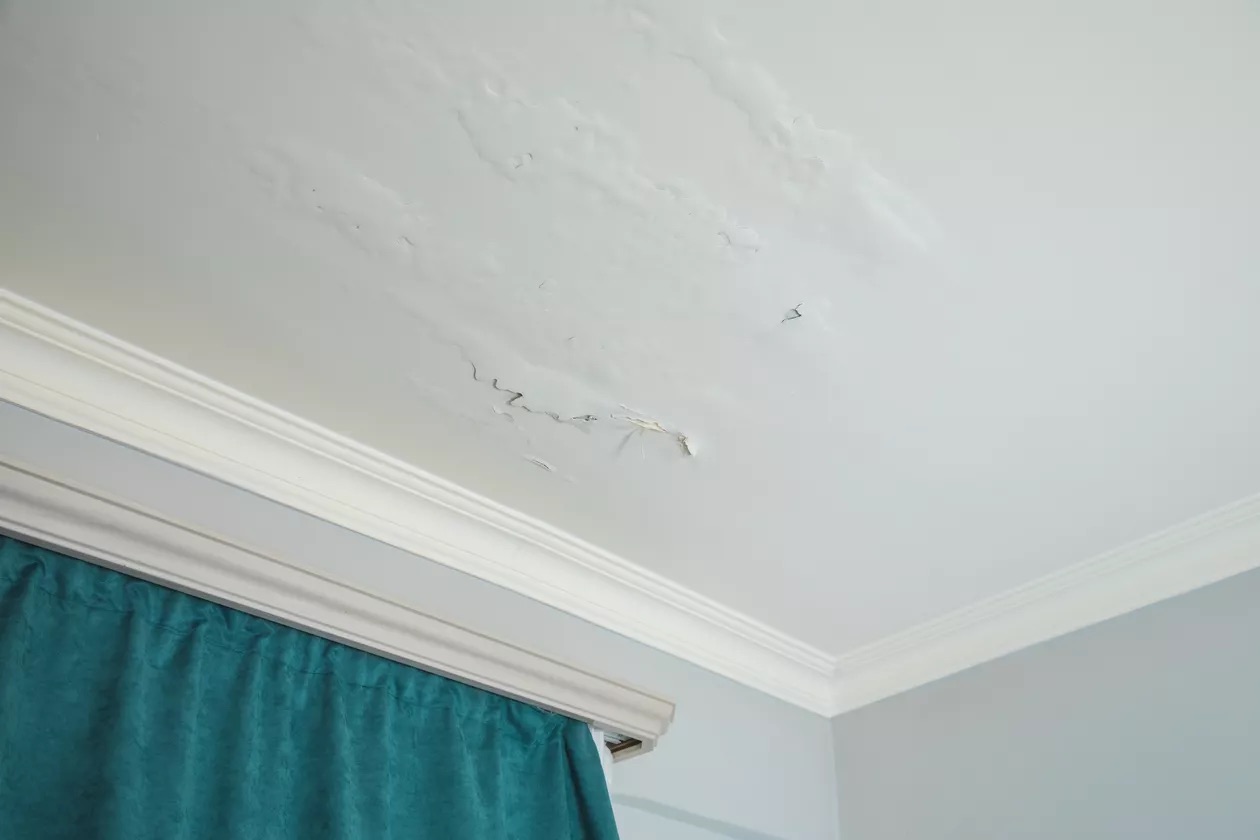
Finally, inspect the dresser for any signs of mold or mildew growth. Water damage creates a perfect environment for mold to thrive, especially in dark and damp conditions. Look for black, green, or white spots on the wood and a musty odor. If you spot any signs of mold growth, it’s crucial to address it promptly to prevent further damage and ensure the safety of your living space.
By thoroughly assessing the water damage, you will have a better understanding of the extent of the repairs needed for your wood dresser. This evaluation will help you determine if you can fix the damages on your own or if professional assistance is required.
Removing the Water Stains
Water stains can be unsightly and can diminish the overall appearance of your wood dresser. Fortunately, there are several methods you can use to remove water stains and restore the beauty of the wood.
One of the easiest and most effective ways to remove water stains is by using a combination of vinegar and olive oil. Mix equal parts white vinegar and olive oil in a small bowl. Dip a soft cloth or sponge into the mixture and gently rub it onto the water-stained area in circular motions. Allow the mixture to sit on the stain for a few minutes to penetrate the wood.
After letting the mixture sit, use a clean cloth to buff the area, applying light pressure to lift the stain. You may need to repeat the process multiple times for stubborn stains. Once the stain has been removed, wipe down the entire surface of the dresser with a clean, damp cloth to remove any residue.
If the vinegar and olive oil method does not fully remove the water stains, you can try using a commercial wood cleaner or a mixture of baking soda and water. Apply the cleaner or baking soda paste to the stains and gently scrub with a soft brush. Be careful not to apply too much pressure, as this can damage the wood’s finish.
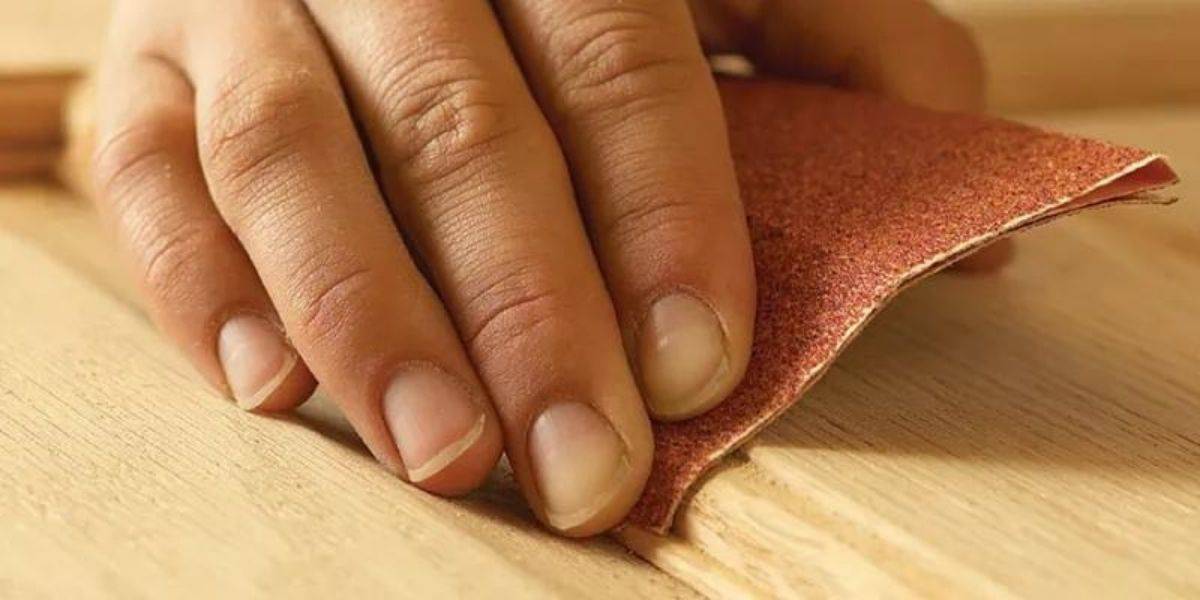
Another option is to use a fine-grit sandpaper to lightly sand the water-stained area. Sanding can help remove the top layer of the wood, including the water stains. However, this method should be used with caution, as it can also remove the wood’s natural finish. If you decide to use sandpaper, start with a gentle touch and gradually increase the pressure until the stain is lifted. After sanding, wipe away any residue and apply a wood finish to restore the dresser’s shine.
Remember, it’s essential to test any cleaning or sanding method on a small, inconspicuous area of the dresser first to ensure that it does not cause further damage. Additionally, always follow the manufacturer’s instructions for any commercial wood cleaners or finishes you use.
By using these methods, you can effectively remove water stains from your wood dresser and bring back its original beauty. However, if the stains are deeply embedded or the wood is severely damaged, it may be necessary to seek professional help or consider refinishing the dresser altogether.
Drying the Wood
After addressing the water stains on your wood dresser, the next crucial step is to ensure that the wood is thoroughly dried. This is important to prevent further damage, such as warping or mold growth. Here are some steps to properly dry the wood:
- Start by removing any excess moisture from the dresser. Use a dry cloth or paper towels to blot the affected areas gently. Absorb as much water as possible without rubbing, as rubbing can push the moisture further into the wood.
- Next, create a well-ventilated area for the dresser to promote air circulation and speed up the drying process. Place the dresser in a room with a dehumidifier or set up fans to increase airflow. Avoid placing the dresser near direct heat sources like radiators or heaters, as this can cause the wood to dry too quickly and potentially crack.
- Monitor the moisture levels in the room and on the dresser using a moisture meter. This tool can help you determine when the wood has reached an optimal moisture content. Aim for a moisture level of around 6-8%, which is ideal for wooden furniture.
- If the wood is still damp after a few days of drying, you can try using a hairdryer on the lowest heat setting to gently dry the affected areas. Keep the hairdryer a few inches away from the wood and continuously move it to avoid concentrating heat in one spot.
- During the drying process, it’s essential to keep an eye out for any signs of mold growth. If you notice any mold, immediately stop the drying process and address the issue using mold-specific cleaners and techniques. Mold can pose health risks and further damage the wood if left untreated.
Remember, patience is key when drying the wood. Rushing the process can result in irreversible damage. Allow the wood dresser to dry naturally and gradually until it reaches the appropriate moisture content.
By properly drying the wood, you can prevent additional problems and ensure that your wood dresser is ready for the next steps in the restoration process.
To fix water-damaged wood dresser, start by drying the wood thoroughly with a fan or dehumidifier. Then, sand the damaged areas and apply wood filler. Once dry, sand again and refinish the dresser with a matching stain or paint.
Repairing any Visible Damage
Water damage to a wood dresser can often result in visible structural or cosmetic damage. Before proceeding with refinishing or sanding, it is important to address any visible damage to ensure the dresser’s stability and aesthetic appeal. Here are some common methods for repairing visible damage:
- If the wood has warped or swollen in certain areas, you can try using clamps or heavy objects to gently press the wood back into its original shape. Place a cloth or protective padding between the clamps or objects and the dresser to avoid causing additional damage.
- If the water damage has caused loose joints or separated pieces on the dresser, you can apply wood glue to the affected areas. Use a small brush or toothpick to apply the glue into the joints and then carefully press the pieces back together. Wipe away any excess glue with a damp cloth and let it dry according to the manufacturer’s instructions.
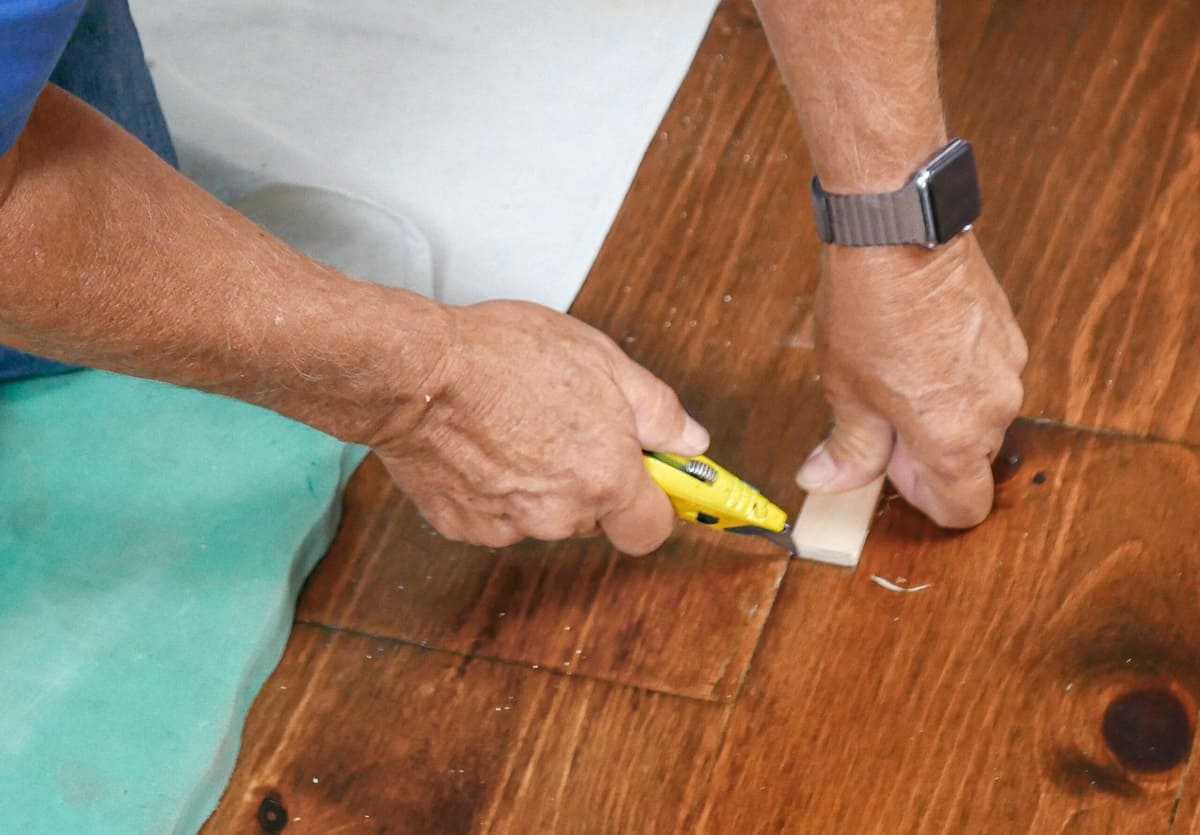
- If the wood has developed cracks or small holes as a result of the water damage, you can use wood filler or epoxy resin to fill in the damaged areas. Choose a filler that matches the color and finish of the wood. Apply the filler with a putty knife, smooth it out, and let it dry completely. Once dry, sand the filled area until it is flush with the rest of the dresser’s surface.
- If the water damage has caused the wood to lose its finish or color, you may need to use a matching wood stain or paint to restore the dresser’s appearance. Test the stain or paint on an inconspicuous area of the dresser to ensure it matches the existing finish. Apply the stain or paint evenly, following the manufacturer’s instructions, and allow it to dry before moving on to the next step.
Every dresser and type of damage may require a slightly different approach, so it is important to assess the specific damage and use the appropriate repair methods. If you are unsure or uncomfortable with attempting these repairs yourself, it is best to seek professional assistance to ensure the dresser is repaired correctly.
By addressing any visible damage, you can restore the structural integrity and appearance of your wood dresser, preparing it for the next steps in the restoration process.
Read more: How To Fix A Damaged Dresser Top
Sanding and Refinishing the Dresser
Once you have addressed any visible damage and repaired the wood dresser, the next step is to sand and refinish the surface. Sanding removes any remaining imperfections, smoothens the wood, and prepares it for a fresh finish. Refinishing enhances the overall appearance and provides protection for the wood. Here are the steps to sand and refinish your dresser:
- Begin by gathering the necessary materials: sandpaper in various grits (starting with a coarse grit and progressing to a finer grit), a sanding block or electric sander, a clean cloth, wood stain or paint, and a sealant or finish.
- Start sanding the dresser with a coarse grit sandpaper (around 80-100 grit) to remove any remaining finish or rough patches. Follow the wood grain and use even, circular motions. Be careful not to press too hard or over-sand, as this can damage the wood. Wipe away the dust with a clean cloth.
- Switch to a finer grit sandpaper (around 120-150 grit) and continue sanding the dresser, focusing on smoothing the surface and removing any scratches left by the coarse grit paper. Again, wipe away the dust particles with a clean cloth.
- If you want to change the color of the dresser, apply wood stain following the manufacturer’s instructions. Test the stain on a small, inconspicuous area first to ensure you achieve the desired color. Apply the stain evenly, following the wood grain, and wipe away any excess with a cloth. Allow the stain to dry completely before proceeding.
- If you prefer a painted finish, apply a primer before painting to ensure better adhesion and coverage. Once the primer is dry, apply the paint evenly, using a brush or roller, following the manufacturer’s instructions. Apply multiple coats if needed, allowing each coat to dry before applying the next.
- After the stain or paint has dried, apply a sealant or finish to protect the wood and enhance its beauty. Choose a product suitable for your desired finish (e.g., polyurethane, varnish, or lacquer) and apply it evenly using a brush or cloth. Allow the finish to dry according to the manufacturer’s instructions.
Remember to work in a well-ventilated area and wear protective gear, such as a mask and goggles, when sanding and applying finishes. Take your time and ensure each step is done carefully, as the sanding and refinishing process greatly influences the final result.
By sanding and refinishing the dresser, you can transform its appearance and provide long-lasting protection to the wood, allowing it to shine beautifully in your living space.
Preventing Future Water Damage
Now that you have successfully restored your wood dresser from water damage, it’s important to take preventive measures to avoid future incidents. Water damage can be a costly and time-consuming issue, but with these preventive steps, you can keep your dresser safe and in pristine condition:
- Keep your dresser away from areas prone to water exposure, such as windows, doors, and bathrooms. Direct contact with water sources increases the risk of accidental spills and moisture damage. Consider the layout of your space and position the dresser in a dry and protected area.
- Use coasters or protective mats on top of the dresser to prevent water rings and stains caused by beverage condensation or spills. Encourage household members and guests to use these safeguards to preserve the wood’s integrity.
- Avoid placing potted plants directly on the dresser. Excess water from watering or drainage can seep into the wood, leading to moisture damage. Instead, use a tray or saucer underneath the plants to catch any water overflow.
- Maintain proper humidity levels in the room. Wood is sensitive to changes in humidity, which can cause it to expand or contract. Invest in a dehumidifier or humidifier to regulate the humidity and prevent excessive dampness or dryness in the air. Aim for a relative humidity level of around 40-50%.
- Regularly inspect the dresser for any signs of water damage or leaks in the surrounding area. Check for water stains, discoloration, or a musty odor. Promptly address any issues to prevent them from escalating and causing further damage to your dresser.
- Consider applying a protective sealant or varnish to the dresser’s surface. These products create an additional layer of protection against water penetration. Follow the manufacturer’s instructions for application and reapplication intervals to ensure the dresser remains safeguarded.
- Investigate and resolve any plumbing issues in your home. Leaky pipes or faucets can lead to water damage not only on your wood dresser but throughout your living space. Regularly inspect and maintain your plumbing system to prevent potential water-related disasters.
By implementing these preventive measures, you can significantly reduce the risk of future water damage to your wood dresser and ensure its long-term durability and beauty.
Conclusion
Fixing a water-damaged wood dresser requires patience, diligence, and a bit of know-how. By following the steps outlined in this article, you can restore your dresser to its former beauty and protect it from future water damage.
Assessing the extent of the water damage is essential to determine the necessary repairs. Whether it’s removing water stains, addressing structural damage, or drying the wood properly, each step plays a crucial role in the restoration process.
Repairing any visible damage, such as warping or cracks, ensures the durability and stability of the dresser. Sanding and refinishing the surface not only enhances its appearance but also provides protection against further damage. And by taking preventive measures, such as keeping the dresser away from water sources and maintaining proper humidity levels, you can avoid future water-related incidents.
Remember, fixing water damage to a wood dresser is not a one-size-fits-all process. The specific type and extent of the damage may require adjustments or professional assistance. Do thorough research, follow safety precautions, and seek help when needed to achieve the best results.
With careful attention to detail and a commitment to proper maintenance, your wood dresser can regain its glory and continue to be a cherished piece in your home for years to come. So, roll up your sleeves, embrace the challenge, and enjoy the satisfaction of restoring your water-damaged wood dresser.
Frequently Asked Questions about How To Fix Water-Damaged Wood Dresser
Was this page helpful?
At Storables.com, we guarantee accurate and reliable information. Our content, validated by Expert Board Contributors, is crafted following stringent Editorial Policies. We're committed to providing you with well-researched, expert-backed insights for all your informational needs.


0 thoughts on “How To Fix Water-Damaged Wood Dresser”