Home>Garden Essentials>How To Germinate HBWR Seeds
Garden Essentials
How To Germinate HBWR Seeds
Modified: March 16, 2024
Learn how to successfully germinate HBWR seeds in your garden with our step-by-step guide. Start growing beautiful and vibrant plants from these seeds today!
(Many of the links in this article redirect to a specific reviewed product. Your purchase of these products through affiliate links helps to generate commission for Storables.com, at no extra cost. Learn more)
Introduction
Welcome to the wonderful world of gardening! Whether you are an experienced gardener or just starting out, one of the most rewarding aspects of gardening is growing plants from seeds. There’s a special joy in watching a tiny seed transform into a thriving plant right before your eyes. And today, we’re going to delve into the art of germinating HBWR seeds!
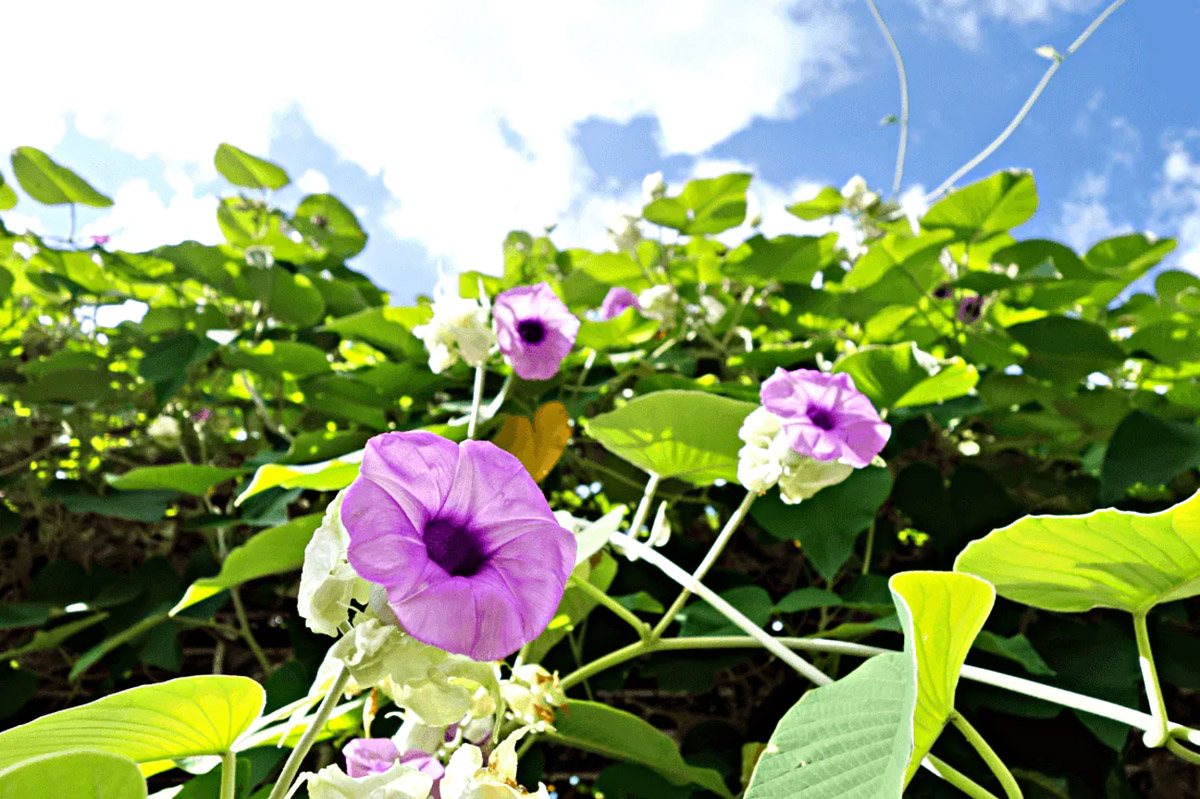
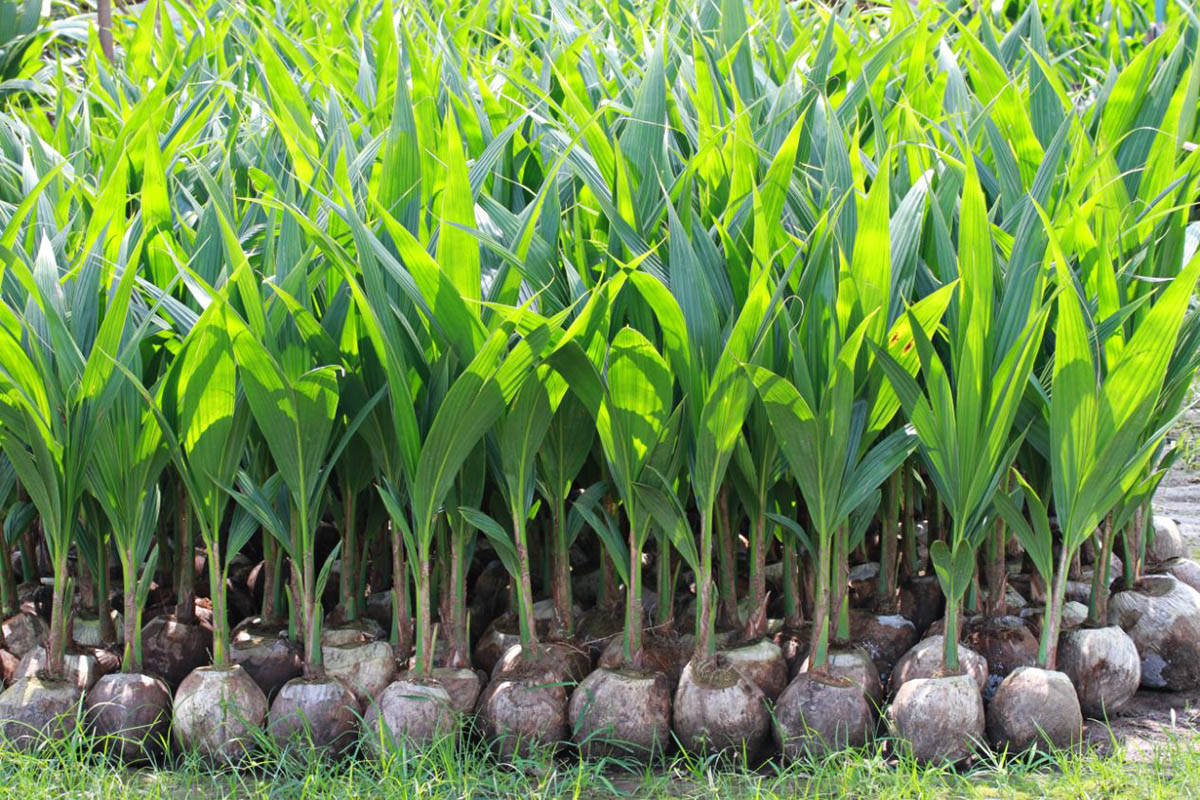
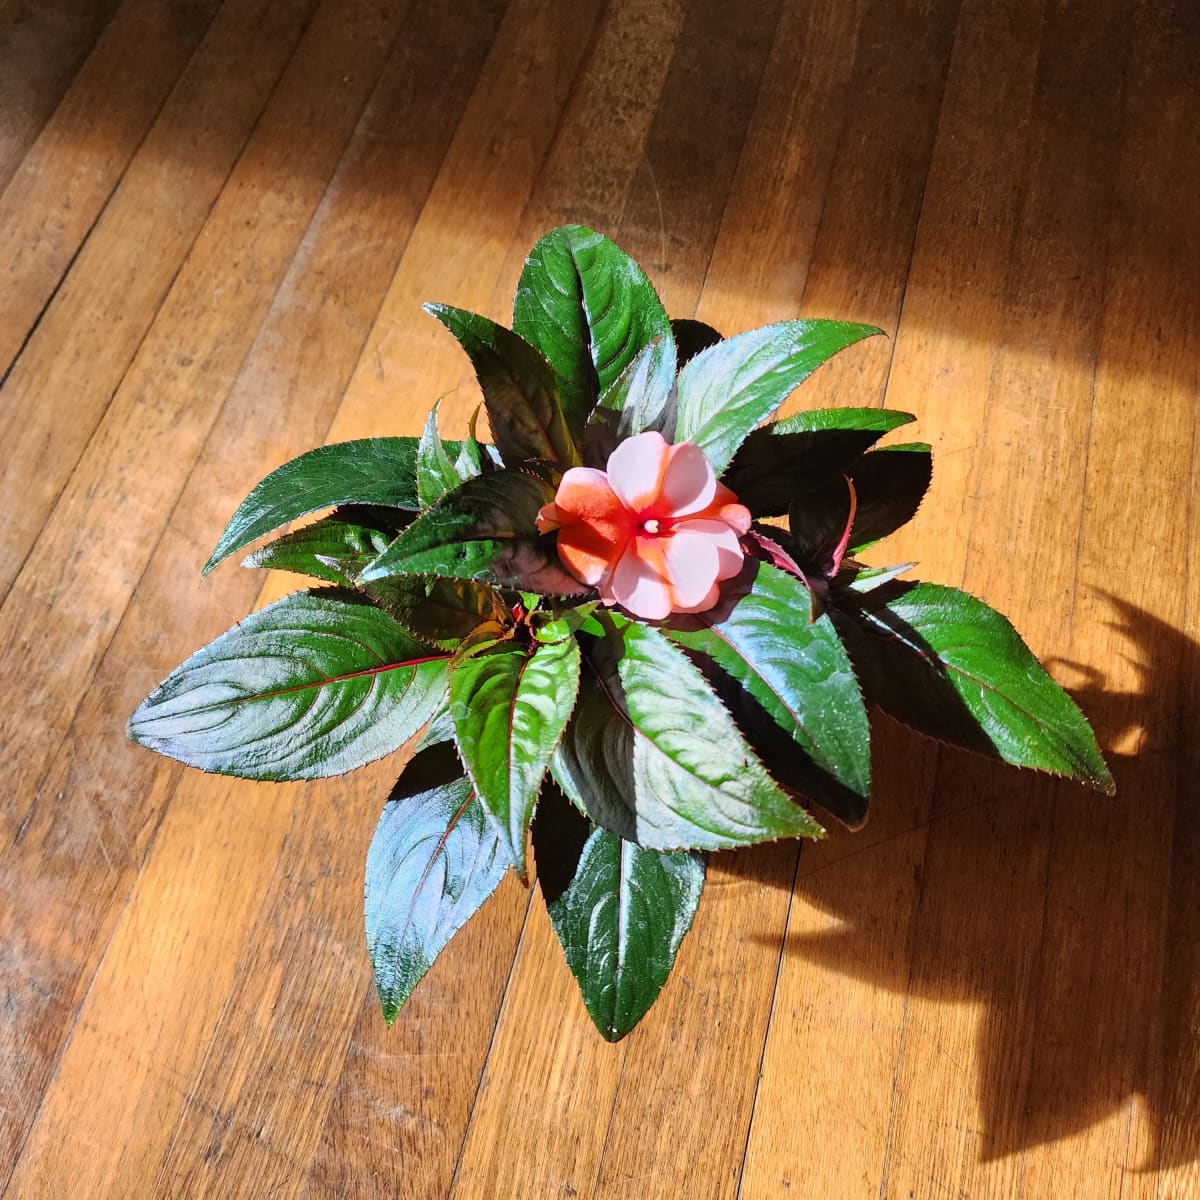
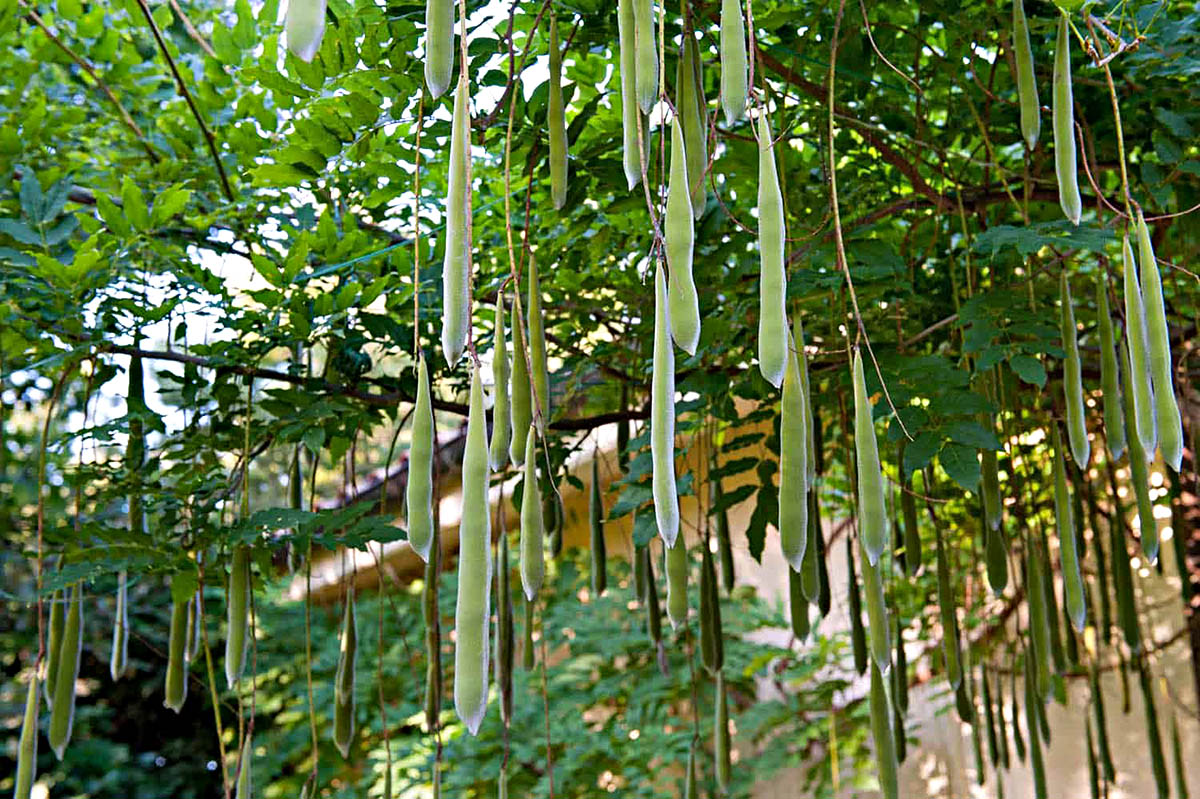
HBWR, or Hawaiian Baby Woodrose, is a beautiful flowering vine native to India and other parts of Southeast Asia. It’s known for its eye-catching heart-shaped leaves and stunning trumpet-shaped flowers. But what makes HBWR truly fascinating is its psychoactive properties, as its seeds contain LSA (lysergic acid amide), a naturally occurring psychedelic compound.
Before we proceed any further, it’s important to note that the use of HBWR seeds for their psychoactive effects should only be done responsibly and within legal boundaries. Always do thorough research and consult with professionals if you’re considering consuming HBWR seeds. For the purpose of this article, we will focus solely on the process of germinating HBWR seeds for ornamental purposes.
Germinating HBWR seeds can be a challenging yet highly rewarding endeavor. With the right techniques and care, you can successfully grow HBWR plants and enjoy their enchanting beauty. In the following sections, we will walk you through the step-by-step process of germinating HBWR seeds, from preparing the seeds to transplanting the seedlings.
So, grab your gardening tools, put on your green thumb, and let’s get started on this exciting journey of germinating HBWR seeds!
Key Takeaways:
- Prepare HBWR seeds by soaking, removing the seed coat, and scarifying to promote successful germination. Mimic natural conditions through stratification, then provide optimal light and moisture for sprouting.
- After germination, transplant HBWR seedlings into well-drained soil with ample sunlight. Continue to care for the plants, ensuring regular watering, light, and protection from pests for thriving growth.
Read more: How To Germinate A Bean
Materials Needed
Before you begin germinating HBWR seeds, make sure you have the following materials ready:
- HBWR seeds: Obtain high-quality HBWR seeds from a reputable source. You can buy them online or from a trusted seed supplier.
- Water: You will need clean, filtered water for various steps in the germination process.
- Container: Choose a small container with drainage holes. A seed tray or a small pot will work fine.
- Seed starting mix: Use a well-draining, sterile seed starting mix to provide the ideal growing conditions for your HBWR seeds.
- Plastic wrap or a seed tray dome: This will help create a humid environment to promote germination.
- Misting bottle: Use a misting bottle to spray water on the seeds and keep the soil moist without disturbing them.
- Grow lights: HBWR seeds require optimal light conditions for germination. If you don’t have access to natural sunlight, invest in fluorescent or LED grow lights.
- Heat mat (optional): A heat mat can help maintain a consistent temperature, which is beneficial for germination. However, it is not a requirement.
- Plant markers or labels: It’s important to label your containers to keep track of different plant varieties.
- Patience and care: Germinating HBWR seeds requires time, attention, and tender loving care. So, be prepared to invest your patience and dedication into the process.
Once you have gathered all the necessary materials, you’re all set to begin the journey of germinating HBWR seeds. Now let’s move on to the first step, which is preparing the seeds for germination.
Step 1: Preparing the Seeds
Before you can successfully germinate HBWR seeds, it’s important to prepare them properly. Preparing the seeds will help remove any inhibitors and promote germination. Follow these steps to prepare your HBWR seeds:
- Inspect the seeds: Carefully examine your HBWR seeds and remove any damaged or discolored ones. Only select healthy-looking seeds for germination.
- Soak the seeds: Fill a small bowl with warm water and place the HBWR seeds in it. Let them soak for 24 hours. This helps soften the seed coat and aids in germination.
- Remove the seed coat: After soaking, gently rub the seeds between your fingers to remove the outer coat. Be careful not to damage the inner embryo. This scarification process allows water to penetrate the seed more easily, promoting germination.
- Rinse the seeds: Once you have removed the seed coat, rinse the seeds under running water to wash away any excess debris.
By properly preparing the HBWR seeds, you are creating the best conditions for germination. Now that the seeds are ready, let’s move on to the next step, which is scarification.
Step 2: Scarification
Scarification is a process that involves creating small openings or scratches on the hard shell of the HBWR seeds. This helps water penetrate the seed coat more easily, promoting germination. Follow these steps to scarify your HBWR seeds:
- Prepare a sandpaper or a nail file: Get a piece of fine-grit sandpaper or a nail file. This will be used to gently scratch the seed coat.
- Hold the seed securely: Take one HBWR seed and hold it firmly between your thumb and index finger.
- Gently rub the seed coat: Using the sandpaper or nail file, gently rub the surface of the seed coat in a back-and-forth motion. Apply light pressure to create small scratches on the seed coat. Be careful not to overdo it or damage the inner embryo.
- Repeat for each seed: Repeat the process for all the HBWR seeds you prepared. Take your time and be gentle with each seed.
- Rinse the seeds: After scarification, rinse the seeds under running water to remove any debris or dust from the surface.
Scarification helps break the dormancy of the HBWR seeds and improves their chances of successful germination. With scarified seeds, water can penetrate the seed coat more easily, providing the moisture necessary for germination. Now, let’s move on to the next step, which is stratification.
Soak HBWR seeds in warm water for 24 hours, then plant in well-draining soil. Keep the soil moist and the temperature around 75-80°F for germination.
Step 3: Stratification
Stratification is a process that mimics the natural conditions that HBWR seeds would experience during winter. It helps break seed dormancy and prepares them for germination. Follow these steps to stratify your HBWR seeds:
- Moisten a paper towel: Take a clean paper towel and moisten it with water. Squeeze out any excess water so that the paper towel is damp but not dripping.
- Place the seeds on the paper towel: Spread out your scarified HBWR seeds on one half of the damp paper towel.
- Fold the paper towel: Fold the other half of the paper towel over the seeds, enclosing them in a packet. Make sure the seeds are in direct contact with the moist paper towel.
- Prepare a plastic bag: Place the folded paper towel with the seeds inside a sealable plastic bag. Leave the bag slightly open to allow some airflow.
- Label the bag: Use a marker or a label to write down the date and variety of the seeds on the plastic bag. This will help you keep track of the stratification period.
- Refrigerate the bag: Place the sealed plastic bag with the seeds in the refrigerator. The ideal temperature for stratification is around 40 to 45 degrees Fahrenheit (4 to 7 degrees Celsius).
- Check regularly: Check the seeds every few weeks to ensure the paper towel remains slightly moist. If it feels dry, lightly mist it with water to maintain the desired moisture level.
- Continue stratification for 4 to 6 weeks: The stratification period for HBWR seeds is typically 4 to 6 weeks. This duration allows the seeds to experience the cold, moist conditions they need to break dormancy.
Stratification prepares the HBWR seeds for germination by simulating the winter conditions they require. This process is essential for initiating the germination process. Once the stratification period is complete, it’s time to move on to the next step – germination!
Read more: How To Germinate Pecans
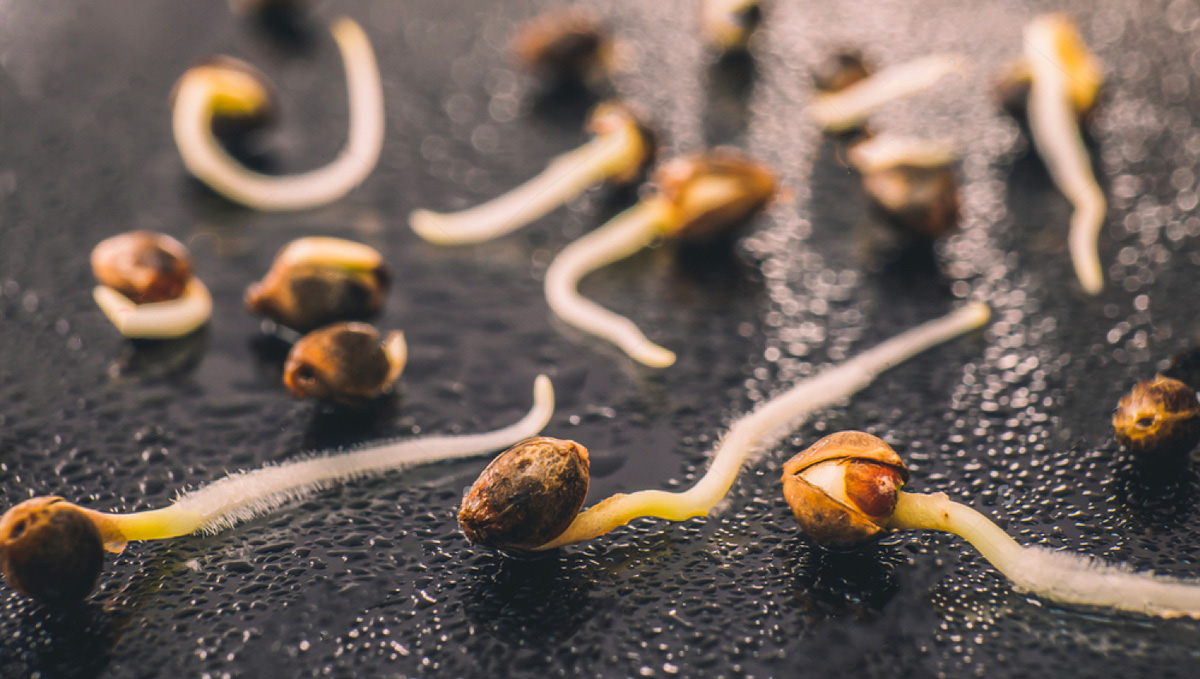
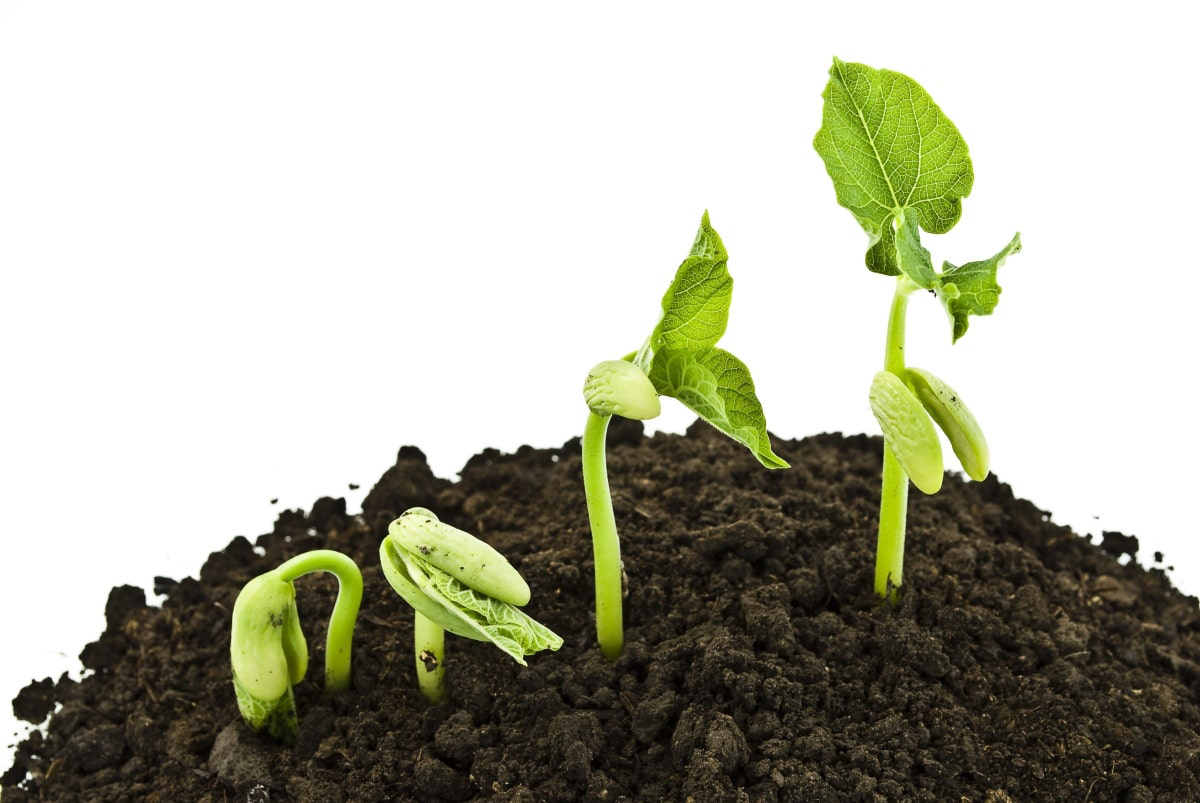
Step 4: Germination
Now that your HBWR seeds have been scarified and stratified, it’s time for the exciting process of germination. Follow these steps to help your HBWR seeds sprout and grow into healthy seedlings:
- Prepare the seed container: Fill a small container with a well-draining seed starting mix. Moisten the mix slightly, ensuring it is damp but not soggy.
- Plant the seeds: Make small indentations in the seed starting mix using your finger or a pencil. Place one HBWR seed in each indentation and cover it lightly with the seed starting mix. Gently pat down the soil to ensure good seed-to-soil contact.
- Create a humid environment: Cover the container with plastic wrap or place a seed tray dome over it to create a humid environment. This aids in moisture retention and promotes germination.
- Provide optimal lighting: Position the container in a warm location where it receives bright, indirect light. If natural sunlight is limited, use fluorescent or LED grow lights to provide the necessary light spectrum for germination.
- Maintain temperature and moisture: Keep the temperature around 70 to 75 degrees Fahrenheit (21 to 24 degrees Celsius) and make sure the soil remains consistently moist. Use a misting bottle to lightly spray water on the soil, avoiding overwatering.
- Be patient and wait for sprouting: Germination can take time, so be patient and monitor the progress of your HBWR seeds. It usually takes anywhere from 1 to 4 weeks for the first seedlings to emerge.
- Remove the cover: Once the seedlings start to emerge, remove the plastic wrap or seed tray dome to allow better airflow and prevent the risk of damping off, a fungal disease that can affect young seedlings.
During the germination process, it’s important to provide the right conditions of moisture, temperature, and light to encourage healthy growth. With time and consistent care, you will start to see your HBWR seeds transform into seedlings. Now, let’s move on to the final step – transplanting the seedlings.
Step 5: Transplanting the Seedlings
Once your HBWR seedlings have grown a few inches and developed a strong root system, it’s time to transplant them into individual pots or into your garden. Follow these steps to ensure a successful transition for your HBWR seedlings:
- Choose the right pot or garden spot: Select a location that provides ample sunlight and well-drained soil. If you’re using pots, choose containers with drainage holes to prevent waterlogging.
- Prepare the planting hole: Dig a hole in the soil or the potting mix that is large enough to accommodate the root ball of the seedling.
- Remove the seedling gently: Carefully lift the seedling from the container using a small trowel or your fingers. Be gentle to avoid damaging the delicate roots.
- Place the seedling in the hole: Lower the seedling into the planting hole, ensuring that the root ball is level with or slightly above the soil surface. Firmly backfill the hole with soil, gently pressing it around the base of the seedling.
- Water thoroughly: After transplanting, water the seedlings deeply, ensuring that the soil is evenly moist. This helps settle the soil and provides hydration to the newly transplanted seedling.
- Maintain proper care: Continue providing regular watering, consistent light, and appropriate fertilization to support the growth of your HBWR seedlings. Be mindful of any pests or diseases and take necessary measures to protect your plants.
As your HBWR seedlings continue to grow, remember to provide support such as a trellis or stakes for the vines to climb on. With proper care, your HBWR plants will thrive and eventually reward you with their beautiful foliage and stunning flowers.
Congratulations! You have successfully germinated and transplanted HBWR seedlings. Enjoy the process of watching them grow and become magnificent plants in your garden or indoor space. Remember to always follow local regulations and guidelines regarding the use and cultivation of HBWR plants.
Now that you have mastered the art of germinating HBWR seeds, you can explore other fascinating aspects of gardening and continue to expand your plant collection. Happy gardening!
Conclusion
Growing plants from seeds is a truly rewarding experience, and germinating HBWR seeds adds an extra level of fascination to your gardening journey. From the preparations to the germination process and finally transplanting the seedlings, you have learned the essential steps to successfully germinate HBWR seeds.
By scarifying the seeds and providing the right conditions for stratification, you have created the optimal environment for breaking seed dormancy. The germination process, with proper moisture, temperature, and light, has allowed your HBWR seeds to sprout and develop into healthy seedlings.
Transplanting the seedlings into suitable pots or the garden marks the next phase of their growth. With ongoing care, including regular watering, adequate light, and protection from pests and diseases, your HBWR plants will flourish and become stunning additions to your garden or indoor space.
Remember, while HBWR seeds are known for their psychoactive properties, in this article, we have focused solely on the germination and cultivation of HBWR for ornamental purposes. Always ensure compliance with local laws and regulations and practice responsible use of plants and their derivatives.
Now that you have successfully germinated HBWR seeds, you can apply your newfound knowledge to other seeds and explore the vast world of gardening. Cultivating plants from seeds allows you to connect intimately with nature and witness the beauty of growth and life.
So, grab your gardening tools, get your hands dirty, and embark on new gardening adventures. Happy growing!
Frequently Asked Questions about How To Germinate HBWR Seeds
Was this page helpful?
At Storables.com, we guarantee accurate and reliable information. Our content, validated by Expert Board Contributors, is crafted following stringent Editorial Policies. We're committed to providing you with well-researched, expert-backed insights for all your informational needs.


0 thoughts on “How To Germinate HBWR Seeds”