Home>Gardening & Outdoor>Outdoor Structures>How To Measure An RV Awning
Outdoor Structures
How To Measure An RV Awning
Modified: February 18, 2024
Learn how to properly measure an RV awning for replacement or repair. Get expert tips and guidance on outdoor structures. Start your project today!
(Many of the links in this article redirect to a specific reviewed product. Your purchase of these products through affiliate links helps to generate commission for Storables.com, at no extra cost. Learn more)
Introduction
Measuring an RV awning is a crucial step in ensuring a perfect fit for replacement or upgrade. Whether you're a seasoned RV enthusiast or a novice embarking on your first outdoor adventure, understanding the process of measuring an RV awning is essential. By accurately measuring the awning, you can ensure that the replacement or new installation will provide optimal shade and protection for your outdoor activities.
Proper measurements are vital for selecting the right-sized awning that will seamlessly integrate with your RV, enhancing both its functionality and aesthetic appeal. Additionally, precise measurements contribute to the overall safety and stability of the awning, ensuring it can withstand various weather conditions without compromising its structural integrity.
In this comprehensive guide, we will walk you through the step-by-step process of measuring an RV awning. From gathering the necessary tools to recording the measurements, each stage is crucial in obtaining accurate dimensions for your awning. By following these steps, you can confidently proceed with purchasing a new awning or seeking professional assistance for installation.
Now, let's delve into the specifics of each step, equipping you with the knowledge and confidence to measure your RV awning accurately and efficiently. Whether you're preparing for a DIY project or simply seeking to understand the process, this guide will empower you to take the necessary measurements with precision and ease. So, grab your measuring tape and let's embark on this insightful journey to ensure your RV awning fits like a glove!
Key Takeaways:
- Measure your RV awning accurately by gathering tools, extending the awning, and recording length, width, and pitch. This ensures a seamless fit and enhances outdoor enjoyment.
- Document measurements and use photographic and digital backups for future reference. Organize records for easy retrieval when selecting a replacement or planning a new installation.
Read more: How To Fix An RV Awning
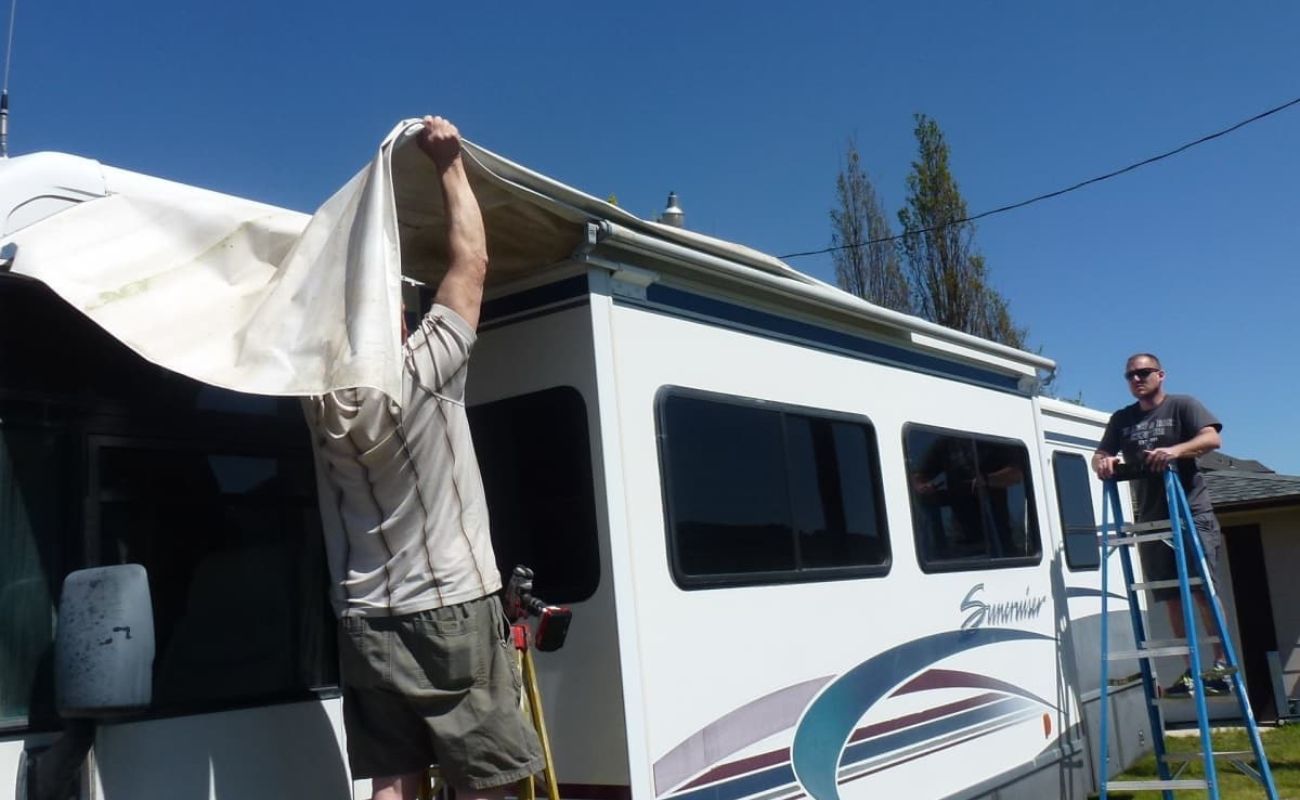
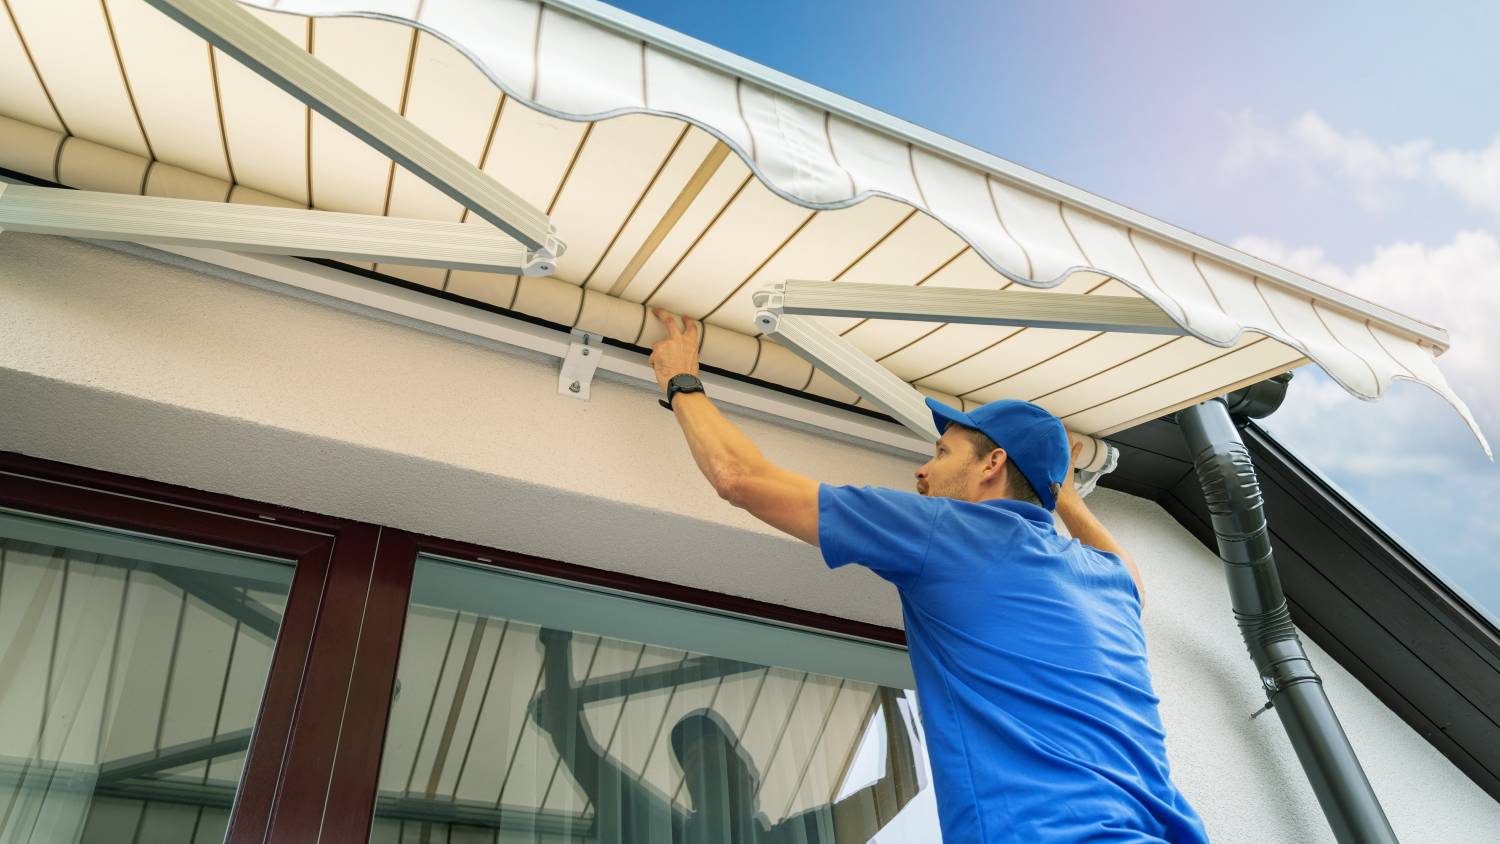
Step 1: Gather the necessary tools
Before embarking on the task of measuring your RV awning, it's essential to gather the necessary tools to ensure accuracy and efficiency. Having the right equipment at your disposal will streamline the measuring process and contribute to obtaining precise dimensions for your awning.
Here are the essential tools you'll need:
-
Measuring Tape: A reliable and sturdy measuring tape is the cornerstone of this endeavor. Opt for a tape measure with a length of at least 25 feet to accommodate the full span of the awning. Ensure that the measuring tape is in good condition, with clear markings and a smooth retracting mechanism for seamless operation.
-
Ladder: Depending on the height of your RV, a sturdy ladder may be required to access the awning comfortably. Safety should always be a priority when using a ladder, so choose one that is appropriate for the height of your RV and provides a stable platform for measuring the awning.
-
Assistant: While not a traditional tool, having an extra set of hands can significantly facilitate the measuring process. Enlist the help of a friend or family member to hold the measuring tape in place and assist with recording measurements, especially if the awning is large or challenging to access.
-
Notebook and Pen: Keeping track of the measurements is crucial for accuracy. Have a notebook and pen on hand to record the length, width, and pitch of the awning as you measure each section. This will help prevent any confusion or loss of data during the process.
By ensuring that you have these essential tools readily available, you'll be well-prepared to commence the measuring process with confidence and precision. With the right equipment at your disposal, you can proceed to the next steps of measuring your RV awning, knowing that you are fully equipped to obtain accurate dimensions for a seamless fit.
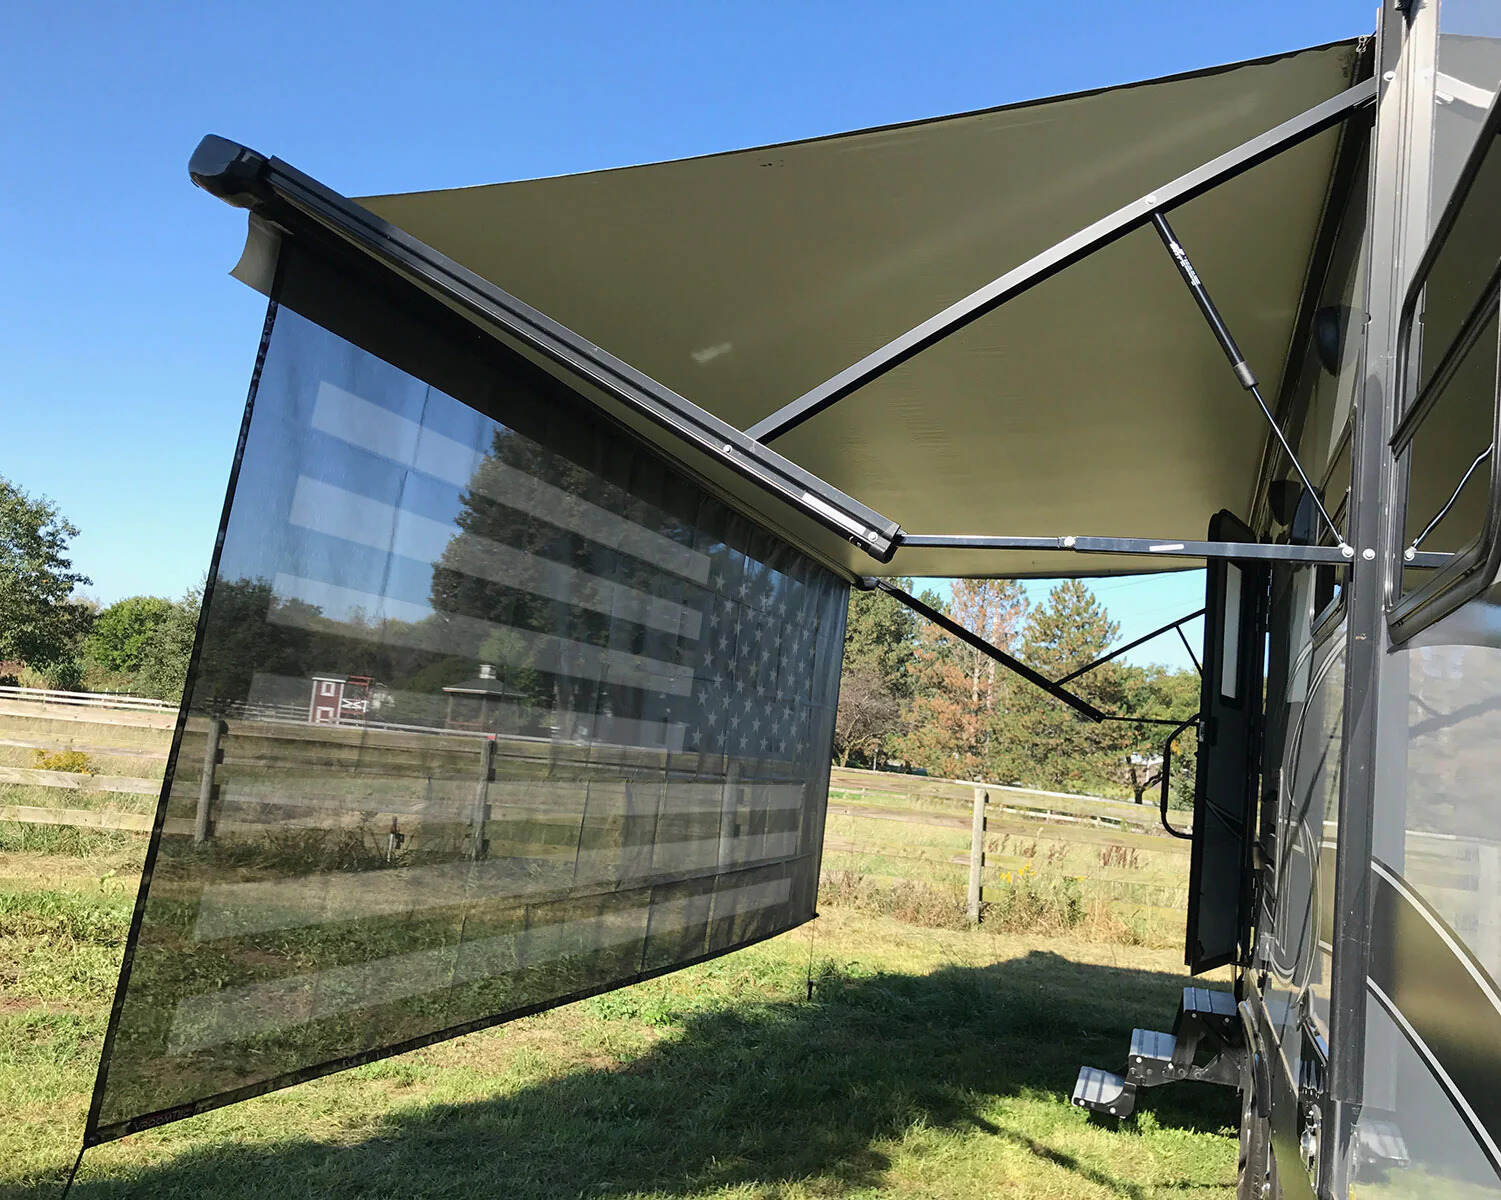
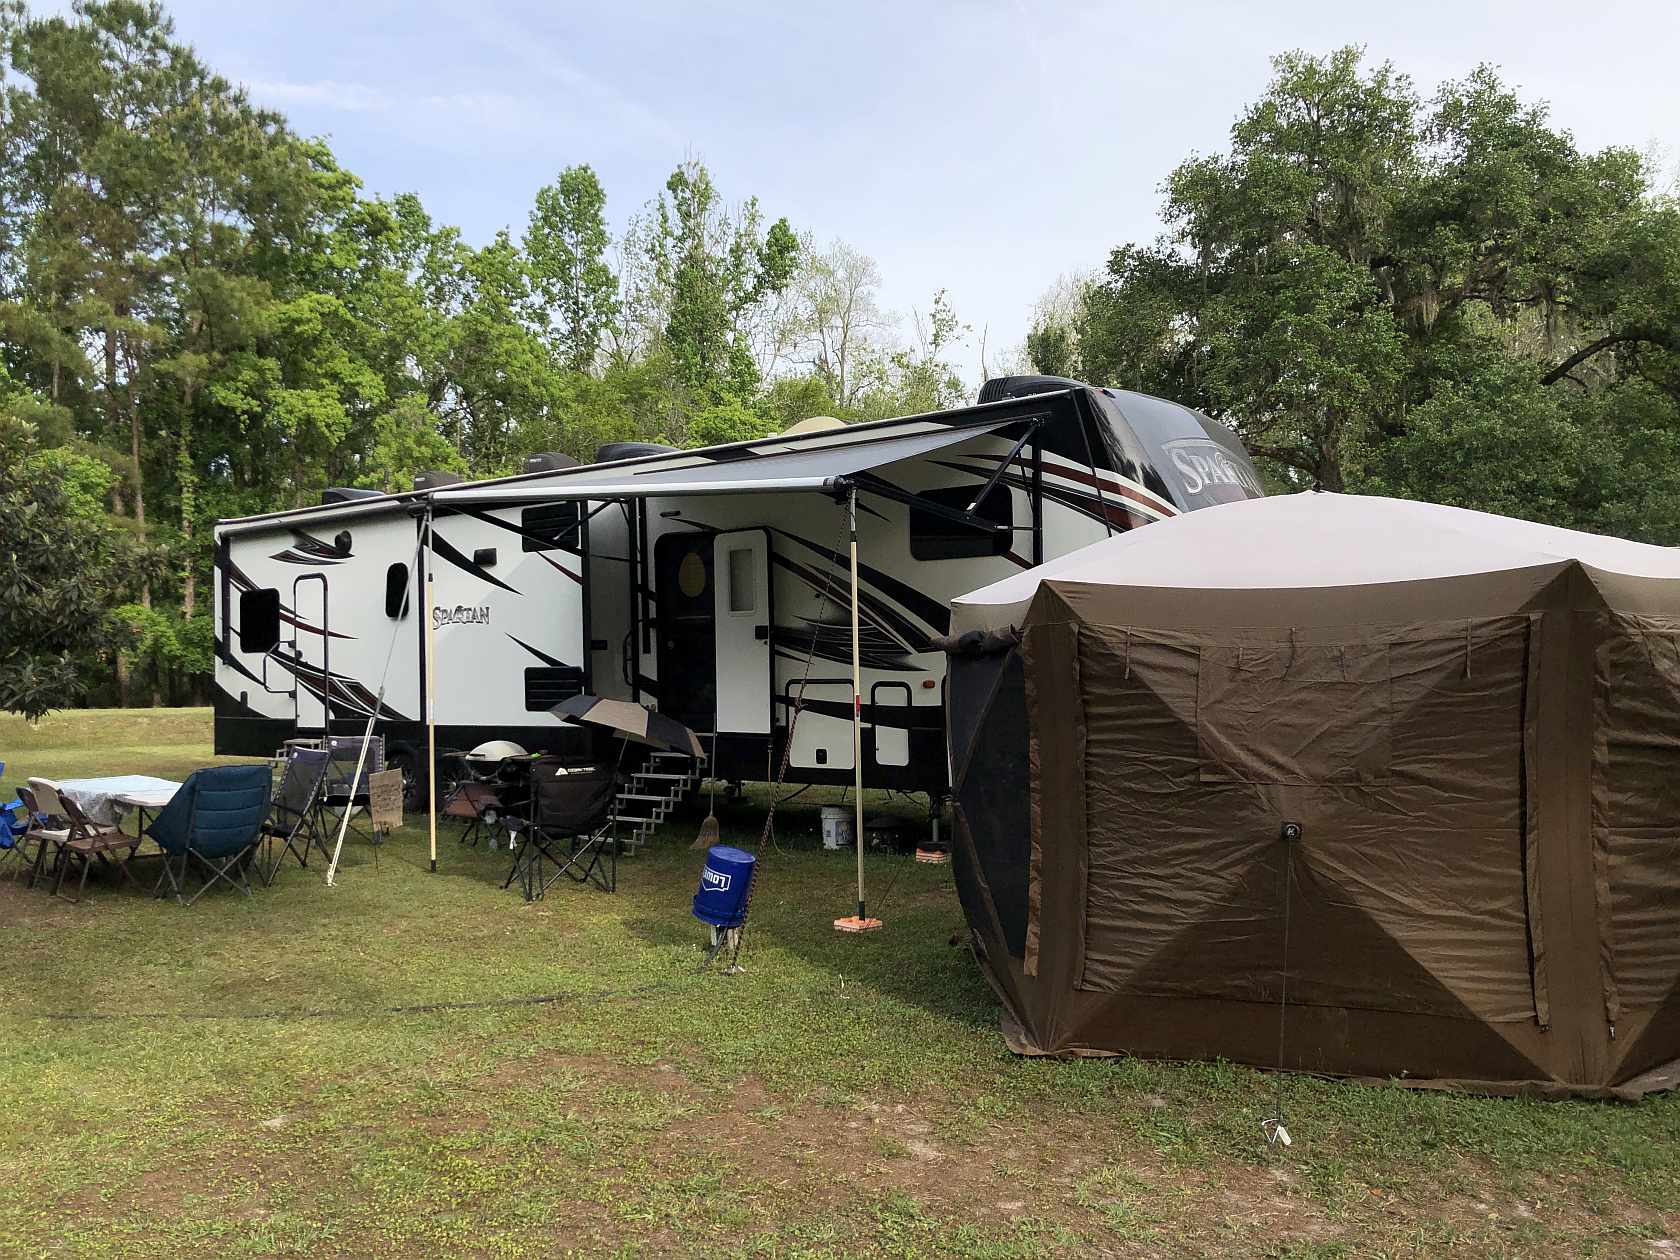
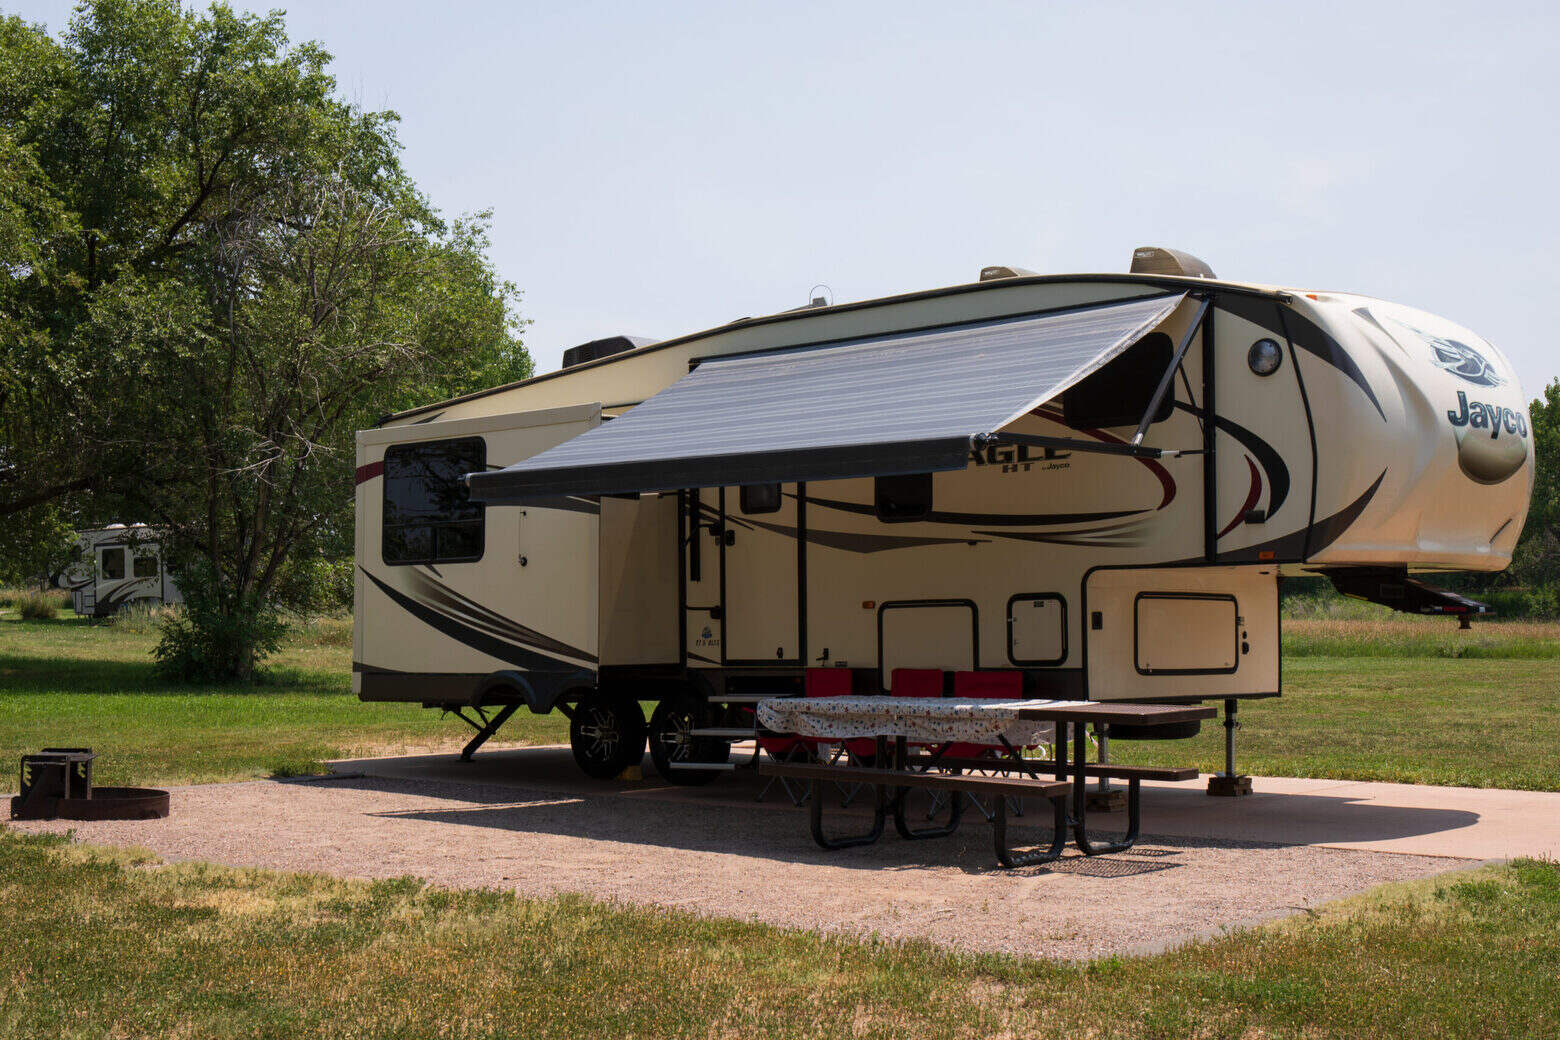
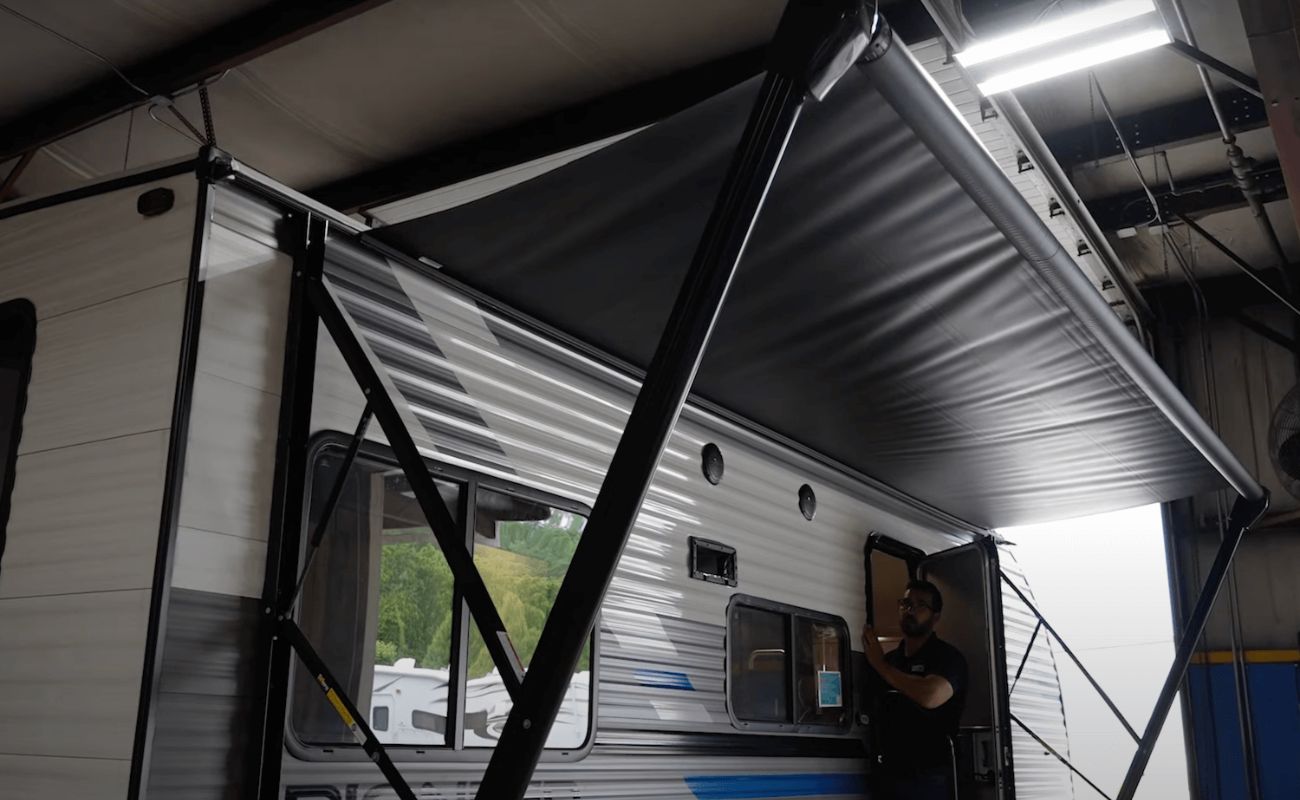
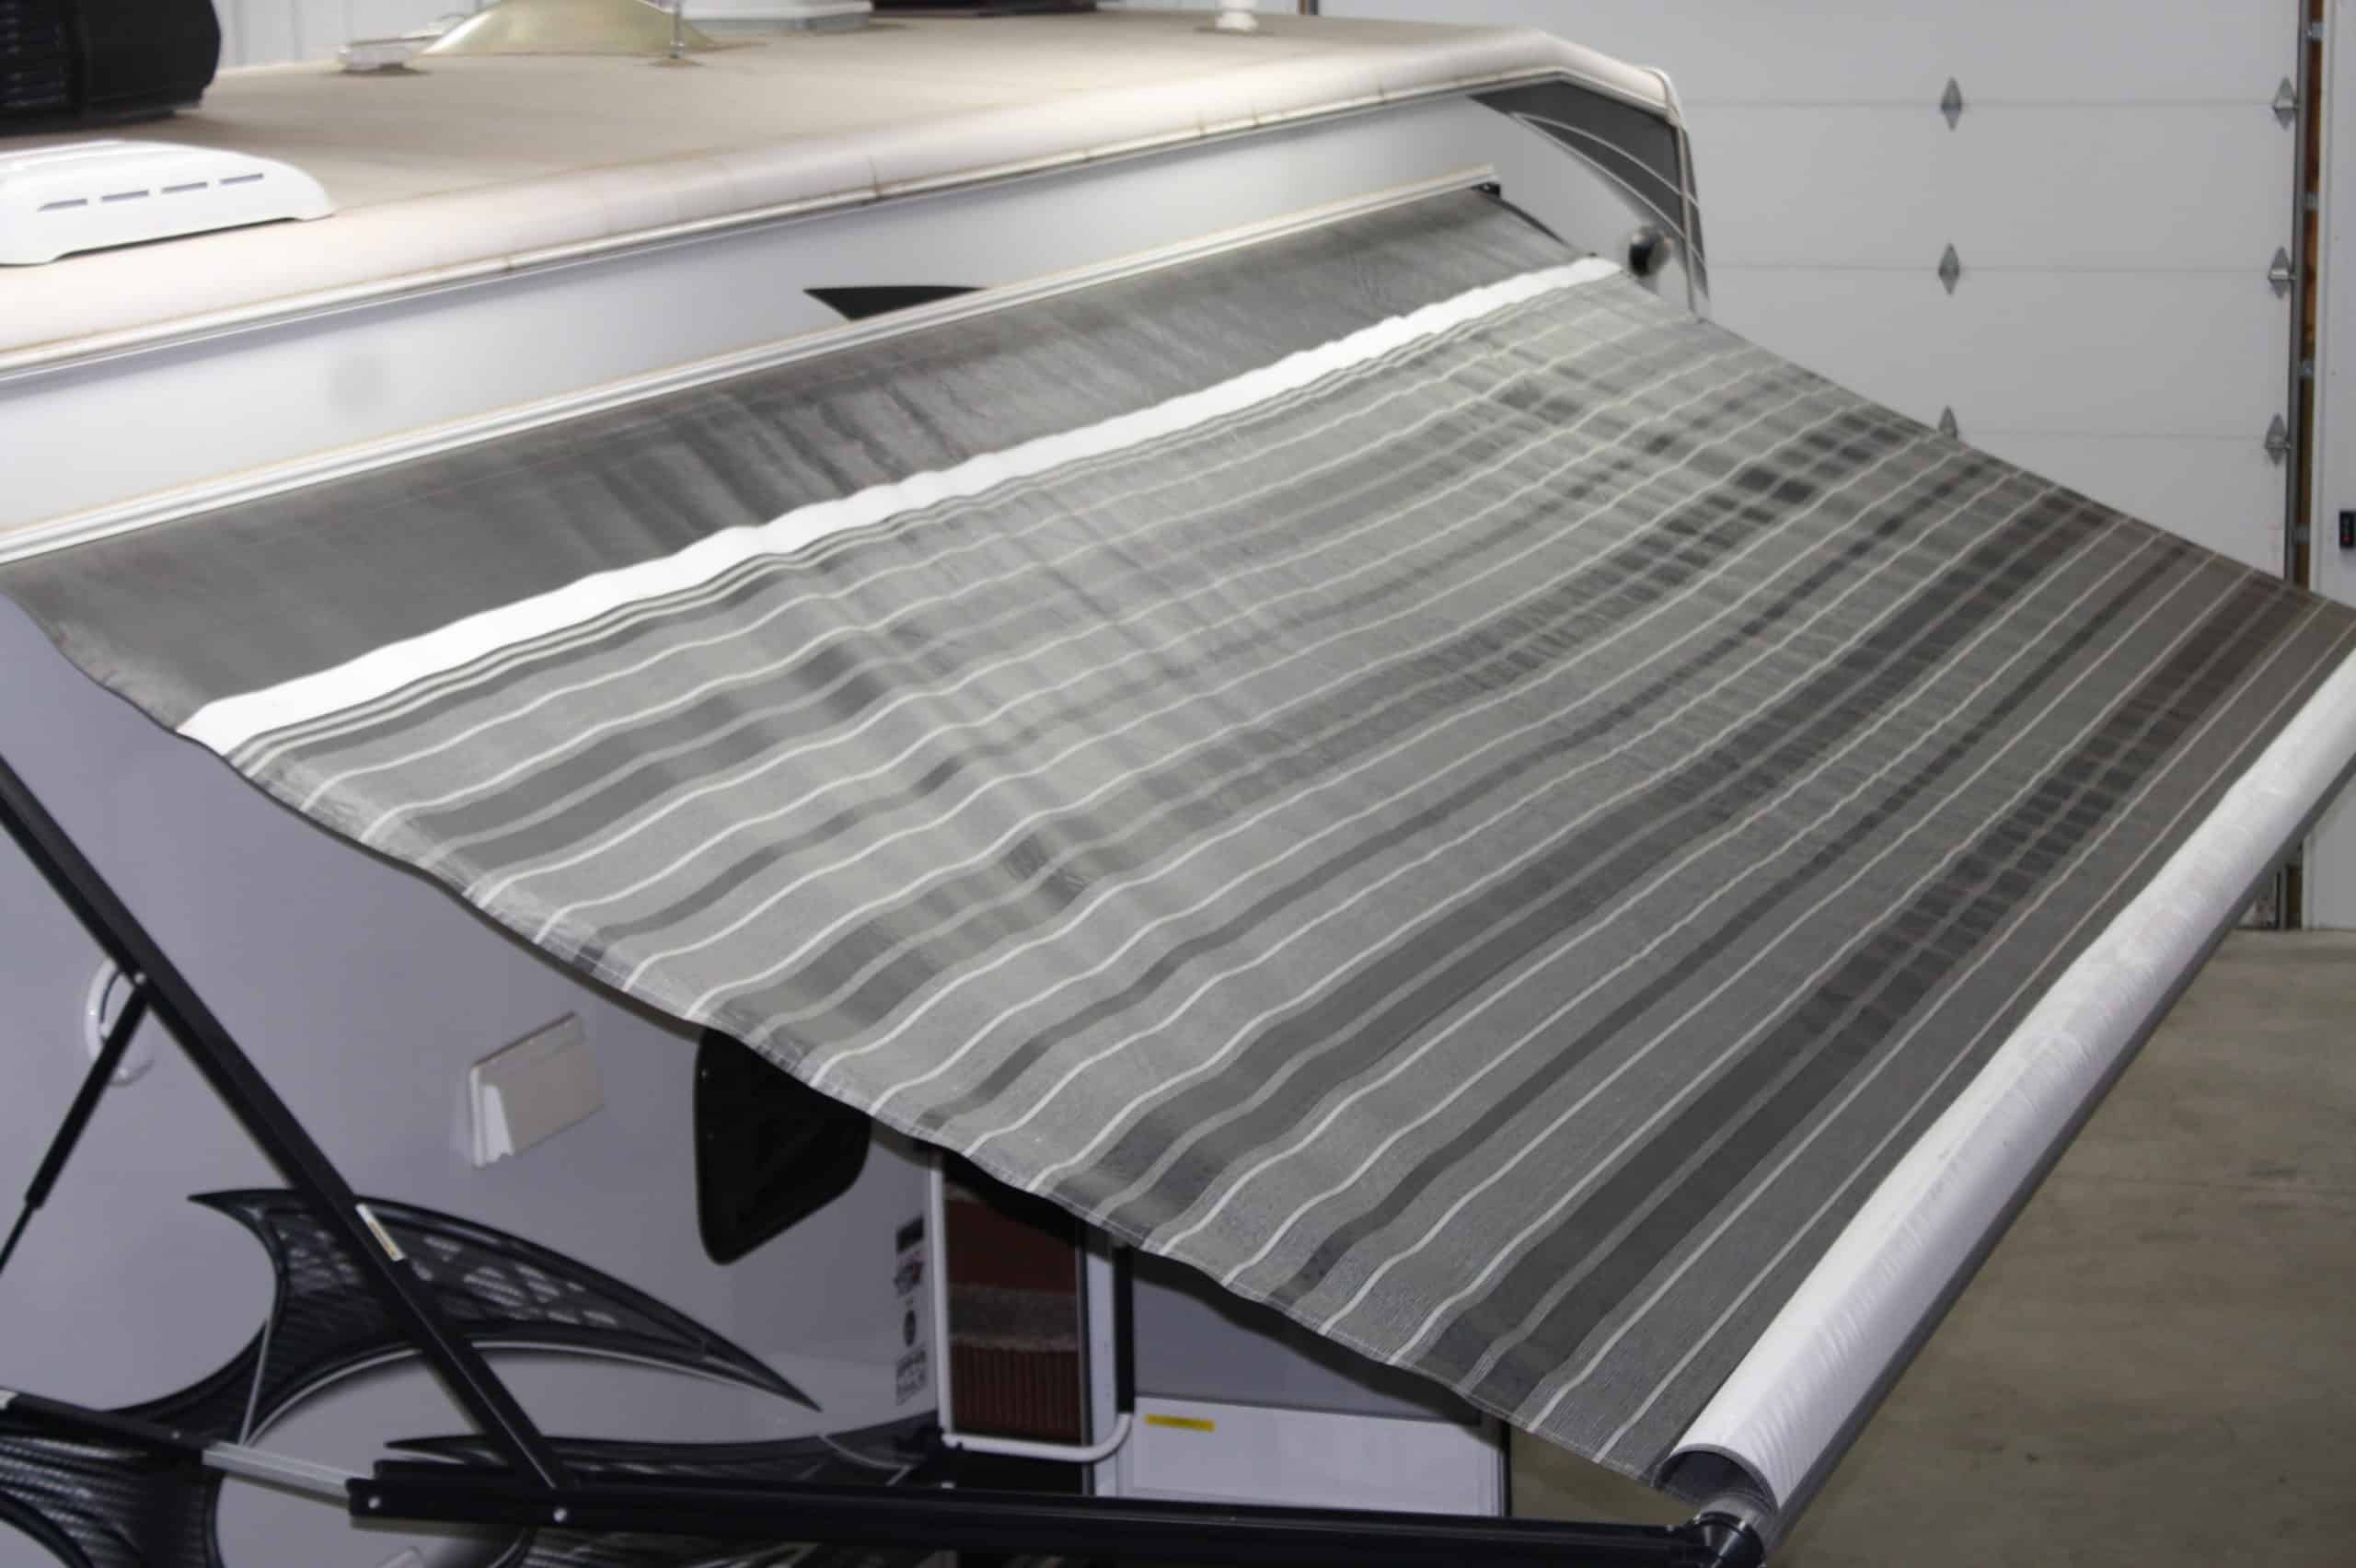
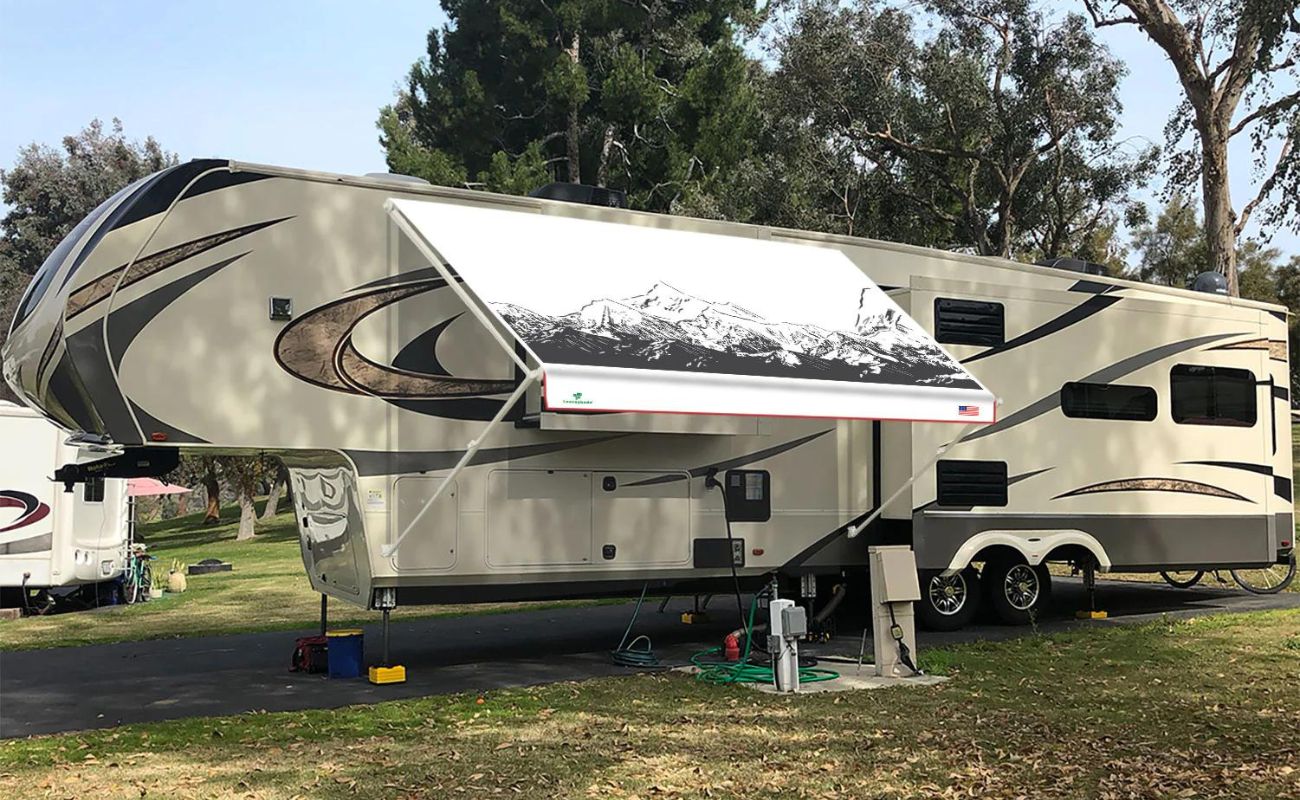
Step 2: Measure the length of the awning
Measuring the length of your RV awning is a fundamental step in obtaining precise dimensions for replacement or installation. This crucial measurement ensures that the new awning will provide optimal coverage and seamlessly align with the existing structure of your recreational vehicle. To accurately measure the length of the awning, follow these detailed steps:
-
Extend the Awning: Begin by extending the awning fully to its open position. This will provide a clear and unobstructed view of the entire span, allowing for accurate measurement from end to end.
-
Position the Measuring Tape: With the assistance of a ladder if necessary, position the measuring tape at one end of the awning. Ensure that the tape is aligned parallel to the ground and runs along the bottom edge of the fabric or roller tube, depending on the awning type.
-
Take the Measurement: Carefully extend the measuring tape along the entire length of the awning, following the bottom edge in a straight line. Maintain a steady grip on the tape to prevent any deviations or inaccuracies in the measurement.
-
Record the Length: Once the measuring tape reaches the opposite end of the awning, take note of the measurement displayed. Ensure that the tape is taut and does not sag, as this can lead to an incorrect measurement.
-
Double-Check the Measurement: To validate the accuracy of the length measurement, retract the measuring tape and repeat the process. This double-checking approach helps to confirm the consistency of the initial measurement and eliminates the possibility of errors.
By meticulously following these steps, you can confidently measure the length of your RV awning with precision and accuracy. Recording the exact length is essential for selecting a replacement awning or determining the dimensions for a new installation. With this crucial measurement complete, you are one step closer to ensuring a seamless and tailored fit for your RV awning, enhancing both its functionality and visual appeal.
Step 3: Measure the width of the awning
Measuring the width of your RV awning is a pivotal step in obtaining accurate dimensions for replacement or installation. The width measurement ensures that the new awning will provide comprehensive coverage and seamlessly integrate with the existing structure of your recreational vehicle. To accurately measure the width of the awning, follow these detailed steps:
-
Extend the Awning: Begin by extending the awning fully to its open position. This allows for unobstructed access to the entire width of the awning, providing a clear view for measurement.
-
Position the Measuring Tape: With the assistance of a ladder if necessary, position the measuring tape vertically at one end of the awning. Ensure that the tape is aligned perpendicular to the ground and runs from the top edge to the bottom edge of the fabric or roller tube, depending on the awning type.
-
Take the Measurement: Carefully extend the measuring tape along the entire width of the awning, ensuring that it runs in a straight line from top to bottom. Maintain a steady grip on the tape to prevent any deviations or inaccuracies in the measurement.
-
Record the Width: Once the measuring tape reaches the opposite end of the awning, take note of the measurement displayed. Ensure that the tape is taut and does not sag, as this can lead to an incorrect measurement.
-
Double-Check the Measurement: To validate the accuracy of the width measurement, retract the measuring tape and repeat the process. This double-checking approach helps to confirm the consistency of the initial measurement and eliminates the possibility of errors.
Accurately measuring the width of your RV awning is essential for selecting a replacement awning or determining the dimensions for a new installation. By meticulously following these steps, you can confidently record the exact width, ensuring a seamless and tailored fit for your RV awning. This precise measurement contributes to the overall functionality and visual harmony of the awning, enhancing your outdoor experience and the aesthetic appeal of your recreational vehicle.
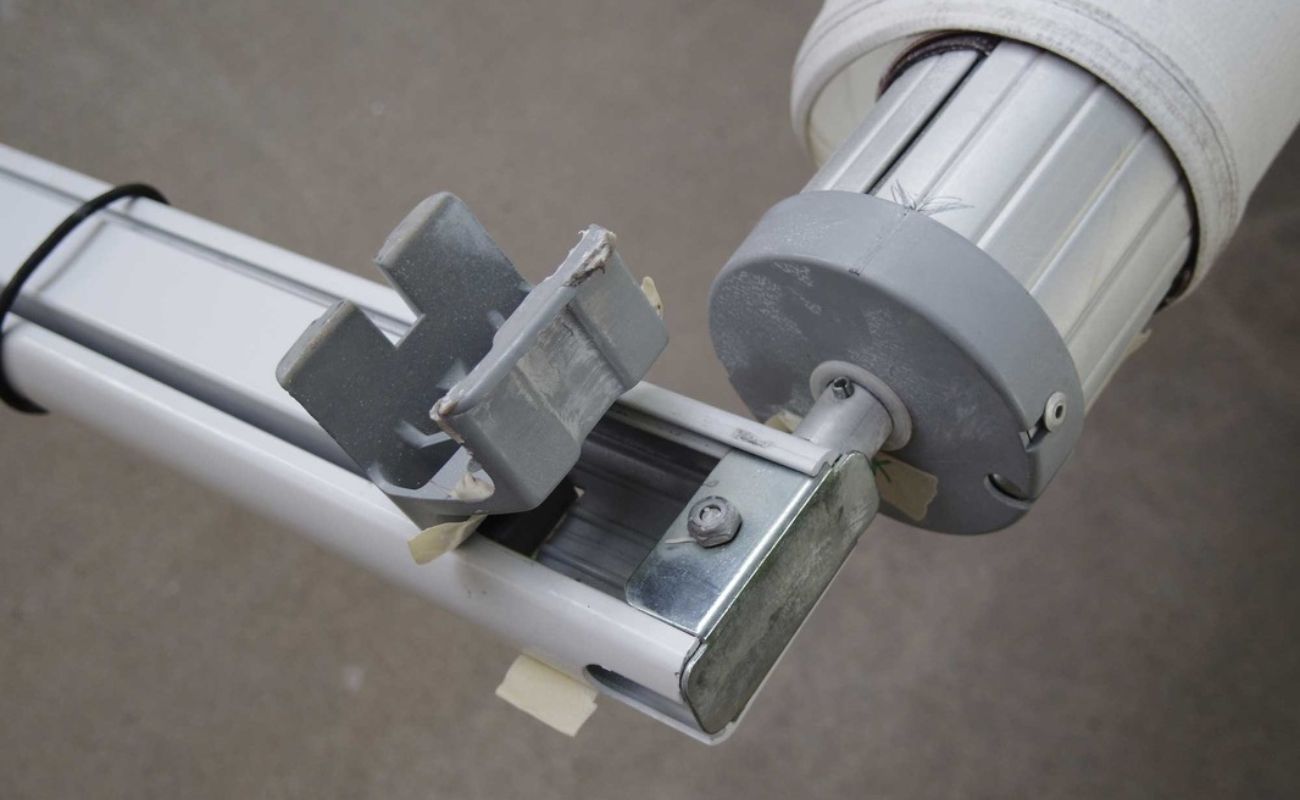
When measuring an RV awning, always measure from the center of one arm to the center of the other arm for accuracy. This will ensure you get the correct size for replacement or new awning installation.
Step 4: Measure the pitch of the awning
Measuring the pitch of your RV awning is a critical step in ensuring optimal functionality and performance. The pitch, also known as the slope or angle, determines how effectively the awning can deflect rainwater and provide adequate shade. By accurately measuring the pitch, you can assess the angle at which the awning extends from the RV, contributing to its ability to shed water and create a comfortable outdoor environment. To measure the pitch of the awning, follow these detailed steps:
-
Position the Ladder: Place the ladder securely near the extended awning, ensuring stability and safety. Ascend the ladder to gain a clear view of the awning's structure and the angle at which it extends from the RV.
-
Identify the Reference Point: Locate a distinct reference point on the awning, such as the roller tube or a specific attachment point. This reference point will serve as the starting position for measuring the pitch.
-
Align the Level: Using a carpenter's level, position the level against the reference point, ensuring that it is parallel to the ground. The level should provide a clear indication of the horizontal position, allowing for precise measurement of the angle.
-
Measure the Angle: With the level aligned, use a protractor or a pitch measuring tool to determine the angle of the awning. Place the protractor against the level, ensuring that it aligns with the surface of the awning. Take note of the angle indicated by the protractor, as this represents the pitch of the awning.
-
Record the Pitch: Once the angle measurement is obtained, record the pitch of the awning for future reference. Ensure that the measurement is accurately documented, as it will be crucial for selecting an awning with the appropriate pitch or making adjustments during installation.
By meticulously following these steps, you can confidently measure the pitch of your RV awning with precision and accuracy. The pitch measurement plays a vital role in determining the awning's ability to effectively shed water and provide optimal shade, enhancing your outdoor experience. With the pitch measurement complete, you are well-equipped to make informed decisions regarding replacement or installation, ensuring that your RV awning aligns seamlessly with both functional and aesthetic requirements.
Read more: How To Replace An RV Awning
Step 5: Record the measurements
After meticulously measuring the length, width, and pitch of your RV awning, the next crucial step is to accurately record the obtained measurements. This meticulous recording process ensures that the dimensions are preserved for future reference, guiding your decisions when selecting a replacement awning or planning for a new installation. The recorded measurements serve as the foundation for a seamless and tailored fit, contributing to the overall functionality and visual harmony of the awning.
To effectively record the measurements, follow these detailed steps:
-
Document the Specifics: Begin by documenting the exact measurements obtained for the length, width, and pitch of the awning. Ensure that each measurement is clearly labeled and accompanied by the corresponding unit of measurement, such as feet or inches. This detailed documentation provides a comprehensive overview of the awning's dimensions, facilitating informed decision-making during the replacement or installation process.
-
Photographic Documentation: Supplement the written measurements with photographic documentation of the extended awning. Capture clear images that showcase the fully extended length and width of the awning, providing visual references to complement the recorded measurements. These photographs serve as valuable visual aids when communicating with suppliers or installers, ensuring a precise understanding of the awning's dimensions.
-
Organize the Records: Maintain a dedicated section in your RV maintenance or renovation records specifically for the awning measurements. Organize the documentation in a systematic manner, making it easily accessible for future reference. By keeping the records organized, you can efficiently retrieve the measurements when needed, streamlining the decision-making process for awning replacement or installation.
-
Digital Backup: Consider creating a digital backup of the recorded measurements and photographs. Store the digital files in a secure location, such as a cloud-based storage platform or a designated folder on your computer. This additional layer of backup ensures that the measurements are safeguarded against loss or damage, providing peace of mind for future use.
-
Labeling and Tagging: If you have physical notes, sketches, or printed photographs, consider labeling and tagging them with specific identifiers related to the RV awning. This labeling system enhances the organization of the documentation, allowing for quick retrieval and reference when engaging with suppliers or professionals for awning replacement or installation.
By diligently recording the measurements and supporting documentation, you establish a comprehensive reference point for future endeavors related to your RV awning. These recorded measurements serve as invaluable assets, guiding your decisions and ensuring a seamless transition when integrating a new awning into your outdoor lifestyle. With the measurements accurately documented, you are well-prepared to embark on the next steps of enhancing your RV's functionality and visual appeal through a perfectly fitted awning.
Conclusion
In conclusion, the process of measuring an RV awning is a fundamental aspect of maintaining and enhancing the functionality and aesthetic appeal of your recreational vehicle. By meticulously following the step-by-step guide outlined in this comprehensive resource, you have gained the knowledge and confidence to accurately measure the length, width, and pitch of your RV awning. These measurements serve as the cornerstone for selecting a replacement awning or planning for a new installation, ensuring a seamless and tailored fit that aligns with both functional and visual requirements.
The meticulous gathering of essential tools, including a reliable measuring tape, a sturdy ladder, and the assistance of an extra set of hands, has equipped you to embark on the measuring process with precision and efficiency. By ensuring that you have the necessary equipment readily available, you have established a solid foundation for obtaining accurate dimensions for your RV awning.
Measuring the length and width of the awning involved extending the awning to its full span, positioning the measuring tape meticulously, and recording the measurements with meticulous attention to detail. These steps have empowered you to capture the exact dimensions of the awning, laying the groundwork for informed decision-making when selecting a replacement or planning for a new installation.
Furthermore, the critical step of measuring the pitch of the awning has provided valuable insights into the angle at which the awning extends from the RV. This measurement plays a pivotal role in assessing the awning's ability to shed water and provide optimal shade, contributing to a comfortable and enjoyable outdoor experience.
The meticulous recording of the obtained measurements, supplemented by photographic documentation and digital backups, has established a comprehensive reference point for future endeavors related to your RV awning. This organized and detailed documentation ensures that the dimensions are safeguarded for future use, facilitating seamless communication with suppliers or professionals during the replacement or installation process.
By embracing the knowledge and skills acquired through this guide, you are well-prepared to make informed decisions regarding your RV awning, ensuring that it seamlessly integrates with your outdoor lifestyle. Whether you are embarking on a DIY project or seeking professional assistance, the accurate measurements obtained through this process will serve as the foundation for a perfectly fitted and visually appealing RV awning, enhancing your outdoor adventures for years to come.
Frequently Asked Questions about How To Measure An RV Awning
Was this page helpful?
At Storables.com, we guarantee accurate and reliable information. Our content, validated by Expert Board Contributors, is crafted following stringent Editorial Policies. We're committed to providing you with well-researched, expert-backed insights for all your informational needs.


0 thoughts on “How To Measure An RV Awning”