Home>Gardening & Outdoor>Outdoor Structures>How To Build A Shed
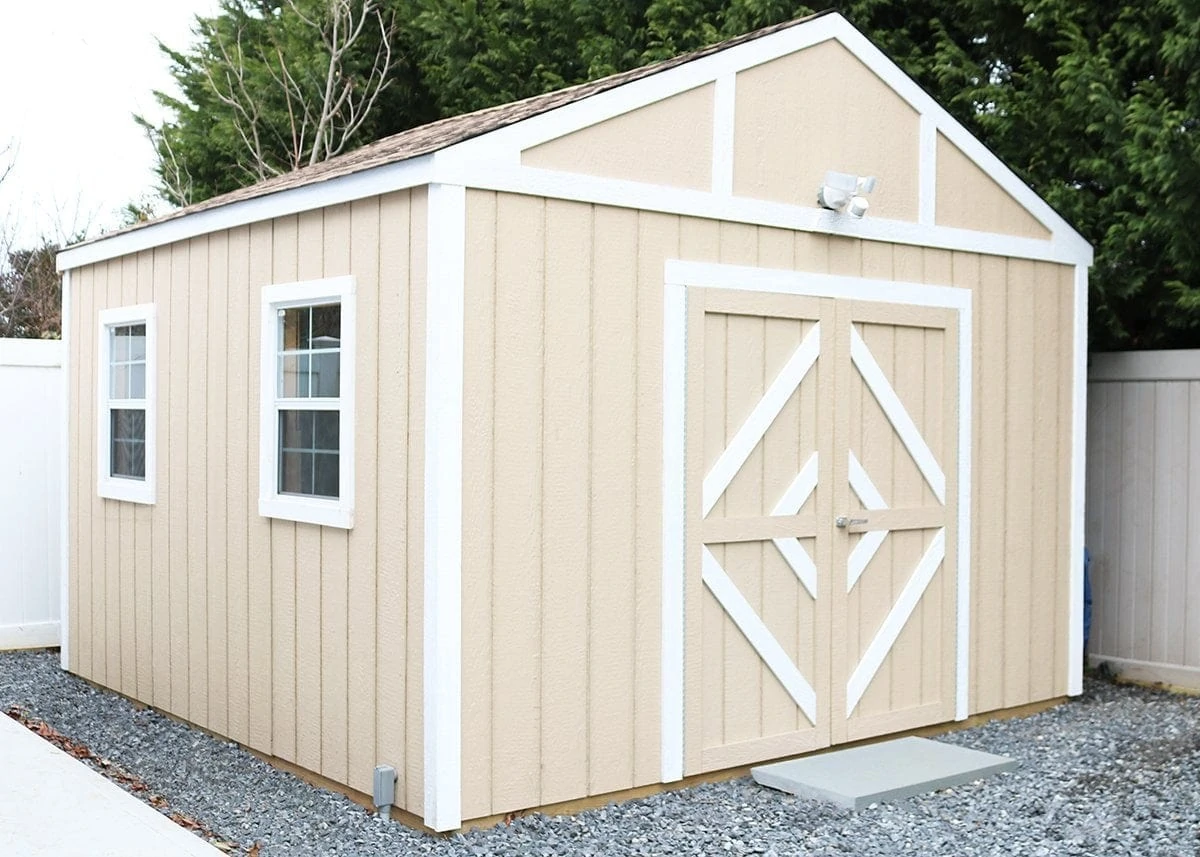

Outdoor Structures
How To Build A Shed
Modified: October 22, 2024
Learn how to build a shed and create your own outdoor structure with our step-by-step guide. Get expert tips and advice for constructing durable and functional sheds.
(Many of the links in this article redirect to a specific reviewed product. Your purchase of these products through affiliate links helps to generate commission for Storables.com, at no extra cost. Learn more)
Introduction
So, you've decided to add a shed to your property. Congratulations! Building a shed is not only a practical and cost-effective way to create additional storage space, but it can also be a rewarding and fulfilling DIY project. Whether you're a seasoned craftsman or a novice do-it-yourselfer, constructing a shed allows you to showcase your skills and creativity while enhancing the functionality and aesthetics of your outdoor space.
In this comprehensive guide, we will walk you through the step-by-step process of building a shed from start to finish. From initial planning and site preparation to the final finishing touches, you'll gain valuable insights and practical tips to help you successfully complete this exciting endeavor. Whether you're envisioning a simple storage shed for your gardening tools or a versatile workshop for your DIY projects, this guide will equip you with the knowledge and confidence to bring your vision to life.
Throughout this journey, we'll explore essential considerations such as selecting the optimal location for your shed, obtaining necessary permits and adhering to local regulations, designing a functional and aesthetically pleasing structure, and executing each construction phase with precision and skill. By the end of this guide, you'll be ready to roll up your sleeves, gather your tools and materials, and embark on this enriching and empowering construction project.
So, grab a cup of coffee, clear your schedule, and get ready to dive into the world of shed construction. Whether you're a DIY enthusiast or a homeowner seeking to expand your property's utility, this guide is your go-to resource for mastering the art of building a shed. Let's embark on this exciting journey and turn your shed dreams into a tangible and enduring reality.
Key Takeaways:
- Planning and preparation are crucial for building a shed. Assess your needs, set a budget, and check local regulations before starting. This proactive approach minimizes uncertainties and sets the stage for a smooth building experience.
- Choosing the right location, obtaining permits, and designing the shed are essential steps. Carefully evaluating factors like sunlight, property boundaries, and material options ensures a well-planned and compliant shed construction process.
Read more: How Build A Shed
Planning and Preparation
Before you pick up a hammer or saw, thorough planning and preparation are essential for ensuring a successful shed-building project. This phase sets the foundation for the entire construction process, allowing you to anticipate challenges, make informed decisions, and streamline the execution of your vision.
Assess Your Needs: Start by identifying the primary purpose of your shed. Will it serve as a simple storage space for garden tools and equipment, or do you envision a multifunctional workshop for DIY projects? Understanding your specific needs will inform the size, layout, and features of your shed.
Set a Budget: Establish a realistic budget for your shed project, factoring in materials, tools, permits, and potential labor costs. By defining your budget early on, you can make informed choices during the design and construction phases, ensuring that your project remains financially feasible.
Create a Design Plan: Sketch out a rough design of your shed, considering elements such as size, door and window placement, interior layout, and overall aesthetic. This plan will serve as a visual reference and a roadmap for the construction process.
Check Local Regulations: Contact your local building department to inquire about zoning regulations, building codes, and permit requirements for constructing a shed on your property. Adhering to these regulations is crucial for avoiding potential legal issues and ensuring the structural integrity and safety of your shed.
Survey the Site: Evaluate your property to determine the ideal location for your shed. Consider factors such as sunlight exposure, proximity to utilities, drainage patterns, and aesthetic harmony with your existing landscape. Selecting the right location is fundamental for maximizing the functionality and visual appeal of your shed.
Gather Essential Tools: Take inventory of the tools you’ll need for the construction process, including a hammer, tape measure, level, circular saw, power drill, and other carpentry essentials. Ensuring that you have the necessary tools on hand will streamline the building process and prevent unnecessary delays.
By investing time and effort into meticulous planning and preparation, you’ll lay a solid groundwork for the construction of your shed. This proactive approach will minimize uncertainties, streamline the decision-making process, and set the stage for a smooth and rewarding building experience.
Choosing the Right Location
When it comes to building a shed, the significance of selecting the right location cannot be overstated. The placement of your shed will not only impact its functionality but also contribute to the overall aesthetics of your outdoor space. Here are essential considerations to guide you in choosing the optimal location for your shed:
- Sunlight and Accessibility: Aim to position your shed in an area that receives ample sunlight, as this can help prevent moisture buildup and promote a more pleasant interior environment. Additionally, ensure that the shed is easily accessible from your home and other relevant areas of your property to enhance its practicality.
- Property Boundaries and Regulations: Familiarize yourself with your property boundaries and any applicable regulations regarding setback distances from property lines and other structures. Adhering to these regulations is crucial for avoiding legal complications and ensuring that your shed is in compliance with local zoning laws.
- Drainage and Terrain: Assess the natural drainage patterns and terrain of your property to avoid placing the shed in an area prone to water accumulation or uneven ground. Choosing a relatively level area with good drainage will contribute to the longevity and structural integrity of your shed.
- Landscape Integration: Consider how the shed will harmonize with your existing landscape. Aim to position it in a location that complements the overall aesthetics of your outdoor space, taking into account factors such as visual balance, proximity to trees or gardens, and potential views from your home.
- Utility Connections: If you plan to incorporate electricity, water, or other utilities into your shed, factor in the proximity to existing utility connections. This will streamline the installation process and ensure convenient access to essential amenities within the shed.
By carefully evaluating these factors and envisioning the shed within the context of your property, you can make an informed decision regarding its placement. Remember that the location you choose will not only impact the practicality and longevity of the shed but also contribute to the overall ambiance and visual appeal of your outdoor space.
Obtaining Permits and Regulations
Before breaking ground on your shed project, it’s crucial to navigate the regulatory landscape and secure any necessary permits. While the specific requirements may vary based on your location and the size of the shed, understanding and complying with relevant regulations is essential for a smooth and legally sound construction process. Here’s a comprehensive overview of the key steps involved in obtaining permits and adhering to regulations:
- Research Local Regulations: Contact your local building department or visit their website to familiarize yourself with the zoning regulations and building codes that apply to constructing a shed on your property. Pay attention to restrictions on shed size, height, setback requirements, and any specific design or material guidelines.
- Submit Permit Applications: Once you have a clear understanding of the regulatory requirements, submit the necessary permit applications to the appropriate authorities. This may involve providing detailed plans and specifications for your shed, along with information about its intended use and structural features.
- Address Building Code Compliance: Ensure that your shed design and construction methods align with the applicable building codes. This includes factors such as foundation requirements, structural integrity, electrical considerations if applicable, and overall safety standards.
- Plan for Inspections: Be prepared for inspections at various stages of the construction process. Inspectors may assess the foundation, framing, electrical work, and overall compliance with building codes. By accommodating these inspections, you can verify that your shed meets the necessary standards and avoid potential setbacks.
- Adhere to Setback Requirements: Pay close attention to setback requirements, which dictate the minimum distance your shed must maintain from property lines, fences, and other structures. Failure to comply with these requirements can result in costly modifications or legal complications.
By proactively engaging with the permitting process and adhering to relevant regulations, you can proceed with your shed construction project with confidence and peace of mind. Navigating the regulatory landscape may seem daunting, but by taking a diligent and informed approach, you can ensure that your shed complies with all necessary requirements and stands as a testament to responsible and conscientious construction practices.
Designing the Shed
The design phase is where your vision for the shed takes shape, encompassing both functionality and aesthetics. Whether you’re aiming for a utilitarian storage space or an inviting workshop retreat, thoughtful design considerations will lay the groundwork for a shed that meets your needs and enhances your outdoor environment. Here’s a comprehensive guide to designing your shed:
- Determine Shed Size and Layout: Assess your storage and workspace needs to determine the optimal dimensions for your shed. Consider factors such as available space, intended use, and potential future requirements. Sketch out a floor plan to visualize the layout and ensure that it accommodates your intended storage or work areas.
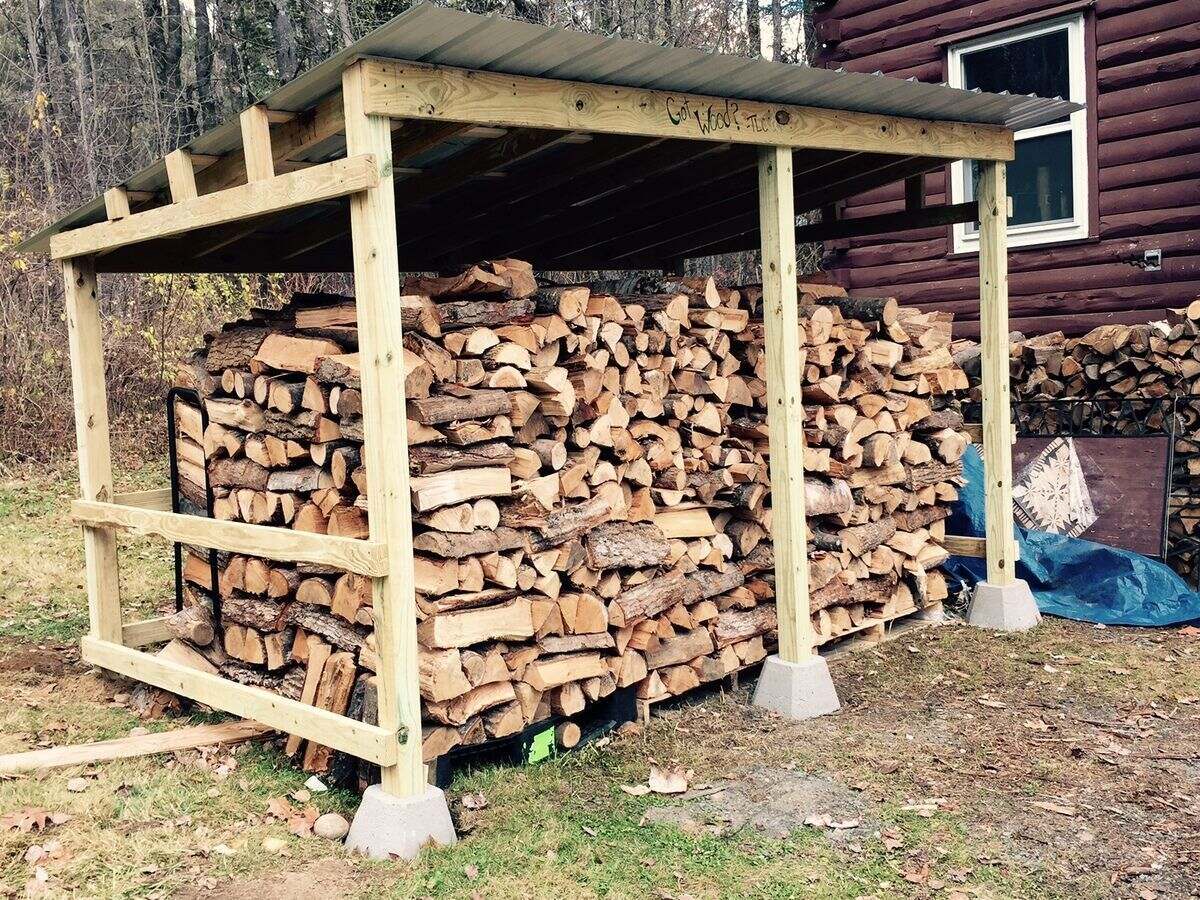
- Select a Roof Style: Choose a roof style that complements the overall aesthetic of your property while providing adequate protection from the elements. Common options include gable, gambrel, and lean-to roofs, each offering unique advantages in terms of headroom, drainage, and visual appeal.
- Customize Door and Window Placement: Strategically position doors and windows to optimize natural light, ventilation, and accessibility. Consider the orientation of your shed in relation to sunlight and prevailing winds to maximize comfort and energy efficiency within the space.
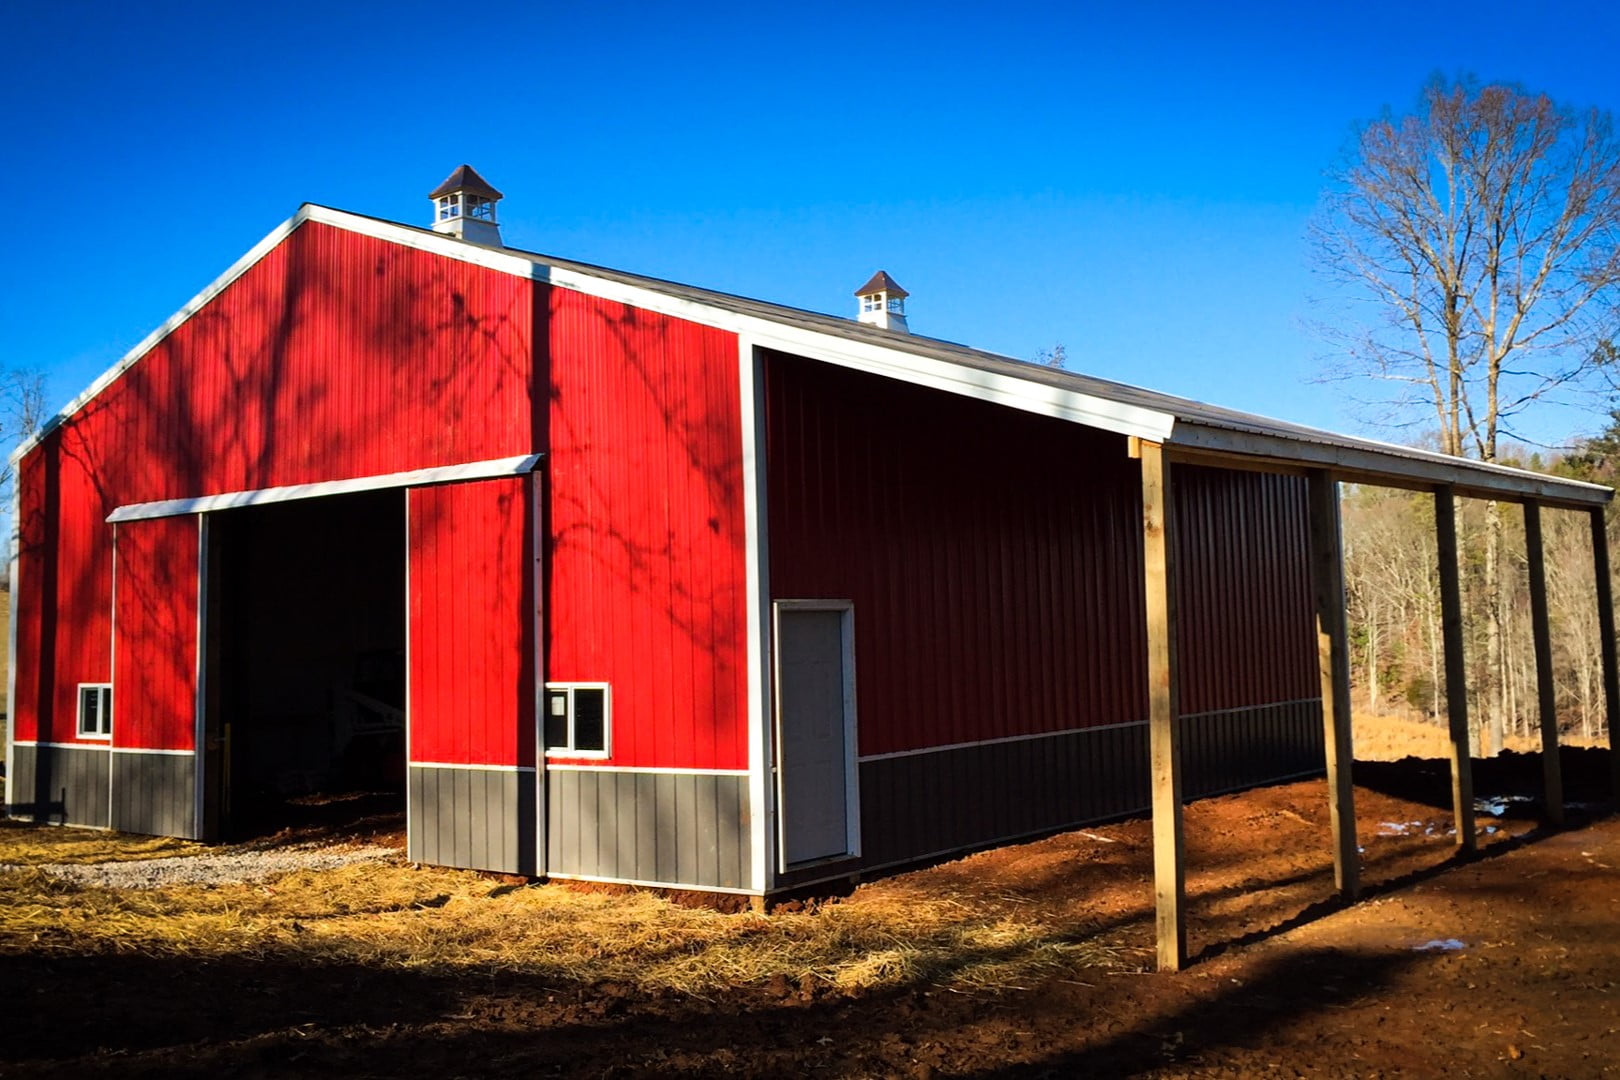
- Explore Material Options: Evaluate various siding, roofing, and trim materials to achieve the desired look and durability for your shed. Whether you prefer the classic charm of wood or the low-maintenance benefits of vinyl or metal, selecting high-quality materials is essential for the longevity and visual appeal of your shed.
- Incorporate Interior Features: If your shed will serve as a workshop or hobby space, plan for interior features such as built-in workbenches, shelving, and storage solutions. Optimizing the interior layout will enhance the functionality and organization of your shed, making it a more practical and enjoyable space to use.
As you delve into the design process, keep in mind the balance between form and function, ensuring that your shed not only serves its intended purpose but also enhances the overall aesthetic of your property. By thoughtfully considering each design element, you’ll lay the groundwork for a shed that seamlessly integrates with your outdoor space and fulfills your practical and creative aspirations.
Read more: How To Build A Bar Shed
Gathering Materials and Tools
As you prepare to embark on the construction of your shed, assembling the necessary materials and tools is a critical step that sets the stage for a smooth and efficient building process. By carefully selecting high-quality materials and ensuring that you have the essential tools at your disposal, you can streamline the construction phase and bring your shed project to fruition with confidence and precision.
Materials: Begin by compiling a detailed list of materials required for the foundation, framing, roofing, siding, doors, and any interior features of your shed. Consider factors such as weather resistance, durability, and visual appeal when selecting materials such as lumber, roofing shingles, siding panels, and hardware. Opting for quality materials will contribute to the longevity and structural integrity of your shed.
Tools: Take inventory of the tools needed for each phase of the construction process, including measuring and layout tools, cutting and fastening tools, and specialized equipment for tasks such as roofing or siding installation. Essential tools may include a circular saw, level, framing square, hammer, power drill, and safety gear such as goggles and work gloves.
Procurement and Delivery: Once you’ve finalized your materials list, source the required materials from reputable suppliers or home improvement stores. Coordinate the delivery of larger items such as lumber, roofing materials, and siding to ensure they arrive on-site when needed, minimizing delays during the construction process.
Organize and Prepare: Create a designated workspace for assembling materials and staging tools near the shed construction site. Organize materials by type and phase of construction to facilitate easy access and efficient progress as you move through the building process.
By investing time and attention into gathering the right materials and tools, you’ll set the stage for a well-organized and productive construction experience. Careful planning and preparation in this phase will contribute to the overall quality and efficiency of your shed-building project, allowing you to focus on the creative and rewarding aspects of bringing your vision to life.
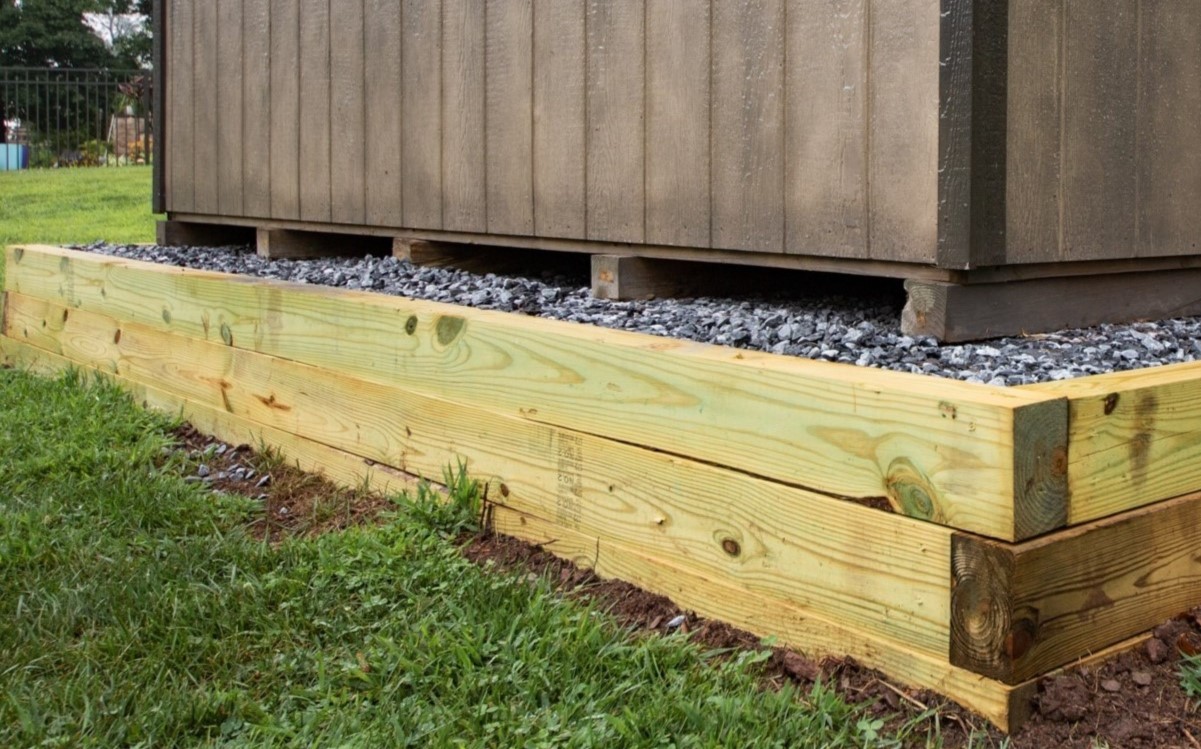
When building a shed, make sure to start with a solid foundation to ensure stability and longevity of the structure. This can be achieved by using concrete footings or a gravel base.
Building the Foundation
The foundation serves as the anchor of your shed, providing stability and ensuring that the structure remains level and secure for years to come. Whether you opt for a concrete slab, pier and beam foundation, or a skid foundation, the construction of a solid and level base is essential for the integrity of your shed. Here’s a comprehensive guide to building the foundation for your shed:
Evaluate Site Preparation: Begin by clearing and leveling the ground where the shed will be situated. Remove any vegetation, rocks, or debris, and use a shovel and rake to create a level surface. If necessary, consider using a compactor to further compact the soil and enhance stability.
Choose the Foundation Type: Select a foundation type based on factors such as soil composition, local climate, and the intended use of your shed. Concrete slabs are ideal for heavy-duty storage or workshop spaces, while skid foundations offer versatility and portability. Pier and beam foundations are suitable for uneven terrain and provide ample ventilation for the shed’s underside.
Prepare for Concrete Work: If you opt for a concrete slab foundation, prepare the site for concrete pouring by constructing formwork to contain the concrete and ensure a level surface. This involves setting up wooden or metal forms to define the perimeter of the slab and provide support during the pouring and curing process.
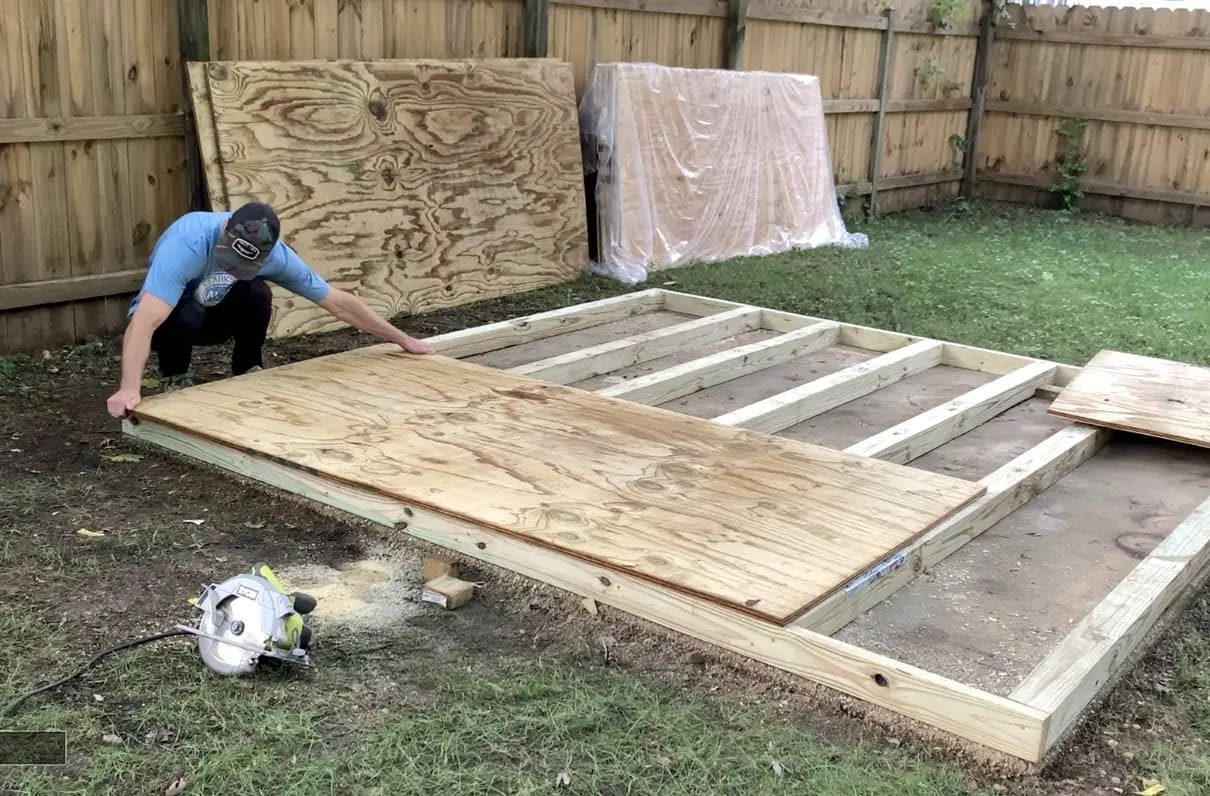
Construct Skids or Beams: For skid or pier and beam foundations, assemble pressure-treated skids or beams to serve as the base framework for your shed. Position them according to your shed’s dimensions, ensuring that they are level and properly spaced to accommodate the floor joists.
Pour and Finish Concrete: If you’re pouring a concrete slab, carefully mix and pour the concrete into the prepared formwork, ensuring even distribution and a smooth finish. Use a screed to level the concrete and eliminate any excess, then finish the surface with a trowel for a professional and durable result.
Level and Secure: Regardless of the foundation type, use a level to ensure that the base is perfectly horizontal and adjust as needed. Secure the foundation in place using anchor bolts or other appropriate fastening methods to prevent shifting or settling over time.
By meticulously executing the foundation construction phase, you’ll establish a solid and reliable base for your shed, laying the groundwork for the subsequent framing and assembly stages. A well-constructed foundation is a testament to the structural integrity and longevity of your shed, ensuring that it stands as a durable and dependable addition to your property.
Constructing the Frame
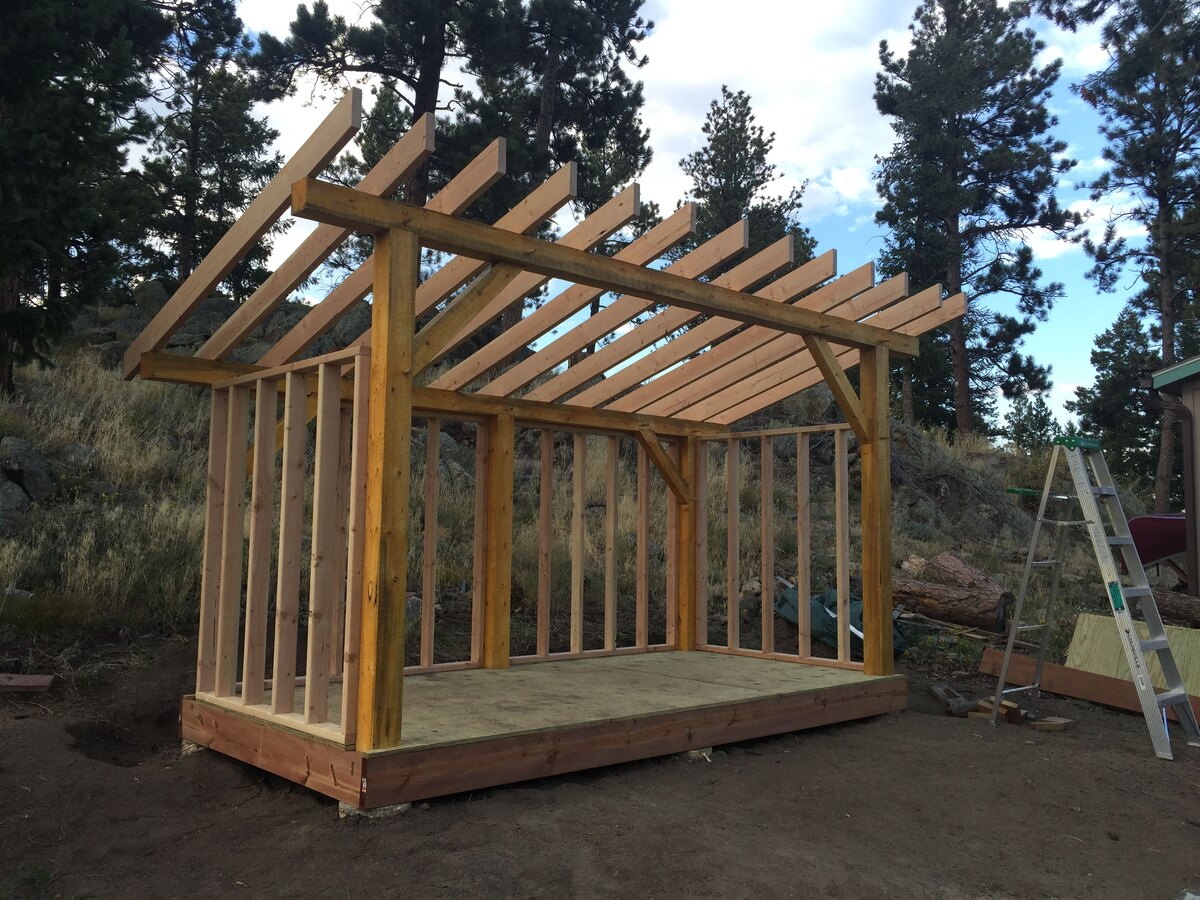
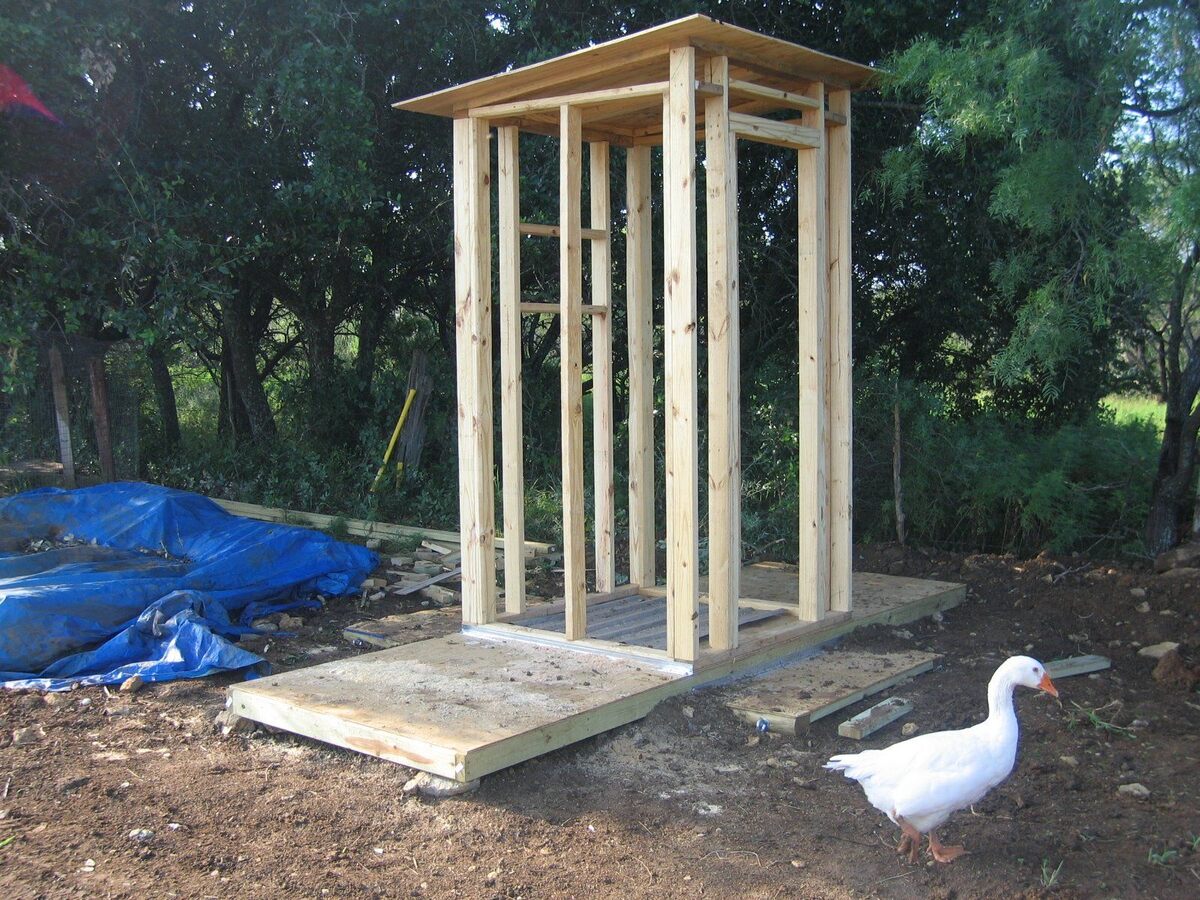
The framing phase marks a pivotal stage in the construction of your shed, where the skeletal framework of the structure takes shape, providing support, strength, and the foundation for the walls, roof, and doors. Whether you opt for a traditional stud frame or a simpler post-and-beam construction, the framing phase sets the stage for the overall structure and integrity of your shed. Here’s a comprehensive guide to constructing the frame for your shed:
Prepare and Cut Lumber: Begin by preparing the lumber for the frame, ensuring that it is of the appropriate dimensions and quality for structural integrity. Use a tape measure, square, and circular saw to carefully cut the framing members, including studs, plates, headers, and any other necessary components.
Assemble Wall Frames: Construct the wall frames on a level surface, ensuring that they are square and plumb. This involves attaching the studs, plates, and headers according to your shed’s design and dimensions, creating sturdy and stable frames that will form the walls of your shed.
Erect the Wall Frames: Once the wall frames are assembled, position and secure them in place, ensuring that they are level and properly aligned. Use temporary braces to hold the frames in position while you secure them to the foundation or floor platform, ensuring stability and structural integrity.
Install Roof Rafters or Trusses: If your shed design includes a gable or gambrel roof, assemble and install the roof rafters or trusses according to the specified pitch and dimensions. Ensure that they are securely anchored to the wall frames and aligned to create a stable framework for the roof structure.
Secure Structural Bracing: Incorporate diagonal bracing or structural sheathing to reinforce the frame and enhance its resistance to lateral forces such as wind or seismic loads. This step is crucial for ensuring the overall stability and durability of your shed, particularly in regions prone to inclement weather.
By meticulously executing the framing phase, you’ll establish a sturdy and reliable framework for your shed, setting the stage for the subsequent installation of roofing, siding, doors, and interior features. A well-constructed frame is fundamental to the structural integrity and longevity of your shed, ensuring that it stands as a resilient and enduring addition to your property.
Installing the Roof
The installation of the roof represents a critical phase in the construction of your shed, as it provides essential protection from the elements while contributing to the overall aesthetics and functionality of the structure. Whether you opt for traditional shingles, metal roofing, or another roofing material, the careful execution of this phase is paramount for ensuring a watertight and durable roof. Here’s a comprehensive guide to installing the roof for your shed:
Prepare the Roof Deck: Ensure that the roof deck, typically constructed from plywood or oriented strand board (OSB), is securely fastened to the rafters or trusses, providing a stable and even surface for the roofing material. Use appropriate fasteners and spacing to secure the roof deck according to industry standards.
Select and Install Roofing Material: Choose a roofing material that suits your shed’s design, climate considerations, and aesthetic preferences. Traditional asphalt shingles offer versatility and cost-effectiveness, while metal roofing provides exceptional durability and longevity. Install the roofing material according to the manufacturer’s specifications, ensuring proper overlap, fastening, and weatherproofing techniques.
Address Roof Ventilation: Incorporate roof vents or a ridge vent to facilitate air circulation and prevent moisture buildup in the attic or interior space of your shed. Adequate ventilation is essential for promoting a healthy and long-lasting roof, particularly in regions with varying temperature and humidity levels.
Flashing and Weatherproofing: Install flashing, drip edges, and other weatherproofing components to seal vulnerable areas such as roof valleys, eaves, and penetrations. Properly executed flashing and weatherproofing techniques are crucial for preventing water infiltration and ensuring the long-term integrity of your shed’s roof.
Finalize Roofing Details: Address any additional roofing details such as gable overhangs, fascia boards, and soffits to complete the visual and functional aspects of the roof. Ensure that these details are installed with precision and attention to detail, contributing to the overall durability and aesthetics of your shed’s roof.
By meticulously executing the roof installation phase, you’ll ensure that your shed is equipped with a reliable and weather-resistant covering, providing essential protection for the structure and its contents. A well-installed roof not only safeguards your shed from the elements but also enhances its visual appeal, creating a functional and aesthetically pleasing addition to your property.
Read more: How To Build A Tuff Shed
Adding Siding and Doors
As your shed nears completion, the installation of siding and doors represents a transformative phase, where the exterior takes on its final form, providing both visual appeal and functional accessibility. The selection of siding materials and the installation of sturdy, well-fitted doors are crucial for enhancing the durability, aesthetics, and usability of your shed. Here’s a comprehensive guide to adding siding and doors to your shed:
Select Siding Material: Choose a siding material that aligns with your shed’s design, climate considerations, and maintenance preferences. Options range from traditional wood siding, which offers natural charm and versatility, to low-maintenance vinyl or composite siding that provides durability and ease of care.
Install Siding Panels: Begin by installing the siding panels according to the manufacturer’s guidelines, ensuring proper overlap, alignment, and fastening. Pay attention to corner details, window and door openings, and trim components to create a cohesive and weather-resistant exterior finish for your shed.
Address Trim and Detailing: Incorporate trim elements such as corner boards, window and door casings, and soffits to add visual interest and weatherproofing to your shed’s exterior. Properly executed trim and detailing contribute to the overall aesthetics and longevity of the siding installation.
Choose and Install Doors: Select sturdy, well-insulated doors that suit the intended use and style of your shed. Whether you opt for a single or double door, ensure that it is properly framed, hung, and fitted to provide smooth operation and secure closure. Consider features such as windows, hardware, and locking mechanisms to enhance both functionality and aesthetics.
Address Door Weatherproofing: Install weatherstripping, threshold seals, and appropriate door sweeps to prevent drafts, moisture intrusion, and heat loss. Properly weatherproofed doors contribute to the energy efficiency and comfort of your shed’s interior space, particularly in regions with varying climate conditions.
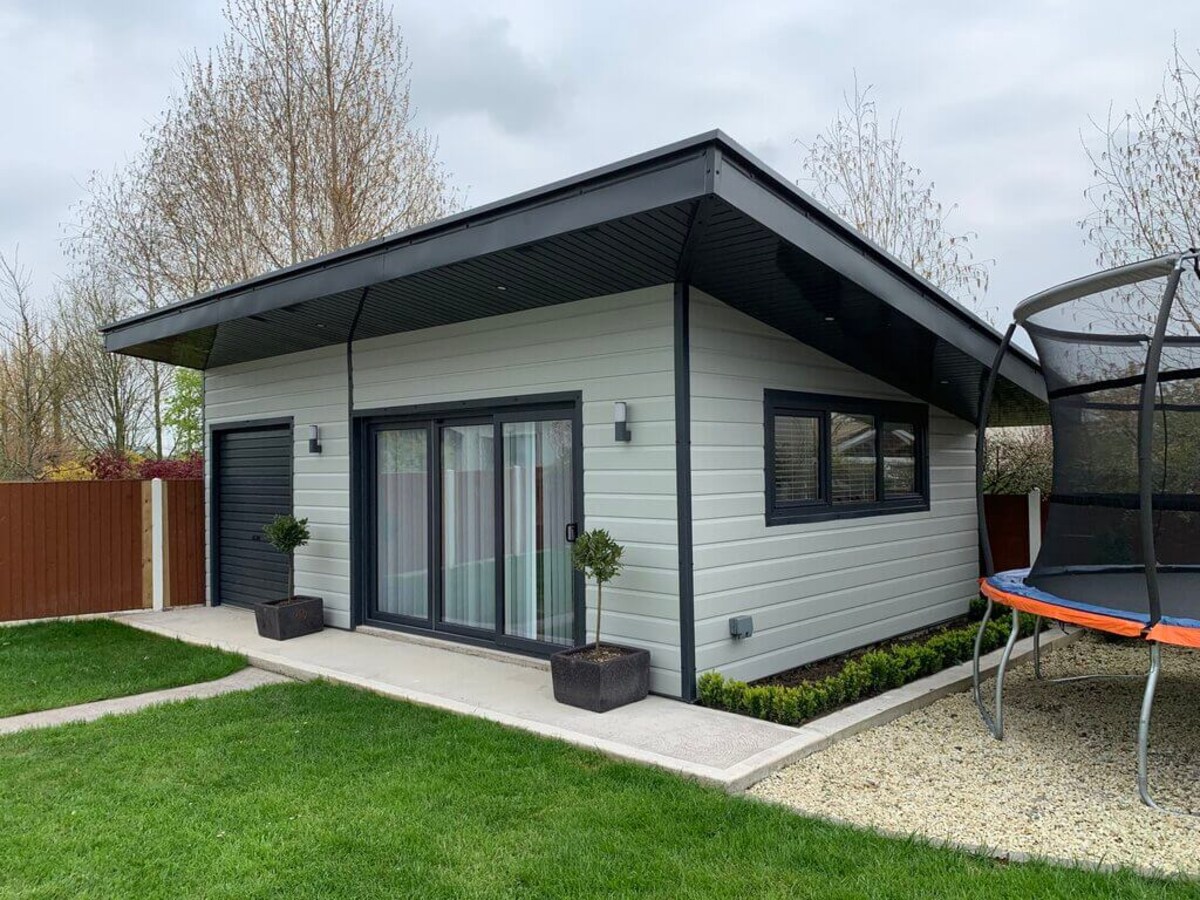
By meticulously executing the siding and door installation phase, you’ll elevate the visual appeal and functionality of your shed, creating a durable and inviting space that complements your property. A well-clad exterior and properly installed doors not only enhance the aesthetics of your shed but also contribute to its long-term resilience and usability, ensuring that it stands as a valuable and enduring asset on your property.
Finishing Touches
As the construction of your shed draws to a close, the application of finishing touches adds refinement, functionality, and personalization to the structure, elevating it from a mere storage space to a purposeful and aesthetically pleasing addition to your property. From interior organization to exterior embellishments, these final details enhance the usability, durability, and visual appeal of your shed. Here’s a comprehensive guide to adding finishing touches to your shed:
Interior Organization: Plan and install shelving, storage racks, and organizational systems to optimize the utility and organization of your shed’s interior space. Consider the specific items that will be stored or utilized in the shed and design storage solutions that accommodate those needs.
Electrical and Lighting: If your shed will serve as a workshop or hobby space, consider incorporating electrical outlets, lighting fixtures, and possibly heating or cooling systems to create a comfortable and functional environment. Ensure that any electrical work is performed by a qualified professional and complies with local building codes.
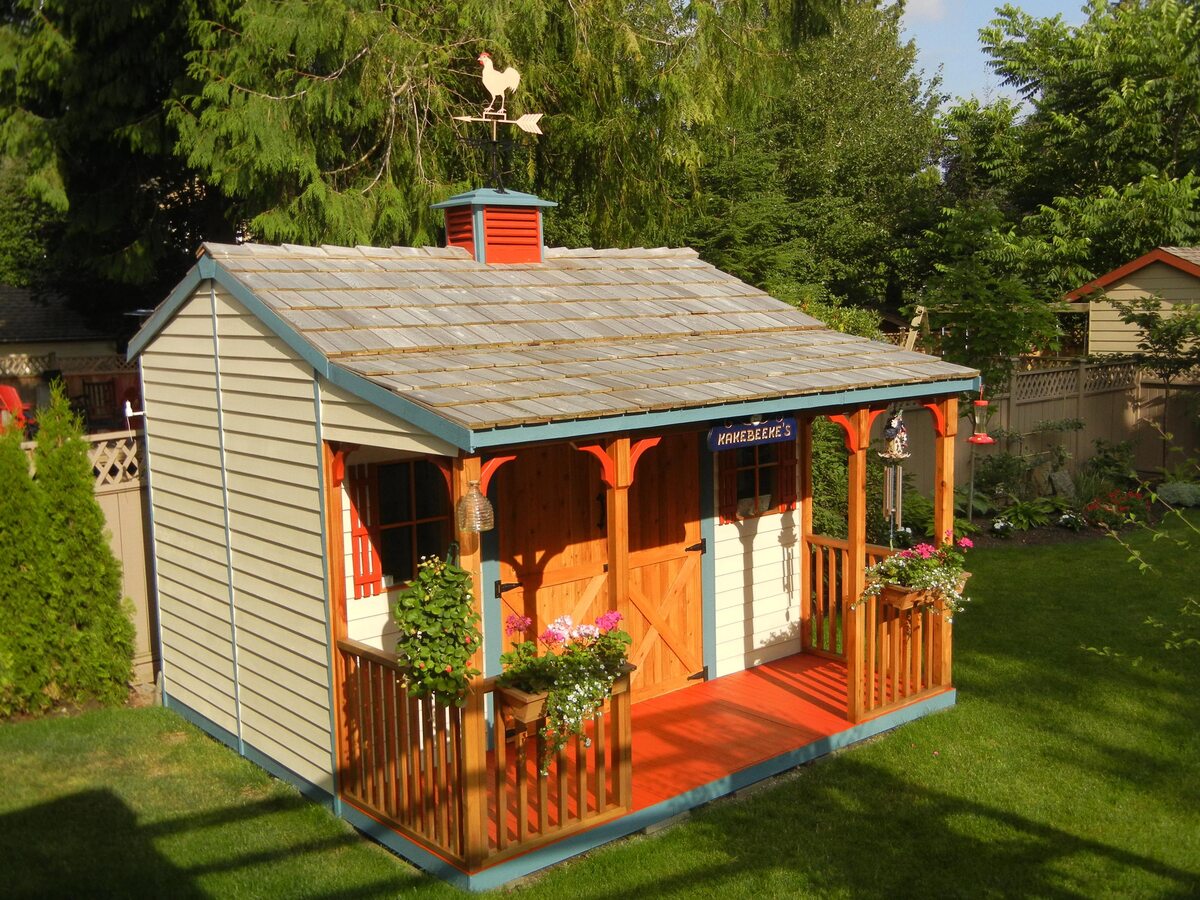
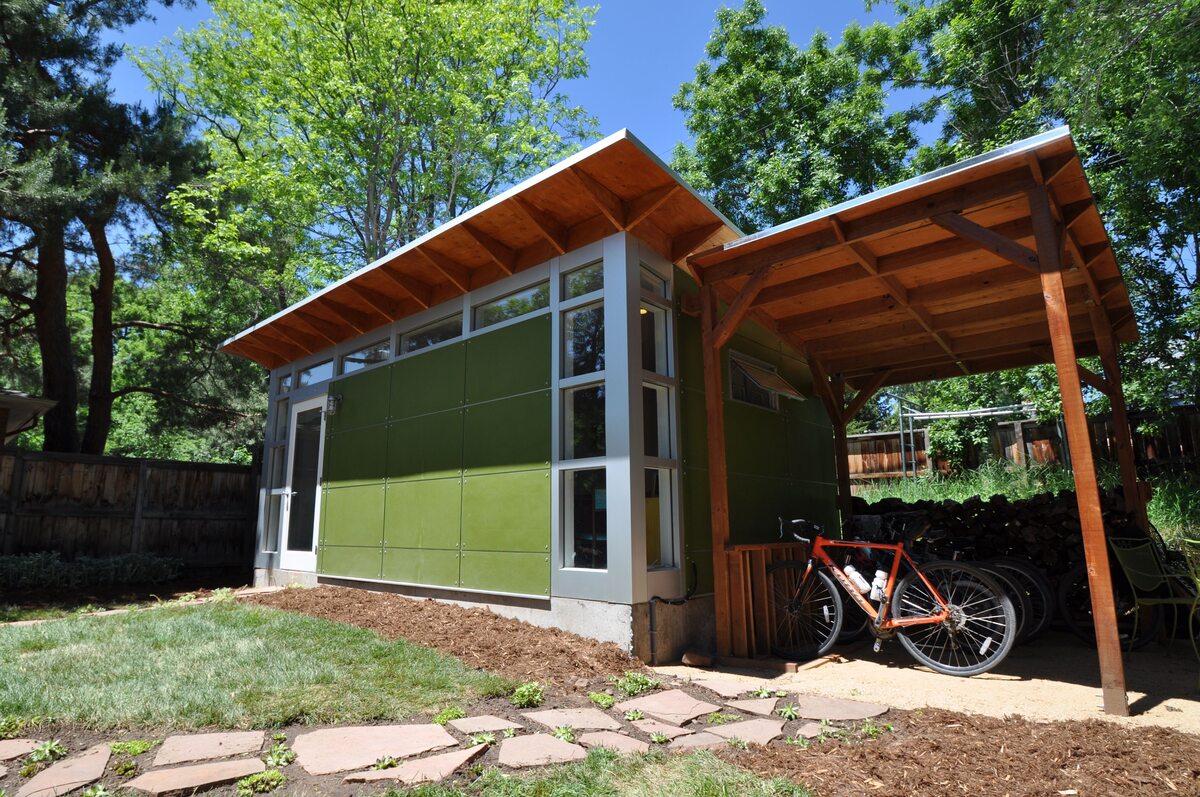
Exterior Landscaping: Enhance the visual integration of your shed with the surrounding landscape by adding landscaping elements such as flower beds, shrubs, or pathways. Thoughtful landscaping can soften the transition between the shed and the surrounding environment, creating a cohesive and harmonious outdoor space.
Personalized Details: Consider adding personal touches such as decorative trim, paint accents, or custom signage to infuse your shed with character and reflect your personal style. These details can transform your shed from a utilitarian structure into a distinctive and inviting feature of your property.
Maintenance Considerations: Develop a maintenance plan for your shed, including regular inspections, cleaning routines, and any necessary repairs or upkeep. By staying proactive about maintenance, you can ensure that your shed remains in optimal condition and continues to serve its intended purpose for years to come.
By attending to these finishing touches, you’ll transform your shed into a fully realized and functional space that enriches your property and meets your specific needs. Thoughtfully executed interior and exterior details not only enhance the usability and aesthetics of your shed but also contribute to its longevity and value as a valuable asset on your property.
Conclusion
Congratulations on completing the construction of your shed! What began as a vision and a patch of land has now transformed into a functional, practical, and aesthetically pleasing addition to your property. Throughout this journey, you’ve navigated the intricacies of planning, building, and adding the final touches to create a space that aligns with your needs and enhances the versatility of your outdoor environment.
Building a shed is not merely a construction project; it’s an opportunity to showcase your creativity, craftsmanship, and dedication to enhancing your living space. Whether your shed serves as a storage haven for gardening tools, a workshop for DIY projects, or a tranquil retreat for relaxation, its presence enriches your property and reflects your unique preferences and lifestyle.
As you stand back and admire your completed shed, take pride in the diligence and attention to detail that have gone into every phase of its construction. From selecting the optimal location and obtaining necessary permits to framing the structure and adding the finishing touches, each step has contributed to the creation of a durable, functional, and visually appealing space.
Furthermore, the skills and knowledge you’ve gained throughout this process extend beyond the construction of a shed. You’ve honed your ability to plan and execute a complex project, manage resources, and adhere to regulations, all while infusing your personal touch into the final product. These experiences have equipped you with valuable insights and capabilities that can be applied to future endeavors, whether they involve further property improvements, DIY projects, or other creative pursuits.
As you integrate your shed into your daily life, consider the opportunities it presents for organization, productivity, and leisure. Embrace the potential for growth and enjoyment that this new space offers, and take pride in the fact that you’ve not only built a shed but also cultivated an environment that enhances your lifestyle and property.
In closing, the completion of your shed marks a significant achievement, a testament to your dedication and ingenuity. As you embark on the next chapter of enjoying and utilizing your shed, may it serve as a source of inspiration, productivity, and relaxation, enriching your property and reflecting the fulfillment of your vision.
Frequently Asked Questions about How To Build A Shed
Was this page helpful?
At Storables.com, we guarantee accurate and reliable information. Our content, validated by Expert Board Contributors, is crafted following stringent Editorial Policies. We're committed to providing you with well-researched, expert-backed insights for all your informational needs.



0 thoughts on “How To Build A Shed”