Home>Gardening & Outdoor>Outdoor Structures>How To Build An Awning Over A Door
Outdoor Structures
How To Build An Awning Over A Door
Modified: October 18, 2024
Learn how to build an awning over a door with our comprehensive guide. Enhance your outdoor space with our expert tips and advice. Ideal for creating functional and stylish outdoor structures.
(Many of the links in this article redirect to a specific reviewed product. Your purchase of these products through affiliate links helps to generate commission for Storables.com, at no extra cost. Learn more)
Introduction
Adding an awning over a door not only enhances the aesthetic appeal of your home but also provides practical benefits. It offers protection from the elements, creating a sheltered space and preventing rain or harsh sunlight from entering your home. Whether you're a seasoned DIY enthusiast or a novice looking to embark on a new project, building an awning over a door can be a rewarding and achievable endeavor with the right guidance.
In this comprehensive guide, we'll walk you through the step-by-step process of constructing an awning over a door, from the initial planning and preparation to the final touches and maintenance. By following these instructions, you'll be able to create a stylish and functional addition to your home that will be enjoyed for years to come.
So, roll up your sleeves, gather your tools, and let's dive into the exciting world of awning construction! Whether you're aiming to add a touch of charm to your entryway or seeking practical solutions for weather protection, this guide will equip you with the knowledge and confidence needed to bring your vision to life. Let's get started!
Key Takeaways:
- Planning and precision are essential when building an awning over a door. From choosing the right materials to measuring and marking accurately, attention to detail is key for a successful project.
- Adding the final touches and establishing a maintenance routine ensures that your awning remains a functional and visually appealing addition to your home. Regular upkeep prolongs its lifespan and enhances its charm.
Read more: How To Build An Awning Over A Patio
Planning and Preparation
Before diving into the construction process, thorough planning and preparation are crucial for a successful outcome. Start by determining the type of awning that best suits your needs and complements the architectural style of your home. Consider whether a stationary, retractable, or freestanding awning is the most suitable option for your specific requirements.
Next, assess the area where the awning will be installed. Take into account the dimensions of the door and the space available for the awning. Measure the height and width of the door to determine the appropriate size for the awning, ensuring that it provides adequate coverage and visual balance.
Once the type and size of the awning have been decided, gather the necessary tools and materials for the project. Commonly required items include lumber for the frame, screws, a drill, a saw, a level, and appropriate weather-resistant covering material such as canvas or metal sheeting.
Additionally, it’s essential to check local building codes and regulations before commencing the project. Some areas may have specific requirements regarding the installation of awnings, such as height restrictions or the need for a permit. Ensuring compliance with these regulations will prevent potential issues in the future.
Finally, consider the aesthetic aspects of the awning. Choose a design and color that harmonizes with the exterior of your home, adding to its overall appeal. Whether you opt for a classic, modern, or rustic style, the awning should seamlessly integrate with the existing architectural features.
By carefully planning and preparing for the construction of the awning, you’ll lay a solid foundation for a smooth and successful building process. With these preliminary steps completed, you’re now ready to move on to the next phase: measuring and marking the installation area.
Measuring and Marking
Accurate measurements and precise markings are essential for ensuring that the awning is installed correctly and functions as intended. Begin by marking the location where the awning will be attached to the wall above the door. Use a measuring tape and a pencil to mark the positions for the attachment points, ensuring that they are level and evenly spaced.
Next, determine the slope or pitch of the awning. The slope is crucial for allowing water to run off the awning, preventing it from pooling and potentially causing damage. A recommended slope is typically around 1/4 inch per foot of depth, providing effective drainage while maintaining a visually appealing profile.
After marking the attachment points and determining the slope, double-check all measurements to ensure accuracy. Use a level to confirm that the attachment points are perfectly aligned and that the slope is consistent across the marked area. This meticulous approach will contribute to the stability and functionality of the awning.
Once the measurements and markings are verified, you’re ready to proceed with the construction of the awning frame. The precise measurements and markings you’ve established will serve as the foundation for the subsequent steps, ensuring that the frame is aligned and securely attached to the wall.
By meticulously measuring and marking the installation area, you’ll set the stage for a seamless construction process, laying the groundwork for the next phase: assembling the awning frame. With these critical preparatory steps completed, you’re well on your way to bringing your awning vision to fruition.
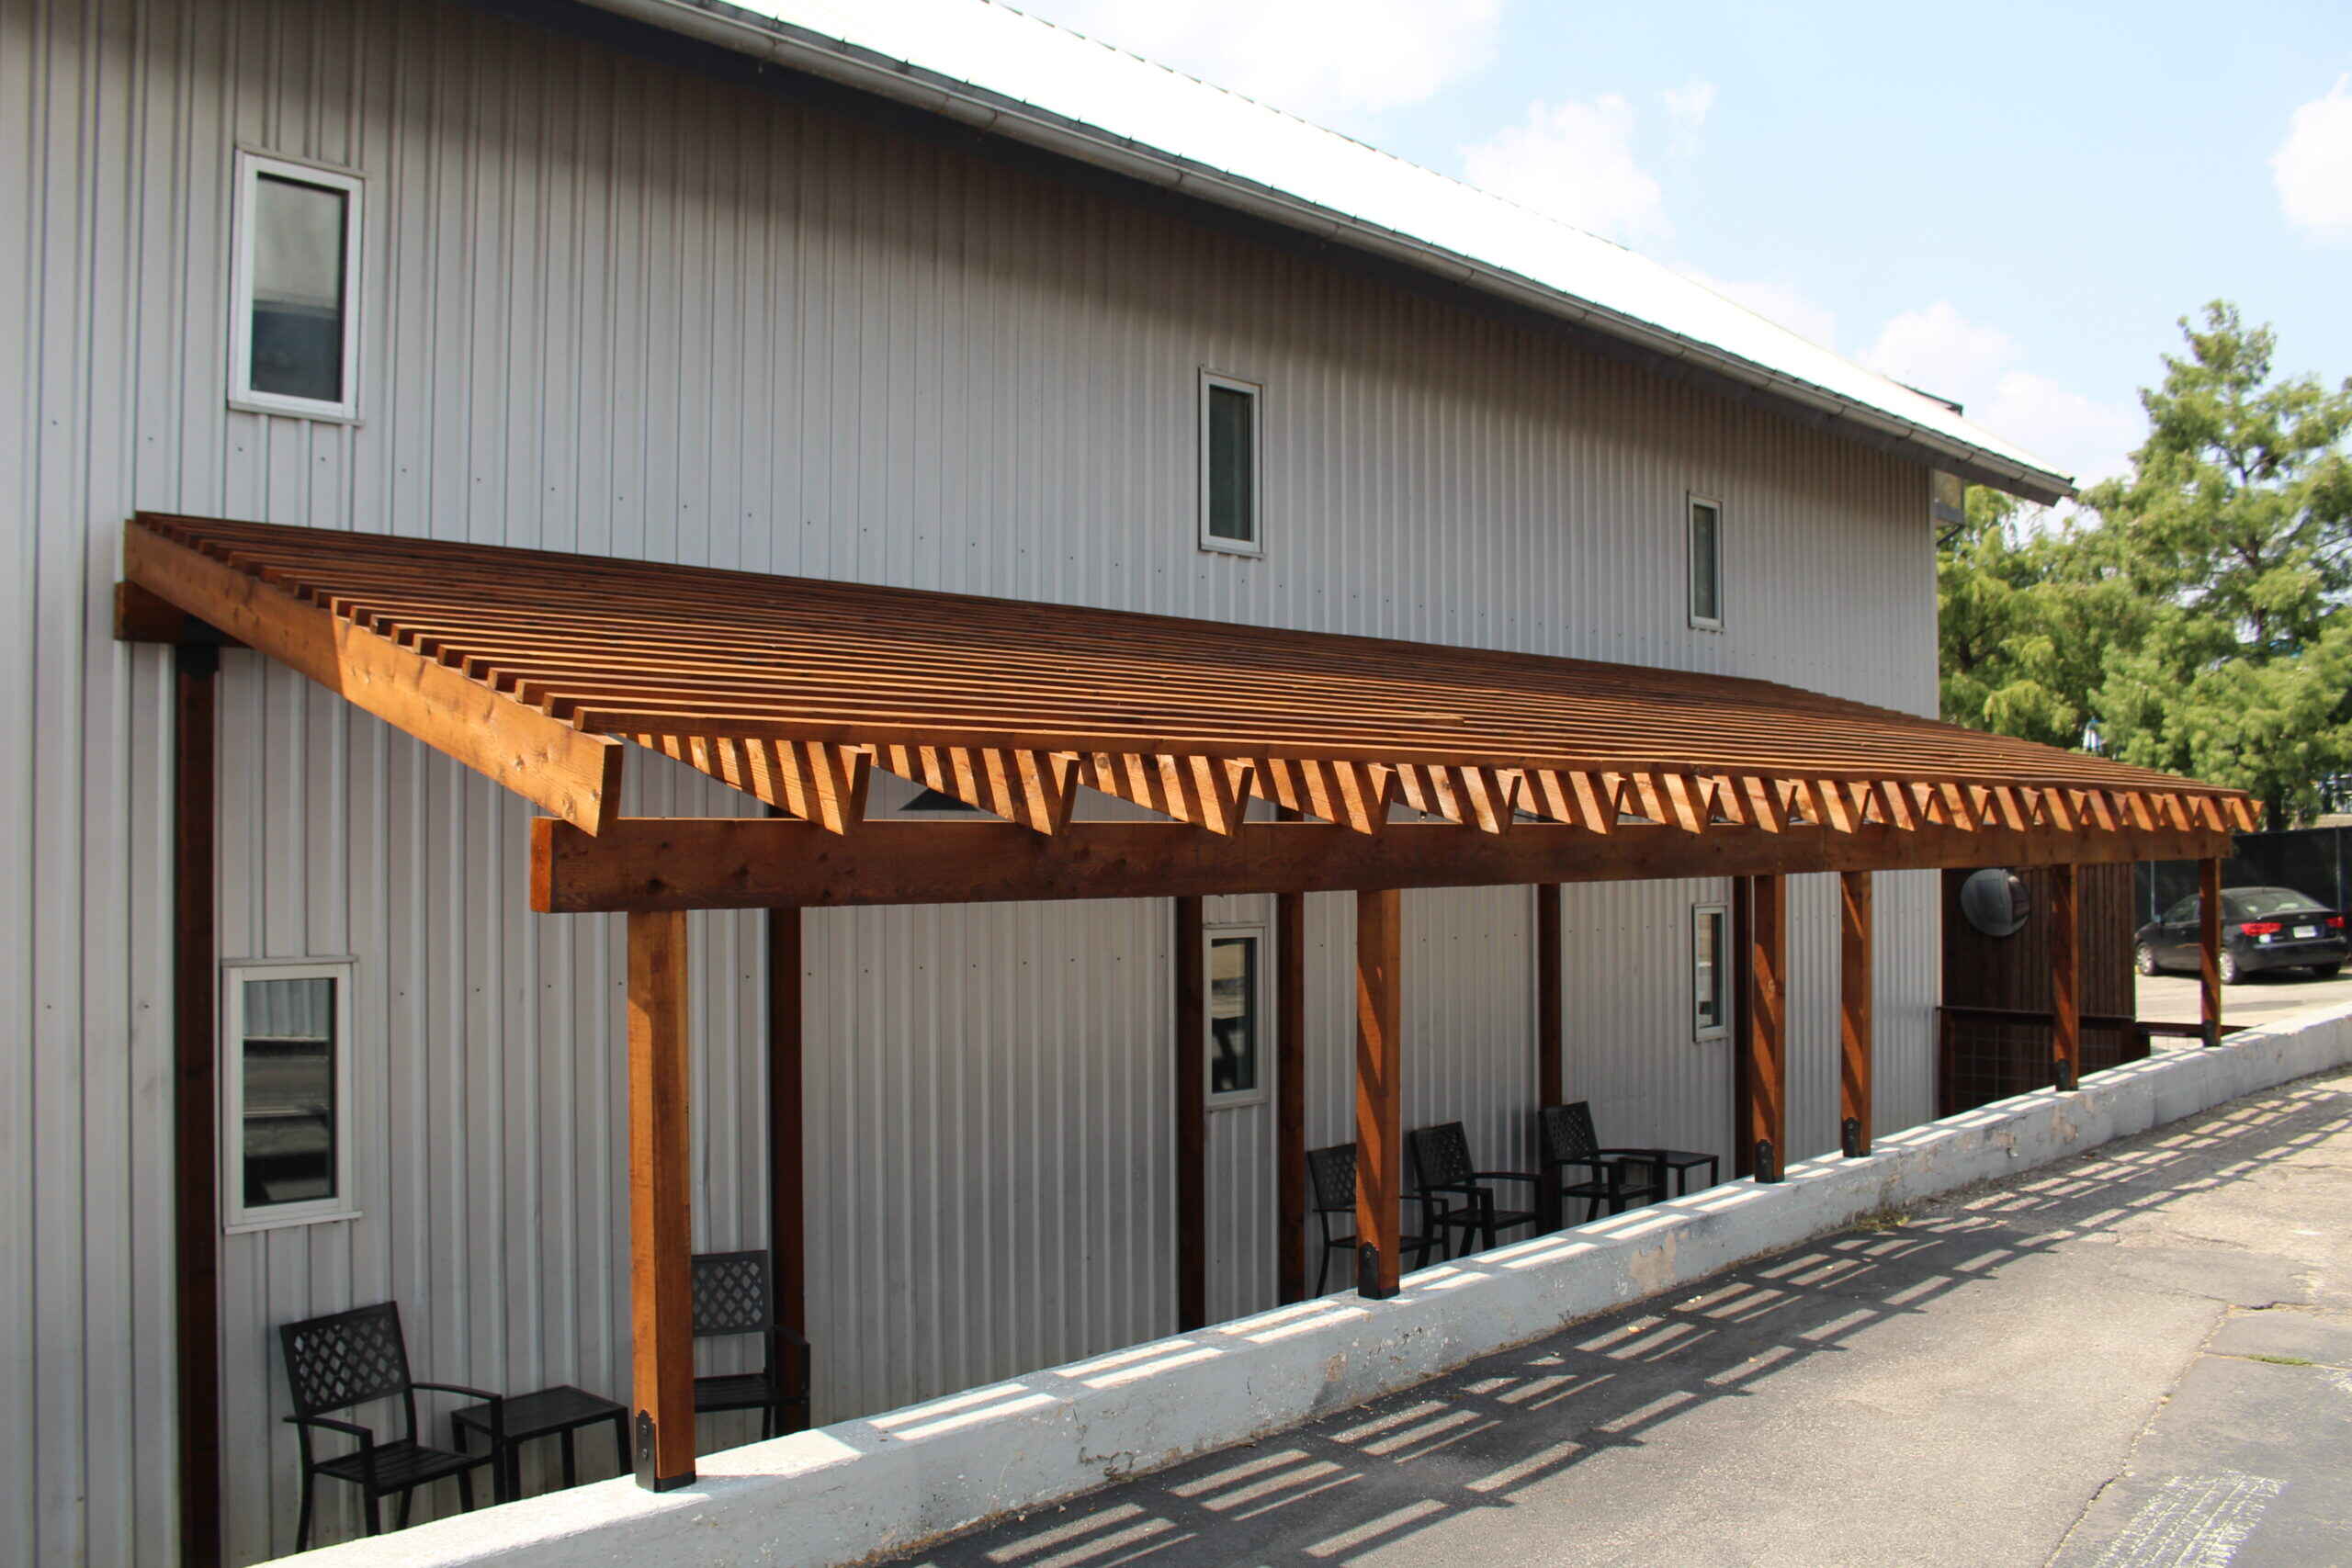
Assembling the Awning Frame
With the installation area prepared and the measurements confirmed, it’s time to assemble the frame for your awning. The frame provides the structural support for the awning and plays a pivotal role in its stability and durability. Follow these steps to construct the frame with precision and ensure a secure attachment to the wall.
Begin by cutting the lumber to the required lengths, following the dimensions determined during the planning phase. Use a saw to achieve clean, accurate cuts, and double-check the measurements to guarantee that the components fit together seamlessly. Once the pieces are cut, sand the edges to remove any roughness and create a smooth finish.
Next, assemble the frame components according to the design you’ve chosen. Whether it’s a simple rectangular frame or a more intricate structure, ensure that the pieces are securely joined using appropriate fasteners such as screws or brackets. A level should be used throughout the assembly process to confirm that the frame is perfectly horizontal and aligned with the markings on the wall.
After the frame is assembled, position it against the wall at the marked attachment points. With the assistance of a helper, hold the frame in place and use a drill to attach it securely to the wall. Be sure to use appropriate anchors or fasteners suitable for the wall material to ensure a strong and reliable connection.
Once the frame is securely attached, double-check its stability and alignment. Any adjustments should be made at this stage to guarantee that the frame is level and securely fixed in place. With the frame successfully assembled and installed, you’re now ready to move on to the next phase: attaching the awning cover.
By methodically assembling the awning frame with precision and attention to detail, you’ll establish a solid foundation for the final stages of the construction process. With the frame securely in place, you’re one step closer to enjoying the functional and aesthetic benefits of your newly constructed awning.
When building an awning over a door, make sure to use sturdy materials like metal or treated wood to withstand weather. Also, ensure proper installation to prevent water leakage.
Attaching the Awning to the Wall
Attaching the awning to the wall is a crucial step that ensures the stability and functionality of the structure. With the frame securely in place, it’s time to focus on adding the covering material to complete the awning assembly. Follow these steps to affix the awning to the wall with precision and attention to detail.
First, select the appropriate covering material for your awning. Common options include canvas, metal sheeting, or polycarbonate panels, each offering unique benefits in terms of durability, weather resistance, and aesthetic appeal. Ensure that the chosen material is compatible with the frame and complements the overall design of your home.
Once the covering material is selected, carefully position it over the frame, ensuring that it provides adequate coverage and aligns with the edges of the frame. Secure the covering material to the frame using suitable fasteners, such as screws or staples, ensuring that it is taut and free from wrinkles or sagging. Pay close attention to the tension of the material to achieve a smooth and uniform appearance.
After the covering material is securely attached to the frame, assess its stability and resilience. Test its ability to withstand moderate wind and weather conditions, ensuring that it is firmly anchored and capable of providing reliable protection. Any adjustments or additional fastening should be made as necessary to reinforce the attachment of the covering material.
With the awning securely attached to the wall and the covering material in place, take a moment to admire your handiwork. The awning now stands as a functional and visually appealing addition to your home, offering shelter and charm to your entryway. With the final touches and maintenance remaining, you’re on the brink of completing this rewarding project.
By meticulously attaching the awning to the wall with care and precision, you’ve brought the structure to its full form, ready to serve its intended purpose. With the covering material securely in place, the awning is now poised to provide shelter and enhance the aesthetic appeal of your home for years to come.
Read more: How To Build An Awning Frame
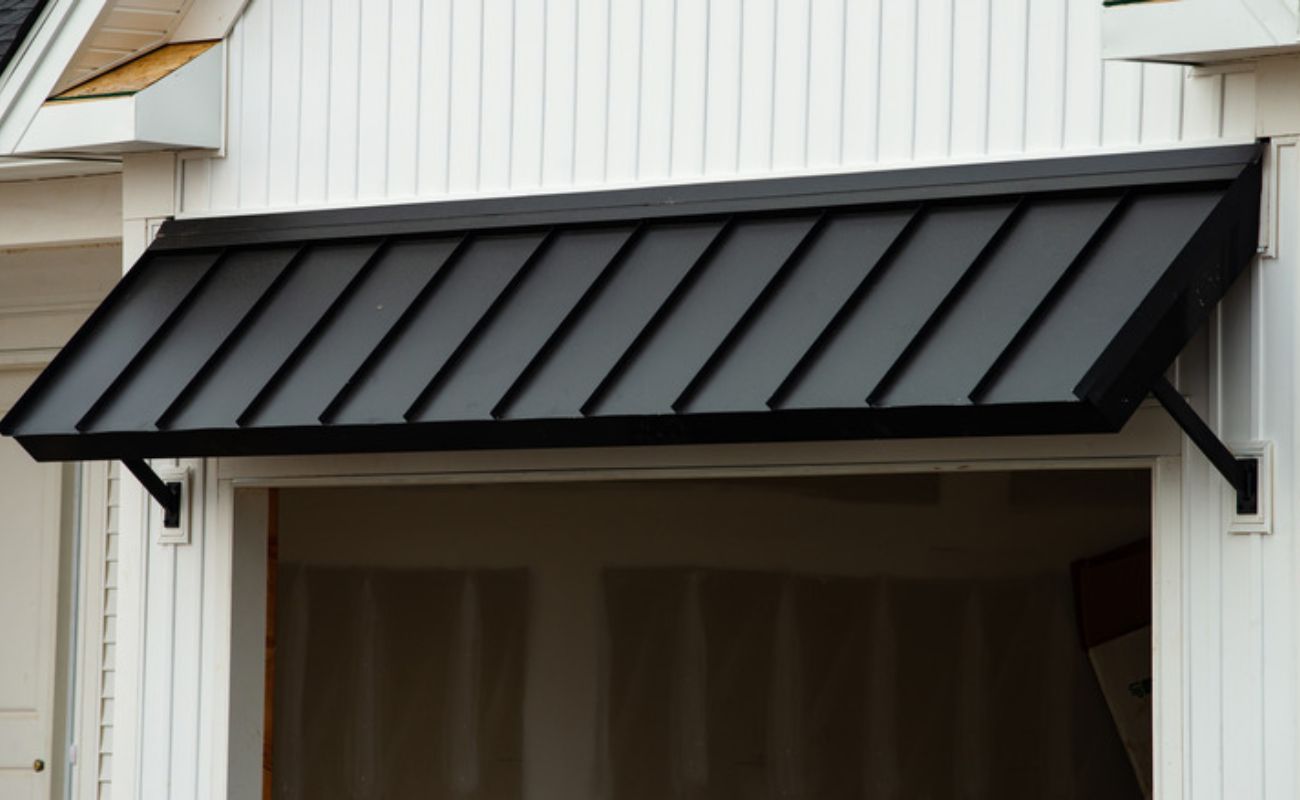
Adding the Awning Cover
Adding the cover to your awning is the final touch that brings both functionality and visual appeal to the structure. The cover not only provides protection from the elements but also contributes to the overall aesthetic of your home’s exterior. Follow these steps to add the cover to your awning with precision and attention to detail.
Before adding the cover, ensure that the frame is securely installed and the attachment points are reinforced. This foundational step is essential for providing a stable and reliable support for the cover, ensuring its longevity and effectiveness.
Once the frame is ready, select the appropriate material for the awning cover. Common options include canvas, outdoor fabric, or metal sheeting, each offering distinct advantages in terms of durability, weather resistance, and visual appeal. Choose a material that complements the architectural style of your home and withstands the prevailing weather conditions in your area.
Position the selected covering material over the frame, ensuring that it provides ample coverage and aligns with the edges of the frame. Secure the cover to the frame using suitable fasteners, such as screws, staples, or clips, ensuring that it is taut and free from wrinkles or sagging. Pay close attention to the tension of the material to achieve a smooth and uniform appearance.
After the cover is securely attached to the frame, evaluate its resilience and functionality. Test its ability to withstand moderate wind and weather conditions, ensuring that it is firmly anchored and capable of providing reliable protection. Make any necessary adjustments to reinforce the attachment of the cover, ensuring its long-term durability.
With the cover in place, step back and admire the transformation it brings to your home’s exterior. The awning now stands as a stylish and practical addition, offering shelter and enhancing the visual appeal of your entryway. With the cover securely attached, you’re now ready to move on to the final touches and maintenance to complete the project.
By meticulously adding the cover to your awning with care and precision, you’ve elevated the structure to its full potential, ready to serve its intended purpose while enhancing the aesthetic charm of your home. With the cover securely in place, your newly constructed awning is poised to make a lasting impression for years to come.
Final Touches and Maintenance
With the awning structure complete and the cover securely in place, it’s time to add the final touches and establish a maintenance routine to ensure the longevity and functionality of your newly constructed awning. These concluding steps will enhance the overall appearance and performance of the awning, allowing you to enjoy its benefits for years to come.
Begin by inspecting the entire awning assembly to ensure that all components are securely fastened and aligned. Check the frame, attachment points, and covering material, making any necessary adjustments to reinforce the structure and address any potential issues. This proactive approach will contribute to the stability and durability of the awning.
Consider adding decorative elements to the awning to further enhance its visual appeal. Options include adding trim, painting the frame in a complementary color, or incorporating decorative hardware. These embellishments can elevate the aesthetics of the awning, creating a polished and cohesive look that complements your home’s exterior.
Establish a regular maintenance routine for the awning to preserve its condition and functionality. This may include periodically cleaning the covering material, inspecting the frame for signs of wear or damage, and addressing any necessary repairs promptly. By staying proactive in the upkeep of your awning, you’ll prolong its lifespan and ensure continued protection for your entryway.
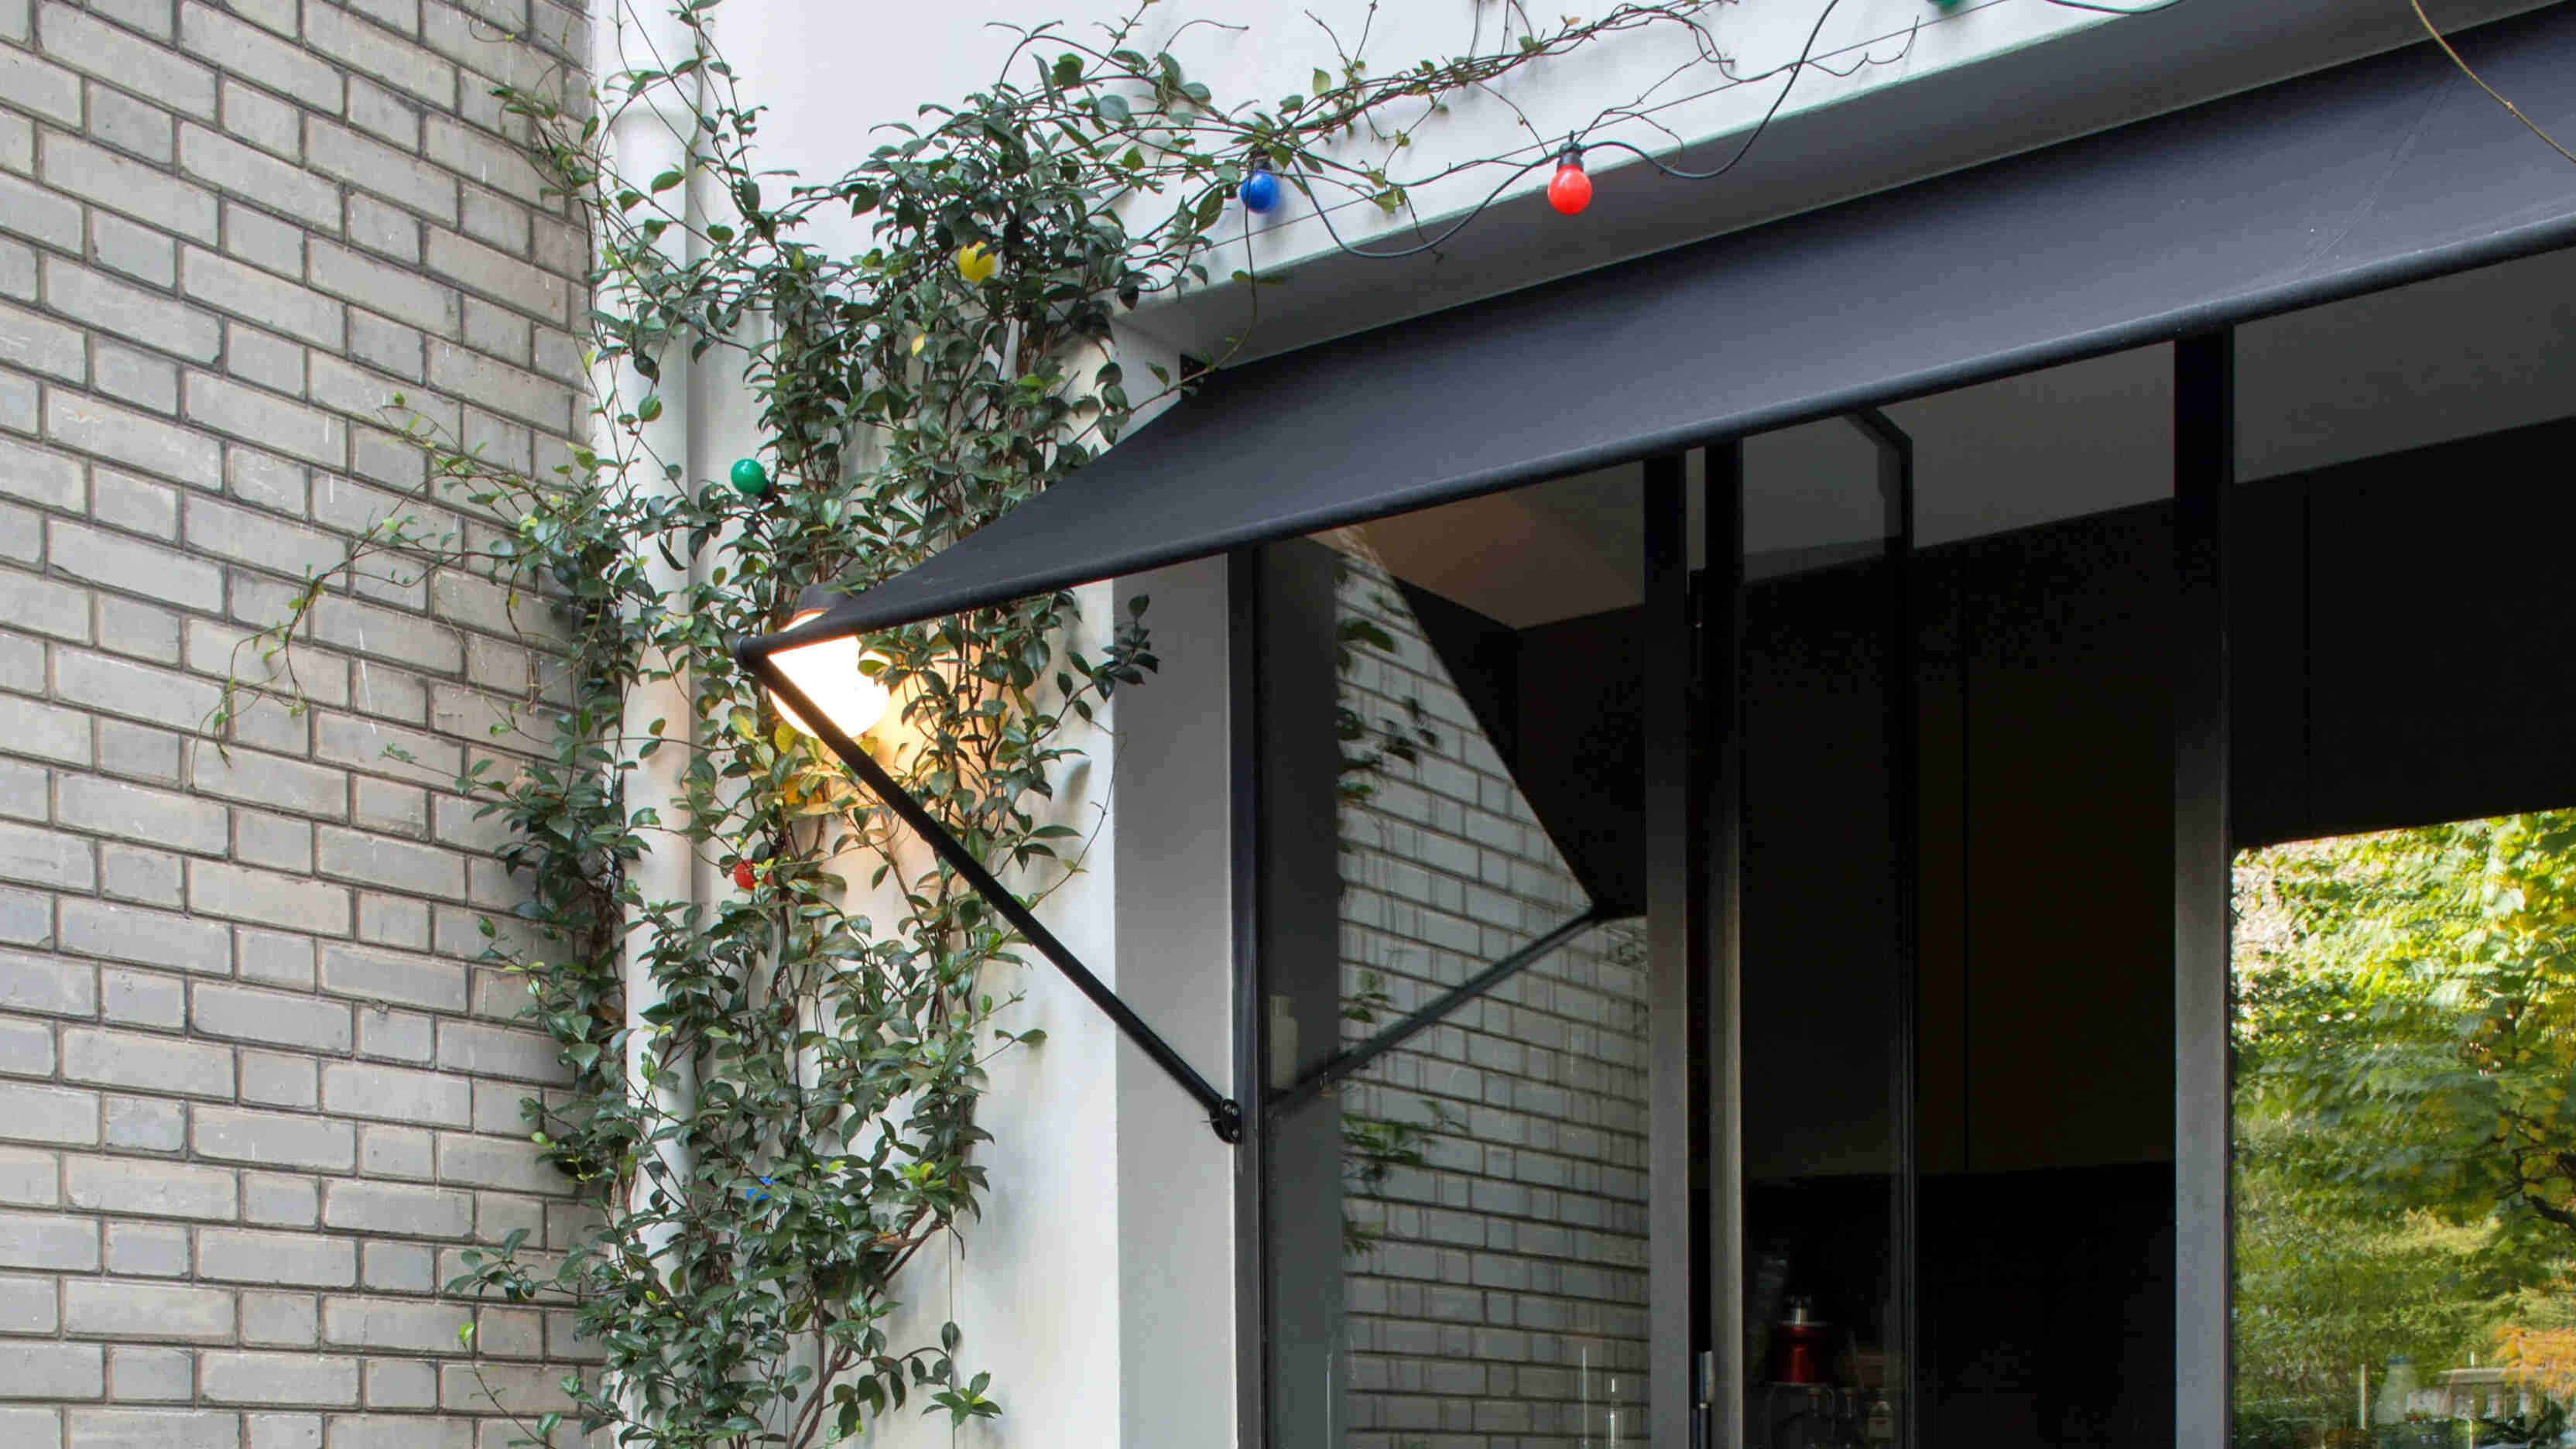
Consider the addition of lighting to the awning to extend its functionality into the evening hours. Strategically placed outdoor lighting can enhance the ambiance of your entryway while providing illumination for added safety and security. Whether through wall-mounted fixtures or string lights, lighting can transform the awning into a welcoming feature day or night.
With the final touches and maintenance routine in place, take a moment to appreciate the transformation your awning has brought to your home. The structure now stands as a functional and visually appealing addition, offering shelter and charm to your entryway. By investing care and attention into the final details and maintenance, you’re ensuring that your awning will continue to enhance your home for years to come.
With these concluding steps completed, your awning construction project draws to a satisfying close. By incorporating the final touches and establishing a maintenance routine, you’ve not only created a practical and stylish addition to your home but also set the stage for long-term enjoyment and functionality. Congratulations on successfully bringing your awning vision to life!
Conclusion
Congratulations on completing the construction of your awning! By following this comprehensive guide, you’ve embarked on a rewarding journey that has resulted in a stylish and functional addition to your home. The awning now stands as a testament to your craftsmanship and dedication, offering shelter and enhancing the aesthetic appeal of your entryway.
Throughout the construction process, you’ve demonstrated a meticulous approach, from the initial planning and preparation to the final touches and maintenance. Your attention to detail and commitment to precision have culminated in the creation of a structure that not only provides practical benefits but also adds character and charm to your home’s exterior.
As you enjoy the benefits of your newly constructed awning, take pride in the skills you’ve honed and the transformation you’ve brought to your living space. Whether it’s sheltering visitors from the elements, creating a welcoming entryway, or adding a touch of style to your home, the awning serves as a testament to your creativity and resourcefulness.
Going forward, continue to maintain your awning with care and diligence, ensuring that it remains a reliable and enduring feature of your home. By incorporating the final touches, establishing a maintenance routine, and potentially adding decorative elements and lighting, you’ll further enhance the functionality and visual appeal of the awning.
Thank you for allowing us to guide you through this exciting project. We hope that the construction of your awning has not only provided practical benefits but also sparked a sense of accomplishment and creativity. May your newly constructed awning bring joy and utility to your home for years to come, serving as a testament to your skills and vision.
With the completion of this project, you’ve not only built an awning over a door but also woven a story of craftsmanship and transformation. Your home now boasts a distinctive feature that reflects your dedication and ingenuity. As you bask in the shelter and charm it provides, remember the journey that led to its creation and the pride of a job well done.
Frequently Asked Questions about How To Build An Awning Over A Door
Was this page helpful?
At Storables.com, we guarantee accurate and reliable information. Our content, validated by Expert Board Contributors, is crafted following stringent Editorial Policies. We're committed to providing you with well-researched, expert-backed insights for all your informational needs.


0 thoughts on “How To Build An Awning Over A Door”