Home>Home Security and Surveillance>How To Hook Up A Security Camera To TV Without DVR
Home Security and Surveillance
How To Hook Up A Security Camera To TV Without DVR
Modified: October 21, 2024
Learn how to connect a security camera to your TV without the need for a DVR. Enhance your home security and surveillance system easily.
(Many of the links in this article redirect to a specific reviewed product. Your purchase of these products through affiliate links helps to generate commission for Storables.com, at no extra cost. Learn more)
Introduction
Home security is a top priority for many homeowners, and having a surveillance system in place can provide peace of mind and added protection. While there are numerous options available for setting up a security camera system, some individuals may prefer to connect their cameras directly to a TV without the need for a DVR (Digital Video Recorder).
In this article, we will guide you through the process of hooking up a security camera to a TV without a DVR. We will explore multiple methods and provide step-by-step instructions to ensure a successful connection. Whether you want to monitor the front door, keep an eye on your backyard, or simply enhance the security of your home, this guide will help you seamlessly integrate your security cameras with your TV.
Before we dive into the details, please note that the specific steps may vary depending on the make and model of your security camera and TV. It is always advisable to refer to the user manuals or contact the manufacturers for any specific instructions or troubleshooting.
Now, let’s get started on connecting your security camera to a TV without a DVR!
Key Takeaways:
- Easily connect your security camera to your TV without a DVR using HDMI, RCA, or VGA cables. Enjoy real-time monitoring and peace of mind with step-by-step instructions for a seamless setup.
- Ensure compatibility between your security camera and TV, adjust settings for optimal viewing, and test the connection to enjoy the convenience of viewing surveillance footage directly on your TV screen.
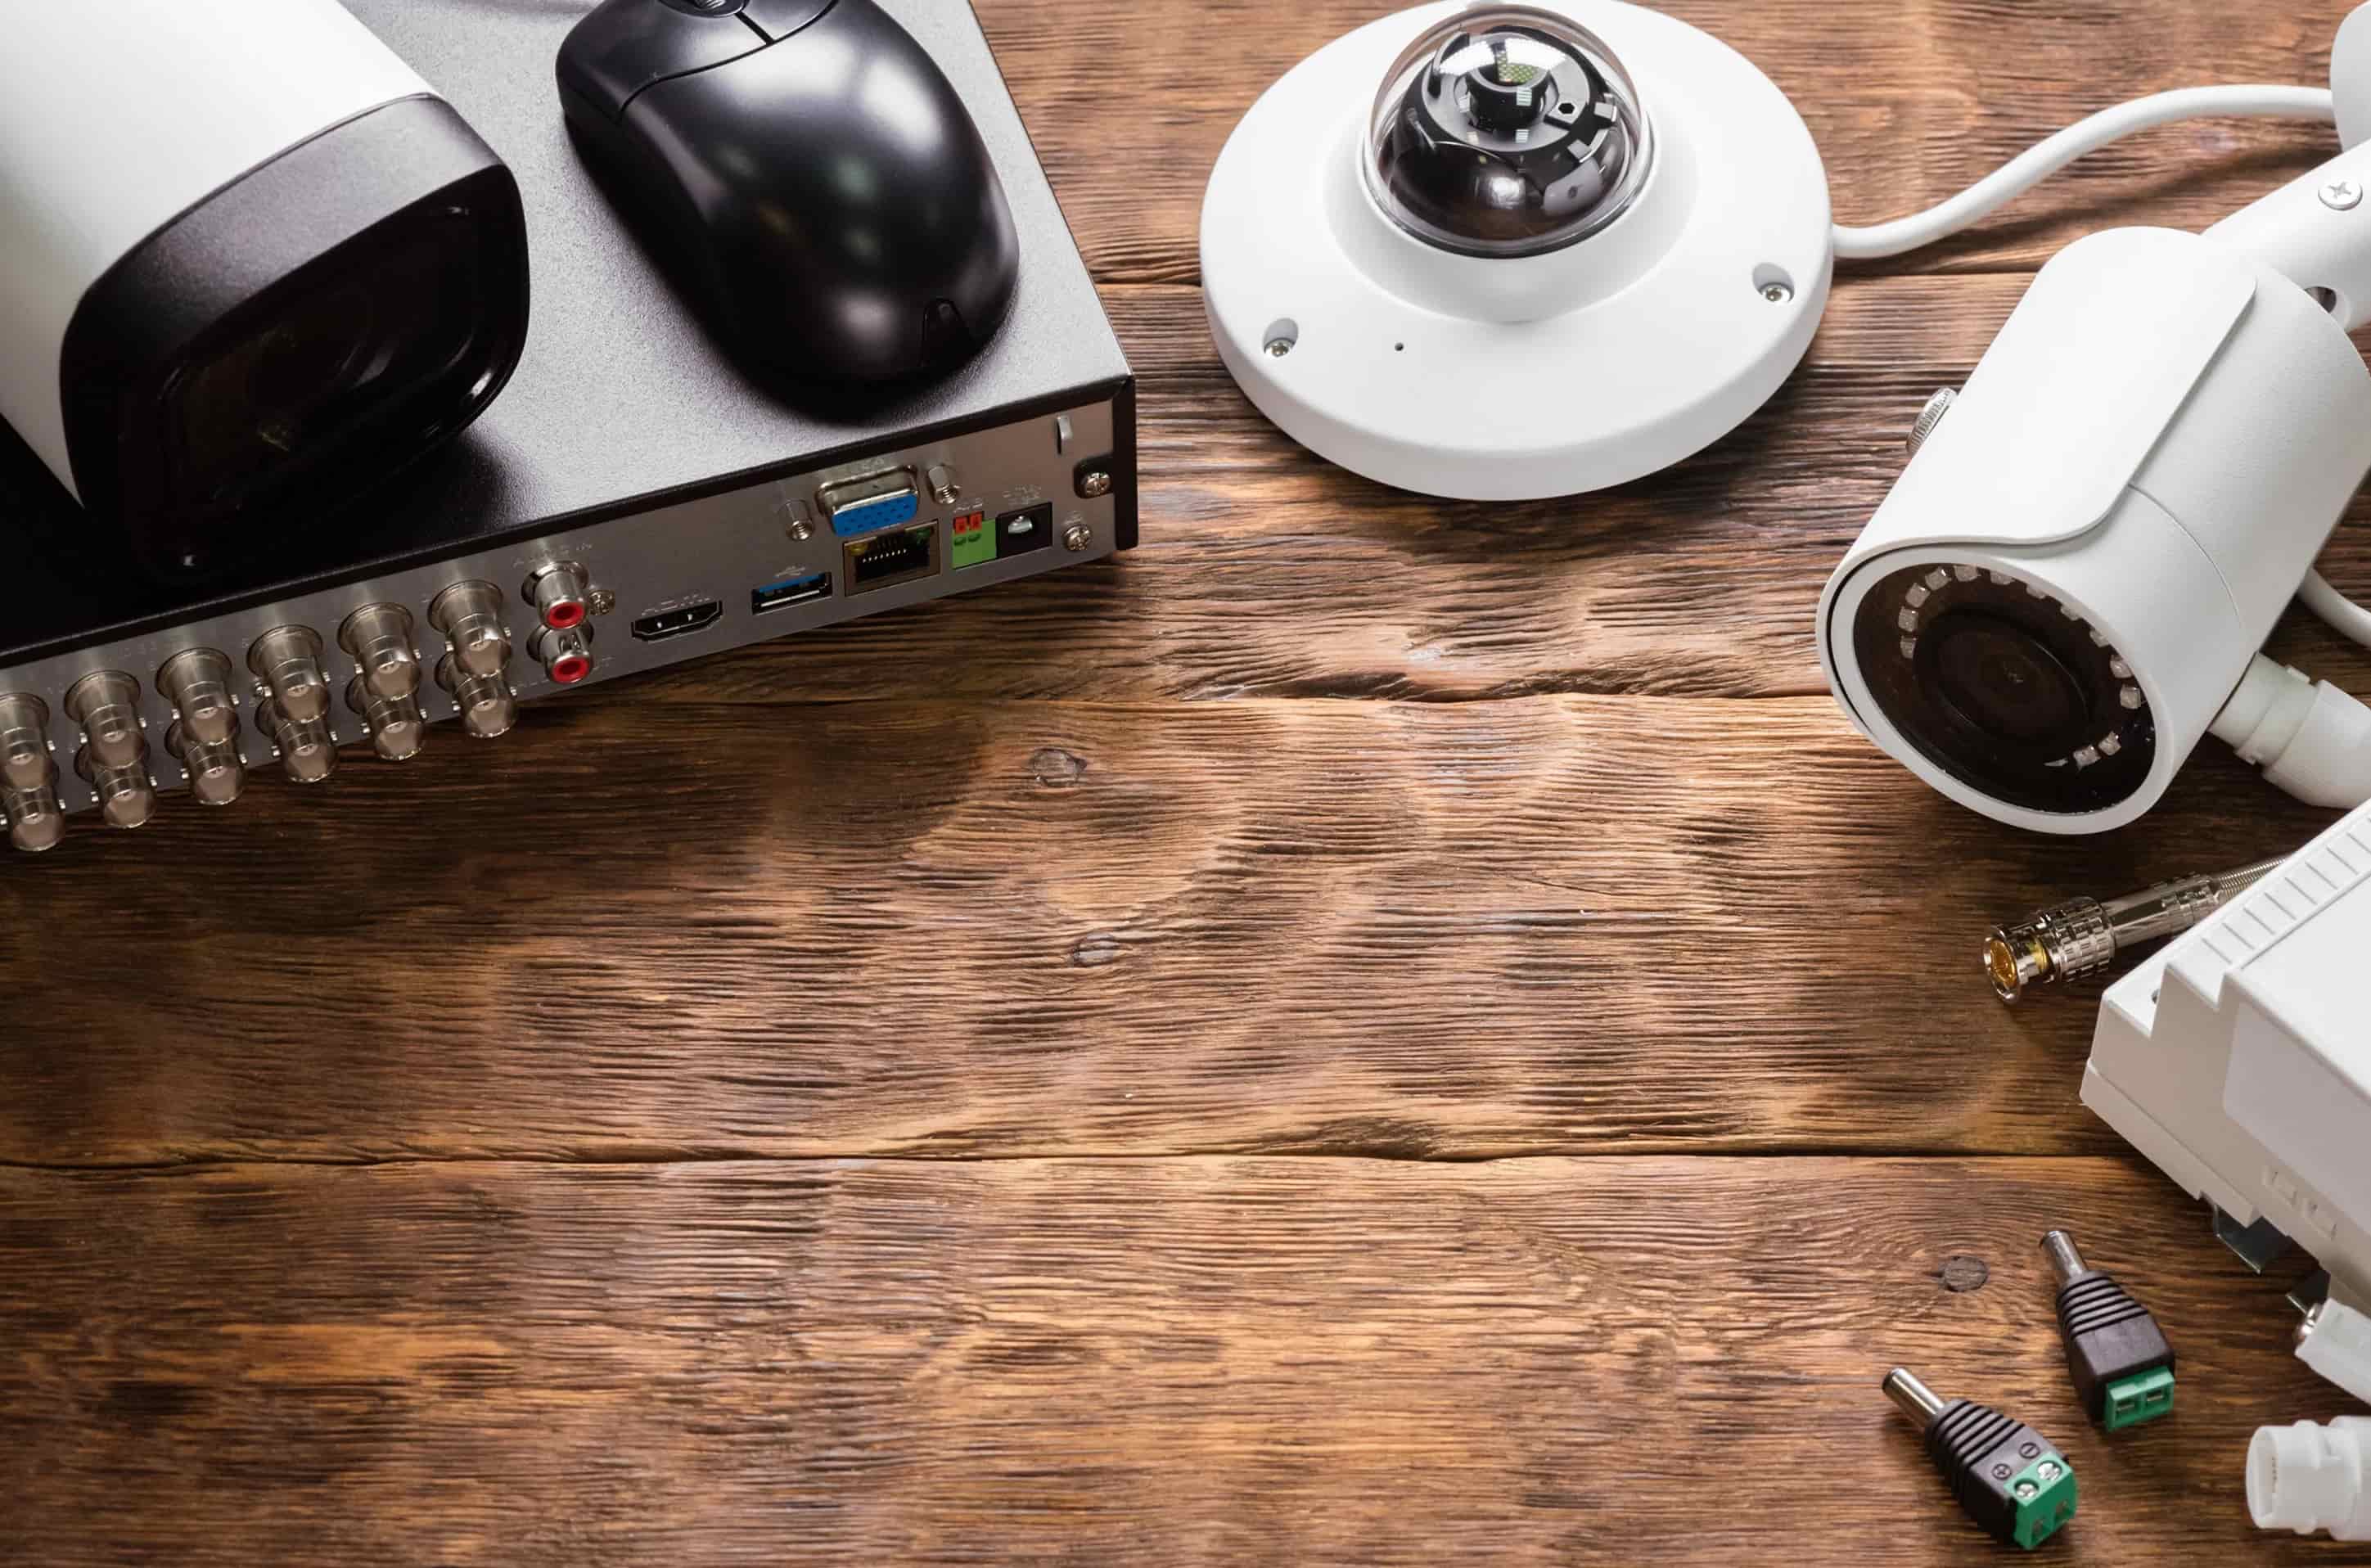
Step 1: Gather the necessary equipment
Before you begin connecting your security camera to a TV without a DVR, it’s important to ensure that you have all the necessary equipment. Here are the items you will need:
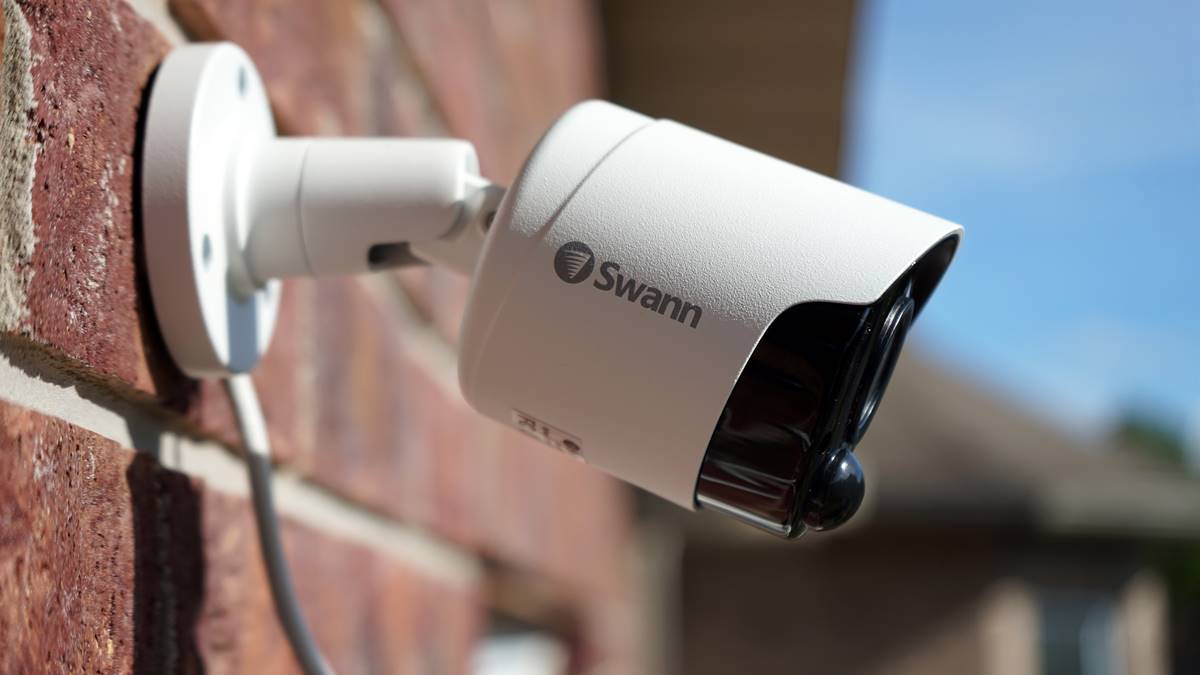
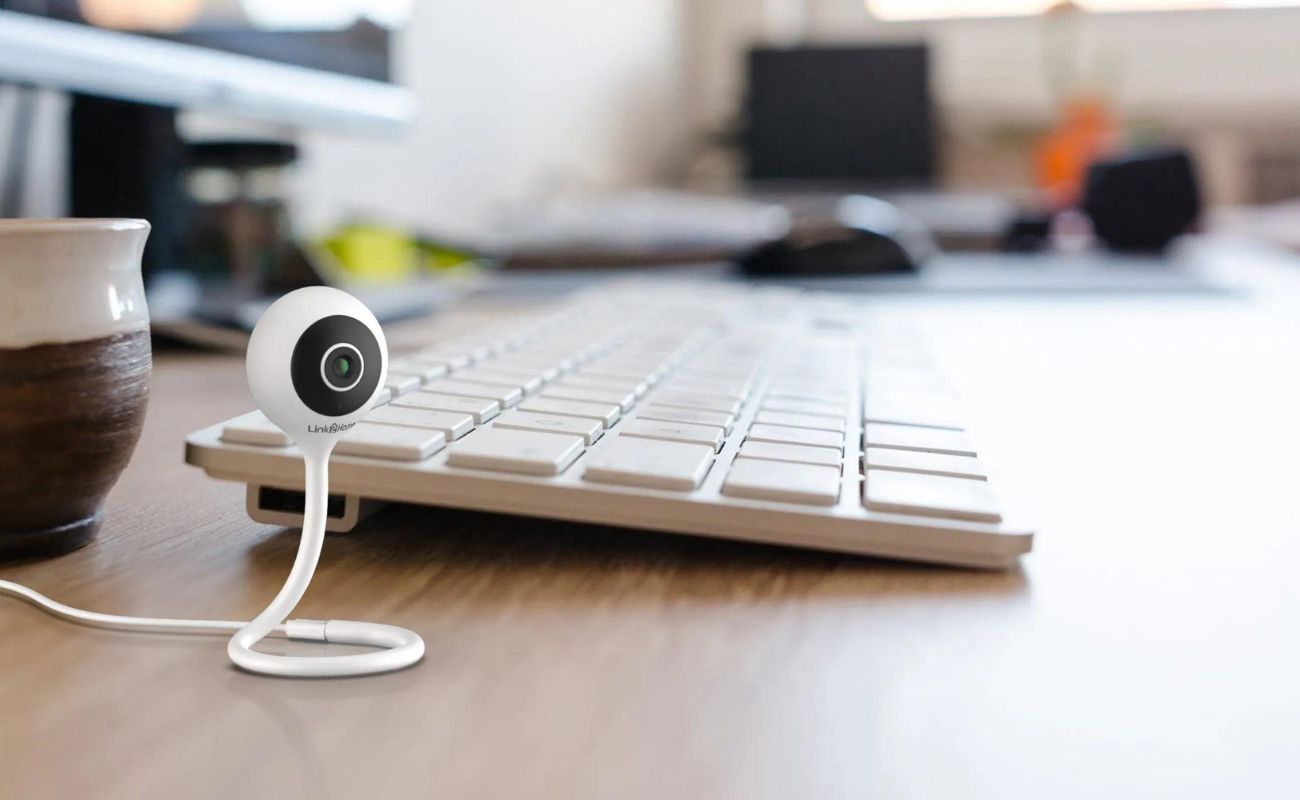
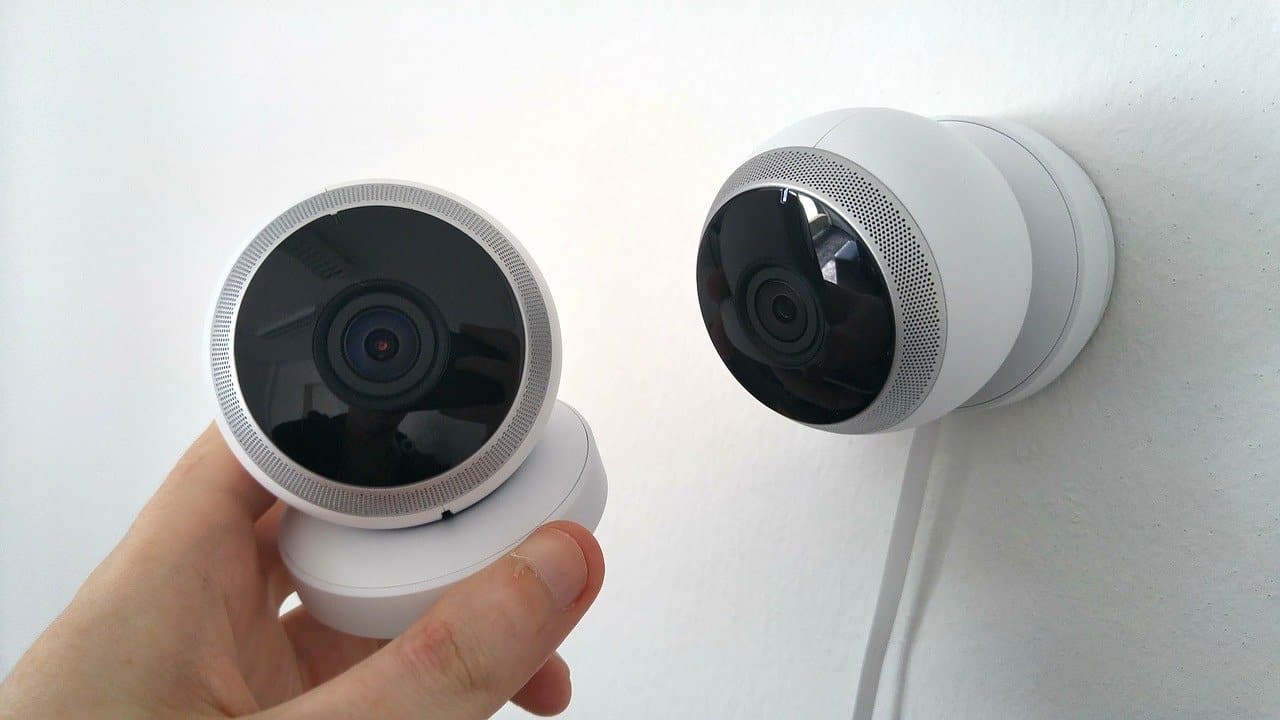
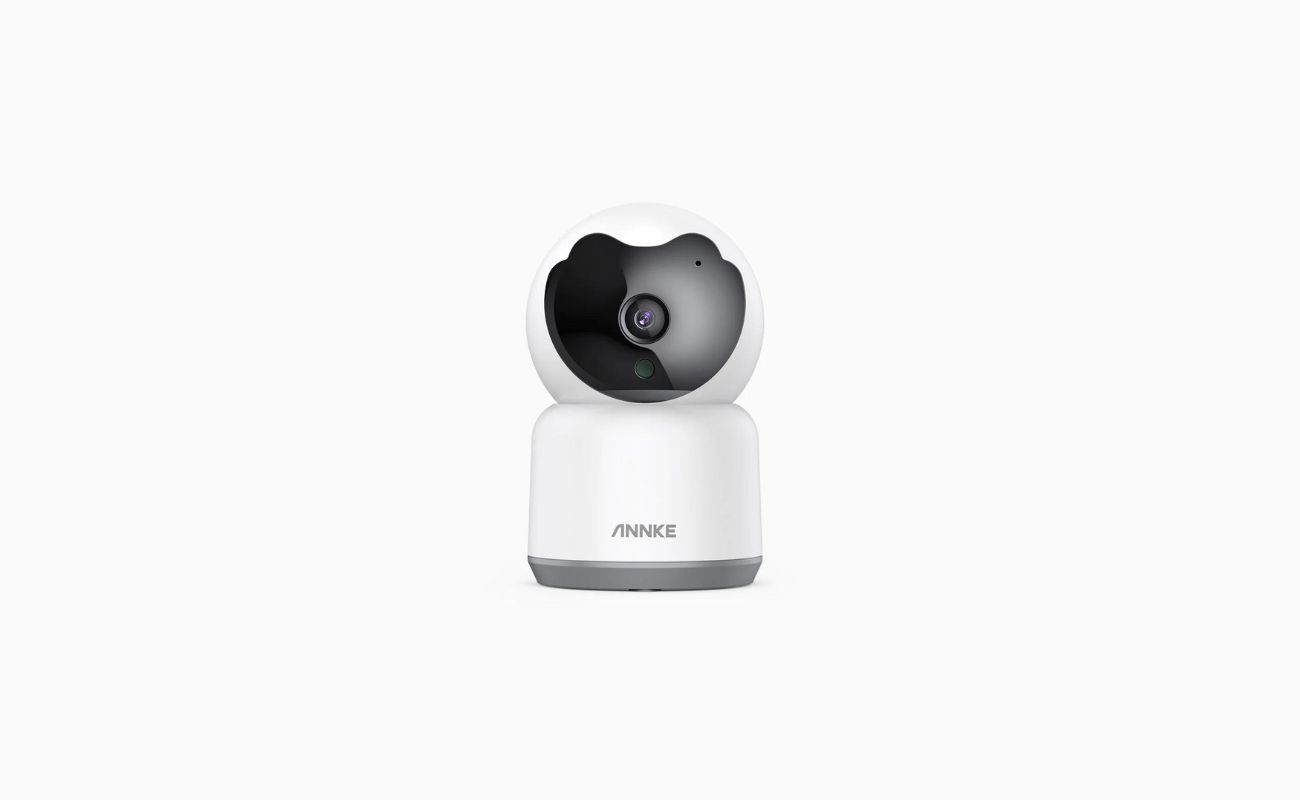
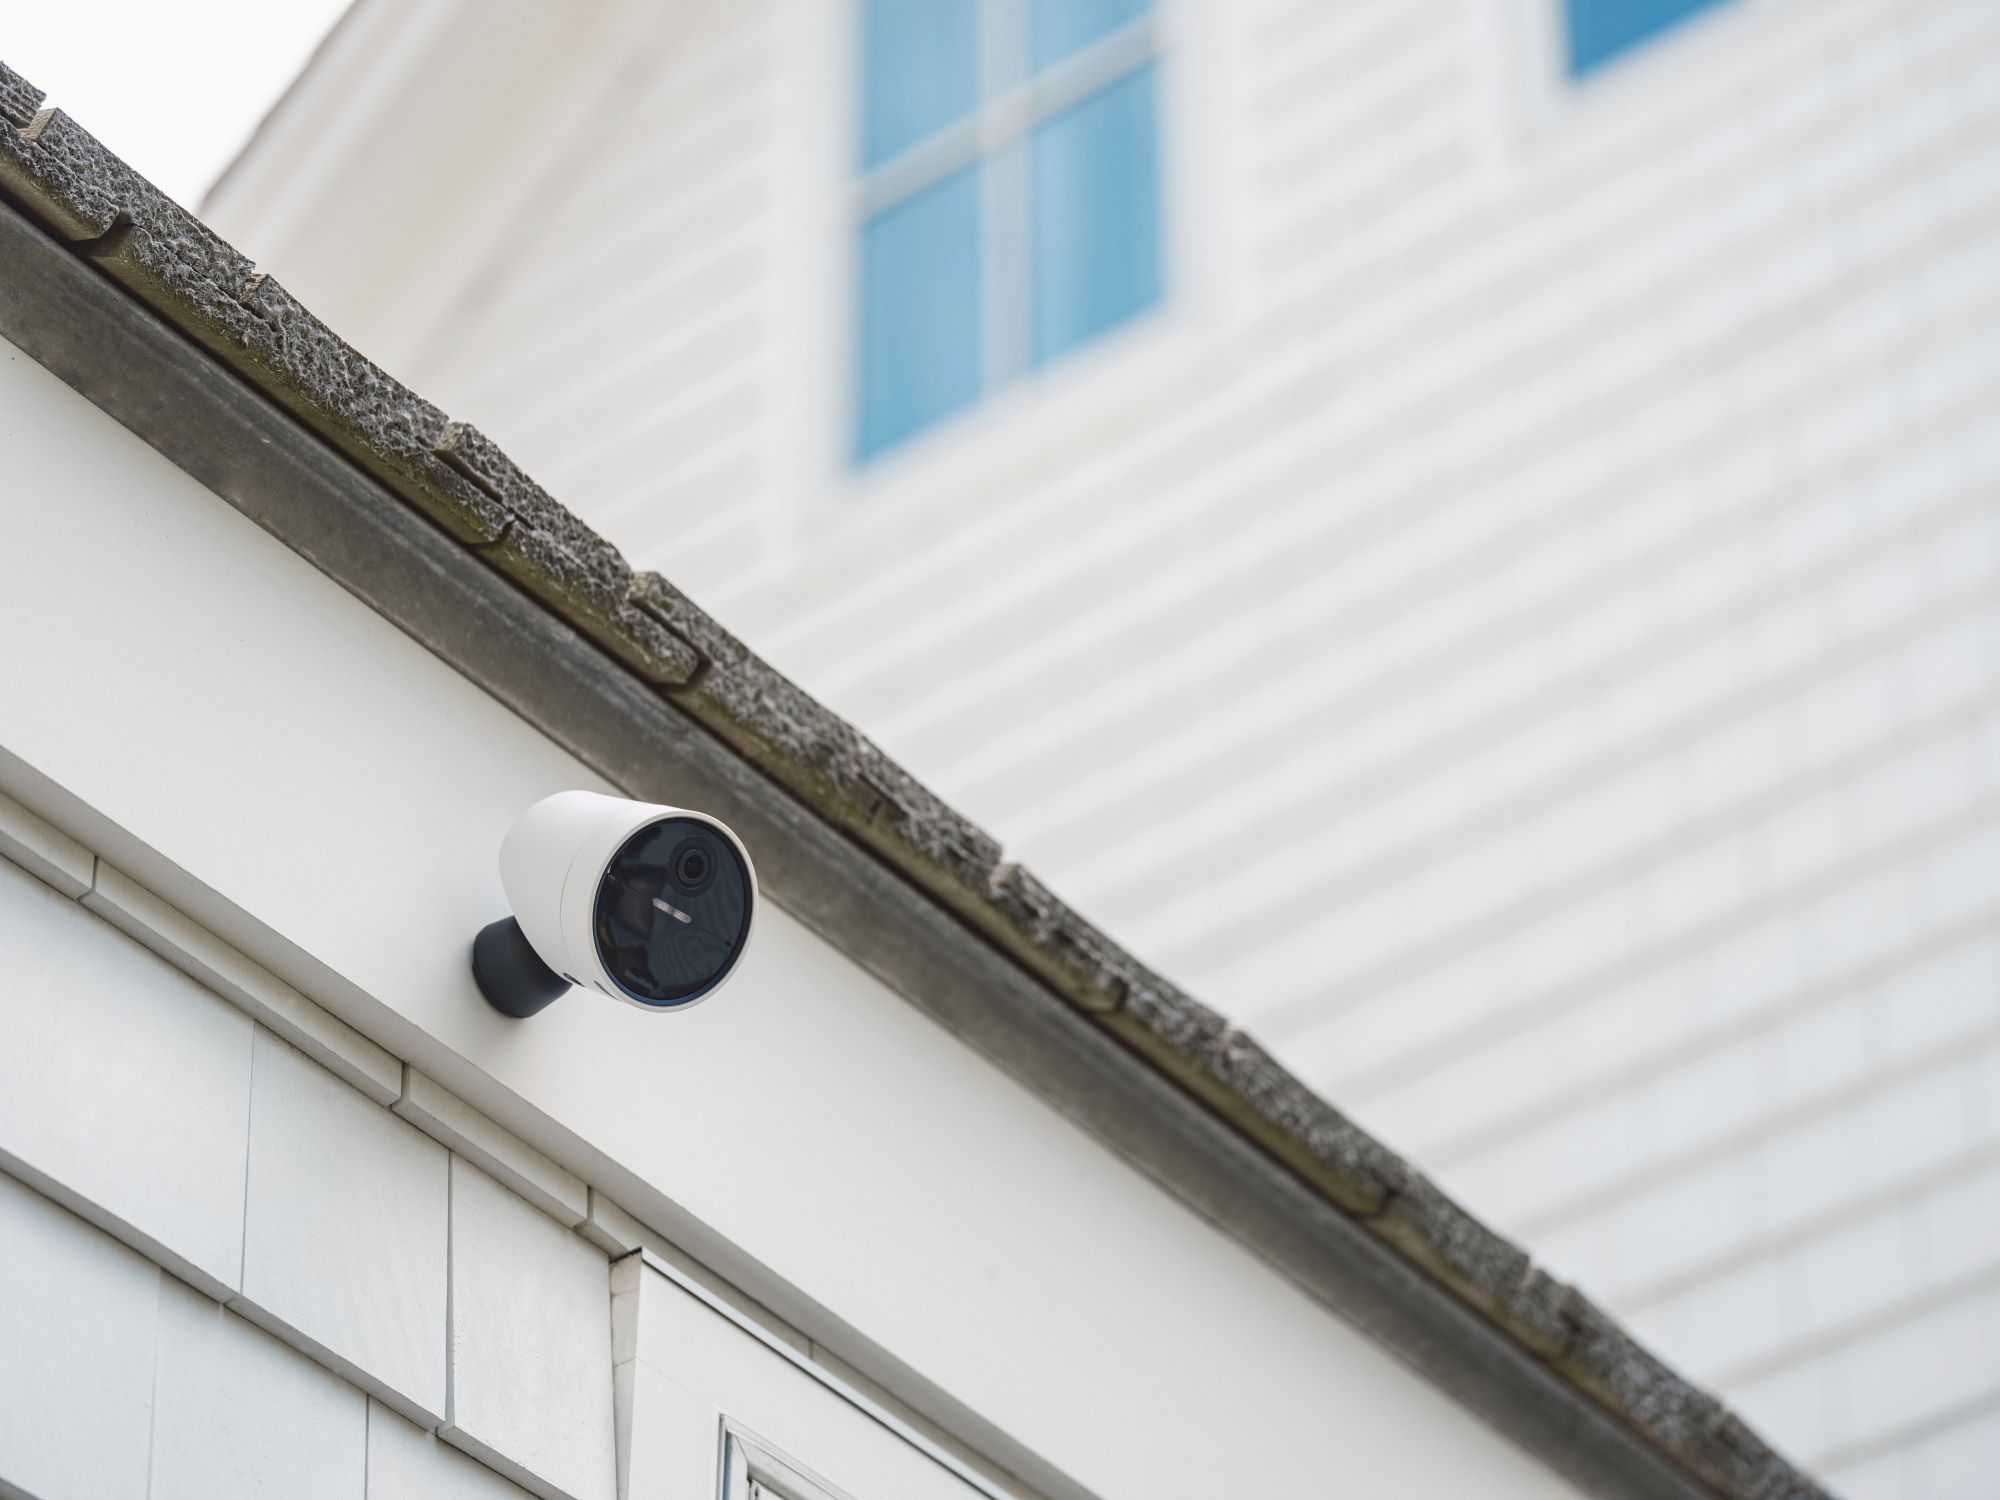
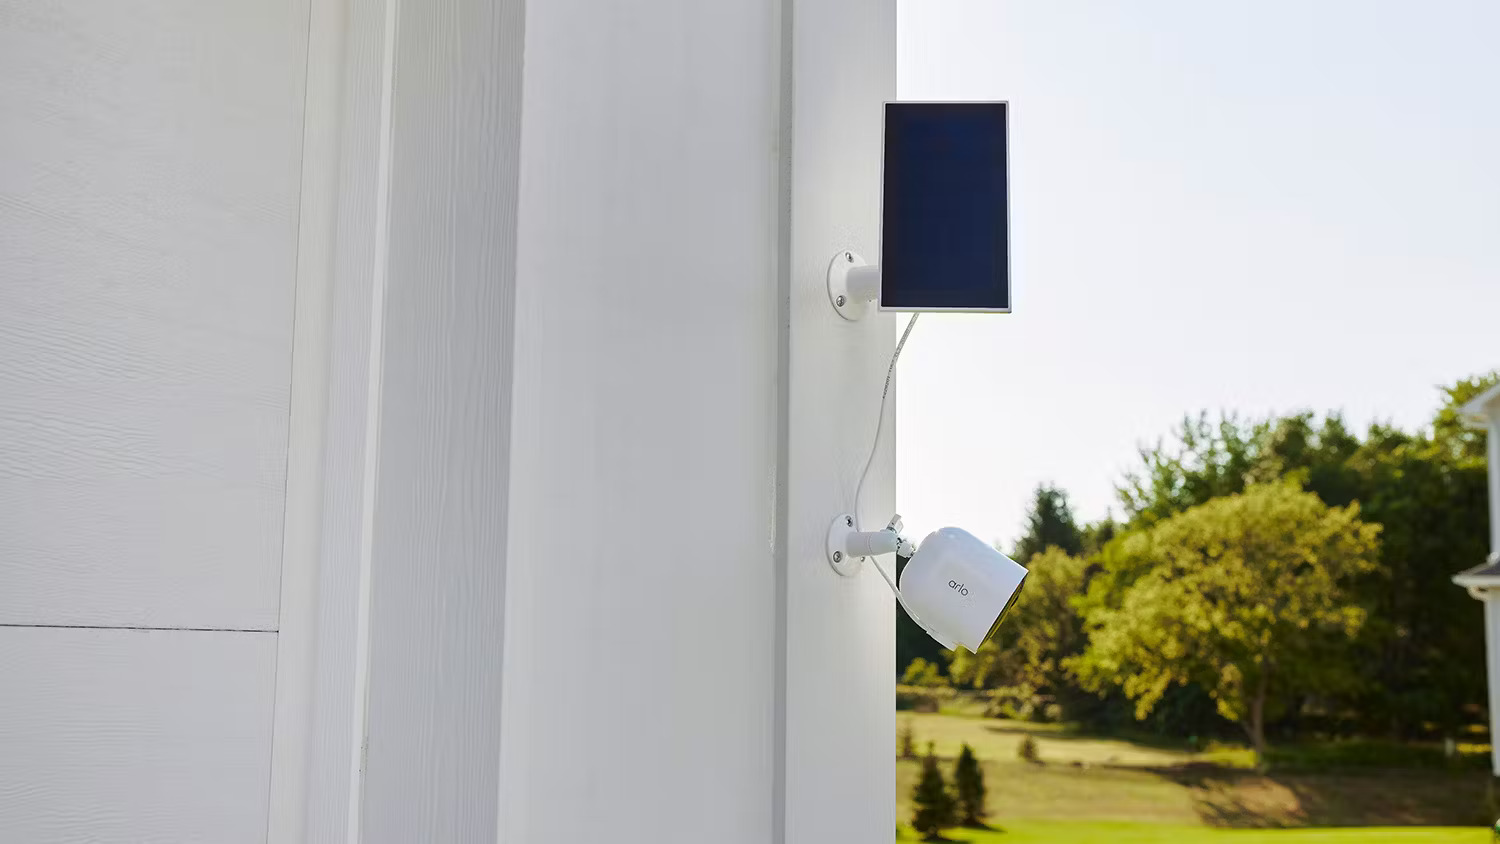
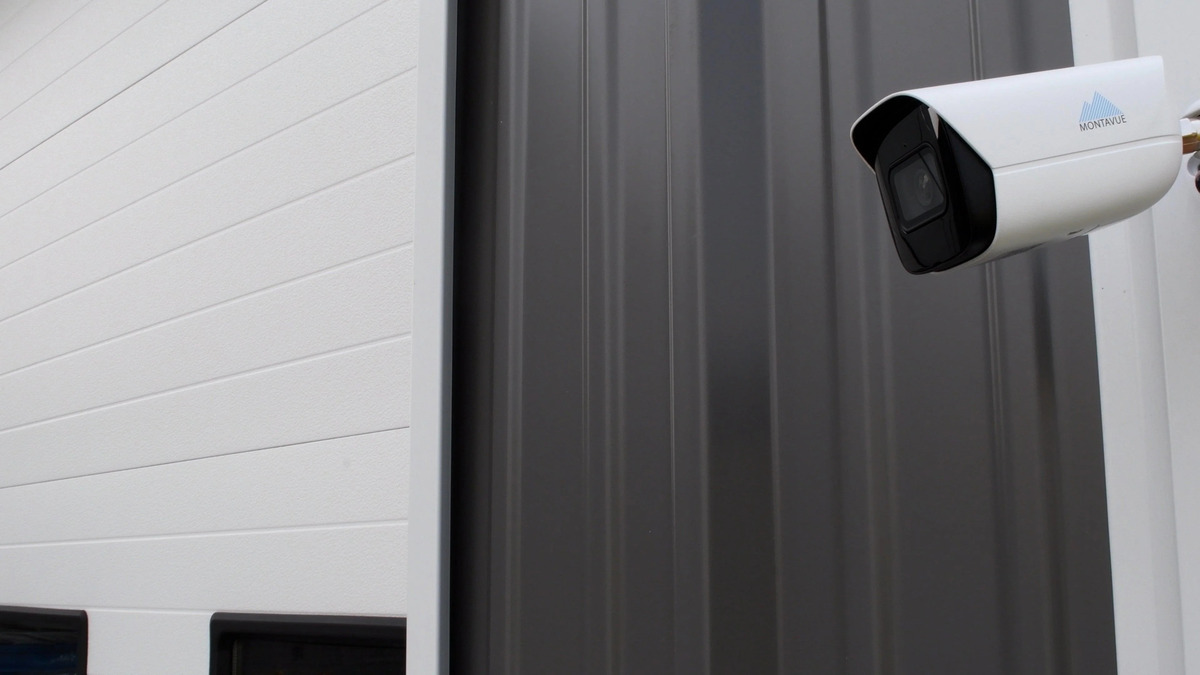
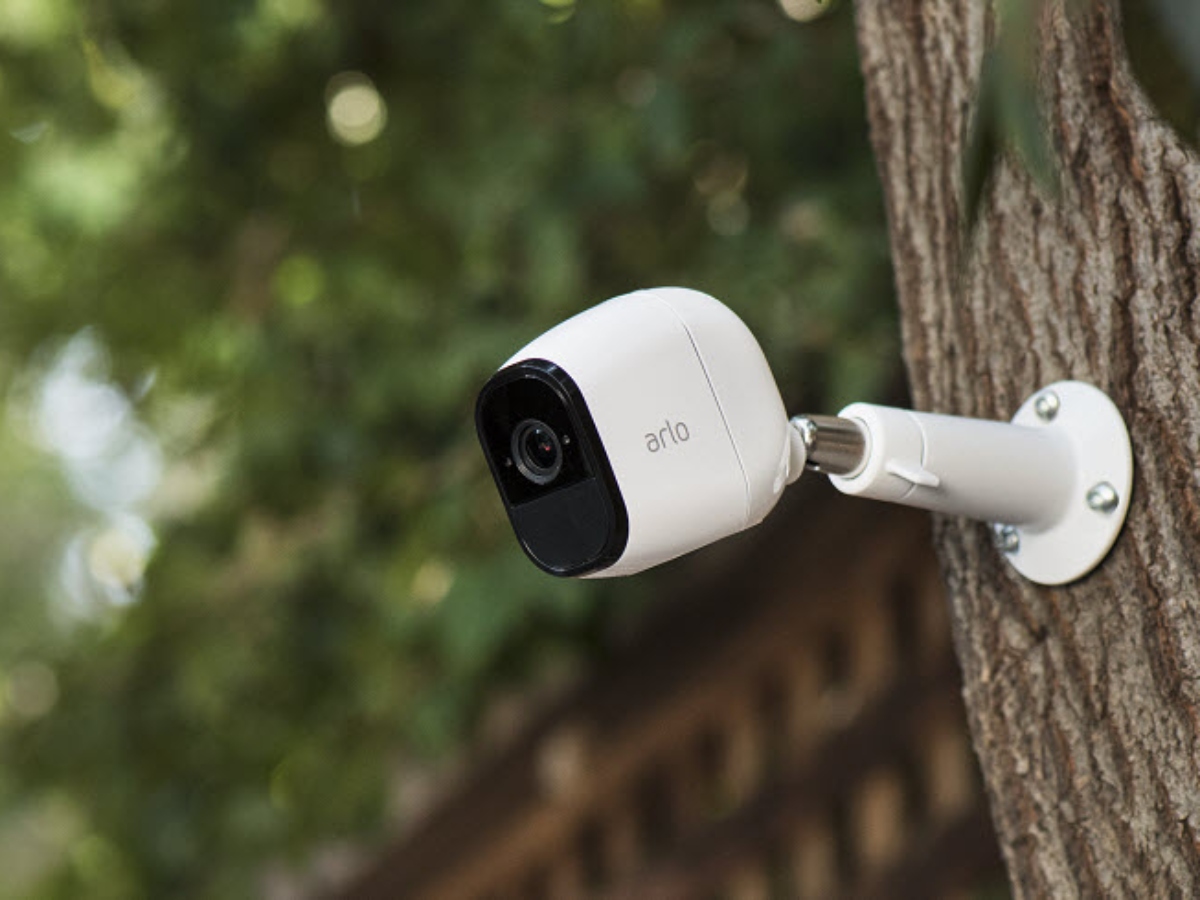
- A security camera: Make sure you have a compatible security camera that supports direct connection to a TV. Many modern cameras offer this functionality, but it’s important to check the specifications of your camera model.
- A TV: Any TV with an HDMI, RCA, or VGA input can be used for connecting the security camera.
- Cables: The type of cable you will need depends on the connection method you choose. You may need an HDMI cable, an RCA cable, or a VGA cable.
- Power adapters: Ensure that you have the necessary power adapters for both the security camera and the TV.
It’s crucial to double-check the compatibility of your camera and TV to verify the available input ports and the supported resolutions. This will ensure that you choose the appropriate cables and avoid any compatibility issues during the connection process.
Once you have gathered all the necessary equipment, you’re ready to proceed to the next step, which is checking the compatibility between your security camera and TV.
Step 2: Check the compatibility of your security camera and TV
Before attempting to connect your security camera to your TV, it’s essential to check the compatibility between the two devices. This involves verifying the available input ports on your TV and ensuring that your security camera supports direct connection to a TV.
Start by examining your TV’s input ports. You will typically find multiple input options, such as HDMI, RCA, and VGA. Take note of which ports are available on your TV as this will help determine the appropriate connection method.
Next, refer to your security camera’s user manual or product specifications to see if it supports direct connection to a TV. Look for information regarding the supported video output options, such as HDMI, RCA, or VGA. If your camera is compatible with any of the available input ports on your TV, you’re good to proceed with the connection process.
If you’re unsure about the compatibility, you can also contact the manufacturer of your security camera and provide them with the model number and make of your TV. They will be able to advise you on whether a direct connection is possible and suggest any additional accessories or compatibility requirements.
By ensuring the compatibility between your security camera and TV, you can proceed with confidence to the next step, which is connecting the security camera to the TV using the appropriate cable.
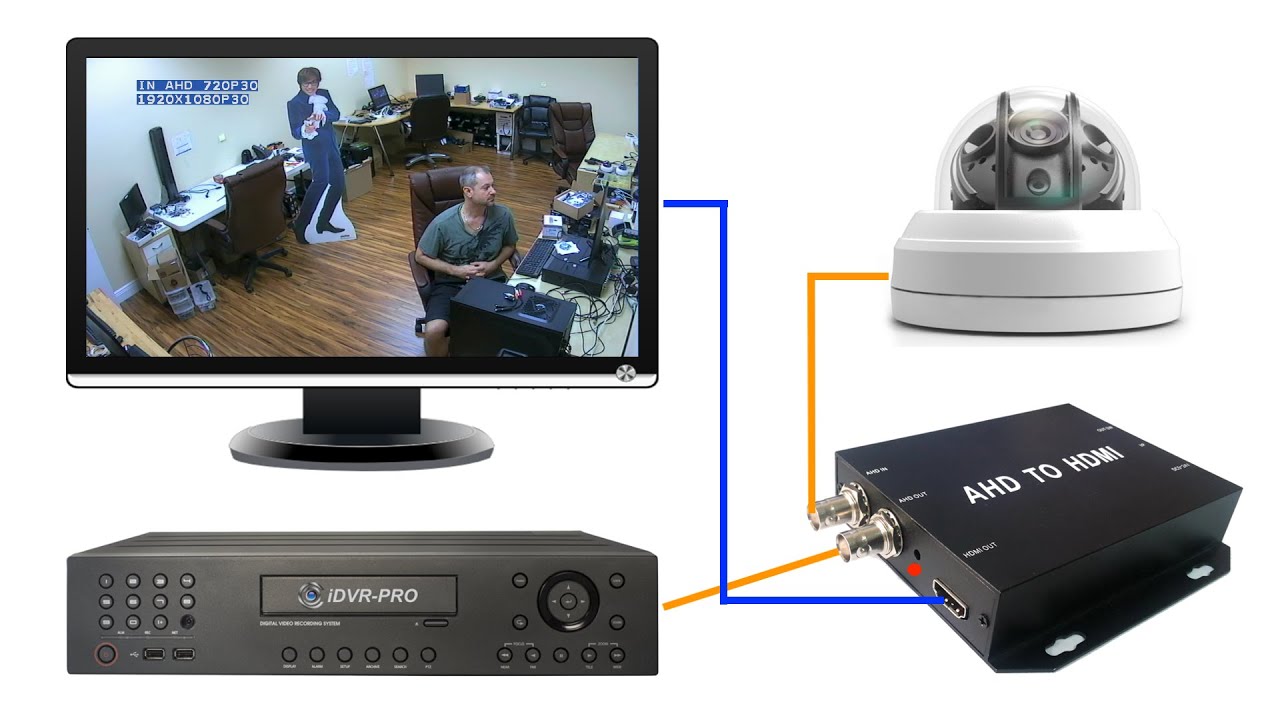
Step 3: Connect the security camera to the TV using an HDMI cable
If your security camera and TV both have HDMI ports, connecting them using an HDMI cable is a straightforward and high-quality option. Here’s how you can do it:
- Identify the HDMI port on both your security camera and the TV. They are usually labeled as “HDMI” and may be located on the back or side of the devices.
- Plug one end of the HDMI cable into the HDMI output port of your security camera.
- Take the other end of the HDMI cable and insert it into an available HDMI input port on your TV.
- Once both ends of the HDMI cable are securely connected, turn on your TV and set it to the appropriate HDMI input source. This is usually done by pressing the “Input” or “Source” button on your TV remote until you see the signal from your security camera.
- Now, you should see the live video feed from your security camera on your TV screen. You can use the TV remote to adjust the display settings, such as brightness, contrast, or zoom, to suit your preferences.
It’s important to note that some security cameras may require additional settings to be adjusted for HDMI output. Refer to the user manual of your camera for specific instructions on enabling the HDMI output and configuring any necessary settings.
Connecting your security camera to the TV using an HDMI cable allows for a high-definition video feed and is one of the simplest ways to view your camera’s footage on a larger screen. If an HDMI connection is not an option, don’t worry! We will explore alternative methods in the following steps.
Step 4: Connect the security camera to the TV using an RCA cable
If your security camera or TV does not have an HDMI port, you can still connect them using an RCA cable. The RCA cable is a standard cable with three colored plugs: red, white, and yellow. Here’s how you can connect the security camera to the TV using an RCA cable:
- Identify the RCA output jacks on your security camera. They are typically color-coded: yellow for video, white for audio left, and red for audio right.
- Take one end of the RCA cable and insert the yellow plug into the yellow video output jack of your security camera. The white and red plugs should be connected to the corresponding audio output jacks.
- Next, locate the RCA input jacks on your TV. They are usually grouped together and color-coded to match the RCA cable plugs.
- Connect the yellow plug of the RCA cable into the yellow video input jack on your TV. Likewise, plug the white and red plugs into the corresponding audio input jacks.
- Once the RCA cable is securely connected on both ends, turn on your TV and set it to the appropriate video input source. Use the “Input” or “Source” button on your TV remote to select the input source that corresponds to the RCA connection.
- You should now see the live video feed from your security camera on your TV screen. Adjust the TV’s display settings, if needed, to ensure optimal image quality.
It’s important to note that RCA cables transmit analog signals, so the video quality may not be as high as an HDMI connection. However, this method is still a reliable and cost-effective way to view your security camera’s footage on your TV.
If your TV only has a single yellow composite video input rather than separate audio and video inputs, you can use a composite video adapter to connect the RCA cable’s yellow plug directly to the composite video input on your TV.
Now that you have successfully connected your security camera to your TV using an RCA cable, you can move on to the next step to explore an alternative connection method using a VGA cable.
You can connect a security camera directly to a TV with an HDMI or AV cable. Simply plug one end of the cable into the camera and the other end into the TV. Then, switch the TV input to the corresponding port to view the camera feed.
Step 5: Connect the security camera to the TV using a VGA cable
If your security camera supports VGA output and your TV has a VGA input port, you can connect them using a VGA cable. VGA (Video Graphics Array) is a common analog video connection standard. Follow these steps to connect your security camera to the TV using a VGA cable:
- Determine if your security camera has a VGA output port. It is usually a blue-colored trapezoidal-shaped port with three rows of pins.
- Locate the VGA input port on your TV. It is also typically blue and has three rows of holes corresponding to the pins on the VGA cable.
- Take one end of the VGA cable and securely plug it into the VGA output port on your security camera.
- Connect the other end of the VGA cable into the VGA input port on your TV.
- Once the VGA cable is connected on both ends, turn on your TV and switch it to the VGA input source. Use the TV remote or the “Input” or “Source” button to select the VGA input.
- You should now be able to see the live video feed from your security camera on your TV screen through the VGA connection.
If your TV does not have a VGA input port but has a DVI (Digital Visual Interface) input instead, you can use a VGA to DVI adapter to connect the VGA cable to the DVI input port on your TV. Ensure that the adapter is compatible with both VGA and DVI signals.
It’s important to note that VGA is an analog signal, so the video quality may not be as high as HDMI. However, VGA is still a viable option if your security camera and TV support this connection type.
Now that you have successfully connected your security camera to your TV using a VGA cable, you can proceed to the next step to adjust the settings on both devices for optimal viewing.
Step 6: Adjust the settings on your TV and security camera
After successfully connecting your security camera to your TV, it’s important to adjust the settings on both devices to ensure optimal viewing and functionality. Here are some key settings you may need to adjust:
TV Settings:
- Aspect Ratio: Depending on your security camera’s resolution and your TV’s capabilities, you may need to adjust the aspect ratio to prevent the image from appearing stretched or distorted. Common aspect ratio options include 4:3 (standard) and 16:9 (widescreen).
- Brightness, Contrast, and Sharpness: Use the TV’s settings to adjust these parameters to your preferred levels. This will help enhance the image quality and ensure clear visibility of the camera’s footage.
- Input Source: If your TV has multiple input sources, ensure that you have selected the correct input source corresponding to the connection method used (HDMI, RCA, or VGA).
- Audio Settings: Depending on your setup, you may want to adjust the audio settings on your TV to ensure proper sound output from the security camera, especially if audio is supported.
Security Camera Settings:
- Resolution: Check the resolution settings on your security camera and make sure they match the capabilities of your TV. Adjusting the resolution may be necessary to achieve the best image quality on the TV screen.
- Aspect Ratio: Similar to the TV, ensure that the aspect ratio settings on the security camera align with the aspect ratio settings on your TV. This will help avoid any stretching or distortion of the video feed.
- Video Quality: If your security camera allows for adjustments to video quality parameters such as brightness, contrast, or sharpness, you can fine-tune these settings to achieve the desired video output on the TV.
- Output Format: Some security cameras offer different output formats or display modes. Depending on your preferences, you can experiment with different formats to find the one that works best for your TV and viewing needs.
These settings may vary depending on the specific make and model of your TV and security camera. Refer to the user manuals or manufacturer’s instructions for detailed steps on adjusting the settings.
By properly configuring the settings on both your TV and security camera, you can optimize the viewing experience and ensure that you’re getting the best possible image and audio quality.
Now that you have adjusted the settings, it’s time to test the connection and make any necessary adjustments in the final step.
Step 7: Test the connection and adjust as needed
Once you have completed the previous steps and adjusted the settings on your TV and security camera, it’s time to test the connection and make any necessary adjustments to ensure everything is working as desired. Here’s what you should do:
- Turn on your TV and ensure it is set to the correct input source for your security camera (HDMI, RCA, or VGA).
- Check if you can see the live video feed from your security camera on your TV screen. If you encounter any issues, double-check the cable connections and ensure they are secure.
- Pay attention to the quality of the video and audio. If the image appears blurry or the audio is distorted, you may need to revisit the settings on both your TV and security camera to make further adjustments.
- Test different camera angles and adjust the positioning of the security camera if necessary to capture the desired area. This will help ensure optimal coverage and surveillance.
- Monitor the camera feed for a period of time to ensure there are no disruptions or technical issues. If you notice any problems, such as flickering or loss of signal, double-check the cable connections and consult the user manuals for troubleshooting guidance.
- If you have multiple security cameras, repeat the above steps for each camera to connect them all to your TV.
Testing the connection allows you to fine-tune the setup and address any potential issues that may arise. It’s important to be patient and make adjustments as needed to achieve the best results.
Remember that the specific steps and troubleshooting may vary depending on the make and model of your TV and security camera. Always refer to the user manuals or contact the manufacturers for any specific instructions or assistance.
Congratulations! You have successfully connected your security camera to your TV without a DVR and made all the necessary adjustments. Now you can enjoy the convenience of viewing your security camera footage directly on your TV screen.
Before we conclude, it’s important to keep in mind that while connecting your security camera to a TV without a DVR can be a convenient option, it might have limitations compared to using a dedicated DVR or a surveillance system. Consider your specific needs and requirements when deciding on the best setup for your home security.
We hope this guide has provided you with the necessary information to hook up your security camera to a TV without a DVR. Stay safe and enjoy the added peace of mind that comes with having a surveillance system in place.
Conclusion
Setting up a security camera system in your home is crucial for ensuring the safety and protection of your property and loved ones. While using a DVR is a common method for connecting and viewing surveillance footage, connecting your security camera directly to a TV without a DVR can offer a convenient and cost-effective alternative.
In this article, we have walked you through the step-by-step process of connecting a security camera to a TV without a DVR using different cables such as HDMI, RCA, and VGA. We also emphasized the importance of checking the compatibility between your security camera and TV and adjusting the settings on both devices for optimal performance.
By following our guide, you can easily integrate your security cameras with your TV and enjoy the benefits of monitoring your property in real-time on a larger screen. Whether you want to keep an eye on your front door, backyard, or any other area of concern, having your security camera feed displayed directly on your TV adds an extra layer of convenience and peace of mind.
Remember to refer to the user manuals or contact the manufacturers for any specific instructions or troubleshooting help. Every security camera and TV model may have unique features and setup requirements.
While connecting your security camera to a TV without a DVR is a great option for basic monitoring, it’s important to consider that it may have limitations compared to comprehensive surveillance systems. Depending on your needs, you may want to explore additional features such as remote access, motion detection, or cloud storage that are typically found with dedicated DVRs or surveillance systems.
Keep in mind that home security is an ongoing effort, and it’s important to regularly maintain and update your security system to ensure its effectiveness. Stay vigilant and stay informed about the latest advancements in home security technology.
We hope that this article has provided you with valuable insights and guidance on how to connect your security camera to a TV without a DVR. By implementing these steps, you can enhance the security of your home and gain peace of mind knowing that you have a reliable surveillance system in place.
Remember, your safety is paramount, and investing in a robust home security system is a worthwhile endeavor. Stay safe and secure!
Frequently Asked Questions about How To Hook Up A Security Camera To TV Without DVR
Was this page helpful?
At Storables.com, we guarantee accurate and reliable information. Our content, validated by Expert Board Contributors, is crafted following stringent Editorial Policies. We're committed to providing you with well-researched, expert-backed insights for all your informational needs.