Home>Renovation & DIY>DIY Projects & Ideas>DIY Projects: How To Repair Pillowed Ceiling Drywall

DIY Projects & Ideas
DIY Projects: How To Repair Pillowed Ceiling Drywall
Modified: October 20, 2024
Learn how to repair pillowed ceiling drywall with our DIY projects and ideas. Get step-by-step instructions and expert tips for a successful home repair. Start your project today!
(Many of the links in this article redirect to a specific reviewed product. Your purchase of these products through affiliate links helps to generate commission for Storables.com, at no extra cost. Learn more)
Introduction
Welcome to the world of do-it-yourself home improvement projects! If you’ve noticed unsightly bulges or sagging areas on your ceiling, you might be dealing with a common issue known as pillowed ceiling drywall. This occurs when the drywall becomes damaged or weakened, resulting in a visible deformation on the ceiling surface. While it may seem like a daunting task, repairing pillowed ceiling drywall is a manageable DIY project that can restore the aesthetic appeal of your living space.
In this comprehensive guide, we’ll walk you through the step-by-step process of repairing pillowed ceiling drywall. You’ll learn about the tools and materials needed, as well as the techniques required to successfully tackle this project. By following these instructions, you can revitalize your ceiling and gain the satisfaction of accomplishing a repair that enhances the beauty and functionality of your home.
Whether you’re a seasoned DIY enthusiast or a newcomer to home improvement projects, this guide is designed to provide clear and accessible instructions that will empower you to take on the challenge of fixing pillowed ceiling drywall. So, roll up your sleeves, gather your tools, and let’s dive into the world of DIY ceiling repair!
Key Takeaways:
- Repairing pillowed ceiling drywall involves understanding the causes, preparing the work area, removing damaged drywall, installing backing support, and mastering the art of cutting, taping, mudding, sanding, and finishing.
- By following the step-by-step process and using the necessary tools and materials, you can successfully repair pillowed ceiling drywall, restoring the aesthetic appeal and structural integrity of your living space.
Understanding Pillowed Ceiling Drywall
Pillowed ceiling drywall is a common issue that occurs when the drywall on a ceiling becomes damaged or weakened, resulting in a visible bulge or sagging area. This can be caused by various factors, such as water damage, structural movement, or improper installation. Understanding the underlying causes of pillowed ceiling drywall is crucial for effectively addressing the problem and preventing future recurrence.
One of the primary culprits behind pillowed ceiling drywall is moisture infiltration. When water seeps into the ceiling structure, it can compromise the integrity of the drywall, leading to deformation and sagging. This is often observed in areas prone to leaks, such as around skylights, chimneys, or roof penetrations. Additionally, prolonged exposure to high humidity levels can contribute to the deterioration of drywall, exacerbating the formation of pillowed areas.
Structural movement within the building can also play a role in the development of pillowed ceiling drywall. Over time, the natural settling of a structure or the impact of external forces can cause the ceiling to shift, leading to stress on the drywall and the formation of visible bulges. Understanding the dynamics of structural movement and its impact on the integrity of the ceiling is essential for addressing pillowed drywall issues effectively.
Improper installation of drywall can also result in pillowed areas on the ceiling. If the drywall was not securely fastened or if inadequate support was provided during installation, it can lead to deformation over time. This underscores the importance of proper installation techniques and the use of appropriate backing support to maintain the structural integrity of the ceiling.
By grasping the factors that contribute to pillowed ceiling drywall, you can take targeted measures to address the root causes of the issue during the repair process. Whether it involves addressing water infiltration, reinforcing the ceiling structure, or ensuring proper installation techniques, a comprehensive understanding of pillowed ceiling drywall is pivotal for executing an effective and lasting repair.
Tools and Materials Needed
Before embarking on the repair of pillowed ceiling drywall, it’s essential to gather the necessary tools and materials to ensure a smooth and efficient process. Here’s a comprehensive list of items you’ll need to have on hand:
Tools:
- Utility knife
- Drywall saw or jab saw
- Tape measure
- Straight edge or level
- Drywall screw gun or drill
- Trowel or putty knife
- Sanding block or sanding pole
- Paintbrushes or rollers
- Step ladder or scaffolding
- Safety goggles and dust mask
Materials:
- New drywall panels
- Drywall screws
- Drywall joint tape
- Drywall joint compound (mud)
- Primer
- Patch or repair backing material (e.g., plywood or furring strips)
- Ceiling paint
Having these tools and materials readily available will streamline the repair process and ensure that you’re well-equipped to address the pillowed ceiling drywall effectively. Additionally, it’s important to prioritize safety by wearing protective gear, such as safety goggles and a dust mask, especially during tasks that involve cutting, sanding, or working overhead.
By assembling the necessary tools and materials in advance, you’ll be prepared to tackle each step of the repair process with confidence and precision. With these resources at your disposal, you can navigate the intricacies of repairing pillowed ceiling drywall and achieve a professional-quality outcome that restores the visual appeal and structural integrity of your ceiling.
Read more: How To Drywall A Basement Ceiling
Step 1: Prepare the Work Area
Before diving into the repair process, it’s crucial to prepare the work area to ensure a safe and efficient environment for addressing the pillowed ceiling drywall. Here’s a step-by-step guide to preparing the work area:
1. Clear the Space: Begin by removing any furniture, light fixtures, or decorative items from the vicinity of the damaged ceiling area. Clearing the space will provide unobstructed access to the ceiling and minimize the risk of damage to belongings during the repair process.
2. Protect the Surrounding Area: Cover the floor and any remaining furnishings with drop cloths or plastic sheeting to shield them from dust, debris, and potential splatters of joint compound or paint. This precautionary measure will safeguard your home’s interior from unintended damage and facilitate easier cleanup.
3. Turn Off Electricity: If the repair area is near electrical fixtures or wiring, turn off the power to the affected section of the room at the circuit breaker. This precautionary step is essential for safety when working near electrical components.
4. Secure Proper Lighting: Ensure that the work area is well-lit to facilitate precision and accuracy during the repair process. Additional lighting sources, such as work lights or portable lamps, can be positioned strategically to illuminate the ceiling area effectively.
5. Use Personal Protective Equipment (PPE): Prioritize safety by wearing appropriate personal protective equipment, including safety goggles, a dust mask, and work gloves. These items will shield you from potential hazards such as dust, debris, and airborne particles, promoting a secure and comfortable working environment.
By meticulously preparing the work area, you’ll create an optimal setting for executing the subsequent steps of the repair process with ease and confidence. Taking the time to clear the space, safeguard the surroundings, and prioritize safety measures will set the stage for a successful and rewarding experience in addressing the pillowed ceiling drywall.
Step 2: Remove the Damaged Drywall
Removing the damaged drywall is a critical initial step in the process of repairing pillowed ceiling drywall. By carefully eliminating the compromised sections, you’ll create a clean canvas for the subsequent repair and replacement efforts. Here’s a comprehensive guide to removing the damaged drywall:
1. Assess the Extent of Damage: Begin by evaluating the affected area to determine the scope of the damage. Identify the boundaries of the pillowed or sagging sections, and mark the areas where the damaged drywall will need to be removed.
2. Create Cutting Guidelines: Use a straight edge or level to outline cutting guidelines on the ceiling surface, defining the boundaries for the removal of damaged drywall. This will ensure precision and accuracy when making cuts and help maintain a uniform and seamless transition between the old and new drywall.
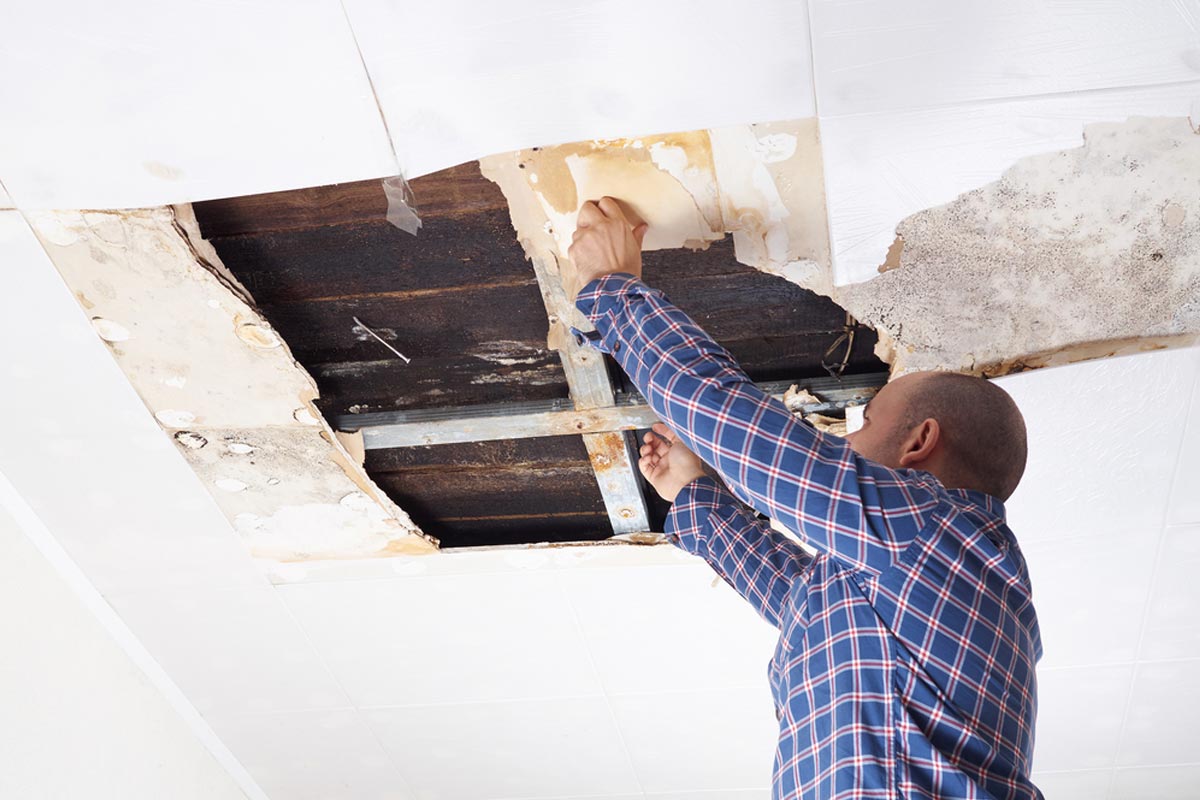
3. Cut the Drywall: Utilizing a utility knife or drywall saw, carefully cut along the marked guidelines to remove the damaged sections of drywall. Exercise caution during this process to avoid damaging adjacent areas and to achieve clean and straight cuts.
4. Remove the Debris: Once the damaged drywall sections have been cut out, carefully remove the debris and dispose of it properly. Clearing the work area of loose drywall pieces and dust will create a clean and organized environment for the subsequent repair and replacement steps.
5. Inspect the Structural Integrity: After removing the damaged drywall, inspect the underlying structure and support to ensure that it is sound and free of any additional damage. Address any concerns related to the structural integrity before proceeding with the installation of new drywall.
6. Clean the Work Area: Thoroughly clean the work area to remove any remaining dust, debris, or loose particles. A clean and debris-free environment is essential for promoting adhesion and achieving a professional-quality finish during the subsequent stages of the repair process.
By methodically removing the damaged drywall and preparing the work area for the next phase of the repair process, you’ll lay the groundwork for a successful and seamless transition to the installation of new drywall. This meticulous approach will contribute to the overall quality and durability of the repair, ensuring a visually appealing and structurally sound outcome.
Step 3: Install Backing Support
Installing backing support is a crucial step in the process of repairing pillowed ceiling drywall, as it provides the necessary reinforcement for the new drywall installation. By ensuring robust backing support, you’ll create a stable foundation that promotes the longevity and structural integrity of the repaired ceiling. Here’s a comprehensive guide to installing backing support:
1. Measure and Cut the Backing Material: Begin by measuring the dimensions of the open area where the damaged drywall was removed. Using these measurements, cut the backing material, such as plywood or furring strips, to fit snugly within the exposed ceiling area. The backing material should be sized to provide support along the edges of the new drywall panels.
2. Position and Secure the Backing Material: Place the cut pieces of backing material against the exposed ceiling structure, ensuring that they are aligned and provide solid support along the edges of the repair area. Secure the backing material in place using appropriate fasteners, such as drywall screws or nails, to firmly affix it to the ceiling structure.
3. Ensure Flush Alignment: Verify that the installed backing material is flush with the surrounding ceiling surface, as this will facilitate a smooth and even transition when the new drywall is installed. Adjust the positioning of the backing material as needed to achieve a seamless integration with the existing ceiling plane.
4. Inspect for Stability: Once the backing material is in place, conduct a thorough inspection to ensure that it provides stable and uniform support for the new drywall. Address any areas of concern related to the stability and alignment of the backing support before proceeding to the next phase of the repair process.
5. Reinforce with Additional Support: If necessary, consider reinforcing the backing support with additional pieces of material in areas that may require extra stability or load-bearing capacity. This proactive measure can further enhance the structural robustness of the repaired ceiling.
By meticulously installing backing support, you’ll establish a solid foundation for the subsequent installation of new drywall, ensuring that the repaired area is structurally sound and resistant to future deformation. This proactive approach to reinforcement sets the stage for a durable and long-lasting repair that restores the visual appeal and functionality of the ceiling.
When repairing a pillowed ceiling drywall, use a utility knife to cut out the damaged area, then install a new piece of drywall and secure it with screws. Finally, apply joint compound and sand the area for a smooth finish.
Step 4: Cut and Install New Drywall
As you progress through the repair of pillowed ceiling drywall, the precise cutting and installation of new drywall panels are pivotal for achieving a seamless and professional-quality finish. By mastering this step, you’ll effectively address the damaged areas and lay the groundwork for the subsequent finishing and refinishing processes. Here’s a comprehensive guide to cutting and installing new drywall:
1. Measure and Mark the Drywall Panels: Begin by measuring the dimensions of the open areas where the damaged drywall was removed. With these measurements in hand, mark the corresponding dimensions on the new drywall panels using a straight edge and a pencil. Ensure accuracy and precision when marking the panels to align with the repair area.
2. Cut the Drywall Panels: Utilize a drywall saw or utility knife to carefully cut the marked new drywall panels to the appropriate dimensions. Exercise caution and maintain a steady hand to achieve clean and straight cuts, ensuring that the panels fit seamlessly within the repair area and align with the surrounding ceiling surface.
3. Position and Secure the New Drywall: Carefully position the cut new drywall panels within the repair area, ensuring a snug fit and flush alignment with the surrounding ceiling surface. Secure the new panels in place using a drywall screw gun or drill, fastening them to the installed backing support and ensuring uniform attachment along the edges and seams.
4. Address Seams and Joints: Pay close attention to the seams and joints between the new drywall panels and the existing ceiling surface. Apply additional screws as needed to secure the panels and minimize any visible gaps or irregularities along the edges. This meticulous approach will contribute to a seamless integration of the new drywall with the surrounding ceiling.
5. Verify Alignment and Stability: Conduct a thorough inspection to verify that the new drywall panels are aligned and securely installed within the repair area. Address any areas of concern related to alignment, stability, or fit before proceeding to the subsequent stages of the repair process.
By mastering the art of cutting and installing new drywall, you’ll achieve a foundational milestone in the repair of pillowed ceiling drywall. This precision-oriented process sets the stage for the seamless integration of the new drywall panels, paving the way for the subsequent taping, mudding, and finishing steps that will bring the repaired ceiling to its full aesthetic and structural potential.
Read more: How Thick Should Ceiling Drywall Be?
Step 5: Tape and Mud the Seams
After successfully installing the new drywall panels, the next critical step in repairing pillowed ceiling drywall involves taping and mudding the seams to create a smooth and seamless surface. This process is essential for concealing the joints and achieving a uniform appearance across the repaired area. Here’s a comprehensive guide to taping and mudding the seams:
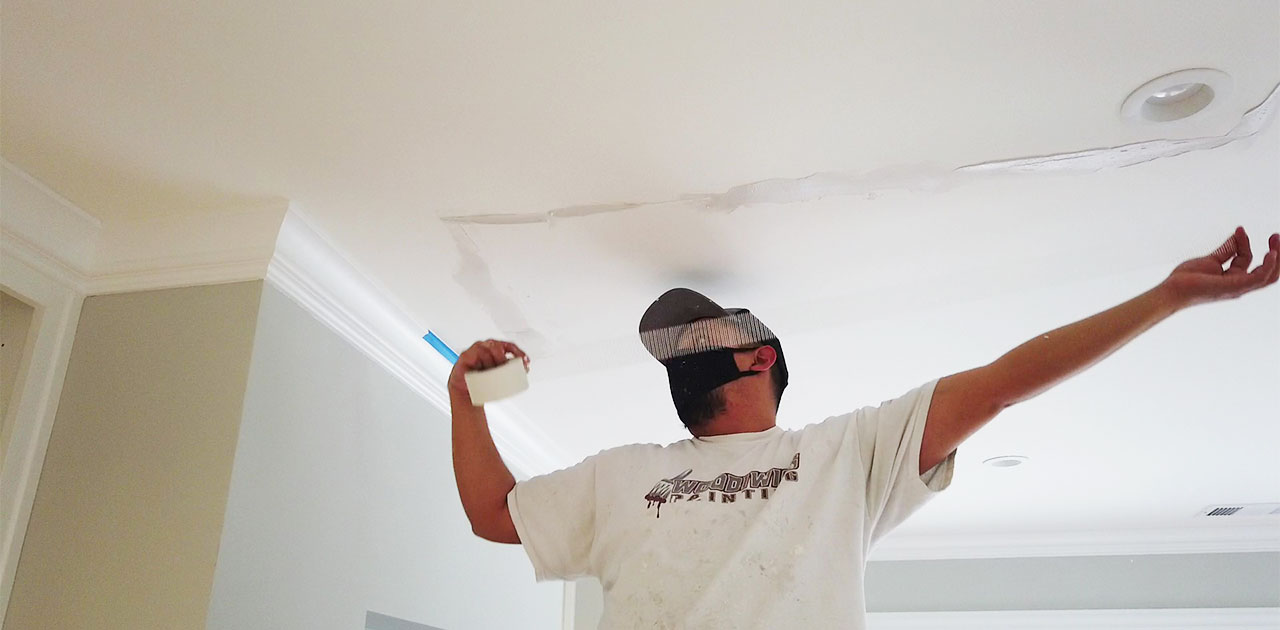
1. Apply Drywall Joint Tape: Begin by applying drywall joint tape along the seams where the new drywall panels meet the existing ceiling surface. Ensure that the tape is centered over the joints and extends along the entire length of each seam, providing a solid foundation for the subsequent mudding process.
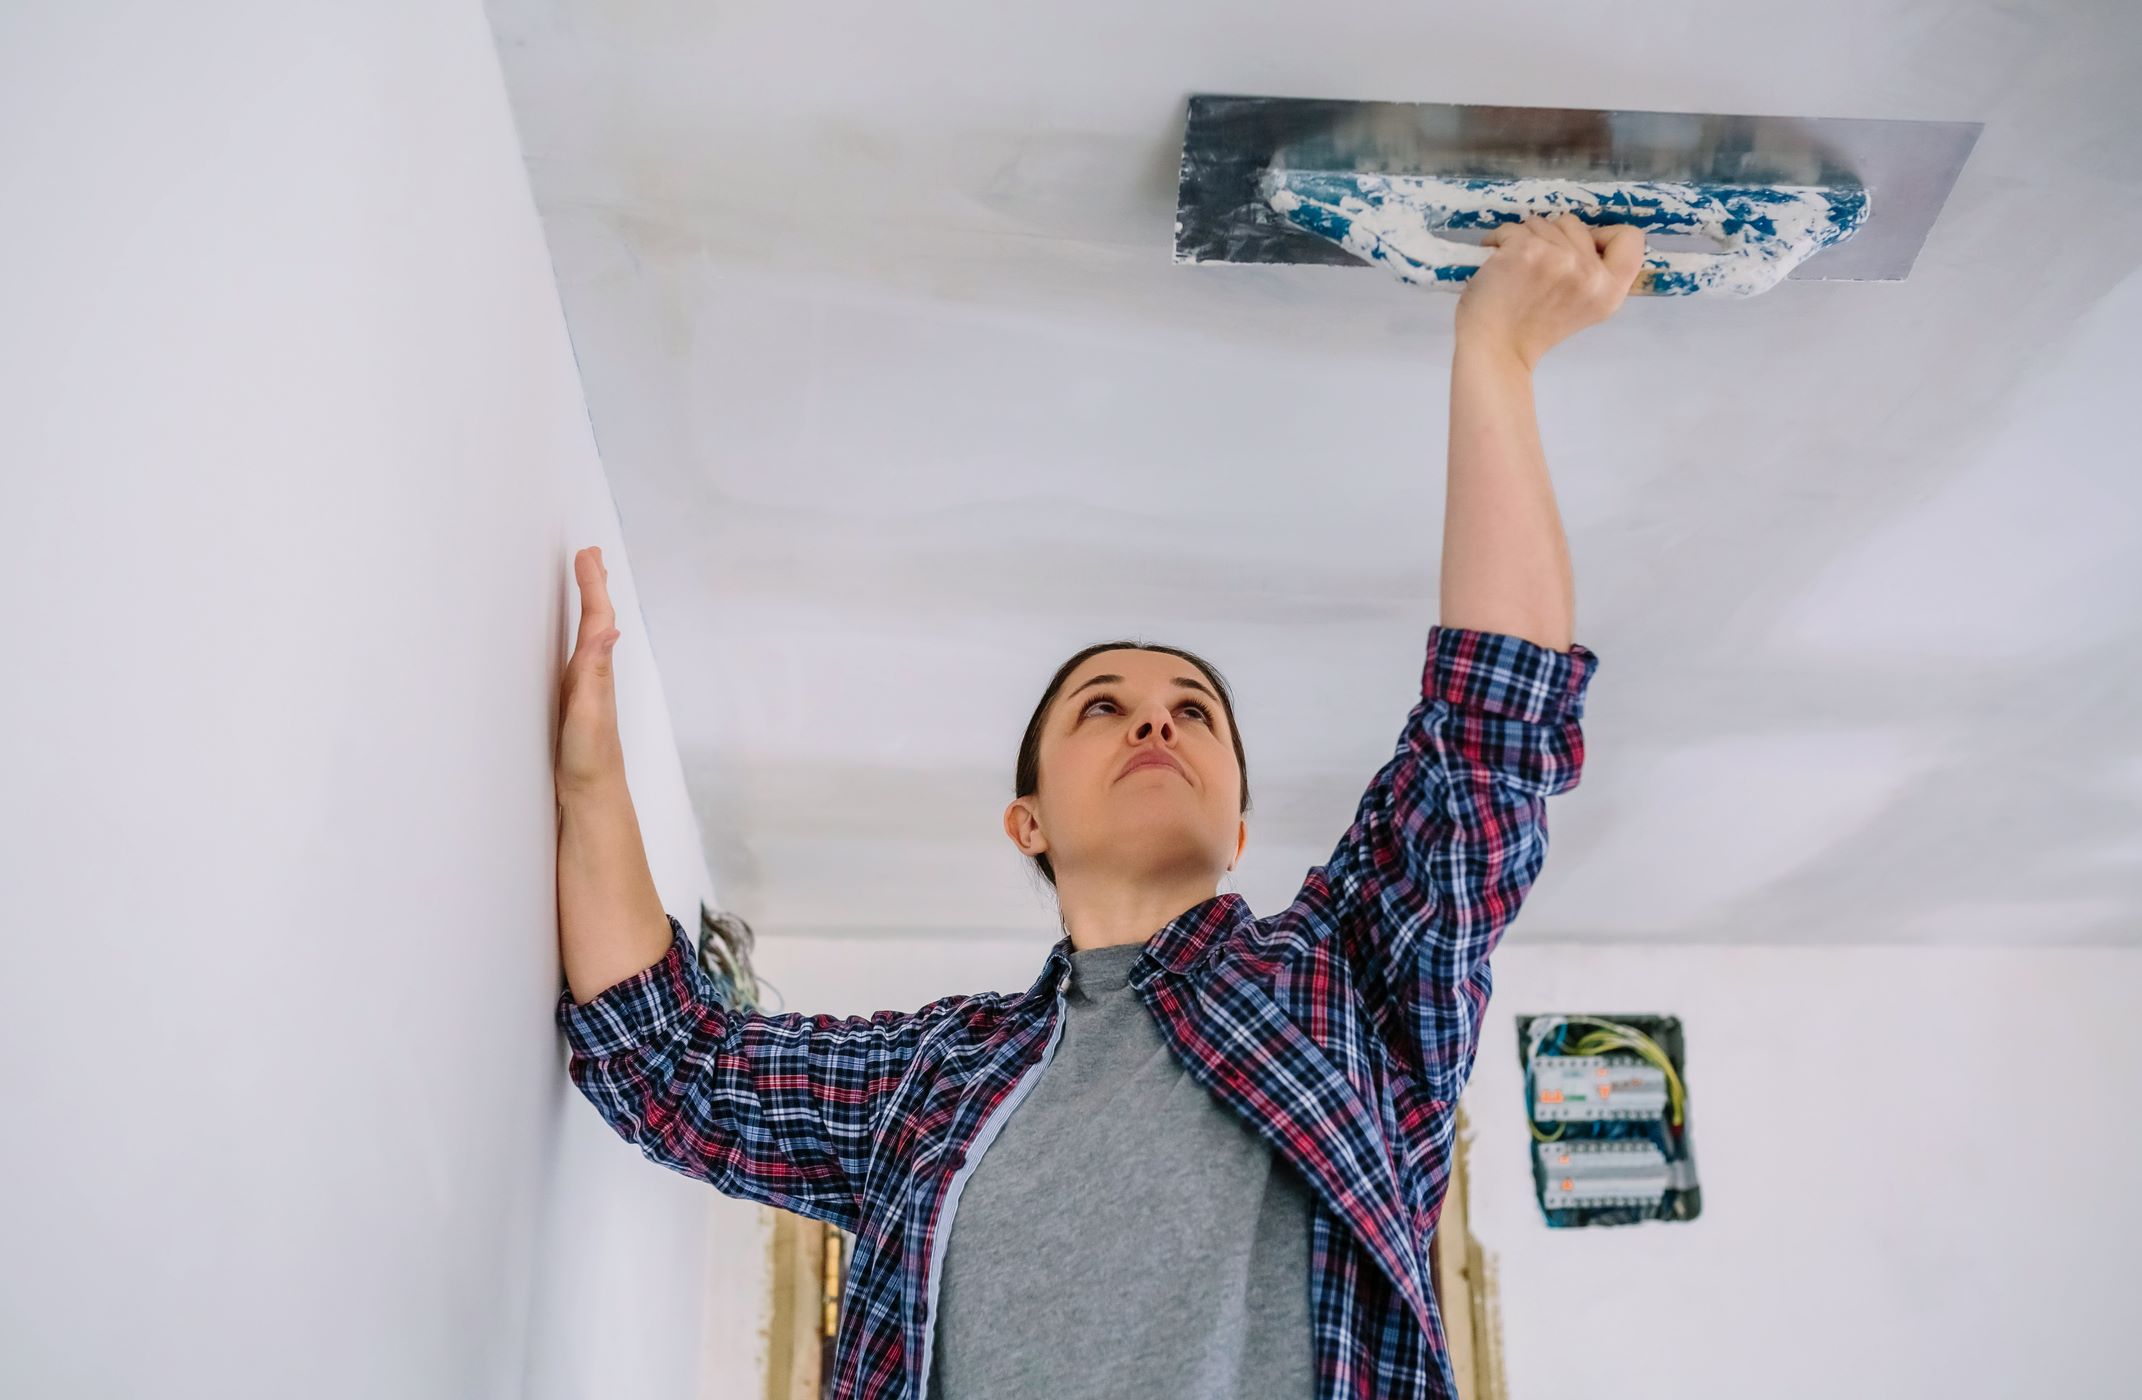
2. Coat with Joint Compound (Mud): Using a trowel or putty knife, apply a thin layer of drywall joint compound, also known as mud, over the taped seams. Smooth and feather the mud to create a seamless transition between the new drywall and the existing ceiling, ensuring that the joints are fully covered and blended with the surrounding surface.
3. Embed the Tape: Gently embed the drywall joint tape into the layer of joint compound, ensuring that it adheres firmly and becomes fully integrated with the surface. This process helps to reinforce the seams and create a strong bond between the tape, mud, and drywall, minimizing the visibility of the joints once the finishing process is complete.
4. Apply Additional Mud Coats: Apply successive coats of drywall joint compound over the taped seams, feathering the edges and gradually building up the layers to achieve a smooth and uniform surface. As each coat dries, sand the seams lightly to remove any imperfections and create a seamless transition between the repaired area and the existing ceiling.
5. Sand and Feather the Seams: Once the final coat of joint compound has dried, carefully sand the seams to achieve a smooth and even finish. Feather the edges of the mudded seams to blend them seamlessly with the surrounding ceiling surface, creating a cohesive and visually appealing result.
By meticulously taping and mudding the seams, you’ll achieve a crucial milestone in the repair process, effectively concealing the joints and creating a seamless transition between the new drywall and the existing ceiling. This meticulous attention to detail sets the stage for the final finishing and refinishing steps, bringing the repaired area to its full aesthetic and structural potential.
Step 6: Sand and Finish
As you near the completion of the pillowed ceiling drywall repair, the sanding and finishing process plays a pivotal role in achieving a polished and professional-quality outcome. By meticulously refining the surface and applying the finishing touches, you’ll bring the repaired area to its full aesthetic potential. Here’s a comprehensive guide to sanding and finishing the repaired ceiling:
1. Sand the Mudded Seams: Begin by carefully sanding the mudded seams and the surrounding areas to achieve a smooth and even surface. Utilize a sanding block or sanding pole to gently smooth out any imperfections, ensuring that the transition between the new drywall and the existing ceiling is seamless and visually cohesive.
2. Feather the Edges: Pay special attention to feathering the edges of the mudded seams to blend them seamlessly with the surrounding ceiling surface. This meticulous approach will minimize the visibility of the repaired area and create a uniform appearance that seamlessly integrates with the rest of the ceiling.
3. Address Imperfections: Inspect the sanded areas for any remaining imperfections, such as uneven surfaces or visible blemishes. Address these issues by applying additional joint compound as needed, followed by subsequent sanding and feathering to achieve a flawless finish.
4. Apply Primer: Once the sanded areas are smooth and free of imperfections, apply a coat of high-quality primer to the repaired section of the ceiling. The primer will promote adhesion and create a uniform surface, preparing the area for the application of the final ceiling paint.
5. Paint the Repaired Area: After the primer has dried, apply a coat of ceiling paint that matches the existing ceiling color, ensuring a seamless blend between the repaired area and the surrounding surface. Utilize high-quality paint and apply it evenly to achieve a consistent and professional finish.
6. Inspect and Touch Up: Conduct a thorough inspection of the repaired area to ensure that the sanding, priming, and painting have resulted in a visually cohesive and flawless finish. Address any remaining imperfections or discrepancies by applying touch-up paint as needed, ensuring that the repaired area seamlessly integrates with the rest of the ceiling.
By meticulously sanding and finishing the repaired area, you’ll bring the pillowed ceiling drywall repair to its full fruition, achieving a visually appealing and structurally sound outcome. This meticulous attention to detail and the application of professional finishing techniques will culminate in a seamless integration of the repaired area with the existing ceiling, restoring the aesthetic and functional integrity of your living space.
Conclusion
Congratulations on successfully completing the repair of your pillowed ceiling drywall! By embarking on this DIY project, you’ve not only revitalized the aesthetic appeal of your living space but also gained valuable hands-on experience in home improvement. As you reflect on the journey from identifying the issue to achieving a seamless and professional-quality repair, it’s important to acknowledge the skills and knowledge you’ve acquired along the way.
Throughout the repair process, you’ve demonstrated a keen understanding of the underlying causes of pillowed ceiling drywall, addressing issues such as moisture infiltration, structural integrity, and proper installation techniques. By meticulously preparing the work area, removing damaged drywall, installing backing support, and mastering the art of cutting, taping, mudding, sanding, and finishing, you’ve navigated each step with precision and dedication.
As you stand back and admire the restored beauty of your ceiling, take pride in the accomplishment of a successful repair that not only enhances the visual appeal of your home but also contributes to its structural integrity. The seamless integration of the new drywall, the meticulous taping and mudding of seams, and the refined finishing touches have culminated in a result that reflects your commitment to excellence.
Furthermore, the knowledge and skills you’ve gained through this DIY endeavor will serve you well in future home improvement projects, empowering you to tackle new challenges with confidence and proficiency. Whether it’s a small repair or a larger renovation, the experience gained from repairing pillowed ceiling drywall has equipped you with valuable insights and capabilities that will continue to benefit you in your journey as a DIY enthusiast.
As you bask in the satisfaction of a job well done, remember that the journey of DIY home improvement is a continuous and rewarding one. Each project offers an opportunity to learn, grow, and transform your living space with your own hands. The repaired pillowed ceiling stands as a testament to your dedication, perseverance, and the fulfillment that comes from creating a home that reflects your vision and craftsmanship.
So, as you set your sights on future projects, may the knowledge and experience gained from repairing pillowed ceiling drywall continue to inspire and guide you, as you embark on new endeavors to enhance and beautify your home.
Frequently Asked Questions about DIY Projects: How To Repair Pillowed Ceiling Drywall
Was this page helpful?
At Storables.com, we guarantee accurate and reliable information. Our content, validated by Expert Board Contributors, is crafted following stringent Editorial Policies. We're committed to providing you with well-researched, expert-backed insights for all your informational needs.


0 thoughts on “DIY Projects: How To Repair Pillowed Ceiling Drywall”