Home>Renovation & DIY>Tools & Equipment>How To Spackle Cracks In Wall
Tools & Equipment
How To Spackle Cracks In Wall
Modified: August 28, 2024
Learn how to spackle cracks in the wall with the right tools and equipment. Our expert guide will help you achieve a flawless finish.
(Many of the links in this article redirect to a specific reviewed product. Your purchase of these products through affiliate links helps to generate commission for Storables.com, at no extra cost. Learn more)
Introduction
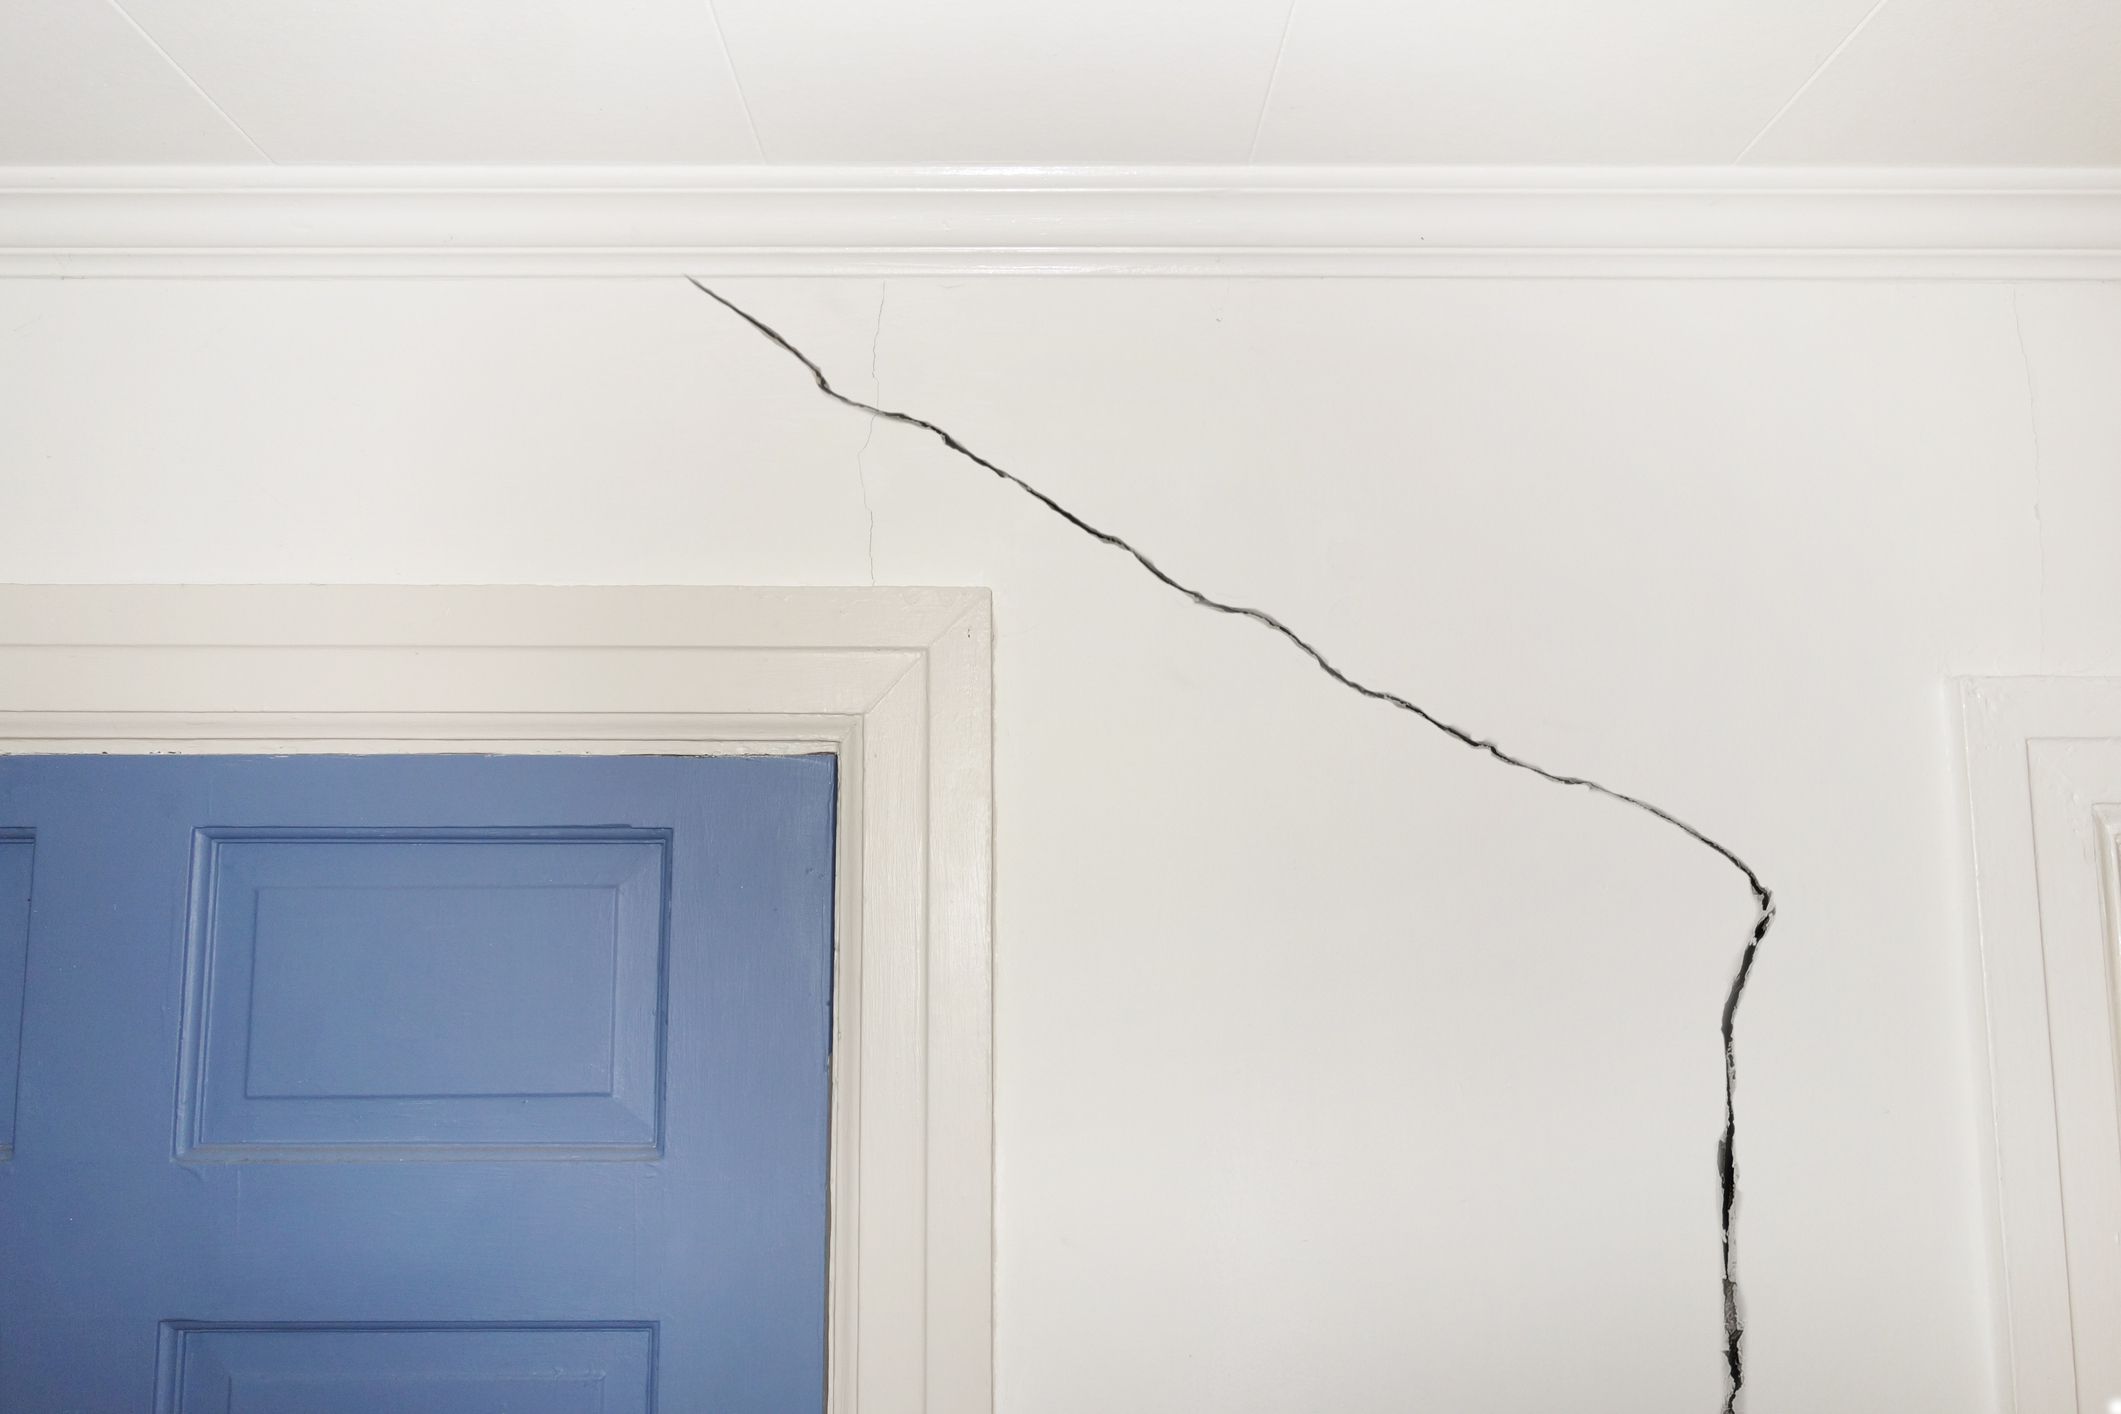
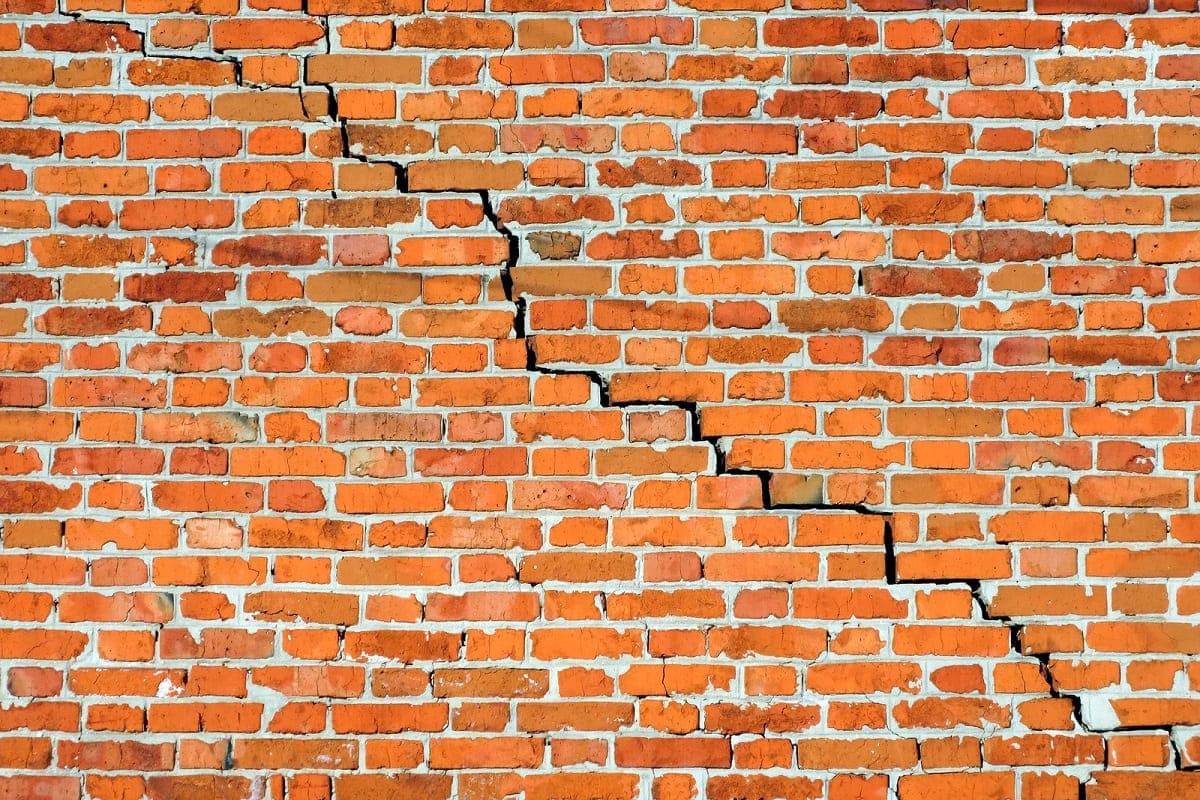
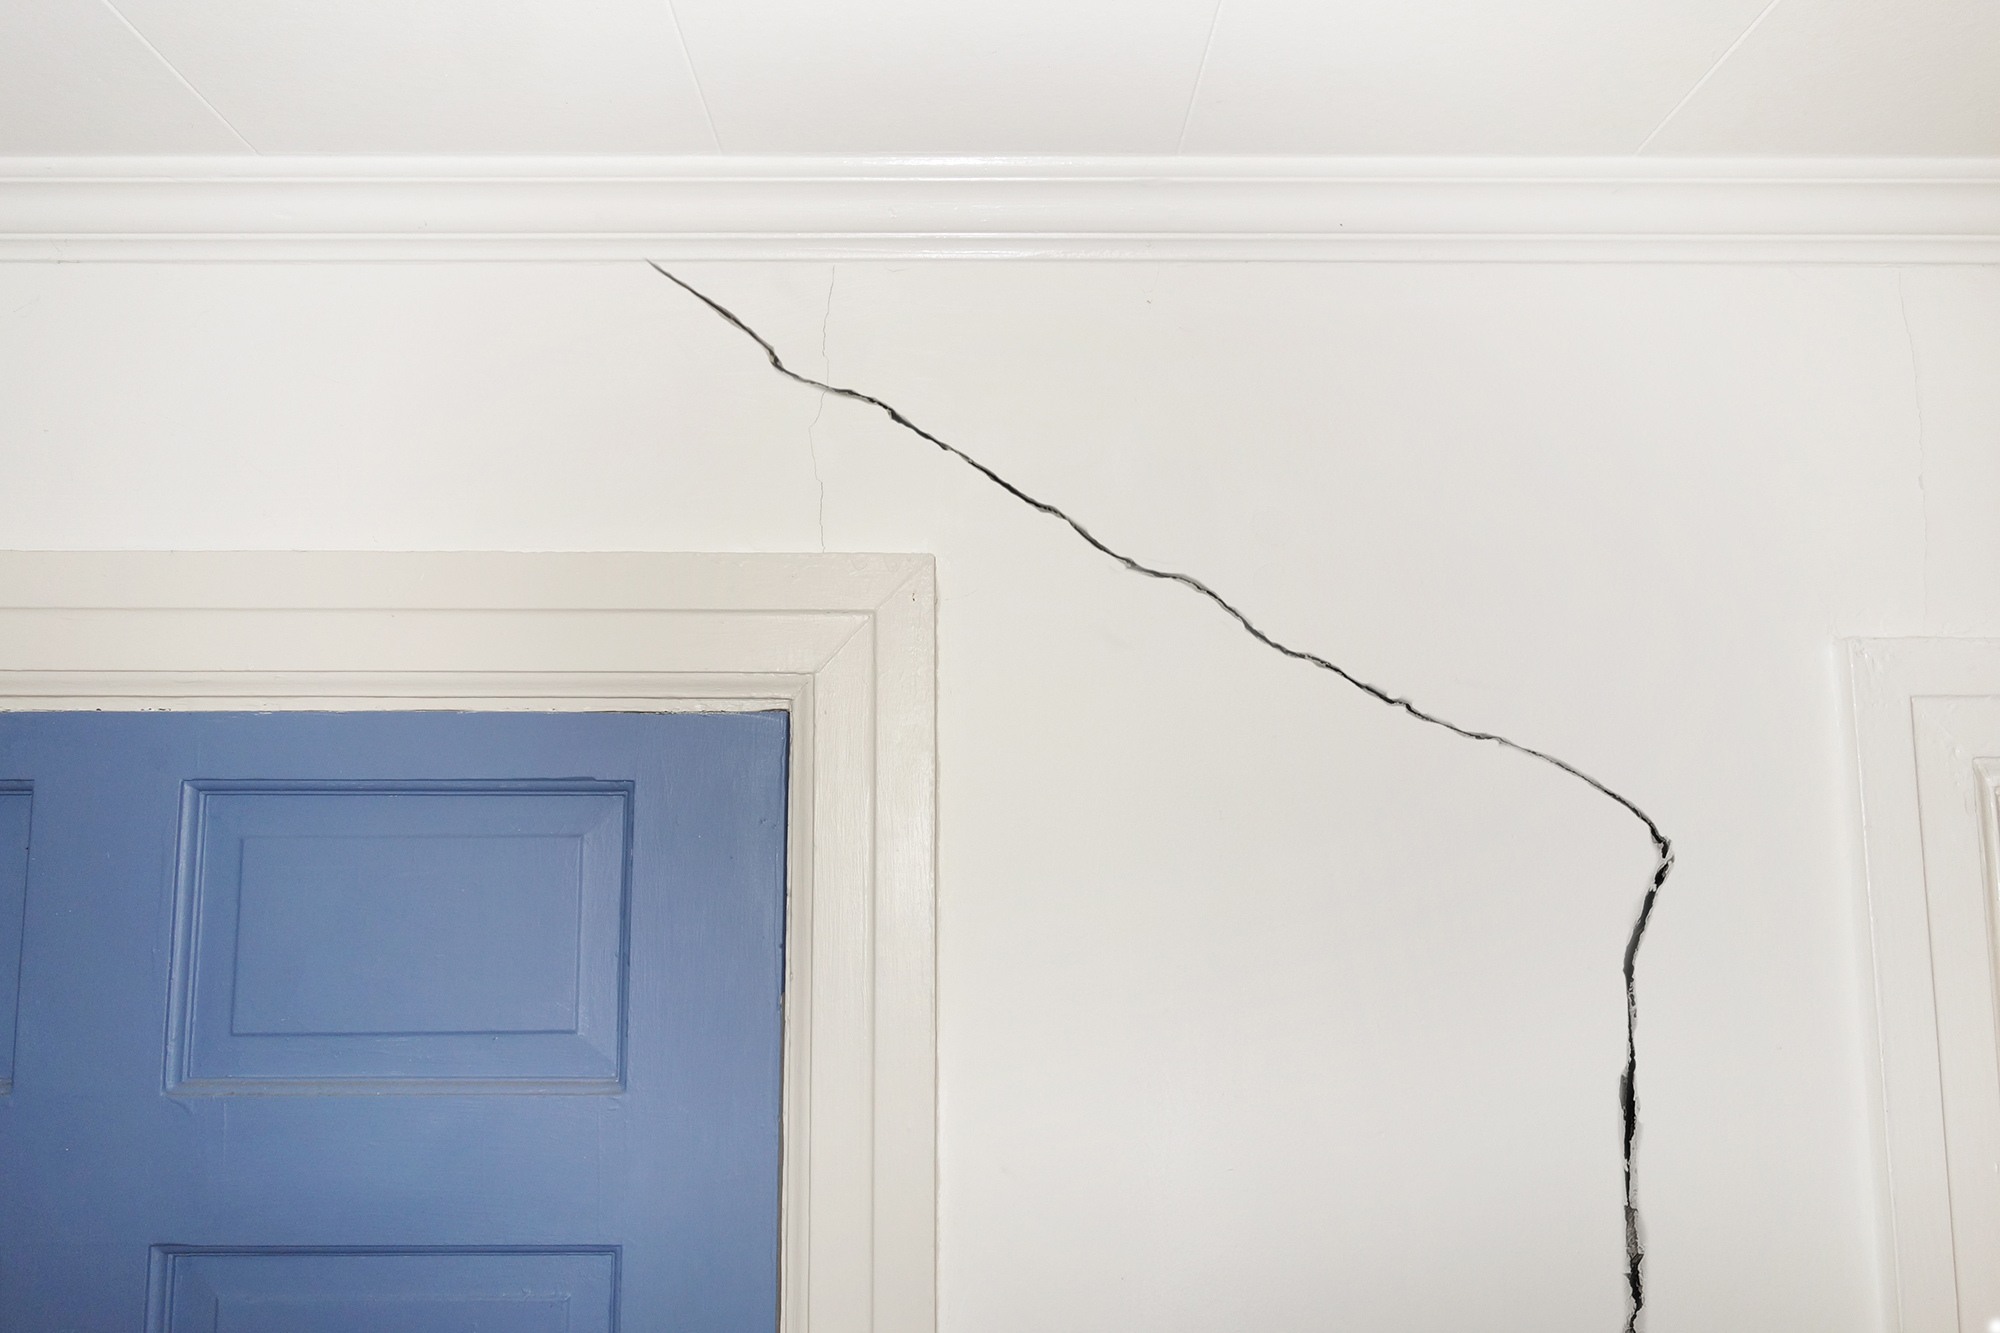
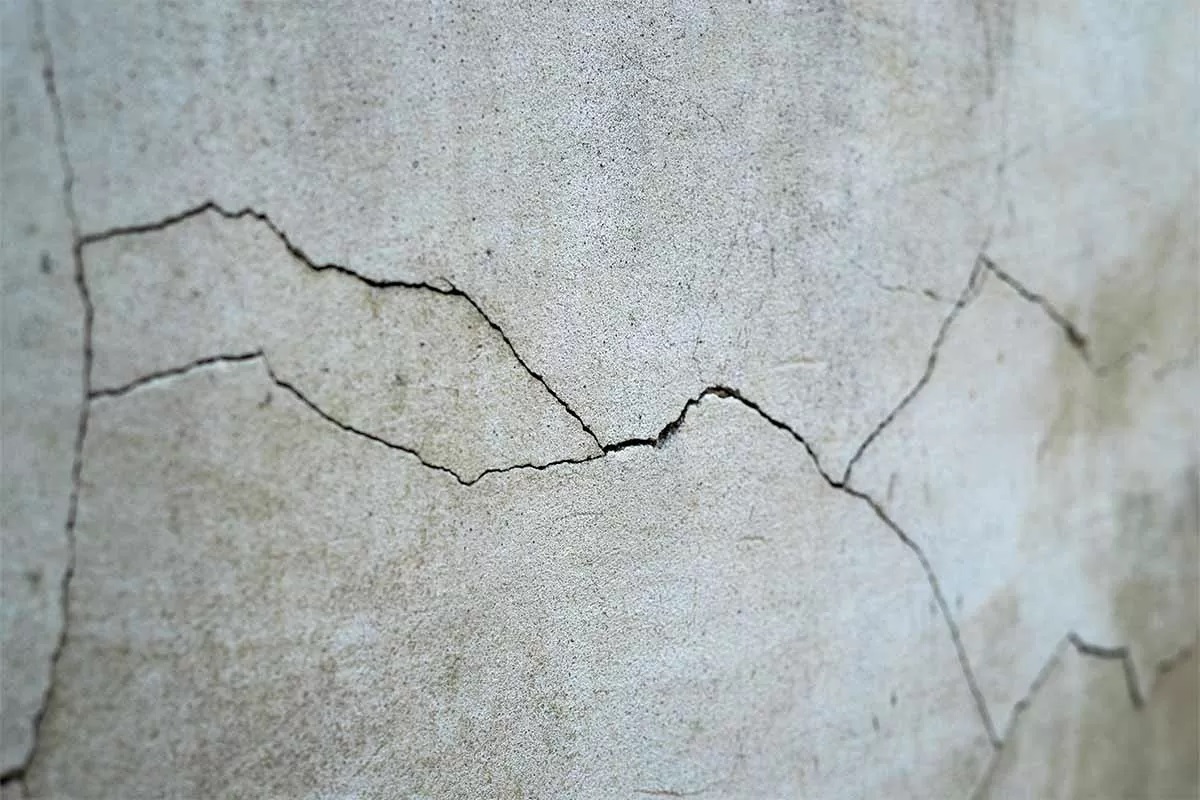
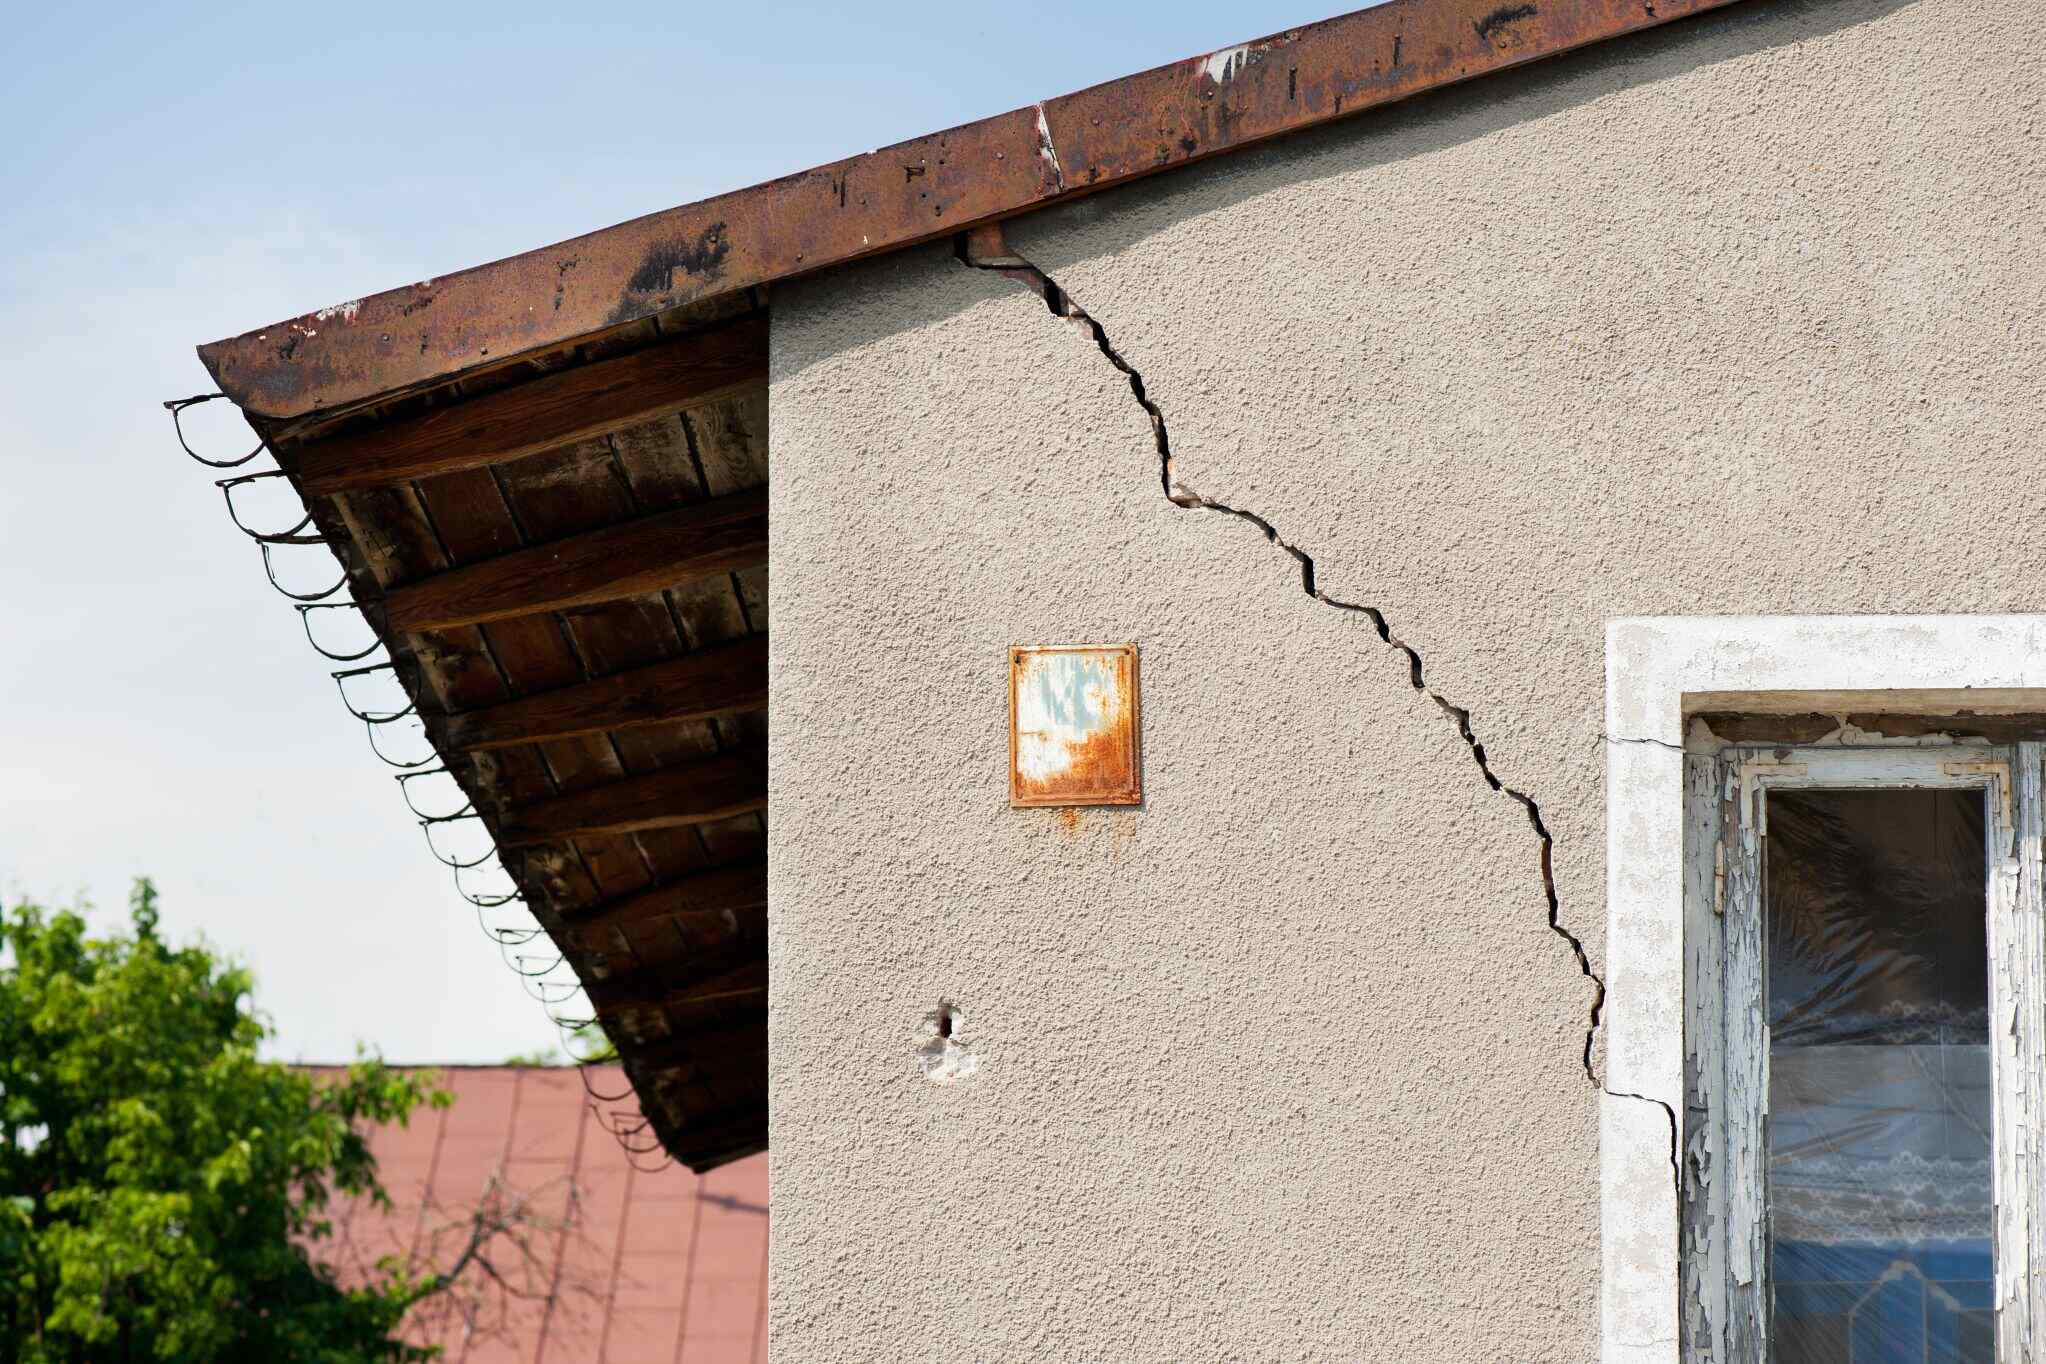
Welcome to the world of home maintenance, where cracks in walls are as common as the sunrise. Whether you’re a seasoned DIY enthusiast or a newcomer to the world of home repairs, knowing how to spackle cracks in walls is a valuable skill that can save you time and money. Not only does spackling help maintain the structural integrity of your walls, but it also ensures a smooth and flawless finish for a fresh coat of paint.
Before we delve into the nitty-gritty of spackling, it’s essential to understand the basic principles behind this process. Spackling, also known as patching compound, is a versatile material used to fill holes, cracks, and gaps in walls and ceilings. It’s available in various forms, including pre-mixed paste and powder that requires mixing with water. With the right tools and techniques, you can achieve professional-looking results without the need for costly professional help.
In this comprehensive guide, we’ll walk you through the step-by-step process of spackling cracks in your walls, from gathering the necessary materials to achieving a flawless finish. So, roll up your sleeves and get ready to embark on a journey to transform those unsightly cracks into seamless surfaces that enhance the beauty of your home.
Key Takeaways:
- Spackling cracks in walls is a DIY skill that saves time and money, enhances home aesthetics, and empowers you to take charge of home maintenance with confidence.
- Attention to detail is crucial in spackling; from crack preparation to flawless finishing, each step plays a vital role in achieving professional-looking results and transforming imperfections into opportunities.
Read more: Why Is My Spackle Cracking
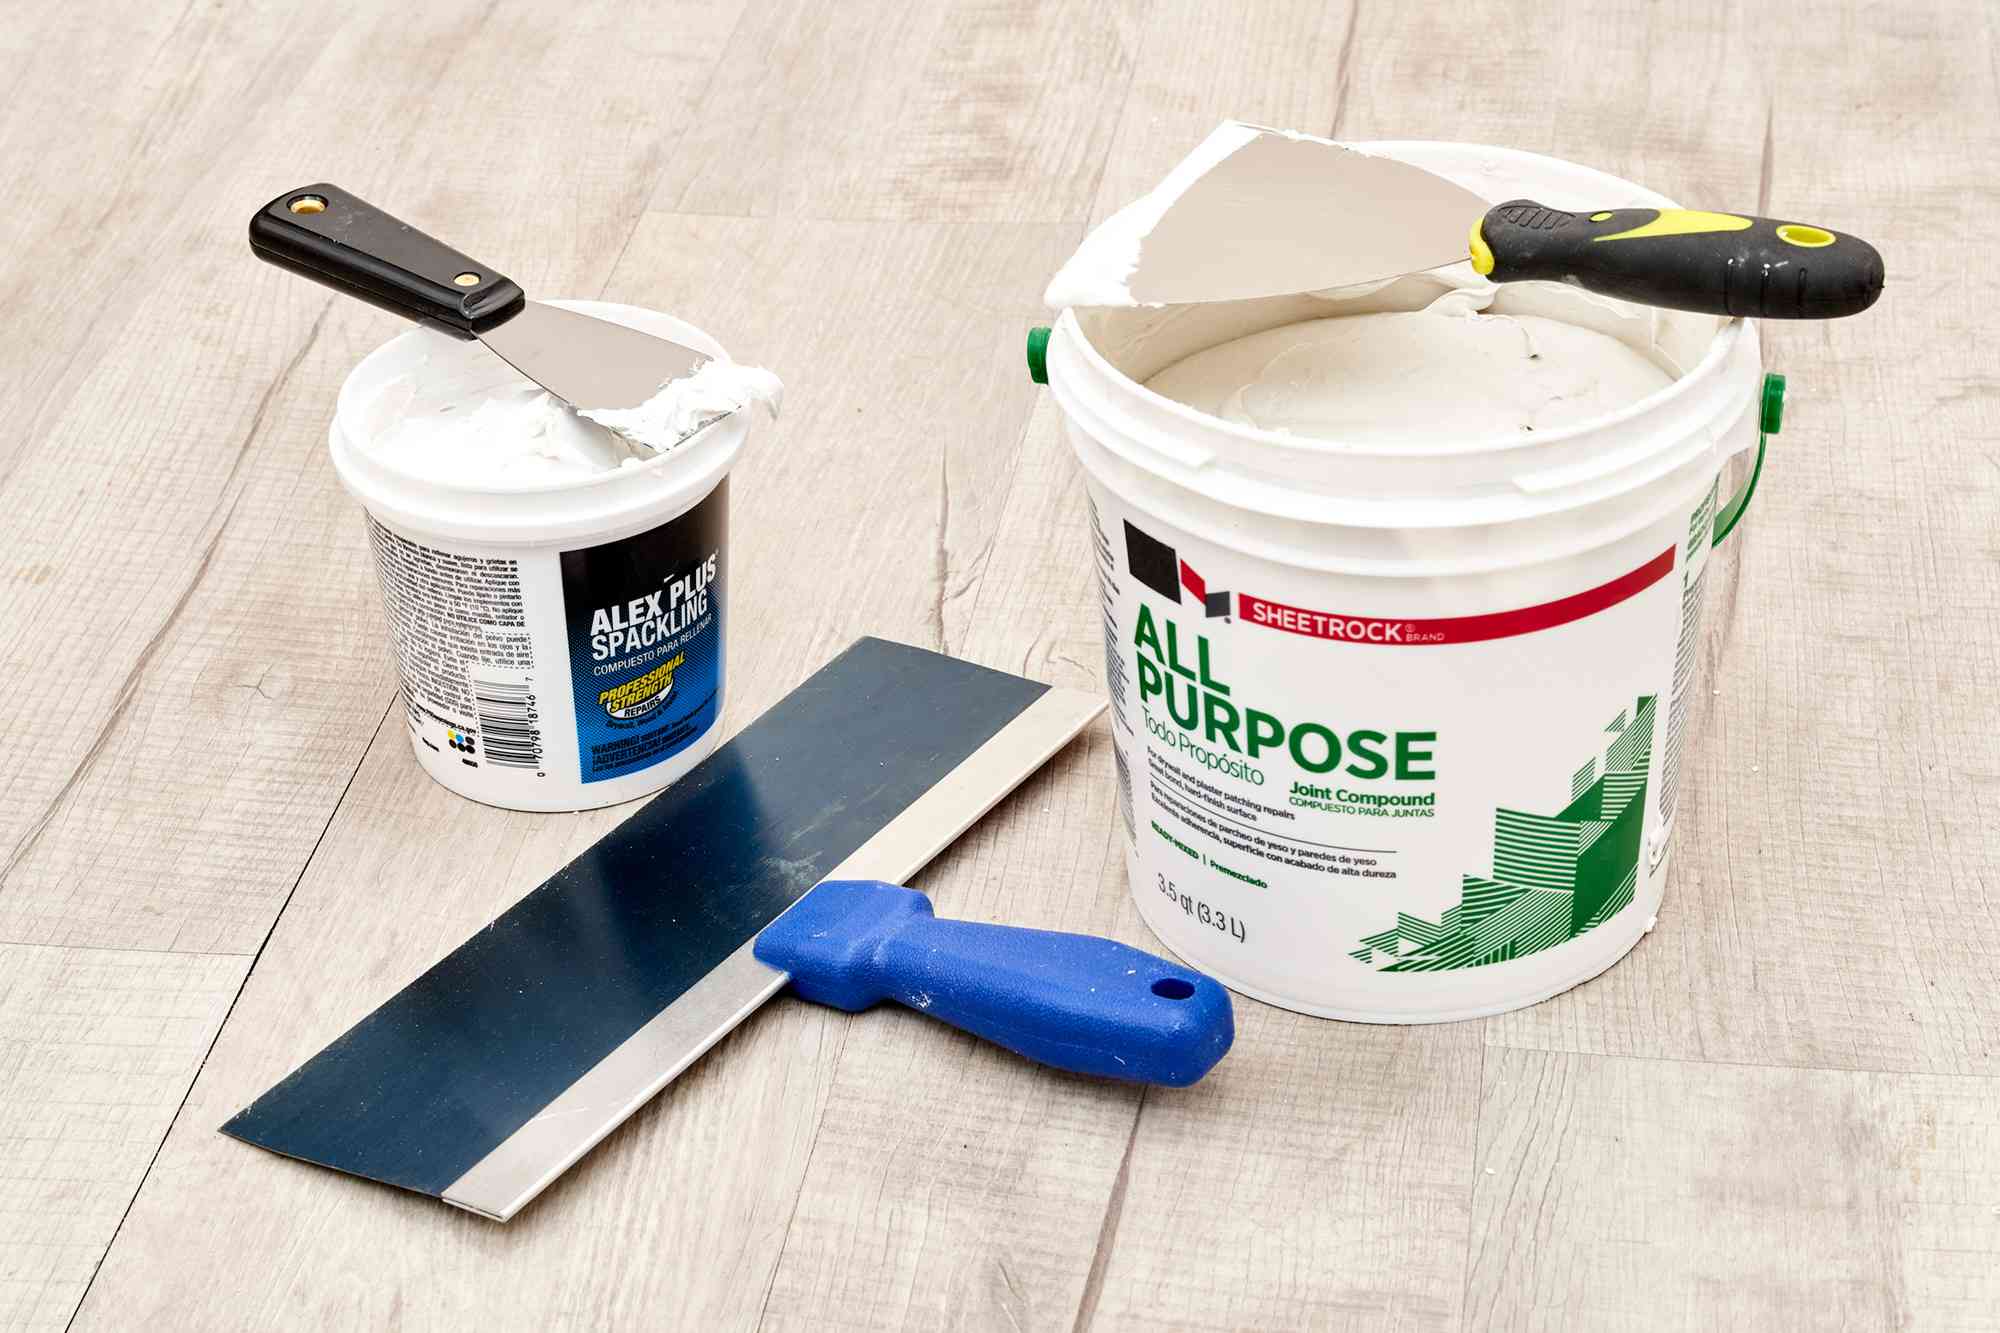
Materials Needed
Before you begin spackling cracks in your walls, it’s crucial to gather the necessary materials. Having the right tools and supplies at your disposal will ensure a smooth and efficient spackling process. Here’s a list of essential items you’ll need:
- Spackling Compound: This is the star of the show. Choose a high-quality spackling compound that is suitable for repairing cracks and holes in walls. Opt for a pre-mixed paste for convenience or a powder that requires mixing with water.
- Putty Knife: A putty knife, also known as a spackle knife, is used to apply and smooth the spackling compound. It’s essential for achieving a seamless finish.
- Sandpaper: You’ll need fine-grit sandpaper to sand down the spackled area and create a smooth surface for painting.
- Clean Cloth or Sponge: Keep a clean cloth or sponge handy for wiping away excess spackling compound and cleaning up any mess.
- Primer: Once the spackled area is dry and sanded, a primer is essential to prepare the surface for paint and ensure proper adhesion.
- Paint: Finally, have your desired paint on hand to apply the finishing touch to the repaired area. Ensure that the paint matches the existing wall color for a seamless blend.
With these materials in your arsenal, you’re well-equipped to tackle those pesky cracks and restore your walls to their former glory. Now that you have everything you need, let’s move on to preparing the crack for spackling.
Prepare the Crack
Before diving into the spackling process, it’s essential to prepare the crack to ensure optimal results. Here’s a step-by-step guide to preparing the crack in your wall:
- Clean the Area: Begin by cleaning the crack and its surroundings to remove any dust, debris, or loose particles. Use a damp cloth or sponge to wipe the area clean and allow it to dry completely.
- Inspect for Loose Material: Carefully examine the crack for any loose plaster, paint, or other materials. Use a putty knife to gently remove any loose or flaking material from the crack, creating a clean and stable base for the spackling compound.
- Fill Deep Cracks: If the crack is particularly deep, consider using a setting-type joint compound or plaster patch to fill the recessed area before applying the spackling compound. This will help create a more even surface and prevent the crack from reappearing.
- Apply Primer (if necessary): In some cases, especially with larger or more severe cracks, applying a primer to the prepared crack can help seal the surface and promote better adhesion of the spackling compound.
By meticulously preparing the crack, you’re laying the groundwork for a successful spackling endeavor. Once the crack is clean, stable, and primed if necessary, you’re ready to move on to the next crucial step: applying the spackling compound.
Before spackling cracks in a wall, make sure to clean the area and remove any loose debris. Apply the spackle with a putty knife, smooth it out, and let it dry before sanding and painting.
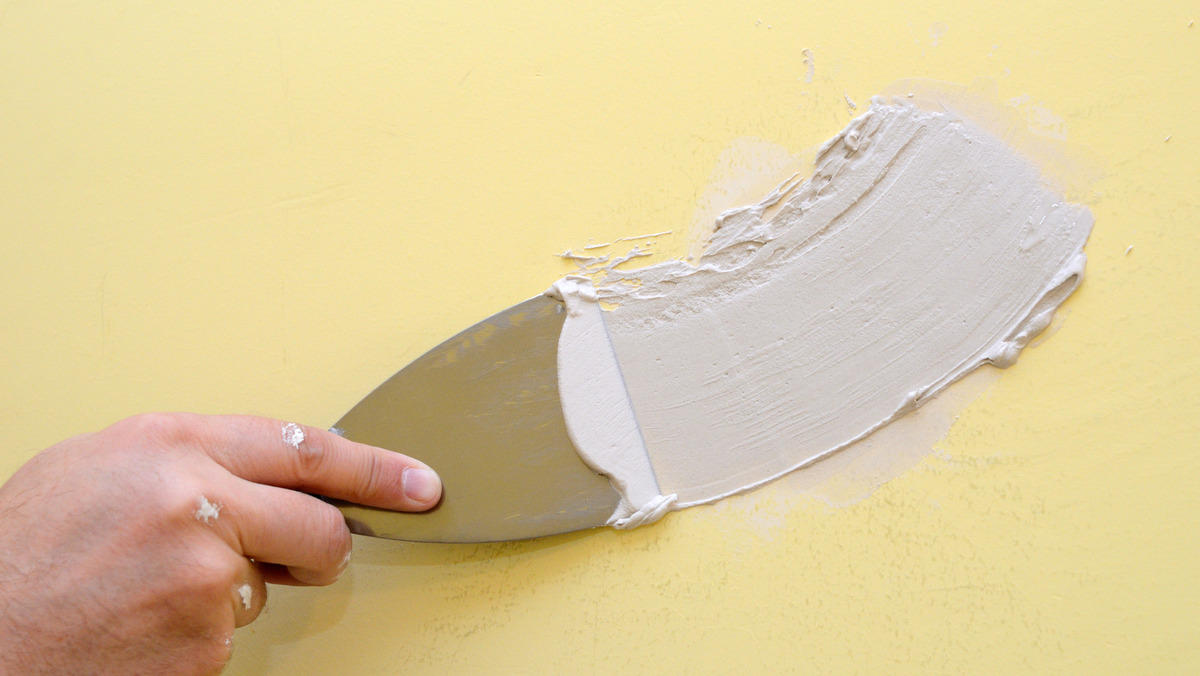
Apply the Spackle
Now that the crack is meticulously prepared, it’s time to apply the spackling compound. This step is where the magic happens, as the spackle works its transformative powers to fill and conceal the crack. Follow these steps for a seamless spackling application:
- Load the Putty Knife: Using a putty knife, scoop a small amount of spackling compound onto the blade. If you’re using a pre-mixed paste, it should be ready for immediate application. If you’re working with a powder, ensure that it’s mixed to a smooth, creamy consistency.
- Apply the Spackle: With the loaded putty knife, gently press the spackling compound into the crack, ensuring that it completely fills the recessed area. Use a smooth, even motion to spread the compound along the crack, feathering the edges to blend it seamlessly with the surrounding wall surface.
- Remove Excess Spackle: Once the crack is filled, use the putty knife to remove any excess spackling compound, leaving a smooth and even surface. The goal is to create a seamless transition between the spackled area and the rest of the wall.
- Allow the Spackle to Dry: Depending on the type of spackling compound used, allow sufficient time for it to dry and cure. Follow the manufacturer’s recommendations for drying times, ensuring that the spackled area is completely dry before proceeding to the next step.
With the spackling compound expertly applied, you’re one step closer to achieving a flawlessly repaired wall. However, there’s still work to be done to ensure that the spackled area blends seamlessly with the surrounding wall surface. The next step is crucial for achieving a professional-looking finish: sanding and finishing.
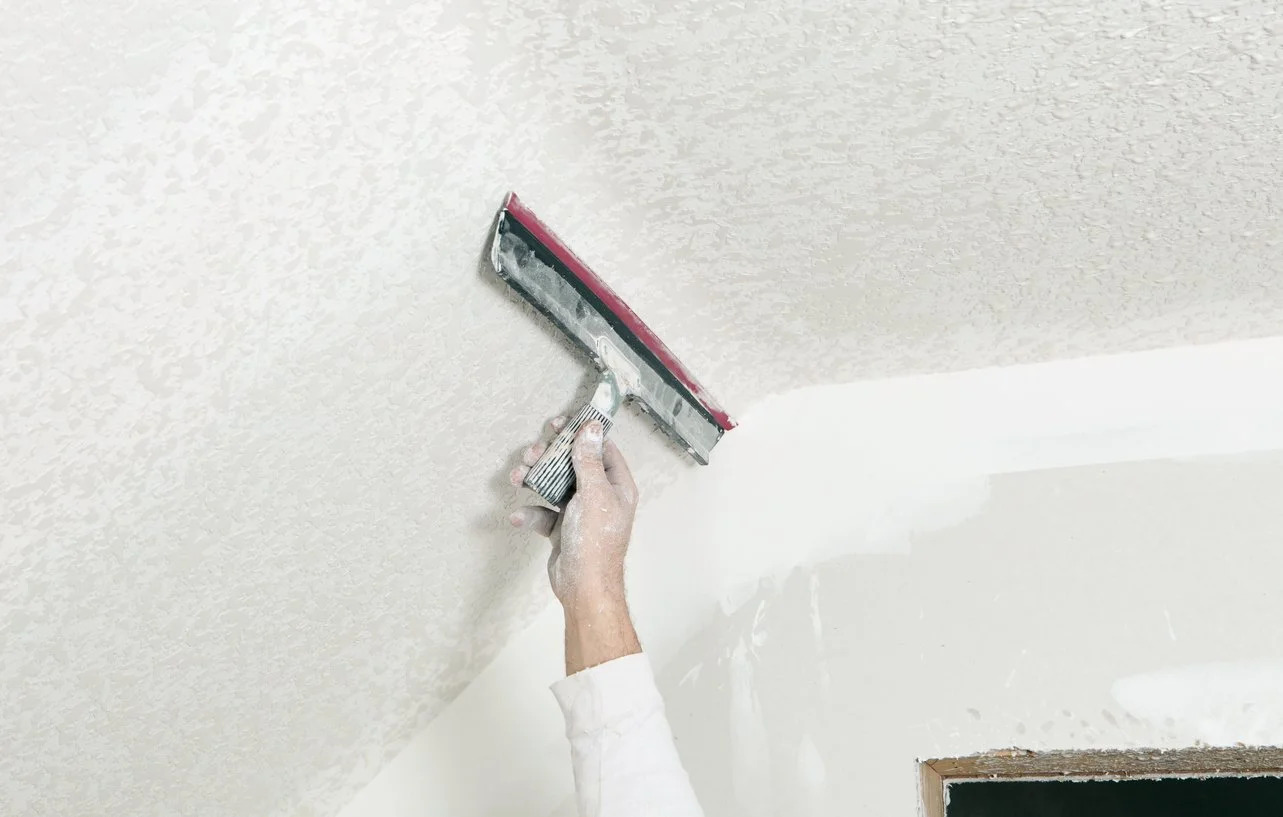
Sanding and Finishing
After the spackling compound has dried and cured, the next critical step is to sand and finish the repaired area. This process is essential for achieving a smooth and seamless surface that seamlessly blends with the rest of the wall. Follow these steps to sand and finish the spackled area:
- Sand the Spackled Area: Use fine-grit sandpaper to gently sand the dried spackling compound. Employ light, circular motions to smooth the surface and feather the edges, ensuring that the spackled area seamlessly transitions into the surrounding wall. Be mindful not to oversand, as this can result in an uneven surface.
- Clean the Area: Once the spackled area is sanded to perfection, use a clean cloth or sponge to wipe away any dust or debris. This step is crucial for ensuring a clean and dust-free surface for the next phase of the process.
- Apply Primer: If you didn’t apply a primer during the crack preparation phase, now is the time to prime the spackled area. A quality primer helps create an even surface, promotes paint adhesion, and ensures a uniform finish once the paint is applied.
- Paint the Repaired Area: With the spackled area primed and ready, it’s time to apply the finishing touch: paint. Use a high-quality paint that matches the existing wall color, and carefully apply it to the repaired area. Feather the paint outwards to seamlessly blend it with the surrounding wall, ensuring a flawless finish.
With the sanding and finishing process complete, step back and admire your handiwork. The once-unsightly crack has been expertly spackled, sanded, and painted, leaving behind a seamless and flawless surface that enhances the overall aesthetics of your home.
By following these steps and paying attention to detail, you’ve successfully mastered the art of spackling cracks in walls. Armed with the right materials and techniques, you can confidently tackle wall repairs, knowing that you have the skills to achieve professional-looking results.
Read more: How To Spackle Walls
Conclusion
Congratulations! You’ve successfully navigated the world of spackling and emerged as a capable DIY enthusiast with the skills to tackle wall repairs like a pro. By mastering the art of spackling cracks in walls, you’ve not only enhanced the structural integrity of your home but also revitalized its visual appeal.
As you reflect on your spackling journey, remember that attention to detail is key. From meticulously preparing the crack to expertly applying the spackling compound and achieving a flawless finish, each step plays a crucial role in the overall outcome. By following the comprehensive guide provided, you’ve gained the knowledge and confidence to transform unsightly cracks into seamless surfaces that seamlessly blend with the rest of your walls.
Furthermore, the ability to spackle cracks in walls is a valuable skill that empowers you to take charge of your home maintenance and make impactful improvements with your own hands. Not only does it save you time and money, but it also fosters a sense of pride and accomplishment in your DIY endeavors.
So, the next time you encounter a crack in your wall, embrace the challenge with confidence, armed with the knowledge and expertise to spackle it with finesse. With the right materials, techniques, and a dash of creativity, you can turn those imperfections into opportunities to showcase your DIY prowess.
As you bid adieu to this guide, remember that spackling is not just about repairing cracks; it’s about transforming spaces and infusing them with renewed beauty and charm. With your newfound skills, you’re well-equipped to embark on future home improvement projects, knowing that you have the power to elevate your living environment with your own two hands.
So go forth, embrace the art of spackling, and let your walls reflect the care and craftsmanship that you bring to your home.
Frequently Asked Questions about How To Spackle Cracks In Wall
Was this page helpful?
At Storables.com, we guarantee accurate and reliable information. Our content, validated by Expert Board Contributors, is crafted following stringent Editorial Policies. We're committed to providing you with well-researched, expert-backed insights for all your informational needs.


0 thoughts on “How To Spackle Cracks In Wall”