
Articles
How To Build Goat Fence
Modified: October 18, 2024
Looking for articles on how to build a goat fence? Discover step-by-step guides and expert tips to help you create a secure and durable goat enclosure.
(Many of the links in this article redirect to a specific reviewed product. Your purchase of these products through affiliate links helps to generate commission for Storables.com, at no extra cost. Learn more)
Introduction
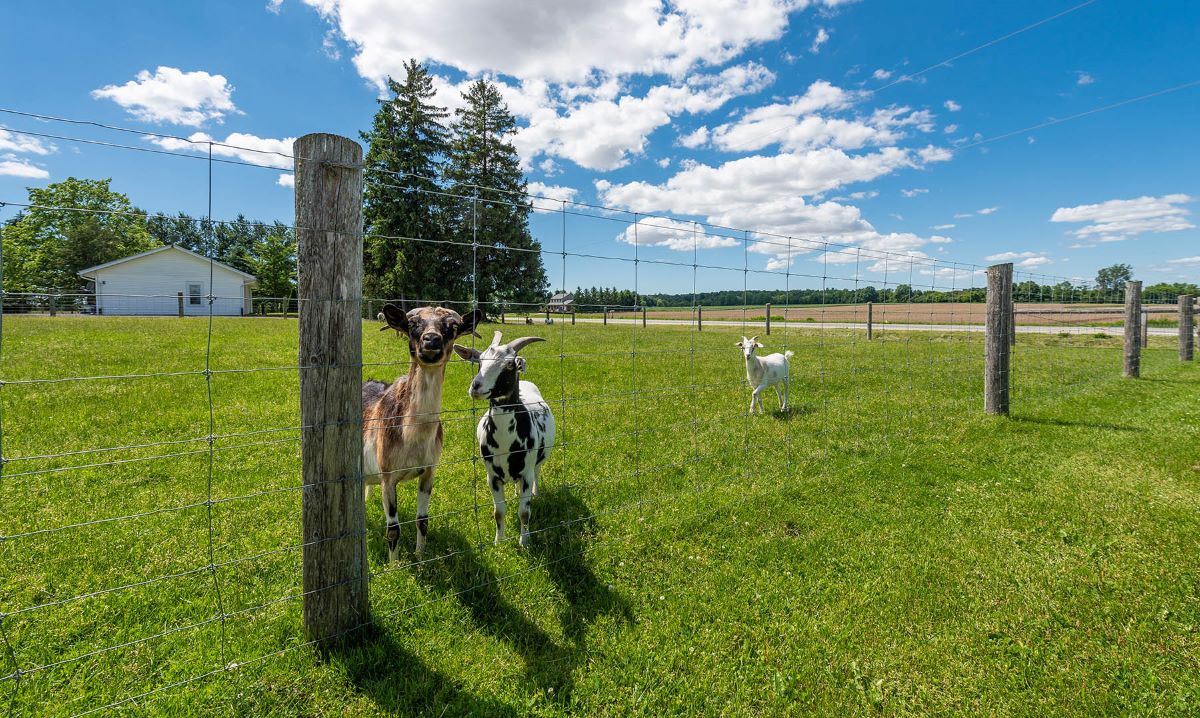
When it comes to keeping your goats safe and secure, a well-built fence is essential. Not only does it keep your goats contained, but it also helps protect them from predators and prevents them from causing damage to property outside their designated area. Building a goat fence may seem like a daunting task, but with proper planning and execution, you can create a secure enclosure for your goats to roam and graze.
In this article, we will guide you through the step-by-step process of building a goat fence. From determining the perimeter to securing the fence, we will cover everything you need to know to ensure your goats’ safety and your peace of mind.
Before diving into the construction process, it’s important to consider a few factors. Firstly, you need to evaluate the size of your goat herd and anticipate any future additions. This will help determine the size of the enclosure and the amount of fencing material needed. Additionally, you should be aware of any local regulations or homeowner’s association rules regarding fence construction.
Once you have taken these factors into account, it’s time to roll up your sleeves and get started on building your goat fence. With the right tools, materials, and a little bit of patience, you can create a sturdy and reliable barrier that will keep your goats safe and secure.
So let’s jump right in and begin with the first step: determining the perimeter of your goat fence.
Key Takeaways:
- Building a goat fence involves determining the perimeter, selecting the right type of fence, gathering necessary materials, and ensuring proper installation. It’s a rewarding process that provides a secure and comfortable home for your goats.
- Securing the fence, inspecting for weak spots, and acclimating your goats to the enclosure are crucial steps in ensuring the safety and well-being of your goat herd. Regular maintenance and monitoring are essential for long-term effectiveness.
Read more: How Tall Should Goat Fence Be
Step 1: Determine the Perimeter
The first step in building a goat fence is to determine the perimeter of the enclosure. This involves measuring the area where you want to keep your goats and marking the boundaries.
To begin, gather your measuring tape, stakes, and a roll of string or twine. Start by locating the corners of the intended enclosure and drive a stake into the ground at each corner. Then, stretch the string or twine between the stakes, creating a straight line that represents the boundary.
As you walk along the perimeter, use the measuring tape to ensure the distance between each stake is accurate. This is especially important if you have a specific size in mind for your goat enclosure. If there are any obstacles, such as trees or buildings, make sure to account for them and adjust the fence line accordingly.
Once you have marked the corners and established a clear boundary, it is a good idea to walk along the inside of the proposed fence line to get a better sense of the area and make any necessary adjustments. This will help you visualize how the enclosure will look and identify any potential issues that may need to be addressed.
It’s important to keep in mind that goats are known for being strong and agile, so it’s crucial to create a fence that is both secure and high enough to prevent them from jumping or climbing over. The height of the fence will depend on the size and breed of your goats. Generally, a fence at least 4 feet tall is recommended to keep most goats contained.
Once you have measured and marked the perimeter, it’s time to move on to the next step: selecting the type of fence for your goats.
Step 2: Select the Type of Fence
Choosing the right type of fence for your goats is an important decision that depends on various factors such as budget, availability of materials, and personal preference. There are several options to consider, each with its own advantages and disadvantages.
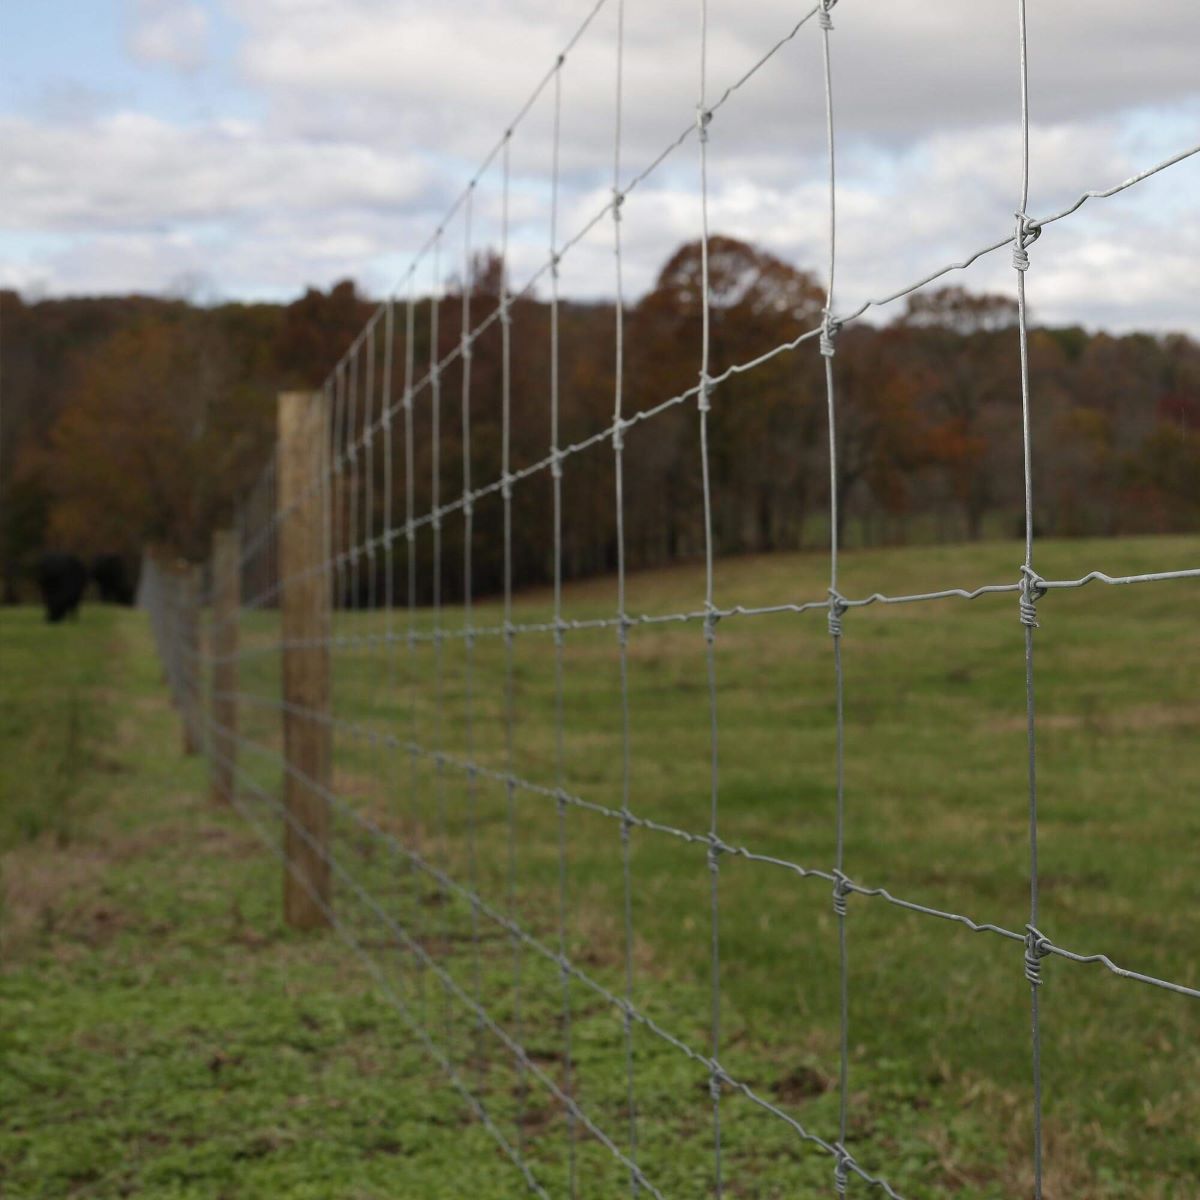
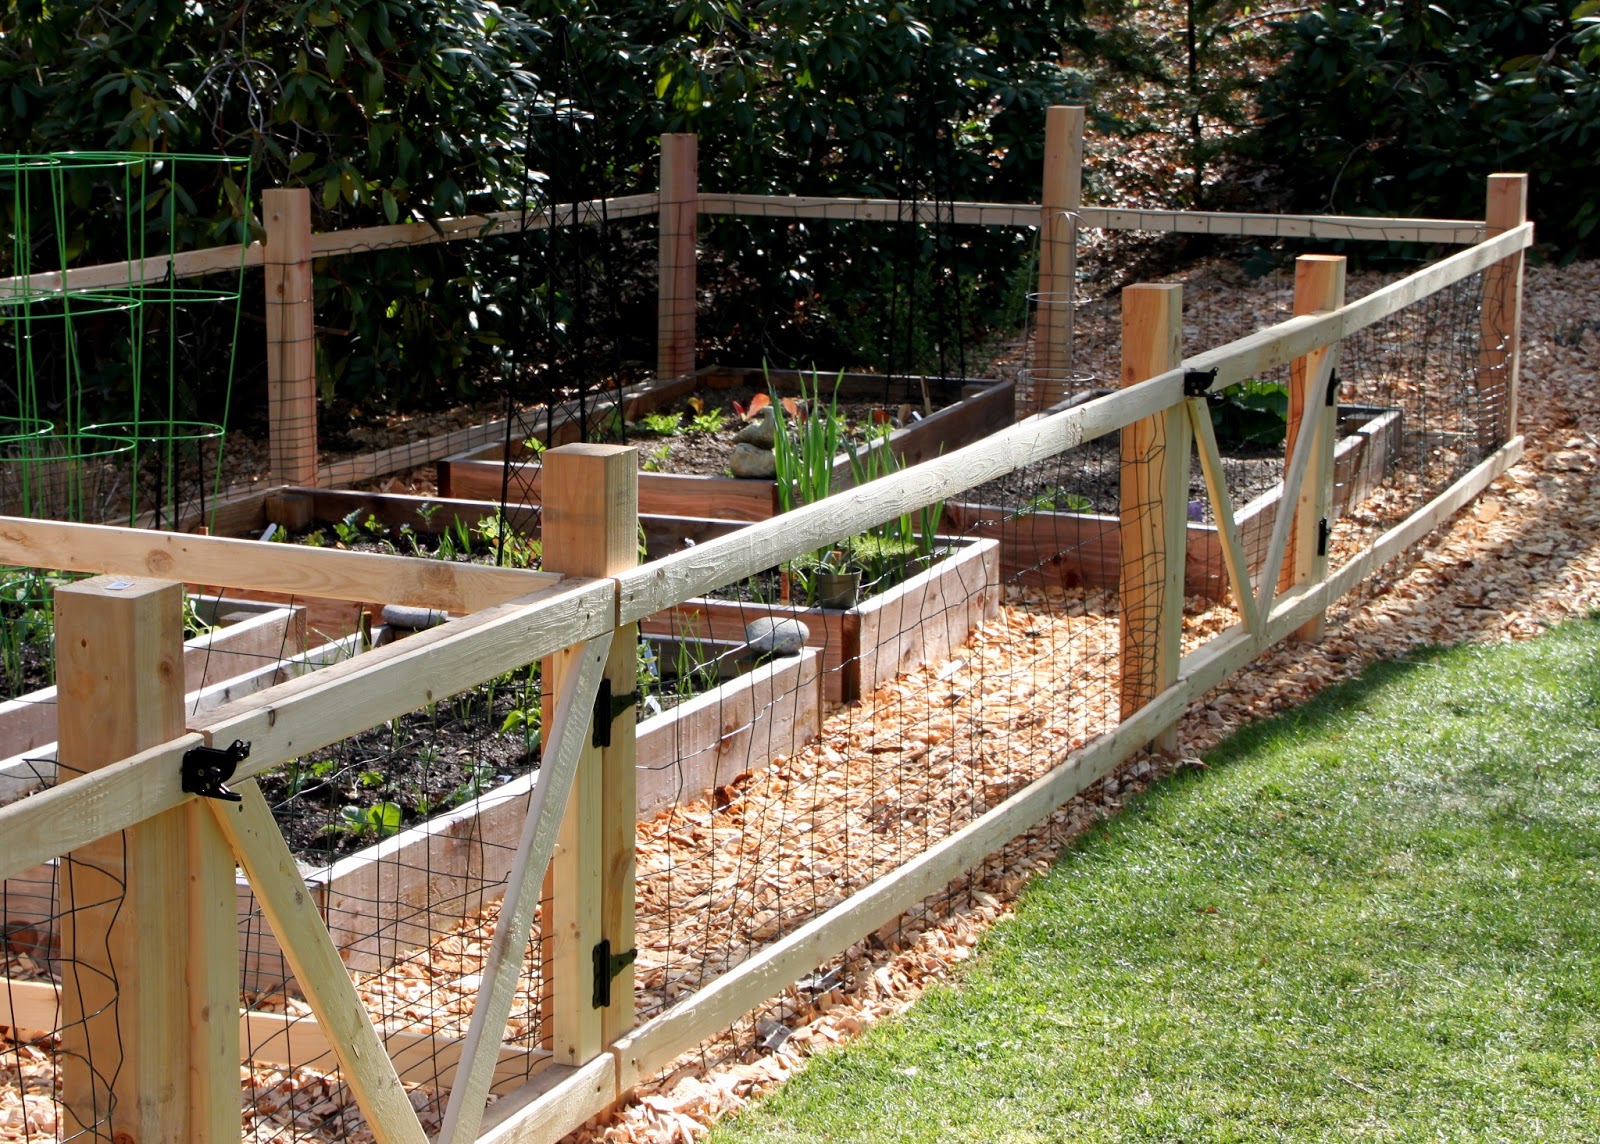
One of the most popular choices for goat fencing is woven wire. Woven wire fences are durable, sturdy, and provide excellent containment for goats. They consist of vertical wires that are tightly woven together, forming small squares or rectangles. This type of fence prevents goats from sticking their heads through the gaps and helps keep out predators. However, it can be quite expensive and may require additional materials such as wooden posts or T-posts for support.
Electric fencing is another option to consider. Electric fences use a mild electric shock to deter goats from touching or trying to breach the fence. This type of fence is affordable, easy to install, and can be highly effective in keeping goats contained. However, it requires a power source and regular maintenance to ensure proper functioning.
If you’re looking for a more budget-friendly option, you might consider using field fence or barbed wire. Field fence is similar to woven wire but with larger spaces between the vertical wires. It is less expensive than woven wire but still provides adequate containment for goats. Barbed wire, on the other hand, should be used with caution as it can cause injury to goats if they get tangled in it.
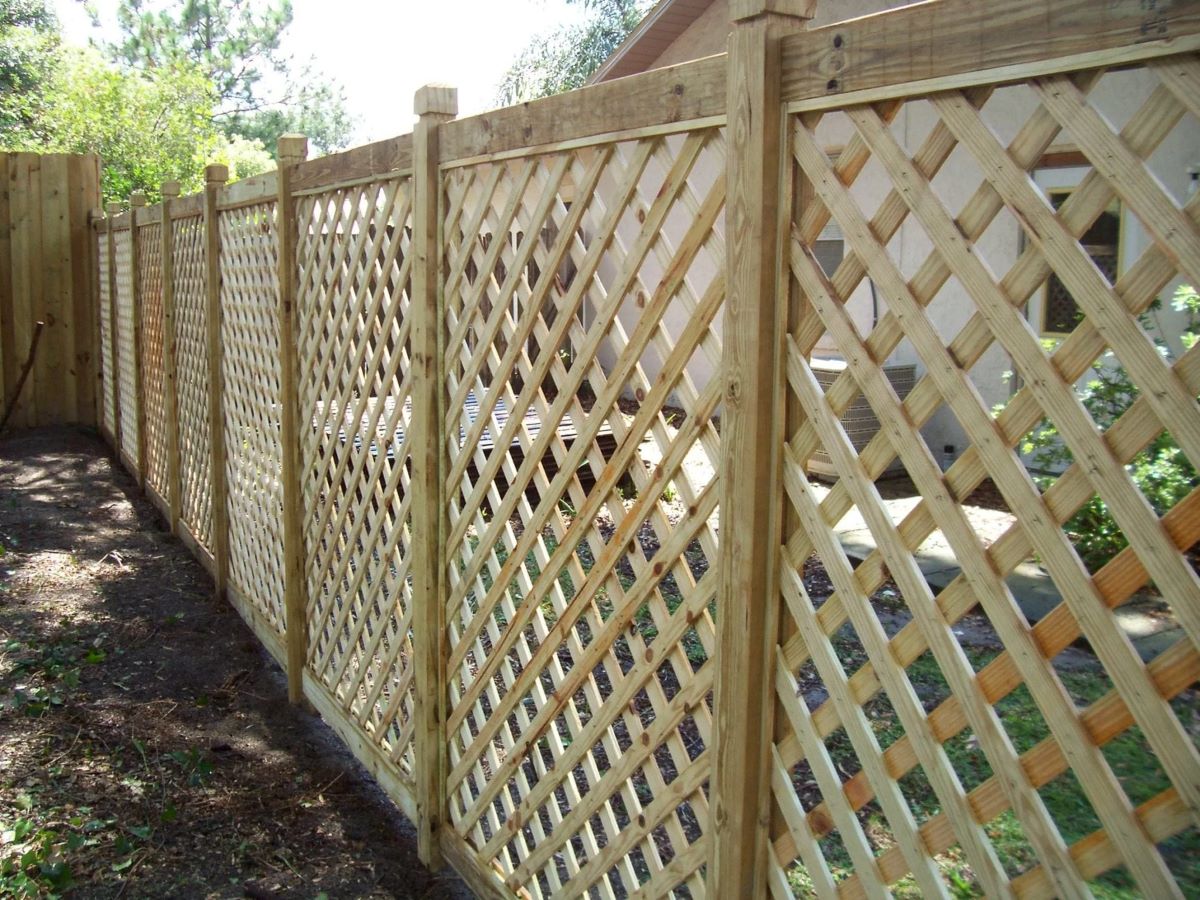
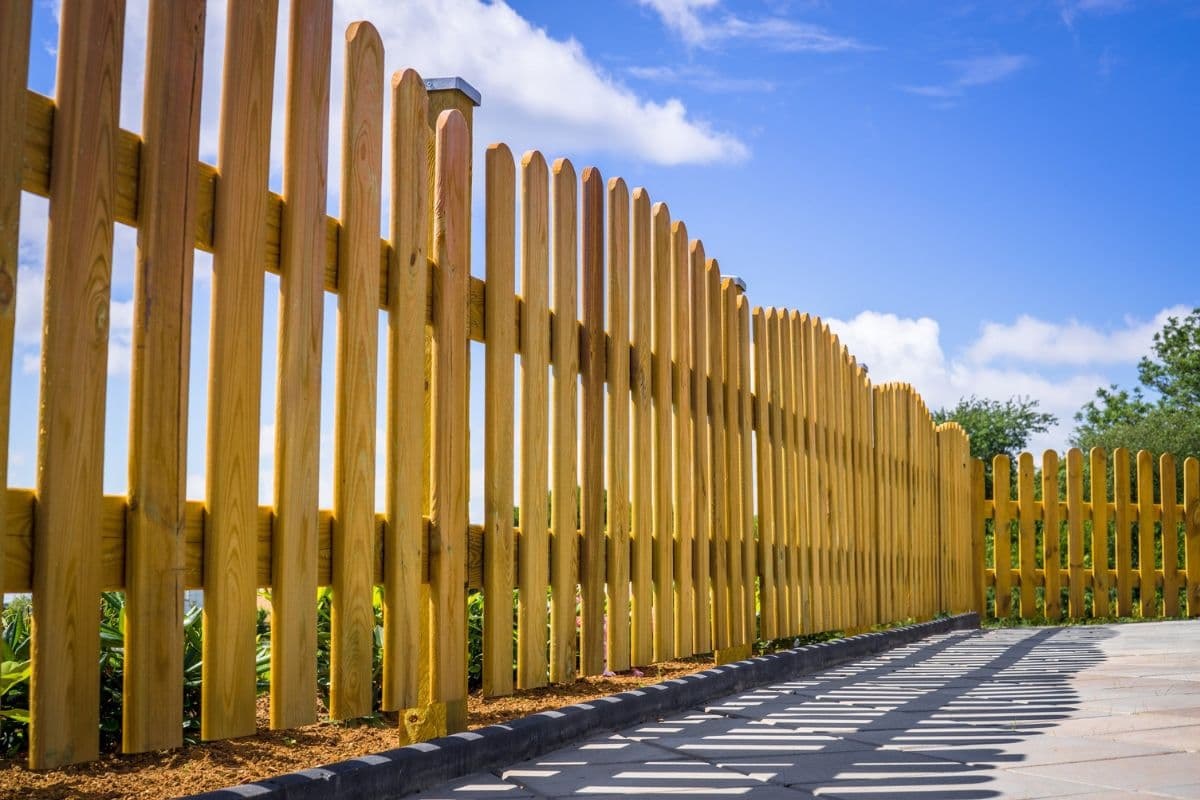
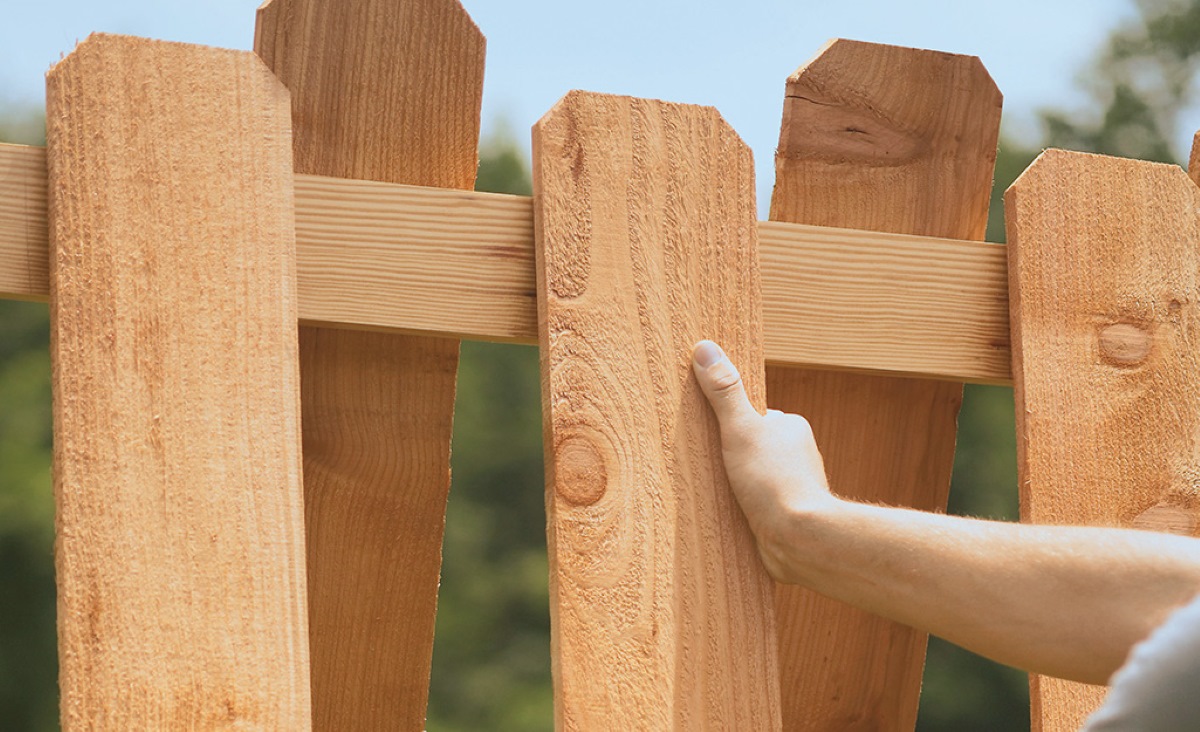
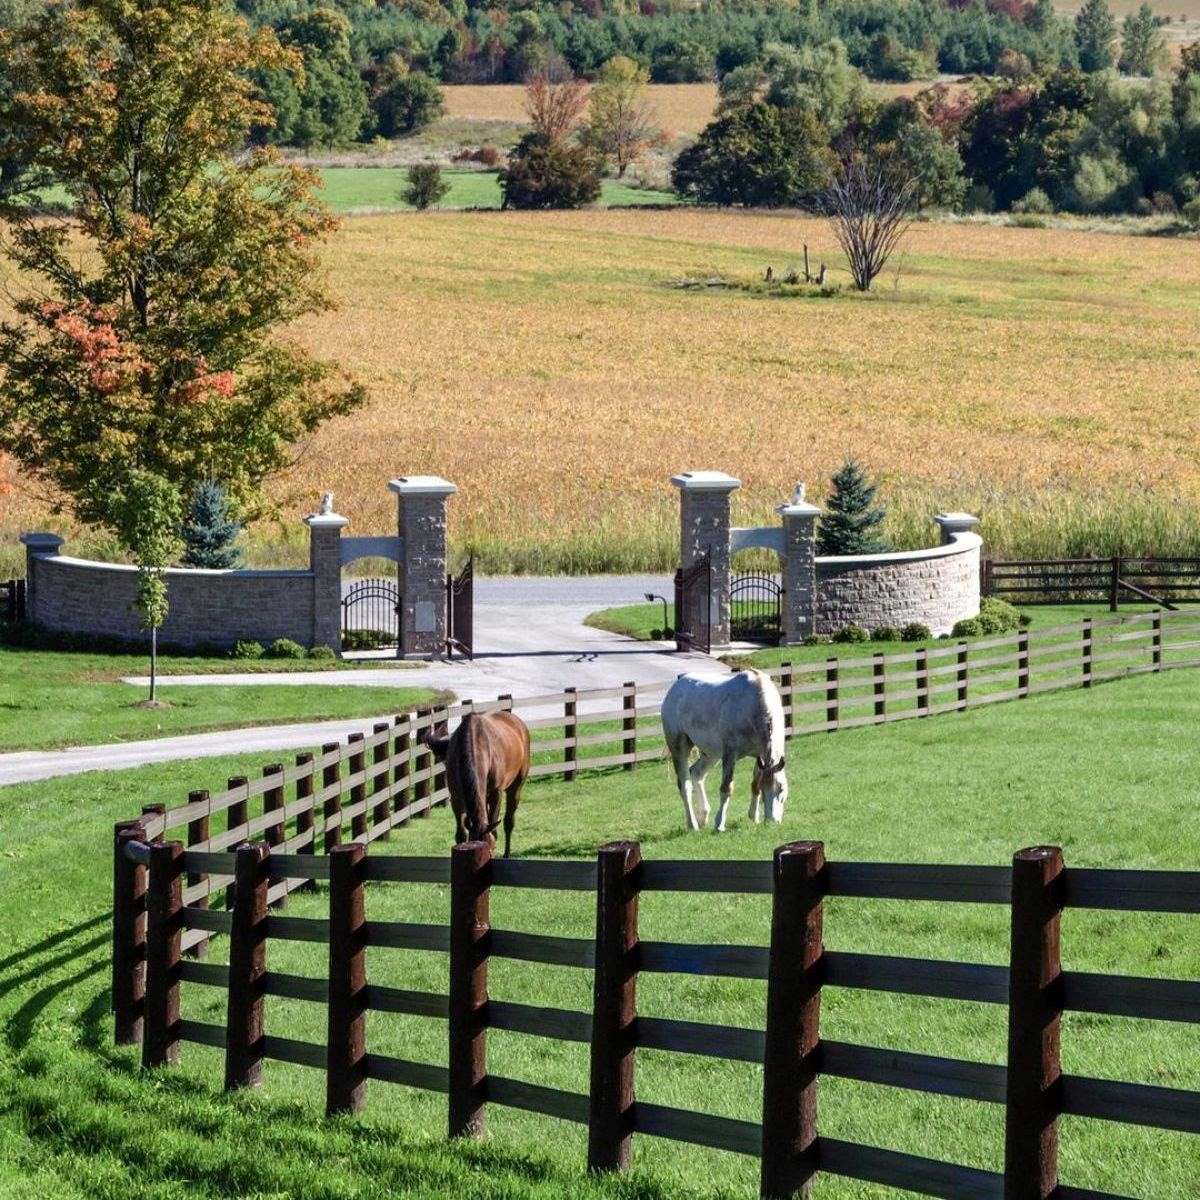
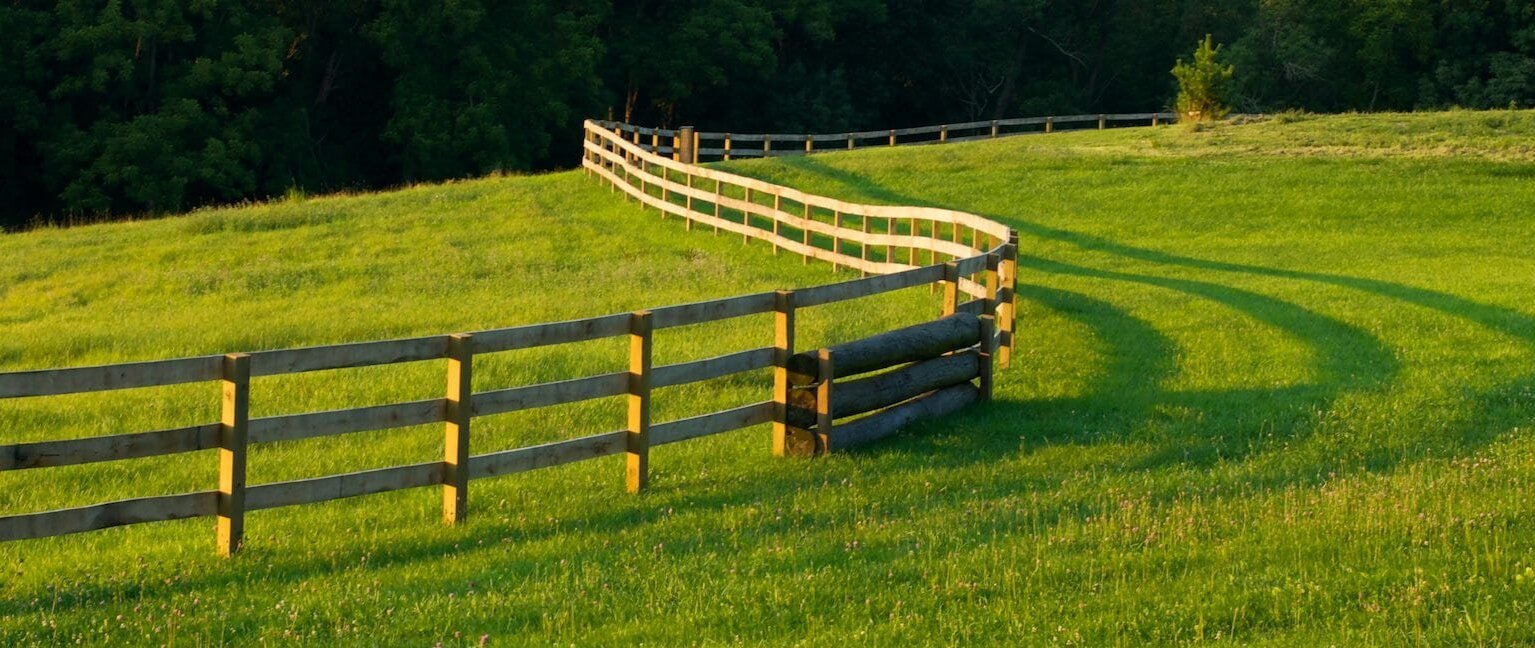
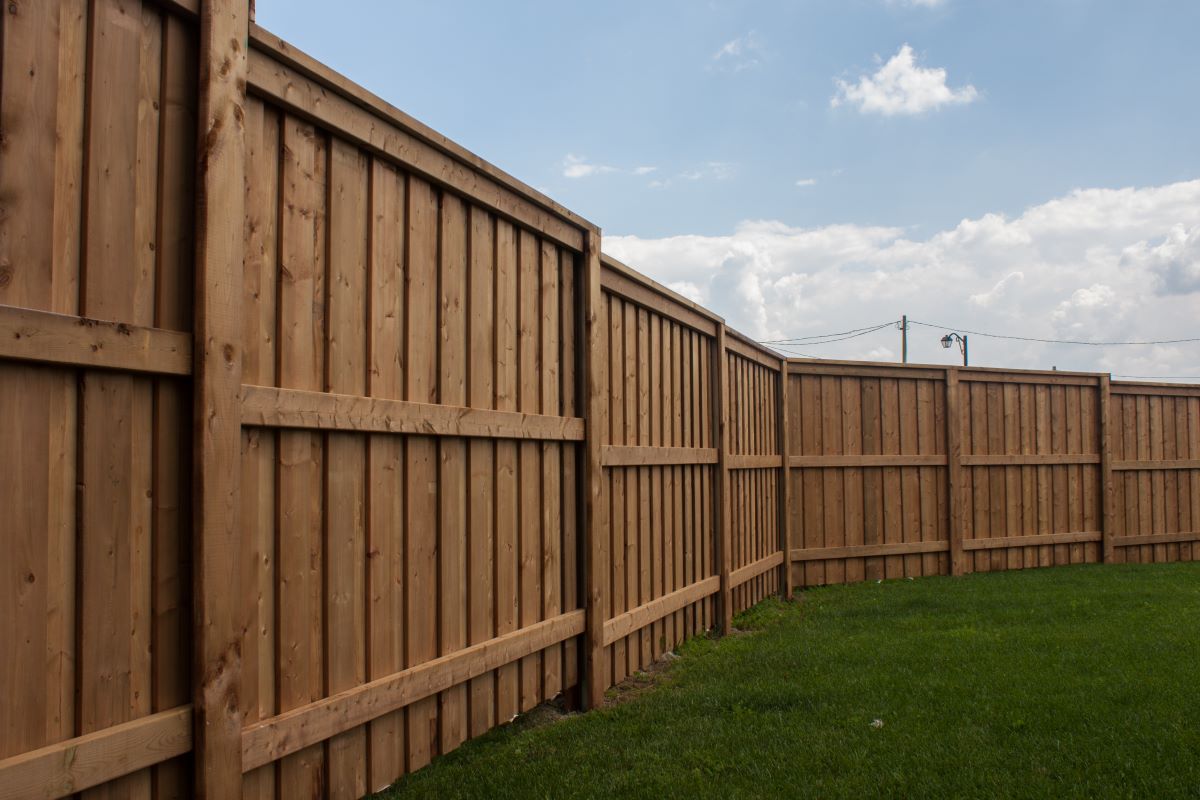
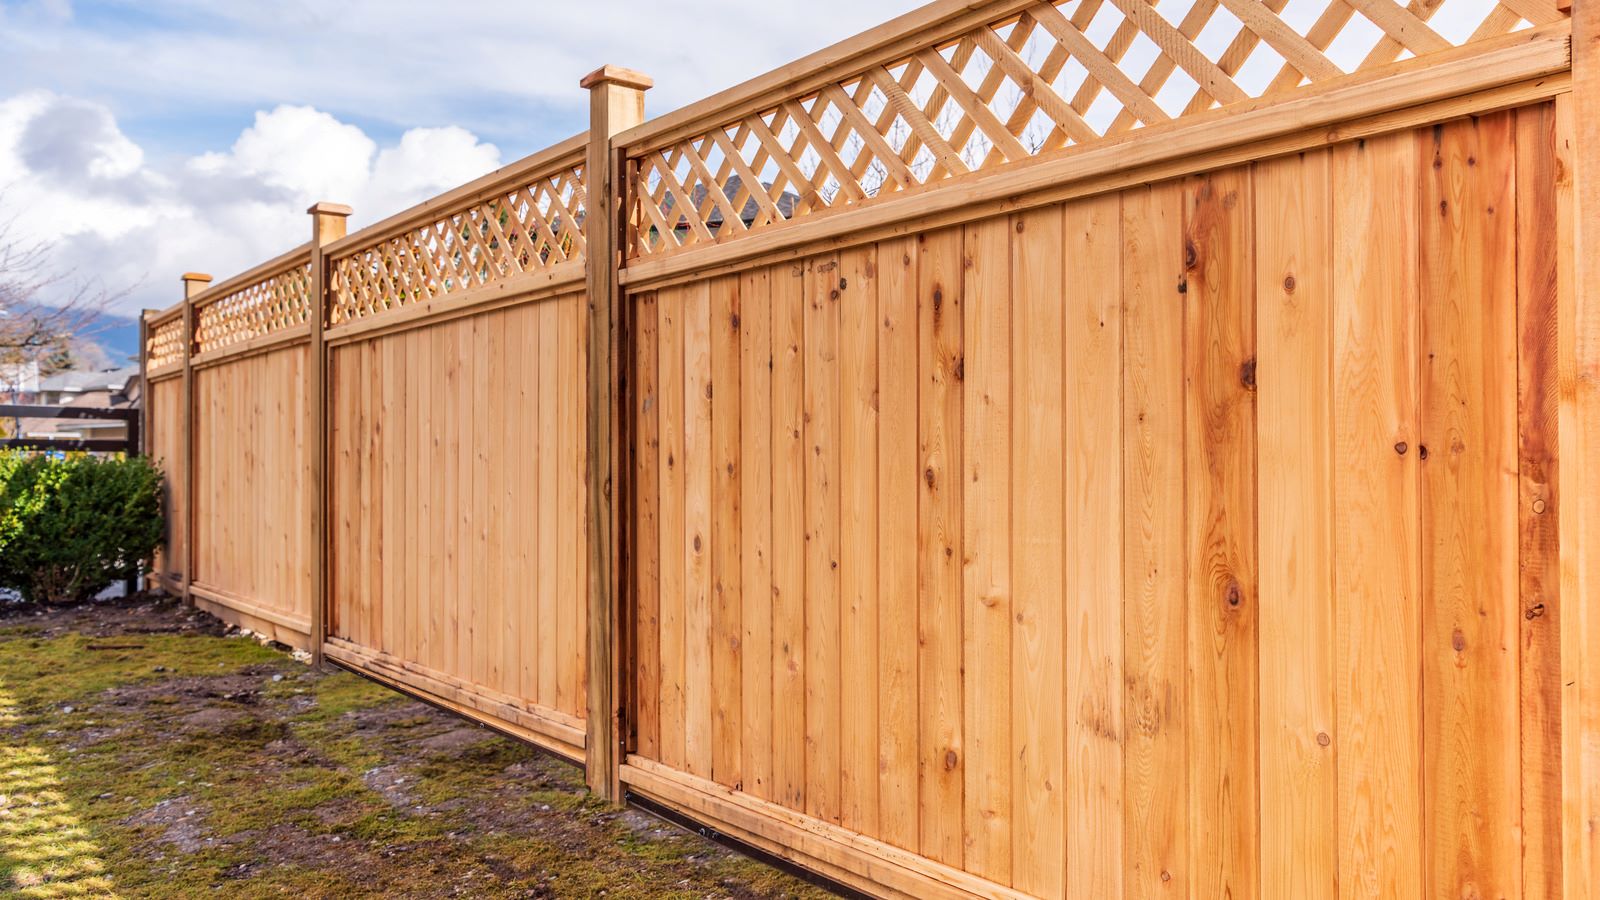
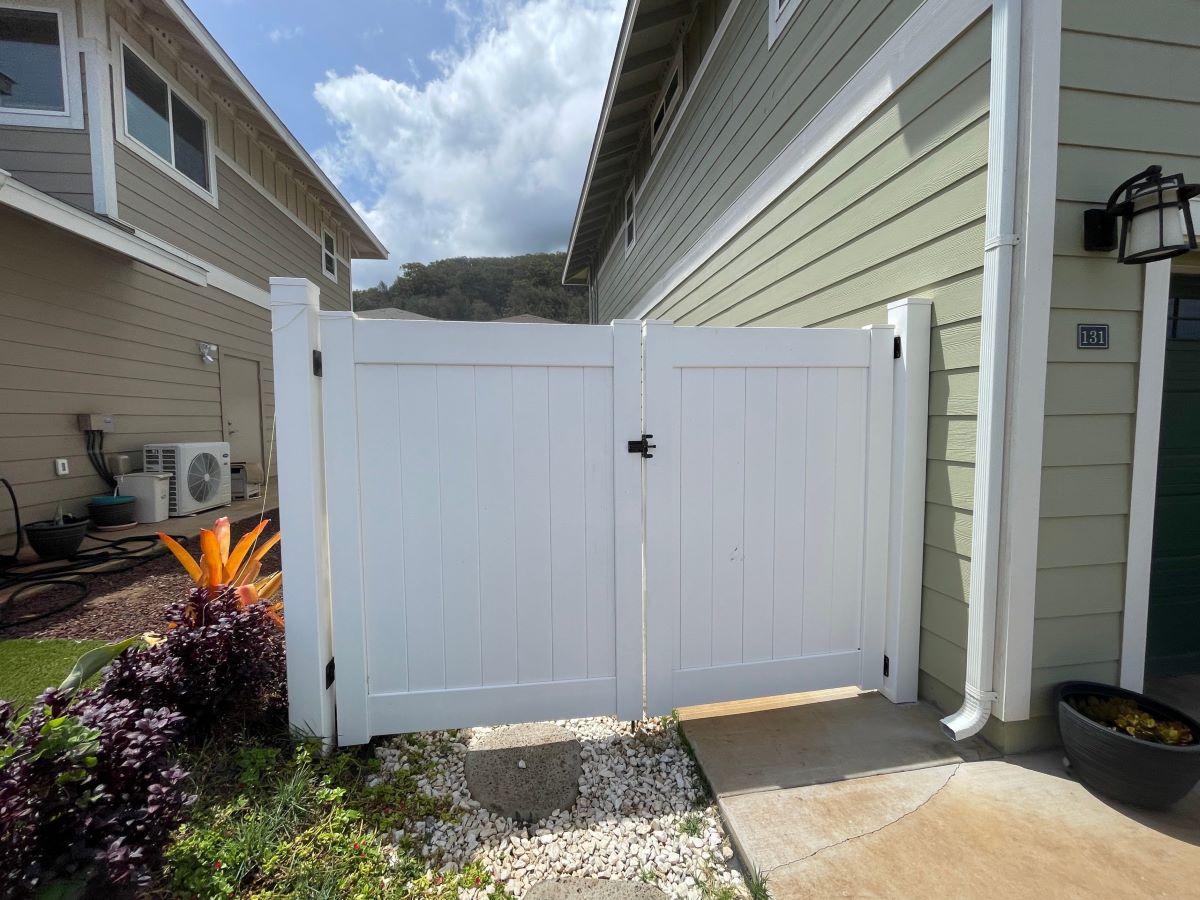
Another alternative is using wooden or vinyl fencing. These types of fences offer a more aesthetically pleasing look and can provide good containment for goats. However, they may not be as durable as wire fences and may require more maintenance over time.
When selecting the type of fence, it’s important to consider the specific needs of your goats and the environment in which they will be kept. Assess factors such as the terrain, weather conditions, and potential predators in your area. Additionally, check with local regulations or guidelines to ensure that the chosen fence type complies with any restrictions or requirements.
Once you have decided on the type of fence, it’s time to move on to the next step: gathering the necessary materials.
Step 3: Gather Necessary Materials
Now that you have determined the type of fence you will be using for your goat enclosure, it’s time to gather all the necessary materials. Having everything you need on hand before you start the construction process will help ensure a smooth and efficient installation.
The specific materials needed will depend on the type of fence you have chosen. Here are some common materials you may need:
- Fence posts: These are essential for providing support and stability to the fence. Depending on your chosen fence type, you may need wooden posts, T-posts, or metal posts. Make sure to calculate the number of posts based on the perimeter of your enclosure.
- Fencing material: This will include the chosen type of wire or fencing material, such as woven wire, electric wire, field fence, or barbed wire. Measure the length required based on the perimeter of your enclosure.
- Fence clips or fasteners: You will need these to secure the fencing material to the posts. Choose clips or fasteners appropriate for the type of fence you are using.
- Gates: If you plan to have an entry point in your goat fence, you will need to purchase or build a gate. Make sure to get a gate that is sturdy and of appropriate size to allow your goats to pass through.
- Tools: Gather the necessary tools such as a post hole digger, shovel, wire cutters, pliers, and a hammer. These tools will be used during the installation process.
- Safety equipment: It’s always important to prioritize safety when working on any construction project. Consider wearing gloves, safety glasses, and sturdy footwear to protect yourself during the fence building process.
Before purchasing or gathering the materials, create a detailed list based on your specific requirements to ensure you have everything you need. This will save you time and frustration during the construction process.
Once you have gathered all the necessary materials, you can move on to the next step: measuring and marking the posts for installation.
Step 4: Measure and Mark the Posts
With all the materials gathered, it’s time to start measuring and marking the posts for installation. Properly aligned and evenly spaced posts are crucial for the stability and integrity of your goat fence.
Start by determining the spacing between each post. The spacing will depend on the type of fence you are using as well as the terrain of your enclosure. As a general rule of thumb, posts should be spaced about 8 to 12 feet apart. If you are using a heavier wire or a more substantial fence, you may need to tighten the spacing.
Once you have determined the spacing, mark the location of each post along the perimeter of your enclosure. You can use a measuring tape and stakes to mark the spots. Remember to mark the corners and gate openings as well.
Next, you need to check the alignment of the posts. Using a string or twine, tie it between the corner stakes at the desired height of your fence. This will ensure that all the posts are aligned and level. Adjust the string as needed to achieve a straight and even line.
Take your time to measure and mark each post accurately. Double-check your measurements and make any necessary adjustments before proceeding to the next step. This attention to detail will contribute to the overall stability and appearance of your goat fence.
Make sure to also mark the depth at which the posts need to be installed. The depth will depend on various factors such as the height of your fence, the soil type, and the climate in your area. As a general guideline, posts should be buried at least one-third of their total length in the ground. This will provide the necessary stability to withstand the pressure from the fence and any external forces like wind or leaning goats.
Once you have measured and marked all the posts, you’re ready to move on to the next step: digging the fence post holes.
Read more: How To Build A Wattle Fence
Step 5: Dig the Fence Post Holes
With the posts measured and marked, it’s time to start digging the fence post holes. Properly dug holes will ensure that your fence posts are securely anchored in the ground for long-lasting stability.
Start by using a post hole digger or a shovel to excavate the holes. The size of the holes will depend on the diameter of your fence posts. As a general guideline, the holes should be approximately one-third wider than the posts.
When digging the holes, make sure to create a depth that allows for the necessary stability. As mentioned in the previous step, posts should be buried at least one-third of their length in the ground. It’s important to dig deep enough to accommodate this depth.
As you dig each hole, remove any rocks, roots, or debris that may hinder inserting the posts. Ensure the bottom of the hole is level and flat to provide a solid foundation for the post.
Another important aspect to consider is the spacing between the holes. Refer back to the measurements and markings made in the previous step to ensure accurate spacing and alignment. Use a string or twine to guide you if necessary.
Take your time during this step to ensure that each hole is properly dug and meets the necessary specifications. A job well done at this stage will contribute to the strength and durability of your goat fence.
Once all the fence post holes are dug, remove any loose dirt or debris from the holes. You are now ready to move on to the next step: setting the fence posts.
When building a goat fence, make sure the fence is at least 4 feet high to prevent goats from jumping over. Use sturdy materials like woven wire or electric fencing to ensure the fence is secure and durable.
Step 6: Set the Fence Posts
Now that you have dug the fence post holes, it’s time to set the fence posts in place. Properly setting the posts will provide stability and ensure the overall strength of your goat fence.
Start by placing a post in the first hole. Use a level to check if the post is plumb, both vertically and horizontally. Adjust the position of the post if needed to ensure it is straight. Once the post is aligned correctly, backfill the hole with soil, tamping it down firmly to secure the post in place.
Repeat this process for each of the remaining fence post holes. As you set each post, double-check the alignment and levelness. This will ensure that your fence maintains a consistent and professional appearance.
If you are using wooden posts, it’s important to consider their susceptibility to rotting over time. To extend the lifespan of the posts, you can treat them with a wood preservative or use post caps to prevent moisture from seeping into the wood.
For metal posts or T-posts, make sure they are driven deep enough into the ground to provide adequate stability. Use a post pounder or a sledgehammer to drive the posts into place. If necessary, use concrete or gravel to secure the posts at the desired depth.
Take your time to properly set each fence post, ensuring that they are securely anchored. This will contribute to the overall strength and durability of your goat fence.
Once all the fence posts are set, it’s time to move on to the next step: attaching the rails to the posts.
Step 7: Attach the Rails
With the fence posts securely set in place, it’s time to move on to the next step: attaching the rails. The rails provide additional support to the fence and serve as a framework for attaching the fencing material.
Start by determining the number of rails you will need for your goat fence. This will depend on the height of your fence and the recommendations of the fence manufacturer. Typically, two to three rails are sufficient for most goat enclosures.
Using a measuring tape, mark the height of each rail on the fence posts. It’s important to ensure that the rail markings are level and evenly spaced. This will contribute to the overall stability and appearance of your goat fence.
Next, attach the rails to the posts using appropriate clips or fasteners. For wooden posts, you can use screws or nails to secure the rails in place. For metal posts, there are specific brackets or clips designed for attaching rails. Follow the manufacturer’s instructions for proper installation.
As you attach the rails, use a level to ensure that they are straight and horizontal. Any deviation from levelness can affect the overall integrity of the fence.
For added durability, you can treat the rails with a wood preservative if you are using wooden materials. This will help protect them from the elements and extend their lifespan.
Make sure to double-check the stability of the rails and make any necessary adjustments before moving on to the next step. The secure attachment of the rails is vital for the strength and functionality of your goat fence.
Once the rails are securely attached, you’re ready to move on to the next step: installing the goat wire or fencing material.
Step 8: Install the Goat Wire
Now that the rails are in place, it’s time to install the goat wire or fencing material. This is the final step in creating a secure and effective goat fence.
Start by unrolling the goat wire along the length of the fence, ensuring that it is properly aligned with the rails. If you are using woven wire, make sure the squares or rectangles of the wire are facing inward towards the enclosure.
Attach the wire to the rails using fence clips or fasteners. Start at one end of the fence and work your way across, securing the wire at regular intervals. Make sure to pull the wire taut as you go to prevent any sagging or gaps.
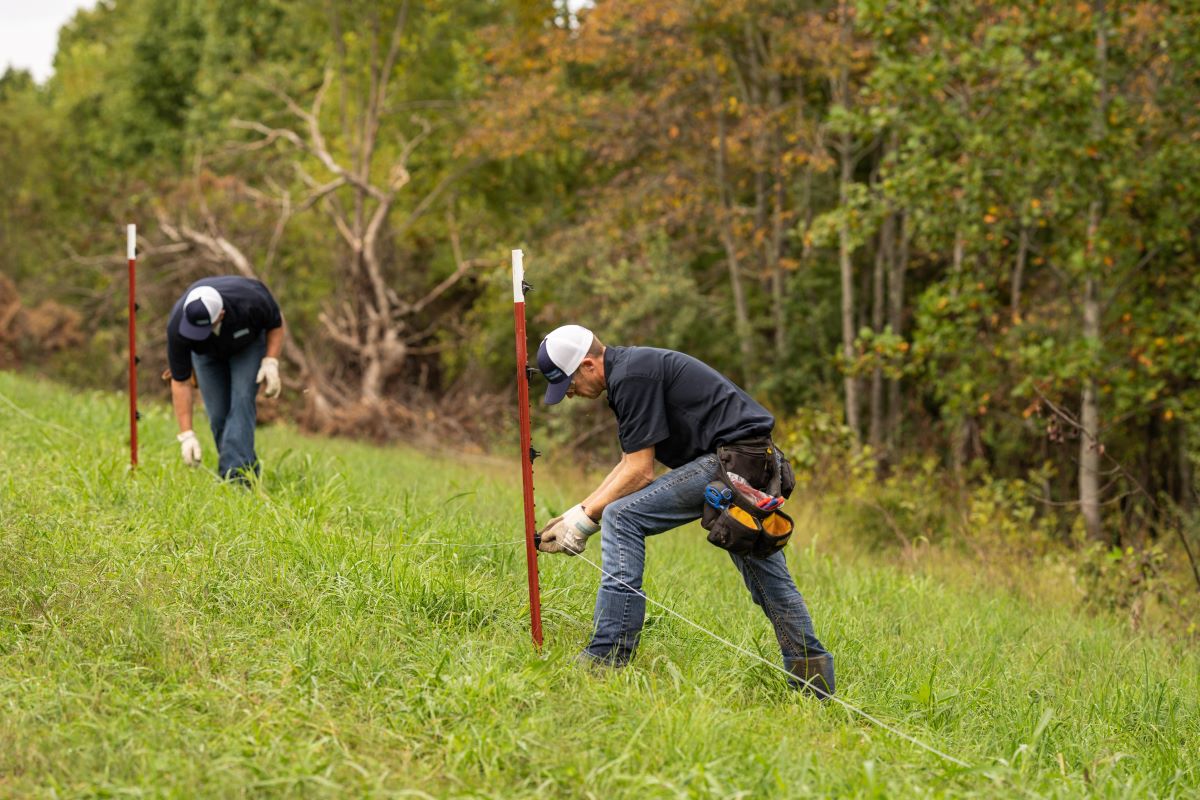
If you are using electric wire, refer to the manufacturer’s instructions for proper installation. This typically involves attaching the wire to insulators or posts and connecting it to a power source.
As you install the goat wire, keep an eye out for any sharp edges or protruding wires that could potentially harm your goats. Trim or bend them as necessary to ensure a safe environment.
When it comes to the bottom of the fence, consider burying the wire or extending it underground to prevent goats from digging underneath. This will add an extra layer of security and containment.
Once the goat wire is securely attached, walk along the fence and inspect it for any loose or weak spots. Reinforce any areas that may need additional clips or fasteners.
As a final step, trim any excess wire from the top of the fence to create a clean and uniform appearance. This will not only enhance the aesthetics but also prevent any potential injuries to your goats.
Congratulations! You have successfully installed the goat wire and completed the construction of your goat fence. Now, it’s time for the final step: securing the fence.
Read more: How To Build A Brick Fence
Step 9: Secure the Fence
The final step in building a goat fence is to ensure its security and durability. Securing the fence will prevent any potential breaches and keep your goats safe within their enclosure.
Start by inspecting the entire fence for any weak spots or areas that may require additional reinforcement. Check the posts, rails, and wire for stability and make any necessary adjustments.
If you are using a woven wire fence, consider adding additional support by attaching horizontal support wires or braces at regular intervals. This will reinforce the fence and prevent it from sagging over time.
Inspect the gates, ensuring that they are securely attached and functioning properly. Gate openings are potential weak points, so make sure they are securely latched and have appropriate locks or latches to prevent any accidental openings.
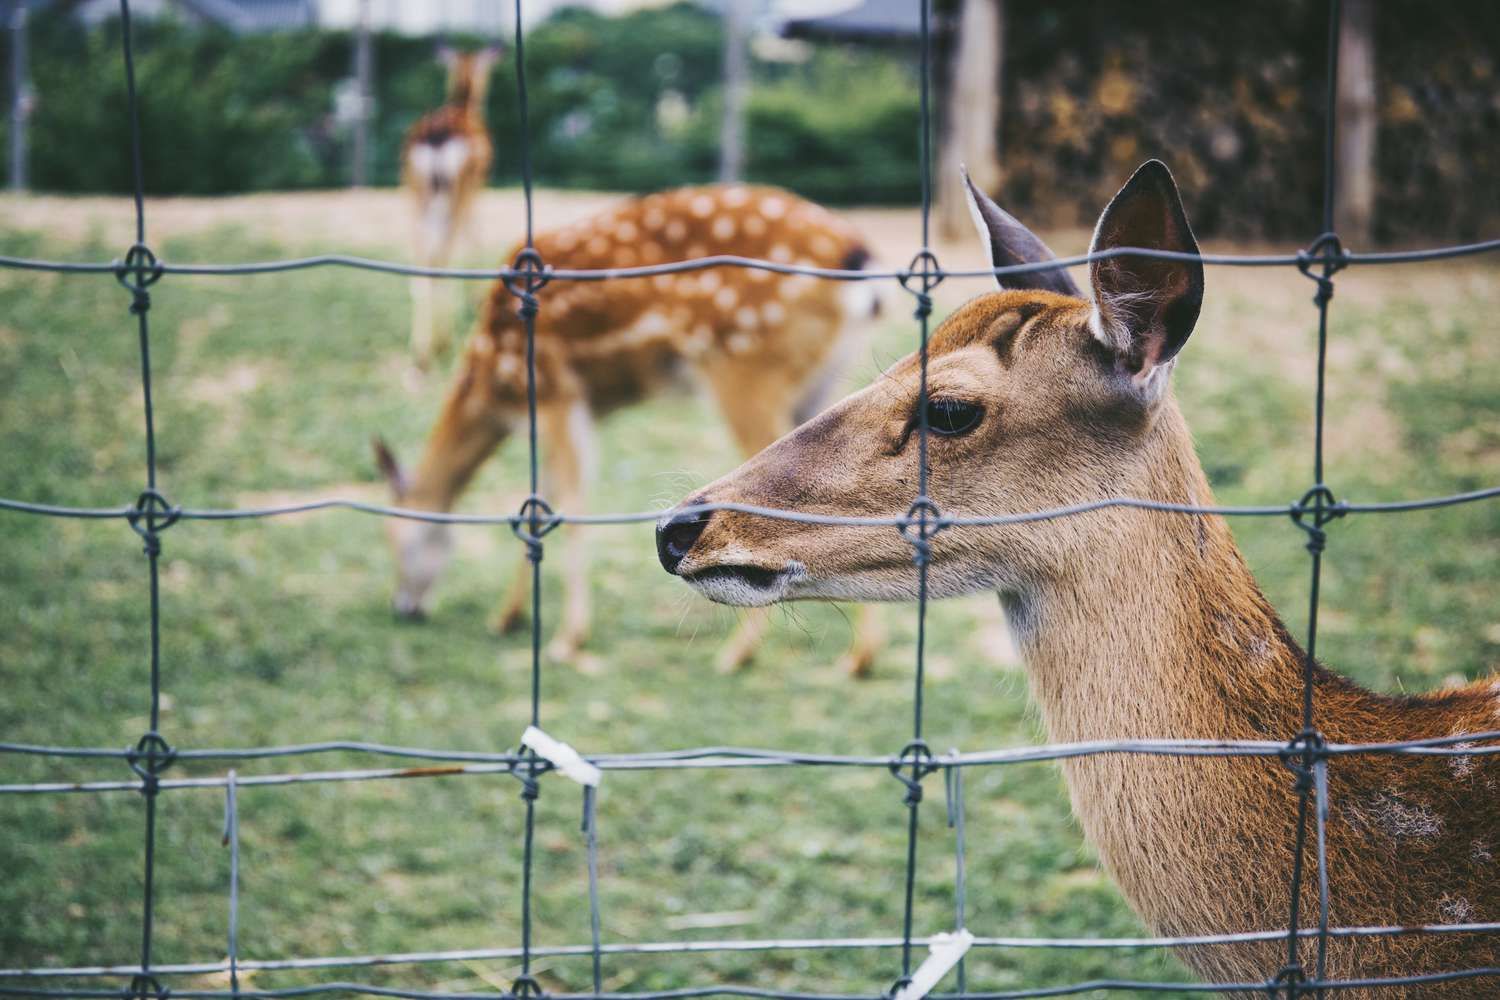
To further enhance the security of your goat fence, consider adding deterrents to prevent predators from entering the enclosure. This can include adding electric wires at the bottom or top of the fence or installing predator-proof barriers along the perimeter.
Regular maintenance is crucial in ensuring the longevity and reliability of your goat fence. Inspect the fence periodically for any damage, wear, or loose components. Repair or replace any damaged sections promptly to maintain the integrity of the fence.
Finally, it’s important to make sure that your goats are familiar with the boundaries of their enclosure. Spend time acclimating them to the fence and monitor their behavior to ensure they respect and understand the boundaries.
By taking these additional steps to secure and maintain your goat fence, you can rest assured that your goats are safe and contained within their designated area.
Congratulations! You have successfully completed all the steps necessary to build a reliable and secure goat fence. Now, it’s time to enjoy the benefits of a well-protected and happy goat herd!
Conclusion
Building a goat fence is a crucial task for any goat owner to ensure the safety and well-being of their animals. By following the step-by-step process outlined in this guide, you can create a secure and reliable enclosure that will keep your goats contained and protected.
Starting with determining the perimeter and selecting the appropriate type of fence, you then gathered the necessary materials and measured and marked the posts. By digging the fence post holes and setting the posts correctly, you established a sturdy foundation for your fence.
With the rails attached, you then installed the chosen fencing material or goat wire, ensuring it was tight and secure. Finally, by closely inspecting and securing the fence, you completed the construction process.
Remember, regular maintenance and inspections are vital for the longevity and effectiveness of your goat fence. Taking the time to address any weak spots or damage will ensure the continued safety and containment of your goats.
Building a goat fence may require some effort and planning, but the rewards are worth it. Your goats will have the freedom to roam and graze within a protected area, and you’ll have peace of mind knowing they are safe from predators and potential hazards.
So gather your tools, roll up your sleeves, and get started on building your goat fence. Your goats will thank you for providing them with a secure and comfortable home, and you’ll be rewarded with years of enjoyment and peace of mind as a goat owner.
Happy goat fencing!
Frequently Asked Questions about How To Build Goat Fence
Was this page helpful?
At Storables.com, we guarantee accurate and reliable information. Our content, validated by Expert Board Contributors, is crafted following stringent Editorial Policies. We're committed to providing you with well-researched, expert-backed insights for all your informational needs.


0 thoughts on “How To Build Goat Fence”