
Articles
How To Change A Brake Light Bulb
Modified: October 20, 2024
Learn how to change a brake light bulb with our informative and detailed articles. Get step-by-step instructions and expert advice to ensure a smooth and safe replacement process.
(Many of the links in this article redirect to a specific reviewed product. Your purchase of these products through affiliate links helps to generate commission for Storables.com, at no extra cost. Learn more)
Introduction
Having a functioning brake light is crucial for maintaining the safety of your vehicle. Not only does it alert other drivers of your intentions to slow down or stop, but it also increases visibility, especially during nighttime or adverse weather conditions. Over time, brake light bulbs may wear out or become faulty, requiring replacement. While the idea of changing a brake light bulb might seem intimidating at first, it is actually a relatively simple task that you can do yourself, saving you time and money.
In this article, we will guide you through the step-by-step process of changing a brake light bulb. We will cover the tools and materials needed, how to locate the brake light bulb, the removal and installation process, and important tips to ensure success. So, grab your tools and let’s get started!
Key Takeaways:
- DIY Brake Light Replacement
Changing a brake light bulb is a simple DIY task that can save time and money. With basic tools and careful steps, anyone can confidently replace a brake light bulb and ensure road safety. - Safety First, Functionality Second
Regularly checking and maintaining brake lights is crucial for road safety. By learning to change a brake light bulb, drivers can ensure optimal functionality, increasing visibility and keeping everyone safe.
Read more: How To Change A Light Bulb
Tools and Materials Needed
Before you begin the brake light bulb replacement process, gather the necessary tools and materials to ensure a smooth and efficient job. Here are the items you will need:
- Screwdriver (flathead or Phillips, depending on your vehicle)
- New replacement brake light bulb
- Gloves (optional, but recommended to protect your hands)
- Clean cloth or towel
Make sure to have these items on hand before proceeding with the brake light bulb replacement. Having everything readily available will save you time and prevent any unnecessary interruptions during the process.
Step 1: Locate the Brake Light Bulb
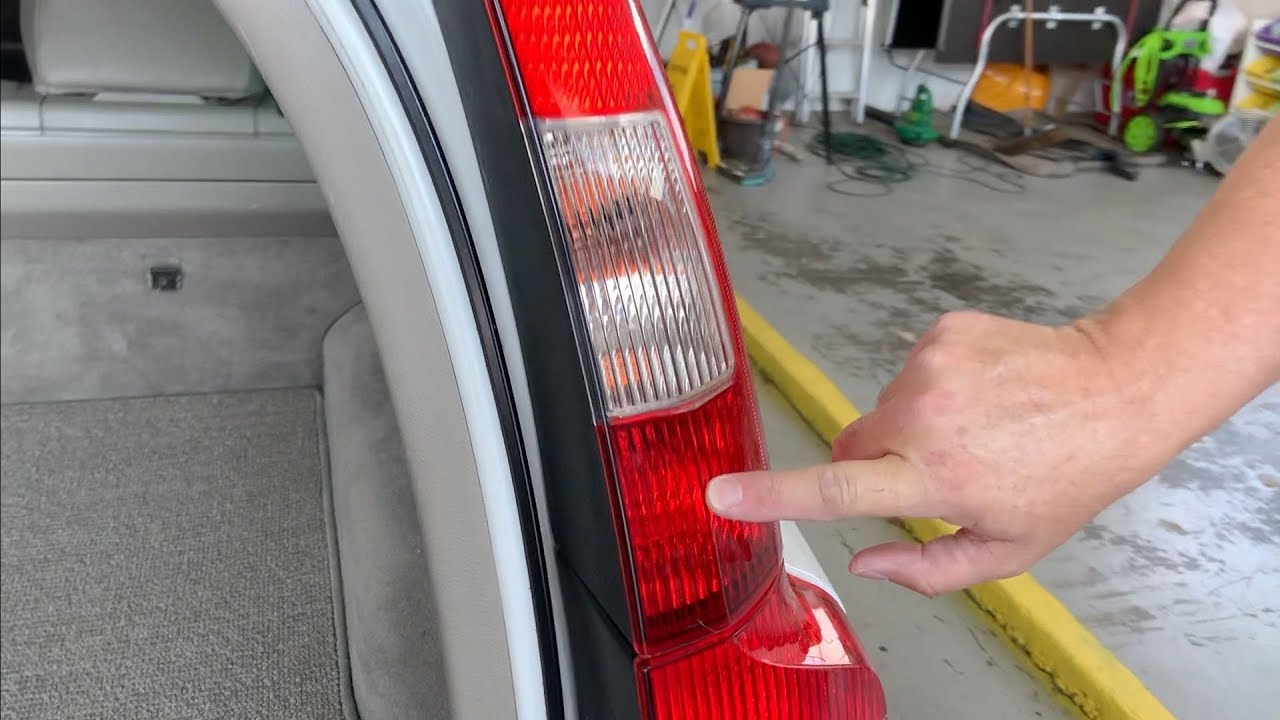
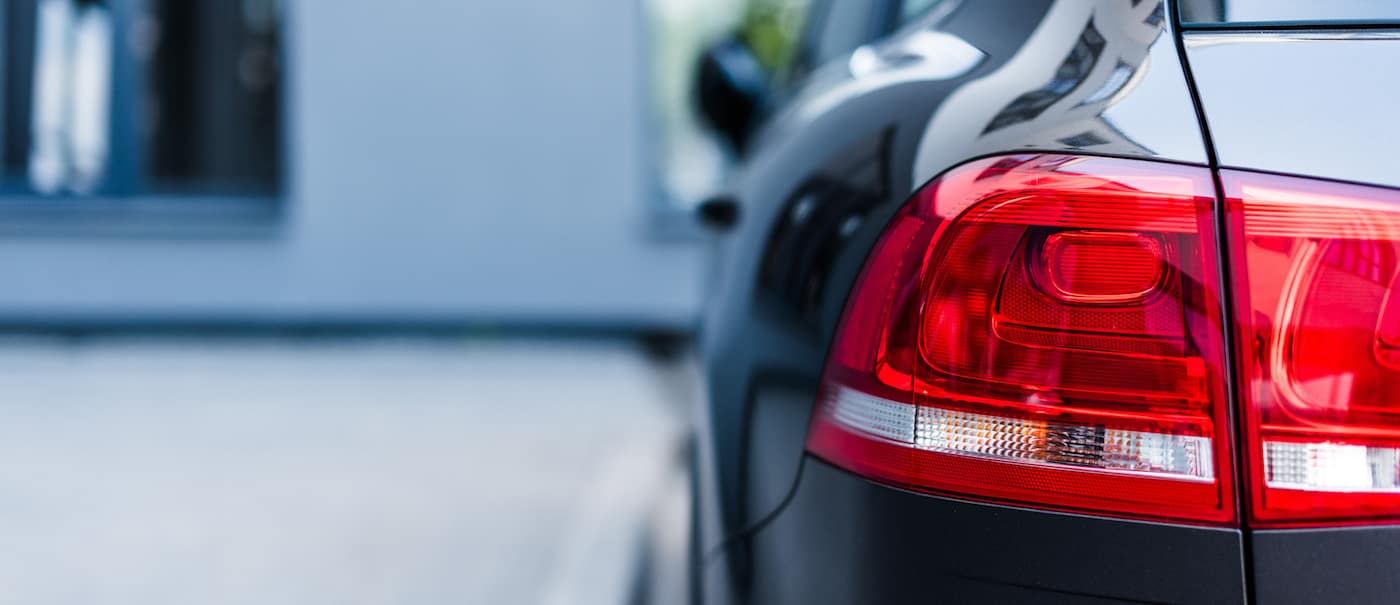
The first step in changing a brake light bulb is to locate the bulb assembly. This will typically be located on the rear of your vehicle, either inside the trunk or on the exterior of the vehicle’s body.
If the brake light assembly is located inside the trunk, open the trunk and locate the plastic panel or cover that houses the brake light assembly. It is often held in place by screws, clips, or snaps.
If the brake light assembly is on the exterior of the vehicle, look for a small plastic cover on the rear of the vehicle. This cover is designed to protect the bulb and can usually be removed by hand or with the help of a screwdriver.
Once you have located the brake light assembly, take a moment to inspect it and familiarize yourself with the bulb housing. Note any screws or clips that may need to be removed in order to access the bulb.
Remember, the location of the brake light bulb may vary depending on the make and model of your vehicle, so consult your owner’s manual if you are unsure.
Now that you have found the brake light bulb assembly, you are ready to move on to the next step: removing the brake light cover.
Step 2: Remove the Brake Light Cover
With the brake light bulb assembly located, the next step is to remove the brake light cover to gain access to the bulb. The method of removing the cover may vary depending on the vehicle, so carefully examine the cover and any associated fasteners.
If the cover is held in place by screws, use a screwdriver (flathead or Phillips, depending on the type of screws) to remove them. Place the screws in a safe location to prevent them from getting lost.
If the cover is held in place by clips or snaps, gently pry it away from the assembly using a flathead screwdriver or your fingers. Be cautious not to force it or apply excessive pressure, as this may damage the cover or assembly.
Once the cover is removed, set it aside in a safe location, ensuring that it does not get scratched or damaged. At this point, you will have a clear view of the brake light bulb inside the assembly.
Before proceeding to the next step, take a moment to clean the lens and surrounding area with a clean cloth or towel. This will help improve visibility and prevent dust or debris from interfering with the installation of the new bulb.
With the brake light cover removed and the area clean, you are now ready to move on to the next step: removing the old brake light bulb.
Step 3: Remove the Old Bulb
Now that the brake light cover is removed, it’s time to remove the old bulb from the assembly. The bulb may be secured in place by a socket, clips, or other mechanisms, so proceed with caution to avoid damaging the bulb or surrounding components.
First, identify the socket that holds the bulb. It typically has wires attached to it and is connected to the bulb. Gently twist the socket counterclockwise to release it from the assembly. In some cases, you may need to depress a locking tab or press on a release button to remove the socket.
Once the socket is detached, carefully pull it out of the assembly, taking note of how the old bulb is positioned within the socket. This will be helpful when installing the new bulb later.
If the bulb is held in place by clips or other mechanisms, carefully release them and remove the old bulb from the socket.
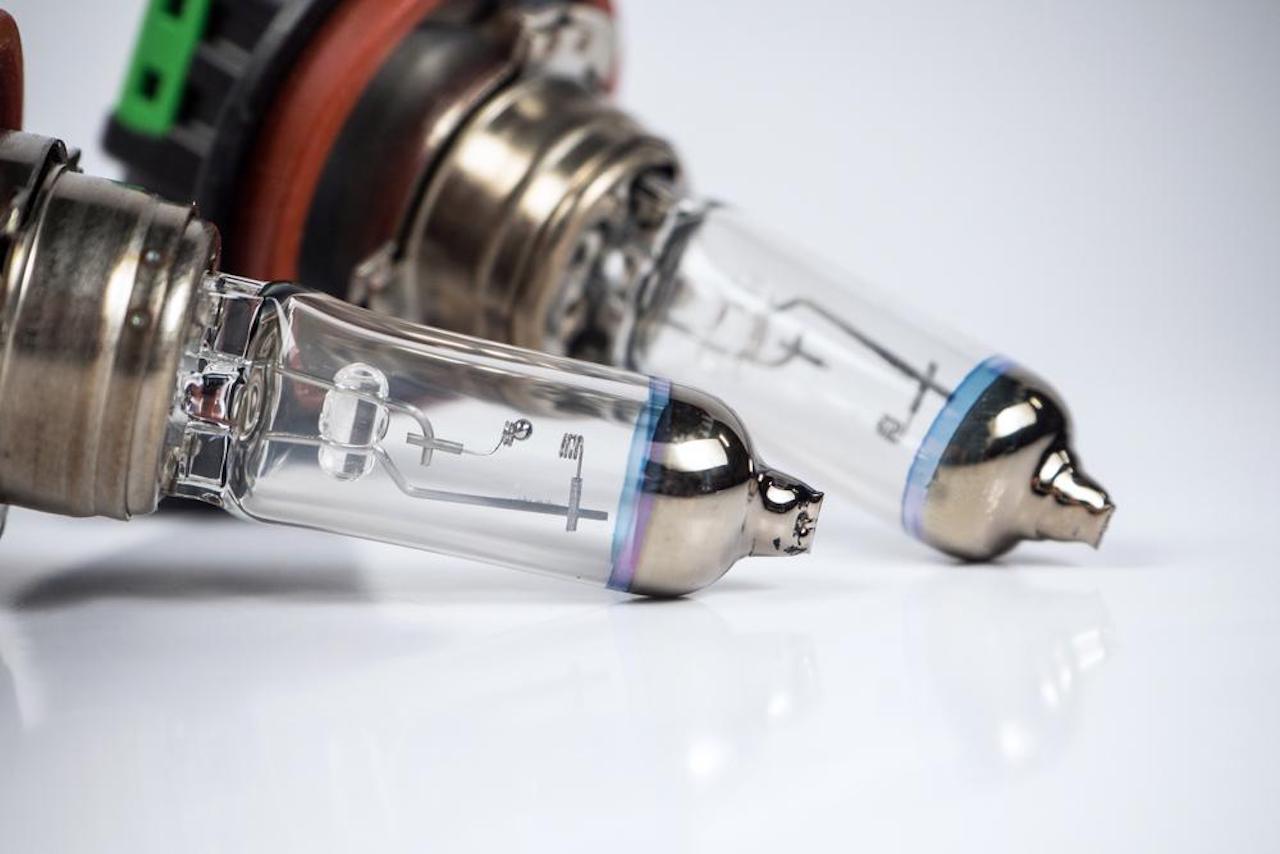
Now is a good time to examine the old bulb for any signs of damage or burnout. If the bulb is broken or the filament is visibly damaged, it is time to replace it with a new one.
Properly dispose of the old bulb to prevent any potential hazards or injuries. Check with your local recycling or waste management facility for information on the safe disposal of automotive bulbs.
With the old bulb removed and disposed of, you are now ready to proceed to the next step: installing the new brake light bulb.
When changing a brake light bulb, make sure to wear gloves to avoid getting oil from your skin on the new bulb, as this can cause it to burn out prematurely.
Step 4: Insert the New Bulb
With the old bulb removed, it’s time to insert the new brake light bulb into the assembly. Handling the new bulb should be done with care to prevent any damage or oil residue from transferring onto the bulb’s surface.
Start by taking the new bulb and aligning it with the socket in the same position as the old bulb. Ensure that the bulb is compatible with your vehicle’s make and model by referring to the owner’s manual or consulting with an automotive specialist if needed.
Once aligned, gently push the bulb into the socket, ensuring a snug fit. It may require a slight twist or push to fully seat the bulb in place.
Take note of any alignment markers or notches on the bulb socket to ensure proper orientation. Improperly aligned bulbs may not function correctly or could cause damage to the assembly.
When inserting the bulb, avoid touching the glass part of the bulb with your bare hands. The oils from your skin can cause the bulb to heat unevenly and potentially shorten its lifespan. If you accidentally touch the bulb, wipe it clean with a cloth dampened with some rubbing alcohol.
Once the new bulb is securely inserted into the socket, you are ready to move on to the next step: reattaching the brake light cover.
Remember, proper installation of the new bulb is essential for optimal functionality, so take the time to ensure it is correctly seated in the socket.
Step 5: Reattach the Brake Light Cover
With the new brake light bulb securely installed, it’s time to reattach the brake light cover. This step is crucial for protecting the bulb from damage and ensuring the proper functioning of the brake light.
Start by aligning the cover with the brake light assembly, taking note of any tabs, clips, or fasteners that need to be properly aligned for a secure fit. Carefully position the cover over the assembly, making sure it sits flush and does not obstruct the bulb.
If the cover uses screws to secure it in place, insert the screws into the designated holes and use a screwdriver to tighten them. Be careful not to over-tighten the screws, as it can cause damage to the cover or assembly.
If the cover uses clips or snaps, align them with the corresponding slots or tabs on the assembly and apply gentle pressure to snap them into place. Make sure all clips are securely fastened to prevent the cover from coming loose.
Once the cover is reattached, give it a gentle tug or press down on it to ensure it is firmly in place. It should be stable and not wobble or move when touched.
Now that the brake light cover is securely reattached, you are ready to move on to the next step: testing the brake light to ensure it is functioning properly.
Remember, a properly secured brake light cover is important for protecting the bulb from dust, moisture, and accidental damage.
Step 6: Test the Brake Light
Now that you have completed the process of replacing the brake light bulb and reattaching the cover, it’s time to test the brake light to ensure it is functioning correctly. This step is crucial for your safety and the safety of other drivers on the road.
Start by turning on your vehicle’s ignition and engaging the parking brake. It’s important to have someone assist you or utilize a reflective surface such as a window or garage door to observe the rear of your vehicle while performing this test.
Have your assistant or yourself press the brake pedal to activate the brake light. Check both the left and right brake lights to ensure they illuminate brightly and evenly. The brake lights should light up immediately and remain consistent without flickering.
If the brake lights do not come on, double-check your installation to ensure the bulb is properly seated in the socket and the cover is securely attached. If necessary, repeat the steps to correct any issues.
If the problem persists, it is possible that there may be an issue with the wiring or a fuse related to the brake light system. In such cases, it may be necessary to consult a professional mechanic for further assistance.
Once you have confirmed that the brake lights are working correctly, turn off the ignition and release the parking brake. Give yourself a pat on the back for successfully replacing the brake light bulb!
Remember, regularly inspect your brake lights to ensure they are functioning properly as part of routine vehicle maintenance. If you notice any signs of dimness, uneven lighting, or flickering, it may indicate a problem that requires further attention.
Congratulations on successfully changing the brake light bulb and ensuring the safety of your vehicle. You can now hit the road with confidence, knowing that your brake lights are functioning properly.
Conclusion
Changing a brake light bulb may seem like a daunting task, but with the right tools, materials, and a little patience, it is a task that you can accomplish yourself. By following the simple step-by-step guide outlined in this article, you can confidently replace a brake light bulb and ensure the safety of your vehicle.
Remember to gather all the necessary tools and materials before you start, locate the brake light bulb assembly, carefully remove the brake light cover, and take out the old bulb. Insert the new bulb, ensuring a secure fit, and reattach the brake light cover. Finally, test the brake light to ensure it is functioning correctly.
Regularly checking and maintaining your vehicle’s brake lights is essential for your safety on the road. Faulty or non-functioning brake lights can lead to accidents and compromise the safety of yourself and other drivers.
By taking the time to learn how to change a brake light bulb and performing this task as needed, you can ensure that your brake lights are working effectively, increasing visibility and keeping you and others safe.
Remember, if you ever feel unsure or uncomfortable performing any vehicle maintenance tasks, it is always best to consult a professional mechanic for assistance. They have the expertise and experience to address any issues and provide the necessary repairs or replacements.
Now that you have the knowledge and the confidence to change a brake light bulb, you can tackle this task whenever needed. Stay safe on the road and keep your brake lights shining bright!
Frequently Asked Questions about How To Change A Brake Light Bulb
Was this page helpful?
At Storables.com, we guarantee accurate and reliable information. Our content, validated by Expert Board Contributors, is crafted following stringent Editorial Policies. We're committed to providing you with well-researched, expert-backed insights for all your informational needs.


0 thoughts on “How To Change A Brake Light Bulb”