Articles
How To Install Beadboard On Ceiling
Modified: December 7, 2023
Learn the step-by-step process of installing beadboard on your ceiling with this informative articles. Achieve a stylish and elegant look for your home with ease.
(Many of the links in this article redirect to a specific reviewed product. Your purchase of these products through affiliate links helps to generate commission for Storables.com, at no extra cost. Learn more)
Introduction
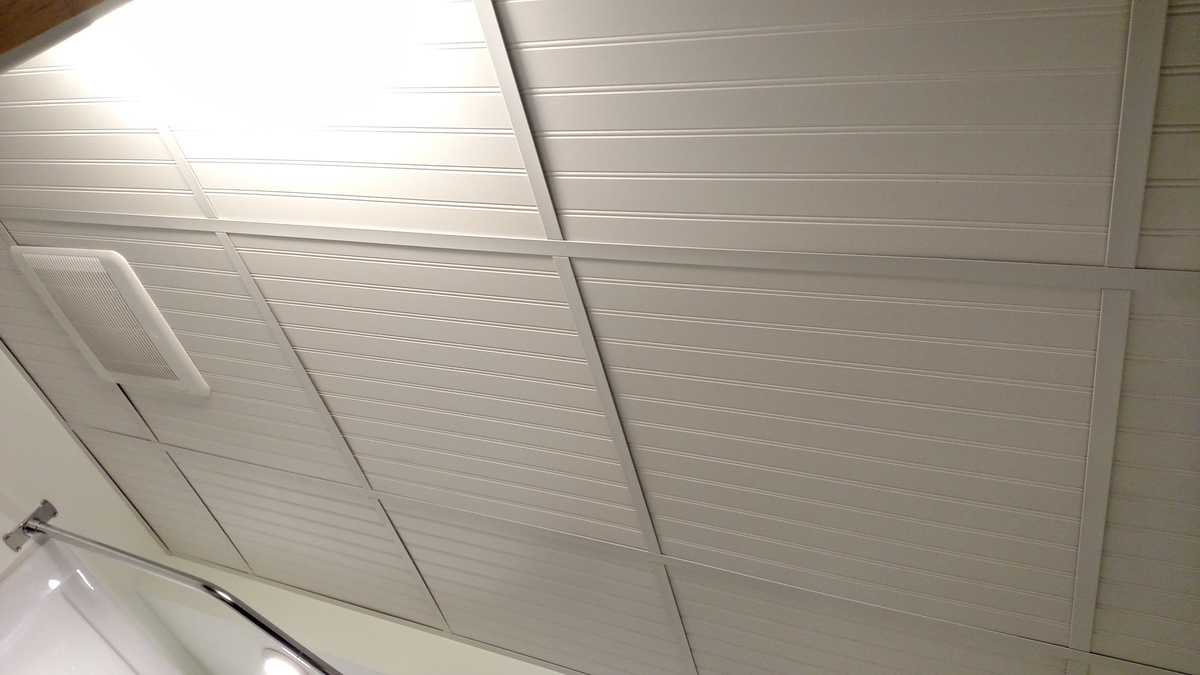
Welcome to this comprehensive guide on how to install beadboard on your ceiling. Beadboard is a type of paneling that is characterized by its long, narrow planks with a distinctive groove, or bead, running along the edge of each plank. It adds a stylish and timeless charm to any space, making it a popular choice for ceilings in both modern and traditional homes.
The process of installing beadboard on a ceiling may seem intimidating at first, but with the right tools, materials, and step-by-step instructions, it can be a rewarding and relatively straightforward DIY project. In this article, we are going to guide you through each step of the installation process, from gathering the necessary tools to finishing off the beadboard.
Before we dig into the details, it is important to note that safety should always be a top priority when undertaking any home improvement project. Make sure you wear appropriate safety gear, such as goggles and gloves, and follow all manufacturer’s instructions for the tools and materials you will be using.
Now let’s get started on transforming your ceiling with beautiful beadboard!
Key Takeaways:
- Transform your space with a timeless and elegant beadboard ceiling, following a step-by-step DIY guide. Enjoy the beauty and charm it brings to your home for years to come.
- Gather the necessary tools, measure and cut with precision, and finish with paint or stain to achieve a stunning beadboard ceiling. Embrace the craftsmanship and elegance of your transformed space.
Step 1: Gather the Necessary Tools and Materials
Before you begin installing beadboard on your ceiling, it is essential to gather all the necessary tools and materials. Having everything prepared beforehand will help ensure a smooth and efficient installation process. Here is a list of the items you will need:
Tools:
- Measuring tape
- Pencil or marker
- Saw (circular saw or miter saw)
- Level
- Adhesive applicator (if using adhesive)
- Paintbrush or roller (if painting)
- Sandpaper or sander
- Caulking gun
- Primer (if painting)
- Paint or stain (if desired)
Materials:
- Beadboard panels
- Construction adhesive or adhesive-backed beadboard
- Nails or screws
- Paintable caulk
- Wood filler
- Paint or stain (if desired)
It is important to choose high-quality materials to ensure the longevity and aesthetic appeal of your beadboard ceiling. You can find beadboard paneling at your local home improvement store or online. Consider the height and width of your ceiling to determine the number of panels you will need.
If you opt for adhesive-backed beadboard, make sure to read and follow the manufacturer’s instructions for proper installation. Additionally, select the appropriate adhesive or construction adhesive that is recommended for use with beadboard.
Having all the necessary tools and materials ready will save you time and allow for a more efficient installation process. Once you have everything prepared, you can move on to the next step: measuring and cutting the beadboard panels.
Step 2: Measure and Cut Beadboard Panels
Now that you have gathered all the necessary tools and materials, it’s time to move on to measuring and cutting the beadboard panels to fit your ceiling. Follow these steps to ensure precise and accurate measurements:
- Start by measuring the length and width of your ceiling. Use a measuring tape and write down the exact measurements.
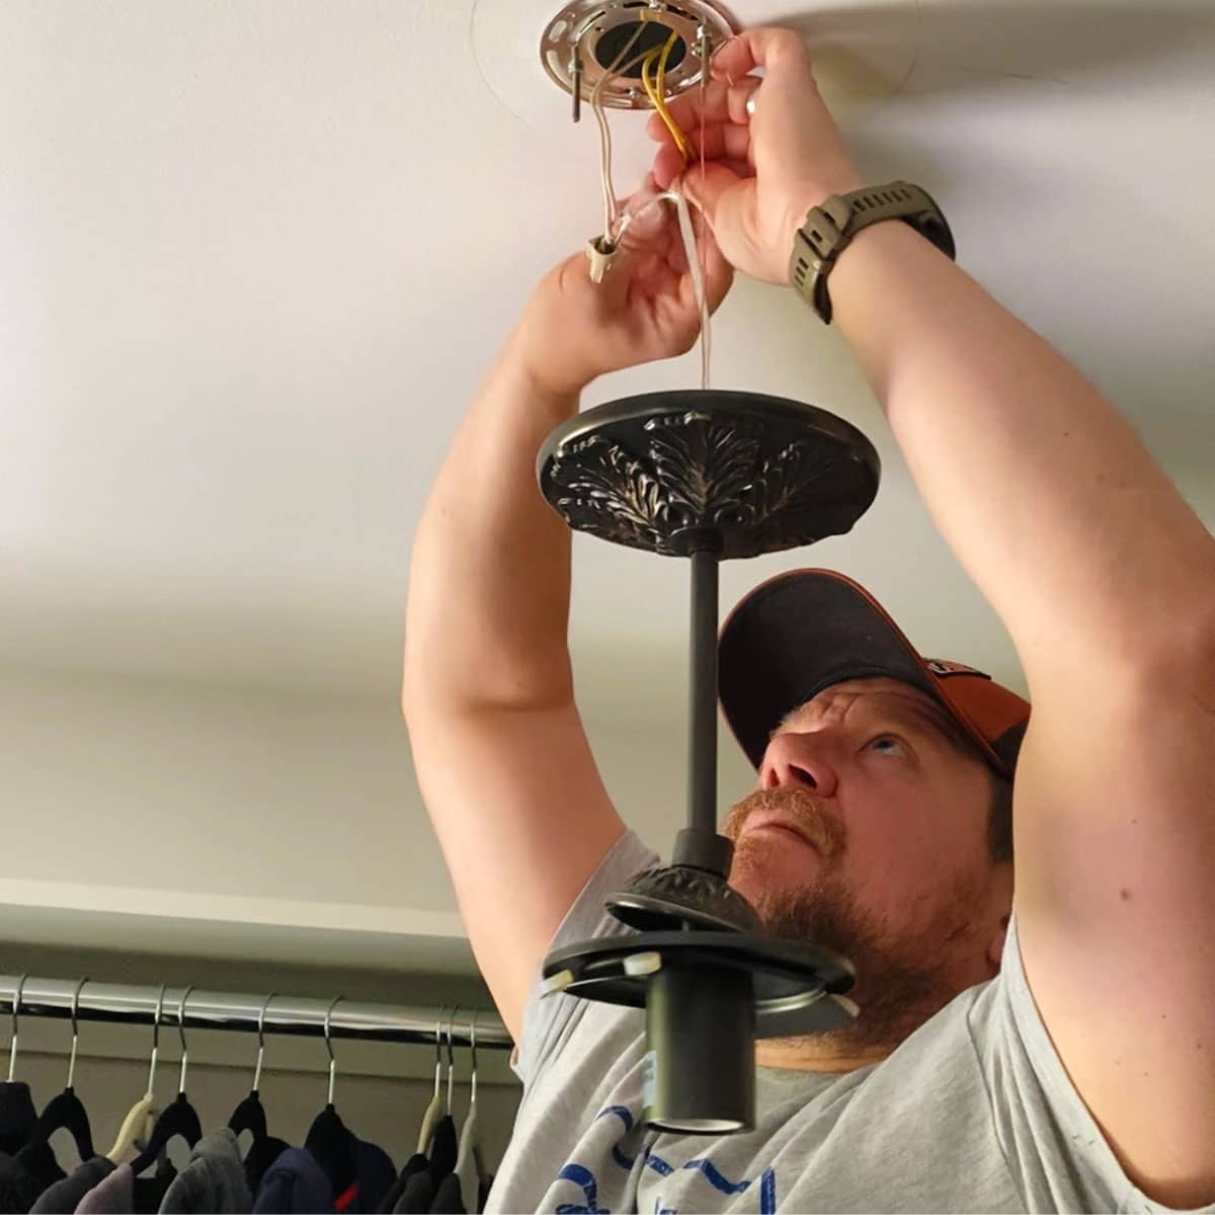
- Take into account any obstacles on the ceiling, such as light fixtures or vents. Measure the distance from the wall to the obstacle and mark it on the beadboard panel.
- Using a saw (circular saw or miter saw), carefully cut the beadboard panel based on your measurements and marked lines. Remember to wear safety goggles and follow proper safety precautions when using power tools.
- Repeat this process for each beadboard panel until you have enough to cover the entire ceiling. It’s a good idea to label each panel with its corresponding dimension and location on the ceiling to make the installation process smoother.
It is important to ensure that the beadboard panels fit the ceiling accurately. Take your time to measure and cut each panel precisely, allowing for a seamless installation. If you encounter any irregularities or obstacles during the process, make appropriate adjustments to the panels to accommodate for them.
If you are not confident in your carpentry skills or do not have the necessary tools, you can have the beadboard panels pre-cut at the home improvement store. Many stores offer cutting services that can save you time and ensure accurate measurements.
Once you have measured and cut the beadboard panels, you are ready to move on to the next step: preparing the ceiling surface for installation.
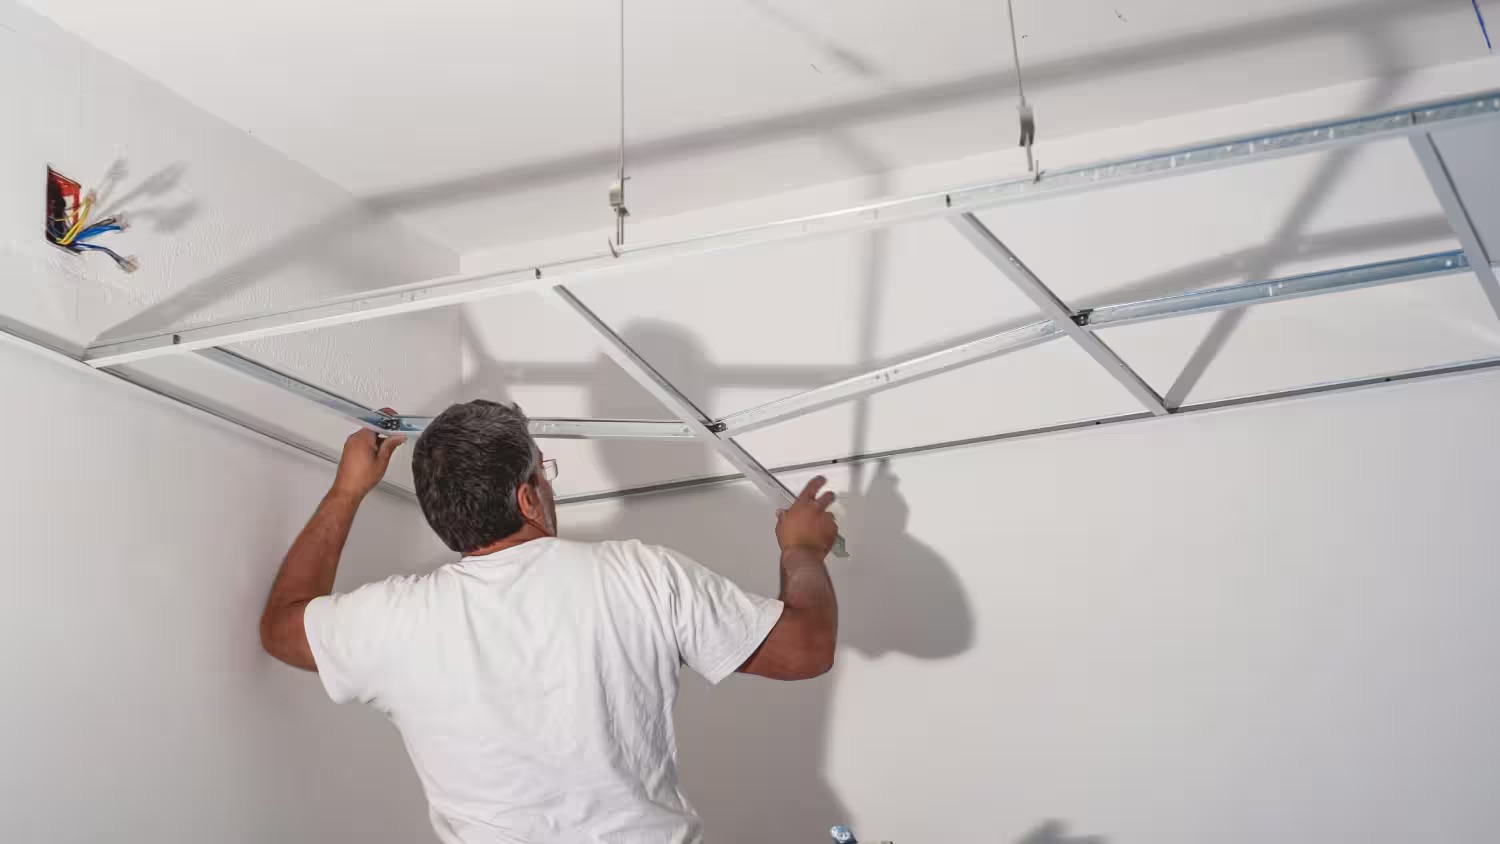
Step 3: Prepare the Ceiling Surface
Before installing the beadboard panels, it is crucial to properly prepare the ceiling surface to ensure a secure and long-lasting installation. Follow these steps to prepare the ceiling:
- Start by removing any existing ceiling materials, such as popcorn texture or old paneling. Use a scraper or putty knife to gently scrape away the material. If there are any nails or screws sticking out, make sure to remove them or hammer them in flush with the ceiling.
- Inspect the ceiling for any damages or imperfections. Fill in any holes or cracks with a paintable caulk or wood filler. Smooth out the surface with a putty knife and allow it to dry completely according to the manufacturer’s instructions.
- Once the repairs are dry, lightly sand the entire ceiling surface to create a smooth and even base for the beadboard. Wipe away any dust or debris with a clean cloth or vacuum.
- If you plan to paint the beadboard ceiling, apply a primer to the ceiling surface. This will help the paint adhere better and provide a uniform finish. Follow the instructions on the primer can and allow it to dry completely before moving on to the next step.
By preparing the ceiling surface properly, you ensure that the beadboard panels will adhere securely and create a polished final look. Taking the time to repair any damages and sanding the surface will result in a professional-looking finish.
Now that the ceiling surface is prepped, you are ready to proceed to the next step: applying adhesive or adhesive-backed beadboard to the ceiling.
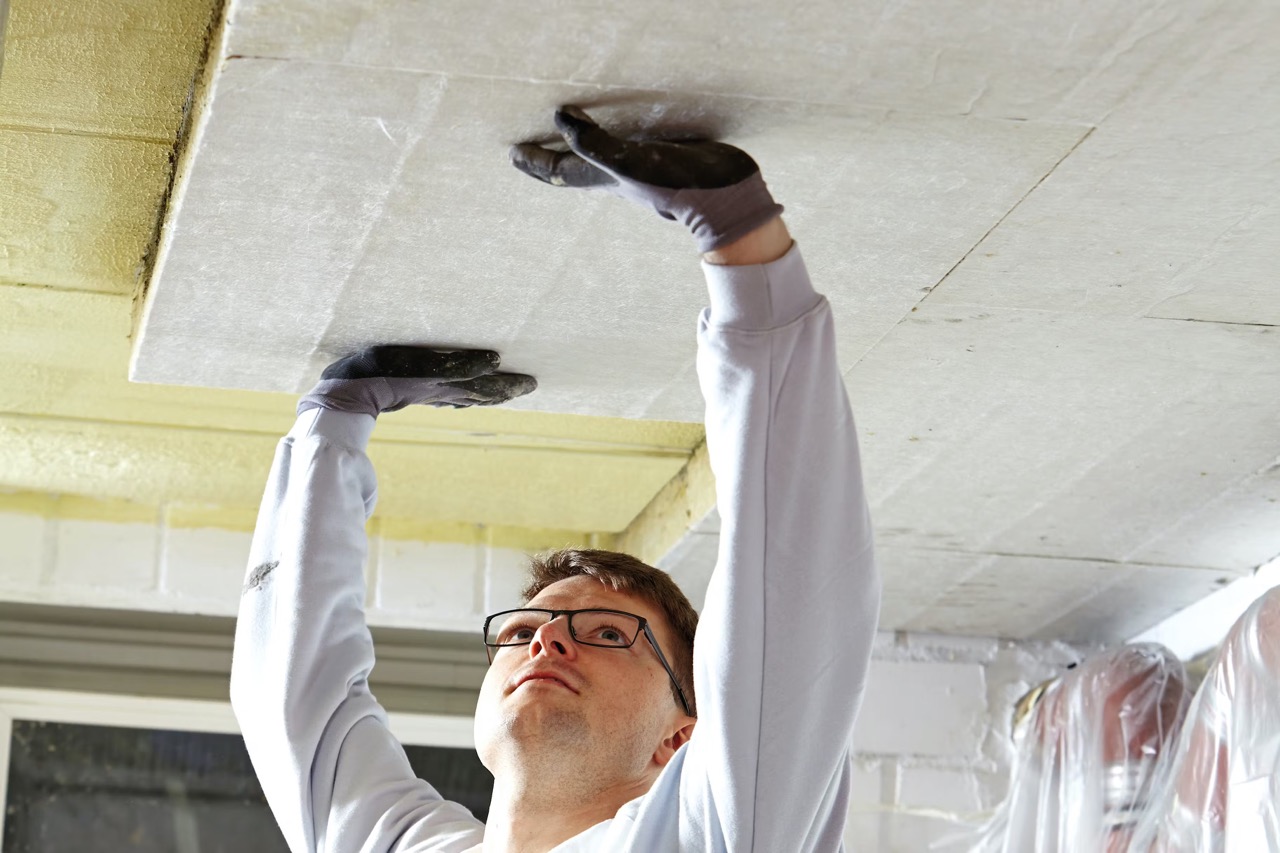
Step 4: Apply Adhesive or Adhesive-Backed Beadboard
When it comes to installing beadboard on your ceiling, you have two options: using adhesive or adhesive-backed beadboard. In this step, we will guide you through the process of applying either adhesive or adhesive-backed beadboard to ensure a secure and professional installation.
If you have chosen to use adhesive, follow these steps:
- Start by applying a thin and even layer of construction adhesive to the back of each beadboard panel. Use an adhesive applicator or a notched trowel to spread the adhesive evenly.
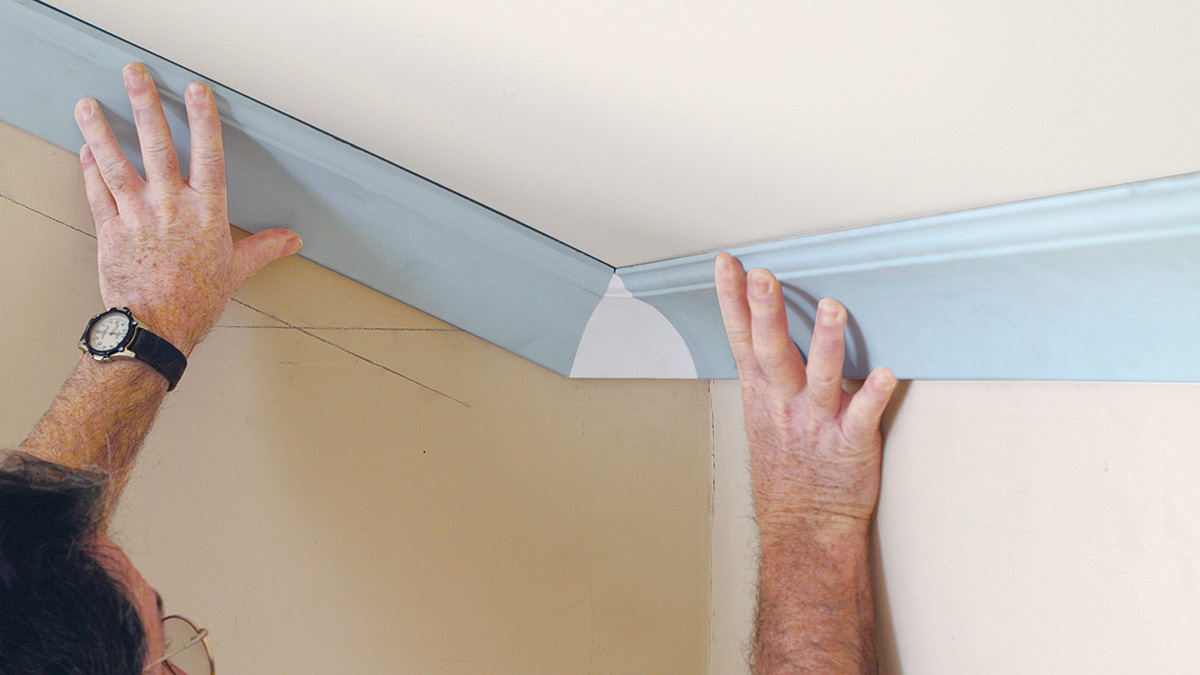
- Position the first panel against the wall, ensuring it is level and aligned with your markings. Press the panel firmly against the ceiling, ensuring it adheres to the surface. Use a level to check for any unevenness or adjustments needed.
- Repeat this process for the remaining panels, making sure to align the groove of one panel with the bead of the adjacent panel. Press each panel firmly against the ceiling and secure them in place temporarily with nails or screws.
If you are using adhesive-backed beadboard, the process is slightly different:
- Start by peeling off the protective backing on the adhesive-backed beadboard. Make sure to only expose a small portion of the adhesive at a time to prevent it from drying out.
- Position the first adhesive-backed beadboard panel against the wall, making sure it is level and aligned with your markings. Press the panel firmly against the ceiling, ensuring it adheres securely.
- Continue peeling off the protective backing and applying the adhesive-backed beadboard panels, aligning the groove of one panel with the bead of the adjacent panel. Press each panel firmly against the ceiling.
Remember to check for any unevenness or adjustments needed as you go along, using a level and making any necessary modifications before the adhesive dries.
Whether you choose to use adhesive or adhesive-backed beadboard, the key is to ensure a secure and uniform installation. Take your time during this step to carefully position and adhere the beadboard panels, as this will determine the overall look and stability of your ceiling.
Next, we move on to the next step: attaching the beadboard panels to the ceiling.
Read more: How To Install Ceiling Speakers
Step 5: Attach Beadboard Panels to the Ceiling
Now that you have applied adhesive or adhesive-backed beadboard to the ceiling, it’s time to secure the panels in place. Follow these steps to ensure a sturdy and reliable attachment:
- If you used adhesive to install the beadboard panels, use nails or screws to temporarily secure each panel to the ceiling. Place nails or screws at strategic points, such as where the panels meet the wall or at regular intervals along the edges. This will help hold the panels in place while the adhesive dries.
- If you used adhesive-backed beadboard, gently press the panels against the ceiling surface to ensure a strong bond.
- Double-check the alignment of the panels, making sure they are level and correctly positioned. Use a level to ensure that each panel is straight and adjust if necessary.
- If any excess adhesive squeezes out between the panels, use a damp cloth or sponge to remove it before it dries.
By securing the beadboard panels to the ceiling, you ensure that they stay in place and create a cohesive look. This step is crucial for the overall stability and durability of the installation.
Once the beadboard panels are attached to the ceiling, you can move on to the next step: securing the panels with nails or adhesive.
Before installing beadboard on the ceiling, make sure to measure and cut the panels to fit the space accurately. Use a stud finder to locate ceiling joists for secure attachment. Pre-paint or stain the beadboard to save time and effort during installation.
Step 6: Secure Beadboard with Nails or Adhesive
After attaching the beadboard panels to the ceiling, it’s time to secure them further using either nails or adhesive, depending on your preference and the type of paneling you have. Follow these steps to ensure a secure and stable installation:
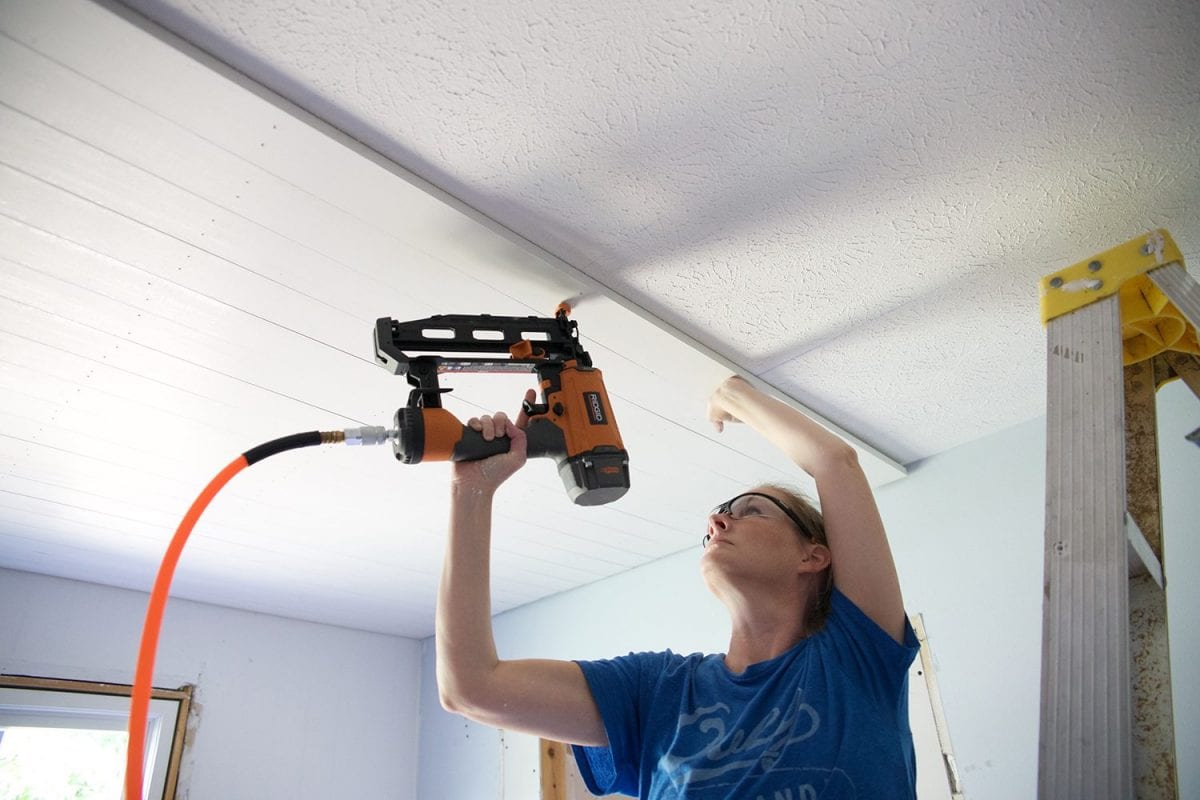
If Using Nails:
- Starting with the first panel, use a nail gun or hammer to drive nails through the beadboard into the ceiling joists. Place nails approximately every 12 to 16 inches along the edges and at regular intervals across the panels.
- Ensure that the nails are countersunk, meaning they are slightly below the surface of the beadboard. This will allow for a smooth and seamless finish.
- If you prefer a more traditional look, you can use decorative nails or brads. These nails have larger heads and can add an extra touch of visual appeal to the beadboard.
- Continue securing each panel with nails until all panels are securely fastened to the ceiling.
If Using Adhesive:
- Apply a small amount of adhesive to the back of each beadboard panel, focusing on the edges and the center.
- Press the panels firmly against the ceiling, making sure they are aligned correctly and level. Hold each panel in place for a few seconds to allow the adhesive to bond.
- Repeat this process for each panel until all panels are securely adhered to the ceiling.
Whether you choose nails or adhesive, it is important to ensure that the beadboard panels are securely attached to the ceiling. This step will provide additional stability and prevent any shifting or sagging over time.
Once the beadboard panels are securely fastened, you can move on to the next step: filling nail holes and sanding the surface to achieve a smooth finish.
Step 7: Fill Nail Holes and Sand the Surface
After securing the beadboard panels to the ceiling, it’s time to focus on achieving a seamless and professional finish. In this step, we will guide you through the process of filling nail holes and sanding the surface to ensure a smooth and polished appearance:
- Inspect the beadboard panels and locate any nail holes or imperfections.
- Using a paintable caulk or wood filler, fill in the nail holes and any other gaps or cracks in the beadboard. Apply the filler using a putty knife, ensuring the holes are completely filled.
- Smooth the surface of the filler with the putty knife, removing any excess material.
- Allow the filler to dry completely according to the manufacturer’s instructions.
- Once the filler is dry, use sandpaper or a sander to gently sand the surface of the beadboard. This will help achieve a smooth and even finish. Start with a rough-grit sandpaper to remove any rough patches or imperfections, and then switch to a finer-grit sandpaper for a smoother finish.
- Be sure to sand in the direction of the beadboard grooves to maintain the integrity of the paneling.
- Wipe away any dust or debris with a clean cloth or vacuum to prepare the surface for finishing such as painting or staining.
Filling nail holes and sanding the surface is essential for achieving a professional and flawless look. By taking the time to address any imperfections and create a smooth surface, you enhance the overall aesthetic appeal of your beadboard ceiling.
With the nail holes filled and the surface sanded, you are ready to move on to the next step: painting or finishing the beadboard ceiling to your desired look.
Step 8: Paint or Finish the Beadboard Ceiling
Now that the beadboard panels are securely installed and the surface is smooth and ready, it’s time to decide how you want to finish the look of your ceiling. In this step, we will discuss the options of painting or staining the beadboard:
Painting the Beadboard Ceiling:
- If you choose to paint the beadboard ceiling, start by applying a high-quality primer. This will help the paint adhere better and provide a smooth and even finish.
- Allow the primer to dry completely according to the manufacturer’s instructions.
- Once the primer is dry, apply your desired paint color using a paintbrush or roller. Work in even strokes, following the natural lines of the beadboard grooves.
- Allow the first coat of paint to dry completely, and then apply a second coat if necessary to achieve full coverage.
- After the final coat of paint has dried, inspect the ceiling for any touch-ups or areas that may require additional paint. Use a small brush to carefully touch up any imperfections.
Staining the Beadboard Ceiling:
- If you prefer the natural beauty of wood, staining is a great option for enhancing the texture and color of the beadboard.
- Choose a stain color that complements your overall interior design aesthetic. Test the stain on a small, inconspicuous area of the beadboard to ensure you achieve the desired result.
- Apply the stain according to the manufacturer’s instructions, using a brush or cloth. Work in small sections and wipe away any excess stain for an even finish.
- Allow the stain to dry completely, and then assess if another coat is necessary to achieve the desired depth of color. Apply additional coats as needed, allowing sufficient drying time between each coat.
- Once the final coat of stain has dried, seal the beadboard with a clear protective finish, such as polyurethane or varnish, to protect the surface and bring out its natural luster.
Whether you choose to paint or stain, make sure to take your time and apply the finish carefully. The right finish will enhance the beauty of the beadboard and create a stunning focal point in your space.
Now that your beadboard ceiling is painted or stained to your satisfaction, it’s time for the final step: cleaning up and enjoying the finished result.
Read more: How To Install Insulation In The Ceiling
Step 9: Clean up and Enjoy the Finished Ceiling
Congratulations! You have successfully installed beadboard on your ceiling and completed the finishing touches. In this final step, we will guide you through the process of cleaning up and enjoying your newly transformed space:
- Remove any drop cloths or protective coverings from the surrounding area, being careful not to damage the freshly installed beadboard.
- Dispose of any discarded materials, such as packaging, excess adhesive, or remaining paint or stain.
- Clean up any tools or equipment used during the installation and finishing process, ensuring they are properly stored for future use.
- Inspect the beadboard ceiling for any spots that may need touch-ups or additional cleaning. Use a damp cloth or sponge to gently wipe away any dust or debris that may have accumulated during the installation process.
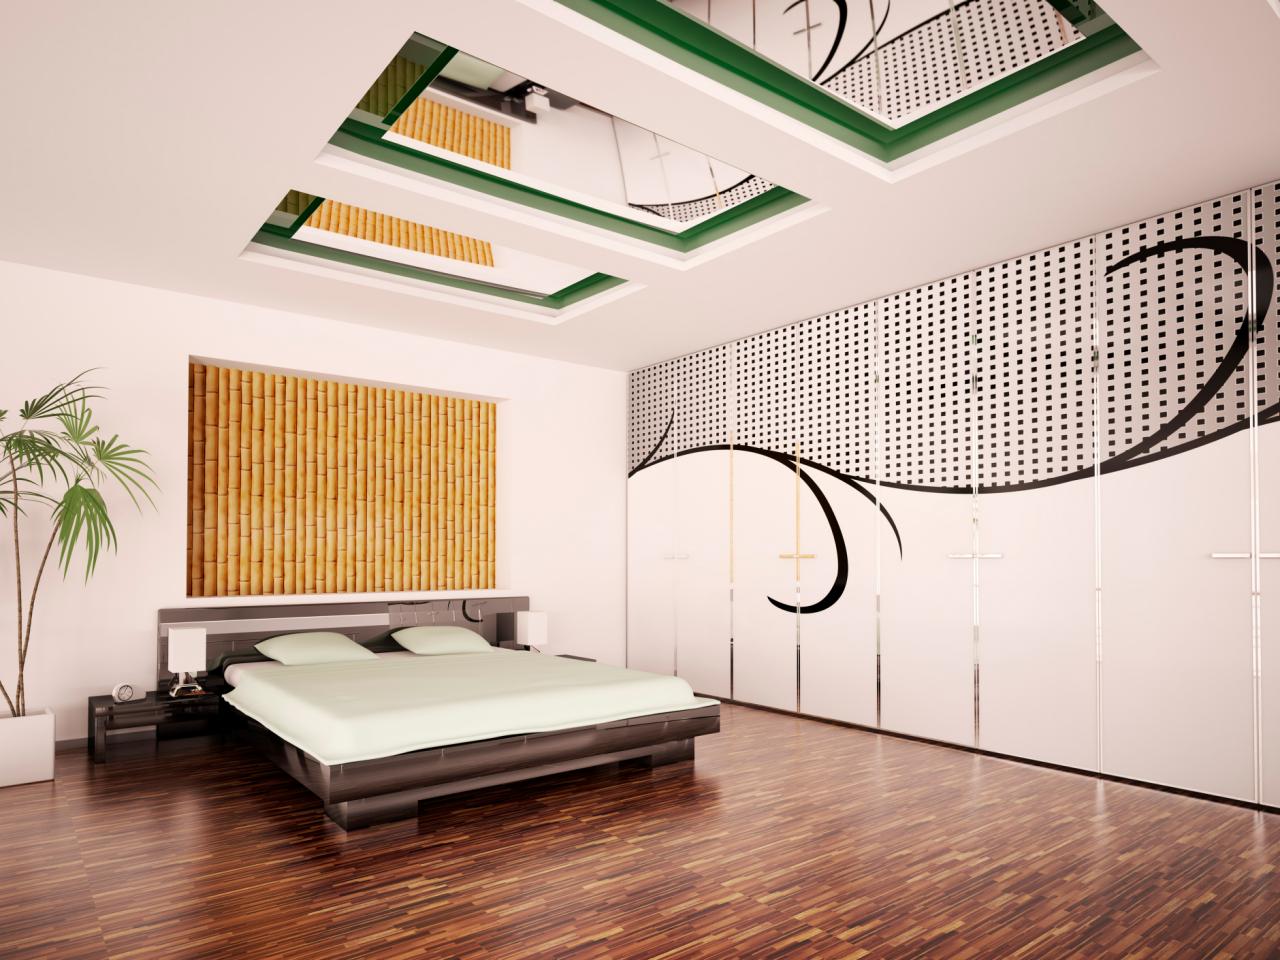
- Take a moment to step back and enjoy the beauty of your newly installed beadboard ceiling. Admire the craftsmanship and the charm it brings to your space.
Now that your beadboard ceiling is complete, it’s time to decorate and enjoy the transformed space. Consider adding furniture, lighting fixtures, or decorative elements that complement the beadboard and enhance the overall aesthetics of the room.
Regular maintenance will help keep your beadboard ceiling looking its best. Periodically inspect the surface for any signs of damage or wear, and address any issues promptly. In the case of painted beadboard, regular cleaning with a mild detergent solution can help maintain its appearance and longevity.
By following these steps and taking care of your beadboard ceiling, you can enjoy its timeless beauty for years to come.
Thank you for joining us on this journey of installing beadboard on your ceiling. We hope this guide has been helpful and has empowered you to tackle this DIY project with confidence.
Remember, if at any point you feel unsure or uncomfortable with any step of the process, it’s always a good idea to consult with a professional for assistance. Your safety and satisfaction are paramount.
Enjoy your beautifully finished beadboard ceiling!
Conclusion
Congratulations on successfully completing the installation of beadboard on your ceiling! You have transformed your space with a timeless and elegant look that will surely capture the attention of anyone who enters the room. By following the step-by-step guide outlined in this article, you have gained the knowledge and confidence to tackle this DIY project and create a stunning focal point in your home.
Throughout the installation process, you have learned how to gather the necessary tools and materials, measure and cut the beadboard panels, prepare the ceiling surface, and apply adhesive or adhesive-backed beadboard. You have also mastered securing the beadboard with nails or adhesive, filling nail holes and sanding the surface for a smooth finish, and finally, painting or staining to achieve your desired look.
It’s important to remember that safety should always be a priority when undertaking any home improvement project. Always wear the appropriate safety gear and follow the manufacturer’s instructions for the tools and materials used.
Now that your beadboard ceiling is complete, it’s time to enjoy the results of your hard work. Take a moment to appreciate the craftsmanship and beauty of your newly transformed space. Consider adding furniture, lighting fixtures, or decorative elements that complement the beadboard and further enhance the ambiance of the room.
Regular maintenance and care will help preserve the beauty of your beadboard ceiling. Keep an eye out for any signs of damage or wear, and address any issues promptly. With proper upkeep, your beadboard ceiling will continue to bring charm and character to your home for years to come.
Thank you for joining us on this beadboard installation journey. We hope this guide has been informative and inspiring, and has provided you with the guidance you needed to successfully complete your project. Should you have any further questions or need additional assistance, do not hesitate to reach out to professionals in the field.
Enjoy your beautiful beadboard ceiling and the enhanced atmosphere it brings to your space!
Frequently Asked Questions about How To Install Beadboard On Ceiling
Was this page helpful?
At Storables.com, we guarantee accurate and reliable information. Our content, validated by Expert Board Contributors, is crafted following stringent Editorial Policies. We're committed to providing you with well-researched, expert-backed insights for all your informational needs.


0 thoughts on “How To Install Beadboard On Ceiling”