Articles
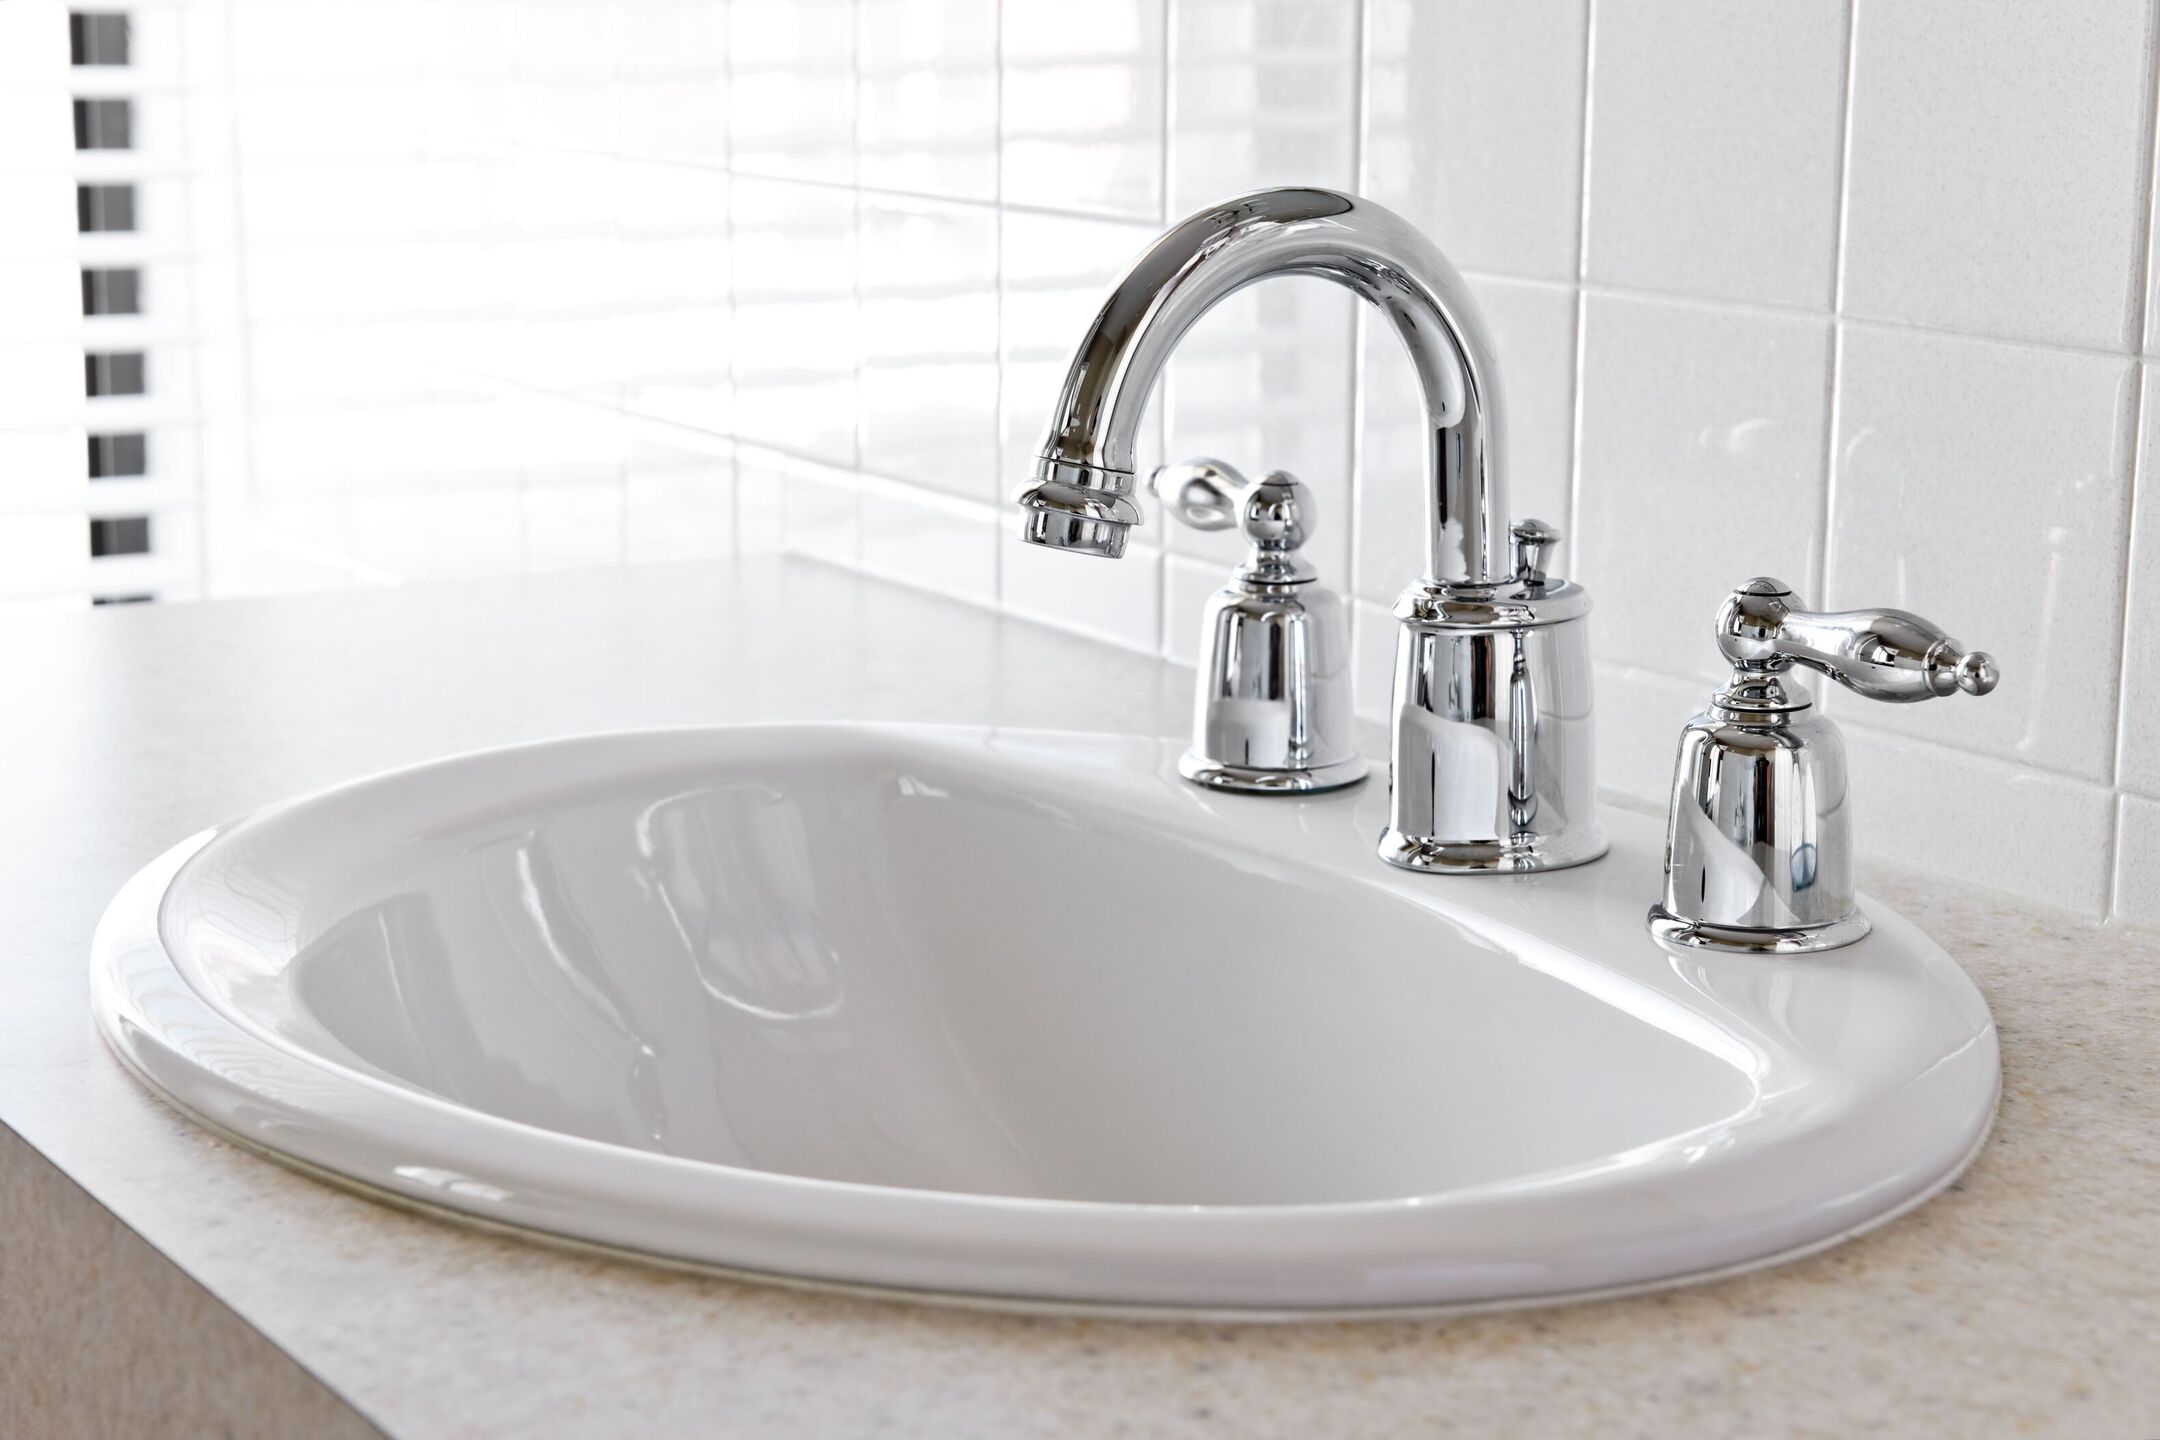
How To Install A Drop-In Bathroom Sink
Modified: December 7, 2023
Learn how to easily install a drop in bathroom sink with our step-by-step articles. Enhance your bathroom's functionality and style today!
(Many of the links in this article redirect to a specific reviewed product. Your purchase of these products through affiliate links helps to generate commission for Storables.com, at no extra cost. Learn more)
Introduction
Installing a drop-in bathroom sink can be a straightforward and rewarding DIY project. Whether you’re replacing an old sink or upgrading to a new one, this step-by-step guide will walk you through the process. By following these instructions, you’ll be able to transform your bathroom with a new sink that not only looks stylish but also functions efficiently.
Before we dive into the installation process, it’s important to note that some prior knowledge of basic plumbing and handyman skills is helpful. However, with the right tools, materials, and careful attention to detail, even a novice can successfully complete this project.
In this guide, we’ll cover everything you need to know, from gathering the necessary tools and materials to connecting the plumbing and testing for leaks. So, let’s get started on transforming your bathroom and creating a fresh and inviting space!
Key Takeaways:
- Transform your bathroom with a stylish and efficient drop-in sink by following this DIY guide. From gathering tools to testing for leaks, each step ensures a successful installation, even for novice DIYers.
- By carefully preparing the workspace, removing the old sink, and connecting the plumbing, you can enjoy a visually appealing and functional bathroom. The finishing touches add the perfect polish to your DIY accomplishment.
Read more: How To Install A Drop-In Kitchen Sink
Step 1: Gather necessary tools and materials
Before you begin the installation process, it’s crucial to gather all the necessary tools and materials. This will ensure that you have everything you need on hand and can complete the project without interruptions. Here’s a list of what you’ll need:
- A drop-in bathroom sink: Choose a sink that fits your style and the dimensions of your countertop.
- A faucet: Select a faucet that complements your sink and meets your functional needs.
- A drain assembly: This includes the drain, tailpiece, and P-trap.
- A wrench set: You’ll need both an adjustable wrench and a basin wrench for various tasks.
- A screwdriver set: Ensure you have a Phillips and flat-head screwdriver for different types of screws.
- Plumber’s putty: This will help create a watertight seal between the sink and the countertop.
- Teflon tape: Use this to wrap around threaded connections to prevent leaks.
- A silicone caulk gun: This will be used to apply silicone caulk around the edges of the sink.
- A bucket or container: This will come in handy for collecting water and debris during the installation process.
- A rag or towel: Keep a cloth nearby to wipe up any spills or excess water.
- Safety glasses and gloves: Protect your eyes and hands while working.
Take the time to double-check that you have everything on this list before you begin the installation. It’s better to be prepared and have all the necessary tools and materials within reach rather than scrambling to find them mid-project. With everything assembled, you’re now ready to move on to the next step of the installation process.
Step 2: Prepare the workspace
Before diving into the actual installation of the drop-in bathroom sink, it’s important to prepare your workspace. This will ensure that you have a clean and organized area to work in, making the installation process smoother and more efficient. Follow these steps to prepare your workspace:
- Clear the countertop: Remove any items from the countertop, such as toiletries, soap dispensers, or decorative items. This will give you ample space to work and prevent any damage to these items during the installation.
- Turn off the water supply: Locate the shut-off valves under the sink or near the main water supply. Turn them clockwise to shut off the water supply to the sink. This will prevent any water accidents or leaks during the installation process.
- Place a drop cloth or old towels: Lay down a drop cloth or old towels on the floor below the sink. This will help absorb any water or debris that may fall during the installation and make for easier cleanup afterwards.
- Ensure proper lighting and ventilation: Adequate lighting is essential to see what you’re doing during the installation. If needed, set up additional lighting sources to brighten the workspace. Similarly, ensure that the area is well-ventilated to prevent accumulation of fumes from caulk or adhesives.
- Double-check measurements: Before proceeding, re-measure the dimensions of the sink opening in the countertop. Ensure that it matches the size of the new sink you have purchased. This step will help avoid any surprises during installation.
By taking the time to prepare your workspace properly, you’ll have a clean and organized area to complete the installation. This will make the entire process more efficient and minimize the risk of damage or accidents. Once you’ve prepared your workspace, it’s time to move on to the next step: removing the old sink (if applicable).
Step 3: Remove the old sink (if applicable)
If you’re replacing an existing sink, the next step is to remove the old sink before installing the new one. Follow these steps to safely and effectively remove the old sink:
- Turn off the water supply: Before beginning any work, it’s important to turn off the water supply to the sink. Locate the shut-off valves under the sink or near the main water supply and turn them clockwise to shut off the water.
- Disconnect the plumbing: Use a wrench or pliers to disconnect the water supply lines by turning them counterclockwise. Place a bucket or container under the connections to catch any residual water that may drain out.
- Remove the drain: Locate the drain assembly and use pliers to loosen the nut securing it. Once the nut is loose, pull the drain assembly out from under the sink. If there is a P-trap, detach it by unscrewing the connectors.
- Release the sink from the countertop: Most drop-in sinks are secured to the countertop with clips or brackets. Locate these fasteners underneath the sink and use a screwdriver or wrench to loosen them. Once they are detached, carefully lift the sink upwards to remove it from the countertop.
- Clean the area: After removing the old sink, take the opportunity to clean the countertop and the surrounding area. Remove any dirt, grime, or old adhesive to ensure a clean and level surface for the new sink.
It’s important to exercise caution and patience during the removal process to avoid damaging the countertop or any surrounding fixtures. If you encounter any difficulties or if the sink is stubbornly stuck, it may be helpful to consult a professional to ensure a safe and proper removal.
Once the old sink has been successfully removed, you’re ready to move on to the next step: preparing the new sink for installation.
Step 4: Prepare the new sink for installation
Before you can install the new drop-in bathroom sink, it’s important to properly prepare it. This step will ensure that the sink is clean, level, and ready to be installed in the countertop. Follow these steps to prepare the new sink:
- Clean the sink: Take a clean cloth or sponge and mild soap to clean the sink thoroughly. Remove any dust, debris, or residue from the sink’s surface and rinse it with water. Dry the sink completely using a towel or let it air dry.
- Apply plumber’s putty: Plumber’s putty is a soft, moldable material used to create a watertight seal between the sink and the countertop. Take a small amount of plumber’s putty and roll it into a rope-like shape. Apply it to the underside of the sink’s flange or lip, ensuring an even distribution of the putty around the entire perimeter of the sink.
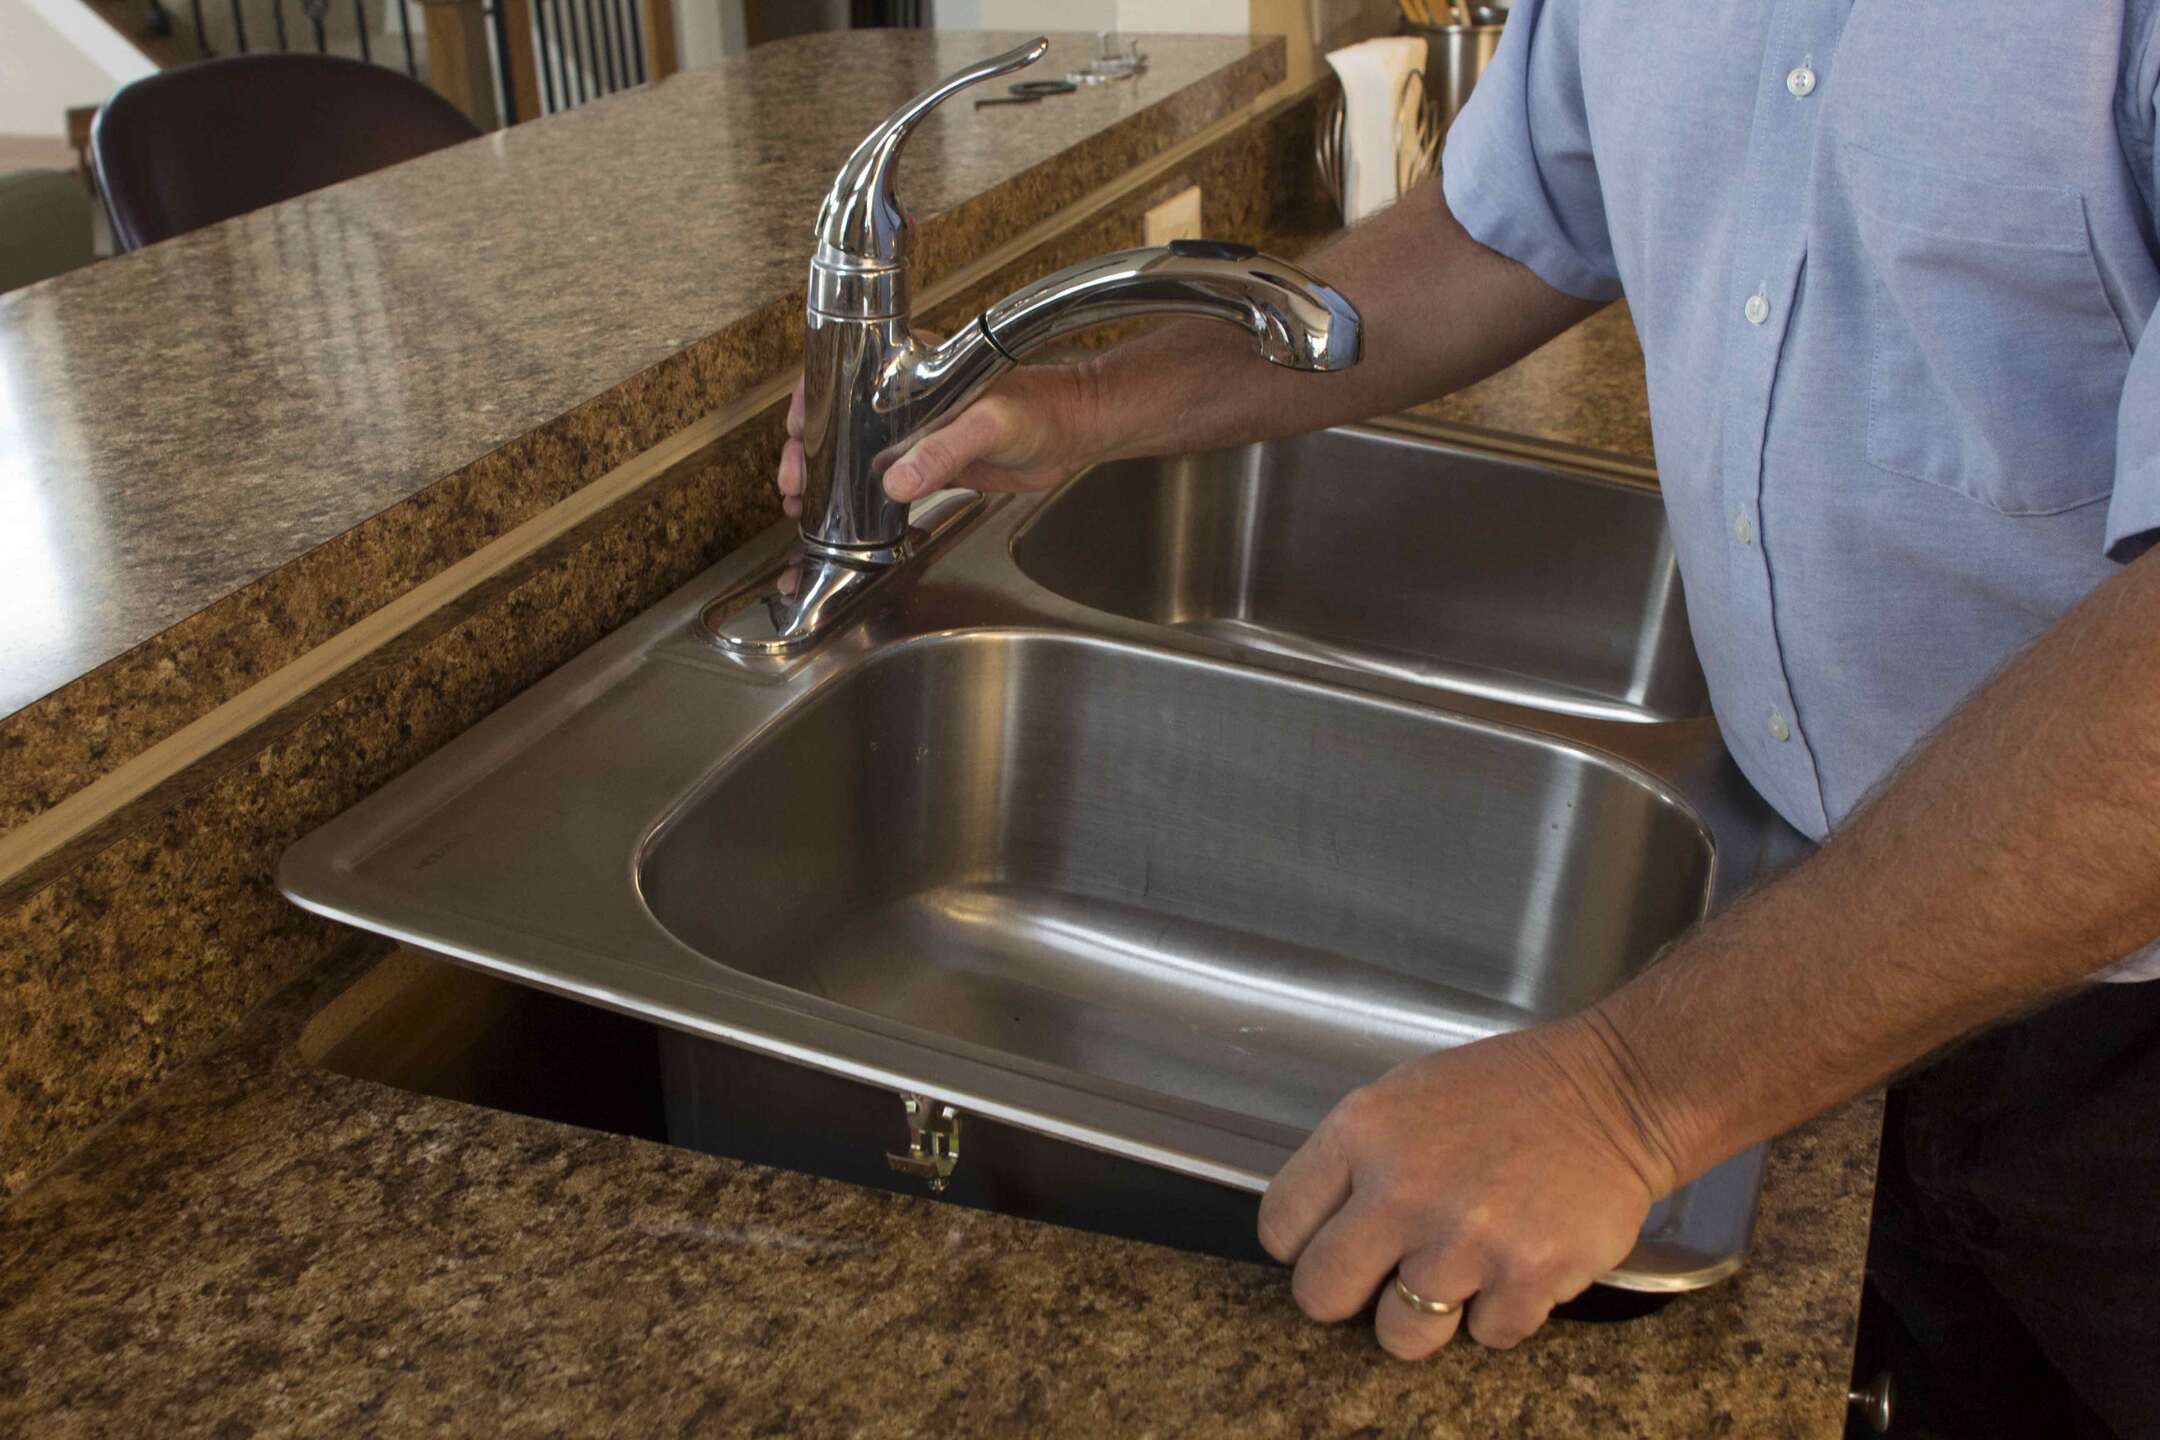
- Position the sink: Carefully place the prepared sink into the countertop’s opening. Gently press the sink down, allowing the plumber’s putty to create a seal between the sink and the countertop. Make sure the sink is centered and aligned properly.
- Check for level: Use a level to ensure that the sink is perfectly level in all directions. Adjust the position as necessary to achieve a level installation. This step is crucial to prevent any water pooling or uneven drainage.
- Secure the sink: Once the sink is level, secure it to the countertop with the provided clips or brackets. Follow the manufacturer’s instructions for proper placement and tightening of these fasteners. Make sure they are firmly attached to hold the sink securely in place.
By carefully preparing the new sink, you’ll ensure a proper fit and a secure installation. This will provide a stable and functional sink that will stand the test of time. Now that the sink is ready, we can move on to the next step: installing the new sink.
When installing a drop-in bathroom sink, be sure to measure the cutout in the countertop accurately to ensure a proper fit. Use a silicone sealant to secure the sink in place and prevent leaks.
Read more: How To Install A Bathroom Sink
Step 5: Install the new sink
Now that your new drop-in bathroom sink is prepared and securely positioned in the countertop, it’s time to proceed with the installation process. Follow these steps to install the new sink:
- Connect the water supply lines: Take the water supply lines and connect them to the corresponding hot and cold water shut-off valves. Use an adjustable wrench or pliers to tighten the connections, ensuring they are secure but not overly tightened to avoid damage.
- Attach the faucet: If your new sink came with a separate faucet, follow the manufacturer’s instructions to properly install it. This typically involves connecting the faucet to the holes in the sink and securing it with the provided nuts or brackets.
- Secure the drain assembly: Insert the drain assembly into the sink’s drain hole. Apply plumber’s putty to the underside of the drain assembly’s flange to create a watertight seal. Tighten the retaining nut from underneath the sink to secure the drain assembly.
- Install the pop-up assembly (if applicable): If your sink includes a pop-up drain stopper mechanism, install it according to the manufacturer’s instructions. This usually involves attaching the rod and linkage to the assembly and connecting it to the lift rod lever on the faucet.
- Check for proper alignment: Double-check that all the components, such as the faucet, drain assembly, and pop-up mechanism (if applicable), are properly aligned and functioning correctly. Make any necessary adjustments or tighten any loose connections.
By meticulously following these steps, you’ll ensure a secure and properly functioning sink. Once the new sink is installed, it’s time to move on to the next step: connecting the plumbing.
Step 6: Connect the plumbing
With the new sink installed, it’s time to connect the plumbing to ensure proper water flow and drainage. Follow these steps to connect the plumbing:
- Connect the water supply lines: Take the water supply lines that you previously connected to the shut-off valves and attach them to the corresponding hot and cold water inlets on the faucet. Use an adjustable wrench or pliers to tighten the connections, being careful not to overtighten.
- Connect the drain assembly: Attach the P-trap to the drain assembly, aligning the connectors and securing them with the provided slip nuts. Make sure the connections are tight to prevent any leaks. Ensure that the P-trap is oriented correctly for proper drainage.
- Test the connections: With the water supply and drain connections in place, carefully turn on the water supply valves. Let the water run for a few minutes to flush out any debris. Inspect all the connections for any signs of leaks. If you notice any leaks, tighten the connections slightly until they stop.
It’s crucial to take your time and ensure that all the plumbing connections are secure and leak-free. Properly connected plumbing will ensure reliable water supply and effective drainage from your new sink. Once you’re confident that the connections are secure and leak-free, it’s time to move on to the next step: testing for leaks.
Step 7: Test for leaks
After connecting the plumbing, it’s important to test the new sink for any potential leaks. This step will ensure that your installation is watertight and prevent any damage or costly repairs down the line. Follow these steps to test for leaks:
- Double-check all connections: Go through each of the connections you made during the installation process, including the water supply lines, drain assembly, and P-trap. Ensure that all connections are tight and properly secured.
- Fill the sink with water: Close the sink drain stopper and fill the sink with water. Use a basin or bucket to fill the sink if you don’t have access to running water at this point.
- Inspect for leaks: Carefully observe all the plumbing connections, both above and below the sink, while the sink is filled with water. Look for any signs of water leaks such as dripping, pooling, or dampness.
- Check underneath the sink: Carefully examine the area underneath the sink where the connections are located. Look for any signs of leaks, such as water droplets or wetness, as well as any unusual odors.
- Test the drain stopper: Open the sink drain and activate the drain stopper mechanism (if applicable) to ensure it functions properly and seals tightly when closed.
If you detect any leaks or issues during the testing process, it’s important to address them promptly. Tighten any loose connections or consider seeking assistance from a professional if necessary. Ensuring that your new sink is leak-free will give you peace of mind and prevent any potential water damage to your bathroom.
With the leak test successfully completed, it’s time to move on to the final step: adding the finishing touches to complete the installation.
Step 8: Finishing touches
With the installation of your new drop-in bathroom sink complete, it’s time to add the finishing touches to enhance its appearance and functionality. These final steps will help ensure that your newly installed sink looks polished and functions smoothly. Follow these finishing touch steps:
- Apply silicone caulk: Using a silicone caulk gun, apply a thin and even bead of silicone caulk around the edges of the sink where it meets the countertop. This will create a watertight seal and add a professional finish to the installation. Smooth the caulk with your finger or a caulk smoothing tool for a clean look.
- Remove excess caulk: Wipe away any excess caulk with a damp cloth or sponge. This will prevent it from drying and marring the appearance of the sink or countertop.
- Install decorative elements: If desired, now is the time to install any decorative elements, such as backsplash tiles, adhesive trim, or decorative hardware. Follow the manufacturer’s instructions or consult a professional when installing these items.
- Clean up and restore the workspace: Remove any residue, tools, or debris from the area around your newly installed sink. Give the countertop a final wipe down to remove any dust or grime.
By taking the time to complete these finishing touches, you’ll ensure that your new drop-in bathroom sink is not only functional but visually appealing as well. These steps will help elevate the overall aesthetics of your bathroom and create a clean and polished look.
With the installation process complete and the finishing touches in place, take a moment to step back and admire your newly installed drop-in bathroom sink. You’ve successfully transformed your bathroom and created a space that is both beautiful and functional. Enjoy the fresh and updated look of your sink and the enhanced functionality it provides.
Remember to follow any additional care and maintenance instructions provided by the manufacturer to keep your new sink in optimal condition. With proper care, your new drop-in bathroom sink will continue to serve you well for years to come.
Congratulations on a successful installation!
Read more: How To Install Sink Vanity
Conclusion
Installing a drop-in bathroom sink is a manageable DIY project that can instantly transform the look and functionality of your bathroom. By following the step-by-step guide outlined in this article, you can confidently complete the installation process and enjoy the benefits of your new sink.
From gathering the necessary tools and materials to connecting the plumbing and adding the finishing touches, each step plays a crucial role in ensuring a successful installation. Taking the time to prepare your workspace, remove the old sink (if applicable), and properly prepare the new sink sets the foundation for a seamless installation.
Connecting the plumbing carefully and testing for leaks will give you peace of mind, knowing that your new sink is functioning properly and efficiently. The finishing touches, such as applying silicone caulk and cleaning up the workspace, add the final polish to your installation.
With your new drop-in sink in place, you’ve not only improved the aesthetic appeal of your bathroom, but also enhanced its functionality. Enjoy the fresh and inviting space that your new sink brings, and take pride in your DIY accomplishments.
Remember to consult the manufacturer’s instructions for any specific care and maintenance requirements, ensuring that your new sink continues to serve you well for years to come.
Congratulations on successfully installing your drop-in bathroom sink! Enjoy the refreshed and functional space you’ve created!
Frequently Asked Questions about How To Install A Drop-In Bathroom Sink
Was this page helpful?
At Storables.com, we guarantee accurate and reliable information. Our content, validated by Expert Board Contributors, is crafted following stringent Editorial Policies. We're committed to providing you with well-researched, expert-backed insights for all your informational needs.


0 thoughts on “How To Install A Drop-In Bathroom Sink”