
Articles
How To Install Carpet In A Basement
Modified: October 21, 2024
Learn the step-by-step process of installing carpet in your basement with our helpful articles. Improve your basement's look and comfort.
(Many of the links in this article redirect to a specific reviewed product. Your purchase of these products through affiliate links helps to generate commission for Storables.com, at no extra cost. Learn more)
Introduction
Welcome to our guide on how to install carpet in a basement. Installing carpet in a basement can transform the space into a cozy and inviting area for relaxation, entertainment, or even a home office. Adding carpet not only improves the overall aesthetic appeal but also helps to insulate the room and reduce noise.
Before getting started, it’s important to note that installing carpet in a basement may present different challenges compared to other areas of your home. Basements are generally more prone to moisture and humidity, so it’s essential to take the necessary precautions to ensure the longevity and durability of your carpet.
In this article, we will walk you through the step-by-step process of installing carpet in a basement, from preparing the space to trimming and finishing the edges. So grab your measuring tape and let’s get started!
Key Takeaways:
- Transform your basement into a cozy oasis by following our step-by-step guide to installing carpet. From choosing the right materials to proper maintenance, create a beautiful and functional space for your family to enjoy.
- Opt for moisture-resistant, stain-resistant, and durable carpet materials like synthetic fibers to ensure longevity and resilience in your basement. With careful preparation and attention to detail, you can create a comfortable and inviting space.
Read more: How To Carpet A Basement Floor
Step 1: Measuring and Preparing the Basement
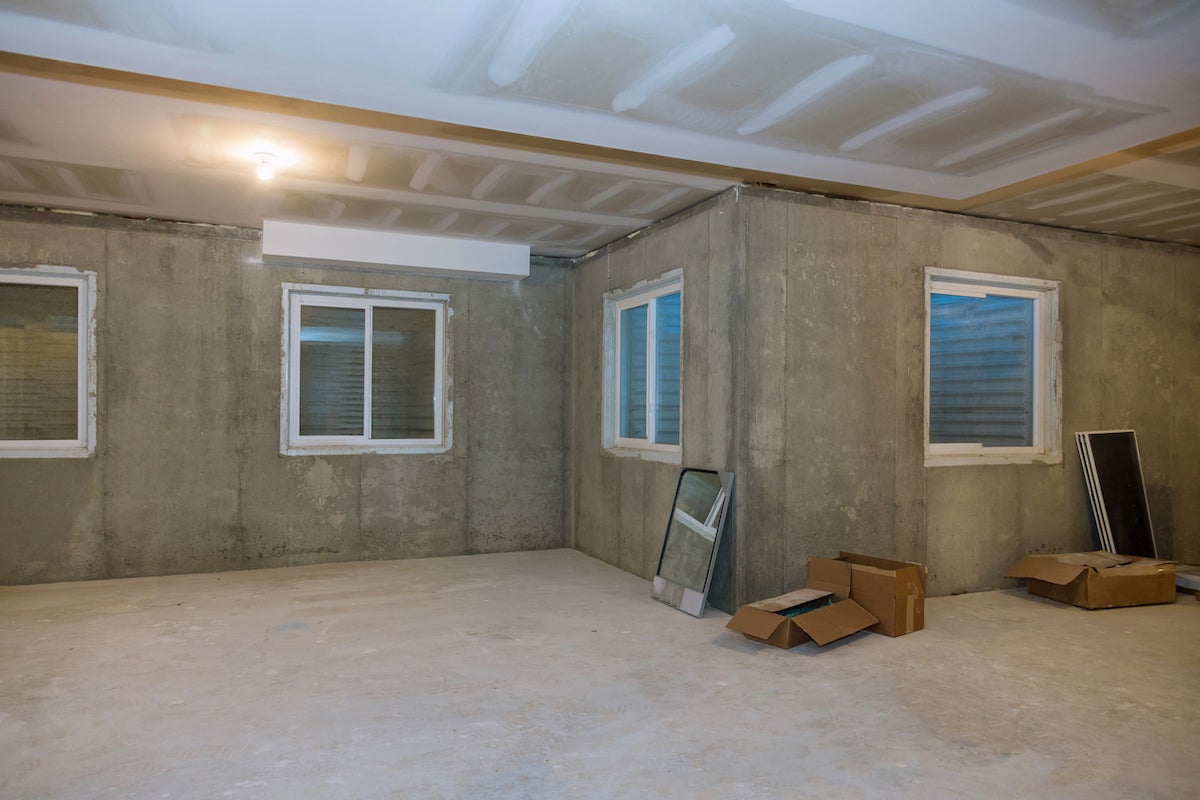
The first step in installing carpet in a basement is to measure the area accurately and prepare the space for the installation.
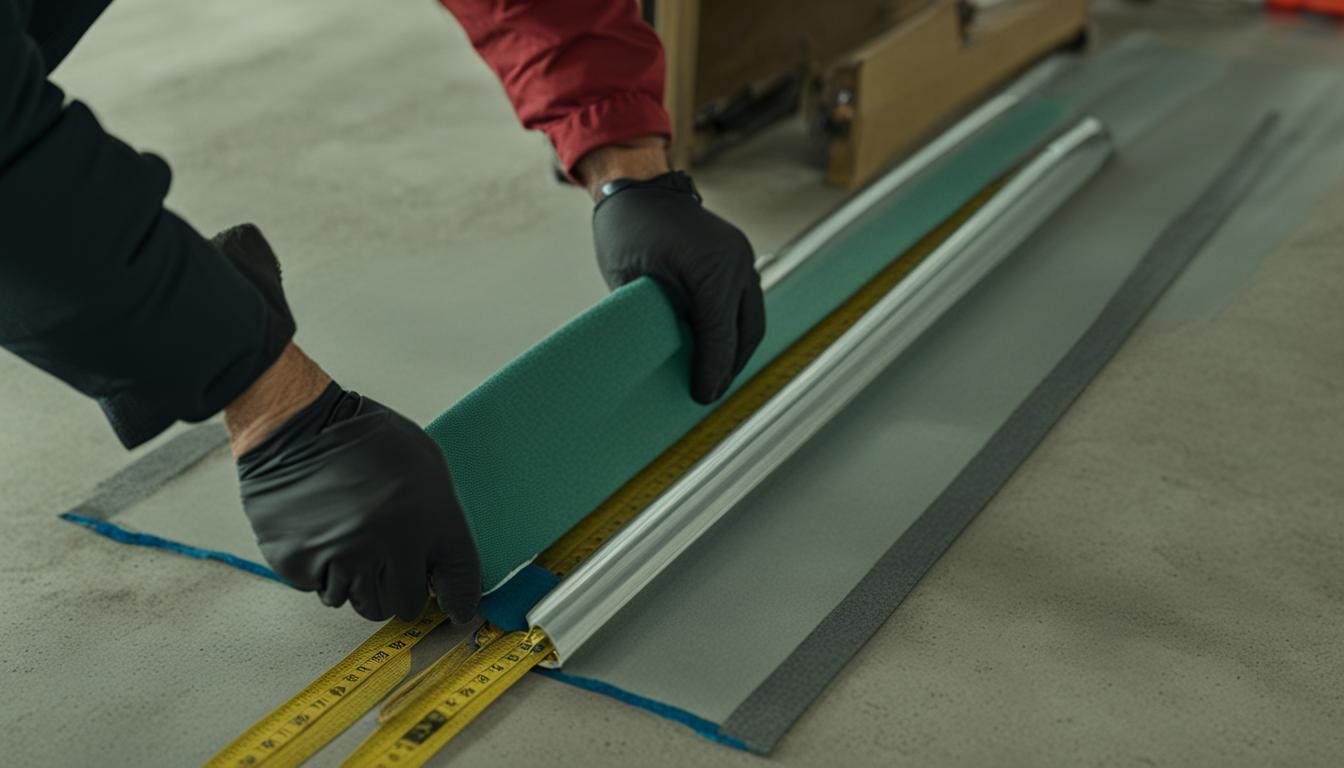
Start by measuring the length and width of the basement using a measuring tape. Make sure to account for any nooks, corners, or irregular shapes in the room. Once you have the measurements, calculate the square footage of the area to determine how much carpet you will need to purchase.
Next, it’s important to prepare the basement before installing the carpet. Start by clearing the room of any furniture, loose objects, or debris. Vacuum or sweep the floor thoroughly to remove any dirt or dust particles that may affect the installation process.
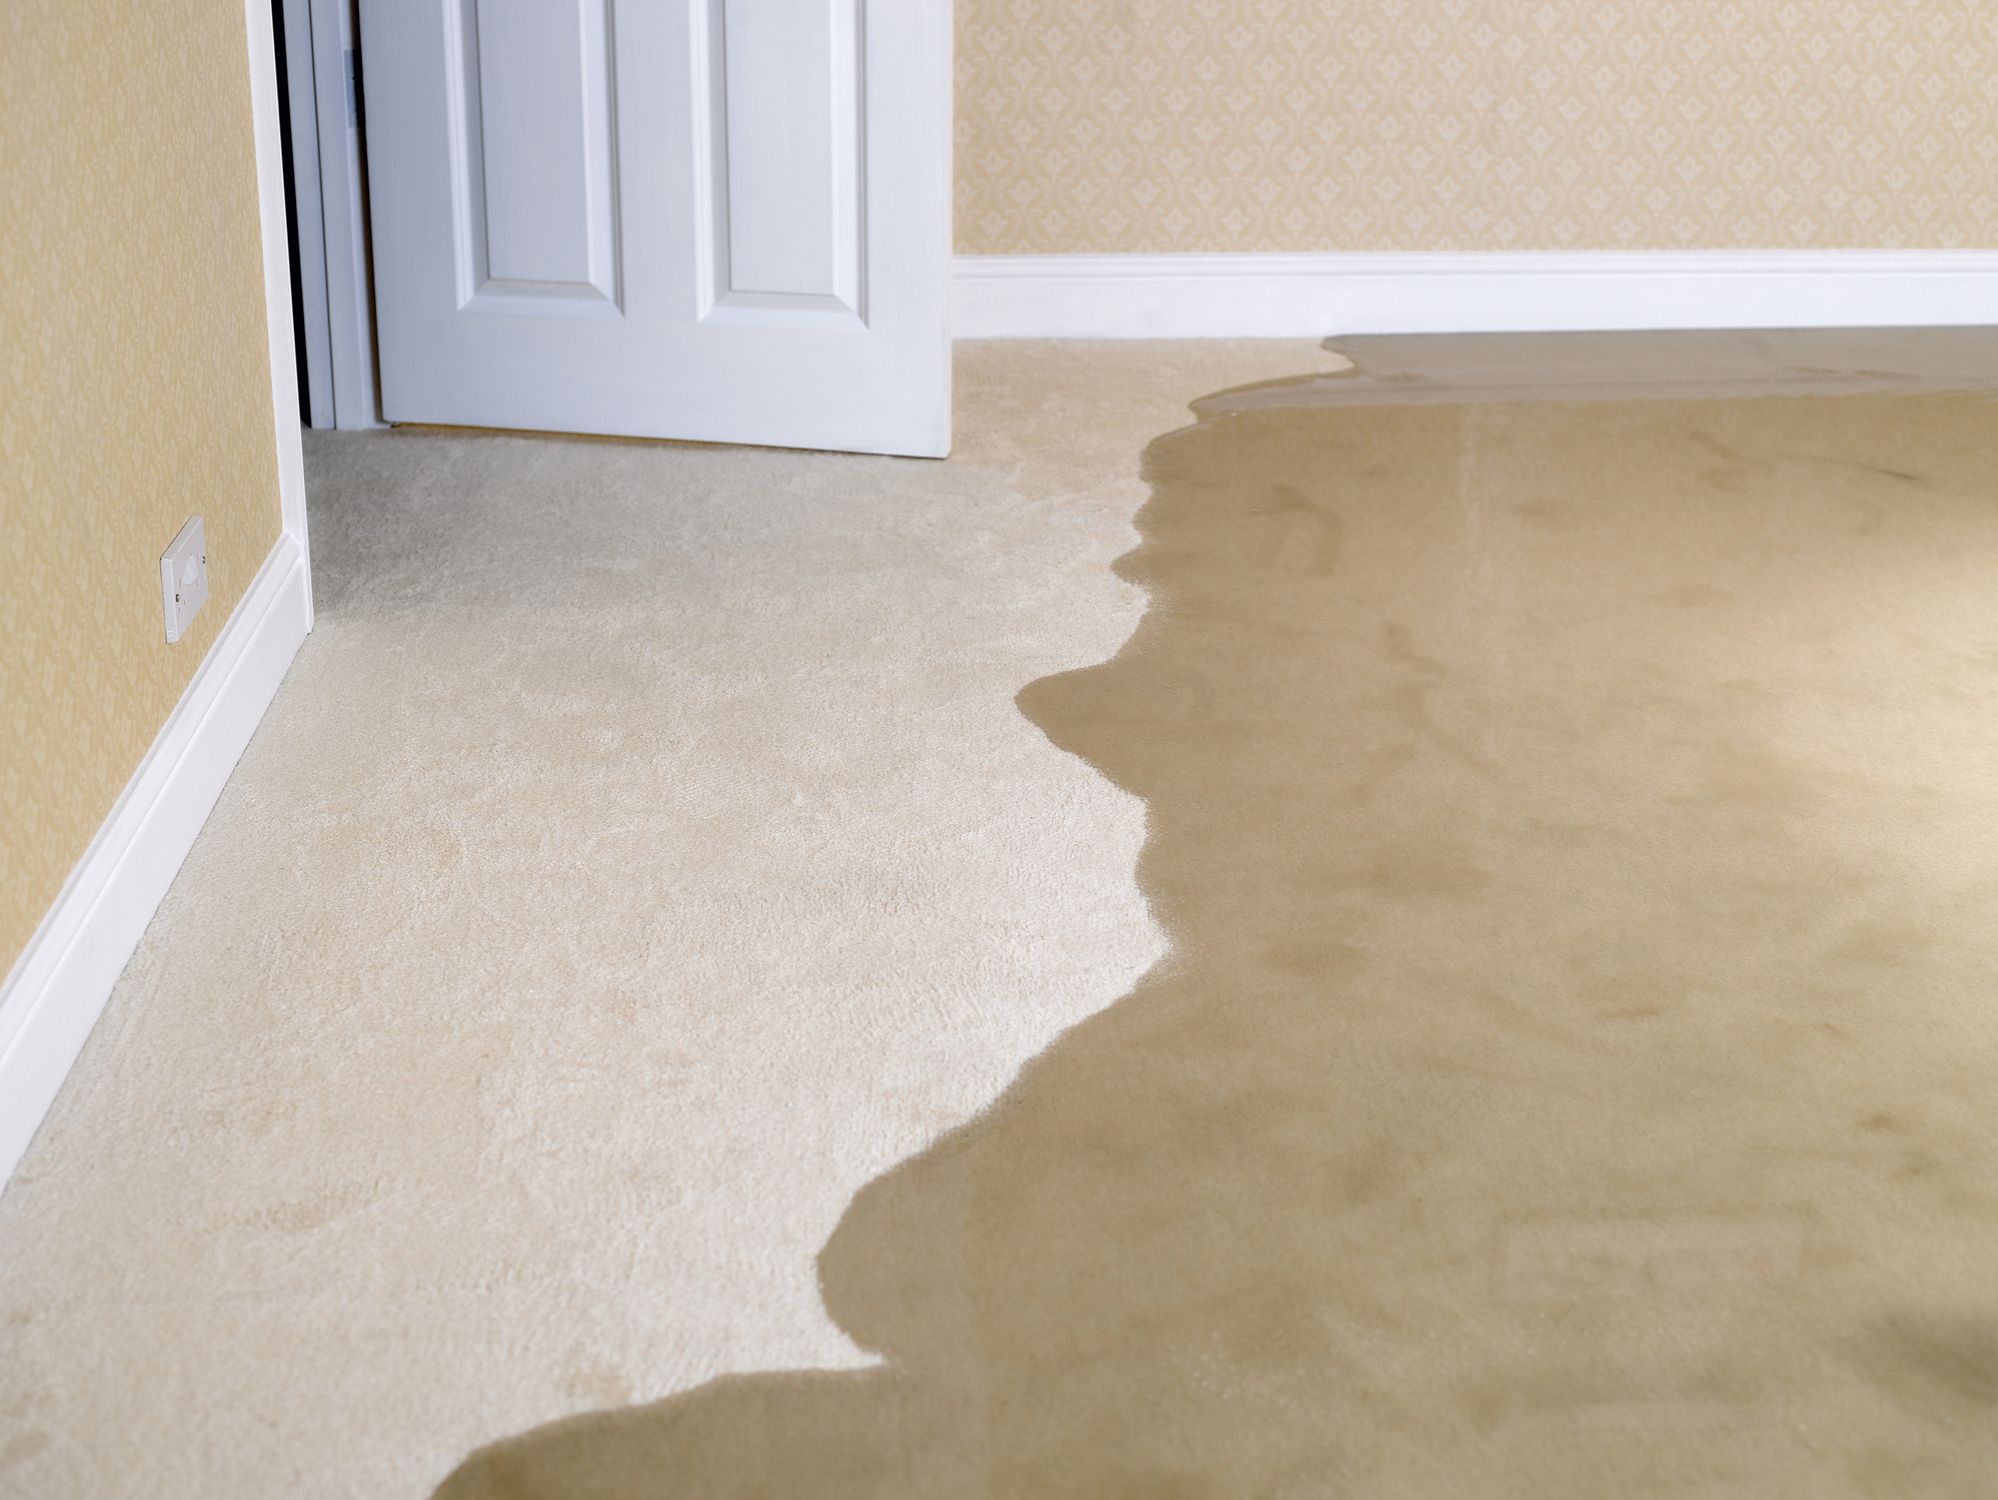
If your basement has moisture issues, it’s crucial to address them before proceeding. Check for signs of water leaks or dampness and repair any foundation or waterproofing problems. Consider installing a moisture barrier or sealing the concrete floor to prevent moisture from seeping into the carpet.
Inspect the subfloor for any unevenness or damage. If there are noticeable imperfections, such as cracks or bumps, you may need to level the floor or repair it before installing the carpet. This will help ensure a smooth and even surface for your carpet installation.
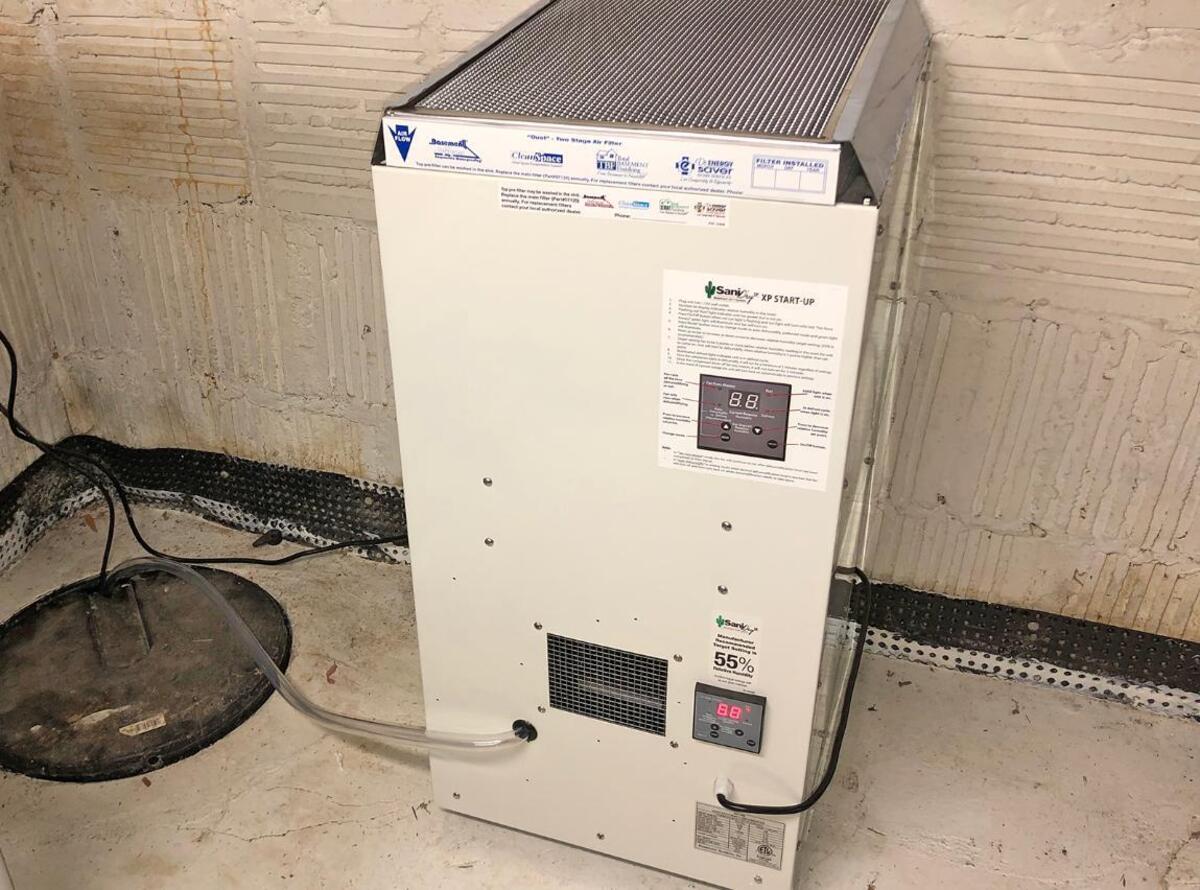
Lastly, check the basement’s ventilation and humidity levels. Proper air circulation is essential for maintaining the quality of your carpet and preventing mold or mildew growth. If necessary, install or improve the basement’s ventilation system to keep the air dry and fresh.
Once you have measured the area and prepared the basement, you are ready to move on to the next step – choosing the right carpet for your basement.
Step 2: Choosing the Right Carpet
Choosing the right carpet for your basement is essential for ensuring both aesthetics and functionality. Since basements are prone to moisture and humidity, it’s crucial to select a carpet that is specifically designed for these conditions.
When shopping for carpet, consider the following factors:
1. Carpet Fiber: Opt for synthetic fibers such as nylon or polyester as they are more resistant to moisture and mold compared to natural fibers. These fibers are also durable and offer excellent stain resistance.
2. Carpet Padding: Invest in high-quality carpet padding that offers moisture barrier properties. The padding will not only provide comfort underfoot but also help to prevent moisture from permeating the carpet and subfloor.
3. Water-resistant Backing: Look for carpets with a water-resistant backing or backing made from materials like rubber or vinyl. This will provide an additional layer of protection against moisture seeping into the carpet.
4. Low Pile Height: Choose a carpet with a low pile height, as it is easier to clean and less likely to retain moisture. Avoid high pile or plush carpets that can trap humidity and promote mold growth.
5. Stain Resistance: Consider carpets with built-in stain resistance technology to ensure easy maintenance and longevity.
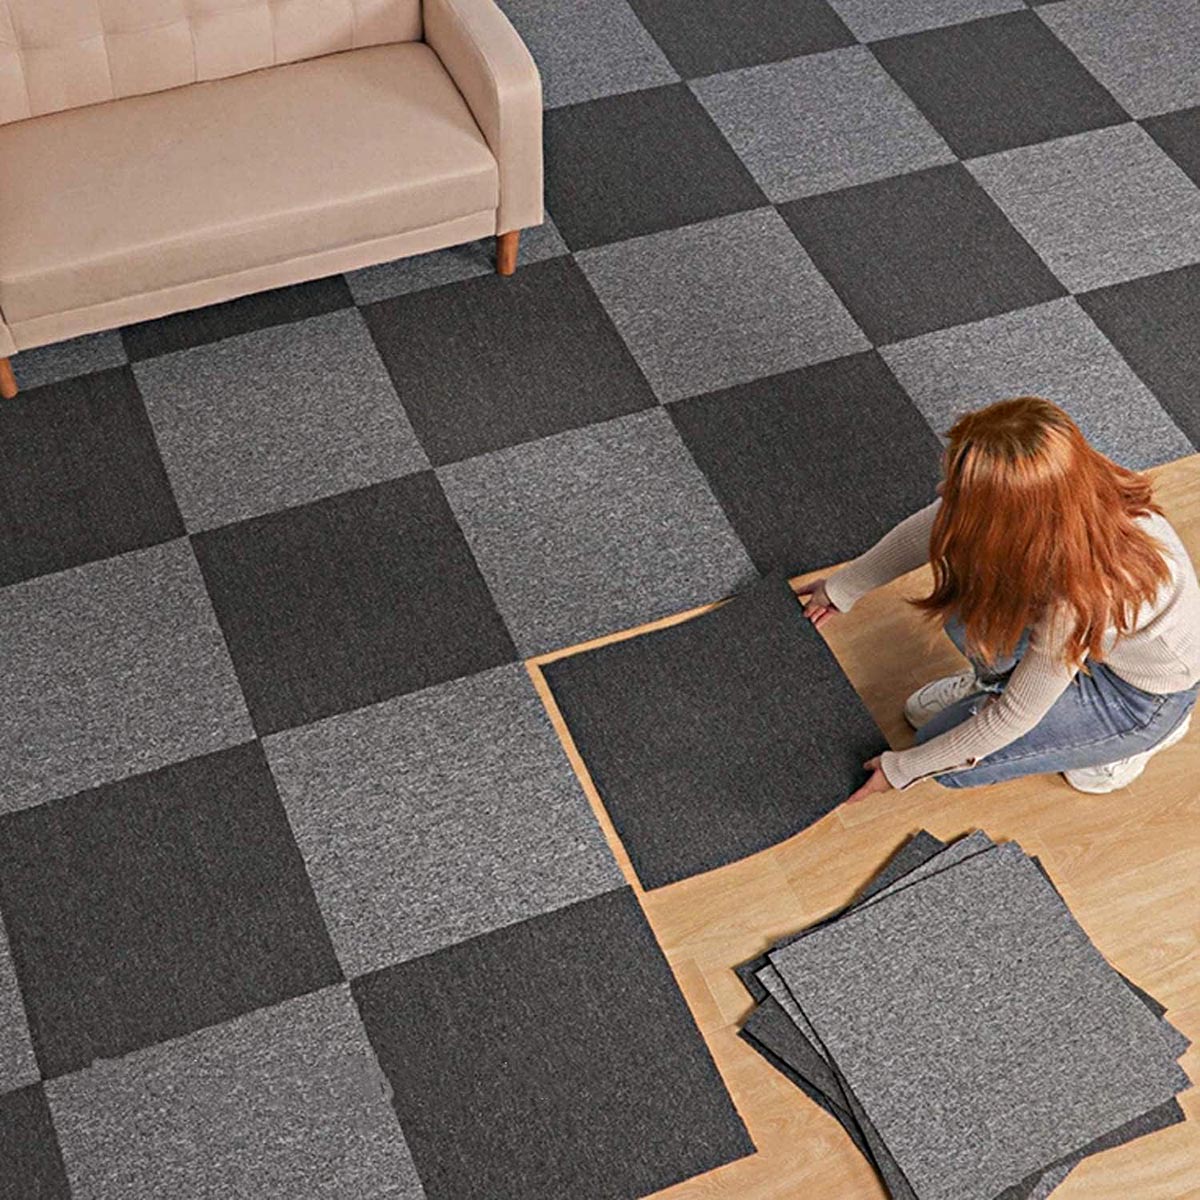
6. Carpet Tiles: Another option for basements is carpet tiles. Carpet tiles are versatile, easy to install, and allow for individual tiles to be replaced in case of stains or damage.
7. Color and Design: Select a carpet color and design that complements your basement’s decor and style. Lighter colors can make a space look larger, while darker colors can add warmth and coziness.
When making your final selection, consult with a flooring professional who can guide you on the best carpet options for basement use. They will understand the specific challenges and requirements and recommend the most suitable carpeting for your project.
Once you have chosen the perfect carpet, it’s time to move on to the next step – preparing the subfloor for installation.
Step 3: Preparing the Subfloor
Preparing the subfloor is a crucial step in ensuring a smooth and secure carpet installation. The subfloor serves as the foundation for your carpet, so it’s essential to make sure it is clean, level, and free of any imperfections.
Here are the steps to prepare the subfloor:
1. Clean the Subfloor: Begin by thoroughly cleaning the subfloor to remove any dirt, debris, or adhesive residue. Use a vacuum or broom to sweep the floor, and wipe away any stubborn stains or marks. A clean subfloor will ensure proper adhesion between the carpet and the subfloor.
2. Level the Subfloor: Check the subfloor for any unevenness. If you notice any low spots or bumps, you may need to level the subfloor. Depending on the severity of the unevenness, you can use a leveling compound or self-leveling underlayment to create a smooth surface. Follow the manufacturer’s instructions for mixing and applying the leveling material.
3. Repair Damaged Subfloor: Assess the subfloor for any signs of damage, such as cracks or rot. If you notice any issues, repair or replace the damaged areas promptly. Ensure that the subfloor is stable and structurally sound before proceeding with the installation.
4. Install Subfloor Moisture Barrier: In basements with higher moisture levels, it’s essential to install a moisture barrier between the subfloor and the carpet pad. This will help prevent any potential moisture from seeping into the carpet and causing damage. Use a moisture-resistant underlayment or a vapor barrier specifically designed for use with carpets in basements.
5. Prime the Subfloor: Applying a primer to the subfloor can enhance adhesion and protect against moisture. Priming is especially important if you are installing carpet over a concrete subfloor. Follow the manufacturer’s instructions for the proper application of the primer.
By taking the time to properly prepare the subfloor, you will create a stable and level foundation for your carpet installation. This will help ensure a professional-looking result and improve the longevity of your carpet. Once the subfloor is prepared, you can move on to the next step – installing the carpet padding.
Step 4: Installing the Carpet Padding
Installing carpet padding is an important step in achieving a comfortable and durable carpeted basement. The padding acts as a cushioning layer between the carpet and the subfloor, providing insulation, noise reduction, and additional support.
Here’s how to install carpet padding:
1. Measure and Cut: Measure the dimensions of the room and cut the carpet padding accordingly, leaving a few inches of excess around the edges. You can use a utility knife or scissors to cut the padding to the desired size.
2. Clean the Subfloor: Before laying the padding, make sure the subfloor is clean and free from debris. Vacuum or sweep the floor to remove any dirt or dust particles.
3. Roll Out the Padding: Roll out the carpet padding across the entire floor, making sure it covers the entire area. Overlap the edges of the padding by a few inches and butt them together without overlapping. Avoid stretching or pulling the padding too tight.
4. Secure the Padding: If necessary, use double-sided carpet tape or adhesive to secure the padding to the subfloor. Apply the tape or adhesive along the edges of the padding and in the center, ensuring that it is firmly attached.
5. Trim Excess Padding: Using a utility knife or scissors, carefully trim any excess padding along the walls or edges of the room. Be sure to leave a small gap between the edge of the padding and the walls to allow for the carpet to be properly tucked and secured during installation.
6. Check for Smoothness: Walk across the padding and ensure that it feels smooth and even underfoot. If you notice any lumps or wrinkles, adjust the padding until it is flat and uniform throughout the space.
Installing carpet padding provides a comfortable and supportive base for your carpet, reducing wear and tear and enhancing the overall feel of the room. With the padding in place, you’re ready to proceed to the next step – laying the carpet.
Before installing carpet in a basement, make sure the floor is clean, dry, and level. Use a moisture barrier to prevent mold and mildew, and consider using carpet tiles for easier installation and maintenance.
Read more: How Much To Carpet A Basement
Step 5: Laying the Carpet
Laying the carpet is the exciting part of the installation process, where you get to see your basement transform into a cozy and inviting space. Properly laying the carpet is essential for achieving a professional finish and ensuring its longevity.
Follow these steps to lay the carpet:
1. Roll Out the Carpet: Start by unrolling the carpet in a corner of the room. Allow the carpet to relax and acclimate to the room’s temperature and humidity for a few hours, following the manufacturer’s recommendations.
2. Measure and Trim: Measure the length of the room, allowing for a few inches of excess carpet at each end. Use a straightedge and a utility knife to carefully cut the carpet to the desired size.
3. Position the Carpet: Roll out the carpet across the room, ensuring that it reaches all the edges. Avoid stretching the carpet too tightly as it may cause it to buckle or ripple over time. Allow for a bit of extra carpet around the walls to ensure a proper fit.
4. Match the Patterns: If your carpet has a pattern, carefully align the seams and match the patterns for a seamless and cohesive look. Use carpet tape or adhesive to secure the seams, following the manufacturer’s instructions.
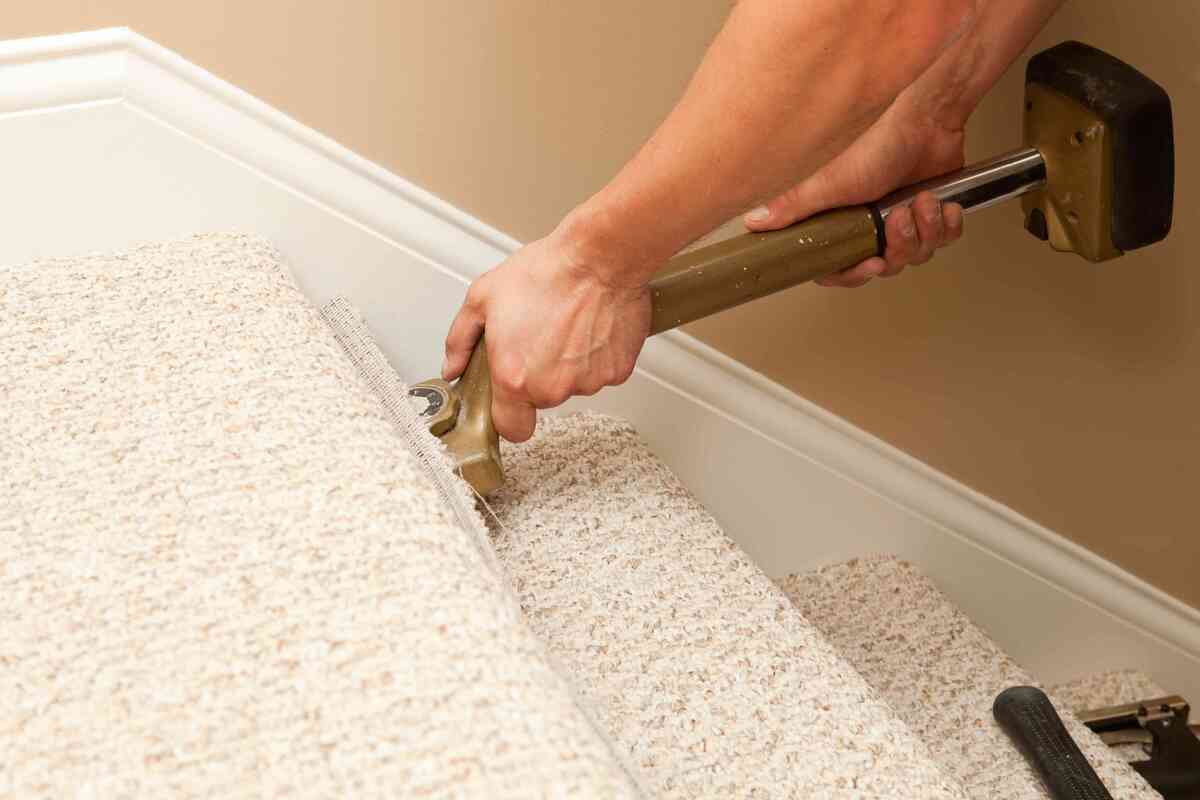
5. Smooth and Stretch: Use a knee kicker, which is a tool used to stretch the carpet, to ensure a snug fit. Starting in the center of the room, work your way towards the walls, stretching and securing the carpet into place. Smooth out any wrinkles or folds as you go.
6. Use a Carpet Stretcher: For larger rooms, you may need to use a carpet stretcher for a more secure installation. This tool helps to evenly stretch the carpet across the room, eliminating any excess slack or wrinkles.
7. Tuck and Trim: Use a carpet trimmer or a putty knife to neatly tuck the edges of the carpet under the baseboards or wall trim. Make sure the carpet is securely tucked in all corners and edges, giving it a finished appearance.
By carefully laying the carpet and ensuring a proper fit, you’ll create a comfortable and visually appealing surface for your basement. With the carpet in place, it’s time to move on to the next step – stretching and securing the carpet.
Step 6: Stretching and Securing the Carpet
Stretching and securing the carpet is a crucial step in the installation process that ensures a tight and wrinkle-free carpet surface. Proper stretching helps to prevent the carpet from shifting or buckling, and it is essential for a professional-looking finish.
Follow these steps to stretch and secure the carpet:
1. Use a Knee Kicker: Start by using a knee kicker, a tool specifically designed for stretching carpet. Position the knee kicker about 4 to 6 inches away from the wall and kick it firmly with your knee to stretch the carpet towards the wall. Repeat this process along the entire length of the wall.
2. Use a Power Stretcher: For larger rooms or areas where the carpet requires more tension, you may need to use a power stretcher. A power stretcher allows for more precise stretching by utilizing leverage and mechanical force. Follow the manufacturer’s instructions on how to operate and adjust the power stretcher.
3. Stretch Across the Room: Once you have stretched the carpet towards one wall, repeat the process on the opposite side of the room. Stretch the carpet in both directions to achieve even tension and a smooth surface. Continue stretching towards the remaining walls until the carpet is evenly stretched across the entire room.
4. Secure the Carpet: As you stretch the carpet, use a carpet tucker or putty knife to tuck the edges of the carpet into the gap between the baseboard and the carpet. Ensure that the carpet is tucked firmly and neatly along all edges.
5. Attach Transition Strips or Thresholds: Depending on the type of flooring in adjacent rooms or the presence of doorways, you may need to install transition strips or thresholds. These help to create a smooth and seamless transition between different flooring surfaces while providing protection for the edges of the carpet.
6. Trim Excess Carpet: Trim any excess carpet along the edges using a carpet trimmer or a sharp utility knife. Take care to make clean and precise cuts to achieve a polished appearance.
Once the carpet has been stretched and secured, take a moment to admire your handiwork. Your basement is now one step closer to being a comfortable, inviting space. The next step is to trim and finish the edges for a clean and polished look.
Step 7: Trimming and Finishing the Edges
Trimming and finishing the edges of the carpet is the final touch to achieve a polished and professional-looking installation. Properly trimmed edges add a clean and neat appearance to the carpet, giving it a refined look.
Follow these steps to trim and finish the edges of the carpet:
1. Prepare the Tools: Gather the necessary tools for trimming, including a carpet trimmer or utility knife, a straightedge, and a marker or chalk.
2. Mark the Cutting Line: Using a straightedge, mark a straight and even cutting line along the edge of the carpet where it meets the walls or other structures. This will serve as a guide for your cutting.
3. Trim the Carpet: Starting from one end, carefully cut along the marked cutting line using a carpet trimmer or utility knife. Apply firm, even pressure to ensure a clean and straight cut. Take your time and work slowly to avoid any mistakes.
4. Clean the Edges: After trimming, use a vacuum or brush to clean up any loose fibers or debris along the newly cut edges. This will give the carpet a tidy finish.
5. Install Carpet Edge Trim: If desired, you can install carpet edge trim along the perimeter of the room to provide a finished and professional-looking edge. Carpet edge trim is available in various materials and finishes, such as metal, vinyl, or wood. Follow the manufacturer’s instructions for installation.
6. Secure Transition Strips: If you have installed transition strips or thresholds in Step 6, make sure they are securely in place. Use appropriate fasteners or adhesives to ensure they are safely attached and create a smooth transition between the carpet and other flooring surfaces.
7. Inspect and Clean up: Take a moment to inspect the entire carpet installation, ensuring that all edges are neatly trimmed and that transition strips are secure. Clean up any debris or leftover materials to leave the space tidy and ready for use.
With the edges trimmed and finished, your basement carpet installation is complete. Take the time to appreciate your hard work and enjoy your beautiful, comfortable, and inviting new space.
Step 8: Cleaning and Maintaining the Carpet
Proper cleaning and maintenance are essential to keep your basement carpet looking fresh, clean, and in good condition for years to come. Regular care and attention will extend the life of your carpet, maintaining its appearance and comfort.
Follow these tips for cleaning and maintaining your basement carpet:
1. Vacuum Regularly: Vacuum your carpet at least once a week to remove dirt, dust, and debris that can accumulate over time. Use a vacuum cleaner with a rotating brush or beater bar for effective cleaning.
2. Address Stains Immediately: Promptly clean up any spills or stains to prevent them from setting in. Blot the stain with a clean cloth or paper towel, working from the outside in to avoid spreading the stain. Use a mild carpet cleaner or a mixture of water and vinegar to treat the stained area. Avoid scrubbing vigorously, as it can damage the carpet fibers.
3. Use Carpet Protectors: Place mats or area rugs in high-traffic areas or near entryways to protect your carpet from excess dirt and wear. These carpet protectors will help trap dirt and prevent it from spreading to the rest of the carpet.
4. Avoid Excessive Moisture: Basements can be prone to moisture, so it’s important to keep your carpet dry. Wipe up any spills or moisture immediately to prevent mold or mildew growth. Consider using a dehumidifier in your basement to keep the air dry and prevent excess humidity.
5. Schedule Professional Cleaning: It’s a good idea to have your basement carpet professionally cleaned at least once a year. Professional cleaning will deep clean the fibers, remove deeply embedded dirt, and rejuvenate the carpet’s appearance. Ensure that the cleaning method used is suitable for your specific carpet type.
6. Protect the Carpet during Renovations: If you plan any renovations or construction work in your basement, take precautions to protect your carpet. Cover the carpet with plastic or drop cloths to prevent damage from dust, debris, or spills.
7. Regularly Rotate Furniture: Rotate heavy furniture periodically to prevent permanent indentations on the carpet. Use furniture coasters or pads to distribute the weight evenly and reduce the risk of compression marks.
By following these cleaning and maintenance practices, you can keep your basement carpet looking fresh and beautiful for years to come. Regular care will preserve its appearance and comfort, making your basement a welcoming and cozy space for all to enjoy.
Congratulations! You have successfully completed the steps to install and maintain carpet in your basement. Enjoy your newly transformed space!
Read more: What Carpet Is Best For Basements
Conclusion
Installing carpet in a basement can elevate the comfort, aesthetics, and functionality of the space, transforming it into a cozy and inviting area. By following the step-by-step guide outlined in this article, you can successfully install carpet in your basement and create a beautiful, comfortable, and durable flooring solution.
From measuring and preparing the basement to choosing the right carpet, preparing the subfloor, installing the carpet padding, laying the carpet, stretching and securing it, and finally trimming and finishing the edges, each step plays a crucial role in ensuring a professional result.
Furthermore, proper cleaning and maintenance will help extend the life of your basement carpet. Regular vacuuming, immediate stain treatment, and scheduling professional cleanings will keep your carpet looking fresh and vibrant for years to come.
Remember, when choosing the carpet for your basement, opt for materials that are moisture-resistant, stain-resistant, and durable. Synthetic fibers like nylon or polyester are excellent choices as they are more resilient to basement conditions.
With the right materials, careful preparation, and attention to detail, you can successfully install carpet in your basement, creating a space that is comfortable, inviting, and adds value to your home.
So, roll up your sleeves and embark on this rewarding home improvement project. With patience, planning, and the knowledge gained from this guide, you’ll be able to transform your basement into a beautiful and functional room that the whole family can enjoy.
Frequently Asked Questions about How To Install Carpet In A Basement
Was this page helpful?
At Storables.com, we guarantee accurate and reliable information. Our content, validated by Expert Board Contributors, is crafted following stringent Editorial Policies. We're committed to providing you with well-researched, expert-backed insights for all your informational needs.
