
Articles
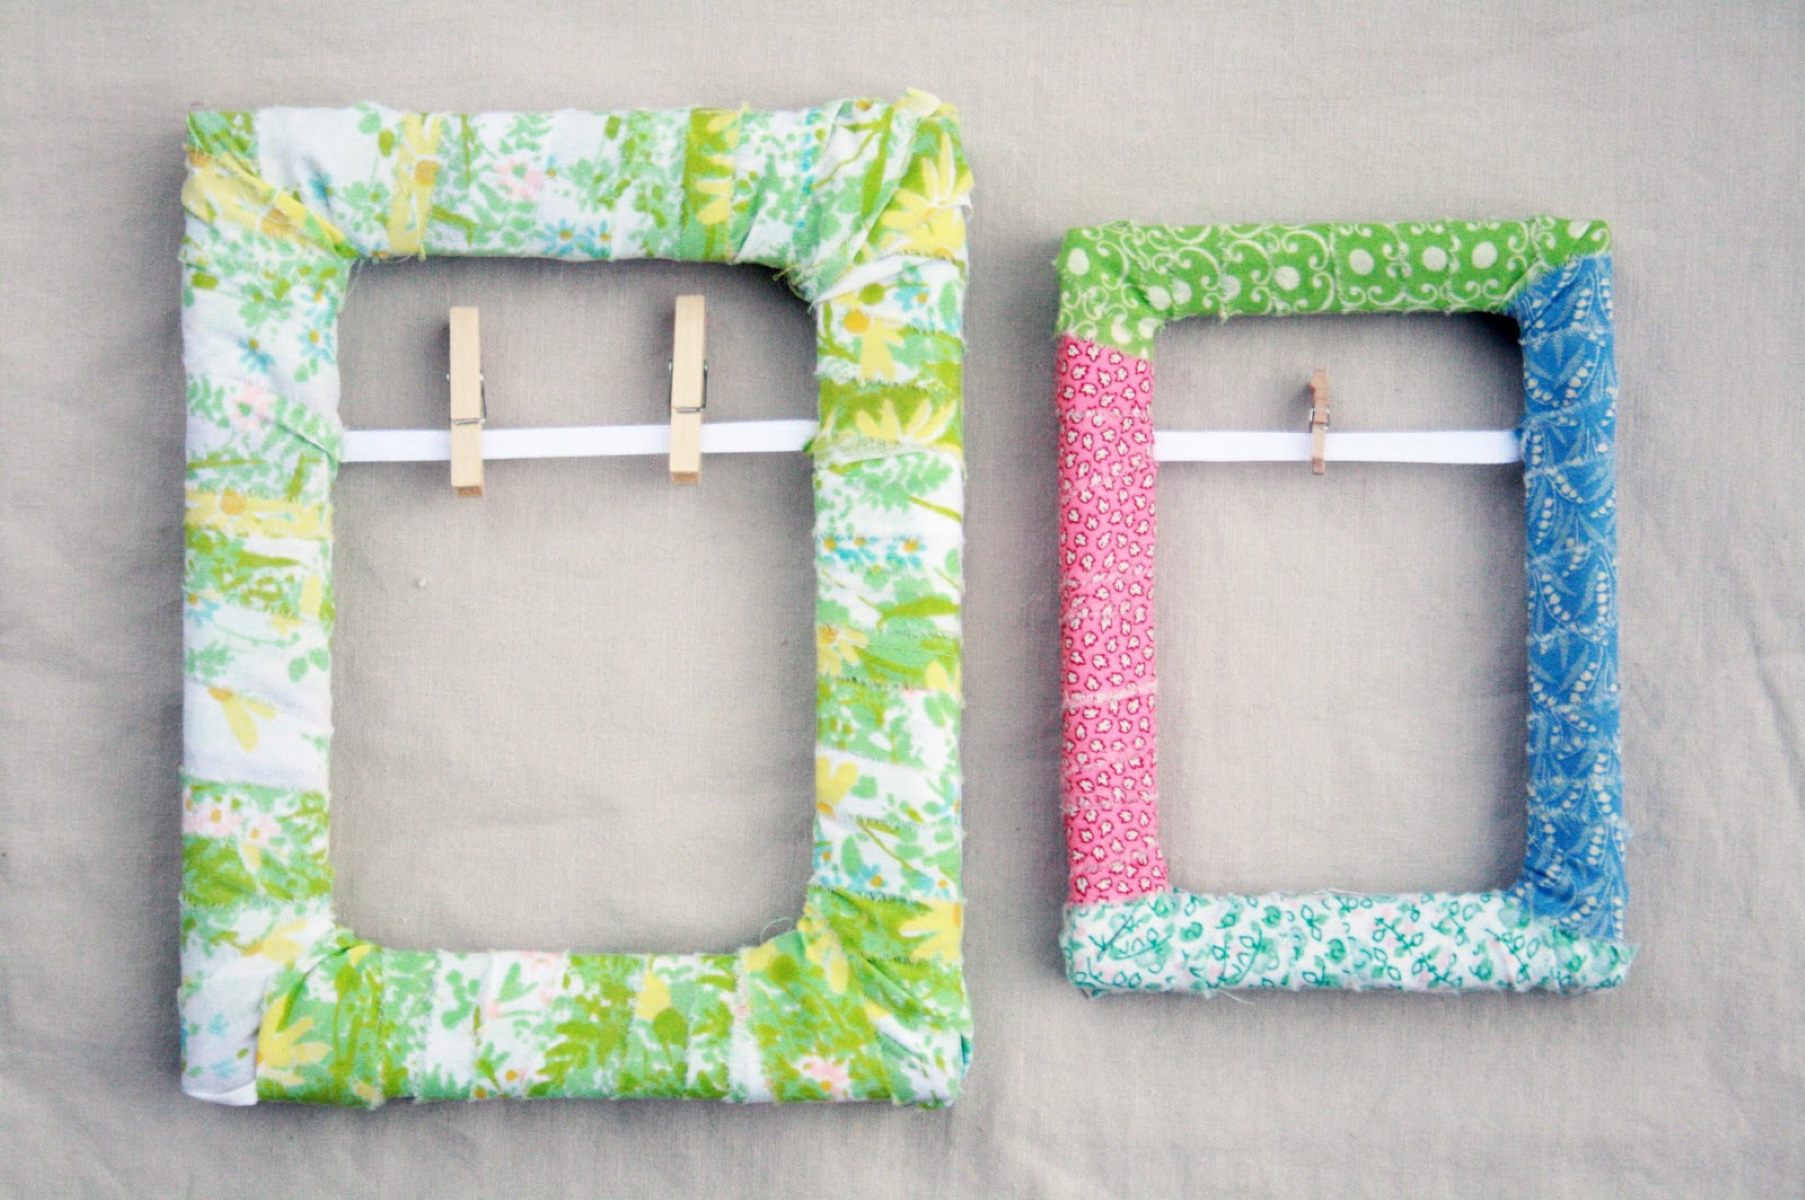
How To Make Fabric-Covered Picture Frames
Modified: August 17, 2024
Discover the step-by-step process to create beautiful fabric-covered picture frames with our informative and inspiring articles. Transform your home decor with this fun DIY project today!
(Many of the links in this article redirect to a specific reviewed product. Your purchase of these products through affiliate links helps to generate commission for Storables.com, at no extra cost. Learn more)
Introduction
Creating your own fabric-covered picture frames is a fantastic way to add a personalized touch to your home decor. Whether you want to showcase cherished family photos or unique artwork, fabric-covered frames offer a creative and stylish way to display your pictures.
Not only are fabric-covered frames visually appealing, but they also allow you to customize the design to match your home’s color scheme and aesthetic. With just a few simple materials and some basic crafting techniques, you can transform plain picture frames into stunning works of art.
In this article, we will guide you through the step-by-step process of making fabric-covered picture frames. From gathering your supplies to displaying the finished product, you’ll have all the information you need to get started on your DIY project.
So, grab your favorite fabric and let’s dive into the world of fabric-covered picture frames!
Key Takeaways:
- Transform plain frames into personalized works of art with fabric-covered picture frames. Add a unique touch to your home decor by selecting fabric, cutting it to size, and securely gluing it to the frames.
- Showcase your creativity and style by displaying fabric-covered picture frames. Experiment with different fabrics, colors, and textures to create personalized frames that perfectly complement your home decor.
Read more: How To Make Picture Frames
Materials Needed
Before you start creating your fabric-covered picture frames, it’s important to gather all the necessary materials. Here’s a list of what you’ll need:
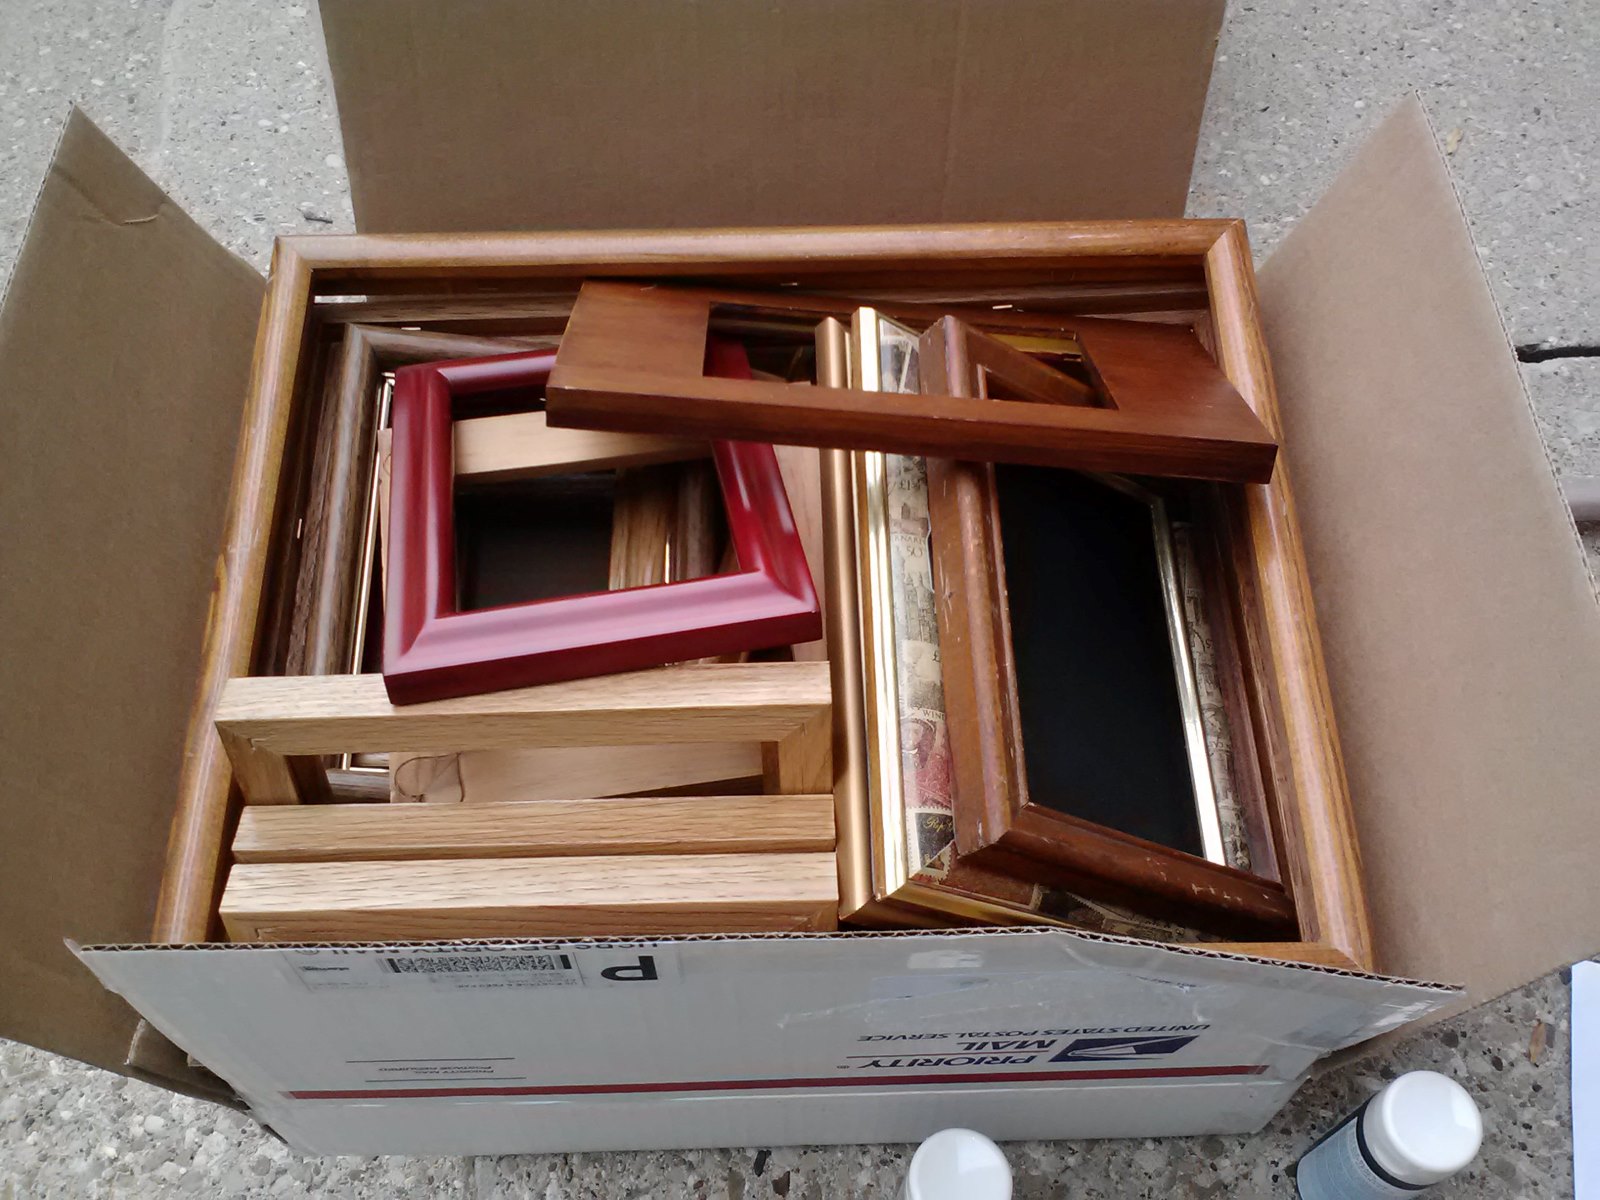
- A picture frame: Choose a frame that you’d like to cover with fabric. You can use old frames you already have or purchase new ones from a craft store.
- Fabric: Select a fabric of your choice that complements the style of your room. Make sure the fabric is large enough to cover the front and sides of the frame.
- Scissors: You’ll need a good pair of scissors to cut the fabric to the proper size.
- Mod Podge or fabric glue: This adhesive will help secure the fabric to the frame.
- Paintbrush: Use a paintbrush to apply the adhesive evenly onto the frame.
- Ruler or measuring tape: These tools will help you measure and cut the fabric accurately.
- Crafting knife: If your frame has a mat board, you may need a crafting knife to trim the fabric around it.
- Pencil or fabric marker: Use a pencil or fabric marker to make markings on the fabric for accurate cutting.
- Crafting embellishments (optional): If you want to add some extra flair to your fabric-covered frame, consider using crafting embellishments like buttons, ribbons, or beads.
Once you have gathered all of these materials, you are ready to move on to the next step: preparing the frame for the fabric.
Step 1: Gather Your Supplies
Before you begin the process of making fabric-covered picture frames, it’s important to gather all the necessary supplies to ensure a smooth and successful DIY project. Here’s what you’ll need:
- Picture Frames: Choose the frames that you want to cover with fabric. You can use old frames you already have or purchase new ones from a craft store. Make sure to select frames that are in good condition and suitable for the size of your photos.
- Fabric: Select a fabric that matches your desired aesthetic and complements the style of your room. Consider factors such as color, pattern, and texture. Depending on the size of your frames, you may need different amounts of fabric. Measure the dimensions of your frames to determine how much fabric you’ll need. It’s a good idea to get a little extra to allow for any mistakes or adjustments.
- Scissors: You’ll need a pair of sharp scissors to cut the fabric. Make sure they are suitable for cutting fabric smoothly and accurately.
- Adhesive: Choose an adhesive that will securely attach the fabric to the frames. Options include fabric glue, Mod Podge, or even a hot glue gun. Consider the type of material your frame is made of and choose an adhesive that will work well with it.
- Paintbrush: Use a small paintbrush to apply the adhesive to the frames. Make sure the brush is clean and in good condition.
- Ruler or Measuring Tape: These tools will be essential for measuring the fabric and ensuring accurate cuts. Measure the dimensions of your frames to determine the appropriate size for your fabric pieces.
- Pencil or Fabric Marker: Use a pencil or fabric marker to mark the measurements on the fabric before cutting. This will help you achieve precise cuts and ensure the fabric fits the frames perfectly.
- Optional Embellishments: If you want to add some extra flair to your fabric-covered frames, consider purchasing additional craft supplies such as ribbons, buttons, or beads. These can be used to accentuate the frames and give them a unique personal touch.
Once you have gathered all of these supplies, you are ready to move on to the next step: preparing the frames for the fabric.
Step 2: Prepare the Frame
Now that you have gathered all the necessary supplies, it’s time to prepare the frames for the fabric. Follow these steps to ensure your frames are ready:
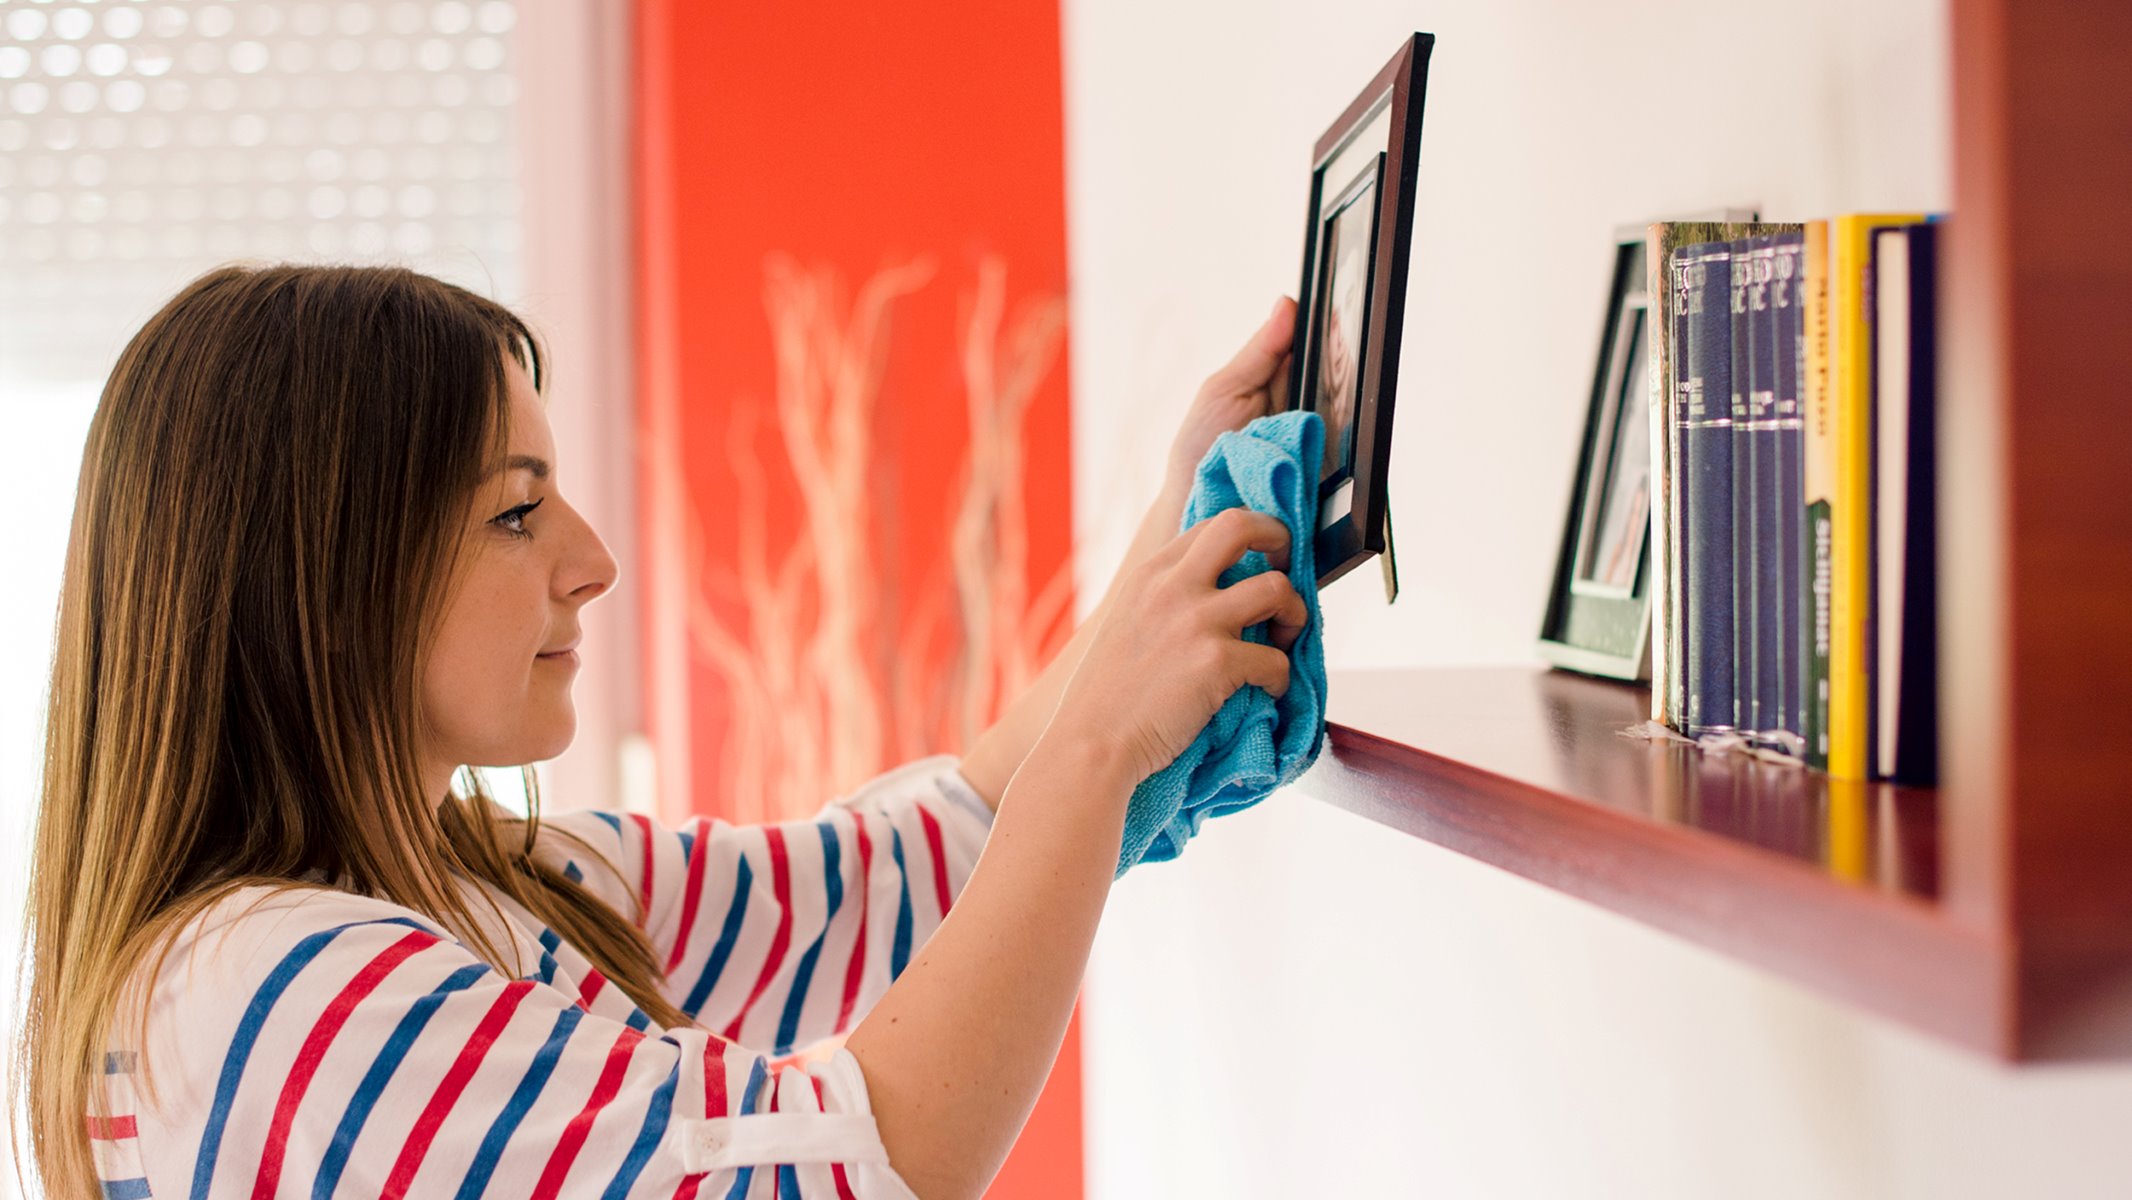
- Clean the Frames: Start by cleaning the frames to remove any dust or debris. Use a soft cloth or a mild cleaning solution if necessary. This step will ensure a smooth and clean surface for attaching the fabric.
- Remove Backing and Glass: Carefully remove the backing and glass from the frames. Set them aside in a safe place, as you will need them later when assembling the frames.
- Disassemble the Frames: If your frames have any additional components like mat boards or inserts, carefully disassemble them. This will make it easier to work with the frames and ensure a clean edge when attaching the fabric.
- Sand the Frames (optional): If the frames have any rough or uneven areas, you may want to sand them lightly to create a smooth surface. Use fine-grit sandpaper and lightly sand the frames, then wipe away any dust with a clean cloth.
- Protect the Picture Opening (optional): If you have removed the glass, you can protect the picture opening by covering it with a piece of scrap paper or cardboard. This will prevent any adhesive or fabric from getting inside the frame and potentially damaging your photos.
By preparing the frames in these steps, you will ensure that they are clean, smooth, and ready to be covered with fabric. This will help provide a professional-looking finish and a secure attachment of the fabric to the frames.
Next, we will move on to cutting the fabric to the appropriate size.
Step 3: Cut the Fabric
With the frames prepared, it’s time to cut the fabric to the proper size. Follow these steps to ensure accurate and precise cuts:
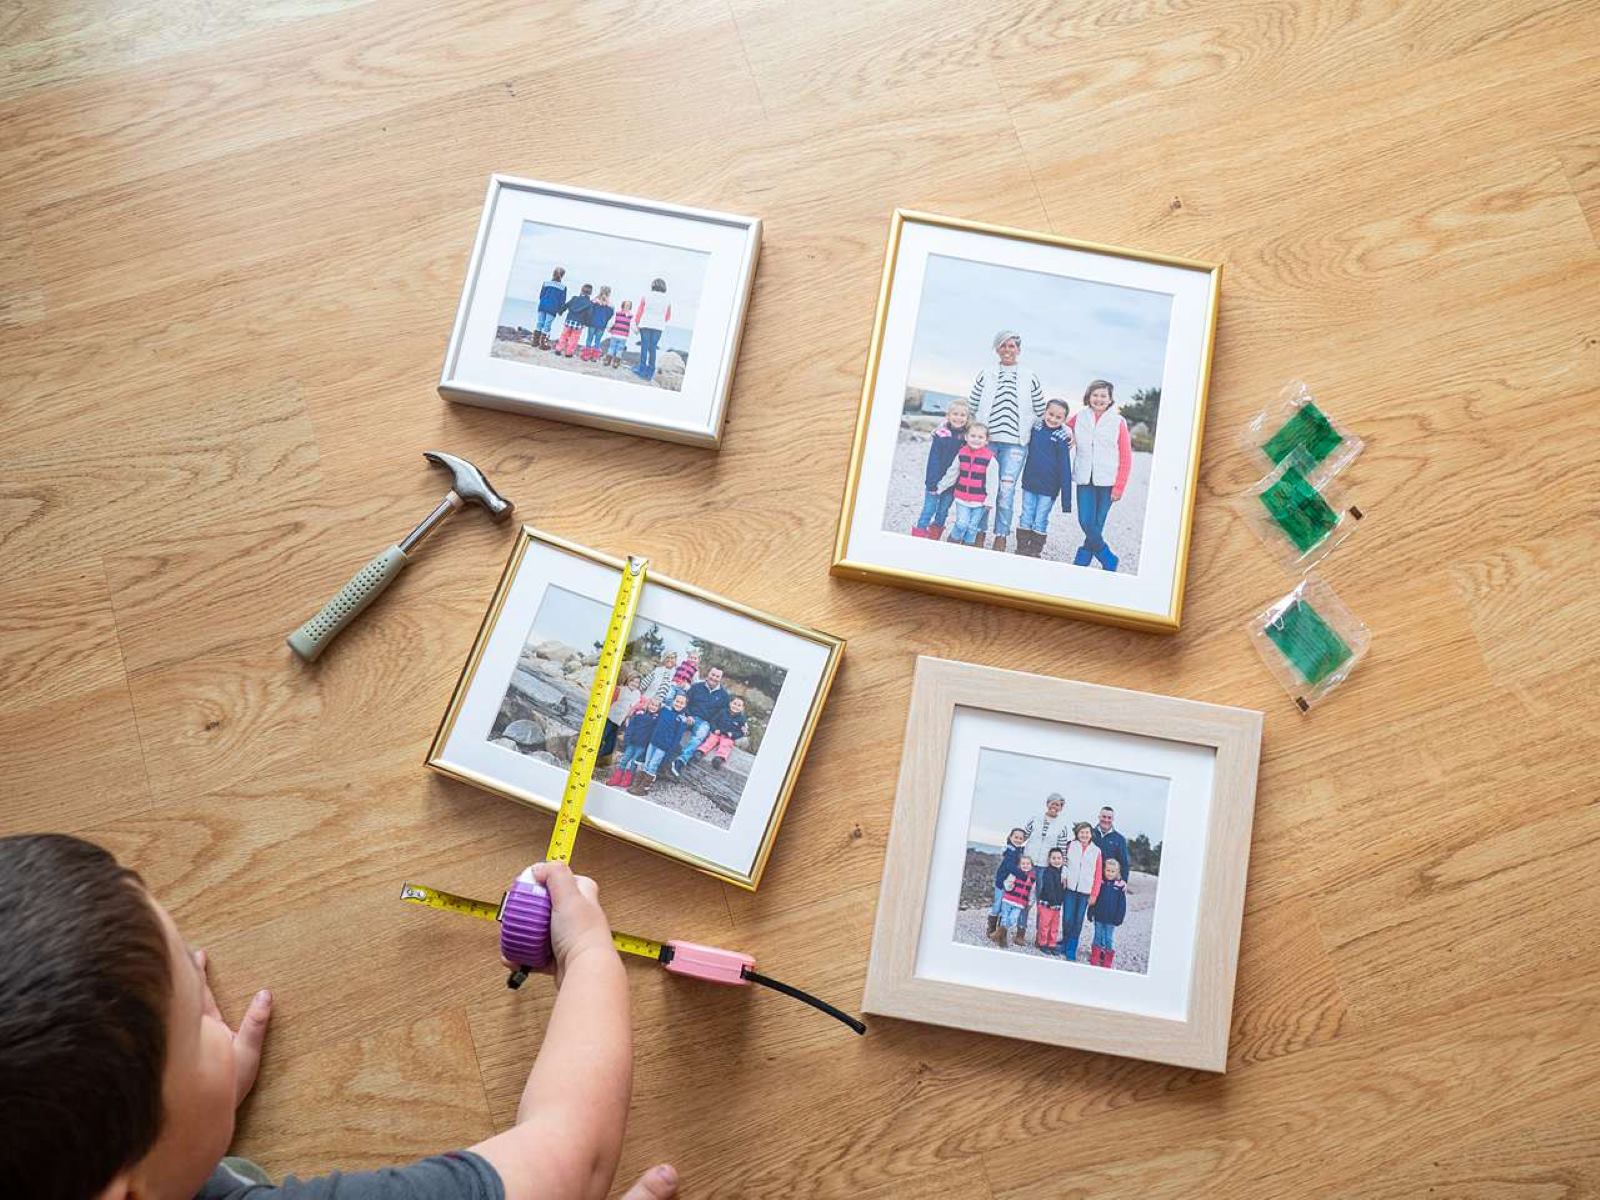
- Measure the Frames: Take the measurements of the frames using a ruler or measuring tape. Measure the length and width of the front and sides of each frame. It’s important to be as precise as possible to ensure a snug fit of the fabric.
- Transfer Measurements to the Fabric: Lay your fabric on a flat surface and use a pencil or fabric marker to mark the measurements you took from the frames. Add a little extra allowance to each side to ensure that the fabric will fully cover the frames, without leaving any gaps.
- Cut the Fabric: Carefully cut along the marked lines using a pair of sharp scissors. Take your time to ensure clean and straight cuts. If you have multiple frames, repeat this process for each one.
- Trim Excess Fabric for Openings: If your frames have openings for pictures, you will need to trim the fabric accordingly. Place the fabric-covered frame on a flat surface and use a crafting knife to cut away the fabric from the picture opening. Be cautious and follow the shape of the opening precisely.
It’s important to measure and cut the fabric accurately to achieve a professional and tidy look for your fabric-covered frames. Remember to double-check your measurements before cutting to avoid any mistakes.
Now that you have cut the fabric to the appropriate sizes, it’s time to move on to the next step: gluing the fabric onto the frames.
When choosing fabric for your picture frame, opt for a lightweight and tightly woven fabric to ensure a smooth and wrinkle-free finish.
Read more: How To Make Stands For Picture Frames
Step 4: Glue the Fabric
Now that you have your fabric cut to the proper size, it’s time to glue it onto the frames. Follow these steps to ensure a secure and neat attachment:
- Apply Adhesive: Start by applying the adhesive onto the front of the frame. Use a small paintbrush to evenly spread the adhesive over the surface, making sure to cover it completely.
- Align the Fabric: Carefully place the fabric onto the front of the frame, ensuring that it aligns with the edges. Smooth out any wrinkles or air bubbles by gently pressing the fabric onto the adhesive.
- Secure the Sides: Once the front of the frame is covered, apply adhesive to the sides of the frame. Use the paintbrush to spread the adhesive evenly. Fold the fabric over the sides and press it firmly onto the adhesive. Ensure the fabric is taut but not stretched too tightly.
- Smooth Out the Fabric: Use your fingers or a clean cloth to smooth out any creases or wrinkles on the fabric. Make sure the fabric is securely attached to the adhesive on all sides of the frame.
- Repeat for Multiple Frames: If you are covering multiple frames, repeat the process for each one, taking care to align the fabric accurately and secure it firmly onto the adhesive.
- Let the Frames Dry: Allow the frames to dry completely according to the instructions provided by the adhesive you used. This usually takes a few hours, but it’s best to follow the recommended drying time to ensure a strong bond.
By following these steps, you will achieve a clean and professional-looking attachment of the fabric to the frames. Take your time and pay attention to details to ensure a neat finish.
Next, we will move on to trimming any excess fabric for a polished final result.
Step 5: Trim Excess Fabric
After gluing the fabric onto the frames, it’s time to trim any excess fabric for a polished and finished look. Follow these steps to ensure clean edges:
- Inspect the Frames: Carefully examine the edges of the frames to identify any areas where the fabric extends beyond the frame’s borders.
- Mark the Trimming Lines: Use a pencil or fabric marker to mark the trimming lines along the edges of the frames where the excess fabric needs to be removed. Take your time and ensure accuracy in your markings.
- Trim the Excess Fabric: Using sharp scissors, carefully cut along the marked lines to remove the excess fabric. Take it slow and steady to avoid accidentally cutting through the fabric that is securely attached to the frame.
- Trim Around the Openings: If your frames have picture openings, use a crafting knife to carefully trim the fabric around those areas. Make precise cuts following the shape of the opening for a clean and professional finish.
- Check for Clean Edges: Once you have trimmed the excess fabric, inspect the frames to ensure all the edges are smooth and clean. Use your fingers to gently press down any loose or frayed fabric to secure it onto the adhesive.
Trimming the excess fabric is an essential step in creating fabric-covered picture frames. It gives your frames a polished and professional appearance by removing any unnecessary fabric that might detract from the overall aesthetic.
Now that you have trimmed the excess fabric, you can move on to the optional step of attaching hanging hardware.
Step 6: Attach Hanging Hardware (Optional)
If you plan on hanging your fabric-covered picture frames on the wall, now is the time to attach the hanging hardware. Follow these steps to securely mount the frames onto your desired wall:
- Choose the Hanging Hardware: Decide on the type of hanging hardware you prefer. Options include picture hanging hooks, wire, sawtooth hangers, or adhesive hooks designed for frames.
- Position the Hardware: Determine where you want the hardware to be placed on the back of the frame. Take into consideration the frame’s size, weight, and the desired hanging orientation.
- Attach the Hardware: Depending on the type of hanging hardware chosen, follow the manufacturer’s instructions to securely attach it to the back of the frame. Use screws, nails, or the accompanying adhesive to ensure a sturdy attachment.
- Ensure Proper Alignment: Before hanging the frames, double-check the alignment of the hanging hardware. Make sure it is centered and level to ensure the frames hang straight on the wall.
- Prepare the Wall: Decide on the desired location for your fabric-covered frames and prepare the wall accordingly. Use a level to ensure accuracy and mark the spots where the frames will hang.
- Hang the Frames: With the wall prepared and the hanging hardware securely attached to the frames, position the frames on the marked spots and gently press them against the wall.
- Check Stability: Give the frames a slight tug to ensure they are hanging securely. Make any necessary adjustments to the hanging hardware or the frames themselves to achieve a level and stable position.
Attaching hanging hardware is an optional step; however, it offers the convenience of easily displaying your fabric-covered picture frames on the wall. Follow these steps carefully to ensure the frames are securely mounted and properly aligned.
Now that your frames are ready to be displayed, let’s move on to the final step: showing off your fabric-covered picture frames!
Step 7: Display Your Fabric-Covered Picture Frame
After all the hard work and creativity that went into making fabric-covered picture frames, it’s time to proudly display them in your home. Follow these final steps to showcase your personalized artwork:
- Choose the Perfect Spot: Select a suitable location in your home where you want to display your fabric-covered picture frames. Consider the wall color, lighting, and overall decor of the room to find the right spot.
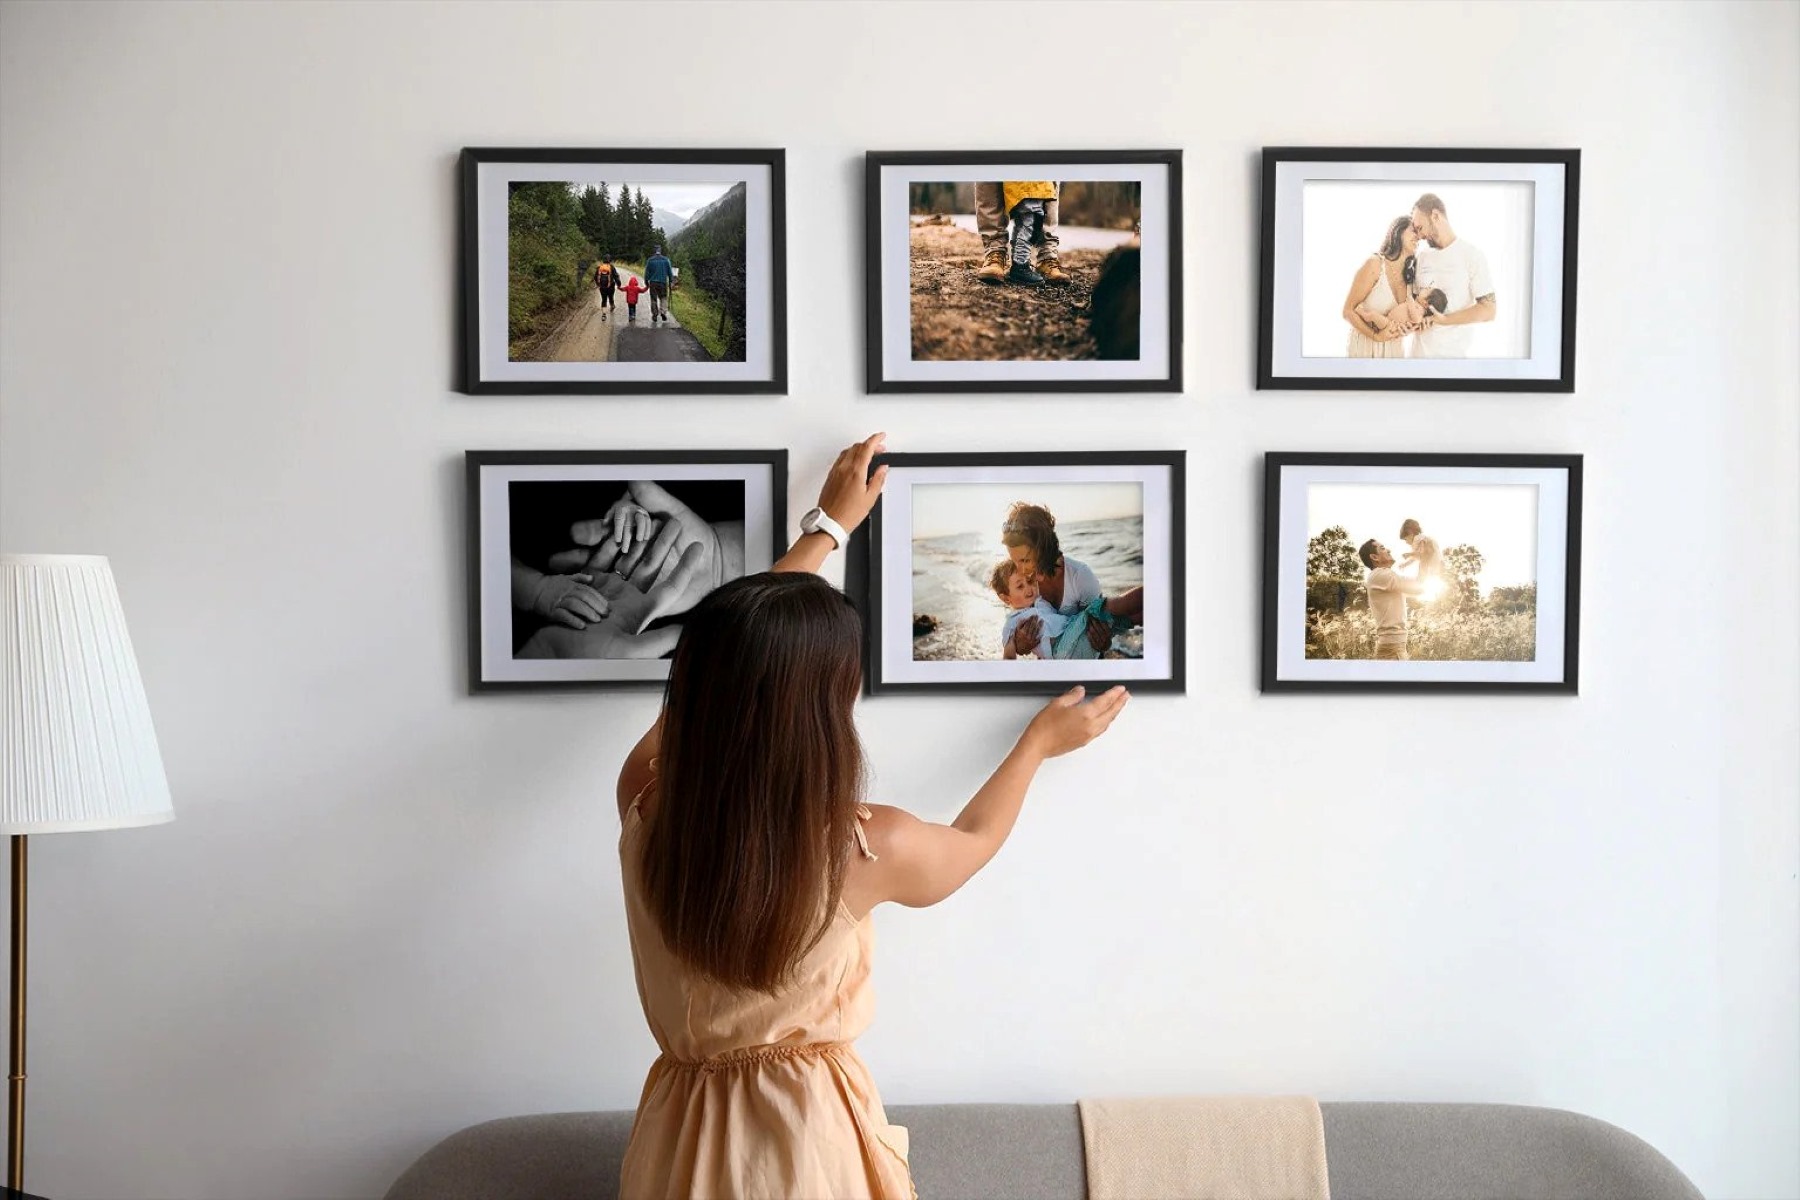
- Arrange the Frames: If you have multiple fabric-covered frames, experiment with different arrangement options. You can create a gallery wall by grouping frames together or opt for a more minimalist look by spacing them out evenly.
- Hang the Frames: Use a hammer and nails, picture hanging hooks, or other appropriate wall-mounting methods to hang the frames securely. Refer to any specific instructions given by the hanging hardware you used.
- Level the Frames: Use a level to ensure that your fabric-covered frames are hanging straight and parallel to the ground. Make any necessary adjustments to maintain proper alignment.
- Add Finishing Touches: Consider adding additional decorative touches to enhance the overall display. You can incorporate elements such as accent lighting, wall decals, or complementary artwork.
- Insert Your Photos or Art: Once your frames are securely hung, carefully insert your desired photos or artwork. Ensure they are properly positioned and displayed to your liking.
- Enjoy Your Creative Display: Step back and appreciate your fabric-covered picture frames adorning your walls. Take pride in your DIY project and the unique touch it adds to your home decor.
Remember, displaying your fabric-covered picture frames is a chance to showcase your creativity and add a personal touch to your living space. Take your time to arrange and position them in a way that brings joy and inspiration.
With these final steps completed, you have successfully created and displayed your fabric-covered picture frames. Sit back, admire your handiwork, and enjoy the personalized elegance they bring to your home.
Congratulations on your beautiful fabric-covered picture frames!
Read more: How To Make Acrylic Picture Frames
Conclusion
Creating fabric-covered picture frames is a wonderful way to express your creativity and add a personalized touch to your home decor. By following the step-by-step process outlined in this article, you have learned how to transform plain frames into beautiful pieces of artwork.
From gathering the necessary materials to displaying the finished frames, each step of the process is important to ensure a professional and polished result. By carefully selecting fabric, cutting it to size, and securely gluing it to the frames, you have created unique and eye-catching frames that reflect your personal style.
While attaching hanging hardware is optional, it allows you to easily display your fabric-covered frames on the walls, further enhancing the visual appeal of your living space. The final step of arranging and hanging the frames completes the process, allowing you to enjoy your personalized artwork.
Now that you know how to make fabric-covered picture frames, let your creativity run wild. Experiment with different fabrics, colors, and textures to create frames that perfectly complement your home decor. You can also consider adding embellishments or incorporating unique design elements.
Whether you’re displaying cherished family photos, showcasing artwork, or making a statement with bold and vibrant fabric, fabric-covered picture frames offer a beautiful and customizable way to enhance your living space.
So, gather your supplies, select your favorite fabric, and let your imagination soar as you create stunning fabric-covered picture frames that will capture memories and add a personal touch to your home for years to come.
Frequently Asked Questions about How To Make Fabric-Covered Picture Frames
Was this page helpful?
At Storables.com, we guarantee accurate and reliable information. Our content, validated by Expert Board Contributors, is crafted following stringent Editorial Policies. We're committed to providing you with well-researched, expert-backed insights for all your informational needs.



0 thoughts on “How To Make Fabric-Covered Picture Frames”