Articles
How To Measure A Bathroom Sink
Modified: March 1, 2024
Learn how to measure a bathroom sink with our informative articles and get the perfect fit for your bathroom renovation project.
(Many of the links in this article redirect to a specific reviewed product. Your purchase of these products through affiliate links helps to generate commission for Storables.com, at no extra cost. Learn more)
Introduction
When it comes to remodeling your bathroom or choosing a new bathroom sink, accurate measurements are crucial. Knowing the exact dimensions of the sink ensures a proper fit and allows you to make informed decisions about style and functionality.
In this article, we will guide you through the step-by-step process of measuring a bathroom sink. By the end of this guide, you will have all the necessary measurements to select the perfect sink for your bathroom and ensure a successful installation.
Before we dive into the measuring process, it’s important to gather the necessary tools. You will need a measuring tape, a pencil, and a notepad to jot down the measurements as you go. Once you have these tools ready, let’s move on to step one!
Key Takeaways:
- Accurate measurements are crucial for choosing the perfect bathroom sink. Use a measuring tape, pencil, and notepad to record width, depth, height, faucet hole spacing, and distances to ensure a well-fitting and functional sink.
- Taking precise measurements ensures a smooth and hassle-free bathroom sink installation. Consider factors like distance to walls and other fixtures to select a sink that fits perfectly and enhances your bathroom’s functionality and aesthetics.
Read more: How To Measure Undermount Sink
Step 1: Gather the necessary tools
Before you begin measuring your bathroom sink, make sure you have the following tools handy:
- Measuring tape: This is an essential tool for accurately measuring the dimensions of your sink.
- Pencil: You’ll need a pencil to mark the measurements on your notepad or directly on the sink.
- Notepad: Keep a notepad handy to record the measurements as you go. This will help you stay organized and ensure you don’t forget any important dimensions.
Once you have these tools ready, you’re all set to move on to the next step: measuring the width of your bathroom sink.
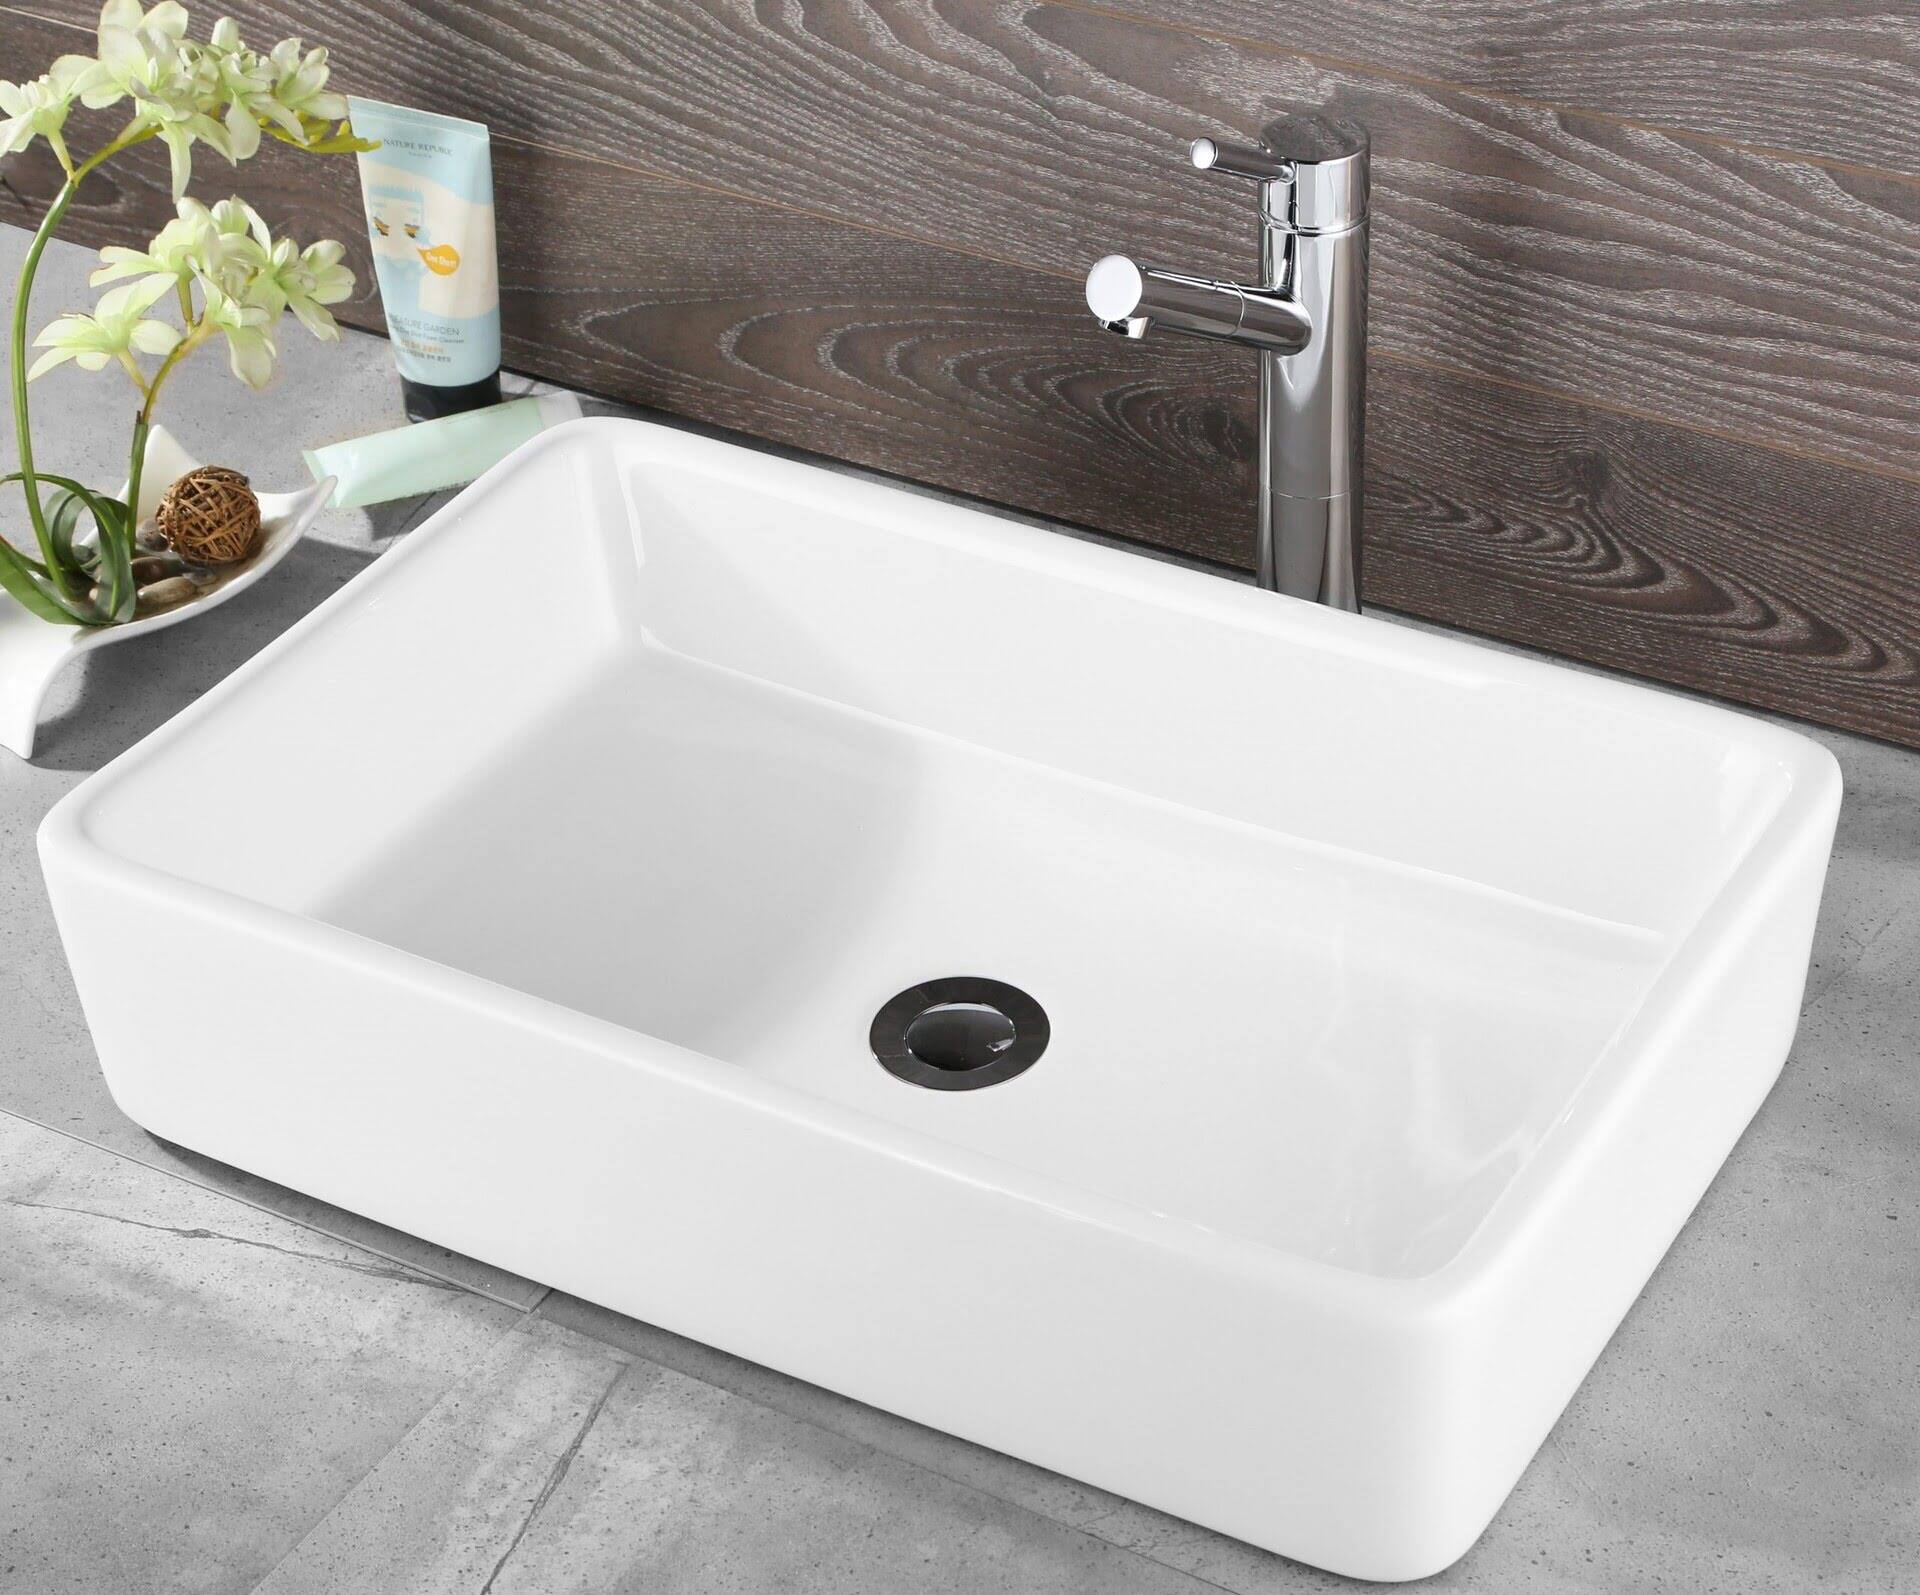
Step 2: Measure the width of the sink
Measuring the width of your bathroom sink is an important step to ensure a proper fit. Follow these steps to get an accurate measurement:
- Locate the two outer edges of the sink. These are the points where the sink starts and ends horizontally.
- Take your measuring tape and stretch it across the width of the sink, starting from one outer edge to the other.
- Make a note of the measurement in inches or centimeters, depending on your preference.
- Double-check your measurement to ensure accuracy. If the sink has a curved or irregular shape, measure the widest point to get the correct width.
Record the width measurement on your notepad. You will need this information when selecting a new sink or planning any renovations that involve the sink area.
With the width of your bathroom sink measured, you can now move on to the next step: measuring the depth of the sink.
Step 3: Measure the depth of the sink
Measuring the depth of your bathroom sink is crucial to ensure it fits properly and meets your functional needs. Follow these steps to measure the sink’s depth accurately:
- Locate the deepest point of the sink. This is usually near the drain.
- From the deepest point, take your measuring tape and extend it vertically to the highest point of the sink.
- Make a note of the measurement, which represents the depth of the sink in inches or centimeters.
- If your sink has a sloping or angled bottom, make sure to measure from the deepest point to the highest point, following the contour of the sink.
Recording the depth measurement is essential when choosing a new sink or planning any renovations that involve the sink area, especially if you have specific requirements or preferences for a deeper or shallower sink.
With the depth measured, you can now move on to the next step: measuring the height of the sink.
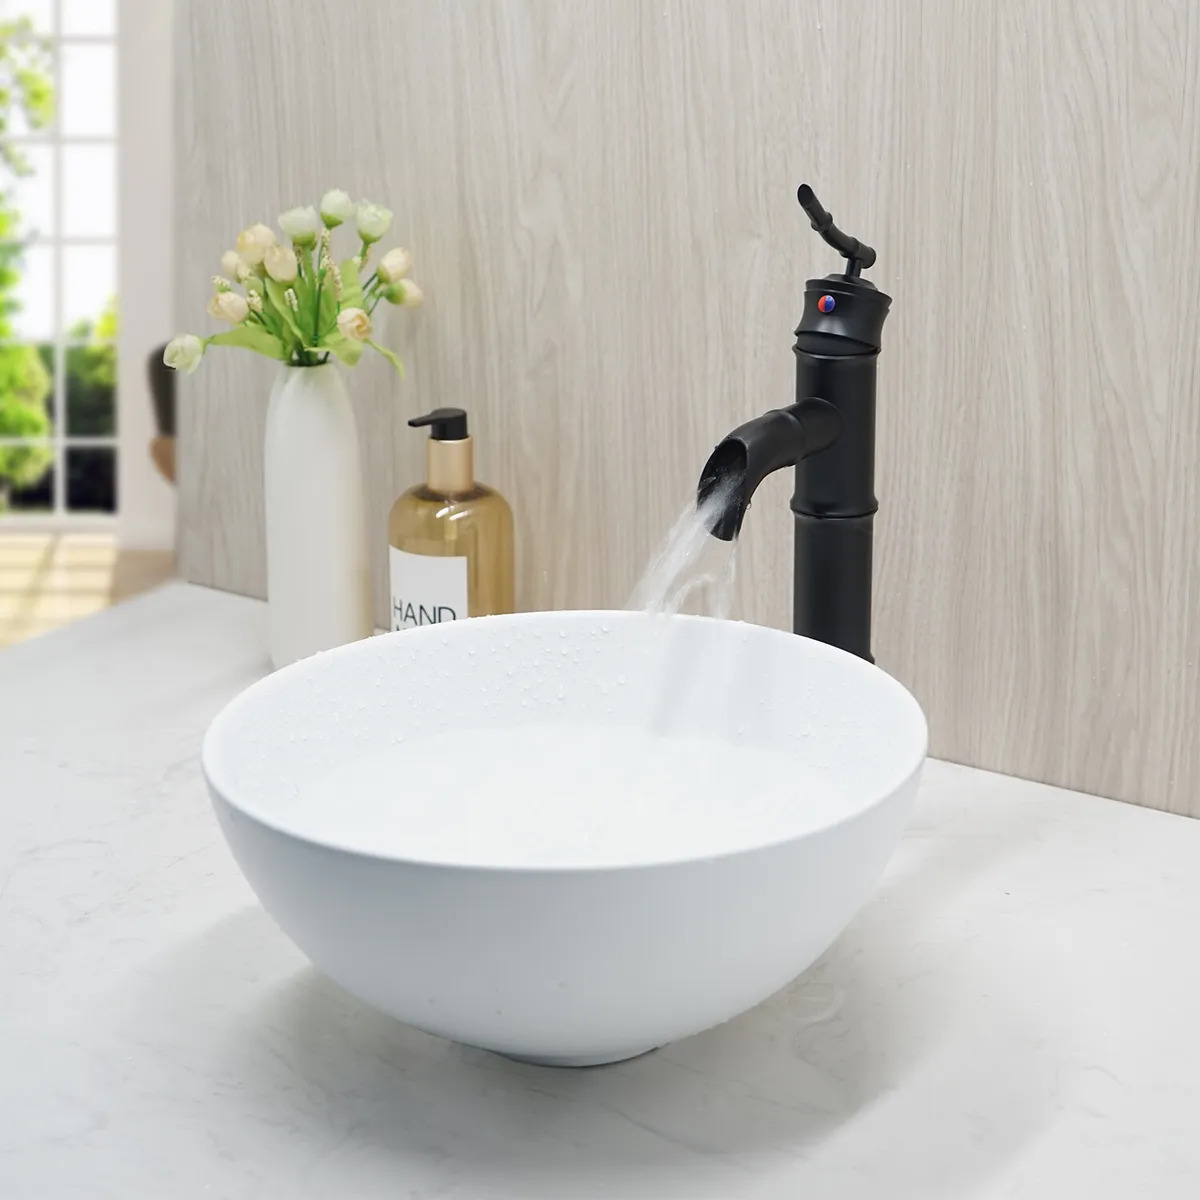
Step 4: Measure the height of the sink
Measuring the height of your bathroom sink is important to ensure it is at a comfortable and convenient level for use. Follow these steps to accurately measure the sink’s height:
- Locate the bottom of the sink, which is where it rests on the countertop or vanity.
- Take your measuring tape and extend it vertically from the bottom of the sink to the highest point of the sink.
- Make a note of the measurement, which represents the height of the sink in inches or centimeters.
- Keep in mind that the height of the sink may vary depending on whether it is installed undermount, above-counter, or integrated into the vanity. Measure accordingly based on your specific sink type.
Recording the height measurement will help you find a sink that fits well within the overall design and functionality of your bathroom. It is especially important if you have any specific requirements, such as ensuring the sink is at a comfortable height for users of different heights or accommodating a specific vanity height.
With the height measured, you can now move on to the next step: measuring the distance between the faucet holes.
When measuring a bathroom sink, be sure to measure the width, depth, and height of the sink to ensure it will fit properly in your space. Also, consider the location of the faucet and drain to ensure they align with your existing plumbing.
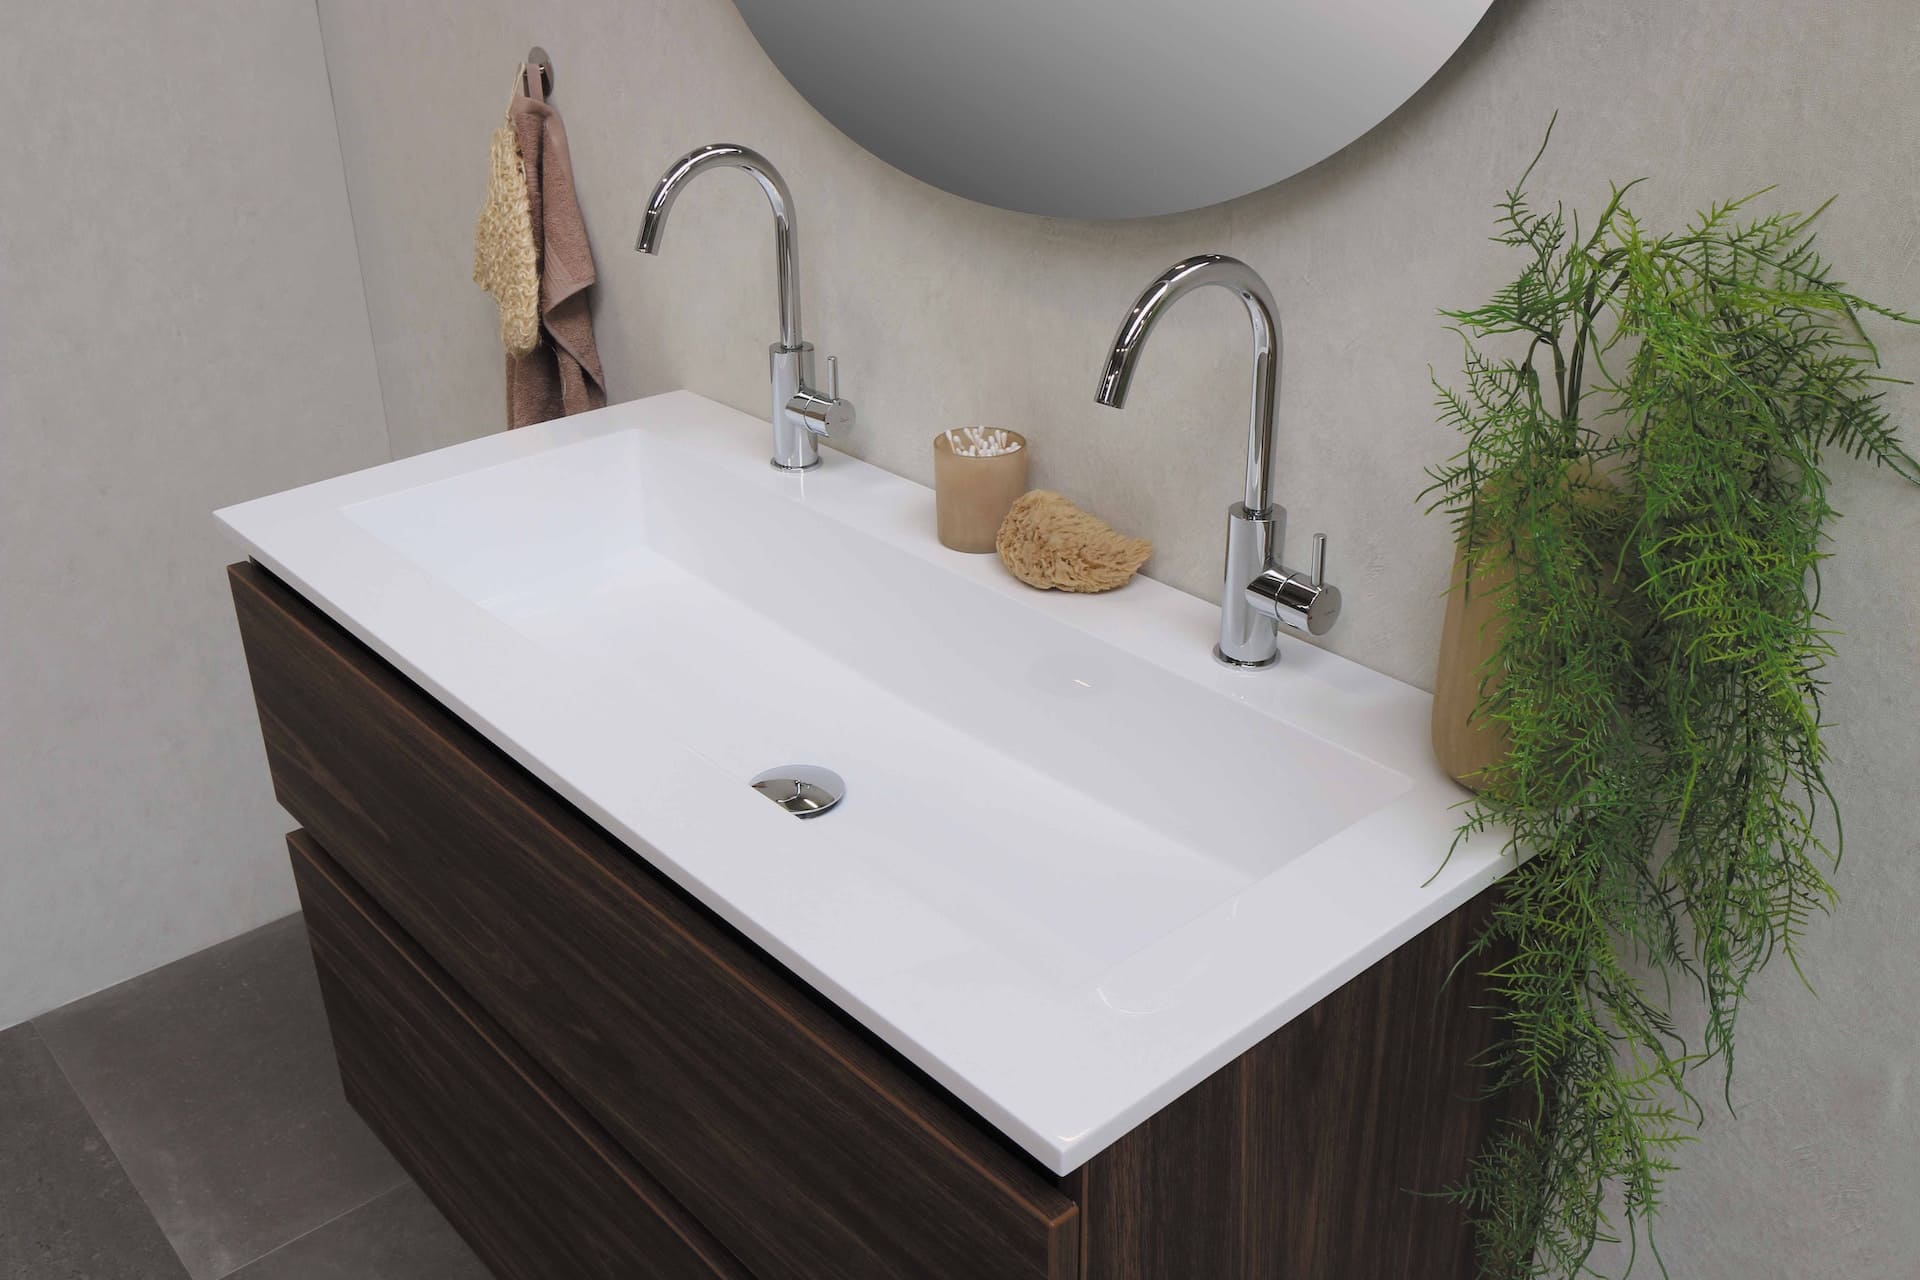
Step 5: Measure the distance between the faucet holes
Measuring the distance between faucet holes in your bathroom sink is crucial to ensure proper installation of the faucets. Follow these steps to accurately measure the distance:
- Identify the number of faucet holes in your sink. Most sinks have either one, two, or three faucet holes.
- Measure the distance between the center of the leftmost faucet hole to the center of the rightmost faucet hole.
- Make a note of this measurement, which represents the spacing between the faucet holes in inches or centimeters.
- If your sink has a single faucet hole, there is no need to measure the distance between the holes.
Recording the distance between the faucet holes is essential when choosing faucets for your sink. It ensures that the faucets will align properly and fit within the existing holes or accommodate the necessary hole spacing.
With the distance between the faucet holes measured, you can now move on to the next step: measuring the distance between the drain and the wall.
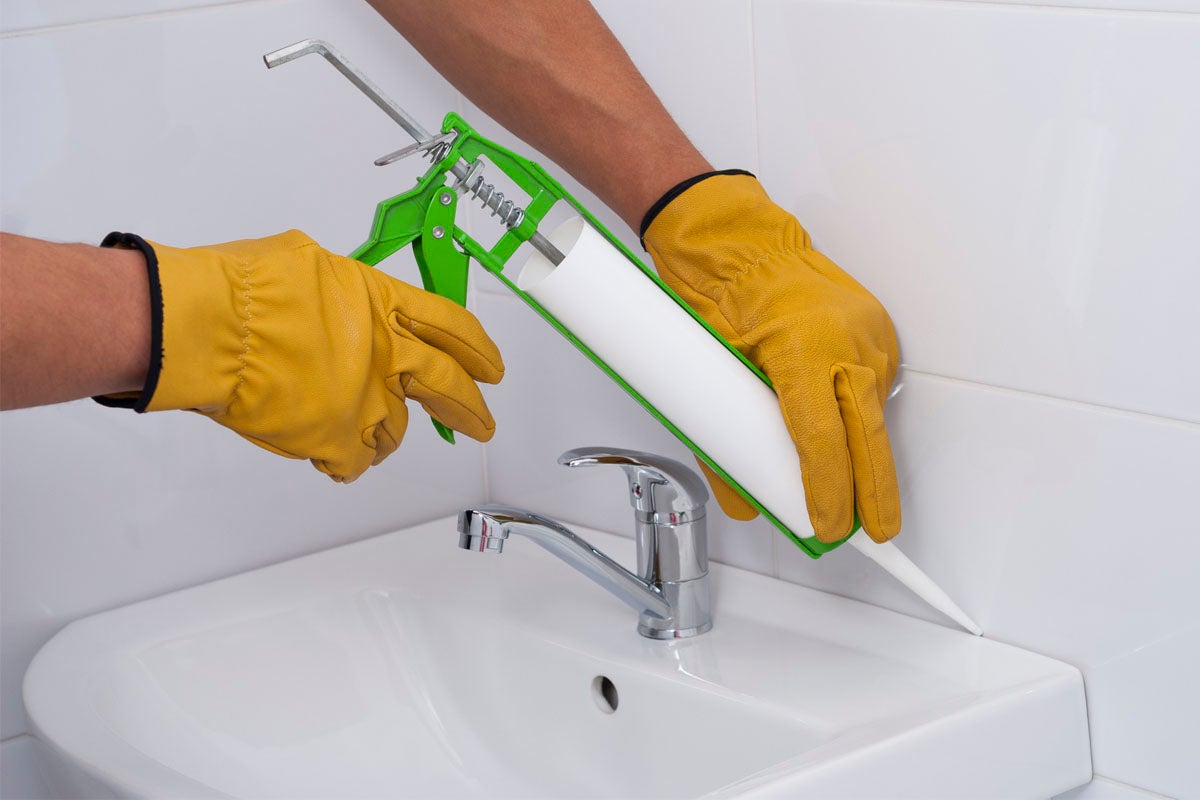
Step 6: Measure the distance between the drain and the wall
Measuring the distance between the drain and the wall is important to ensure proper placement of your bathroom sink and to account for any obstructions. Follow these steps to accurately measure the distance:
- Locate the drain in your bathroom sink.
- Take your measuring tape and measure the distance from the center of the drain to the nearest wall.
- Make a note of this measurement in inches or centimeters.
Recording the distance between the drain and the wall ensures that the sink will be properly positioned and allows for any necessary adjustments or additional plumbing considerations.
With the drain-to-wall distance measured, you can now move on to the next step: measuring the distance between the sink and the nearest wall.
Step 7: Measure the distance between the sink and the nearest wall
Measuring the distance between the bathroom sink and the nearest wall is essential to ensure proper clearance and avoid any obstructions. Follow these steps to accurately measure the distance:
- Position yourself in front of the sink, facing it.
- Take your measuring tape and measure the distance from the edge of the sink to the nearest wall.
- Make a note of this measurement in inches or centimeters.
Recording the distance between the sink and the nearest wall helps determine the placement of the sink and ensures that there is enough room for the sink to be installed without any interference from the wall.
With the sink-to-wall distance measured, you can now move on to the next step: measuring the distance between the sink and other bathroom fixtures.
Step 8: Measure the distance between the sink and other bathroom fixtures
Measuring the distance between the bathroom sink and other fixtures is important to ensure proper placement and functionality within your bathroom space. Follow these steps to accurately measure the distances:
- Identify the other fixtures in your bathroom that are near the sink, such as the toilet, shower, bathtub, or cabinets.
- Take your measuring tape and measure the distance from the edge of the sink to each nearby fixture.
- Make a note of these measurements in inches or centimeters for each fixture.
Recording the distances between the sink and other bathroom fixtures helps you plan and ensure adequate spacing and clearance. It prevents any potential clashes or limitations when using or accessing the sink or surrounding fixtures.
With the sink-to-fixture distances measured, you have completed the process of measuring your bathroom sink. These measurements will be invaluable when selecting or installing a new sink, planning renovations, or ensuring proper functionality and aesthetics in your bathroom space.
Remember to take accurate measurements and double-check them to ensure accuracy. Always consult with professionals if you have any doubts or require further guidance.
Happy measuring and best of luck with your bathroom project!
Read more: How To Replace Pedestal Sink With Vanity
Conclusion
Congratulations! You have now learned how to measure a bathroom sink accurately. By following the step-by-step process outlined in this guide, you are equipped with the measurements necessary to choose the perfect sink and ensure a successful installation in your bathroom.
Remember, accurate measurements are crucial for a well-fitting sink that meets your functional and aesthetic needs. Take your time during the measurement process, using tools such as a measuring tape, pencil, and notepad to record the measurements as you go.
Once you have measured the width, depth, height, distance between faucet holes, drain-to-wall distance, sink-to-wall distance, and distances to other bathroom fixtures, you will have a comprehensive understanding of your sink’s dimensions and the space it occupies.
Armed with this knowledge, you can confidently select a sink that fits perfectly within your bathroom layout, matches your style preferences, and meets your functional requirements.
Whether you are remodeling your bathroom or simply updating your sink, accurate measurements ensure a smooth and hassle-free experience. Remember to consult professionals or seek guidance if you have any doubts or specific requirements.
We hope this guide has been informative and helpful. Happy sink shopping and enjoy your new bathroom fixture!
Frequently Asked Questions about How To Measure A Bathroom Sink
Was this page helpful?
At Storables.com, we guarantee accurate and reliable information. Our content, validated by Expert Board Contributors, is crafted following stringent Editorial Policies. We're committed to providing you with well-researched, expert-backed insights for all your informational needs.


0 thoughts on “How To Measure A Bathroom Sink”