Articles
How To Quilt Wavy Lines
Modified: October 18, 2024
Discover the best articles on how to quilt wavy lines. Gain expert tips and techniques from experienced quilters to enhance your quilting skills.
(Many of the links in this article redirect to a specific reviewed product. Your purchase of these products through affiliate links helps to generate commission for Storables.com, at no extra cost. Learn more)
Introduction
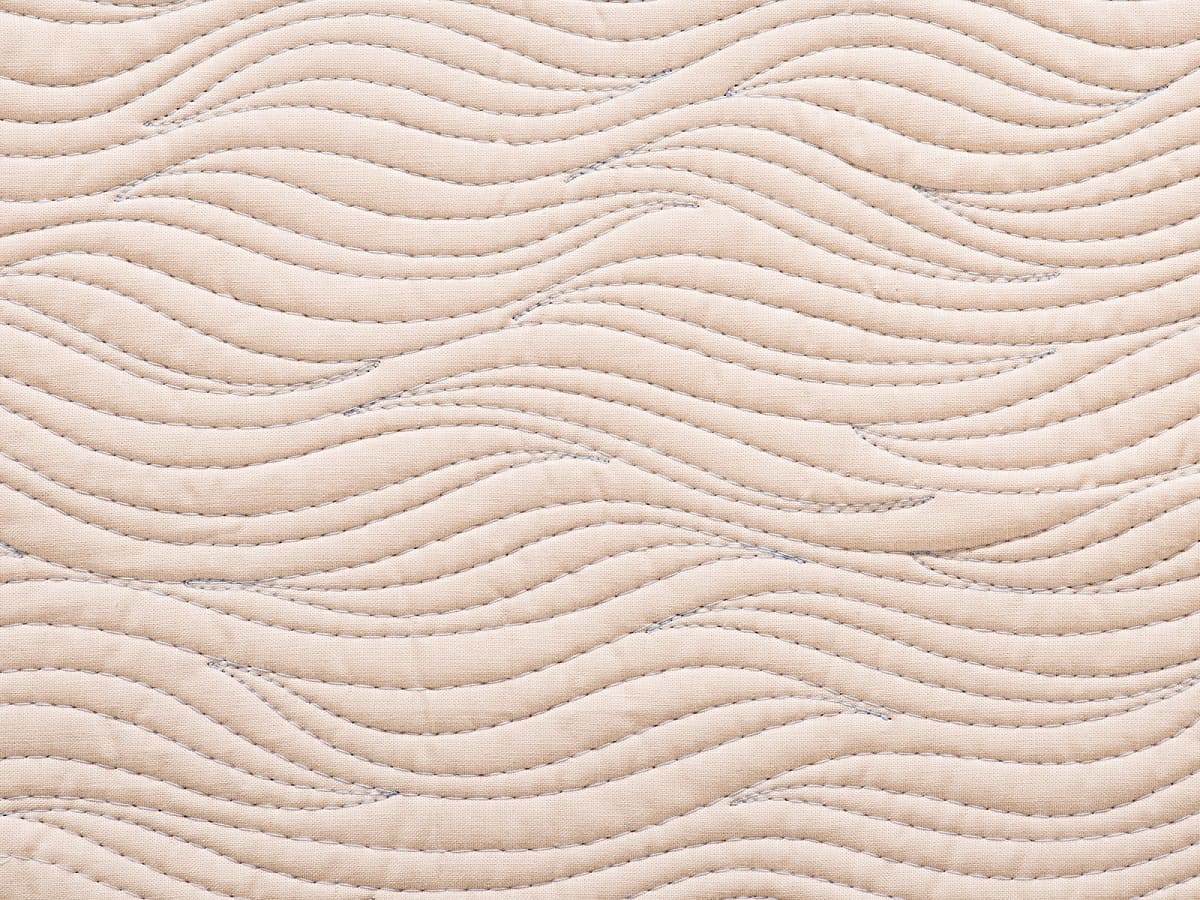
Welcome to the exciting world of quilting! Quilting is a beloved craft that allows individuals to express their creativity while creating beautiful and functional pieces. One popular quilting technique is quilting wavy lines. It adds a dynamic and eye-catching element to your quilt design.
In this article, we will explore the step-by-step process of quilting wavy lines, from choosing the right fabric to adding those finishing touches. Whether you are a beginner looking to try something new or an experienced quilter searching for inspiration, this guide will provide you with the information and tips you need to create stunning quilts with wavy lines.
Let’s dive in and discover the art of quilting wavy lines!
Key Takeaways:
- Quilting wavy lines adds visual interest and dimension to your quilt design. Choose contrasting fabrics, mark lines accurately, and quilt with patience to achieve stunning results.
- Embrace imperfections and enjoy the process of quilting wavy lines. Experiment with different wave patterns, choose the right thread, and add finishing touches for a polished and unique quilt.
Read more: Why Is Old Glass Wavy
Materials Needed
Before we get started with quilting wavy lines, let’s gather the necessary materials. Here are the items you will need:
- Fabric for the quilt top
- Cotton batting
- Backing fabric
- Quilting thread
- Quilting ruler
- Water-soluble fabric marking pen
- Straight pins or quilt basting spray
- Sewing machine with a walking foot
- Iron and ironing board
- Scissors or rotary cutter
- Quilting gloves (optional)
These materials will ensure that you have everything you need to successfully quilt wavy lines. Now, let’s move on to choosing the right fabric for your project.
Choosing the Right Fabric
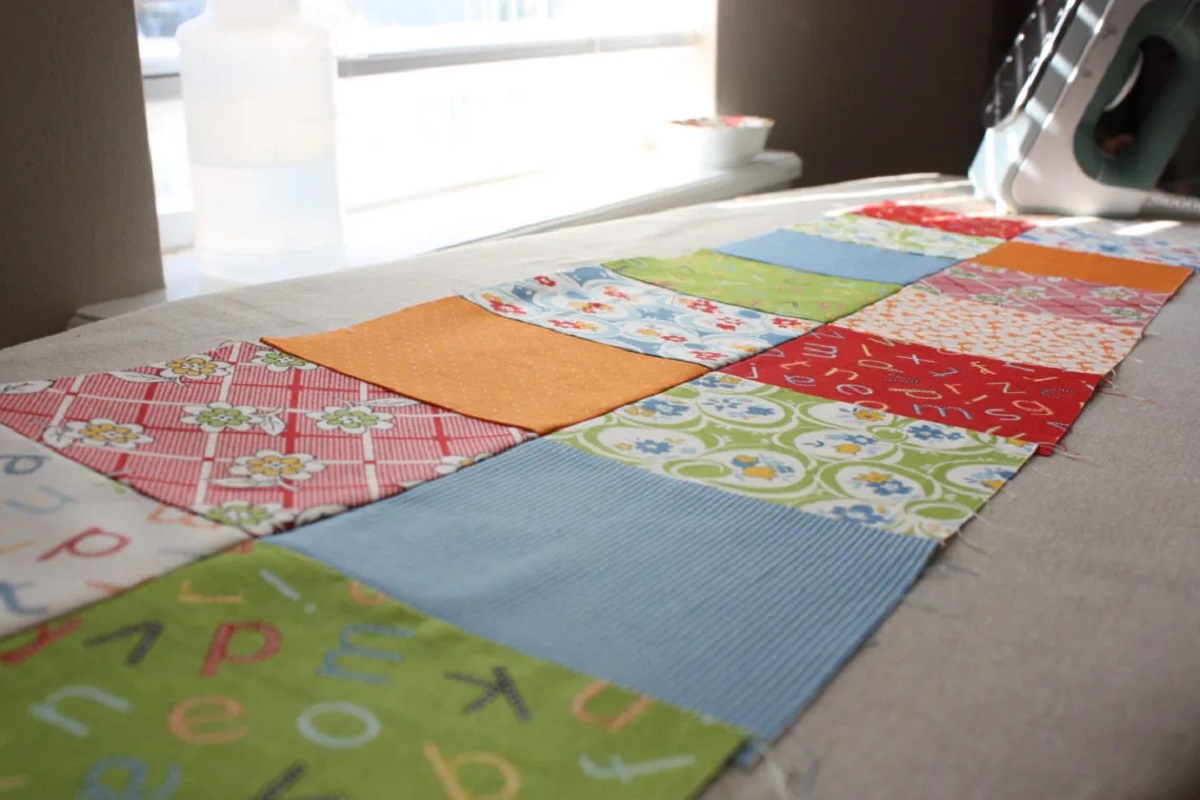
The fabric you choose for your quilt can greatly impact the overall look and feel of your project. When it comes to quilting wavy lines, consider selecting fabrics that contrast or complement each other. This will help the wavy lines stand out and create visual interest.
Here are some tips to guide you in choosing the right fabric:
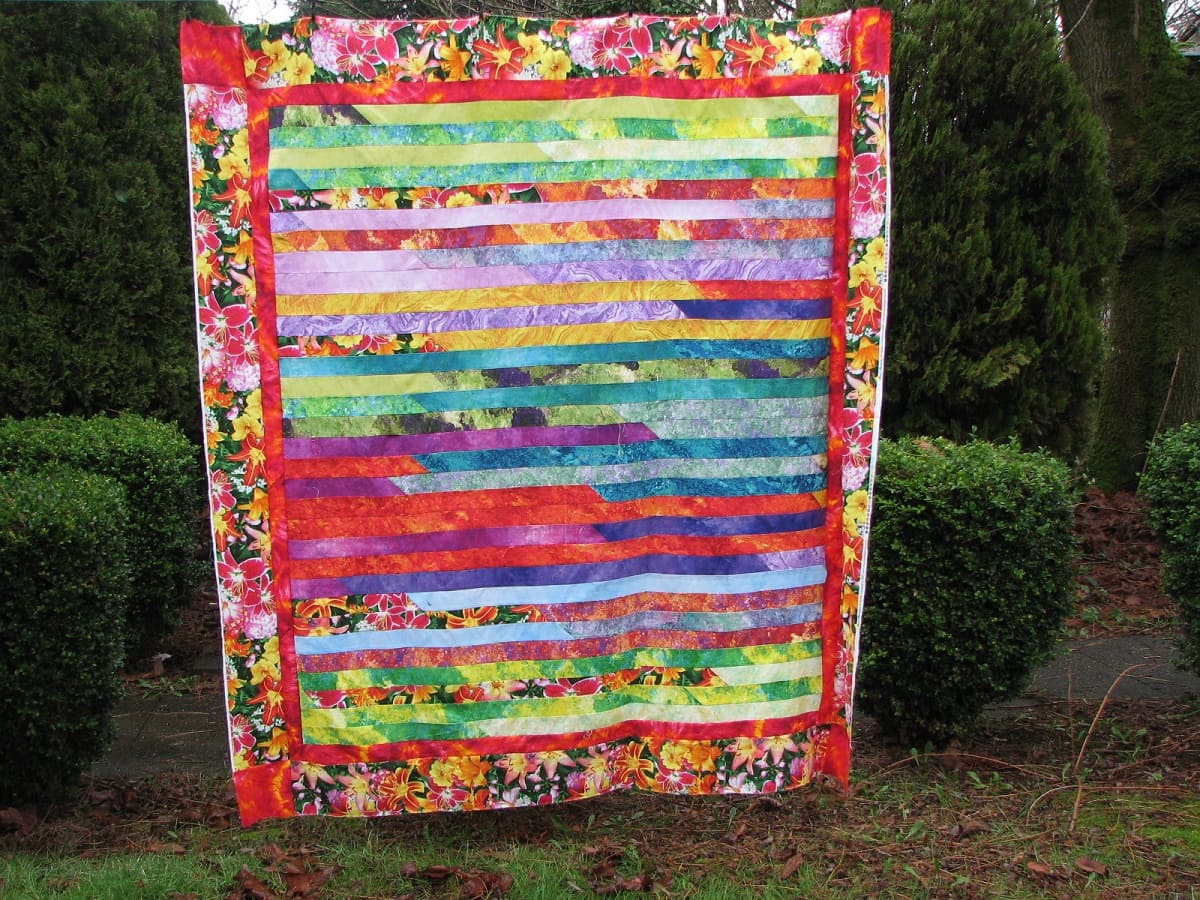
- Contrasting Colors: Opt for fabrics that have contrasting colors to ensure that the wavy lines are easily visible. For example, if you have a dark fabric, pair it with a lighter one to create a striking contrast.
- Varied Patterns and Prints: Experiment with using fabrics that have different patterns and prints. This can add depth and dimension to your quilt.
- Texture: Consider incorporating textured fabrics such as linen or flannel to add an extra layer of interest to your quilt.
- Quality: Choose high-quality fabrics that will withstand the wear and tear of quilting. Look for fabrics made of 100% cotton as they are durable and easy to work with.
Remember, the choice of fabric is a personal preference. Take the time to explore different options and select fabrics that resonate with your aesthetic vision. Now that you have your fabric sorted, let’s move on to preparing the quilt for the wavy lines.
Preparing the Quilt
Before you can begin quilting the wavy lines, it is important to prep your quilt. Here are the steps to ensure your quilt is ready for quilting:
- Square up the Quilt: Trim the edges of your quilt to make sure they are straight and even. This will help you achieve precise wavy lines.
- Layer the Quilt: Place the backing fabric on a flat surface, wrong side facing up. Lay the cotton batting on top of the backing fabric, followed by the quilt top, right side facing up. Smooth out any wrinkles or bubbles.
- Baste the Layers: To keep the layers together during quilting, you can choose between using straight pins or quilt basting spray. If using pins, insert them through all layers of the quilt at regular intervals to secure them in place. If using basting spray, follow the instructions on the can to evenly spray the layers and press them together.
- Press the Quilt: Use an iron on a low setting to gently press the entire quilt. This will eliminate any creases and provide a smooth surface for quilting.
Now that your quilt is properly prepared, it’s time to mark the wavy lines on the quilt top.
Marking the Wavy Lines
Before you can start quilting the wavy lines, you need to mark them on the quilt top. This will serve as your guide during the quilting process. Here’s how to mark the wavy lines:
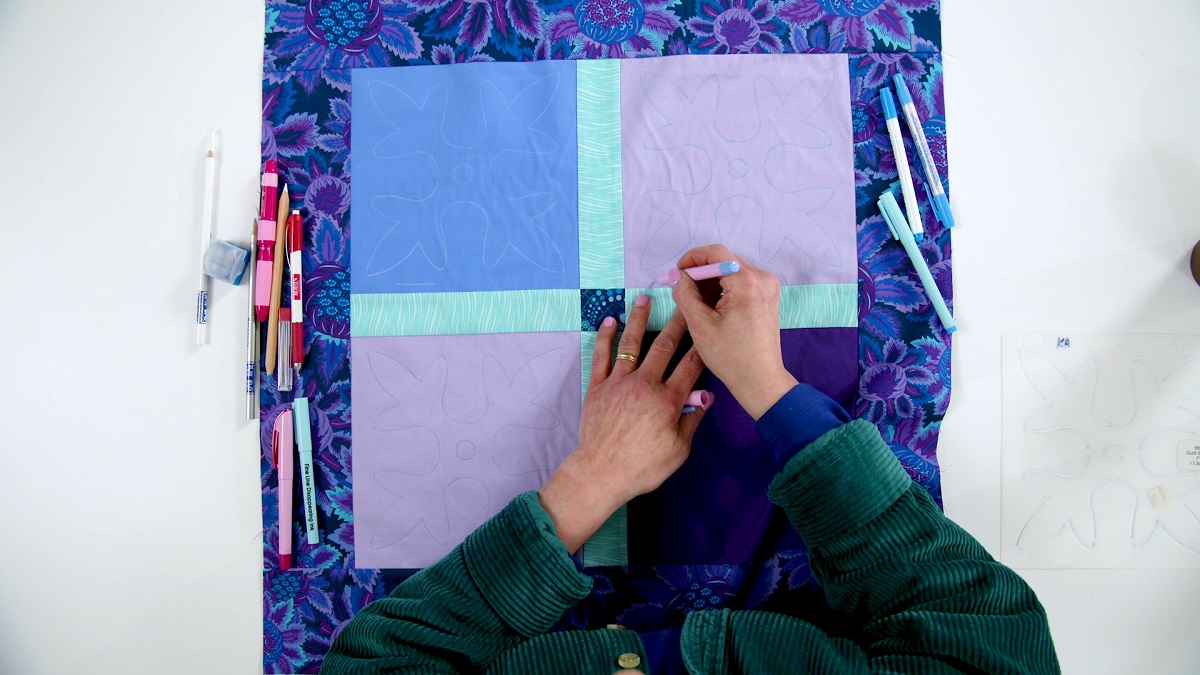
- Choose a Marking Tool: Select a water-soluble fabric marking pen that will easily wash away once the quilting is complete. Test the pen on a scrap piece of fabric to ensure it can be easily removed.
- Plan the Wavy Lines: Visualize the design you want to create with the wavy lines. You can mark them in a freehand style or use a quilting ruler to create more precise and evenly-spaced waves. Experiment with different wave patterns to achieve the desired look.
- Mark the Lines: Starting in one corner of the quilt, use the marking pen to draw the wavy lines onto the quilt top. Take your time to ensure the lines are evenly spaced and follow your planned design. Continue marking the lines until you have covered the entire quilt top.
- Double-Check: Once all the lines are marked, step back and check if you are satisfied with the design. Make any necessary adjustments or corrections before proceeding to the next step.
Marking the wavy lines is a crucial step in ensuring the success of your quilting project. Once the lines are marked, it’s time to bring your quilt to life by quilting the wavy lines!
When quilting wavy lines, use a quilting ruler to guide your lines for a consistent and professional look. This will help you maintain even spacing and smooth curves throughout your quilt.
Read more: How To Line Chimney
Quilting the Wavy Lines
Now comes the fun part – quilting the wavy lines! This is where your quilt design really starts to take shape. Follow these steps to quilt the wavy lines:
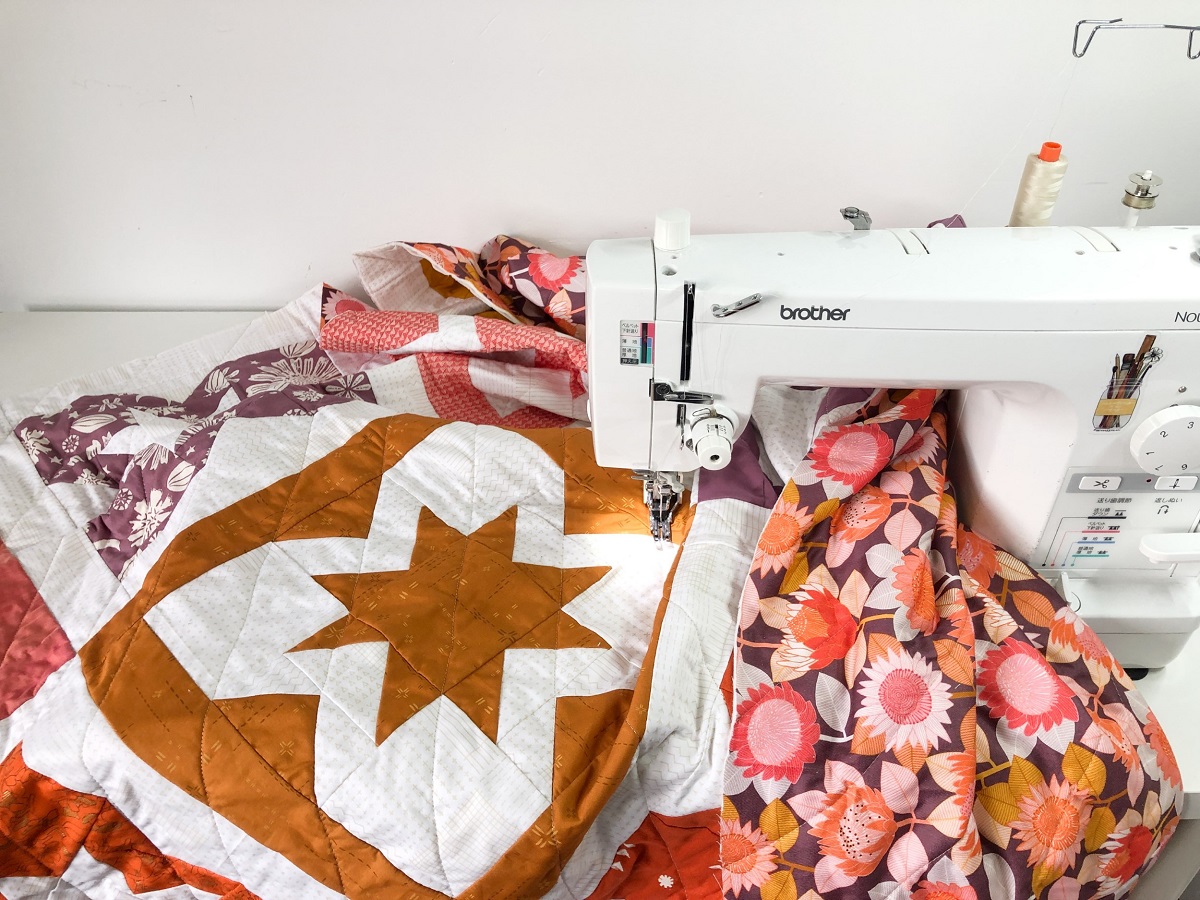
- Attach the Walking Foot: Make sure you have a walking foot attached to your sewing machine. The walking foot helps to feed the layers of fabric evenly, preventing shifting and puckering.
- Thread the Machine: Select a quilting thread that complements your quilt design. Thread your sewing machine with the chosen thread and wind a fresh bobbin.
- Start Quilting: Begin quilting the wavy lines by aligning your machine needle with the first marked line. Lower the presser foot and start stitching slowly along the line. Follow the marked lines as closely as possible to maintain the desired wave pattern. Take your time and focus on keeping a consistent stitch length.
- Pivot at Corners: When you reach a corner or intersection, stop with the needle down, lift the presser foot, and pivot the quilt to continue quilting along the next line. This will ensure sharp and neat corners in your wave design.
- Continue Quilting: Quilt all the marked wavy lines on the quilt, working your way from one edge to another. Take breaks if needed, but try to maintain a consistent quilting rhythm to ensure even stitching throughout the quilt.
- Fill in the Quilt: Once all the wavy lines are quilted, you can choose to fill in the remaining space with additional quilting designs. This can be stippling, echo quilting, or any other pattern you prefer. This step adds texture and enhances the overall quilt design.
Remember to take breaks and assess your progress as you quilt. This will help you make any necessary adjustments and ensure that your wavy lines turn out beautifully. Now, let’s move on to the finishing touches!
Finishing Touches
Congratulations! You have successfully quilted the wavy lines onto your quilt. Now it’s time to add those finishing touches to complete your project and give it a polished look. Here are some steps to consider:
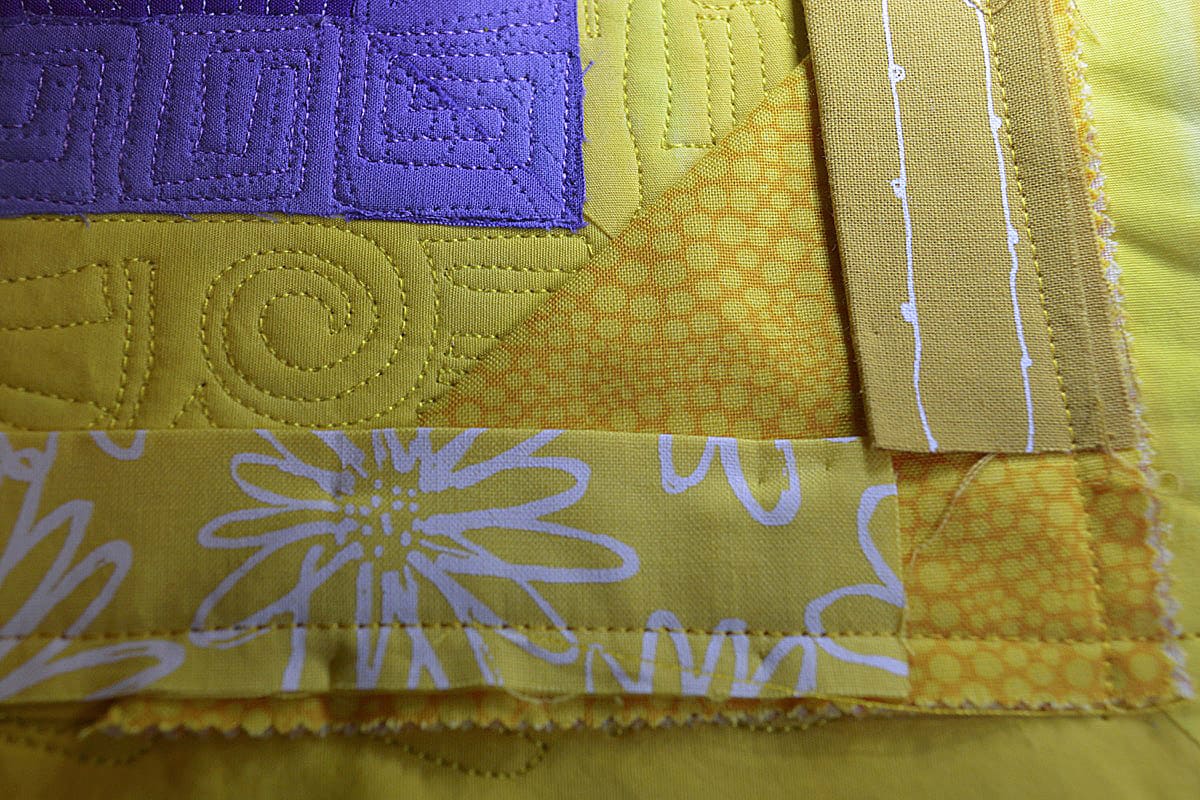
- Trim Excess Threads: Use scissors or a thread cutter to carefully trim any loose threads on both the front and back of the quilt. This will give your quilt a clean and professional finish.
- Create the Quilt Sandwich: Trim the excess batting and backing fabric to match the quilt top. Make sure all layers are even and aligned. This will create a neat and tidy quilt sandwich.
- Bind the Quilt: Add a binding to the edges of your quilt to secure the layers together. Choose a fabric that complements the overall design and sew it onto the quilt using a binding technique of your choice.
- Quilt Label: Consider adding a quilt label to your project. This will provide information about the quilt’s creator, the date it was made, and any other details you want to include. It’s a personal touch that adds sentimental value.
- Press the Quilt: Give the quilt a final press to smooth out any wrinkles and ensure the binding lays flat. Use a steam iron on a low setting and press from the center of the quilt outwards.
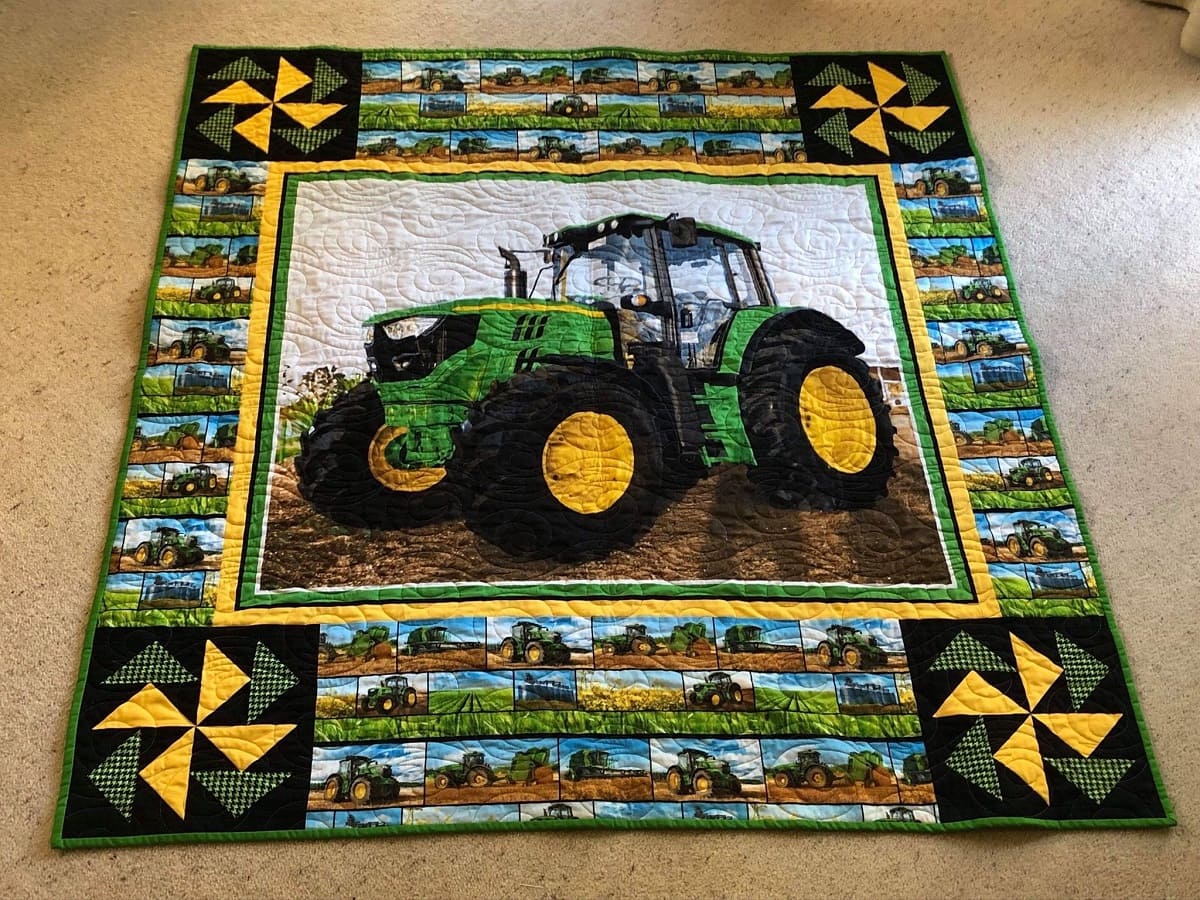
- Display or Gift: Once your quilt is finished, you can proudly display it in your home or consider gifting it to someone special. Quilts are cherished works of art that can be enjoyed for generations to come.
By following these steps, you will be able to give your quilt those final touches and transform it into a stunning and completed piece. Quilting wavy lines adds a unique touch to your project and showcases your quilting skills.
Tips and Tricks
Here are some additional tips and tricks to help you along the way:
- Practice on scrap fabric before quilting on your actual project to get comfortable with the technique.
- Take breaks and stretch your hands and fingers to prevent fatigue during the quilting process.
- If you have difficulty following the marked lines, use a quilting ruler as a guide to keep your stitching straight.
- Experiment with different thread colors to create different effects on your quilt.
- Use quilting gloves to improve your grip and control while quilting.
- Enjoy the process and embrace any imperfections – quilting is a labor of love!
Now that you have learned how to quilt wavy lines and added those finishing touches, it’s time to step back and admire your beautifully quilted creation. Your unique design and craftsmanship make this quilt a true work of art. Happy quilting!
Tips and Tricks
Quilting wavy lines can be a fun and rewarding experience. To help you achieve the best results, here are some tips and tricks to keep in mind:
- Start with a Plan: Before you begin quilting, take some time to plan out your wavy line design. Sketch it out on paper or use a computer program to visualize how the lines will flow on your quilt.
- Practice on Scrap Fabric: If you’re new to quilting wavy lines or want to try out a different wave pattern, practice on scrap fabric first. This will help you refine your technique and get comfortable with the design before quilting on your actual project.
- Choose the Right Thread: Select a quilting thread that complements your fabric and enhances the wavy line design. Consider using a thread with a contrasting color to make the lines pop, or a thread with a subtle sheen to add dimension to your quilt.
- Take Breaks: Quilting can be a time-consuming process, so remember to take breaks and rest your hands and eyes. This will help prevent fatigue and ensure better control over your stitching.
- Use a Walking Foot: A walking foot is essential for quilting wavy lines. It helps feed the layers of fabric evenly through your sewing machine, preventing shifting and puckering. Make sure to attach the walking foot before you begin quilting.
- Maintain Consistent Stitch Length: To achieve a professional-looking quilt, maintain a consistent stitch length throughout. This will create even and balanced wavy lines. Practice controlling your sewing machine’s speed and taking smooth, steady stitches.
- Experiment with Varying Wave Patterns: Don’t be afraid to experiment with different wave patterns. Try out different widths and depths of wavy lines to create unique and visually interesting designs. Have fun and let your creativity flow!
- Secure the Quilt Layers: Use straight pins or quilt basting spray to securely hold the layers of your quilt together. This will help prevent shifting and wrinkling as you quilt the wavy lines.
- Embrace Imperfections: Remember, quilting is an art form, and handmade quilts often have small imperfections that add character and charm. Embrace any minor irregularities in your wavy lines, as they showcase your personal touch and craftsmanship.
With these tips and tricks in mind, you are well-equipped to quilt wavy lines with confidence and creativity. Enjoy the process and have fun as you bring your quilt to life!
Conclusion
Quilting wavy lines adds a dynamic and captivating element to your quilt designs. From choosing the right fabric to adding those finishing touches, we’ve explored the step-by-step process to help you create stunning quilts with wavy lines.
By selecting contrasting colors, varied patterns, and high-quality fabrics, you can ensure that your wavy lines stand out and create visual interest. Preparing the quilt with precision and marking the wavy lines accurately are crucial steps for achieving the desired outcome.
Quilting wavy lines requires patience and a steady hand. With the right tools, such as a walking foot and quilting ruler, and by following proper quilting techniques, you can achieve even and balanced wavy lines that enhance the overall appearance of your quilt.
Adding those finishing touches, such as trimming excess threads, creating a quilt sandwich, binding the quilt, and optionally adding a quilt label, brings your project to completion and gives it a polished look.
Remember to embrace imperfections and enjoy the process of quilting. The tips and tricks provided can help you overcome challenges and enhance your quilting skills.
Now, armed with the knowledge and guidance from this article, it’s time to embark on your quilting journey and express your creativity through the beauty of wavy lines. Happy quilting!
Frequently Asked Questions about How To Quilt Wavy Lines
Was this page helpful?
At Storables.com, we guarantee accurate and reliable information. Our content, validated by Expert Board Contributors, is crafted following stringent Editorial Policies. We're committed to providing you with well-researched, expert-backed insights for all your informational needs.


0 thoughts on “How To Quilt Wavy Lines”