
Articles
How To Remove Sink Faucet Handle
Modified: May 6, 2024
Learn how to easily remove a sink faucet handle with our informative articles. Gain the knowledge and expertise to tackle this DIY plumbing project efficiently.
(Many of the links in this article redirect to a specific reviewed product. Your purchase of these products through affiliate links helps to generate commission for Storables.com, at no extra cost. Learn more)
Introduction
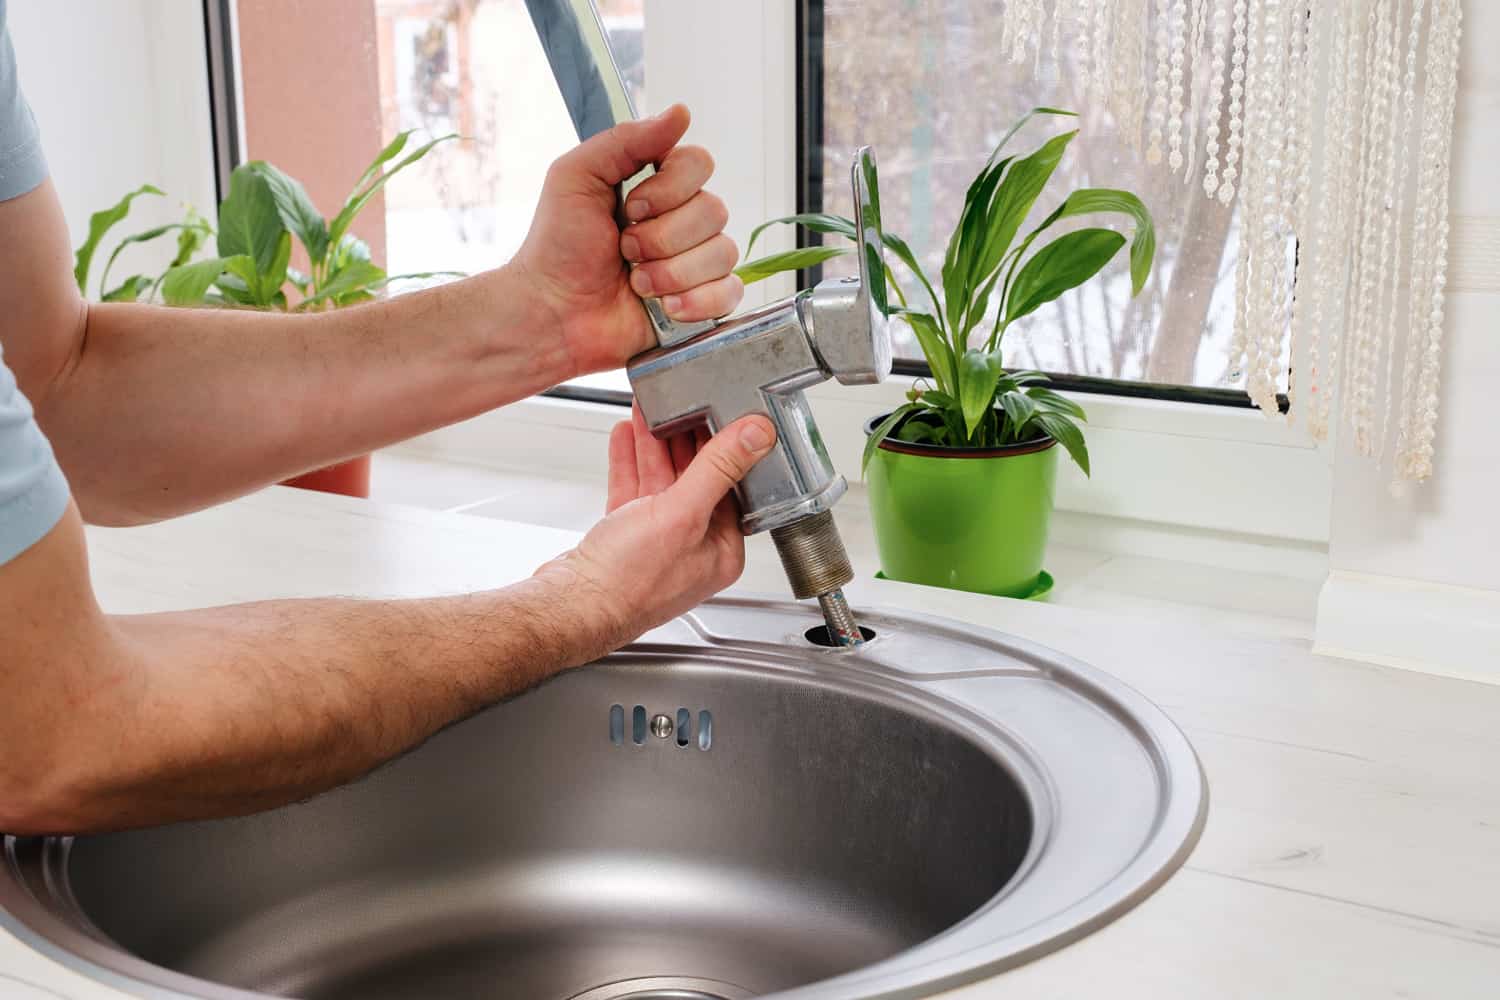
Removing a sink faucet handle may seem like a daunting task, especially if you’re not familiar with plumbing or DIY projects. However, with the right tools and a little bit of guidance, it can be a simple and straightforward process. Whether you need to clean the cartridge, replace a faulty handle, or make repairs, this step-by-step guide will walk you through the process.
Before you begin, it’s important to gather the necessary tools. Having the right tools on hand will make the process much smoother and more efficient. Here’s a list of tools you’ll need:
- Adjustable wrench
- Phillips screwdriver
- All-purpose lubricant (such as WD-40)
- Clean cloth or rag
Once you have all the tools ready, you can proceed to the first step: turning off the water supply.
Key Takeaways:
- Easily remove a sink faucet handle with basic tools like an adjustable wrench and Phillips screwdriver. Remember to turn off the water supply and examine the handle for screws or decorative caps before proceeding.
- Cleaning or replacing the cartridge is crucial for maintaining proper water flow. Reassemble the faucet handle carefully, turn on the water supply, and check for leaks to ensure smooth operation.
Read more: How To Tighten Sink Faucet Handle
Tools Needed
Before you start removing the sink faucet handle, it’s important to gather the necessary tools to ensure a smooth and successful process. Here are the tools you’ll need:
- Adjustable wrench: This tool will come in handy for loosening and tightening nuts and bolts. Choose a wrench that can adjust to fit different sizes to accommodate various faucet types.
- Phillips screwdriver: Most modern faucet handles are secured with screws, and a Phillips screwdriver is the go-to tool for removing them.
- All-purpose lubricant: A lubricant like WD-40 can be used to loosen any stubborn parts and make the process smoother.
- Clean cloth or rag: Keeping a clean cloth or rag nearby will help you wipe away any dirt or debris and maintain a tidy work area.
Having these tools readily available will ensure you have everything you need to remove the sink faucet handle with ease.
Step 1: Turn off the Water Supply
Before diving into removing the sink faucet handle, it’s crucial to turn off the water supply to avoid any accidental leaks or flooding. Here’s how you can do it:
- Locate the water shut-off valves: Look under the sink to find the water shut-off valves. You will typically see two valves—one for hot water and one for cold water. These valves control the water supply to the faucet.
- Turn off the water supply: Using a clockwise motion, twist the valve handles all the way to the right until they are fully closed. This will shut off the water supply to the sink faucet.
- Test the water supply: To ensure that the water supply is completely turned off, turn on the faucet handle and verify that no water is flowing. If you still see any water coming out, double-check the valve handles to ensure they are tightly closed.
By turning off the water supply, you can proceed with confidence knowing that you won’t have any unexpected water leakage while removing the faucet handle.
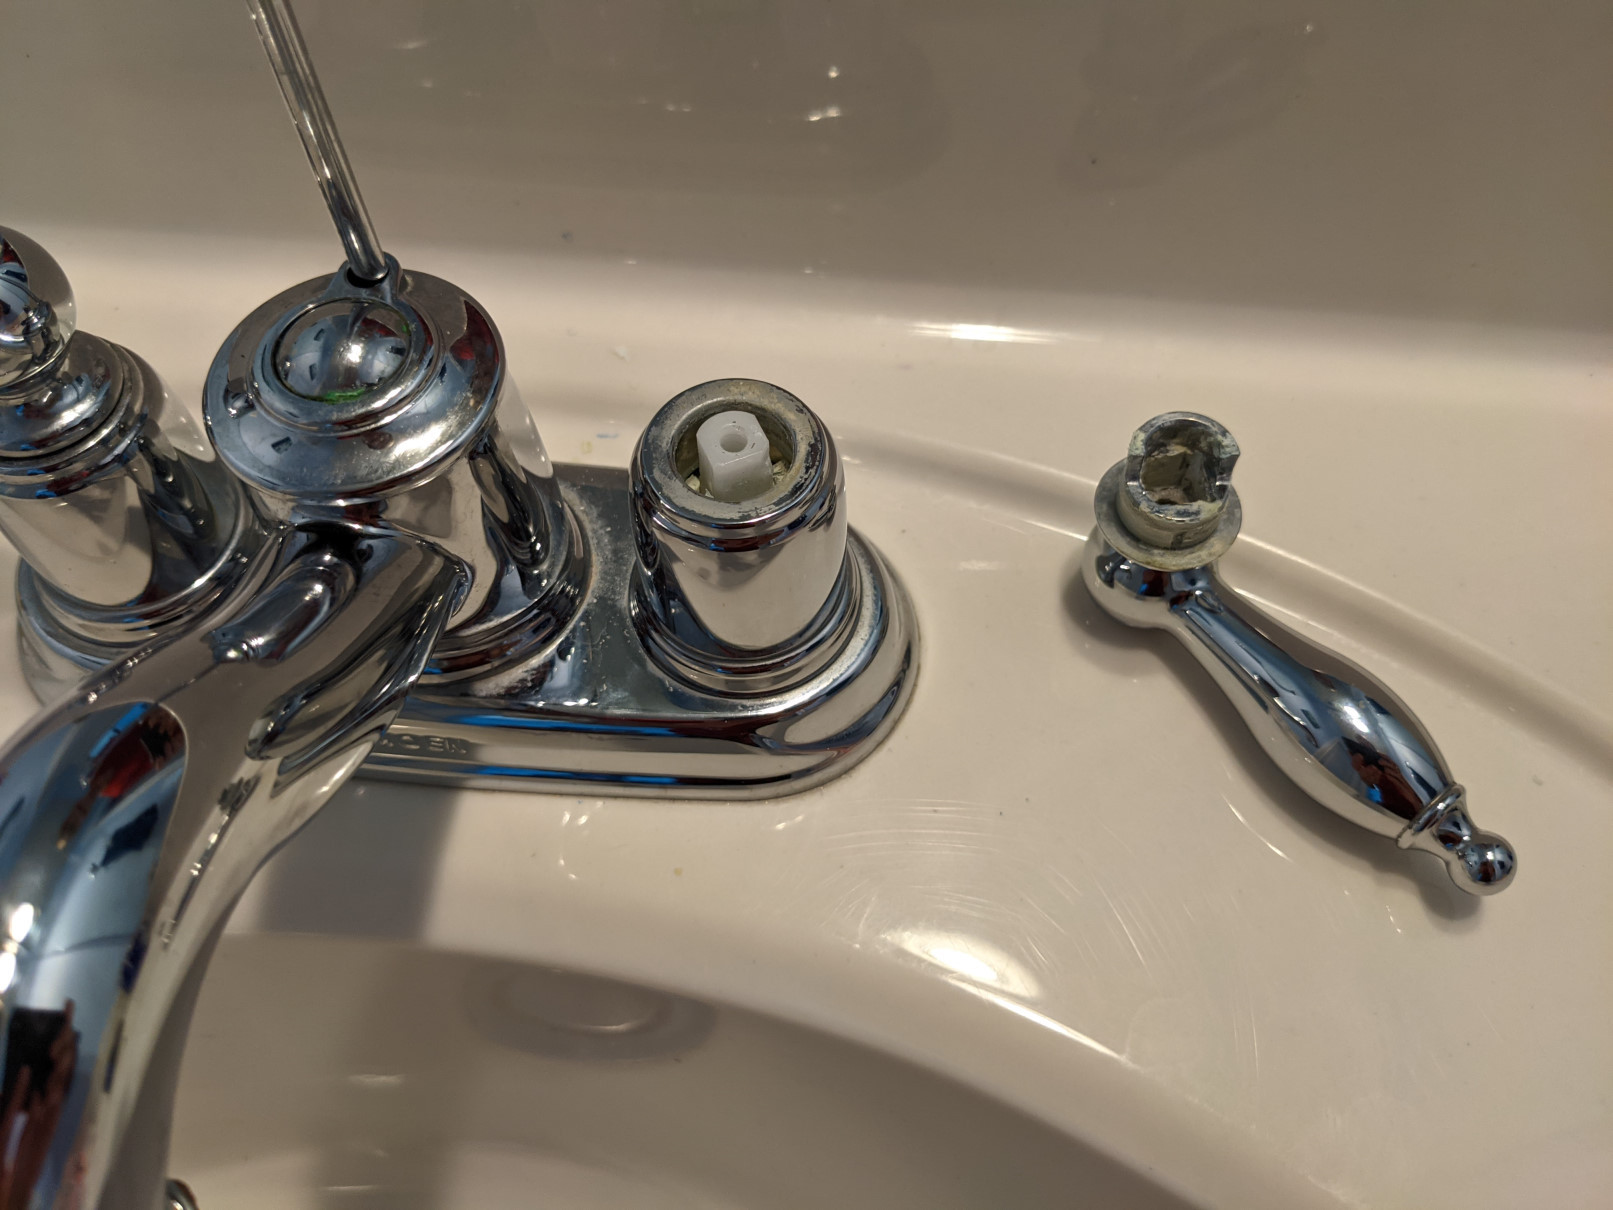
Step 2: Examine the Faucet Handle
Once you have turned off the water supply, it’s time to examine the faucet handle to determine the best approach for its removal. The process may vary slightly depending on the type of faucet handle you have. Here’s what you need to do:
- Inspect the faucet handle: Take a close look at the faucet handle and identify any visible screws or decorative caps. Some faucet handles may have a single screw located either at the top or base of the handle, while others may have a decorative cap that covers the screw.
- Remove any decorative cap: If your faucet handle has a decorative cap, gently pry it off using a flathead screwdriver or your fingernail. This will reveal the underlying screw that secures the handle in place.
- Look for additional screws: In some cases, there may be additional screws located on the side or back of the handle. Carefully inspect the handle to identify any additional screws that need to be removed.
By examining the faucet handle and identifying any screws or decorative caps, you will be better prepared for the next step, which is removing the handle itself.
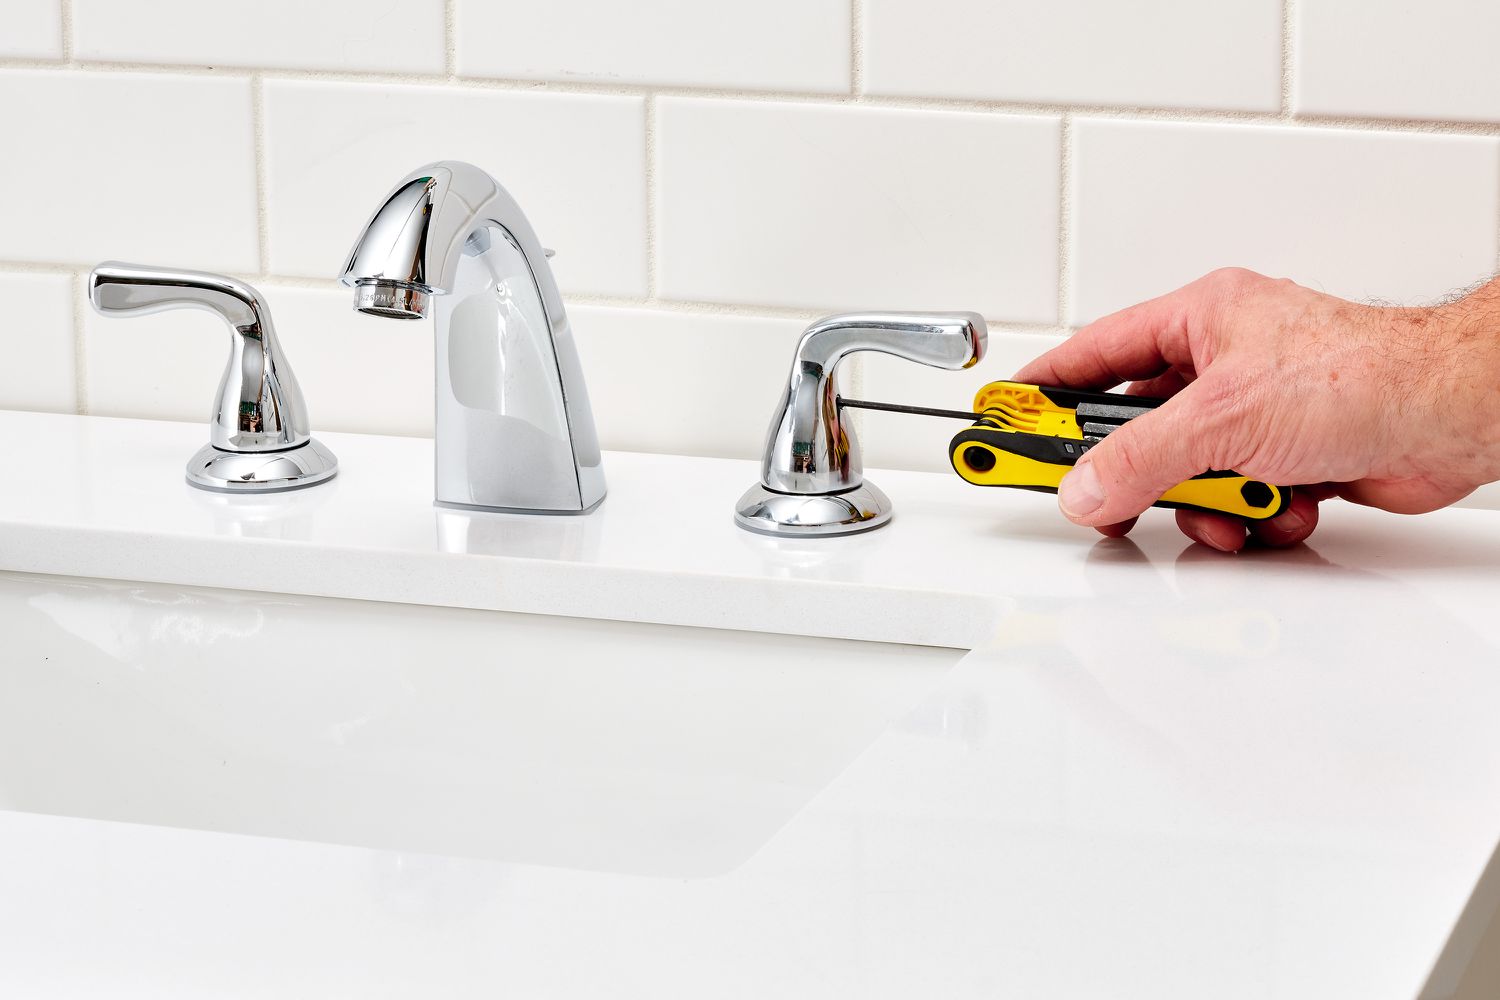
Step 3: Remove Decorative Cap or Handle Screw
Now that you’ve examined the faucet handle, it’s time to remove any decorative cap or handle screw that is securing it in place. Here’s how you can do it:
- Gently pry off the decorative cap: If your faucet handle has a decorative cap, use a flathead screwdriver or your fingernail to carefully pry it off. Apply even pressure around the edges of the cap until it pops off.
- Unscrew the handle screw: Once the decorative cap is removed, you will likely see a handle screw underneath. Use a Phillips screwdriver to loosen and unscrew the handle screw counterclockwise. Ensure you hold onto the handle as you remove the screw to prevent it from falling.
- Set aside the decorative cap and handle screw: Place the decorative cap and handle screw in a safe place where you won’t misplace them. You will need them later when reassembling the faucet handle.
By removing the decorative cap and handle screw, you are one step closer to successfully taking off the faucet handle.
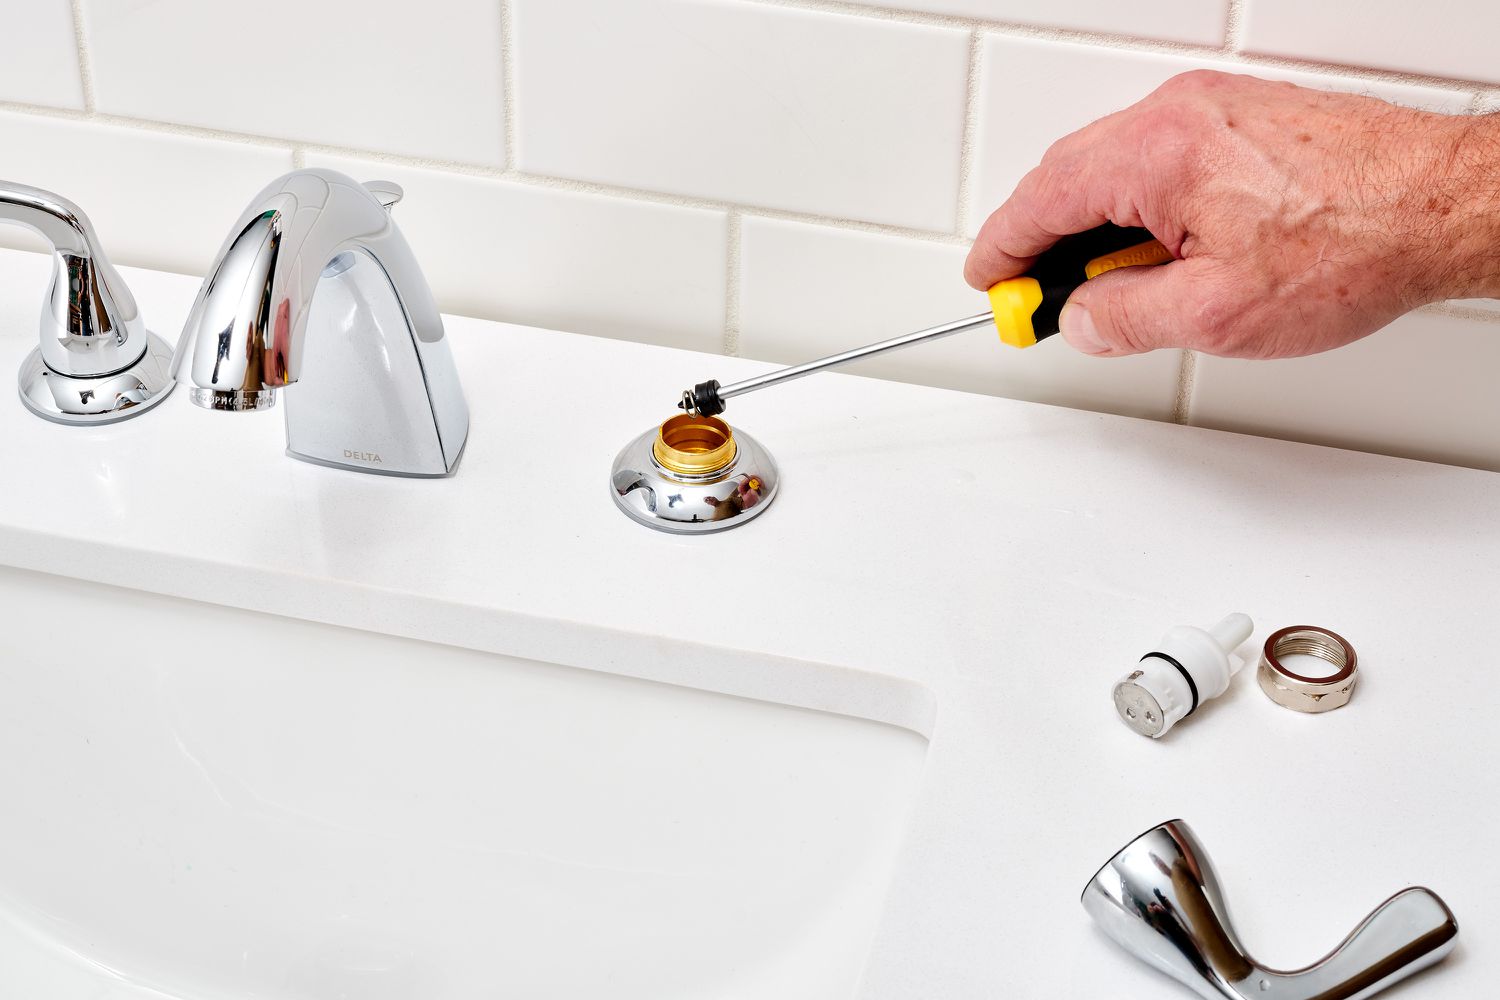
Use a screwdriver to remove the screw holding the handle in place. If the handle is stuck, use a lubricant to help loosen it before attempting to remove it.
Read more: How To Remove Stuck Faucet Handle
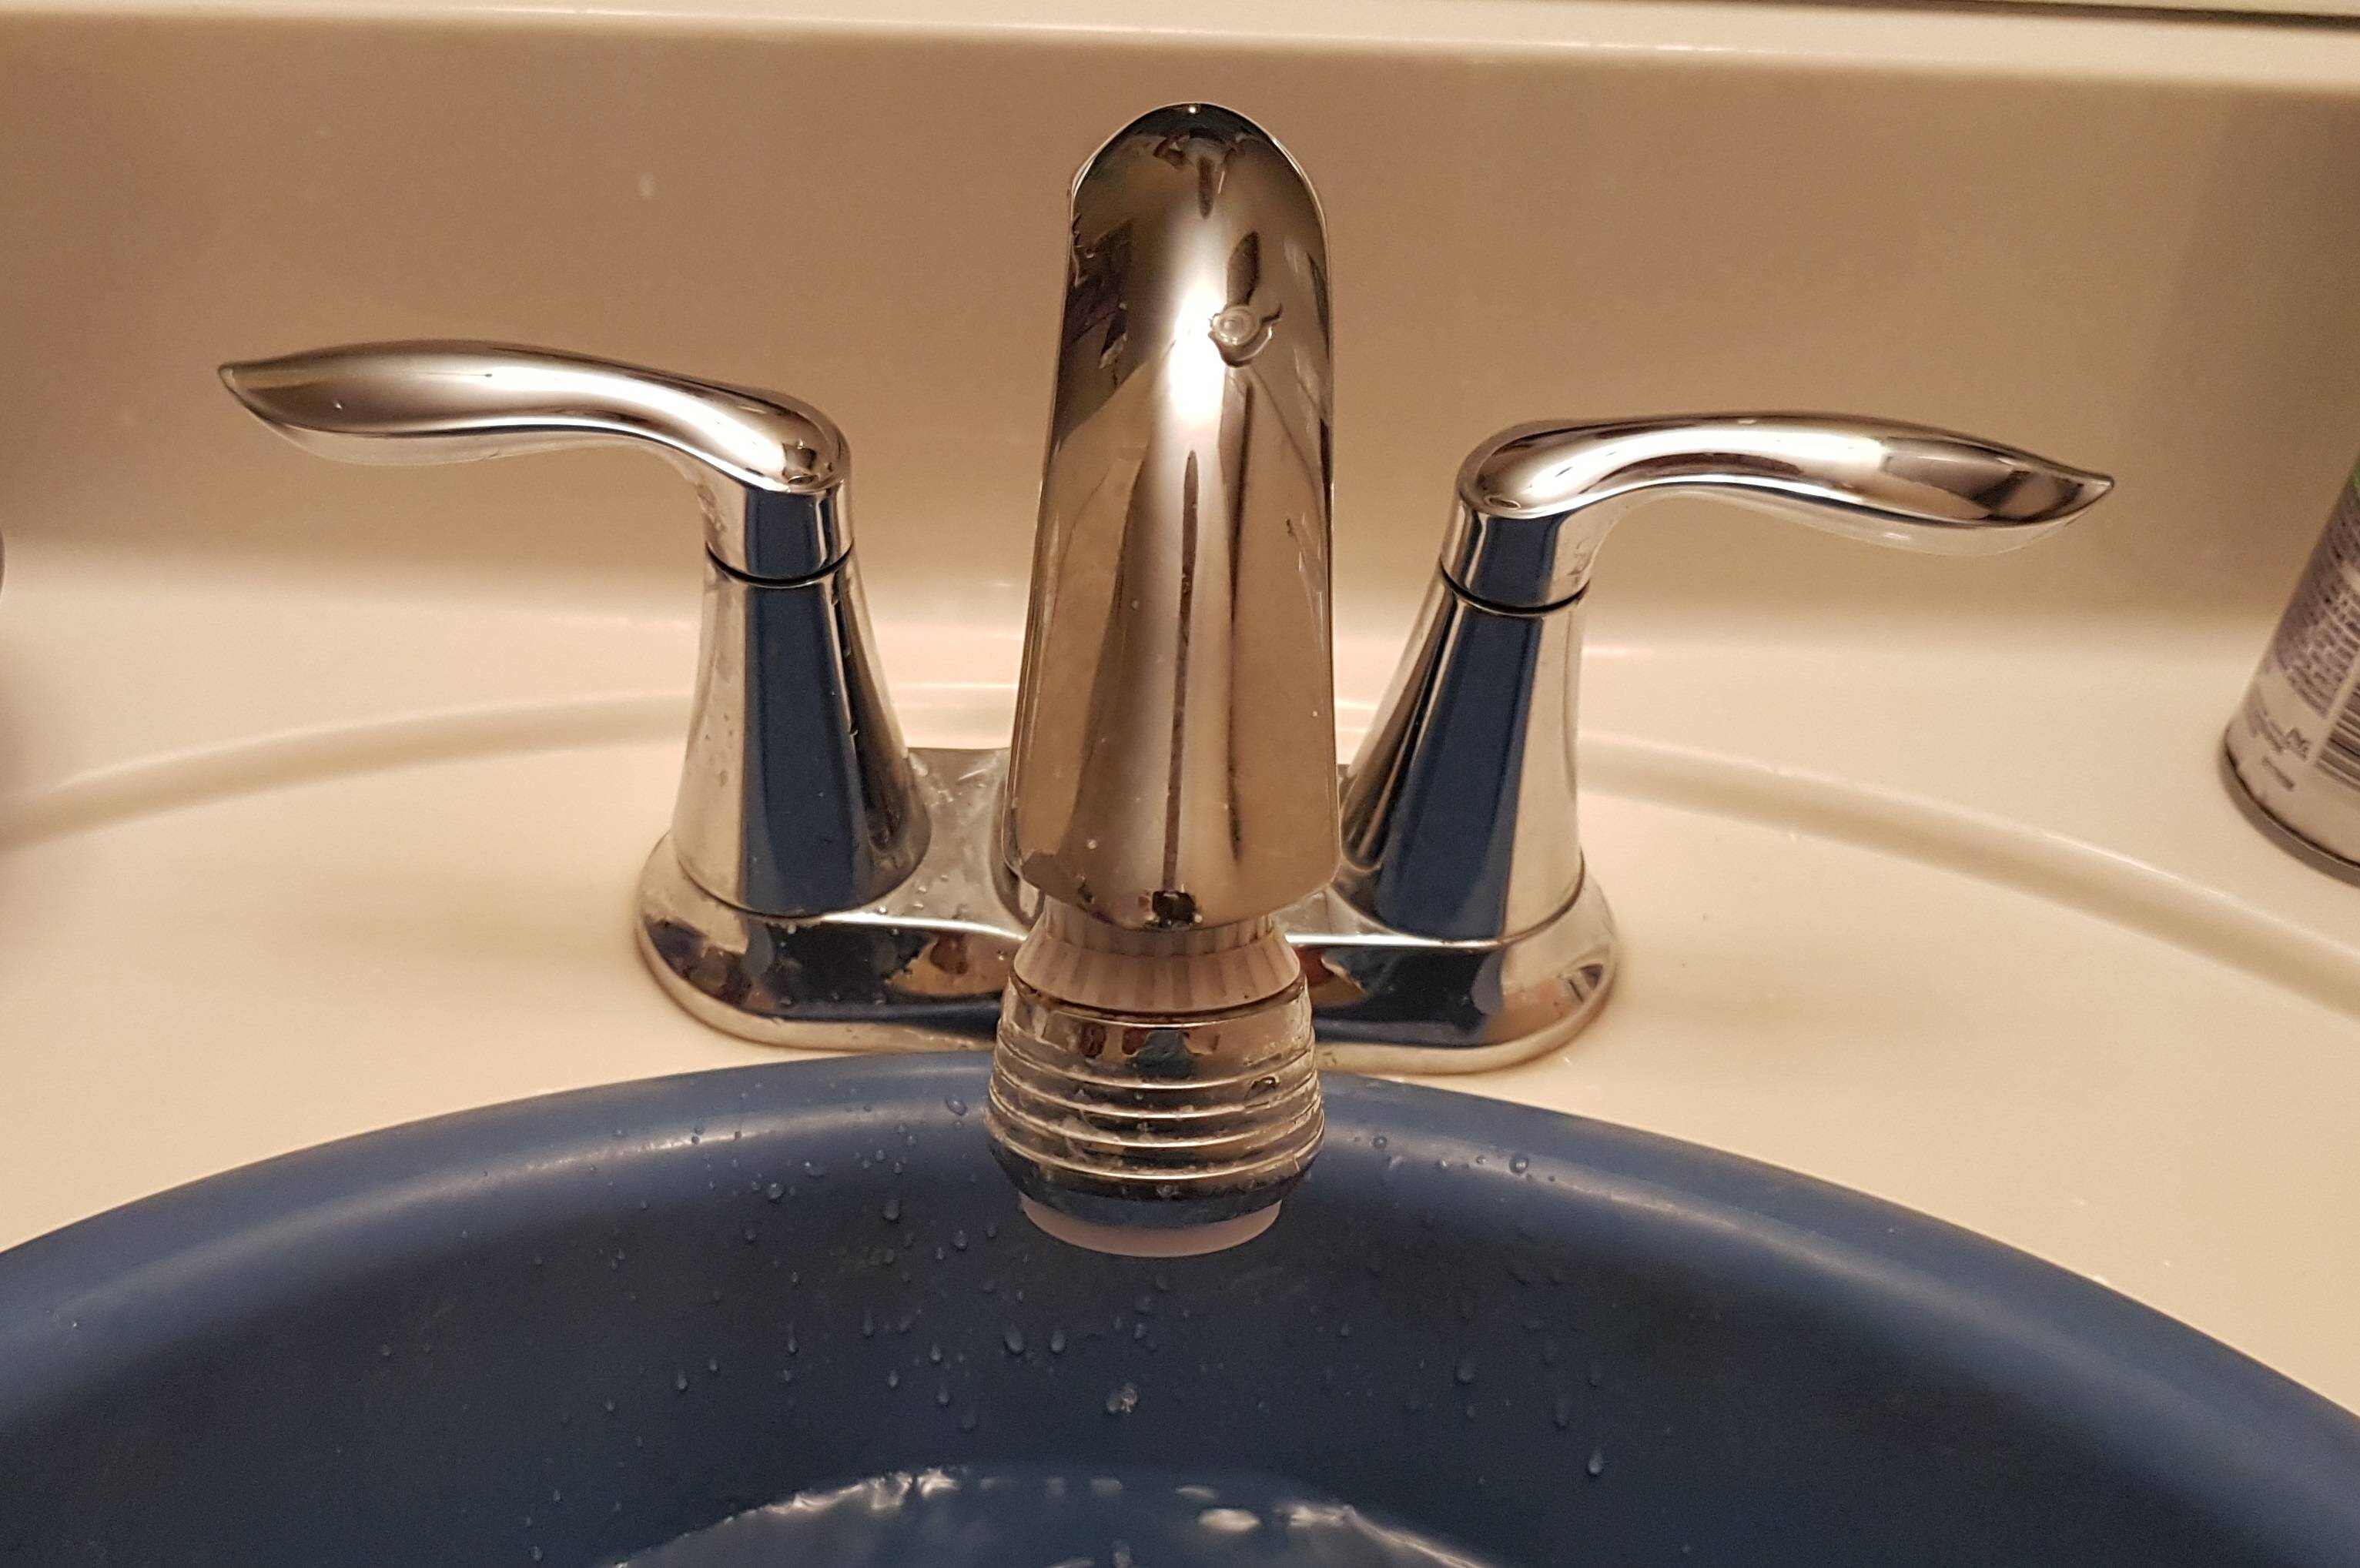
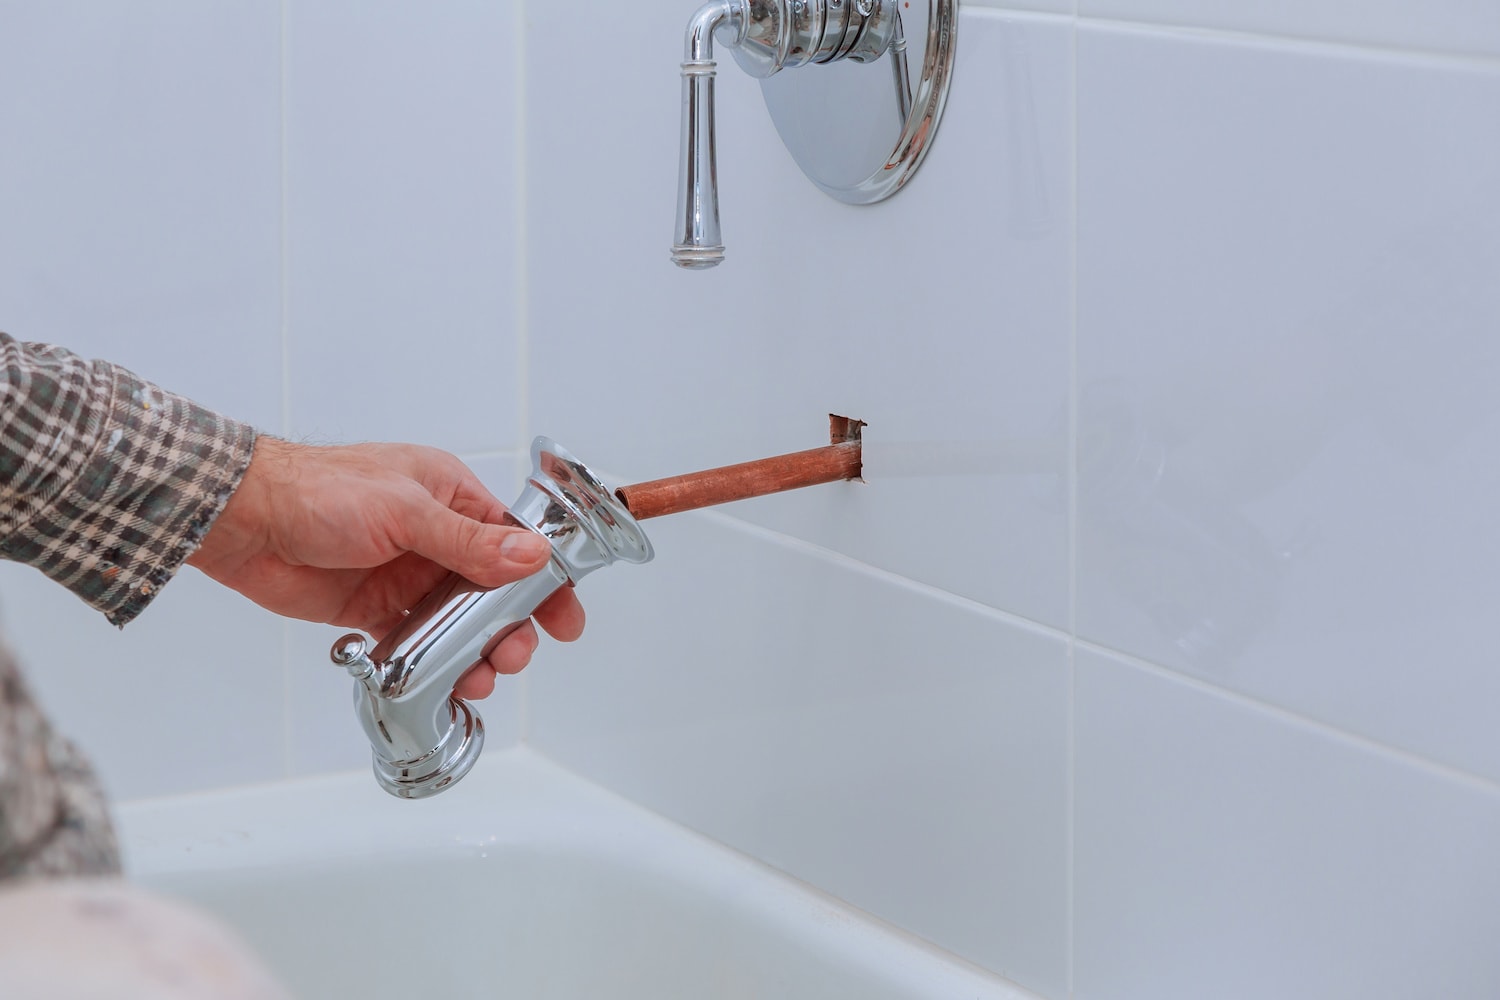
Step 4: Remove the Faucet Handle
With the decorative cap and handle screw removed, it’s time to take off the faucet handle itself. Follow these steps to remove the faucet handle:
- Gently pull up the faucet handle: Grasp the handle firmly and slowly pull it straight up. If the handle feels stuck or resistant, apply some all-purpose lubricant (like WD-40) to the base of the handle where it connects to the faucet stem. Allow the lubricant to sit for a few minutes to loosen any stubborn parts, then try pulling the handle up again.
- Wiggle the handle if necessary: In some cases, the faucet handle may be slightly stuck due to mineral deposits or corrosion. If pulling up the handle doesn’t work, gently wiggle it from side to side while applying upward pressure. This movement can help loosen any debris or buildup that may be preventing the handle from coming off.
- Continue pulling until the handle is free: Once the handle starts to loosen, continue pulling it straight up until it comes off completely. Set the handle aside in a safe place.
Removing the faucet handle may require a bit of patience and finesse, especially if it’s been in place for a long time. With persistence and the right technique, you’ll be able to successfully remove the handle and proceed with the next steps of the process.
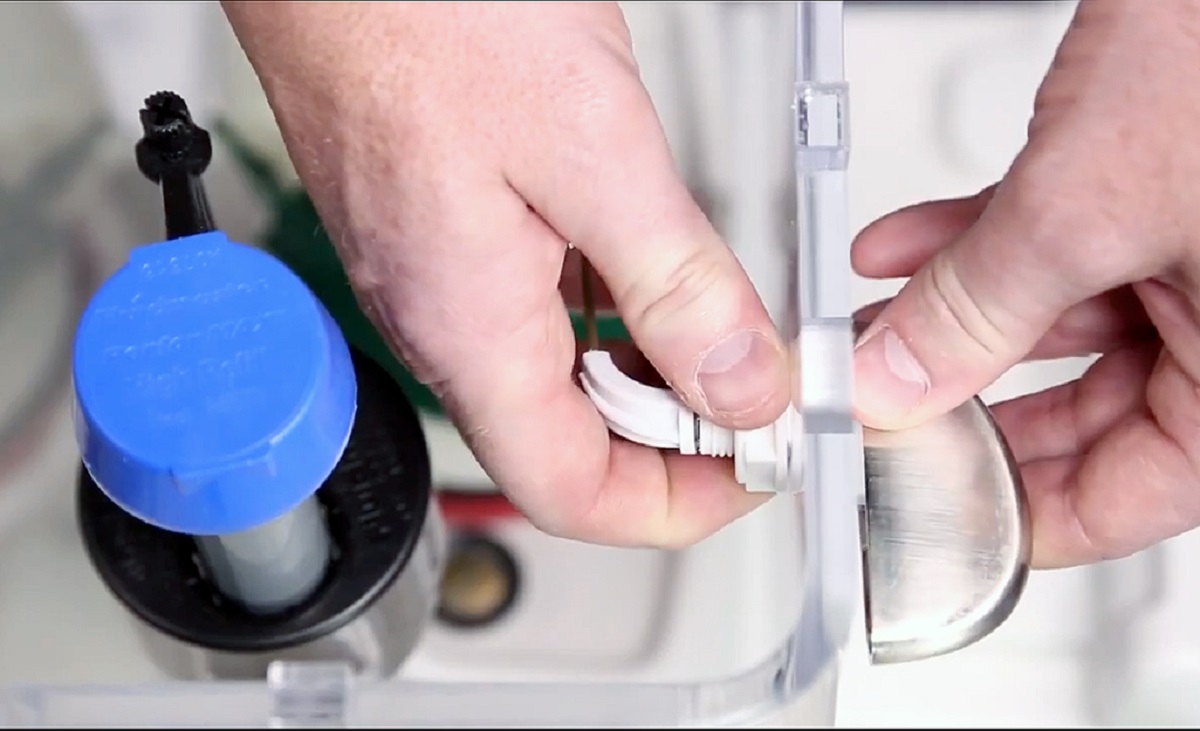
Step 5: Clean or Replace the Cartridge
Now that you’ve successfully removed the faucet handle, it’s time to clean or replace the cartridge, which is the mechanism responsible for controlling the water flow. Here’s how you can proceed:
- Examine the cartridge: Take a look at the cartridge, which is located inside the faucet handle assembly. Inspect it for any signs of wear, damage, or mineral buildup. If the cartridge is in good condition and just needs cleaning, you can proceed with cleaning it. However, if it’s damaged or faulty, you’ll need to replace it with a new one.
- Clean the cartridge: If the cartridge can be cleaned, rinse it under running water to remove any debris or mineral buildup. You can also use a toothbrush or a small brush to gently scrub away any stubborn deposits. Make sure to clean both the top and bottom of the cartridge thoroughly.
- Replace the cartridge (if necessary): If the cartridge is damaged or not functioning properly, it’s best to replace it. Take note of the specific make and model of your faucet and purchase a compatible replacement cartridge from a hardware store or plumbing supply shop. Follow the manufacturer’s instructions for properly inserting and securing the new cartridge.
By either cleaning or replacing the cartridge, you ensure that your faucet functions smoothly and efficiently. This step is essential for maintaining proper water flow and preventing any leaks or malfunctions in the future.
Step 6: Reinstall the Faucet Handle
With the cartridge cleaned or replaced, it’s time to reassemble and reinstall the faucet handle. Follow these steps to ensure a proper reinstallation:
- Align the handle with the faucet stem: Take the faucet handle and align it with the opening on the faucet stem. Make sure it fits securely and sits evenly.
- Slide the handle onto the stem: Carefully slide the handle back onto the stem, ensuring that it goes all the way down and fits snugly.
- Tighten the handle screw: If your handle has a screw, insert it back into the designated hole and tighten it using a Phillips screwdriver. Make sure the screw is securely fastened, but be careful not to overtighten it, as this can cause damage.
- Replace the decorative cap (if applicable): If your faucet handle has a decorative cap, place it back onto the handle and press it down until it snaps into place. Ensure that it sits flush with the handle.
By reassembling the faucet handle and securely tightening any screws or caps, you’ll ensure that the handle is properly attached to the faucet and functions correctly.
Step 7: Turn on the Water Supply
Now that you have successfully reinstalled the faucet handle, it’s time to turn the water supply back on. Follow these steps to restore the water flow:
- Locate the water shut-off valves: Locate the water shut-off valves underneath the sink. These are the same valves you turned off in Step 1 to cut off the water supply.
- Turn on the water supply: Twist the valve handles in a counterclockwise motion to reopen the water supply. Turn each valve handle until it is fully open.
- Check for leaks: Once the water supply is turned on, carefully inspect the faucet handle and the surrounding area for any signs of leaks. Run the water for a few minutes and check for any dripping or pooling water.
- Make any necessary adjustments: If you notice any leaks, tighten the handle or check the cartridge to ensure it is properly sealed. If the leaks persist, you may need to consult a professional plumber for further assistance.
By turning on the water supply and checking for leaks, you can ensure that your faucet is functioning properly and that water flows smoothly without any issues.
Read more: How To Remove A Two-Handle Bathroom Faucet
Conclusion
Removing a sink faucet handle may seem like a daunting task, but with the right tools and step-by-step guidance, it can be a manageable DIY project. By following the steps outlined in this article, you can successfully remove the faucet handle, clean or replace the cartridge, and reassemble the handle with ease.
Remember to gather the necessary tools, such as an adjustable wrench, Phillips screwdriver, all-purpose lubricant, and a clean cloth, before starting the process. Turning off the water supply is essential to avoid any accidental leaks or flooding.
Examine the faucet handle to identify any screws or decorative caps that need to be removed. Taking your time to gently remove the decorative cap and handle screw will prevent any damage to the handle or surrounding components.
Once the handle is removed, you can clean or replace the cartridge, which is responsible for controlling the water flow. Cleaning the cartridge helps remove mineral buildup and debris, while replacing a faulty cartridge ensures smooth and efficient water operation.
Reinstalling the faucet handle involves aligning it with the faucet stem, sliding it back in place, and tightening any screws or caps. Finally, turning on the water supply and checking for leaks will ensure that the faucet is fully operational.
Remember, if you encounter any difficulties during the process or notice persistent leaks, it’s always a good idea to consult a professional plumber for assistance.
By following these steps and taking proper care of your sink faucet handle, you can maintain the functionality and longevity of your plumbing fixtures.
Now that you've mastered removing sink faucet handles, why not tackle another home improvement challenge? Upgrading your bathroom can seem overwhelming, but knowing how long a renovation might take demystifies the process and sets realistic expectations. Interested in learning more about timelines and what to expect during a bathroom overhaul? Check out our detailed guide on bathroom renovations for step-by-step insights and expert tips!
Frequently Asked Questions about How To Remove Sink Faucet Handle
Was this page helpful?
At Storables.com, we guarantee accurate and reliable information. Our content, validated by Expert Board Contributors, is crafted following stringent Editorial Policies. We're committed to providing you with well-researched, expert-backed insights for all your informational needs.


0 thoughts on “How To Remove Sink Faucet Handle”