
Articles
How To Run Plumbing In A House
Modified: October 22, 2024
Learn expert tips and techniques for running plumbing in a house with our informative articles. Simplify your home plumbing projects today!
(Many of the links in this article redirect to a specific reviewed product. Your purchase of these products through affiliate links helps to generate commission for Storables.com, at no extra cost. Learn more)
Introduction
Running plumbing in a house is a vital aspect of home construction or renovation projects. Proper plumbing installation ensures the delivery of clean water and efficient drainage, which are essential for a functional and comfortable living space. Whether you’re a DIY enthusiast or hiring a professional, it’s important to understand the steps involved in running plumbing in a house.
In this article, we will walk you through the process of running plumbing in a house, from planning and preparation to the final installation of faucets and fixtures. By following these steps, you can ensure a successful plumbing system that meets the needs of your household.
Before we dive into the details, it’s essential to emphasize the importance of compliance with local regulations and obtaining the necessary permits. Plumbing codes and regulations vary by location, and failure to comply can result in costly fines and potentially hazardous plumbing systems. Always consult with a professional if you are unsure about any aspect of your plumbing project.
Now, let’s get started with the planning and preparation phase.
Key Takeaways:
- Proper planning, compliance with regulations, and meticulous installation are essential for running plumbing in a house. From obtaining permits to testing the system, attention to detail ensures a functional and compliant plumbing system.
- The installation of the main water supply line, drainage pipes, ventilation pipes, and water supply pipes, followed by the installation of faucets, fixtures, and appliances, is crucial for a successful plumbing system. Thorough testing and inspections ensure functionality and compliance.
Read more: How To Run Plumbing To A Shed
Planning and Preparation
Before you begin running plumbing in a house, it’s crucial to invest time in proper planning and preparation. This phase involves assessing your needs, determining the layout, and creating a detailed plan for the plumbing system.
To start, consider the number of bathrooms, kitchens, and other water-dependent areas in your house. Determine the water supply requirements for each space and map out the ideal locations for fixtures, such as sinks, toilets, and showers.
Next, sketch out the layout of your plumbing system, including the main water supply line, drainage pipes, and ventilation pipes. Take into account the existing structure, such as walls and floors, as well as any obstacles that may affect the routing of the plumbing lines.
During this planning phase, it’s also important to coordinate with other professionals involved in the construction process, such as electricians and HVAC technicians. This collaboration ensures that the plumbing system is integrated smoothly with other components of the house.
Once you have a clear plan in place, it’s time to gather the necessary tools and materials for the plumbing installation.
Here’s a list of commonly used tools and materials:
- Pipe cutters or hacksaw
- Pipe wrenches
- Plumbers tape
- Plumbers putty
- Pipe fittings
- PVC or copper pipes
- Plumbing adhesive
- Measuring tape
- Pencil or marker
- Level
Having these tools and materials readily available will save you time and ensure a smooth installation process.
Now that you have completed the planning and preparation phase, you’re ready to move on to the actual installation of your plumbing system. In the following sections, we will walk you through each step, from shutting off the water supply to testing and inspections.
Tools and Materials Needed
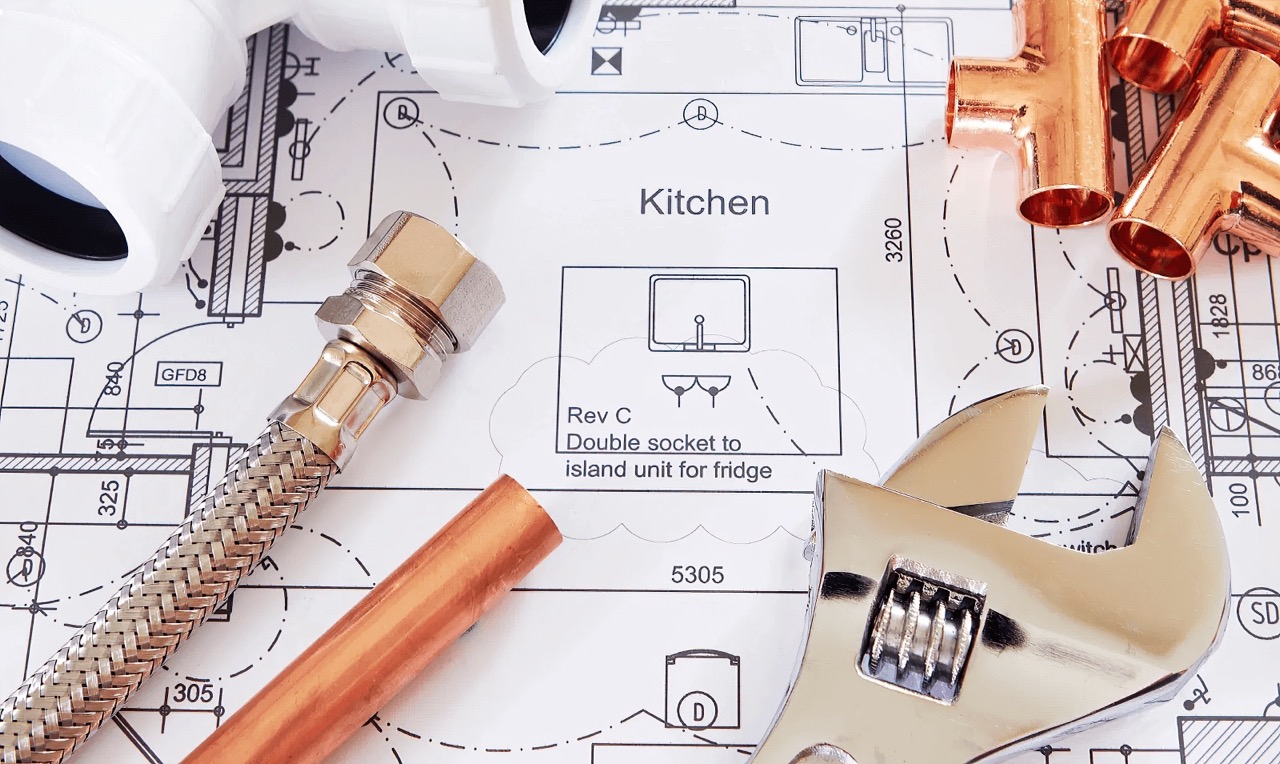
When it comes to running plumbing in a house, having the right tools and materials is crucial for a successful installation. Here’s a comprehensive list of tools and materials you will need for the plumbing project:
- Pipe cutter or hacksaw: used for cutting pipes to the desired length.
- Pipe wrenches: essential for tightening and loosening pipe fittings.
- Plumbers tape: helps create a watertight seal on pipe threads.
- Plumbers putty: used to seal joints, such as sink drains or faucet bases.
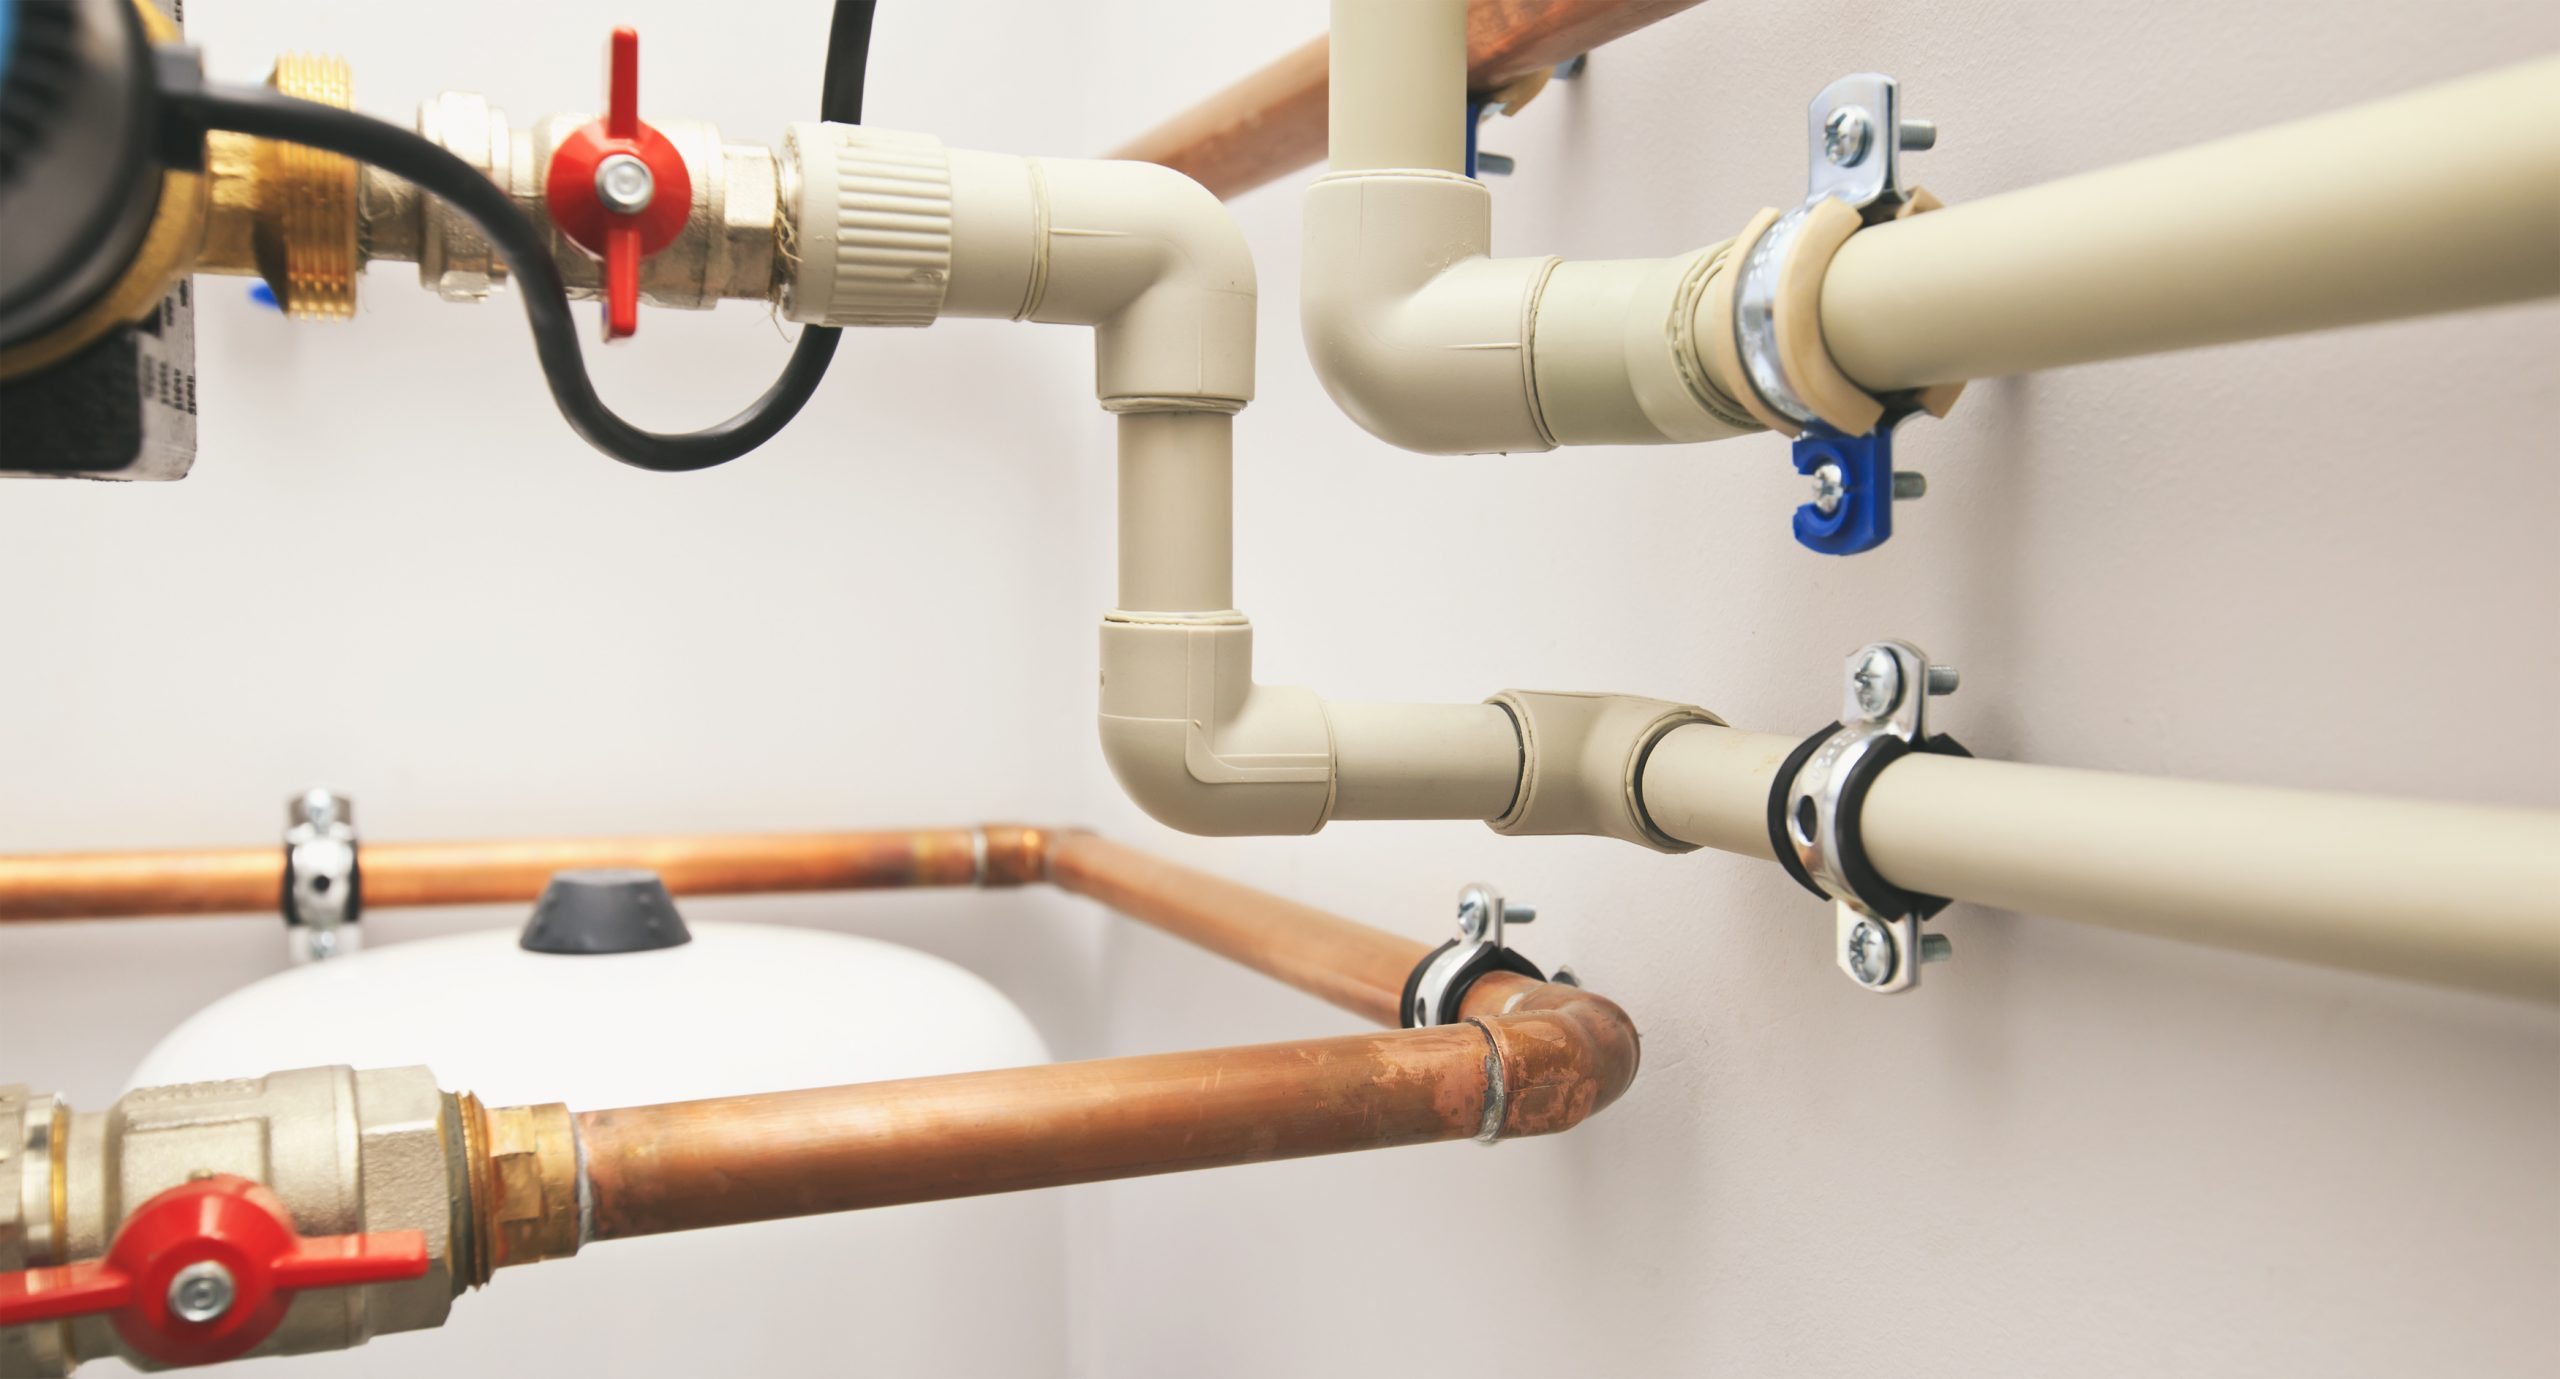
- Pipe fittings: includes various types of fittings such as elbows, tees, couplings, and valves to connect and direct the flow of water.
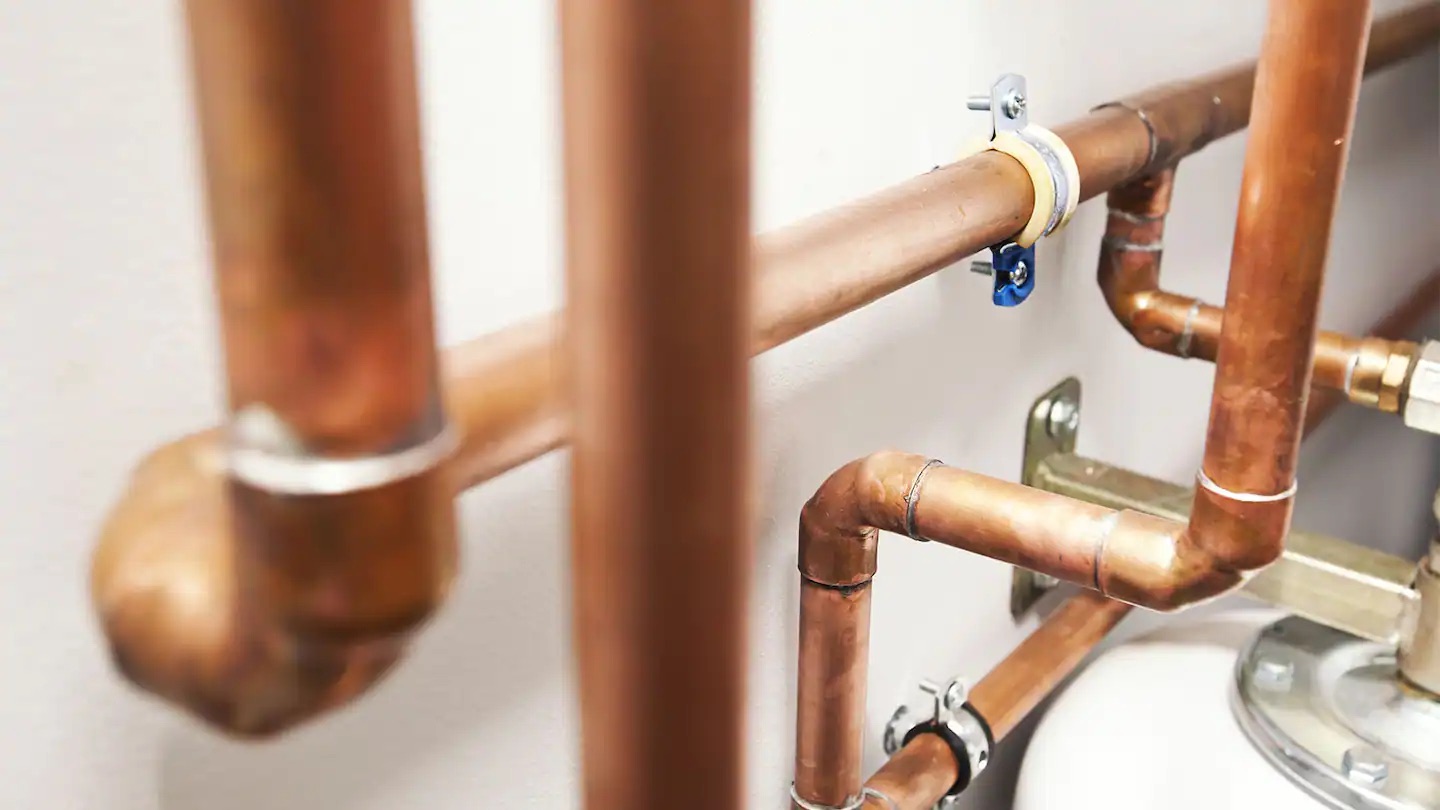
- PVC or copper pipes: the main materials used for plumbing lines.
- Plumbing adhesive: necessary for securely bonding PVC pipes and fittings.
- Measuring tape: used to accurately measure pipe lengths and distances between fixtures.
- Pencil or marker: helps mark the positions for pipe cuts and fittings.
- Level: ensures that pipes and fixtures are properly aligned.
- Plumbing snake or auger: useful for clearing clogs in drains.
- Plunger: helps dislodge minor blockages in toilets and drains.
- Teflon tape: an alternative to plumbers tape for creating a watertight seal.
- Adjustable wrench: useful for tightening and loosening various plumbing connections.
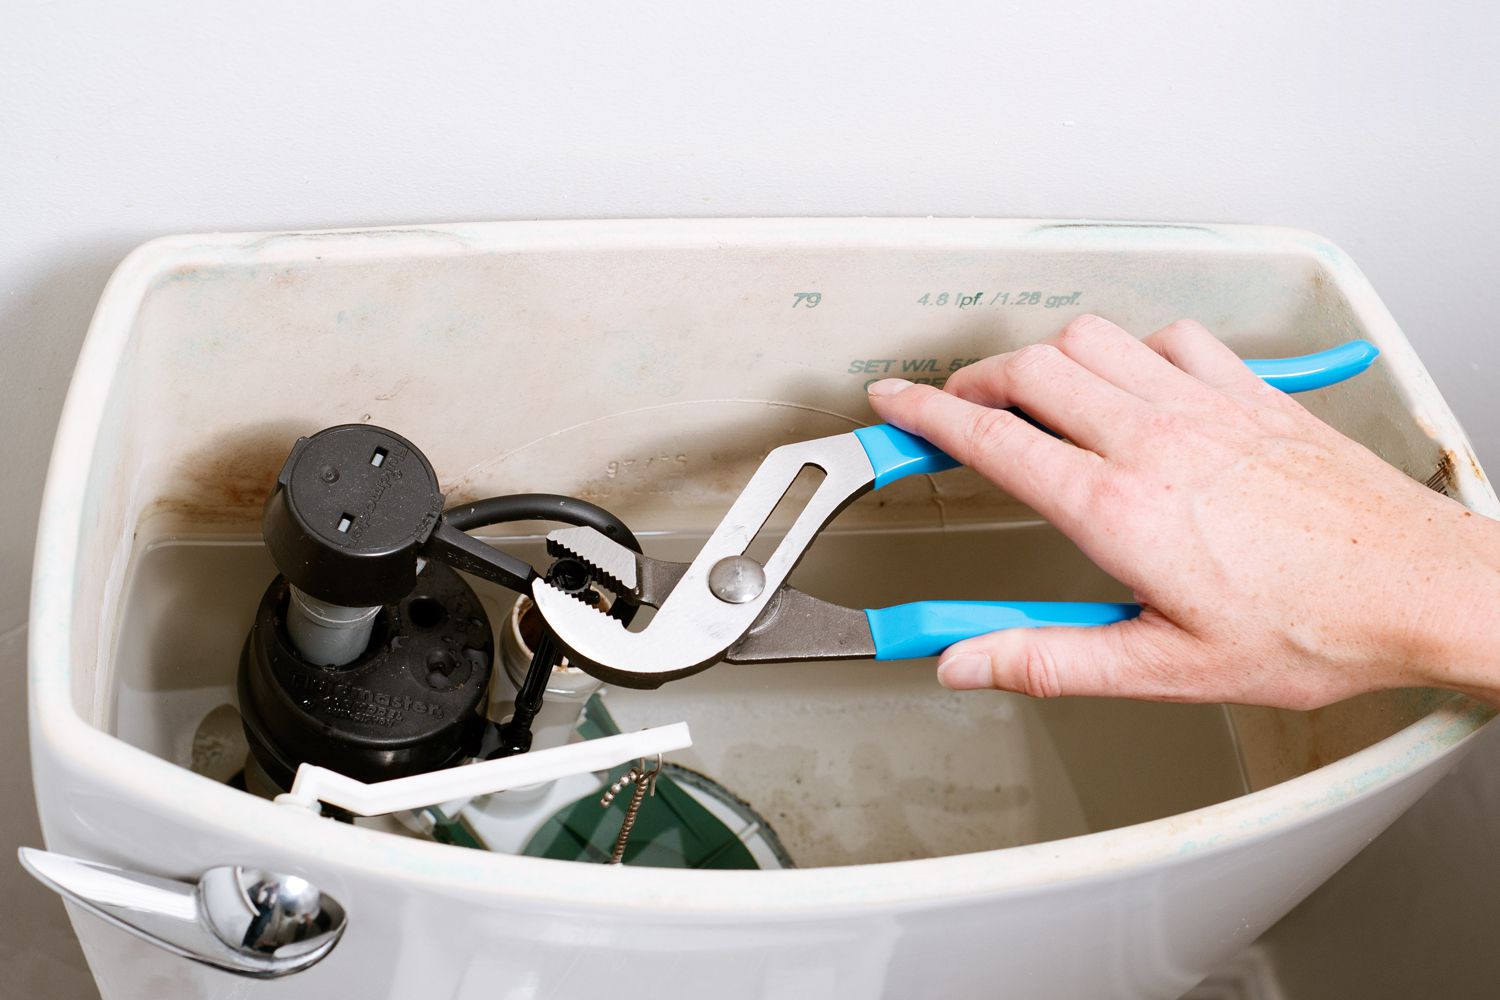
- Channel locks: provide added grip when working with larger pipes.
- Hole saw: necessary for creating openings in walls or floors for pipe routing.
- Bucket and rags: essential for collecting water and cleaning up any spills.
Having these tools and materials readily available before you start the plumbing installation will save you time and prevent unnecessary delays. It’s a good idea to gather everything in one place and organize them for easy access during the project.
Remember to prioritize safety when working with plumbing tools and materials. Wear appropriate protective gear, such as gloves and eyewear, and exercise caution when using sharp tools or working with adhesives.
Now that you have a comprehensive list of tools and materials, you’re ready to begin the installation of your plumbing system. In the following sections, we will guide you through each step, ensuring a smooth and successful project.
Step 1: Determine the Layout
Before you start running plumbing in a house, it’s important to determine the layout of your plumbing system. This involves mapping out the locations of fixtures, identifying the main water supply line, and planning the routing of drainage and ventilation pipes.
Start by sketching a floor plan of your house and marking the desired locations for sinks, toilets, showers, and other water-dependent fixtures. Consider the convenience and functionality of each placement, taking into account factors such as proximity to the main water supply line and ease of access.
Next, locate the main water supply line in your house. This is typically located near the water meter or the point where the water enters the house. It’s important to identify this line accurately as it will serve as the primary source for all water distribution in your plumbing system.
Once you have determined the layout for the fixtures and identified the main water supply line, it’s time to plan the routing of drainage and ventilation pipes. These pipes will carry wastewater away from the fixtures and help maintain proper airflow within the plumbing system.
Consider the natural slope of your house’s structure when planning the drainage pipe routes. Gravity will assist in the smooth flow of wastewater, so try to position the drainage pipes in a way that maintains a consistent downward slope. Additionally, ensure that the ventilation pipes are properly positioned to prevent the formation of airlocks and maintain proper pressure in the drainage system.
As you determine the layout of your plumbing system, it’s important to consult local building codes and regulations. Each area may have specific requirements regarding the minimum distances between fixtures, vent pipe locations, and other plumbing considerations. By adhering to these regulations, you can ensure that your plumbing system is safe, functional, and compliant.
Remember, proper planning and layout are essential for a successful plumbing installation. Take the time to thoroughly assess your needs, consider the most efficient placement of fixtures, and plan the routing of pipes accordingly. This step sets the foundation for a well-functioning plumbing system in your house.
Once you have determined the layout, you can proceed to the next step of obtaining permits and familiarizing yourself with local regulations. In the following sections, we will guide you through these important steps to ensure a smooth and compliant plumbing installation.
Step 2: Obtain Permits and Regulations
Before you begin running plumbing in a house, it’s crucial to obtain the necessary permits and familiarize yourself with local regulations. This ensures that your plumbing installation complies with code requirements and minimizes the risk of fines or issues down the line.
Start by researching the specific permits required for your plumbing project. Visit your local government’s website or contact the appropriate department to learn about the permit application process. Typically, you will need to provide details about the scope of work, including the layout of the plumbing system and the materials you plan to use.
When applying for permits, it’s essential to have the necessary documentation and plans readily available. This includes your detailed plumbing layout, fixture specifications, and any other relevant information requested by the permitting office.
In addition to obtaining permits, it’s equally important to familiarize yourself with local plumbing regulations. These regulations are in place to ensure the safety, functionality, and longevity of your plumbing system.
Some common regulations to consider include:
- Minimum slope requirements for drainage pipes.
- Maximum distances between fixtures and vent pipes.
- Restrictions on the type of materials allowed for certain applications.
- Requirements for backflow prevention devices.
By understanding and following these regulations, you can avoid potential issues that may arise during inspection or the ultimate functionality of your plumbing system.
It’s important to note that plumbing codes and regulations can vary from one jurisdiction to another. What’s acceptable in one area may not be compliant in another. Therefore, it’s crucial to consult with local authorities, plumbing professionals, or knowledgeable contractors who are familiar with the specific regulations in your area.
Once you have obtained the necessary permits and familiarized yourself with local regulations, you can confidently move forward with running plumbing in your house. The next step is to shut off the water supply, as we will explore in the following section.
Read more: How To Run A Bounce House Business
Step 3: Shut Off Water Supply
Before you start running plumbing in a house, it is essential to shut off the water supply to ensure a safe and smooth installation process. Shutting off the water supply allows you to work on the plumbing system without the risk of water flow or pressure interfering with your work.
The location of the main water shut-off valve may vary depending on the type of plumbing system and the layout of your house. In most cases, you will find the shut-off valve near the water meter or where the water line enters the property.
To shut off the water supply, follow these steps:
- Locate the main water shut-off valve.
- Turn the valve clockwise (right) to close it. This will shut off the water flow to the entire house.
- Open a faucet or fixture in the house to release any remaining water pressure in the plumbing system.
It’s important to note that shutting off the water supply will affect the water flow to all fixtures and appliances in the house. Make sure to inform household members or occupants about the temporary water interruption.
If you’re working on a specific area or fixture and need to shut off water supply without disrupting the entire house, look for individual shut-off valves. These valves are typically located near the fixture, such as under the sink or behind the toilet.
Once the water supply is shut off, you can proceed with confidence to run the plumbing in your house. The next step is to create a detailed plan for the plumbing system, as we will explore in the following section.
Step 4: Create a Detailed Plan
Creating a detailed plan is a crucial step when running plumbing in a house. It allows you to visualize and organize the plumbing system, ensuring that all necessary components are accounted for and properly connected.
Start by referring to your layout and measurements from the planning phase. This will serve as your guide in creating the detailed plan. Consider the locations of fixtures, the main water supply line, and the routing of drainage and ventilation pipes.
With this information in mind, create a scaled diagram or blueprint of the plumbing system. Include the following elements:
- Main water supply line: Indicate the location where the main water supply line enters the house and the path it will take to reach different fixtures.
- Drainage and ventilation pipes: Map out the routing of drainage and ventilation pipes, taking into account the slope for proper wastewater flow and the position of vent pipes to prevent airlocks.
- Fixture locations: Clearly mark the positions of sinks, toilets, showers, and other fixtures on the diagram.
- Pipe sizes and connections: Note the sizes of the pipes you plan to use and indicate the type of connections, such as elbows, tees, or couplings, at various junctions.
- Shut-off valves: Identify any shut-off valves that should be installed for easy access and maintenance.
- Backflow prevention: Consider the need for backflow prevention devices, such as check valves or air gaps, to protect the potable water supply.
Creating a detailed plan helps ensure that you have a comprehensive overview of your plumbing system. This will make the installation process more efficient and minimize the risk of errors or omissions.
Keep in mind that the plan may need to be approved by local authorities or undergo inspection. Therefore, it’s essential to adhere to local building codes and regulations to ensure compliance.
Once your detailed plan is complete, you’re ready to move on to the next steps of installing the main water supply line, drainage pipes, and ventilation pipes. We will explore these steps in the following sections.
When running plumbing in a house, always plan the layout carefully to minimize the number of bends and turns in the pipes. This will help maintain water pressure and prevent clogs.
Step 5: Install the Main Water Supply Line
Installing the main water supply line is a critical step when running plumbing in a house. The main water supply line is responsible for delivering clean water to every fixture and appliance in your home. Follow these steps to install the main water supply line:
- Locate the main water shut-off valve and ensure it is in the closed position to prevent water flow during installation.
- Measure the length needed for the main water supply line. Use a pipe cutter or hacksaw to cut the pipe to the appropriate size.
- Install a shut-off valve at the point where the main water supply line enters the house. This valve will allow you to control the water flow to your entire plumbing system.
- Connect the main water supply line to the shut-off valve using appropriate fittings. Use a pipe wrench to tighten the connections securely.
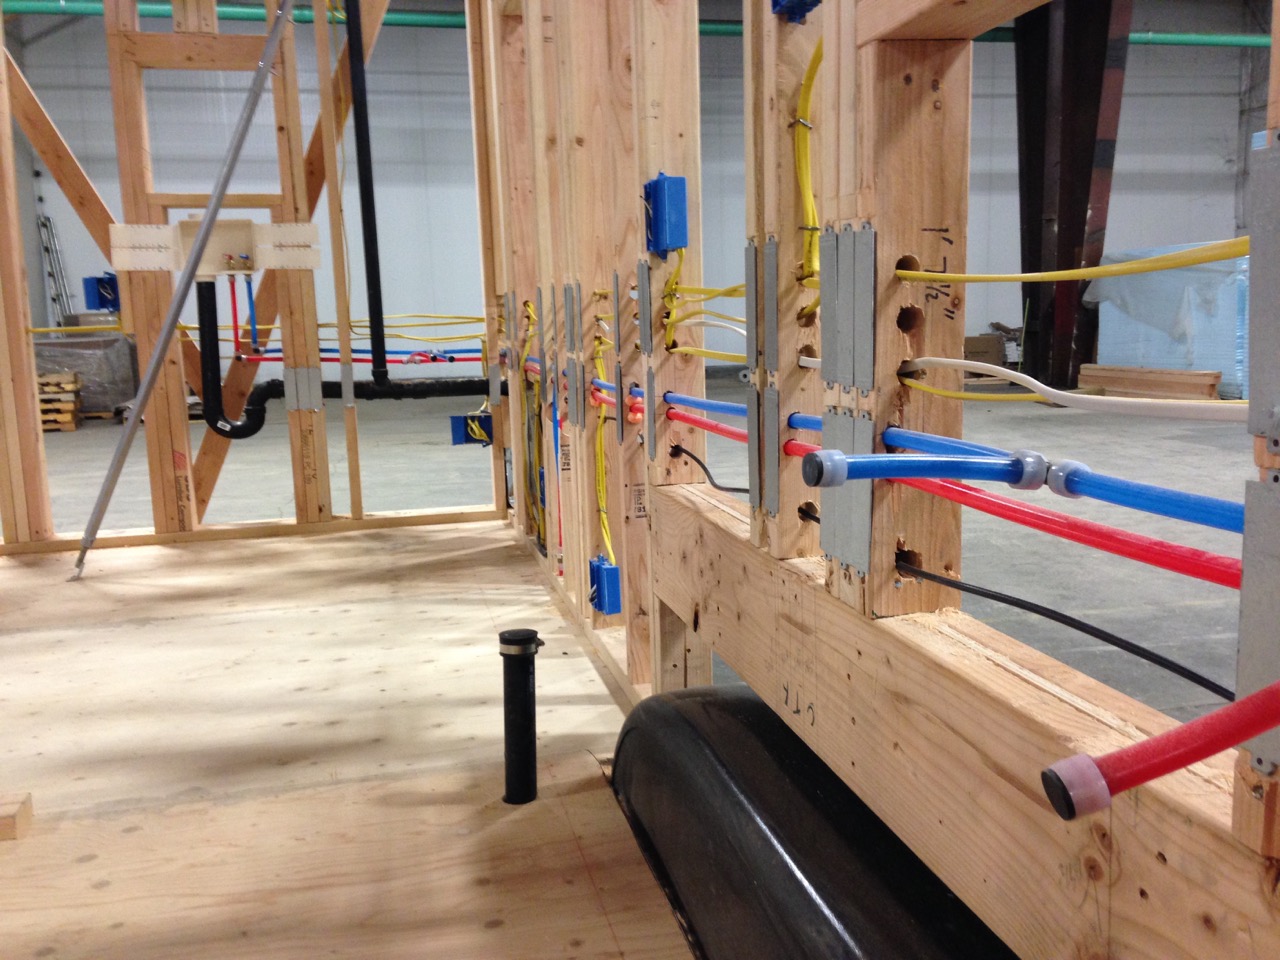
- Route the main water supply line to each fixture location. Use pipe hangers or straps to secure the pipe to the walls or ceiling, ensuring stability and preventing sagging.
- Install shut-off valves at each fixture location for convenient maintenance and repair. These valves will allow you to isolate specific fixtures without shutting off the water to the entire house.
- Connect the main water supply line to each shut-off valve using appropriate fittings. Again, use a pipe wrench to tighten the connections securely.
- Once all connections are in place, open the main water shut-off valve to allow water flow into the plumbing system.
- Inspect all connections for leaks. If any leaks are detected, tighten the fittings or replace faulty components as necessary.
During the installation process, it is important to follow local plumbing codes and regulations. These may include guidelines on pipe materials, minimum pipe sizes, and installation requirements. Adhering to these standards ensures the safety and functionality of your plumbing system.
Once the main water supply line is installed and tested for any leaks, you can proceed to the next steps of installing drainage pipes, ventilation pipes, and water supply pipes to complete the plumbing system. We will discuss these steps in the following sections.
Step 6: Install Drainage Pipes
Installing drainage pipes is a vital step when running plumbing in a house. Drainage pipes are responsible for carrying wastewater away from fixtures and ensuring proper disposal. Follow these steps to install drainage pipes:
- Refer to your detailed plan to identify the routing of drainage pipes. Ensure that the pipes are correctly positioned to maintain a downward slope for efficient wastewater flow.
- Measure and cut the drainage pipes to the appropriate lengths using a pipe cutter or hacksaw. Use a deburring tool to remove any sharp edges.
- Connect the drainage pipes using appropriate fittings, such as elbows, tees, or couplings. Apply PVC primer and cement to the inside of the fittings and the outside of the pipes, and then firmly push the pipes into the fittings. Twist the pipes slightly to ensure a secure connection.
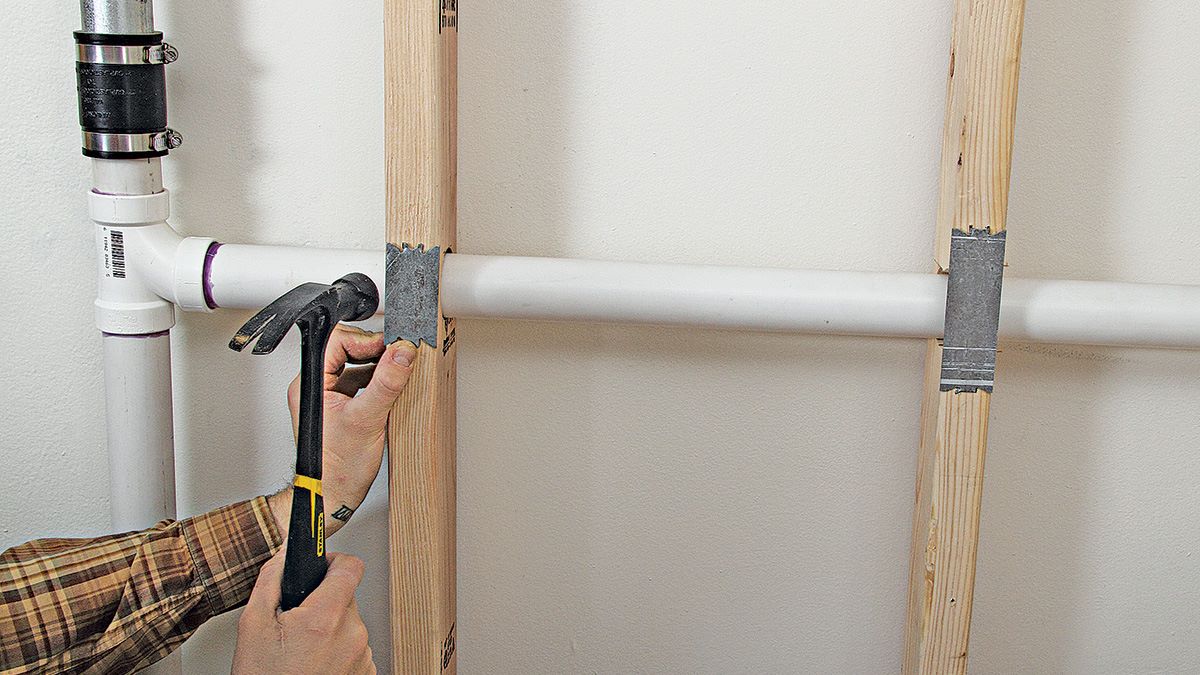
- Secure the drainage pipes to the wall or ceiling using pipe hangers or straps. Ensure that the pipes are properly supported, avoiding any sagging or tension in the system.
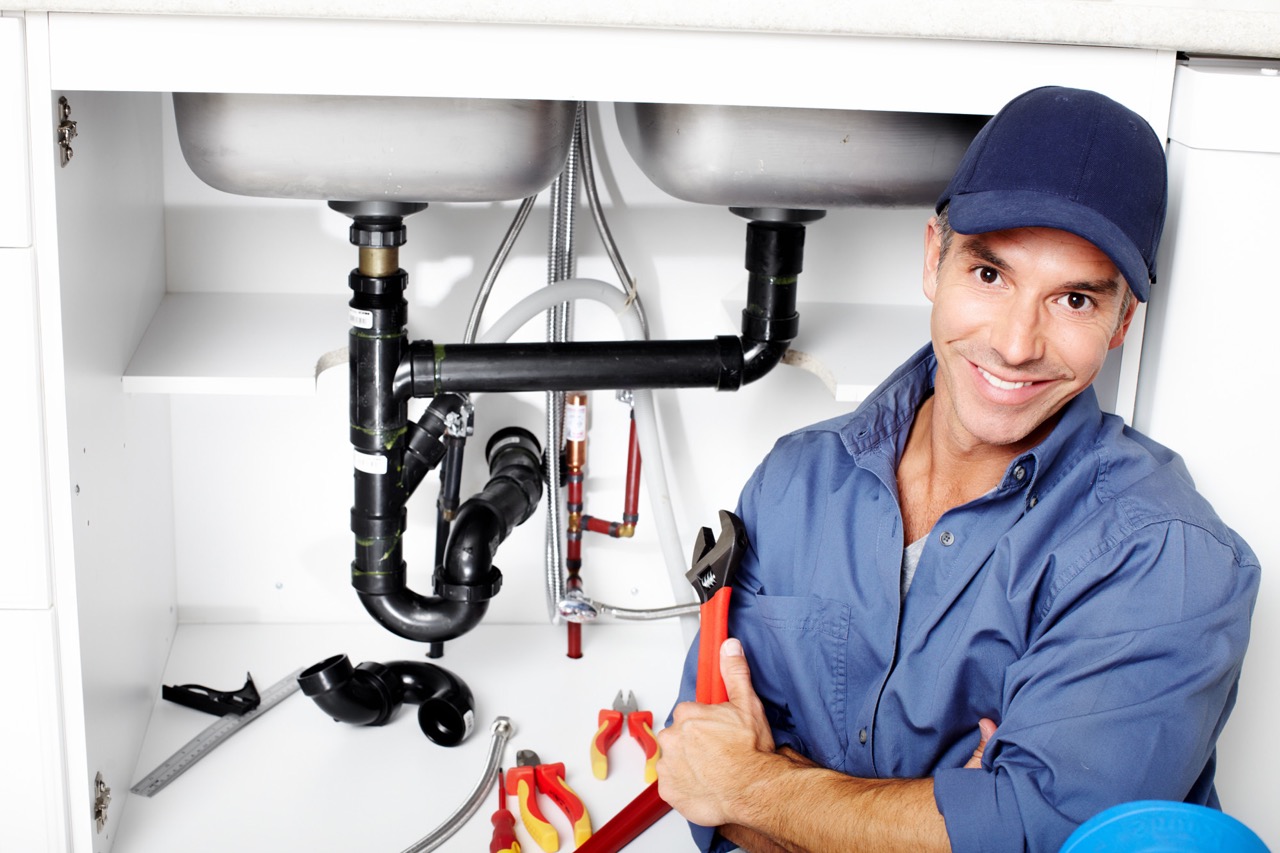
- Install P-traps under sinks and at the base of fixtures to prevent sewer gases from entering the house. These traps should be connected to the drainage system using appropriate fittings.
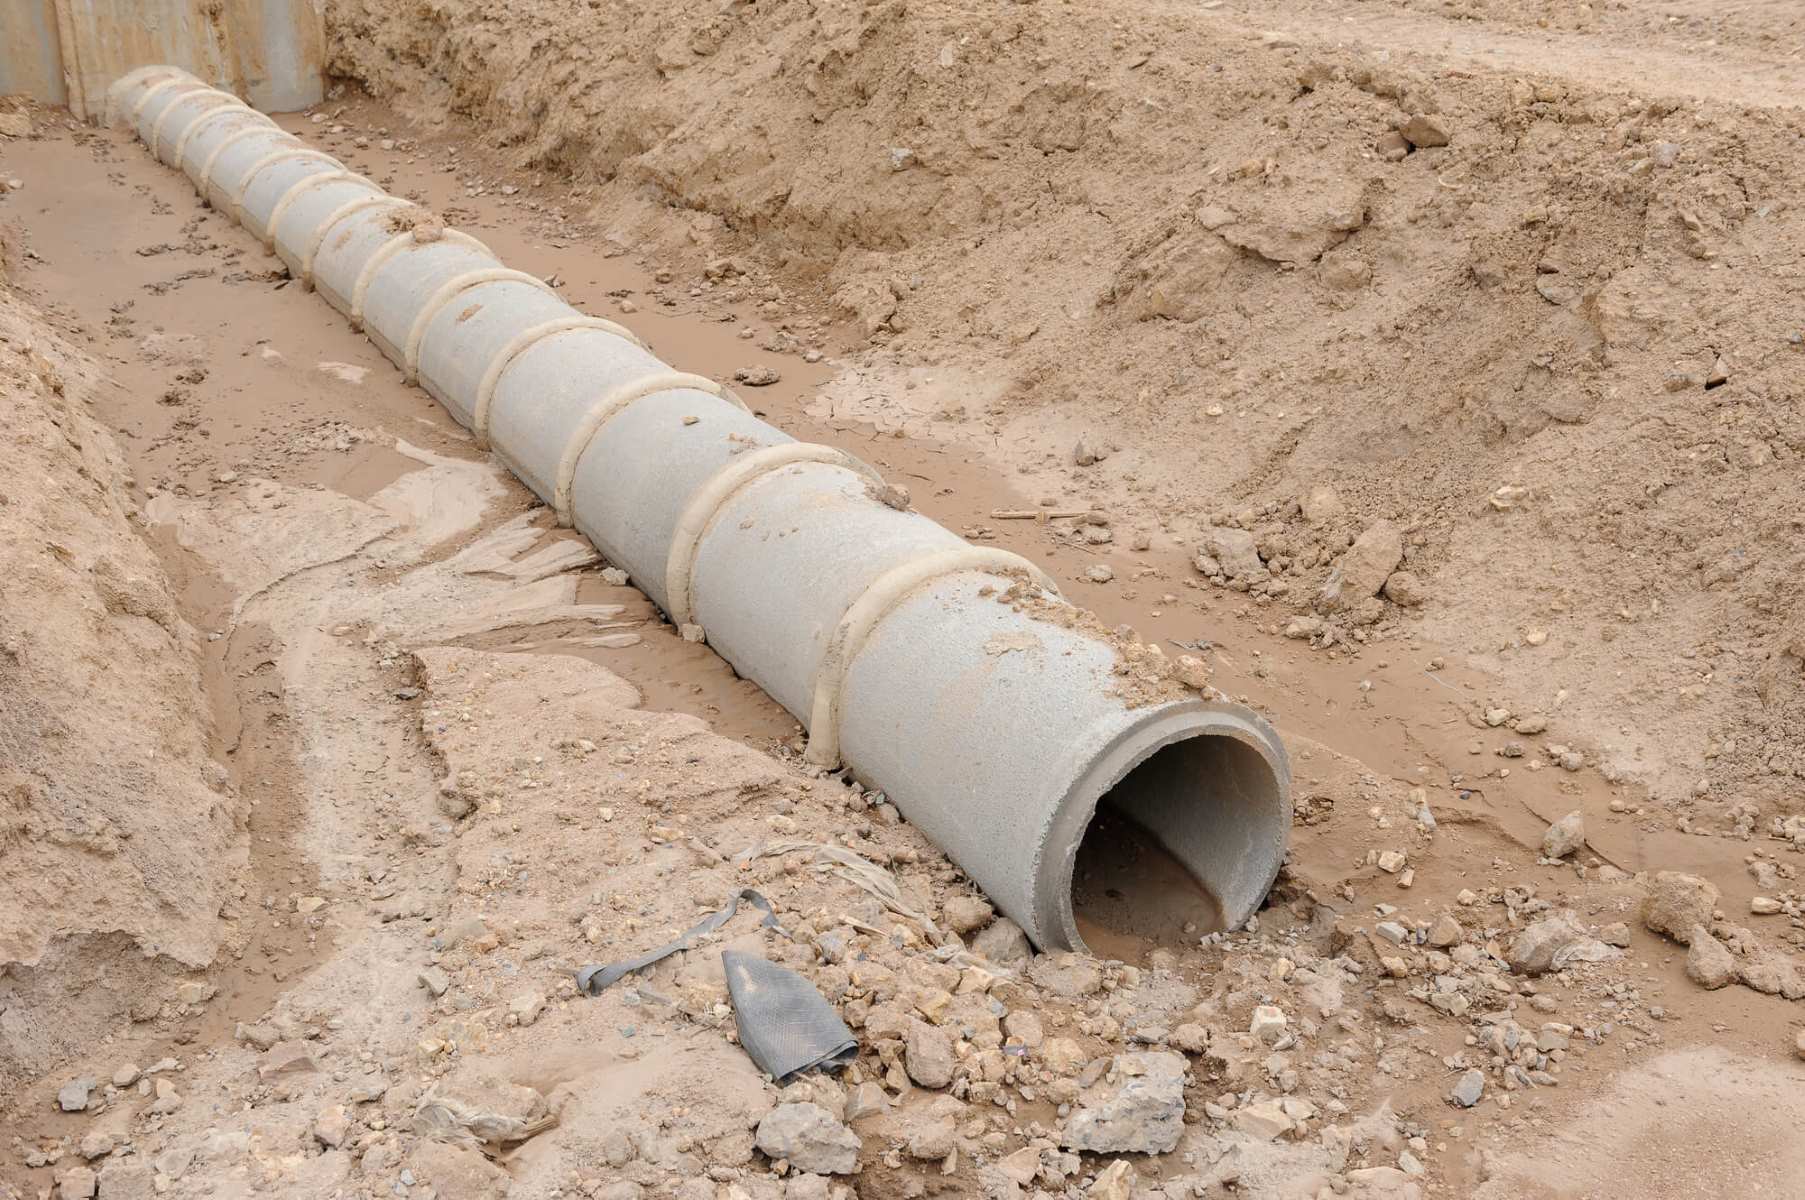
- Connect the drainage pipes to the main sewer line or septic system. This connection may require a wye fitting and proper sealing to prevent leaks.
- Test the drainage system for any leaks by pouring water down the drains and observing for any signs of leakage. Make any necessary adjustments or repairs to ensure a watertight system.
While installing drainage pipes, it’s essential to comply with local plumbing codes and regulations. These guidelines may include requirements for pipe sizes, proper ventilation, and the use of specific fittings. Adhering to these standards ensures a well-functioning and compliant plumbing system.
Once the drainage pipes are installed and tested for leaks, you can proceed to the next step of installing ventilation pipes to maintain proper airflow within the plumbing system. We will discuss this step in the following section.
Read more: How To Design Plumbing For A House
Step 7: Install Ventilation Pipes
Installing ventilation pipes is a crucial step when running plumbing in a house. Ventilation pipes ensure proper airflow within the plumbing system, preventing airlocks and maintaining the flow of wastewater. Follow these steps to install ventilation pipes:
- Refer to your detailed plan to identify the locations where ventilation pipes are required. These typically connect to the drainage pipes at strategic points.
- Measure and cut the ventilation pipes to the appropriate lengths using a pipe cutter or hacksaw. Use a deburring tool to remove any sharp edges.
- Connect the ventilation pipes using appropriate fittings, such as elbows or couplings. Apply PVC primer and cement to the inside of the fittings and the outside of the pipes, and then firmly push the pipes into the fittings. Twist the pipes slightly to ensure a secure connection.
- Secure the ventilation pipes to the wall or ceiling using pipe hangers or straps. Ensure that the pipes are properly supported and positioned vertically to allow for proper airflow.
- Extend the ventilation pipes above the roofline to prevent odors and gases from reentering the house. Install a vent cap or flashing to protect the opening from rain and debris.
- Test the ventilation system by running water through the drainage pipes. Observe if there is any gurgling or slow drainage, as these can indicate improper ventilation. Make any necessary adjustments or additions to ensure proper airflow.
Proper ventilation is vital to the functionality and longevity of your plumbing system. Ventilation pipes allow air to enter and exit the drainage system, preventing the buildup of pressure and ensuring a smooth flow of wastewater. It also helps to prevent foul odors from entering the living spaces.
When installing ventilation pipes, it’s crucial to follow local plumbing codes and regulations. These guidelines may specify the minimum sizes and proper positioning of ventilation pipes, as well as the distances between vents and fixtures. Adhering to these standards ensures the proper ventilation of your plumbing system.
Once the ventilation pipes are installed and tested for functionality, you can proceed to the next step of installing water supply pipes to complete your plumbing system. We will discuss this step in the following section.
Step 8: Install Water Supply Pipes
Installing water supply pipes is a crucial step when running plumbing in a house. Water supply pipes deliver clean, pressurized water to the fixtures and appliances in your home. Follow these steps to install water supply pipes:
- Refer to your detailed plan to identify the routing of water supply pipes. Ensure that the pipes are correctly positioned to reach each fixture location.
- Measure and cut the water supply pipes to the appropriate lengths using a pipe cutter or hacksaw. Use a deburring tool to remove any sharp edges.
- Install shut-off valves at each fixture location for convenient maintenance and repair. These valves will allow you to isolate specific fixtures without shutting off the water to the entire house.
- Connect the water supply pipes to the shut-off valves using appropriate fittings. Apply plumber’s tape or thread sealant to ensure a watertight seal.
- Connect the water supply pipes to the main water supply line using appropriate fittings. Use a pipe wrench to tighten the connections securely.
- Secure the water supply pipes to the wall or ceiling using pipe hangers or straps. Ensure that the pipes are properly supported and positioned to prevent any sagging or tension.
- Test the water supply system by turning on the main water shut-off valve and opening each fixture’s shut-off valve. Check for any leaks or water flow issues. If any problems arise, tighten fittings or replace faulty components.
When installing water supply pipes, it’s crucial to comply with local plumbing codes and regulations. These guidelines may include specific requirements for pipe materials, sizes, and proper insulation to prevent freezing in cold climates. Adhering to these standards ensures a safe and efficient water supply system.
Once the water supply pipes are installed and tested for functionality, you can proceed to the next step of installing faucets, fixtures, and appliances to complete your plumbing system. We will discuss this step in the following section.
Step 9: Install Faucets, Fixtures, and Appliances
Installing faucets, fixtures, and appliances is the final step when running plumbing in a house. This step involves connecting these components to the water supply and drainage systems, ensuring proper functionality and usage. Follow these steps to install faucets, fixtures, and appliances:
- Refer to your detailed plan and identify the locations where faucets, fixtures, and appliances should be installed.
- Install faucets at sinks and connect them to the water supply lines using appropriate fittings. Use a wrench to securely tighten the connections, ensuring there are no leaks.
- Install toilets by securing them to the floor with bolts and connecting the water supply line to the fill valve. Follow the manufacturer’s instructions for a proper installation.
- Connect showers and tubs to the water supply lines using appropriate fittings. Install the showerhead or tub spout according to the manufacturer’s instructions.
- Install other fixtures, such as bidets or utility sinks, by connecting them to the water supply lines and providing the necessary drainage connections.
- Connect appliances, such as dishwashers, washing machines, or ice makers, to the water supply and drainage systems as required. Follow the manufacturer’s instructions and ensure proper connections.
- Test all faucets, fixtures, and appliances for proper functionality. Check for leaks, ensure proper water flow, and test drainage systems for efficient operation.
During the installation of faucets, fixtures, and appliances, it’s important to follow manufacturer’s instructions and adhere to local plumbing codes. This ensures the proper installation and functionality of these components while maintaining compliance with regulations.
Once all faucets, fixtures, and appliances are installed and tested, you can proceed with testing and inspections to ensure the overall functionality and safety of your plumbing system. We will discuss this step in the following section.
Step 10: Testing and Inspections
The final step when running plumbing in a house is testing and inspections. This step allows you to ensure the functionality, safety, and compliance of your plumbing system. Follow these steps to properly test and inspect your plumbing system:
- Turn on the main water supply and check for any leaks or water flow issues. Inspect all connections, joints, and fixtures for signs of leakage. If any leaks are detected, tighten the fittings or replace faulty components.
- Test the functionality of all faucets, fixtures, and appliances. Make sure they are operating properly, with proper water flow and drainage. Check for any clogs or irregularities in water flow.
- Check the water pressure in your plumbing system. Use a pressure gauge to ensure it falls within the recommended range. If the pressure is too high, install a pressure regulator to prevent damage to your plumbing fixtures and appliances.
- Verify that all drainage pipes are functioning correctly. Run water through each drain and observe its flow. Ensure there are no backups, slow drains, or gurgling sounds that may indicate drainage issues.
- If required by local regulations or the permitting office, schedule an inspection of your plumbing system. A professional inspector will check the compliance, safety, and functionality of your installation. Make any necessary corrections based on their recommendations.
- Once all necessary corrections have been made and your plumbing system has passed the inspection, you can proceed to cover or enclose any exposed pipes and fixtures. This helps protect them from damage and enhances the overall aesthetics of your home.
By thoroughly testing and inspecting your plumbing system, you can identify and address any issues before they become major problems. This ensures the functionality and longevity of your plumbing system while providing peace of mind that it meets safety and compliance standards.
It’s important to note that regular maintenance and periodic inspections are essential to keep your plumbing system in good condition. Regularly check for leaks, inspect connections, and address any plumbing-related issues promptly to prevent further damage or costly repairs.
With the completion of testing and inspections, you have successfully run plumbing in your house. Congratulations! Your plumbing system is now ready to provide you with clean water and efficient drainage for a comfortable living space.
Read more: How To Check Plumbing In A House
Conclusion
Running plumbing in a house is a complex process that requires careful planning, preparation, and meticulous execution. By following the steps outlined in this article, you can successfully install a plumbing system that meets your needs, while ensuring compliance with local regulations and codes.
Throughout the process, it’s important to prioritize safety and compliance. Obtain the necessary permits, familiarize yourself with local regulations, and seek professional guidance if needed. This will help prevent costly fines and ensure the long-term functionality of your plumbing system.
Remember to create a detailed plan that outlines the layout of the plumbing system, including the main water supply line, drainage pipes, ventilation pipes, and water supply pipes. This plan will serve as your guide throughout the installation process.
Proper installation of the main water supply line, drainage pipes, ventilation pipes, and water supply pipes is crucial for a functional plumbing system. Take your time to measure, cut, and connect pipes and fittings accurately. Ensure that all connections are tight and secure, and test the system for leaks and proper functionality.
The final steps of installing faucets, fixtures, and appliances, followed by thorough testing and inspections, ensure that your plumbing system is fully operational and in compliance with plumbing standards.
Remember, regular maintenance and periodic inspections are essential to keep your plumbing system in optimal condition. Address any issues promptly and perform routine checks to prevent potential problems and prolong the lifespan of your plumbing system.
Installing and running plumbing in a house can be a challenging task, but with proper planning, preparation, and attention to detail, you can successfully complete the project. By having a well-functioning plumbing system, you will have access to clean water and efficient drainage, enhancing the comfort and functionality of your home.
Frequently Asked Questions about How To Run Plumbing In A House
Was this page helpful?
At Storables.com, we guarantee accurate and reliable information. Our content, validated by Expert Board Contributors, is crafted following stringent Editorial Policies. We're committed to providing you with well-researched, expert-backed insights for all your informational needs.

0 thoughts on “How To Run Plumbing In A House”