Articles
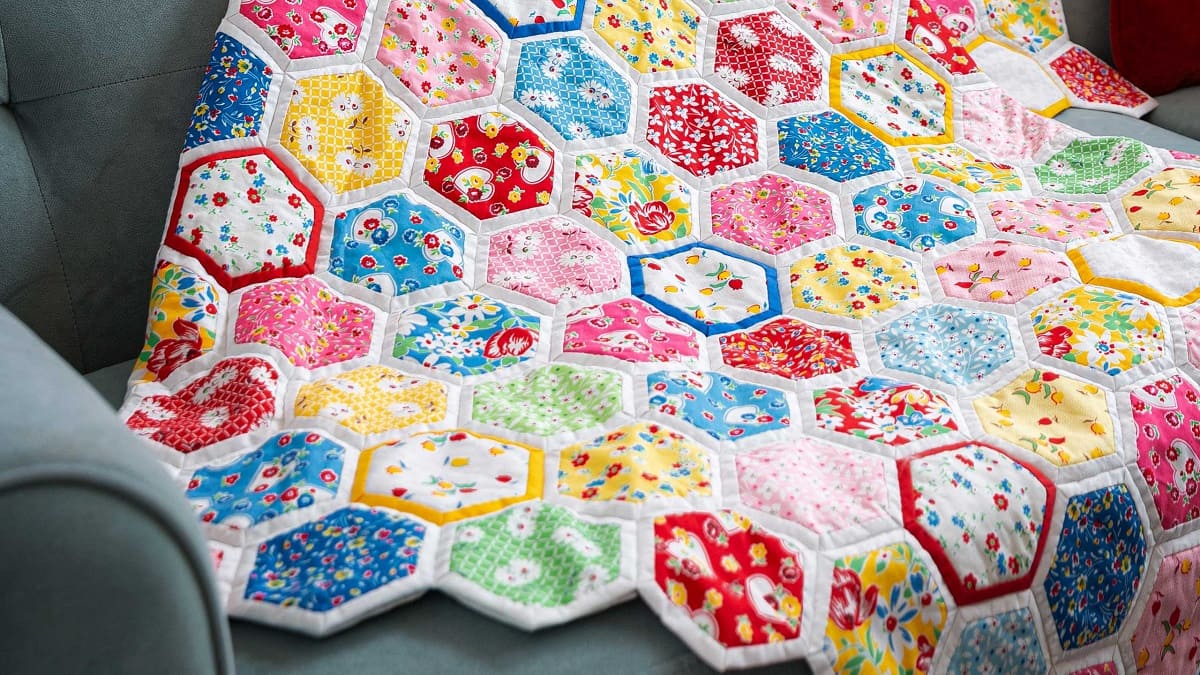
How To Sew A Hexagon Quilt
Modified: August 28, 2024
Learn how to sew a beautiful hexagon quilt with our helpful articles. Find step-by-step instructions and expert tips to create your own unique masterpiece.
(Many of the links in this article redirect to a specific reviewed product. Your purchase of these products through affiliate links helps to generate commission for Storables.com, at no extra cost. Learn more)
Introduction
Welcome to the world of quilting! Creating a quilt is a wonderful and fulfilling craft that allows you to showcase your creativity, while also providing warmth and comfort. One popular quilting technique is the hexagon quilt, known for its unique and eye-catching pattern. In this article, we will guide you through the process of sewing a hexagon quilt, step by step.
Before we begin, it’s important to gather all the necessary materials and tools. This will ensure a smooth and successful quilting experience. Let’s take a look at what you’ll need.
Key Takeaways:
- Creating a hexagon quilt involves selecting fabric, cutting templates, sewing hexagons, assembling layers, and adding binding. The finishing touches add a personal and unique flair to your masterpiece.
- Quilting is not just a craft, but a form of artistic expression. Embrace creativity, seek inspiration, and cherish the process of quilting as a way to unwind and create something beautiful.
Read more: How To Quilt On A Brother Sewing Machine
Materials and Tools
Before diving into the world of hexagon quilting, make sure you have the following materials and tools on hand:
- Fabric – Choose a variety of fabrics in different colors and patterns. Opt for cotton fabric, as it’s easy to work with and durable.
- Quilter’s ruler and rotary cutter – These tools allow for precise and efficient cutting of fabric.
- Hexagon templates – You can either purchase pre-made templates or create your own using stencil plastic or cardboard.
- Pins and needles – Opt for sharp, fine needles for easier stitching.
- Thread – Select a thread that matches the color of your fabric or choose a contrasting color for added visual interest.
- Scissors – Make sure you have a pair of sharp scissors for cutting fabric and thread.
- Iron and ironing board – Pressing your fabric is crucial for achieving crisp and professional-looking seams.
- Sewing machine – While it’s possible to hand-sew a hexagon quilt, using a sewing machine will save you time and effort.
- Quilt batting – This is the layer of insulation that goes between the quilt top and the backing fabric.
- Backing fabric – Choose a coordinating fabric for the back of your quilt.
- Binding – This is the fabric strip that finishes off the edges of the quilt.
Once you’ve gathered all the necessary materials and tools, you’re ready to start your hexagon quilt journey. The next step is selecting the right fabric for your project. Let’s delve into the world of fabric selection.
Choosing Fabric
Selecting the right fabric for your hexagon quilt is an exciting and important step in the quilting process. The fabric you choose will determine the overall look and feel of your quilt. Here are some tips to help you make the perfect fabric selections:
- Consider the purpose and style of your quilt: Are you making the quilt as a practical bedding quilt, a decorative wall hanging, or a cozy lap quilt? The purpose of the quilt can influence the type of fabric you should choose. For example, if you’re making a bed quilt, you might want to opt for sturdier and more durable fabrics. For a decorative wall hanging, you can focus on fabrics with bold patterns and colors.
- Think about color coordination: Take into account the color scheme you want to achieve in your quilt. Do you prefer a monochromatic palette, a bold and vibrant combination, or a soft and pastel scheme? Think about the overall look you want to achieve and select fabrics that complement each other.
- Consider the scale of the prints: If you’re using patterned fabrics, pay attention to the scale of the prints. It’s a good idea to choose fabrics with different scales of patterns to add depth and visual interest to your quilt.
- Mix and match different textures: Adding different textures to your quilt can make it more visually appealing. Consider incorporating fabrics with different textures, such as cotton, linen, or flannel, to add dimension to your quilt.
- Don’t forget about contrast: A mix of light and dark fabrics or fabrics with contrasting colors can make your hexagon quilt design pop. Experiment with contrasting fabrics to create an eye-catching effect.
Remember, the fabric selection process is a personal one, and there are no right or wrong choices. Trust your instincts and choose fabrics that speak to you and align with your vision for the quilt.
Now that you’ve chosen your fabrics, it’s time to move on to the next step: cutting the hexagon templates. Let’s dive in!
Cutting Hexagon Templates
The first step in creating a hexagon quilt is cutting hexagon templates. These templates will serve as a guide for cutting fabric into uniform hexagon shapes. Follow these steps to cut your hexagon templates:
- Decide on the size of your hexagons: Measure and determine the desired size of your hexagons. Common sizes range from 1 inch to 4 inches, but you can choose any size that suits your project.
- Prepare the template material: Use stencil plastic, cardboard, or any other sturdy material to create your hexagon templates. Ensure that the material is thick enough to withstand repeated use.
- Draw the hexagon shape: Use a ruler and pencil to draw a hexagon shape on the template material. Start by drawing a straight line of the desired length, then use your ruler to draw two lines at an angle of 120 degrees to create the sides of the hexagon. Repeat this step for each hexagon size you plan to use.
- Cut out the hexagon shapes: Use scissors or a craft knife to carefully cut along the lines you drew, creating the hexagon shapes. Take your time to ensure clean and precise cuts.
Once you have your hexagon templates ready, you’re all set to move on to the next step: preparing the fabric. Let’s continue our hexagon quilting journey!
Preparing the Fabric
Before sewing your hexagon quilt pieces together, it’s important to prepare the fabric to ensure a clean and professional final result. Here are the steps to follow when preparing your fabric:
- Wash and press the fabric: Begin by washing and drying your fabric according to the manufacturer’s instructions. This helps to remove any chemicals or residues and ensures that your quilt won’t shrink or warp after it’s completed. Once the fabric is dry, use an iron to press it flat and remove any wrinkles.
- Trim the edges: Cut off any uneven or frayed edges of the fabric to ensure that you are working with clean and straight lines.
- Identify your fabric’s grain: Fabric has a grain, which refers to the direction in which the threads run. To identify the grain of your fabric, gently pull the fabric in different directions. The direction with the least amount of stretch is the lengthwise grain. The direction with the most stretch is the crosswise grain. Understanding the grain of your fabric will help in aligning and stitching the pieces accurately.
- Align and pin the fabric: Once you’ve identified the grain, fold the fabric in half lengthwise, matching the selvages (the finished edges of the fabric) together. Smooth out any wrinkles and align the edges. Use pins to secure the fabric in place, making sure that the grain is straight and the fabric is smooth throughout.
- Trim excess fabric: Using a rotary cutter or fabric scissors, trim off any excess fabric, ensuring that the edges are clean and even.
By taking the time to properly prepare your fabric, you set yourself up for success in the quilting process. With the fabric ready, it’s time to start sewing the hexagons together. Let’s move on to the next step!
Read more: How To Sew A Chevron Quilt
Sewing Hexagons
Now that you have your fabric prepared, it’s time to start sewing the hexagons together. This step requires careful alignment and stitching to create a beautiful and cohesive quilt top. Follow these steps to sew your hexagons:
- Place two hexagons right sides together: Take two hexagon fabric pieces and align them with their right sides facing each other. Ensure that the edges are lined up accurately.
- Pinning the hexagons: Use pins to secure the edges of the hexagons together. Place the pins close to the edge, perpendicular to the stitching line, to keep them in place during sewing.
- Stitching the hexagons: Using a sewing machine or hand stitching, sew along one edge of the hexagons. Use a quarter-inch seam allowance, keeping the stitching line straight and consistent.
- Repeat the process: Continue sewing the remaining sides of the hexagons, one at a time. As you sew each edge, remove the pins and make sure the corners align properly.
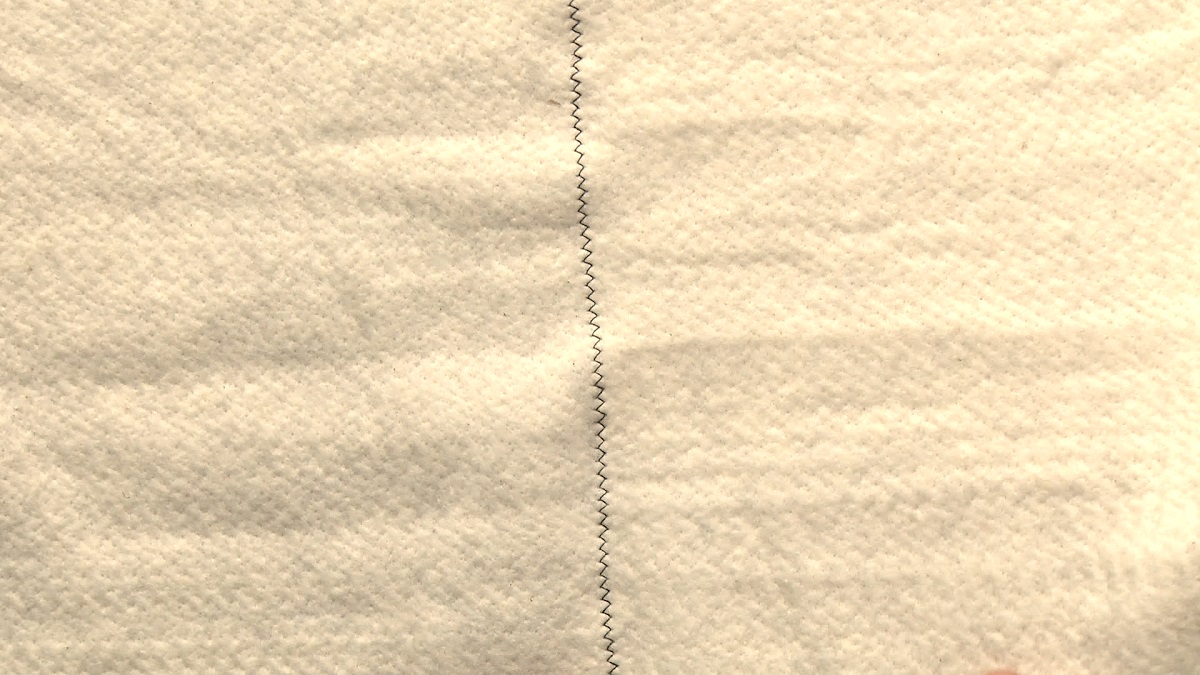
- Press the seams: Open up the hexagon pair and press the seam to one side using an iron. This will create a crisp and flat seam allowance.
- Continue adding hexagons: Repeat the above steps to add more hexagons to create a row or a larger block. Keep the seams pressed to one side.
- Joining rows or blocks: Once you have multiple rows or blocks of hexagons, align them right sides together and sew along the edges to join them. Press the seams open or to one side, depending on your preference.
- Trimming and squaring up: After sewing the hexagons together, you may need to trim and square up the edges to ensure that your quilt top is even and uniform. Use a ruler and rotary cutter for precise trimming.
Take your time when sewing the hexagons together, ensuring that the edges and corners align accurately. With practice, you’ll develop a rhythm and technique that will make the process easier and more enjoyable. Once your quilt top is complete, it’s time to move on to the next step: assembling the quilt layers. Let’s continue quilting!
When sewing a hexagon quilt, use a template to ensure all your pieces are the same size and shape. This will help your quilt come together more smoothly and accurately.
Assembling the Quilt Top
With your hexagon pieces sewn together, it’s time to assemble the quilt top. This step involves arranging the hexagons in a visually pleasing layout and joining them together. Follow these steps to assemble your quilt top:
- Lay out your hexagons: Start by laying out your hexagon pieces on a flat surface, such as a design wall or a large table. Take the time to experiment with different arrangements until you are satisfied with the overall design. Consider color placement, pattern distribution, and visual balance.
- Start joining the hexagons: Once you have determined the layout, begin joining the hexagons together. Take two adjacent hexagons and align their edges, right sides together. Pin them in place to keep them secure.
- Stitch the hexagons together: Sew along the pinned edge using a ¼ inch seam allowance. Remove the pins as you sew, and continue joining the hexagons according to your layout. Press the seams as you go to keep the quilt top flat and neat.
- Continue joining rows: After stitching the hexagons in one row, move on to the next row. Align the hexagons with the previous row, pin them together, and sew the edges. Repeat this process until all rows are joined.
- Press the quilt top: Once all the hexagons are sewn together, press the quilt top to set the seams and ensure a smooth finish. Use a warm iron on the reverse side of the quilt top, pressing over the seams.
Assembling the quilt top is an exciting step that brings your hexagon design to life. Take your time and pay attention to detail to create a beautiful and cohesive quilt top. Once the quilt top is assembled, it’s time to move on to the next step: quilting the layers. Let’s continue on our quilting journey!
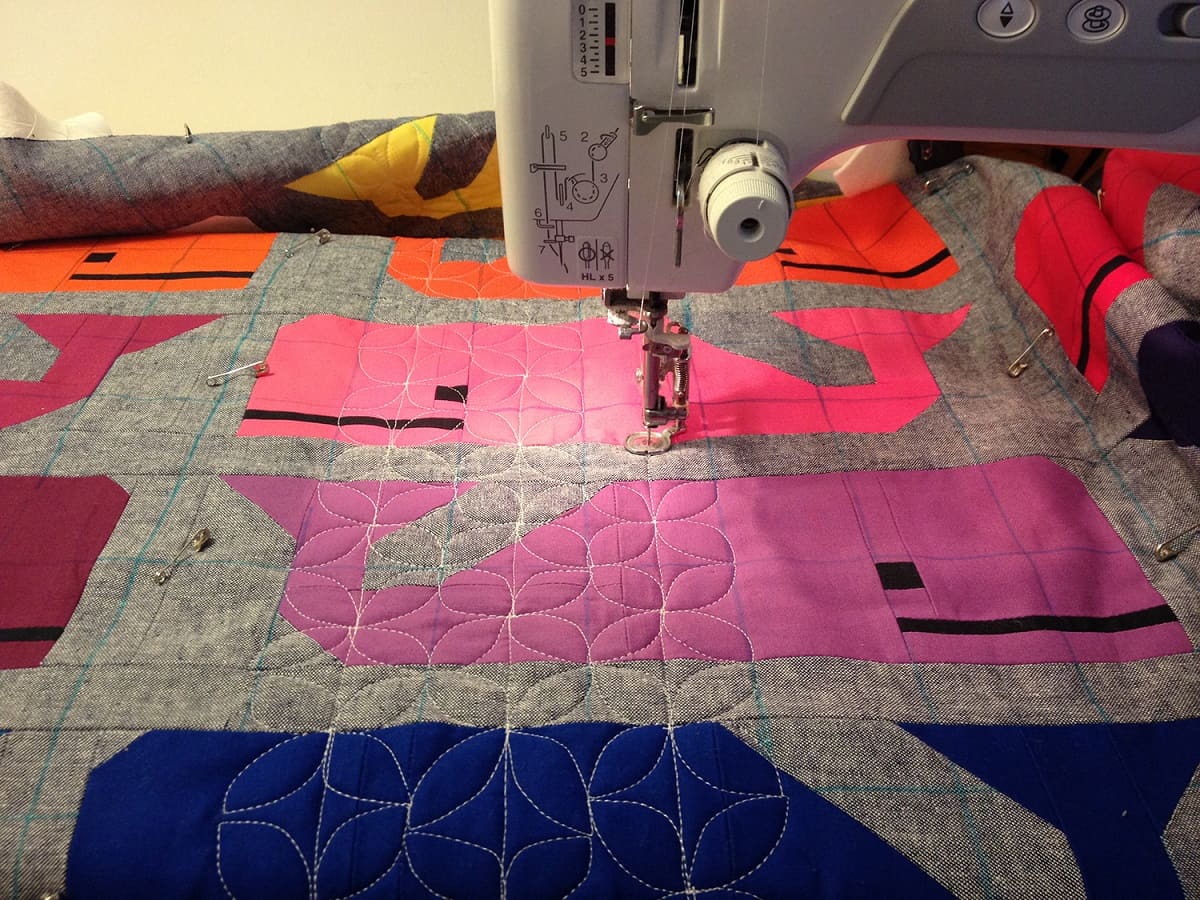
Quilting the Layers
Quilting the layers is the process of stitching together the quilt top, batting, and backing fabric to create a sturdy and durable quilt. This step adds both functional and decorative elements to your hexagon quilt. Follow these steps to quilt the layers:
- Prepare the layers: Lay the quilt backing fabric right side down on a flat surface. Smooth out any wrinkles or folds. Place the batting on top of the backing fabric, ensuring it is centered and aligned with the edges. Finally, place the quilt top right side up on top of the batting.
- Baste the layers together: To hold the layers in place during quilting, you’ll need to baste them together. There are several methods you can use for basting, such as using safety pins, spray basting, or hand basting with thread. Choose the method that works best for you and secure the layers together at regular intervals.
- Choose your quilting design: Decide on the quilting design you want to use. You can opt for simple straight-line quilting, free-motion quilting, or even a custom-designed pattern. Consider the overall aesthetic of your quilt and the level of quilting experience you have.
- Quilt the layers: Using your chosen method and design, begin quilting the layers together. Work slowly and carefully, following your chosen quilting lines. If using a sewing machine, adjust the tension and stitch length accordingly. If hand quilting, use a quilting needle and coordinating thread.
- Finishing the quilting: Once you have quilted the entire quilt top, trim any excess batting and backing fabric, ensuring that the edges are even. This step prepares your quilt for adding binding to finish the edges.
Quilting the layers of your hexagon quilt adds both beauty and functional strength to your creation. It’s an opportunity to showcase your quilting skills and enhance the overall design. Once the layers are quilted, it’s time to move on to the next step: adding binding to finish off the edges. Let’s continue our quilting journey!
Adding Binding
Adding binding is the final step in completing your hexagon quilt. The binding gives a neat and finished look to the edges of the quilt, while also providing durability and structure. Follow these steps to add binding to your quilt:
- Prepare the binding strips: Cut fabric strips for binding that are 2.5 inches wide and long enough to cover the perimeter of your quilt. Alternatively, you can purchase pre-made binding for convenience.
- Join the binding strips: If using multiple strips to create the binding, join them together by sewing them at a 45-degree angle. Trim the excess fabric, press the seam open, and trim the dog ears.
- Prepare the quilt edges: Trim the excess backing fabric and batting so that they align evenly with the quilt top. Make sure the corners are neat and square.
- Attach the binding: Starting in the middle of one side of the quilt, leave a tail of binding and align the raw edges of the binding strip with the raw edges of the quilt. Use binding clips or pins to hold them in place.
- Sew the binding: Using a ¼ inch seam allowance, sew the binding to the quilt top, removing the clips or pins as you go. When you reach the corners, fold the binding to create neat mitered corners. Sew until you reach the starting point, leaving a tail of binding.
- Finish the binding: Fold the binding over the raw edges of the quilt to the backside. Use clips or pins to hold it in place. Hand stitch or use a sewing machine to stitch the binding down, making sure the stitches are invisible from the front.
- Complete the corners: At the corners, fold the binding to create mitered corners, matching the folded edges neatly. Hand stitch or machine stitch the corners to secure them in place.
Adding binding is a crucial step in finishing your hexagon quilt. It not only gives a polished look to your quilt but also provides durability and protection to the edges. Once the binding is securely attached, it’s time for the final touches.
In the next step, we will explore the finishing touches you can add to make your hexagon quilt truly special. Let’s put the finishing touches on our quilting journey!
Read more: How To Hand Sew A Quilt Block
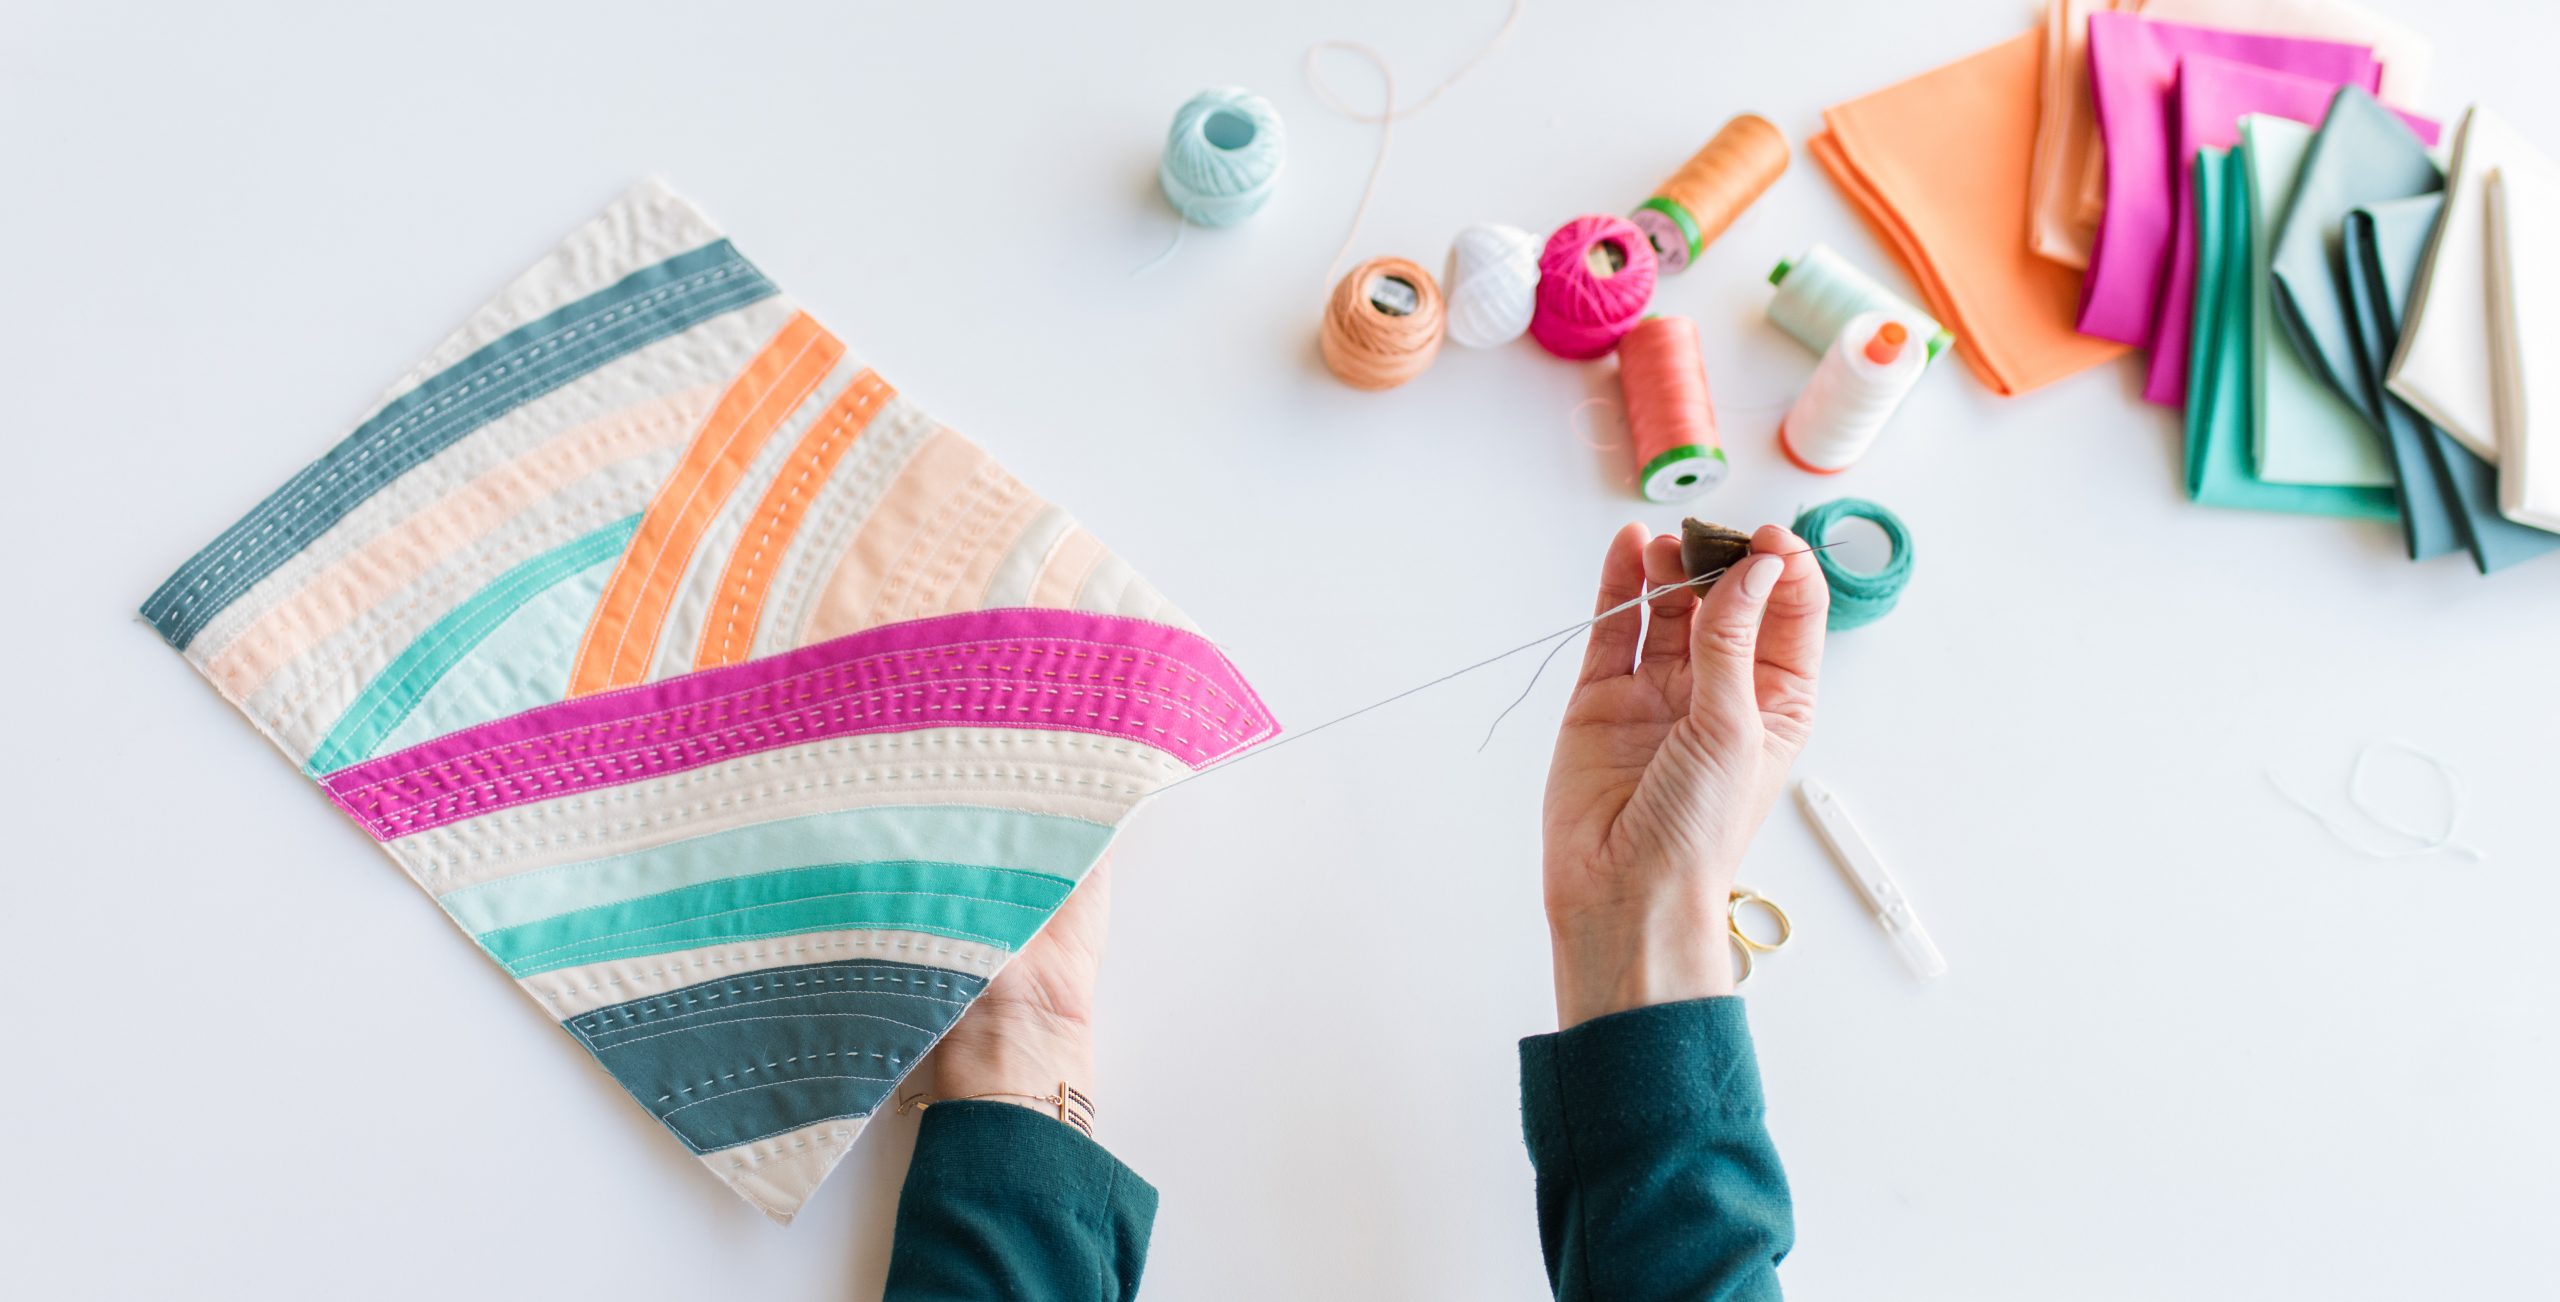
Finishing Touches
Congratulations on reaching the final step of completing your beautiful hexagon quilt! The finishing touches are what make your quilt unique and truly special. Here are some ideas to add those final touches:
- Quilt Label: Create a label for your quilt that includes your name, the date it was completed, and any other details you’d like to include. Attach it to the back of the quilt to add a personal touch and document its history.
- Embellishments: Consider adding embellishments such as buttons, embroidery, or appliques to enhance the design of your quilt. These additional touches can add depth and texture to your quilt, making it stand out.
- Quilt Hanging Sleeve: If you plan to hang your quilt, add a hanging sleeve to the back. This allows you to display your quilt on a rod or dowel, showcasing your hard work and creativity.
- Quilt Label Embroidery: Instead of a separate label, you can choose to incorporate the quilt details directly into the quilt through embroidery. This can be done on a corner of the quilt or as part of a border design.
- Quilt Binding Embellishment: Consider adding a decorative touch to your quilt binding by using contrasting or coordinating fabric, adding a flange, or incorporating decorative stitching.
- Quilt Border: If desired, you can add a border around the edge of your quilt to frame the design and create a finished look. Choose a fabric that complements the overall color scheme of your quilt.
- Quilt Washing and Care Instructions: Include a note with instructions for washing and caring for your quilt. This ensures its longevity and helps the recipient understand how to properly care for their cherished quilt.
Remember, the finishing touches are an opportunity to add your personal flare and make your quilt truly one-of-a-kind. It’s the last step in the quilt-making process, so take your time and enjoy putting those final touches on your masterpiece.
With the finishing touches complete, your hexagon quilt is ready to be cherished and enjoyed for years to come. Take a step back, admire your hard work, and revel in the satisfaction of creating something beautiful with your own hands.
Congratulations once again on completing your hexagon quilt, and happy quilting!
Conclusion
Congratulations on successfully completing your hexagon quilt! You have embarked on a creative journey that has resulted in a beautiful and unique quilt that you can be proud of. Throughout the process, you have learned about selecting fabric, cutting hexagon templates, sewing the hexagons together, assembling the quilt top, quilting the layers, adding binding, and putting the finishing touches on your creation.
Quilting is not just a craft; it’s a form of artistic expression. Your hexagon quilt showcases your creativity, attention to detail, and passion for creating something handmade. The combination of colors, patterns, and textures in your quilt tells a story and will bring warmth and beauty to any space it graces.
While this guide has provided you with the fundamental steps to sew a hexagon quilt, it’s important to remember that quilting is a lifelong learning journey. Each quilt you create will offer new opportunities for growth and exploration. Experiment with different techniques, designs, and fabric combinations to continue honing your skills and developing your unique quilting style.
As you continue on your quilting journey, don’t be afraid to embrace your creativity and try new things. Seek inspiration from other quilters, attend workshops or classes, and immerse yourself in the vibrant quilting community. By doing so, you will continue to expand your knowledge and skills, creating even more breathtaking quilts.
Finally, remember that quilting is not just about the finished product, but also the joy and relaxation it brings during the process. Cherish the time spent quilting – whether it’s alone, with friends, or as a family activity. Let it be a form of self-care and a way to unwind from the pressures of everyday life.
Once again, congratulations on completing your hexagon quilt. It’s a true testament to your creativity, perseverance, and dedication. Now, go ahead and showcase your beautiful quilt, share it with loved ones, or even consider gifting it to someone special. Your journey as a quilter has just begun, and the possibilities are endless. Happy quilting!
Frequently Asked Questions about How To Sew A Hexagon Quilt
Was this page helpful?
At Storables.com, we guarantee accurate and reliable information. Our content, validated by Expert Board Contributors, is crafted following stringent Editorial Policies. We're committed to providing you with well-researched, expert-backed insights for all your informational needs.


0 thoughts on “How To Sew A Hexagon Quilt”