Articles
How To Stipple A Quilt
Modified: January 18, 2024
Learn how to stipple a quilt with our informative articles. Find step-by-step instructions, expert tips, and inspiration for creating beautiful quilt designs.
(Many of the links in this article redirect to a specific reviewed product. Your purchase of these products through affiliate links helps to generate commission for Storables.com, at no extra cost. Learn more)
Introduction
Welcome to the world of stippling! If you’re an avid quilter or are just getting started, you may have come across the term “stippling” in your quilting journey. Stippling is a popular quilting technique that adds texture, depth, and visual interest to quilts. It involves stitching a series of free-motion, closely spaced, curvy lines or shapes to create a beautiful overall pattern.
Stippling is not only visually stunning but also functional. It helps secure the quilt layers together, preventing shifting and bunching over time. It’s a versatile technique that can be used on various quilting projects, including large quilts, mini quilts, wall hangings, and even quilted accessories.
In this article, we will walk you through the process of stippling a quilt, from understanding the technique to mastering different patterns. We will also provide you with some helpful tips and tricks to make your stippling experience enjoyable and successful. So, let’s dive in and discover the world of stippling!
Key Takeaways:
- Master the art of stippling to add texture, depth, and visual interest to your quilts. Embrace imperfections, experiment with patterns, and showcase your creativity through this captivating quilting technique.
- Prepare your quilt, practice the stippling technique, and add finishing touches to create stunning stippled designs. Embrace imperfections, experiment with patterns, and showcase your creativity through this captivating quilting technique.
Read more: How To Machine Quilt A Large Quilt
What is Stippling?
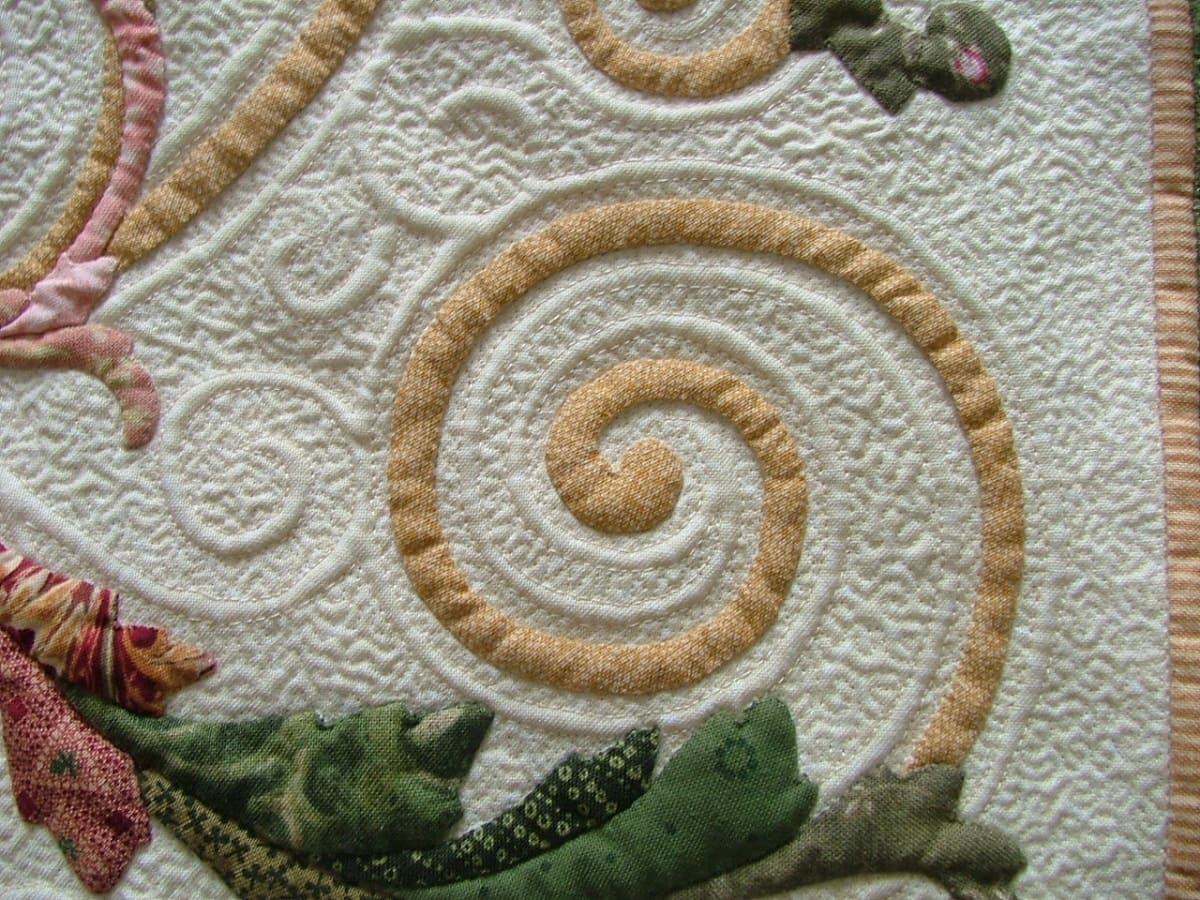
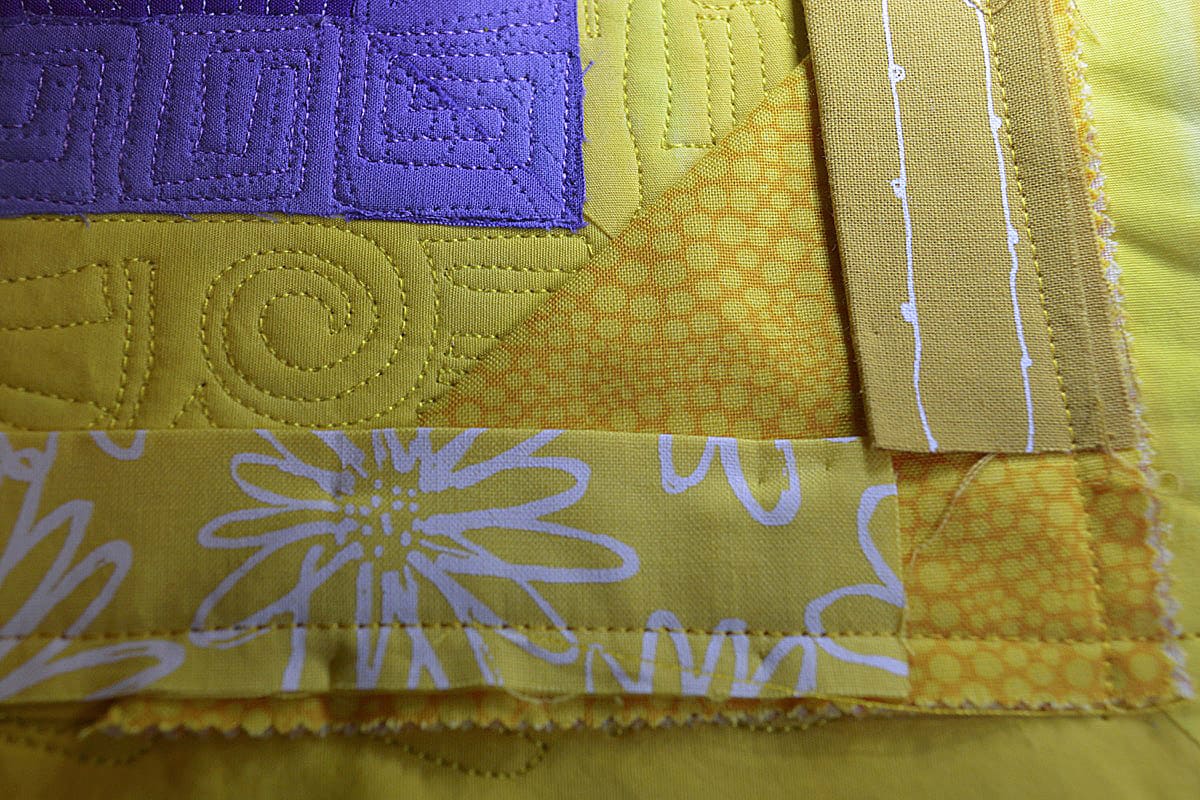
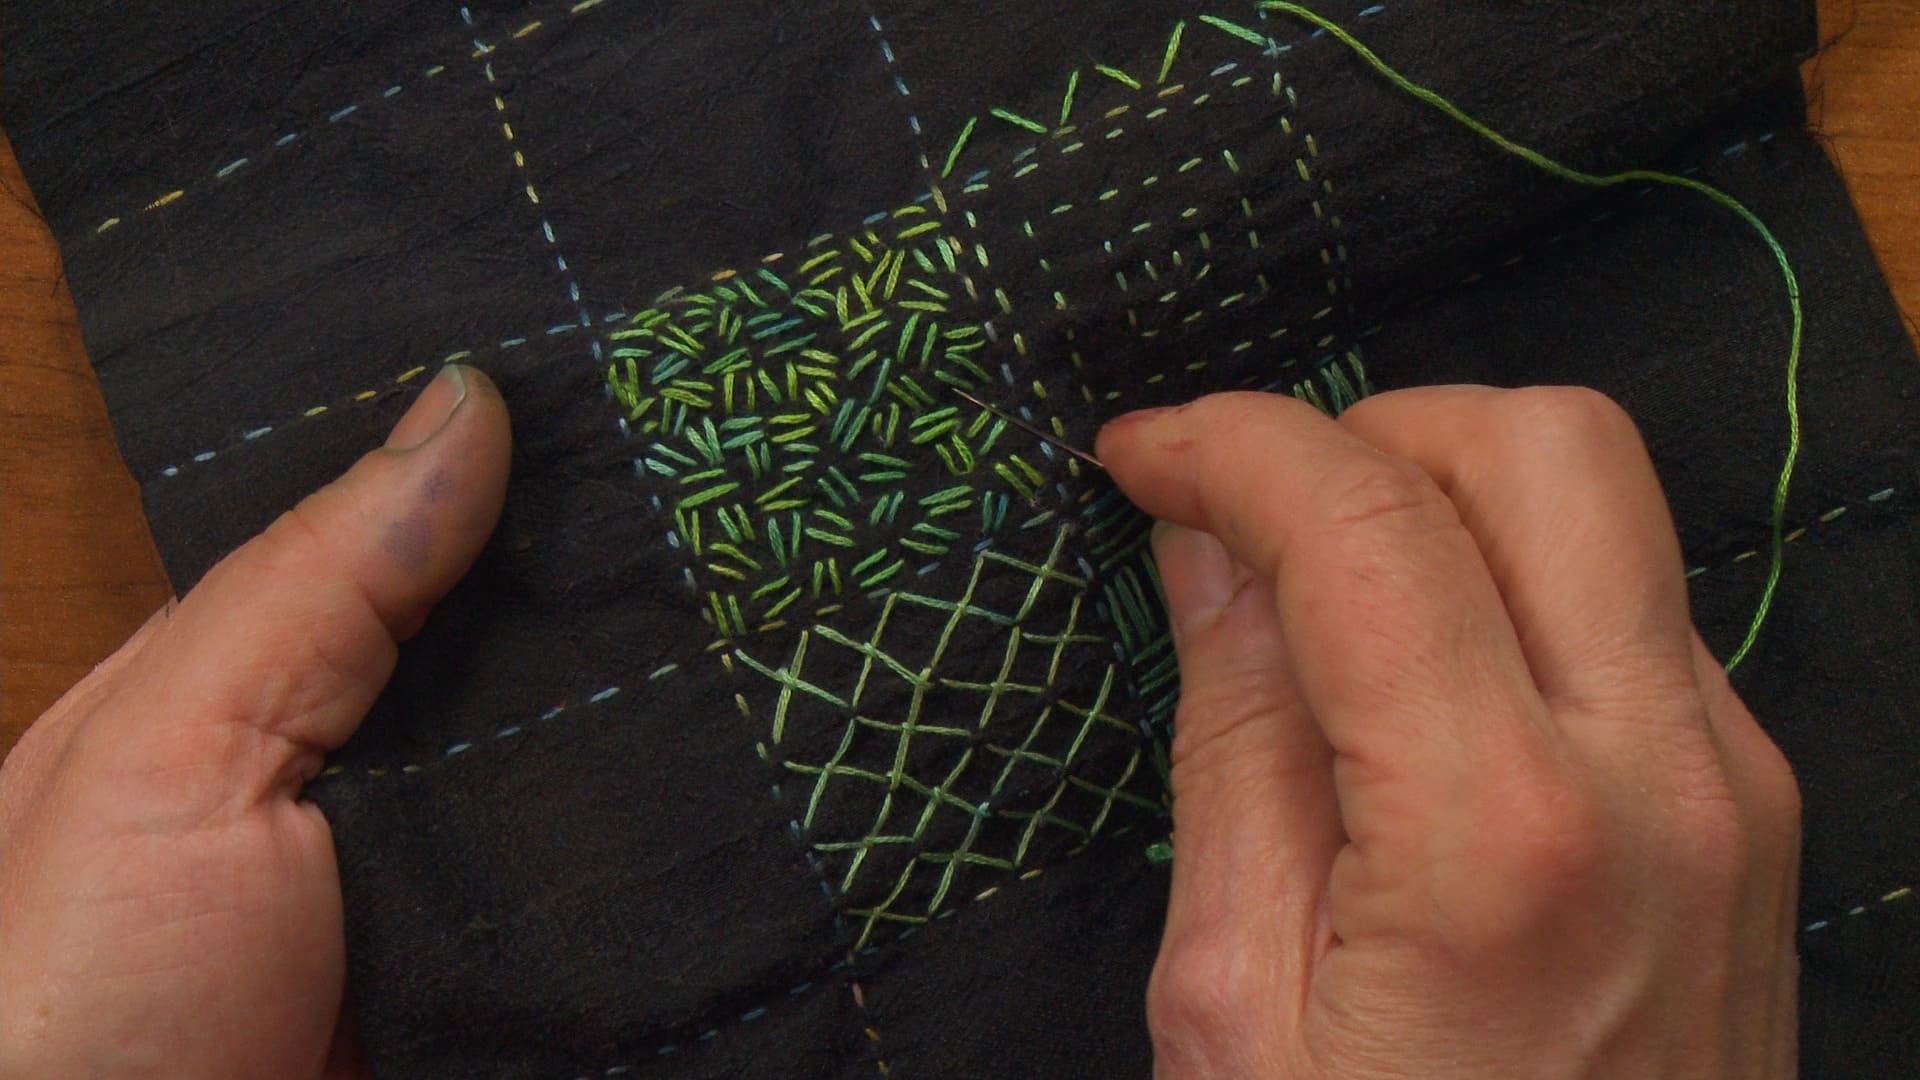
Stippling is a quilting technique where closely spaced, free-motion stitches are made in a random pattern to create a textured design. The stitching lines are typically curvy and organic, overlapping and intertwining with each other. Stippling is often referred to as meandering or free-motion quilting because it doesn’t follow a specific pattern or design.
One of the main advantages of stippling is its versatility. It can be used on both hand-quilted and machine-quilted projects, making it accessible to quilters of all skill levels. Stippling can be done using a regular sewing machine or a long-arm quilting machine, depending on your preference and the size of your quilt.
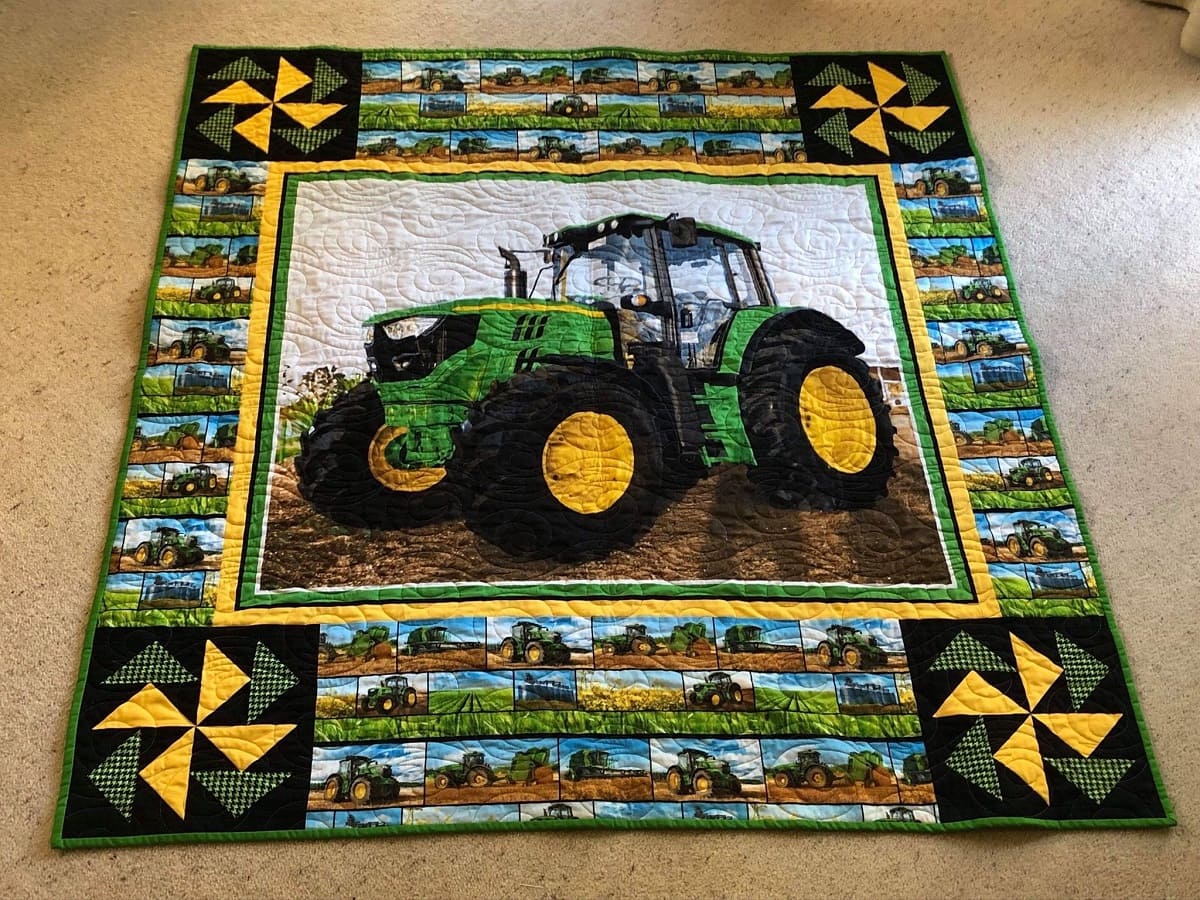
Stippling adds depth and dimension to your quilt by creating contrasting areas of densely quilted sections and open spaces. The densely quilted sections provide stability to the quilt, while the open spaces allow the fabric to drape and move freely. This combination creates a visually appealing quilt with a tactile texture that enhances its overall appearance.
Stippling is a popular choice for quilting because it complements almost any quilt design. Whether you have a traditional patchwork quilt, a modern art quilt, or a whimsical appliqué quilt, stippling can be a great choice to highlight the design and add visual interest to the quilt top. It is also a great way to embellish background spaces and fill in negative space.
With stippling, you have the freedom to quilt as you go. Unlike following a specific pattern or design, stippling allows you to be spontaneous and creative with your quilting. You can vary the density of stitching, change direction, and create unique shapes and motifs as you move across the quilt top.
Now that we have a good understanding of what stippling is, let’s take a look at the materials needed to get started.
Materials Needed
Before you begin stippling a quilt, gather the following materials:
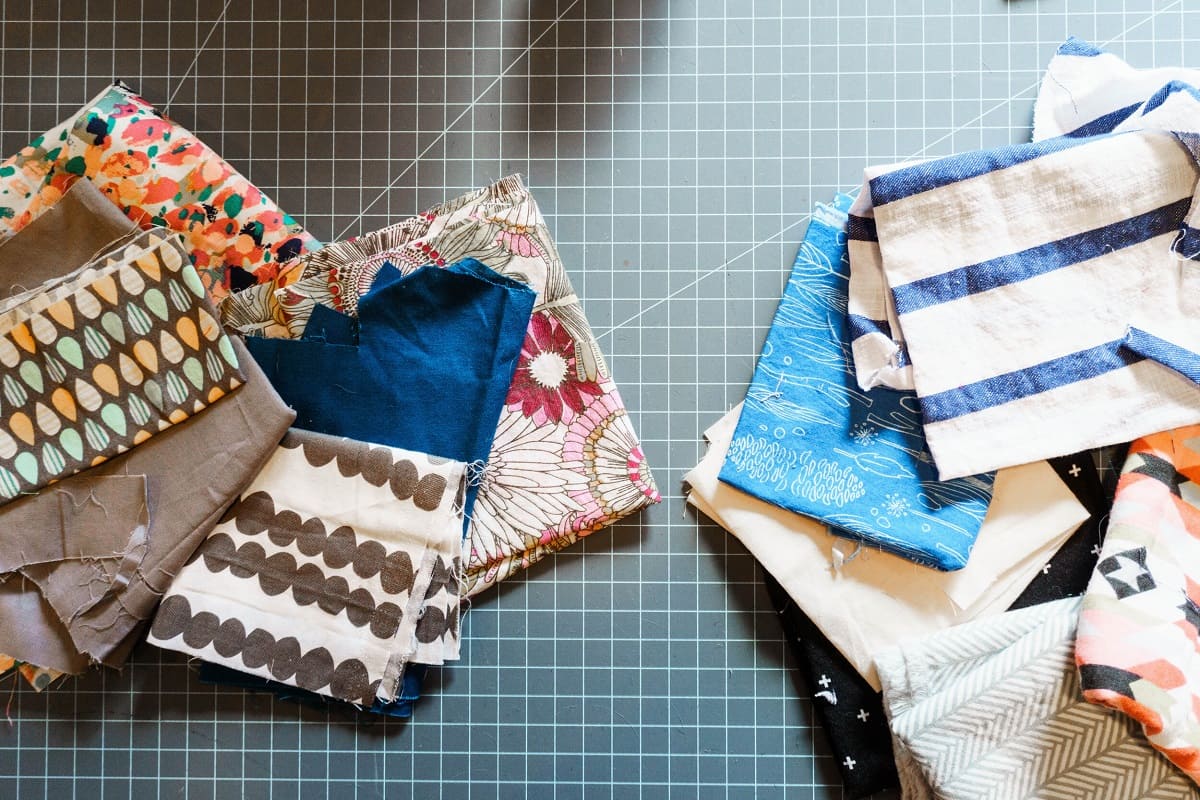
- Quilt sandwich: A quilt sandwich refers to the three layers of a quilt: the quilt top, batting, and backing fabric. Ensure that your quilt sandwich is properly basted or pinned together to prevent shifting while stippling.
- Quilting machine or sewing machine: You will need a machine that allows free-motion stitching. If you don’t have a dedicated quilting machine, a regular sewing machine with a free-motion quilting foot can work well.
- Thread: Choose a high-quality quilting thread in a color that complements your quilt. Opt for a thread specifically designed for free-motion quilting as it will have a smoother glide and less lint build-up.
- Quilting gloves or grip aids: These can help you grip the quilt layers more easily and enhance control while stippling. Quilting gloves with grippy fingertips or grips that attach to your fingertips can make a big difference in your quilting experience.
- Quilting needles: Use needles specifically made for quilting as they have a sharper point and a larger eye, allowing for smooth stitching through multiple layers of fabric and batting.
- Quilting ruler (optional): Although not necessary, a quilting ruler can help you create straight lines and guide you as you stipple.
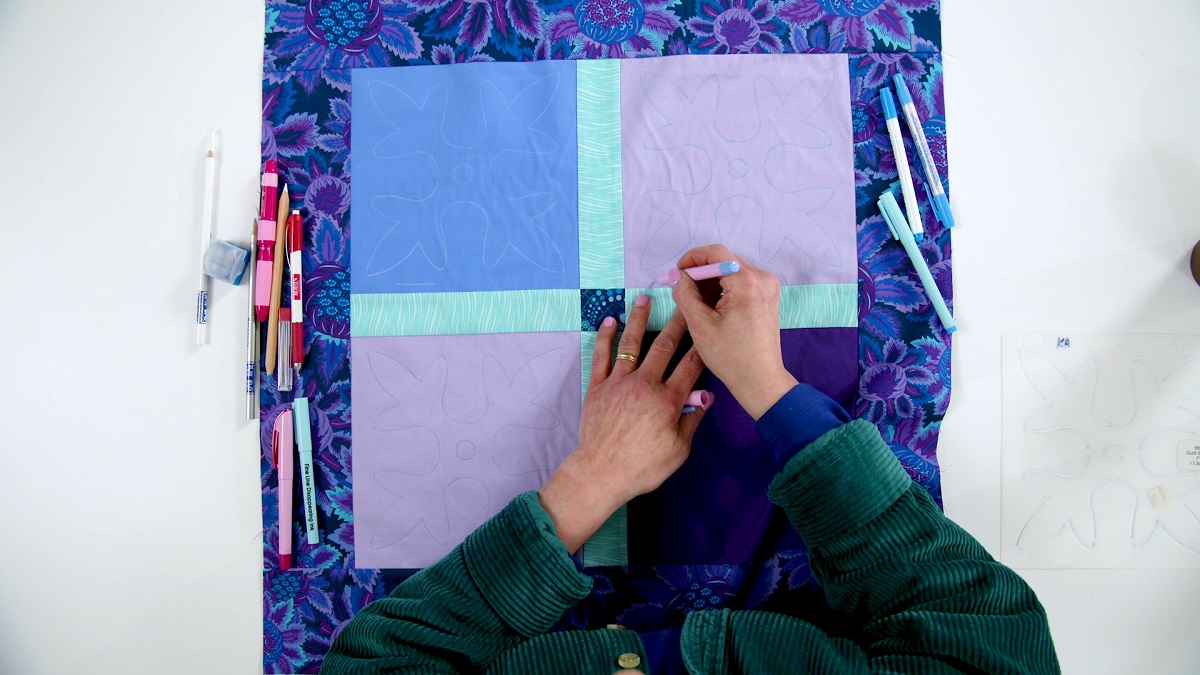
- Marking tools (optional): If you prefer to mark your quilting design before stitching, you can use washable or disappearing fabric markers to create guidelines on the quilt top.
Having these materials ready will ensure a seamless and enjoyable stippling experience. Now that you have everything you need, let’s move on to preparing the quilt for stippling.
Preparing the Quilt
Before you start stippling your quilt, it’s essential to properly prepare the quilt top, batting, and backing fabric. Follow these steps to ensure a smooth and successful stippling process:
- Press the quilt top: Start by pressing your quilt top using an iron. This will help remove any wrinkles or creases that may interfere with your stippling stitches.
- Baste the layers together: Lay the quilt backing fabric right side down on a flat surface. Smooth it out and secure it in place with masking or painter’s tape. Next, place the batting on top of the backing fabric, ensuring it is centered and wrinkle-free. Finally, lay the quilt top right side up on top of the batting, aligning all the edges. Pin or spray baste the layers together, securing them in place. This will prevent shifting and puckering during the stippling process.
- Prepare your machine: Install a free-motion quilting foot on your sewing machine. Lower the feed dogs or cover them to allow for free-motion stitching. Adjust the tension and stitch length according to your machine’s manual. Thread your machine with the desired thread color.
- Test your stitches: To ensure that your stitches are the desired length and tension, take a scrap piece of fabric and batting and practice stippling. This will allow you to make any necessary adjustments before working on your actual quilt.
- Secure your quilt layers: Starting in the center of the quilt, stitch a few straight lines or a small design to secure the layers together. This will prevent them from shifting as you stipple the rest of the quilt.
By following these preparation steps, you’ll create a stable, flat surface for stippling your quilt. Once your quilt is prepped and ready, it’s time to dive into the stippling technique itself.
Stippling Technique
The stippling technique involves stitching closely spaced, curvy lines or shapes in a random pattern to create a beautiful overall design on your quilt. Follow these steps to master the stippling technique:
- Get a grip: If you’re using quilting gloves or grip aids, put them on to improve your control and grip on the fabric.
- Start in the middle: Begin stippling in the center of your quilt. This will allow you to work your way outwards and prevent any trapped air or puckering in the fabric.
- Move the fabric, not the machine: Unlike regular sewing, in free-motion quilting, you will be moving the fabric under the needle while keeping the machine stationary. Guide the quilt sandwich with your hands, gently manipulating it to create the desired curves and shapes.
- Keep the stitches small and dense: Aim for small stitches and closely spaced quilting lines. This helps to secure the layers together and creates a textured appearance. Experiment with the stitch length on your machine to find the optimal setting for your desired effect.
- Embrace imperfections: Remember that stippling is meant to be organic and free-flowing. Don’t worry if your lines aren’t perfectly smooth or if there are minor inconsistencies. These imperfections add to the charm and uniqueness of the stippling design.
- Vary your direction: As you stipple, change your stitching direction frequently. Combine curved lines with loops, swirls, or even small shapes. This variation will add visual interest to your quilt and prevent any repetitive patterns from forming.
- Take breaks: Stippling can be a time-consuming process, so remember to take breaks to rest your hands and give your machine a chance to cool down if needed. This will help you maintain consistency in your stitching and prevent fatigue.
- Practice and experiment: Stippling is a skill that improves with practice. Take the time to practice the technique on scrap fabric before working on your quilt. Experiment with different patterns, densities, and shapes to find the style that suits your quilt design.
Stippling requires patience and practice, but with time, you’ll become more comfortable and confident in creating beautiful stippling designs on your quilts. Now, let’s explore some popular stippling patterns to further enhance your quilting.
When stippling a quilt, start with a practice piece to get the hang of the technique. Use a quilting foot and lower your feed dogs for better control. Keep your stitches small and even for a professional look.
Read more: How To Quilt A Jelly Roll Race Quilt
Stippling Patterns
Stippling offers endless possibilities when it comes to creating unique and beautiful designs on your quilt. Here are some popular stippling patterns that you can try:
- Serpentine stippling: This pattern involves stitching curvy lines that resemble the shape of a serpent or wave. The lines can overlap and twist around each other, creating an elegant and flowing design.
- Loop-de-loop stippling: In this pattern, you create loops of various sizes and shapes, intertwining them to fill the quilt space. Loop-de-loop stippling adds a playful and whimsical touch to your quilt.
- Pebble stippling: Pebble stippling is created by stitching small, circular shapes in a dense, overlapping manner. The result is a textured surface that resembles a field of pebbles. This pattern works well for adding interest and dimension to quilt borders or background spaces.
- Swirl stippling: Swirl stippling involves creating swirling curves and spirals in a random pattern. The curves can vary in size and direction, giving your quilt a dynamic and energetic feel.
- Cloud stippling: Cloud stippling is achieved by stitching soft, curved lines, resembling fluffy clouds in the sky. This pattern works well for creating dreamy and ethereal effects on your quilt.
- Feather stippling: Feather stippling allows you to combine stippling with feather motifs. Stitch the stippling pattern around the feathers to create a beautiful contrast between the dense stippling and the lighter, flowing feathers.
Remember, these are just a few examples of stippling patterns, and the possibilities are endless. Feel free to experiment and create your own unique designs. Adapt the patterns to suit your quilt’s style and the look you want to achieve.
Now that you are familiar with various stippling patterns, let’s move on to some tips and tricks to help you master the art of stippling.
Tips and Tricks
Mastering the art of stippling takes time and practice, but with these tips and tricks, you’ll be able to enhance your skills and create stunning stippled designs:
- Start with a smaller quilt: If you’re new to stippling, it’s best to start with a smaller quilt or practice on quilted samples. This will allow you to develop your technique without feeling overwhelmed by a large project.
- Be mindful of tension and speed: Adjust the tension on your machine to achieve balanced and even stitches. Additionally, find a comfortable speed that allows you to maintain control and consistency in your stippling.
- Plan your quilting path: Before you start stippling, mentally plan out your path on the quilt. This will help you avoid getting stuck or cornered and ensure a smooth and continuous quilting process.
- Take breaks to assess your work: Every now and then, take a step back and evaluate your stippling design. This will help you identify any areas that need adjustment or improvement. It’s easier to make corrections earlier in the process than to fix mistakes after completing the quilt.
- Practice doodling: Doodle stippling designs on paper or use a practice fabric sandwich to get a feel for the movement and flow of the stippling pattern. This will help build muscle memory and improve your overall control and consistency.
- Experiment with thread colors: Don’t be afraid to play with different thread colors to create contrasting or complementary effects. Thread color can greatly impact the overall appearance of your stippled design.
- Layer designs for added dimension: Instead of sticking to one stippling pattern, consider layering different patterns on different areas of your quilt. This layering can add depth and visual interest to your quilted piece.
- Embrace imperfections: Remember that stippling is a free-flowing and organic technique. Don’t stress about creating perfect stitches or perfectly even spacing. The charm of stippling lies in its natural and handcrafted look.
With these tips and tricks in your toolbox, you’ll be well-equipped to take on any stippling project with confidence and creativity. Now, let’s move on to the final steps of finishing touches for your stippled quilt.
Finishing Touches
Once you’ve completed the stippling on your quilt, it’s time to add the finishing touches to enhance its overall appearance. Consider the following steps to give your stippled quilt a polished look:
- Trim excess threads: Carefully trim any loose threads that may be visible on the quilt top. This will give your quilt a clean and professional finish.
- Check for missed spots: Take a close look at your stippling design and check for any areas that may have been missed or require additional stitching. Use a contrasting thread color if necessary to fill in those spots.
- Block your quilt if needed: Blocking involves gently steaming or wetting your quilt to help it lay flat and square. This step can be especially beneficial if your quilt appears slightly distorted or if the stippling has caused any puckering.
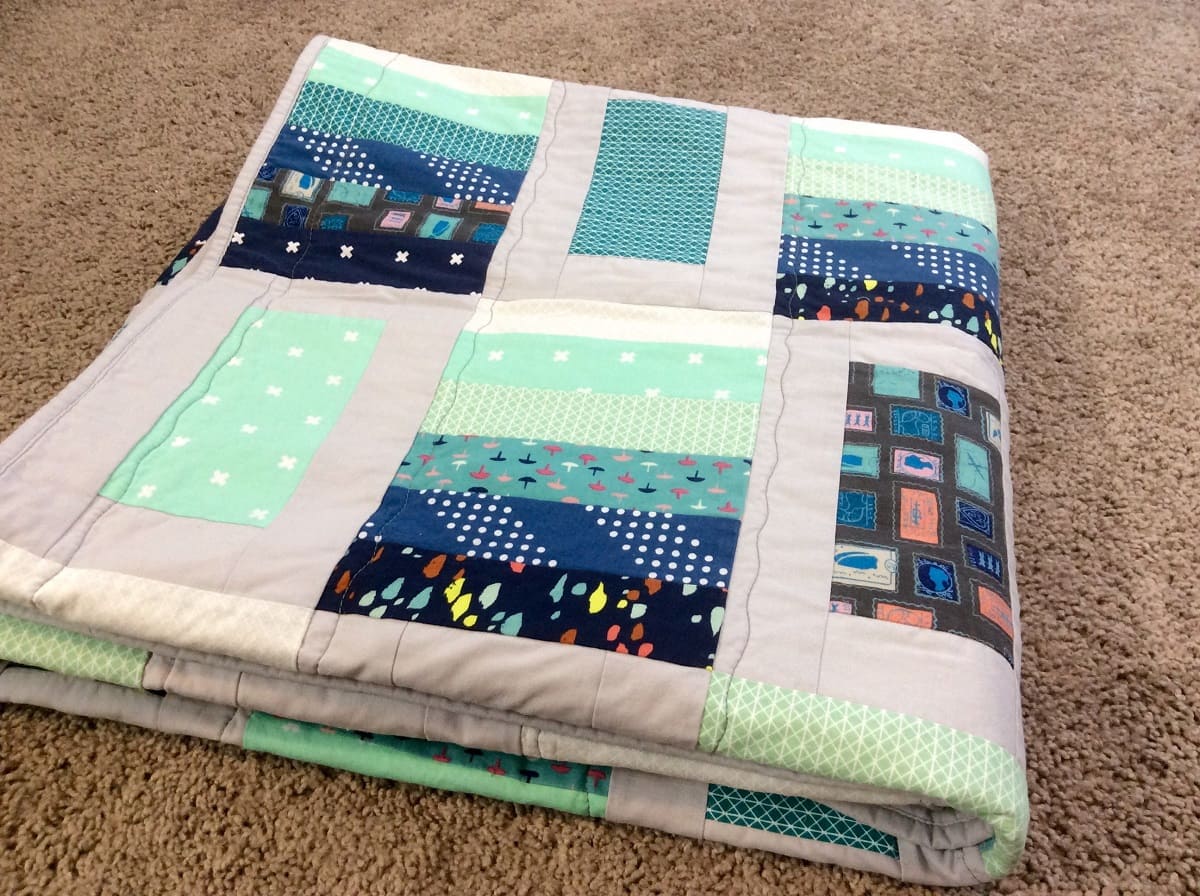
- Bind your quilt: Complete your quilt by adding a binding to the edges. Choose a fabric that complements your quilt design and attach it using your preferred binding method. A neatly applied binding will provide a clean and professional-looking finish to your stippled quilt.
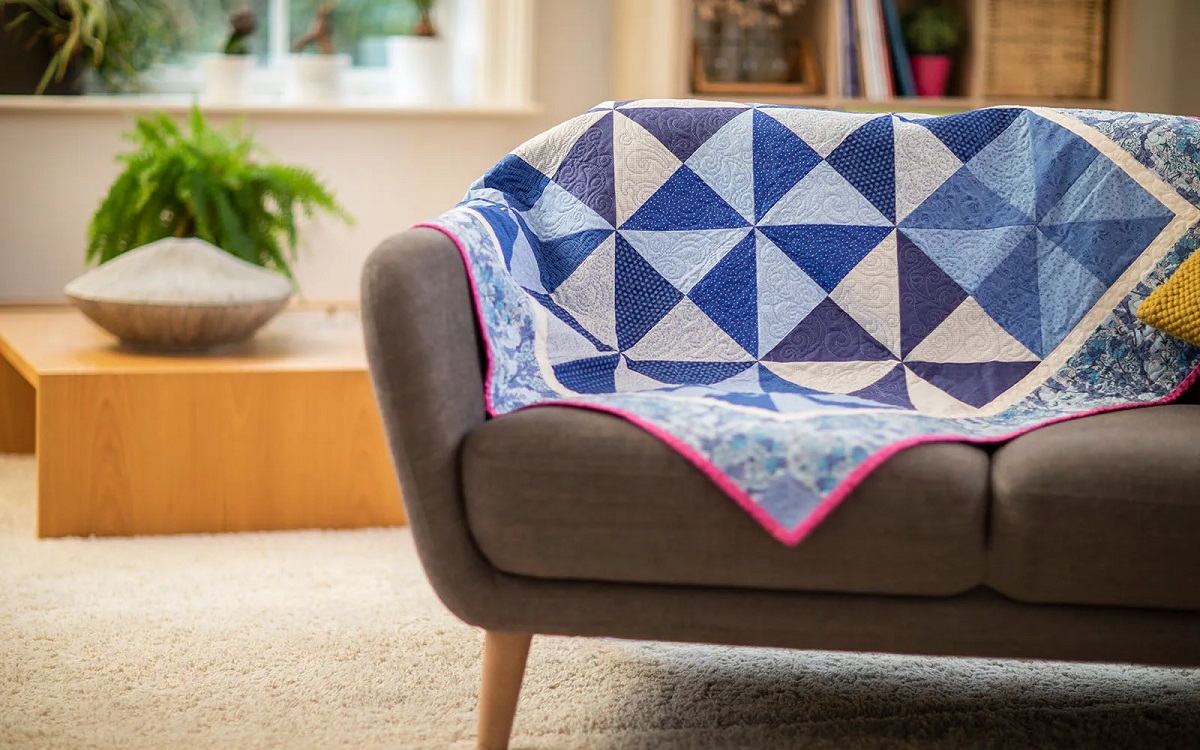
- Showcase your creation: Once your quilt is fully finished, proudly display it on your bed, as a wall hanging, or even gift it to a loved one. Stippled quilts offer a unique and handmade touch that can be admired and cherished for years to come.
Don’t forget to take some time to appreciate your hard work and the beautiful stippling design you’ve created. Stippling is a skill that improves with practice, so continue to challenge yourself and explore new patterns and techniques.
Now that you’ve learned the art of stippling and how to add those finishing touches, you’re ready to embark on your next quilting adventure. Happy stippling!
Conclusion
Stippling is a captivating quilting technique that adds texture, depth, and visual interest to your quilts. By practicing and mastering the art of stippling, you can create stunning designs that enhance the overall beauty of your quilted creations.
In this article, we explored the world of stippling, starting with an introduction to the technique and its benefits. We discussed the materials needed to get started and how to properly prepare your quilt for stippling. We learned about the stippling technique itself, including tips and tricks to help you achieve the best results.
We explored popular stippling patterns, such as serpentine, loop-de-loop, pebble, swirl, cloud, and feather stippling, and discussed the importance of embracing imperfections and experimenting with different thread colors to create unique designs.
Finally, we covered the finishing touches, including trimming loose threads, checking for missed spots, blocking, and adding a binding, to give your stippled quilt a polished and professional appearance.
Remember, stippling is not only a technique but an opportunity for artistic expression. Each stippled quilt is a unique creation, showcasing your creativity and passion for quilting.
So, what are you waiting for? Grab your quilting materials, practice the stippling technique, and let your imagination soar as you create breathtaking stippled designs on your quilts. Enjoy the journey, and may your stippled quilts bring warmth and beauty to all who admire them!
Frequently Asked Questions about How To Stipple A Quilt
Was this page helpful?
At Storables.com, we guarantee accurate and reliable information. Our content, validated by Expert Board Contributors, is crafted following stringent Editorial Policies. We're committed to providing you with well-researched, expert-backed insights for all your informational needs.


0 thoughts on “How To Stipple A Quilt”