Articles
How To Wire Up Electric Motor
Modified: August 26, 2024
Learn how to wire up an electric motor with our informative articles. Find step-by-step instructions and tips to successfully complete your motor wiring project.
(Many of the links in this article redirect to a specific reviewed product. Your purchase of these products through affiliate links helps to generate commission for Storables.com, at no extra cost. Learn more)
Introduction
Wiring up an electric motor can seem like a daunting task for those who are unfamiliar with electrical systems. However, with the right knowledge and tools, it can be a straightforward process. Whether you are installing a new motor or replacing an old one, understanding the steps involved in wiring it up is crucial for ensuring its proper functioning.
In this article, we will guide you through the process of wiring up an electric motor. We will cover the necessary safety precautions, the tools and materials you will need, and the step-by-step instructions for successfully connecting the motor to a power supply and control circuit.
It is important to note that while this article provides a general guide, it is essential to consult the motor’s manufacturer’s instructions and adhere to local electrical codes and regulations. If you are unsure or uncomfortable working with electrical systems, it is always best to seek the assistance of a qualified electrician.
Now, let’s dive into the world of electric motors and learn how to wire them up!
Key Takeaways:
- Safely wiring up an electric motor requires proper identification of wires, adherence to safety precautions, and thorough testing to ensure correct operation and prevent potential hazards.
- Gathering the necessary tools and materials, preparing the motor for wiring, choosing the correct wiring configuration, and connecting the power supply and control circuit are essential steps in successfully wiring up an electric motor.
Read more: How To Wire A Reversible Electric Motor
Safety Precautions
When working with electric motors, it is crucial to prioritize safety to prevent accidents and ensure your well-being. Here are some essential safety precautions to follow:
- Disconnect the Power: Before starting any work on the motor, always ensure that the power supply is disconnected. This involves switching off the circuit breaker or unplugging the power cord. This step is vital to avoid electrical shocks or injuries.
- Use Personal Protective Equipment (PPE): Wear appropriate PPE such as safety glasses, gloves, and insulated footwear to protect yourself from any potential hazards during the wiring process.
- Inspect the Motor: Before wiring the motor, thoroughly inspect it for any signs of damage or loose connections. If you notice any issues, repair or replace the motor before proceeding.
- Follow Proper Wiring Techniques: Ensure that you use proper wiring techniques, including securely fastening all connections and using the appropriate wire sizes for the motor’s voltage and amperage requirements. Loose connections, wrong wire sizes, or improper grounding can lead to electrical hazards or damage to the motor.
- Avoid Overloading: Make sure that the motor you are wiring is compatible with the power supply and intended use. Overloading the motor by exceeding its rated capacity can cause overheating and damage.
- Avoid Working Alone: It is always advisable to have someone nearby when working with electrical systems, especially when dealing with larger motors. Having an extra set of eyes and hands can help to ensure safety and provide assistance if needed.
Remember, these precautions are not exhaustive, and it is essential to familiarize yourself with the specific safety guidelines provided by the motor’s manufacturer. Adhering to safety protocols will minimize risks and create a safe working environment.
Tools and Materials Required
Before you begin wiring up your electric motor, gather the necessary tools and materials to ensure a smooth and efficient process. Here is a list of what you will need:
- Screwdrivers: Both flathead and Phillips screwdrivers will be handy for removing any covers or panels on the motor.
- Wire Strippers: Wire strippers are essential for neatly and safely removing the insulation from the motor’s wires.
- Wire Cutters: Wire cutters are necessary for cutting the wires to the appropriate lengths during the wiring process.
- Electrical Tape: Electrical tape is used to insulate and secure the connections and prevent any accidental contact.
- Wire Nuts: Wire nuts are connectors used to join and secure wires together. Make sure to use the appropriate size for your wire gauge.
- Wire Connectors: Wire connectors, such as butt connectors or spade connectors, may be needed to make specific connections between the motor and the power supply.
- Multimeter: A multimeter is a useful tool for testing the continuity, voltage, and resistance of wires and connections.
- Power Supply: You will need a suitable power supply to provide the necessary electrical energy for the motor to operate. This can be an electrical outlet, a battery, or any other power source compatible with your motor’s voltage and amperage requirements.
- Control Circuit Components: Depending on the application of your motor, you may need additional components such as switches, relays, or motor controllers to regulate and control its operation.
- Wire and Terminals: You will need appropriate gauge wire and terminals to connect the motor to the power supply and control circuit. Ensure that the wire gauge matches the motor’s current rating to avoid overheating.
Having these tools and materials readily available will make the wiring process more efficient and help ensure a successful connection for your electric motor.
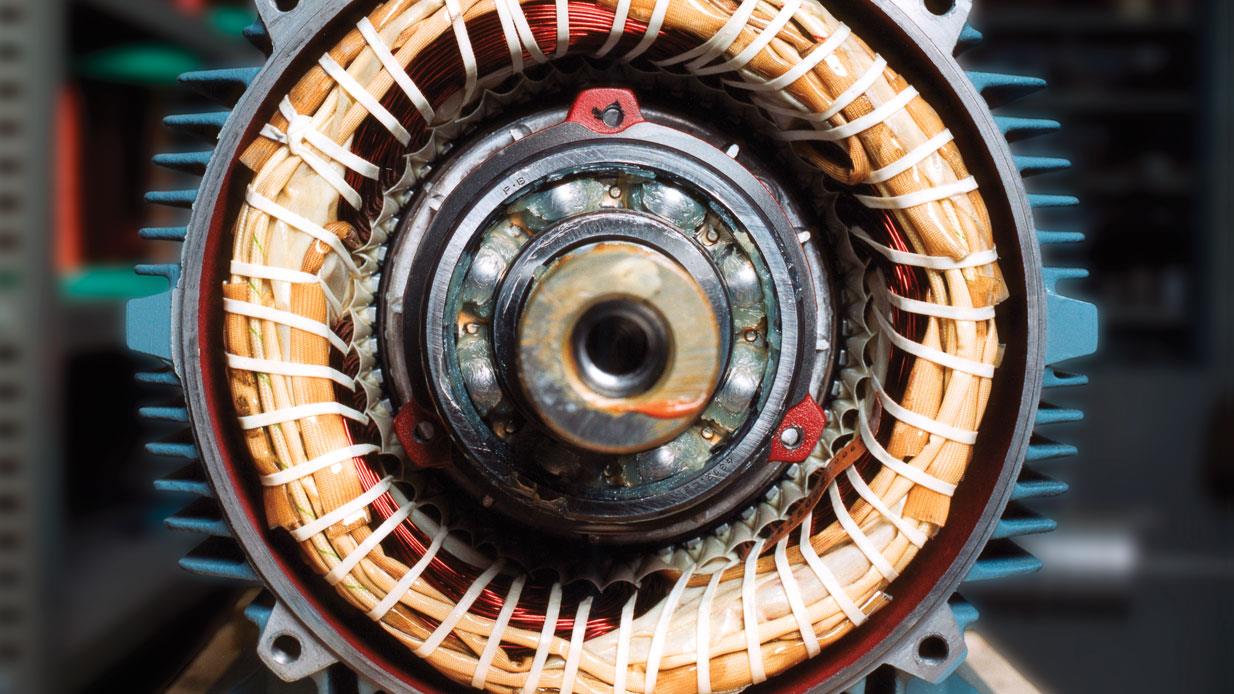
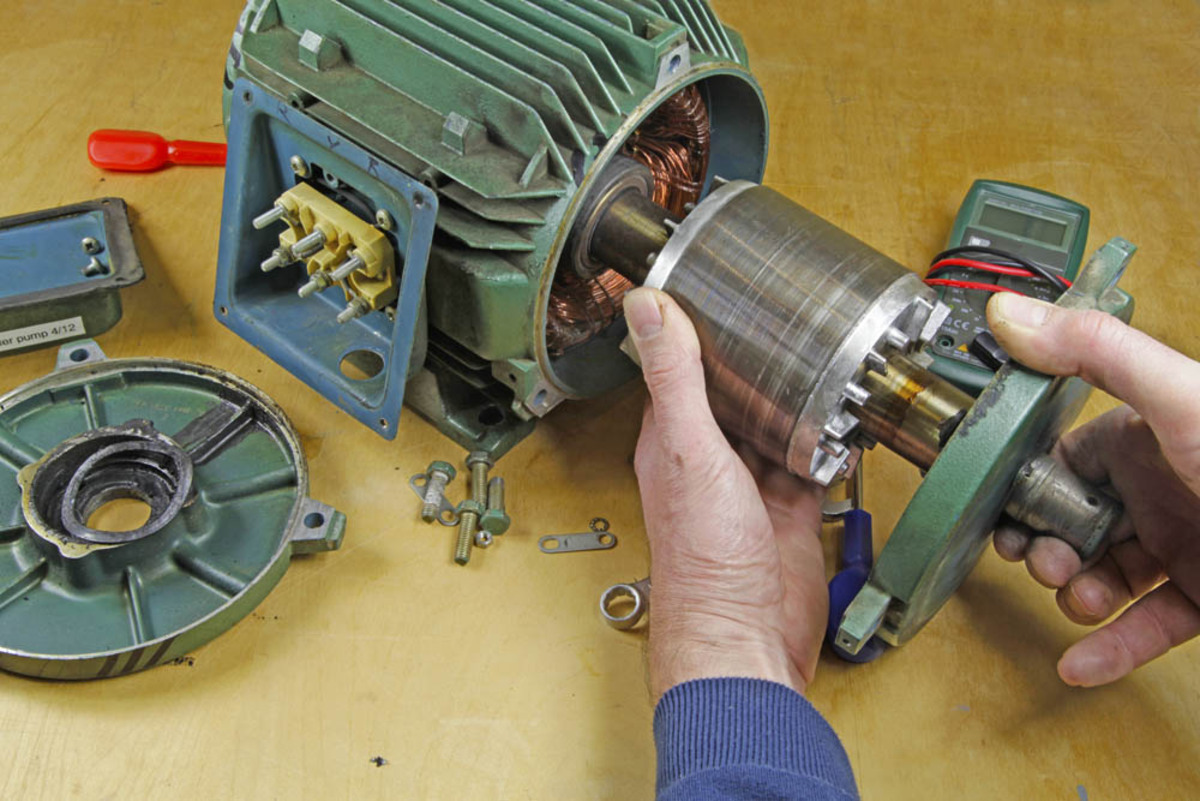
Step 1: Identifying the Motor’s Wires
Before you can begin wiring up your electric motor, it is important to properly identify and understand the different wires that are present. Here’s how you can identify the motor’s wires:
- Refer to the Motor Manual: Start by consulting the motor’s manual or documentation provided by the manufacturer. This will often contain a wiring diagram or color-coded schematic that indicates the function and connections of each wire.
- Inspect the Motor: Examine the motor itself for any labeling or markings on the casing. Some motors may have the wires labeled with letters, numbers, or color codes that correspond to their function.
- Identify Power Wires: Look for wires that are thicker or have a different insulation color compared to the others. These are typically the power wires that carry the electrical energy to the motor. The motor may have multiple power wires depending on its voltage and phase requirements.
- Locate Ground Wire: Find the wire that is connected to the motor’s grounding point or grounding screw. The ground wire is important for safety and should be connected to the grounding terminal of the power supply and control circuit.
- Determine Control Wires: If your motor requires a control circuit, there may be additional wires that are responsible for controlling its speed, direction, or other functions. These control wires can be identified by consulting the motor’s documentation or checking for wires that connect to the control terminals on the motor.
- Mark the Wires: Once you have identified the different wires, it is a good practice to mark them using labels or colored tape. This will make it easier to distinguish and connect the wires correctly during the wiring process.
Remember to exercise caution and double-check your identification before proceeding with the wiring. If you are unsure about any of the wires, refer to the motor’s manual or consult with a qualified professional.
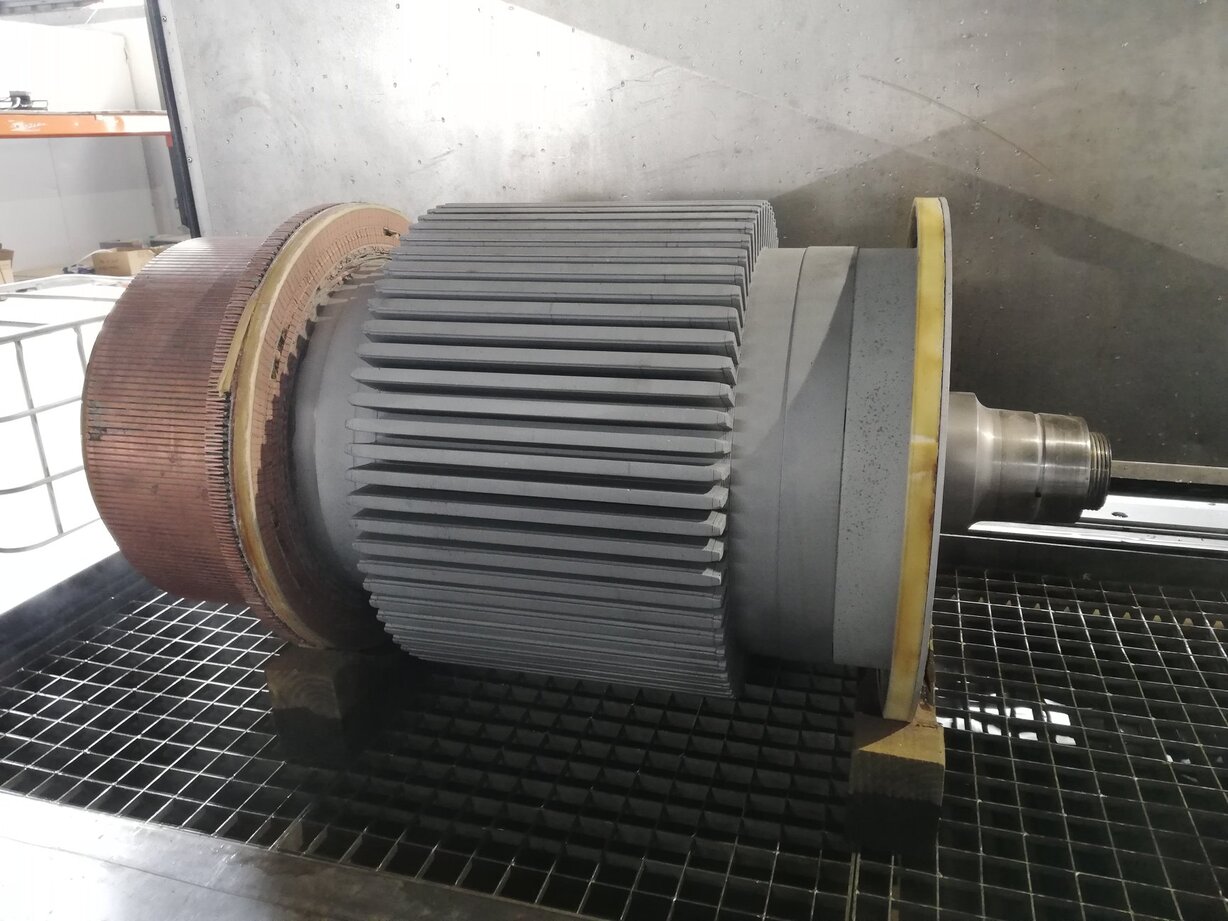
Step 2: Preparing the Motor for Wiring
Once you have identified the wires of your electric motor, the next step is to prepare the motor for wiring. Follow these steps to ensure a proper and secure connection:
- Disconnect the Power: Before you begin working on the motor, make sure the power supply is completely disconnected to prevent any potential electrical hazards.
- Remove any Covers or Panels: If your motor has any protective covers or panels, carefully remove them using the appropriate screwdriver. This will allow you better access to the internal components of the motor.
- Clean the Motor: Inspect the motor for any accumulated dust, debris, or grease. Use a brush or compressed air to clean the motor’s housing and internal components. A clean motor ensures better electrical conductivity and helps prevent overheating.
- Tighten Loose Connections: Check all the connections inside the motor for any loose screws or terminals. Use a screwdriver to tighten them securely. Loose connections can cause electrical arcing and result in poor performance or damage to the motor.
- Trim and Strip Wires: If necessary, trim the motor wires to an appropriate length, leaving some extra for flexibility. Use wire strippers to carefully remove the insulation from the ends of the wires. Make sure to strip only the required length without damaging the wire strands.
- Inspect Insulation: Check the condition of the wire insulation. If you notice any frayed or damaged insulation, it is best to replace the wire to ensure proper insulation and prevent short circuits.
- Separate and group wires: Group the wires according to their function or connection. This will make it easier to identify and connect them to the appropriate terminals.
By preparing the motor properly, you ensure that the wiring process will proceed smoothly and that the motor will operate safely and efficiently. Take your time during this step to perform any necessary maintenance or repairs to prolong the life of your motor.
When wiring up an electric motor, always follow the manufacturer’s instructions and use the correct gauge of wire for the motor’s power requirements. Double check all connections to ensure they are secure and properly insulated to prevent any electrical hazards.
Read more: How To Wire A 220 Volt Electric Motor
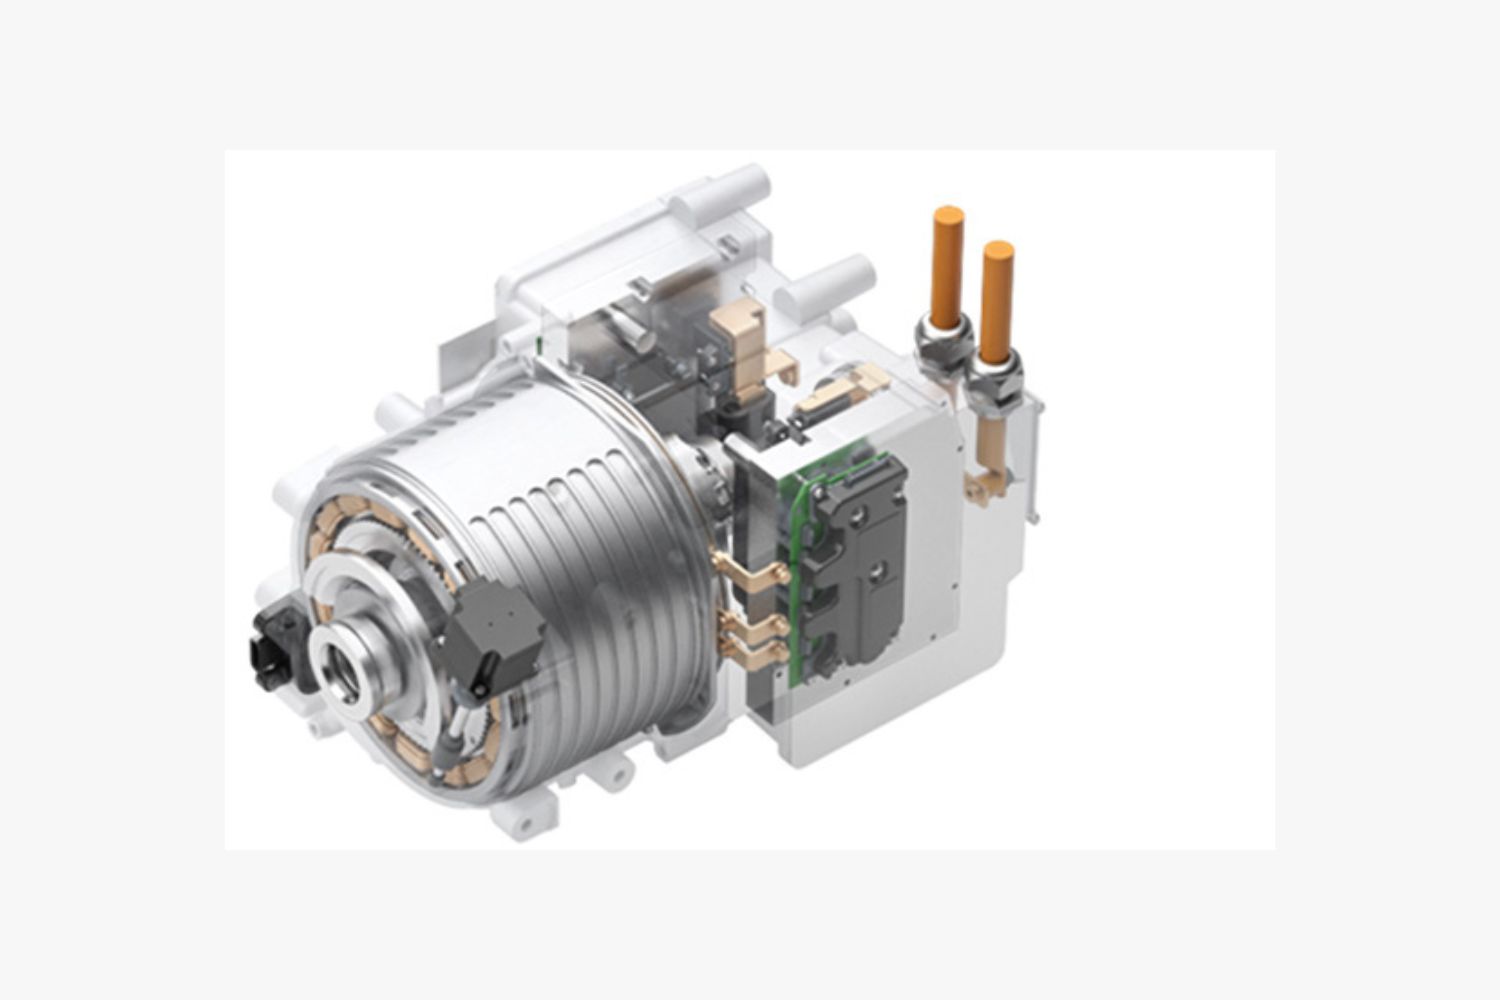
Step 3: Choosing the Wiring Configuration
Choosing the correct wiring configuration for your electric motor is essential to ensure its proper operation. The wiring configuration you select will depend on various factors, including the motor’s voltage, phase, and intended use. Here are a few common wiring configurations:
- Single-Phase Wiring: Single-phase motors are commonly used in residential applications. They typically have two power wires and one ground wire. The power wires are connected to the power supply, while the ground wire is connected to the grounding terminal.
- Three-Phase Wiring: Three-phase motors are primarily used in industrial settings. They require three power wires and one ground wire. The power wires are connected to the respective phases of the power supply, while the ground wire is connected to the grounding terminal.
- Reversing Wiring: For motors that require reversible operation, additional wiring configurations are needed. This typically involves using switches or relays to change the direction of the motor’s rotation. Follow the motor’s documentation and the wiring diagram provided to properly wire the reversing circuit.
- Control Circuit Wiring: If your motor requires a control circuit for functions such as speed control or starting/stopping, additional wiring connections will be necessary. This can involve switches, relays, motor controllers, or other control devices. Refer to the motor’s documentation or wiring diagram for guidance on how to wire the control circuit.
It is crucial to consult the motor’s documentation or manufacturer’s instructions to determine the specific wiring configuration required for your motor. A wiring diagram is often provided, which illustrates the connections and color codes for the different wires.
Furthermore, ensure that you are familiar with the electrical standards and regulations in your area. Adhere to the proper wiring techniques and use appropriate wire sizes to handle the motor’s voltage and current requirements.
By selecting the correct wiring configuration, you will enable your motor to function effectively and safely according to its intended design.
Step 4: Connecting the Power Supply
Connecting the power supply to your electric motor is a crucial step in the wiring process. It ensures that the motor receives the necessary electrical energy to operate. Follow these steps to connect the power supply:
- Ensure Power is Disconnected: Before proceeding, double-check that the power supply is disconnected to prevent any electrical accidents.
- Identify Power Wires: Identify the power wires from the motor. These are typically thicker and have a different insulation color compared to the other wires.
- Strip the Power Wires: Use wire strippers to carefully remove the insulation from the ends of the power wires, usually about half an inch, exposing the bare copper or aluminum wire.
- Prepare the Power Supply: If you are using an electrical outlet as the power supply, ensure it is compatible with the motor’s voltage requirements. If necessary, use a voltage tester to verify the outlet’s voltage.
- Connect the Power Wires: Connect the power wires from the motor to the power supply. If using an electrical outlet, attach the wires to the appropriate prongs or terminals. For other power supplies, follow the specific instructions provided by the manufacturer.
- Secure the Connections: Once the power wires are connected, use wire nuts, terminals, or other suitable connectors to secure the connections. Ensure that the connections are tight and well-insulated to prevent any electrical faults.
- Connect the Ground Wire: Connect the ground wire from the motor to the grounding terminal or grounding point of the power supply. This grounding connection provides an additional layer of safety by directing any excess electrical current to the ground.
- Examine the Connections: After making the connections, visually inspect them to ensure they are secure and properly insulated. Look for any loose wires or exposed copper/aluminum that may pose a safety hazard.
Remember, it is essential to consult the motor’s documentation or wiring diagram to understand the specific wiring requirements and color codes for the power connections. Incorrectly wiring the power supply can result in damage to the motor or pose a safety risk.
Once you have successfully connected the power supply, you are one step closer to having your electric motor up and running!
Step 5: Connecting the Control Circuit
If your electric motor requires a control circuit for functions such as speed control, starting, or stopping, connecting the control circuit is the next step in the wiring process. Follow these steps to properly connect the control circuit:
- Refer to the Motor’s Documentation: Consult the motor’s documentation or wiring diagram to understand the specific requirements for the control circuit. This will provide you with the necessary information on control wire colors, connections, and any additional components needed.
- Gather the Control Circuit Components: Collect all the necessary components for the control circuit, such as switches, relays, motor controllers, or other control devices mentioned in the documentation.
- Prepare the Control Wires: Identify the control wires from the motor, which are responsible for controlling its functions. These wires may be labeled in the motor’s documentation or have different colors. Strip the ends of the control wires using wire strippers.
- Connect the Control Wires: Use wire nuts, terminals, or suitable connectors to connect the control wires from the motor to the corresponding control circuit components. Consult the wiring diagram or documentation to ensure the proper connections.
- Secure the Connections: Make sure all the control circuit connections are securely fastened and insulated to prevent any loose or exposed wires. Double-check each connection to ensure it is tight and properly insulated.
- Test the Control Circuit: After connecting the control circuit, it is crucial to test its functionality. Switch on the power supply and test the functions controlled by the control circuit, such as speed control or starting/stopping. This will ensure that the control circuit is wired correctly and functioning as intended.
- Inspect the Connections: Once the control circuit is connected and tested, inspect all the connections to ensure they are properly secured and insulated. Look for any loose wires, exposed conductors, or potential safety hazards.
It is important to follow the instructions provided in the motor’s documentation or wiring diagram when connecting the control circuit. Adhering to the correct wiring configuration and using the appropriate components will ensure the proper operation of the control functions and prevent any damage to the motor.
By successfully connecting the control circuit, you can now take full advantage of the motor’s advanced features and functionality.
Step 6: Testing the Motor
After completing the wiring process for your electric motor, it is crucial to conduct thorough testing to ensure that the motor operates correctly and safely. Follow these steps to test the motor:
- Inspect the Wiring: Before applying power to the motor, visually inspect the entire wiring setup. Check for any loose connections, exposed wires, or potential safety hazards. Ensure that all connections are securely fastened and properly insulated.
- Reconnect the Power Supply: Reconnect the power supply to the motor. Make sure that all power connections are secure and in accordance with the motor’s wiring requirements.
- Turn on the Power: Switch on the power supply that provides electricity to the motor. Ensure that all safety precautions are in place, and follow all the necessary protocols to avoid electrical accidents or injury.
- Observe the Motor: Carefully observe the motor to check for proper operation. Look for any signs of abnormal noises, excessive vibration, or overheating. These could indicate a wiring issue or a problem within the motor.
- Test Motor Functions: If your motor has specific functions or features such as variable speed control or direction reversal, test these functions to ensure they are working correctly. Follow the documentation or user manual for instructions on how to properly operate these functions.
- Measure Voltage and Current: Use a multimeter to measure the voltage and current being drawn by the motor. Compare the readings to the motor’s specifications to ensure they align properly. Any significant deviations could indicate a wiring or electrical issue.
- Perform Load Testing (if applicable): If your motor is intended for heavy-duty use or operates under load conditions, perform load testing. Apply a suitable load to the motor and observe its performance. Make sure the motor can handle the load without excessive strain or overheating.
- Ensure Proper Rotation: Check that the motor rotates in the intended direction as specified in the motor’s documentation. If the rotation is incorrect, refer to the wiring diagram or documentation to make the necessary adjustments.
If, during the testing process, you encounter any issues or abnormalities, it is advisable to consult the motor’s documentation, contact the manufacturer, or seek assistance from a qualified professional.
By conducting thorough testing, you can ensure that your electric motor is properly wired and functional, allowing it to perform its intended tasks efficiently and reliably.
Read more: How Much Has Electrical Wire Gone Up
Conclusion
Wiring up an electric motor may initially seem like a complex and intimidating task, but with the right knowledge and approach, it can be accomplished successfully. By following the steps outlined in this article, you can ensure a safe and efficient wiring process for your electric motor.
From identifying the motor’s wires and preparing the motor for wiring to choosing the appropriate wiring configuration and connecting the power supply and control circuit, each step plays a crucial role in the overall process. It is essential to refer to the motor’s documentation, wiring diagrams, and manufacturer’s instructions to ensure accurate connections and adherence to safety protocols.
Moreover, taking the necessary safety precautions, such as disconnecting the power supply, using personal protective equipment (PPE), and inspecting the motor for any damage or loose connections, contributes to a secure working environment.
Once the wiring is complete, it is vital to test the motor thoroughly. Conducting visual inspections, measuring voltage and current, observing motor operation, and performing load testing (if applicable) help verify proper functionality and identify any potential issues.
Always prioritize safety, and if you are unsure about any aspect of the wiring process, it is recommended to consult the motor’s documentation or seek assistance from a qualified electrician.
By diligently following the steps outlined in this article, you can successfully wire up your electric motor, ensuring its proper operation and contributing to the success of your electrical projects.
Frequently Asked Questions about How To Wire Up Electric Motor
Was this page helpful?
At Storables.com, we guarantee accurate and reliable information. Our content, validated by Expert Board Contributors, is crafted following stringent Editorial Policies. We're committed to providing you with well-researched, expert-backed insights for all your informational needs.

0 thoughts on “How To Wire Up Electric Motor”