Home>Construction & Tools>Building Materials>How To Knock Down A Brick Wall

Building Materials
How To Knock Down A Brick Wall
Modified: January 23, 2024
Learn effective techniques for knocking down a brick wall using the right building materials. Find step-by-step guidance and safety tips.
(Many of the links in this article redirect to a specific reviewed product. Your purchase of these products through affiliate links helps to generate commission for Storables.com, at no extra cost. Learn more)
Introduction
So, you've decided it's time to knock down that old brick wall. Whether you're renovating, expanding, or just ready for a change, this project can seem daunting at first. But fear not! With the right approach and a bit of know-how, you can tackle this task like a pro.
In this guide, we'll walk through the process of knocking down a brick wall, step by step. From assessing the wall and gathering the necessary tools to safely removing the bricks, we've got you covered. By the end of this journey, you'll have the confidence and knowledge to take on this project with ease.
Before we dive in, it's important to note that safety should always be the top priority. Knocking down a brick wall involves heavy materials and potential hazards, so taking the proper precautions is crucial. With that in mind, let's embark on this brick-breaking adventure together!
Key Takeaways:
- Assess the wall’s bricks, mortar, and stability before demolition to plan the best approach and ensure safety.
- Prioritize safety with the right tools, careful brick removal, and comprehensive safety measures for a successful and incident-free demolition.
Assessing the Wall
Before swinging that sledgehammer, it’s essential to assess the wall and understand its composition. Start by examining the type of bricks used, the mortar holding them together, and the overall condition of the wall. This evaluation will help you determine the best approach for demolishing the structure.
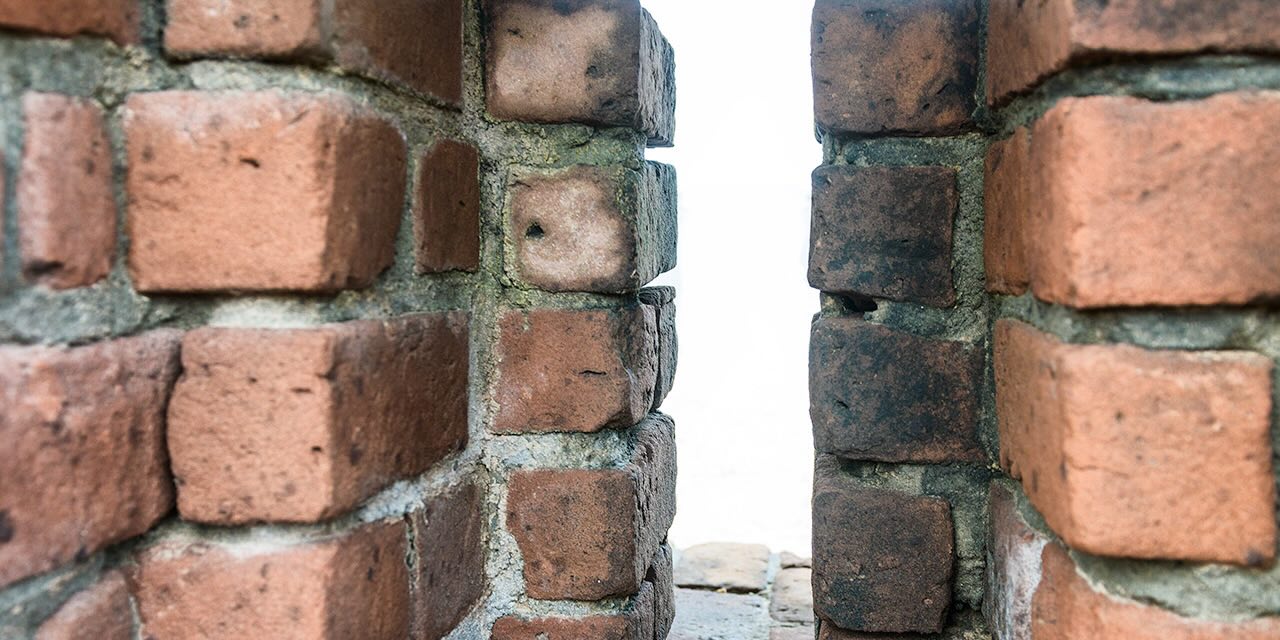
First, identify the type of bricks in the wall. Common brick types include clay bricks, concrete bricks, and engineering bricks. Each type has unique properties that can influence the demolition process. For instance, clay bricks are relatively soft and may break apart more easily, while concrete bricks tend to be denser and require more force to dislodge.
Next, inspect the mortar holding the bricks in place. Note the mortar’s strength and composition, as well as any signs of deterioration. If the mortar is weak or crumbling, it may indicate an easier demolition process. Conversely, strong and well-bonded mortar will require more effort to break apart.
Additionally, assess the overall stability and condition of the wall. Look for any structural weaknesses, cracks, or areas of instability. Understanding the wall’s integrity will help you plan for potential safety hazards and determine the appropriate demolition technique.
Once you’ve thoroughly assessed the wall, you’ll have a clearer picture of how to proceed. Whether it’s a solid brick structure with robust mortar or a weathered wall in need of replacement, this initial evaluation sets the stage for a successful demolition project.
Gathering the Necessary Tools
With the wall assessed and a demolition plan in mind, it’s time to gather the essential tools for the job. Having the right equipment at your disposal will streamline the demolition process and ensure safety and efficiency. Here’s a rundown of the tools you’ll need to tackle this brick-breaking endeavor:
- Safety Gear: Before anything else, prioritize safety gear. This includes a hard hat, safety goggles, heavy-duty gloves, and steel-toed boots. These items provide vital protection against falling debris, sharp edges, and potential hazards during the demolition.
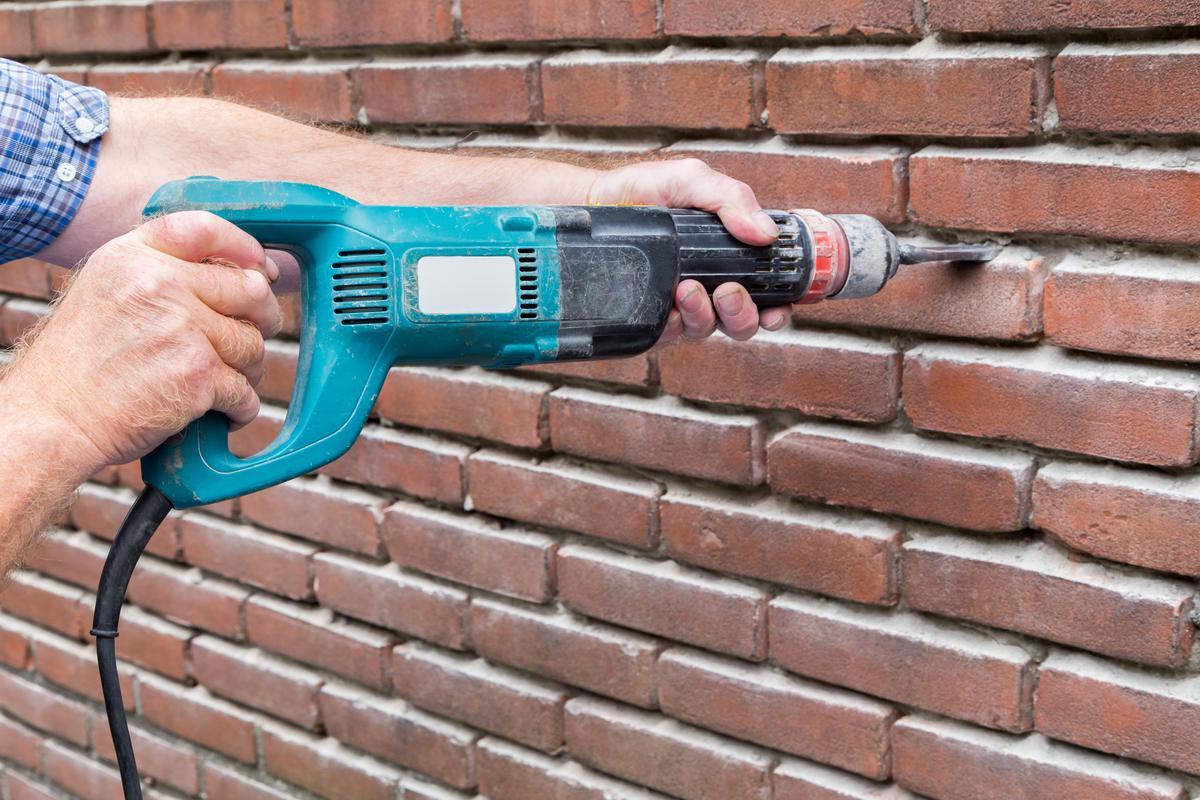
- Demolition Hammer or Sledgehammer: Depending on the size and strength of the wall, you’ll need a suitable striking tool. A demolition hammer with a chisel attachment is ideal for larger projects, while a sledgehammer can handle smaller-scale demolitions. Choose the tool that best fits the scope of your project.
- Cold Chisel and Bolster: These tools are essential for chipping away at the mortar and breaking apart stubborn bricks. The cold chisel is designed for cutting and shaping hard materials, while the bolster provides leverage for removing bricks.
- Wheelbarrow and Tarp: A wheelbarrow makes it easy to transport and dispose of the demolished bricks and debris. Additionally, a tarp can be used to collect and contain the rubble, simplifying the cleanup process.
- Crowbar: A sturdy crowbar is invaluable for prying loose bricks and leveraging structural elements during the demolition. Look for a crowbar with a flat, wide end for optimal leverage.
- Dust Mask and Respirator: Demolition work generates a significant amount of dust and airborne particles. Protect your respiratory system with a quality dust mask or respirator to minimize inhalation of harmful debris.
- Safety Barriers and Signage: If the demolition area is accessible to others, set up safety barriers and signage to alert people to the potential hazards. This precaution is especially important if the project is taking place in a public or shared space.
By ensuring you have these essential tools on hand, you’ll be well-prepared to commence the demolition process with confidence and efficiency. With safety at the forefront and the right equipment at your disposal, you’re ready to turn your demolition plan into reality.
Use a sledgehammer to start breaking the mortar between the bricks. Work from the top down and wear protective gear.
Removing the Bricks
With the necessary tools assembled and safety measures in place, it’s time to dive into the process of removing the bricks from the wall. This phase requires a methodical approach and attention to detail to ensure a smooth and controlled demolition. Here’s a step-by-step guide to effectively removing the bricks:
- Start at the Top: Begin the demolition at the top of the wall and work your way down. This approach minimizes the risk of destabilizing the structure and helps prevent unexpected collapses. Use a ladder or scaffolding to access higher sections safely.
- Target the Mortar: Focus on breaking apart the mortar that holds the bricks together. Position the cold chisel along the mortar joints and use a hammer to carefully chip away at the mortar. Work systematically, moving across the wall and ensuring an even distribution of force.
- Apply Leverage: Once the mortar is sufficiently weakened, use a crowbar and bolster to apply leverage and dislodge the bricks. Insert the bolster between the bricks and gently tap it with a hammer to create separation. Then, use the crowbar to pry the bricks from their positions.
- Handle with Care: As you remove individual bricks, handle them with care to avoid injury or damage. Place the removed bricks in a designated area for disposal or salvage, depending on their condition and your future plans for the materials.
- Dispose of Debris: Continuously clear away the debris and fallen bricks to maintain a safe and organized work area. Use the wheelbarrow and tarp to collect the demolished bricks and mortar, keeping the workspace clear and facilitating efficient cleanup.
- Inspect and Adapt: Throughout the demolition process, periodically inspect the wall’s stability and reassess your approach as needed. Be mindful of any unexpected shifts in the structure and adjust your technique accordingly to maintain a safe working environment.
By following these steps and exercising caution at every stage, you’ll effectively remove the bricks from the wall while minimizing risks and complications. With each brick carefully dislodged and debris efficiently managed, you’re making steady progress toward completing the demolition with precision and care.
Safety Precautions
When it comes to demolishing a brick wall, prioritizing safety is non-negotiable. The inherent risks associated with this task demand a vigilant approach to safeguarding both yourself and others involved in the project. Implementing comprehensive safety precautions is paramount to a successful and incident-free demolition. Here are essential safety measures to observe throughout the process:
- Protective Gear: Equip yourself with the appropriate safety gear, including a hard hat, safety goggles, heavy-duty gloves, and steel-toed boots. These items shield you from potential head injuries, eye hazards, and physical harm from falling debris.
- Dust Management: Utilize a quality dust mask or respirator to minimize inhalation of airborne particles generated during the demolition. This precaution safeguards your respiratory health and reduces exposure to hazardous materials.
- Stable Footing: Ensure stable and secure footing while working on the wall. Use sturdy ladders, scaffolding, or elevated platforms as needed to access higher sections, and be mindful of potential trip hazards in the work area.
- Proper Lifting Techniques: When handling heavy tools and materials, employ proper lifting techniques to prevent strain and injury. Bend at the knees, keep your back straight, and lift with your legs to minimize the risk of back and muscle strain.
- Clear Work Area: Keep the work area clear of clutter, debris, and unnecessary obstacles. Regularly dispose of fallen bricks and mortar to maintain a safe and organized workspace, reducing the risk of tripping or slipping hazards.
- Team Communication: If working with a team, establish clear communication and coordination to ensure everyone is aware of their roles and the ongoing activities. Effective teamwork enhances safety and minimizes the potential for accidents or misunderstandings.
- Emergency Preparedness: Familiarize yourself with the location of emergency exits, first aid kits, and fire extinguishers in case of unforeseen incidents. Being prepared for emergencies is essential for prompt and effective response to any unexpected situations.
- Structural Integrity: Regularly assess the stability of the wall and surrounding structures throughout the demolition process. Watch for signs of shifting or instability and take immediate action to mitigate potential hazards.
By diligently adhering to these safety precautions, you create a secure environment for carrying out the demolition work. Prioritizing safety not only protects you and your team but also ensures a smooth and controlled demolition process from start to finish.
Read more: How To Sand Down Brick
Conclusion
Congratulations! You’ve successfully navigated the process of knocking down a brick wall, from assessing the structure to safely removing the bricks. By following the steps outlined in this guide and prioritizing safety at every turn, you’ve gained the knowledge and confidence to undertake this challenging task with precision and care.
As you reflect on this demolition journey, remember the importance of thorough assessment before initiating the project. Understanding the composition and condition of the wall allowed you to approach the demolition with a clear plan and informed strategy. Additionally, gathering the necessary tools equipped you for a seamless and efficient demolition process, ensuring that you could tackle the project with confidence.
The meticulous approach to removing the bricks, prioritizing safety precautions, and maintaining a vigilant eye on the structural integrity of the wall all contributed to a successful and incident-free demolition. By exercising caution and implementing comprehensive safety measures, you safeguarded yourself and others involved in the project while achieving your demolition goals.
As you wrap up this endeavor, take pride in your accomplishment and the newfound expertise you’ve gained. Whether you’re clearing the way for a new construction project or simply revitalizing your space, the skills and knowledge acquired in this process will serve you well in future endeavors.
Remember, safety should always be the cornerstone of any demolition project. By approaching the task with respect for the materials and a commitment to precautionary measures, you’ve not only achieved your demolition objectives but also upheld a standard of excellence in safety and diligence.
With the wall now cleared and the debris responsibly managed, you can look ahead to the next phase of your project with confidence and a sense of achievement. As you embark on future endeavors, carry forward the lessons learned from this demolition experience, and continue to prioritize safety, precision, and care in all your construction and renovation pursuits.
Frequently Asked Questions about How To Knock Down A Brick Wall
Was this page helpful?
At Storables.com, we guarantee accurate and reliable information. Our content, validated by Expert Board Contributors, is crafted following stringent Editorial Policies. We're committed to providing you with well-researched, expert-backed insights for all your informational needs.





0 thoughts on “How To Knock Down A Brick Wall”