Home>diy>Architecture & Design>How To Draw A Garage Door On A Floor Plan
Architecture & Design
How To Draw A Garage Door On A Floor Plan
Modified: February 25, 2024
Learn how to draw a garage door on a floor plan with our expert architecture design tips. Enhance your blueprint skills and create accurate representations.
(Many of the links in this article redirect to a specific reviewed product. Your purchase of these products through affiliate links helps to generate commission for Storables.com, at no extra cost. Learn more)
Introduction
A garage door is an essential component of a floor plan, particularly in residential and commercial buildings. It not only provides security but also adds aesthetic value to the overall design. When drawing a floor plan, accurately representing the garage door is crucial to ensure proper layout and functionality.
In this article, we will guide you through the process of drawing a garage door on a floor plan, step by step. Whether you are an architect, designer, or simply someone who wants to have a clear representation of a garage door, this guide will help you create a detailed and accurate layout.
Before we begin, it’s important to note that drawing skills and basic knowledge of architectural design will be helpful. Additionally, having access to a floor plan software or drafting tools will make the process smoother. With that said, let’s dive into the steps of creating a garage door on a floor plan.
Key Takeaways:
- Accurate representation of garage doors on floor plans is crucial for seamless integration into building designs. Follow these steps to ensure precise dimensions, location, and visual details for a well-planned layout.
- Labeling garage doors on floor plans enhances clarity and understanding during construction or renovation processes. Including dimensions, materials, and specific features ensures accurate implementation and professional documentation.
Read more: How To Draw A Door In A Floor Plan
Step 1: Start with the floor plan layout
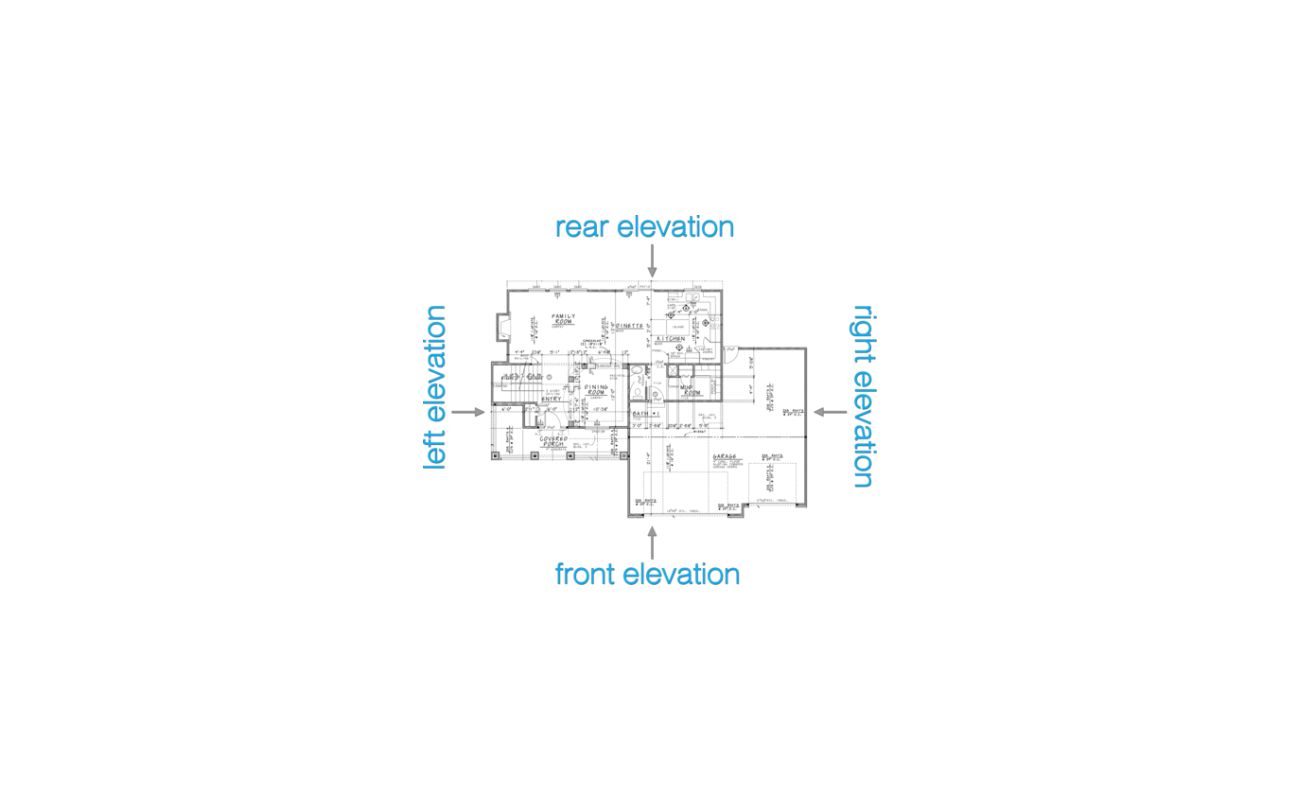
The first step in drawing a garage door on a floor plan is to have a clear and accurate floor plan layout. This means you need to have a basic understanding of architectural symbols and dimensions. If you’re working on a digital platform or software, ensure that you have a grid or measurement tool to maintain precision.
If you don’t already have a floor plan, you can create one either by hand or using a floor plan software. Start by sketching the outline of the building or room where the garage door will be located. Include walls, windows, and any other significant elements that will affect the placement of the garage door.
Be sure to take accurate measurements of the area where the garage door will be installed. This includes both the width and height of the opening. Remember to take into account any obstructions such as columns or beams that may affect the positioning of the garage door.
Once you have the basic floor plan layout, ensure that it is to scale. This means that the dimensions on the floor plan accurately represent the real-world measurements. This is key to ensuring that the garage door fits properly within the floor plan and the overall design of the building.
Remember to keep the floor plan organized and easy to read. Use clear lines and labels to distinguish different elements within the plan. Consider using different line weights or colors to indicate walls, windows, and doors.
By starting with a well-defined floor plan layout, you set the foundation for accurately drawing the garage door within the design. It will also make it easier to make adjustments or modifications as needed later on.
Step 2: Determine the size and location of the garage door
Once you have the floor plan layout, it’s time to determine the size and location of the garage door. This step is crucial as it ensures that the garage door fits seamlessly into the overall design of the building.
Start by considering the function and purpose of the garage door. Is it for a residential garage, a commercial warehouse, or something else? The intended use will help determine the size and style of the garage door.
Measure the width and height of the opening where the garage door will be installed. Take into account any architectural constraints such as wall thickness or structural supports. Ensure that the measurements are accurate as they will directly impact the final result.
Consider the aesthetics and architectural style of the building when choosing the size and style of the garage door. For example, if the building has a modern design, a sleek and minimalist garage door may be more suitable. On the other hand, if the building has a traditional or rustic style, a more ornate or carriage-style garage door might be appropriate.
Additionally, determine the location of the garage door within the floor plan. Consider factors such as accessibility and convenience. Ensure that the placement of the garage door allows for easy entry and exit of vehicles.
Keep in mind any local building codes or regulations that may dictate the size or placement of the garage door. It’s important to comply with these regulations to ensure a safe and functional design.
By carefully determining the size and location of the garage door, you can ensure that it becomes a seamless and integral part of the overall floor plan. This step sets the stage for accurately drawing the garage door in the next steps.
Step 3: Draw the outline of the garage door
Now that you have determined the size and location of the garage door, it’s time to draw its outline on the floor plan. This step involves accurately representing the shape and dimensions of the garage door opening.
Start by using a ruler or measuring tool to draw straight lines that represent the vertical sides and horizontal top of the garage door opening. Ensure that the lines are parallel and align with the dimensions you previously determined.
Next, consider the design and style of the garage door. Is it a single panel or multiple sections? If it consists of multiple sections, draw additional lines to represent the divisions between the sections.
Take into account any architectural elements such as trim or overlays that may be present on the garage door. These details add depth and visual interest to the design and should be accurately represented in the outline.
When drawing the outline, be mindful of the scale and proportions. Ensure that the width and height of the outline are consistent with the dimensions you determined in the previous step. The accuracy of the outline is crucial for visualizing how the garage door will fit within the overall floor plan.
Use clean and precise lines when drawing the outline. Consider using different line weights or shading to distinguish the outline from other elements on the floor plan. This will make it easier to identify the garage door and visualize its placement within the design.
By accurately drawing the outline of the garage door, you create a visual representation of its position and shape within the floor plan. This step brings the design to life and allows for a clearer understanding of how the garage door will look in the final construction.
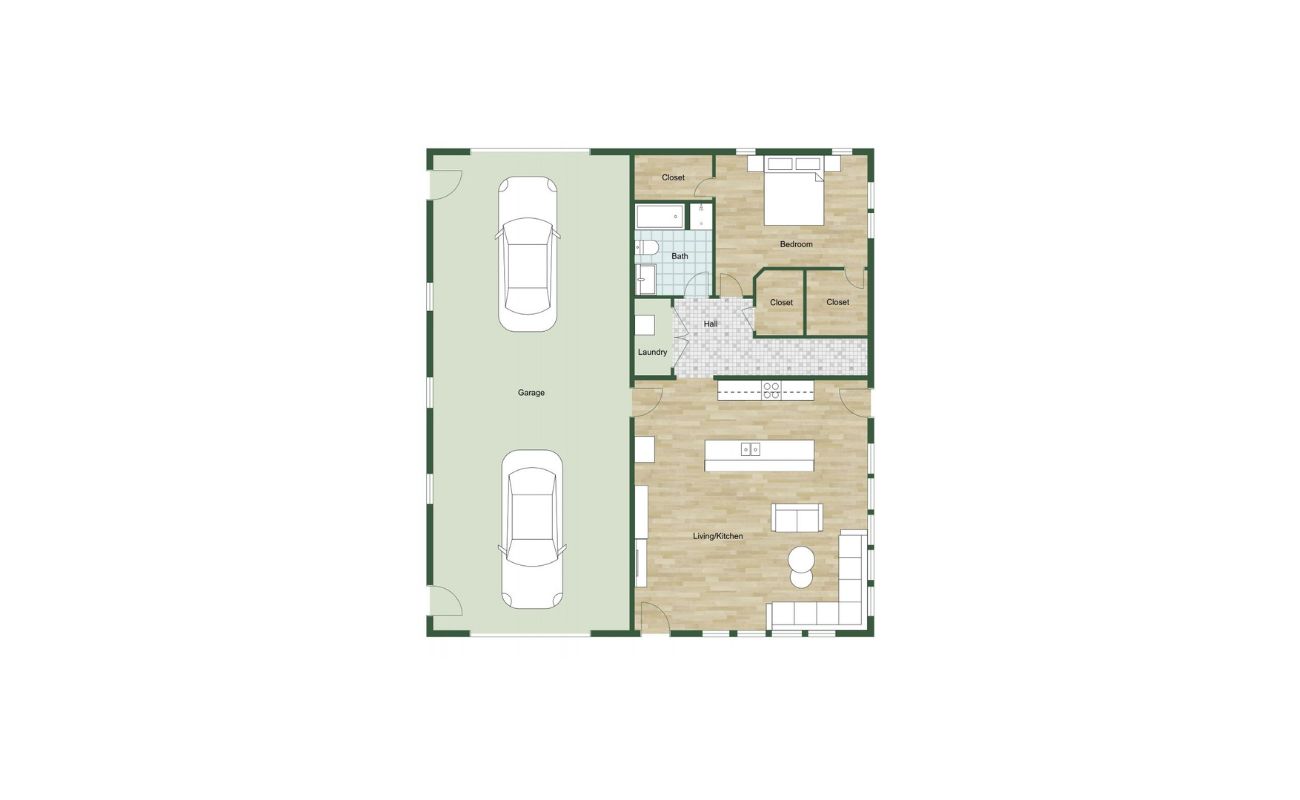
When drawing a garage door on a floor plan, use a straight line to represent the bottom of the door and add vertical lines on each side to indicate the door’s width. Be sure to include the swing direction of the door if it is a hinged type.
Step 4: Add details to the garage door
Now that you have drawn the outline of the garage door, it’s time to add important details that will enhance the overall design and functionality of the door. Adding these details will make the garage door appear more realistic and informative on the floor plan.
Start by considering the material of the garage door. Is it made of wood, steel, or another material? Use different shading or textures to represent these materials on the floor plan. This will provide a visual cue and help convey the overall look and feel of the garage door.
Incorporate any additional architectural elements such as panels, windows, or decorative hardware that the garage door may have. Draw these elements accurately and in proportion to the overall garage door design. These details can have a significant impact on the aesthetics and style of the door.
Consider the method of opening and closing for the garage door. Is it a traditional overhead door that rolls up, or does it swing out like a carriage-style door? Use arrows or symbols to indicate the direction in which the garage door opens. This will provide valuable information to those interpreting the floor plan.
Use shading or cross-hatching to indicate areas that are solid, such as solid panels, and leave other areas blank or lightly shaded to represent windows or openings. This will help differentiate between different sections or components of the garage door.
Adding these details to the garage door will not only make the floor plan more visually appealing but will also provide valuable information to those involved in the construction or renovation process. It helps to ensure that the garage door is accurately represented and that design and functional elements are properly conveyed.
Read more: How To Draw A Sliding Door On A Floor Plan
Step 5: Label the garage door on the floor plan
After completing the drawing and adding details to the garage door, the final step is to label it on the floor plan. Labeling the garage door is essential for clarity and understanding of the overall design, especially when sharing the floor plan with others involved in the construction or renovation process.
Start by using a clear and legible font to label the garage door. Place the label near the garage door or in a designated area that doesn’t interfere with other elements on the floor plan.
Include important information such as the dimensions of the garage door opening, including the width and height. This will help ensure that contractors and builders have accurate measurements when constructing the door.
Add any additional notes or specifications regarding the garage door. For instance, if there are any special features or requirements such as insulation, security features, or specific type of mechanism, make sure to mention it in the label.
Consider using arrows or callout lines to connect the label with the garage door outline. This will help visually highlight the relationship between the label and the garage door on the floor plan.
If there are multiple garage doors on the floor plan, use numbering or alphabet letters to differentiate between them. This will make it easier to reference and discuss specific garage doors when reviewing the floor plan.
By properly labeling the garage door on the floor plan, you ensure that everyone involved in the project can easily identify and understand its location, dimensions, and any additional details or specifications. This final step adds clarity and professionalism to the floor plan documentation.
Conclusion
Drawing a garage door on a floor plan is a crucial step in architectural design and planning. It allows for accurate representation of the door’s size, location, and design elements within the overall layout of the building. By following the steps outlined in this guide, you can ensure a seamless and well-designed garage door on your floor plan.
Starting with a well-defined floor plan layout sets the foundation for accurately drawing the garage door. Determining the size and location of the garage door ensures that it fits harmoniously into the overall design and functionality of the building.
Drawing the outline of the garage door brings it to life on the floor plan, while adding important details like materials, architectural elements, and opening mechanisms enhances the door’s visual representation and informative value.
Finally, labeling the garage door on the floor plan ensures clarity and easy understanding for all parties involved in the construction or renovation process. It provides essential information such as dimensions and specifications.
Remember to utilize your architectural skills and attention to detail to create a visually appealing and accurate representation of the garage door on the floor plan. By doing so, you contribute to a successful construction process and ensure that the final result meets both functional and aesthetic requirements.
Now that you have a comprehensive understanding of how to draw a garage door on a floor plan, you can confidently incorporate this important element into your architectural designs. So go ahead and bring your floor plans to life with accurate and visually appealing garage door representations.
Frequently Asked Questions about How To Draw A Garage Door On A Floor Plan
Was this page helpful?
At Storables.com, we guarantee accurate and reliable information. Our content, validated by Expert Board Contributors, is crafted following stringent Editorial Policies. We're committed to providing you with well-researched, expert-backed insights for all your informational needs.


0 thoughts on “How To Draw A Garage Door On A Floor Plan”