Home>diy>Architecture & Design>How To Draw A Sink In A Floor Plan

Architecture & Design
How To Draw A Sink In A Floor Plan
Modified: May 6, 2024
Learn how to draw a sink in a floor plan with our step-by-step guide. Enhance your architecture design skills and create functional layouts efficiently.
(Many of the links in this article redirect to a specific reviewed product. Your purchase of these products through affiliate links helps to generate commission for Storables.com, at no extra cost. Learn more)
Introduction
Welcome to the exciting world of architectural design! Whether you’re a student, a professional, or just a curious enthusiast, learning how to draw a sink in a floor plan can be a fascinating and valuable skill to have. Floor plans are essential in the architectural and interior design industries as they provide a visual representation of a space’s layout. Being able to accurately depict fixtures, such as sinks, is crucial for conveying the functionality and aesthetics of a room.
In this article, we will guide you through the step-by-step process of drawing a sink in a floor plan. We will cover everything from gathering the necessary tools and materials to refining your drawing for a polished final result. By following these instructions, you will gain a better understanding of architectural drawing techniques and be able to create professional-looking floor plans.
Before we delve into the specifics, it’s important to note that each step of the process requires meticulous attention to detail. Accuracy is key when drawing floor plans, as any inaccuracies can lead to errors in construction or misinterpretation by other professionals involved in the project. So, let’s get started with the first step – gathering the necessary tools and materials.
Key Takeaways:
- Master the art of drawing sinks in floor plans with precision and creativity, ensuring accurate representation and effective communication of design concepts to clients and colleagues.
- Elevate your architectural drawing skills by incorporating essential details such as plumbing lines, cabinets, and countertops, creating visually appealing and functional floor plans for various spaces.
Read more: How To Draw An Evacuation Floor Plan
Step 1: Gather the necessary tools and materials
Before you begin drawing a sink in a floor plan, you need to ensure that you have the appropriate tools and materials at your disposal. Having the right equipment will not only make the process easier but also help you achieve accurate and professional-looking results. Here are the essential tools you’ll need:
- Paper or drafting software: You can choose to work on traditional paper using a drawing board or utilize computer-aided design (CAD) software for digital floor plan creation. Determine which medium suits your preference and proficiency.
- Scale ruler: A scale ruler is a vital tool for creating accurate measurements on your floor plan. Make sure you have a ruler that offers a variety of scales, such as 1:50, 1:100, or 1:200.
- Pencil or drafting pen: Opt for a pencil or drafting pen that provides precise lines and can be easily erased or corrected if needed.
- Eraser: A good quality eraser will help you correct any mistakes or changes throughout the drawing process.
- Compass: A compass will assist you in drawing circles or curved lines, allowing you to accurately depict the shape of the sink.
- Straightedge ruler: A straightedge ruler, such as a T-square or triangle, is essential for creating straight lines and right angles on your floor plan.
- Measuring tape: You’ll need a measuring tape to take accurate measurements of the room you’re drawing.
- Reference materials: It can be helpful to have access to architectural books, design magazines, or online resources to gain inspiration and reference for sink designs and placement.
Make sure you have all the necessary tools within reach before you start drawing your floor plan. This will save you time and prevent interruptions during the creative process. Once you have gathered everything you need, it’s time to move on to the next step – determining the scale and measurements.
Step 2: Determine the scale and measurements
When drawing a sink in a floor plan, it’s crucial to establish the scale and measurements to ensure accurate representation. The scale represents the relationship between the dimensions on the paper or computer screen and the physical dimensions of the room. Here’s how you can determine the scale and measurements:
- Measure the room: Use a measuring tape to measure the dimensions of the room where the sink will be located. Record these measurements accurately. Note the length, width, and height of the room.
- Establish the scale: Decide on a scale that will allow you to fit the room’s dimensions onto your chosen sheet of paper or digital canvas. Common scales used in floor plan drawings include 1:50, 1:100, or 1:200. For example, a 1:50 scale means that one unit on the drawing represents 50 units in real life.
- Calculate the scaled measurements: Multiply the actual measurements of the room by the scale factor. For instance, if the length of the room is 10 meters and you’re using a 1:50 scale, the scaled length on the floor plan would be 10 x 50 = 500 units. Repeat this process for the width and height of the room.
- Mark the scaled measurements: On your paper or digital canvas, use the scale ruler to draw a straight line that represents the length of the room according to the scale. Label it with the scaled length measurement. Repeat this process for the width and height of the room, ensuring that each line is accurately labeled.
By establishing the scale and measurements, you can ensure that your floor plan accurately represents the dimensions of the room that will house the sink. This step is crucial for maintaining accuracy throughout the drawing process. Once you have determined the scale and measurements, it’s time to move on to the next step – drawing the outer boundary walls of the room.
Step 3: Draw the outer boundary walls of the room
With the scale and measurements established, it’s time to start sketching the floor plan by drawing the outer boundary walls of the room. This step will serve as the foundation for accurately placing the sink within the space. Follow these steps to draw the outer boundary walls:
- Using your scale ruler and pencil, draw a straight line representing one of the walls of the room. Make sure the length of the line corresponds to the scaled measurement you calculated earlier.
- Next, draw additional lines to form the outer walls of the room by connecting the ends of the first line. These lines should create a closed shape that represents the perimeter of the room.
- Continue drawing the outer walls until you have accurately represented all the sides of the room. Use the straightedge ruler to ensure the lines are straight and aligned correctly. Keep referring to your scaled measurements to maintain accuracy.
- Label the walls: To avoid confusion, label each wall by indicating its length on your floor plan. For example, if a wall measures 5 meters, label it as “5m” along the line representing that wall. This labeling will help you accurately position the sink within the space.
By drawing the outer walls of the room, you’ll have a clear visual representation of the area in which the sink will be located. This step is vital for understanding the overall layout of the space before proceeding to add further details. Once you have drawn the outer boundary walls, it’s time to move on to the next step – adding the plumbing lines.
Step 4: Add the plumbing lines
After establishing the outer boundary walls of the room, it’s time to add the plumbing lines to your floor plan. These lines will indicate the locations where the sink’s plumbing fixtures will be connected. Follow these steps to add the plumbing lines:
- Start by visualizing the plumbing layout: Consider the location of the main water supply and drainage pipes in the room. Typically, the plumbing lines for a sink will connect to these existing pipes.
- Using your pencil or pen, draw lines to represent the water supply lines and the drainage lines. These lines should originate from the general area where the main pipes are located and extend towards the sink area.
- For the water supply lines, draw lines that terminate at the exact position where the sink’s faucet will be installed. If there will be multiple faucets, draw separate lines for each one.
- Similarly, for the drainage lines, draw lines that extend to the location where the sink’s drain pipe will be installed. Ensure that the drainage lines are connected to the main drainage pipe.
- Label the plumbing lines: To provide clarity, label each line with the corresponding fixture it represents, such as “Water Supply” and “Drainage.” You can also label the dimensions of the lines, indicating the pipe diameter or other specifications.
By adding the plumbing lines, you are not only indicating the location of the sink but also setting the groundwork for connecting it to the main water supply and drainage systems. This step is crucial for understanding how the sink will function within the overall plumbing infrastructure of the space. Once you have added the plumbing lines, it’s time to move on to the next step – sketching the sink’s shape and position.
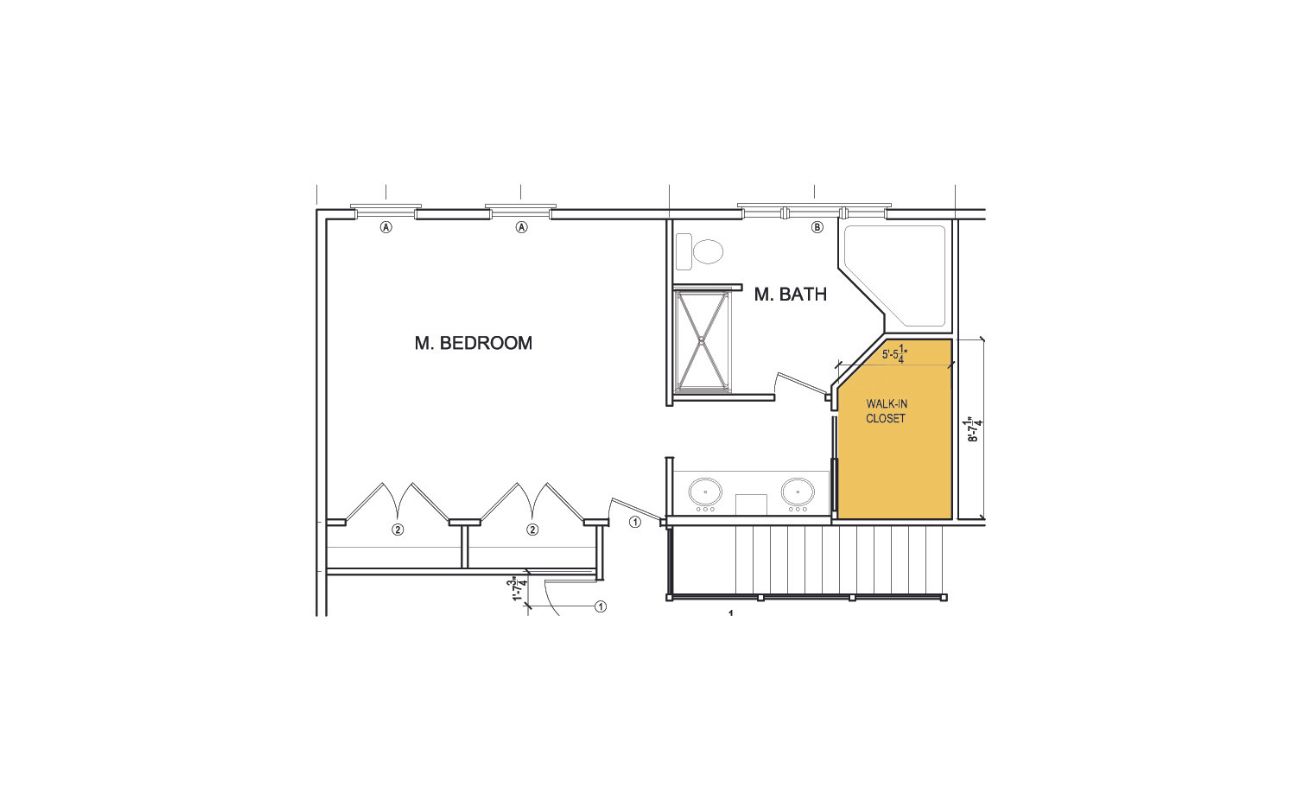
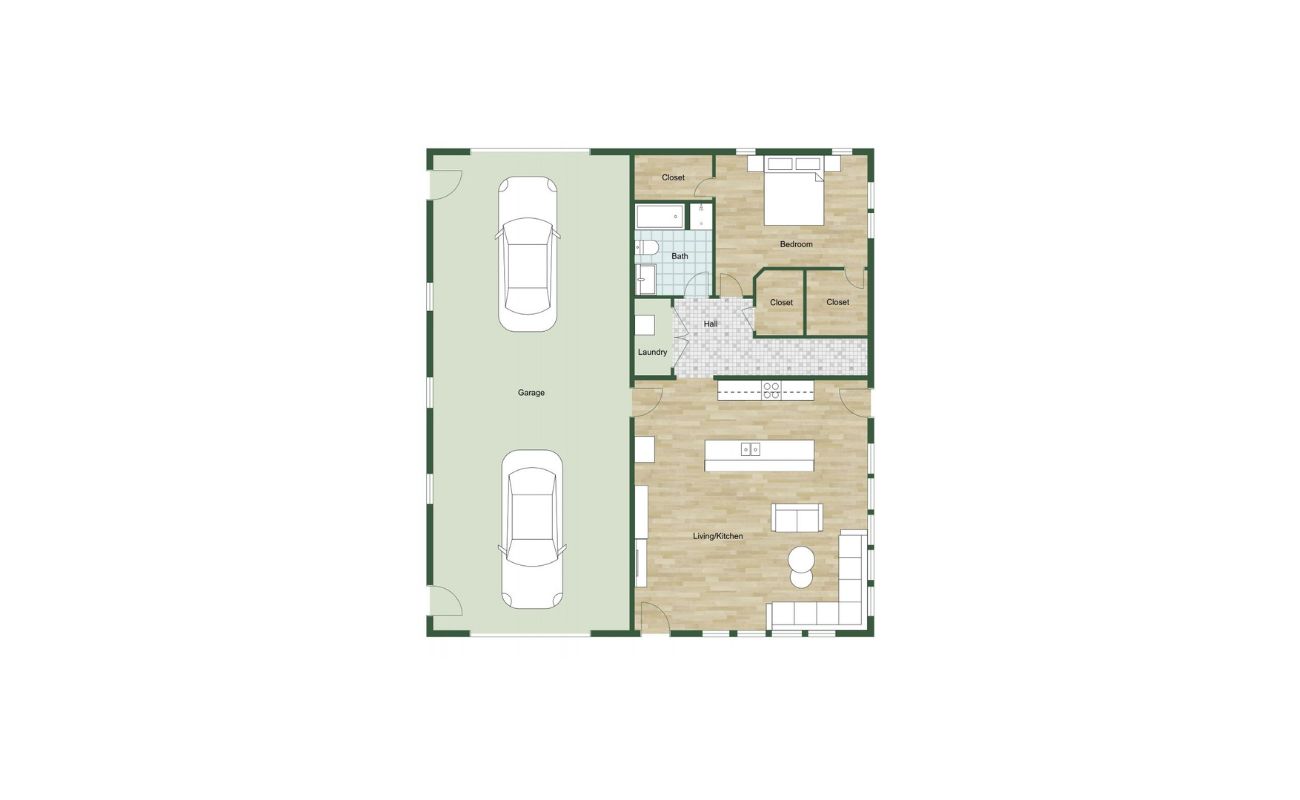
When drawing a sink in a floor plan, use a small rectangle to represent the sink basin and a couple of lines to indicate the faucet and handles. Make sure to include the proper measurements and label it clearly.
Read more: How To Draw A Door In A Floor Plan
Step 5: Sketch the sink’s shape and position
With the plumbing lines in place, it’s time to sketch the shape and position of the sink within the floor plan. This step will give you a visual representation of how the sink will fit into the overall layout of the room. Follow these steps to sketch the sink:
- Refer to your reference materials: Take inspiration from architectural books, design magazines, or online resources to get an idea of different sink designs and styles. Consider factors such as the sink’s size, shape, and orientation.
- Using a pencil or pen, sketch the outline of the sink within the designated area on the floor plan. This can be a simple rectangular shape or more complex, depending on the sink design you’ve chosen.
- Ensure that the sink’s dimensions match the scale of your floor plan. Use your scale ruler to accurately represent the sink’s measurements on the drawing. Pay attention to details such as the sink’s depth and any surrounding fixtures like countertops or cabinets.
- Label the sink: Add a label or annotation with the word “Sink” next to the sketched outline. This will make it clear to anyone viewing the floor plan that this area represents the intended location of the sink.
By sketching the shape and position of the sink, you will have a clear visual representation of how it will be situated within the room. This step helps you understand how the sink relates to other elements in the space, allowing you to make any necessary adjustments before moving forward. Once you’ve sketched the sink, it’s time to proceed to the next step – including additional details such as cabinets or countertops.
Step 6: Include additional details such as cabinets or countertops
In order to create a comprehensive floor plan, it’s important to include additional details such as cabinets or countertops that will surround the sink. These elements will not only enhance the functionality of the space but also contribute to the overall aesthetics. Follow these steps to include additional details:
- Consider the layout: Take into account the available space and the desired configuration of cabinets and countertops around the sink. Think about functionality and how these elements will enhance the workflow in the room.
- Using your pencil or pen, sketch the outline of the cabinets or countertops around the sink area on the floor plan. Ensure that the dimensions and scale of these elements match the rest of the drawing. Pay attention to details such as heights, widths, and depths.
- Add labels or annotations to indicate the purpose of each element. Use words like “Cabinets” or “Countertop” to make it clear to readers what each feature represents.
- Consider other factors such as the material, color, and texture of the cabinets or countertops. Although you don’t have to draw these details, keep them in mind as they will contribute to the overall design of the space.
By including additional details such as cabinets or countertops, you are providing a more comprehensive and realistic representation of how the sink fits into the overall layout of the room. These elements play a crucial role in the functionality and visual appeal of the space. Once you have included these details, it’s time to move on to the next step – label and annotate the floor plan.
Step 7: Label and annotate the floor plan
In order to ensure clarity and understanding of the floor plan, it is essential to label and annotate the various elements in your drawing. This step helps to communicate important information and make the floor plan easy to interpret for others who may view it. Follow these steps to label and annotate your floor plan:
- Start by labeling the different rooms: If your floor plan includes multiple rooms, label each room accordingly. Use descriptive words like “Kitchen,” “Bathroom,” or “Living Room” to clearly indicate the purpose of each space.
- Label the key features: Label the sink, cabinets, and countertops using clear and concise annotations. This will ensure that these elements are easily identified and understood.
- Annotate important measurements: If there are specific measurements that are crucial to the design or installation of certain elements, make sure to annotate them. For example, if there is a minimum clearance required around the sink, annotate the measurement to indicate this requirement.
- Add symbols and legends: Incorporate symbols or a legend to represent different fixtures or elements in the floor plan. This can include symbols for doors, windows, electrical outlets, or other relevant components.
- Indicate scale and north direction: Add a scale bar to indicate the scale you’ve used for the drawing. Also, include an arrow symbol to represent the north direction. This will help orient viewers and give them a sense of the layout’s alignment.
Labeling and annotating the floor plan is essential for conveying crucial information and ensuring that anyone who views it can understand the layout and design. It enhances clarity and eliminates any ambiguity that may arise from the drawing itself. Once you have completed the labeling and annotation process, it’s time to move on to the final step – reviewing and refining the drawing.
Step 8: Review and refine the drawing
After completing the previous steps, it’s essential to review and refine your floor plan drawing to ensure accuracy and professionalism. This final step allows you to catch any errors or make improvements before presenting the drawing to clients, contractors, or colleagues. Follow these steps to review and refine your drawing:
- Take a step back and review the overall layout: Look at the floor plan as a whole and assess if it accurately represents your initial design concept and the intended functionality of the space.
- Check for accuracy and consistency: Double-check all measurements, labels, and annotations to ensure they are accurate and consistent throughout the drawing. Verify that the scale and proportions are maintained correctly.
- Pay attention to detail: Examine each element, including the sink, cabinets, countertops, and plumbing lines, for any errors or missing details. Refine the shapes and positions to achieve a more polished and refined look.
- Seek feedback: If possible, share your floor plan with colleagues or mentors and seek their feedback. Their fresh perspective can help identify any areas for improvement or provide insights that you may have overlooked.
- Make necessary revisions: Based on the feedback and your own observations, make any necessary revisions to your drawing. Use an eraser or digital editing tools to correct any mistakes or adjust elements as needed.
- Finalize the drawing: Once you are satisfied with the revisions, finalize your floor plan by ensuring that all lines are clean and crisp. Remove any unnecessary marks or smudges, and ensure that the drawing is neat and well-presented.
By thoroughly reviewing and refining your drawing, you will achieve a professional and accurate floor plan that effectively communicates your design concepts. This step is crucial to ensure that the final drawing is of the highest quality and ready to be shared with others involved in the project.
Congratulations! You have completed all the steps of drawing a sink in a floor plan. You can now confidently present your floor plan to clients, contractors, or colleagues. Remember, practice makes perfect, so continue to refine your skills and explore additional techniques to enhance your architectural drawing abilities.
Thank you for joining us on this journey and happy designing!
Read more: How To Draw A Shower On A Floor Plan
Conclusion
Congratulations! You have successfully learned how to draw a sink in a floor plan. By following the step-by-step process outlined in this article, you have gained valuable insights into architectural drawing techniques and acquired the skills necessary to create professional-looking floor plans.
Understanding the tools and materials required, determining the scale and measurements, drawing the outer boundary walls, adding plumbing lines, sketching the sink’s shape and position, including additional details like cabinets and countertops, labeling and annotating the floor plan, and reviewing and refining the drawing are all crucial steps in creating accurate and visually appealing floor plans.
Remember, accuracy and attention to detail are vital when drawing floor plans. The measurements, annotations, and labels on your drawing should be clear and concise, allowing anyone who views it to understand the layout and design concept effortlessly.
Having the ability to draw a sink in a floor plan opens doors to countless opportunities in the architectural and interior design industries. Whether you are designing a kitchen, bathroom, or any other space that requires a sink, this skill will enable you to communicate your ideas effectively and collaborate with other professionals involved in the project.
Continue to practice and refine your architectural drawing skills to further enhance your abilities. The more you practice, the more confident you will become in drawing floor plans and translating your creative vision into a reality.
Thank you for joining us on this journey and expanding your knowledge in architecture and design. Now, armed with your newfound skills, go forth and create stunning floor plans with sinks that will be functional, aesthetically pleasing, and bring your design visions to life.
Now that you've mastered drawing a sink in your floor plan, why not explore the basic elements of floor plans next? With our clear guide, you'll deepen your understanding of architectural layouts. Once you're familiar with the essentials, shift your focus to optimizing your kitchen space. Our article featuring expert tips from a top kitchen designer will equip you with strategies to enhance storage and functionality in your kitchen.
Frequently Asked Questions about How To Draw A Sink In A Floor Plan
Was this page helpful?
At Storables.com, we guarantee accurate and reliable information. Our content, validated by Expert Board Contributors, is crafted following stringent Editorial Policies. We're committed to providing you with well-researched, expert-backed insights for all your informational needs.


0 thoughts on “How To Draw A Sink In A Floor Plan”