Home>Furniture & Design>Outdoor Furniture>How To Install Outdoor Wall Lights

Outdoor Furniture
How To Install Outdoor Wall Lights
Modified: August 30, 2024
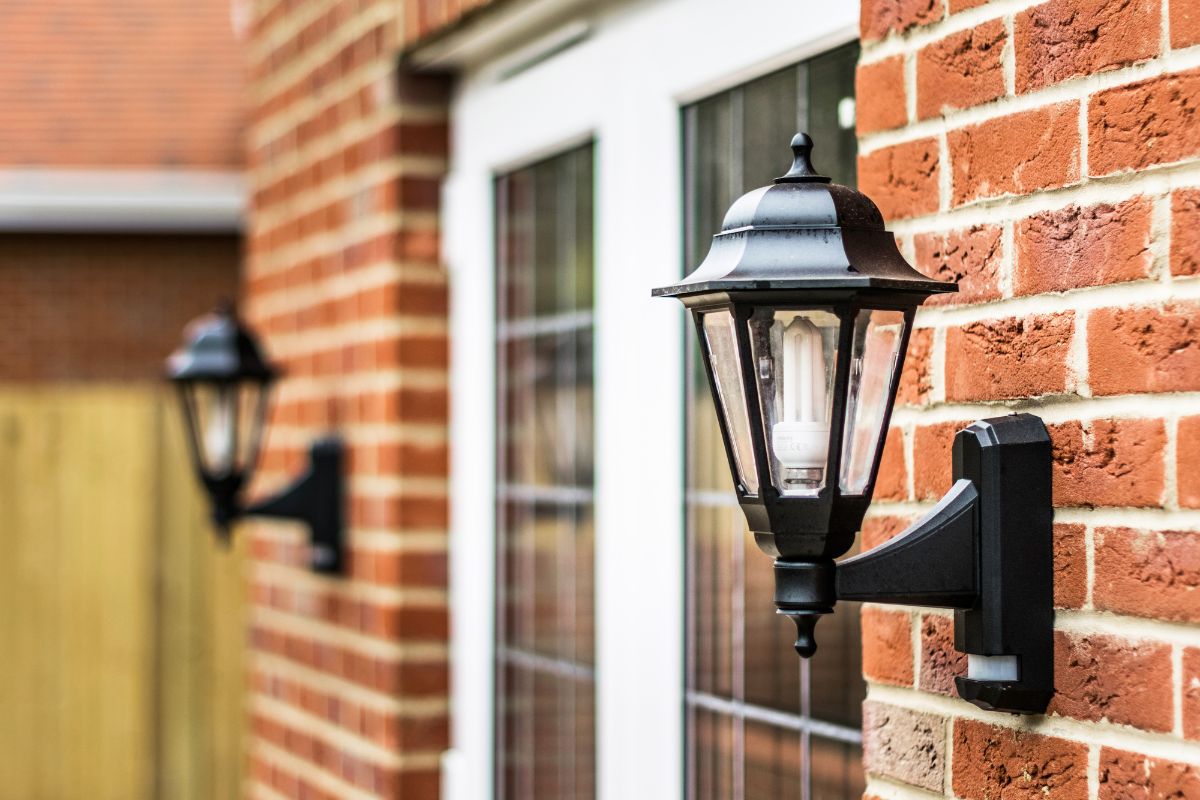
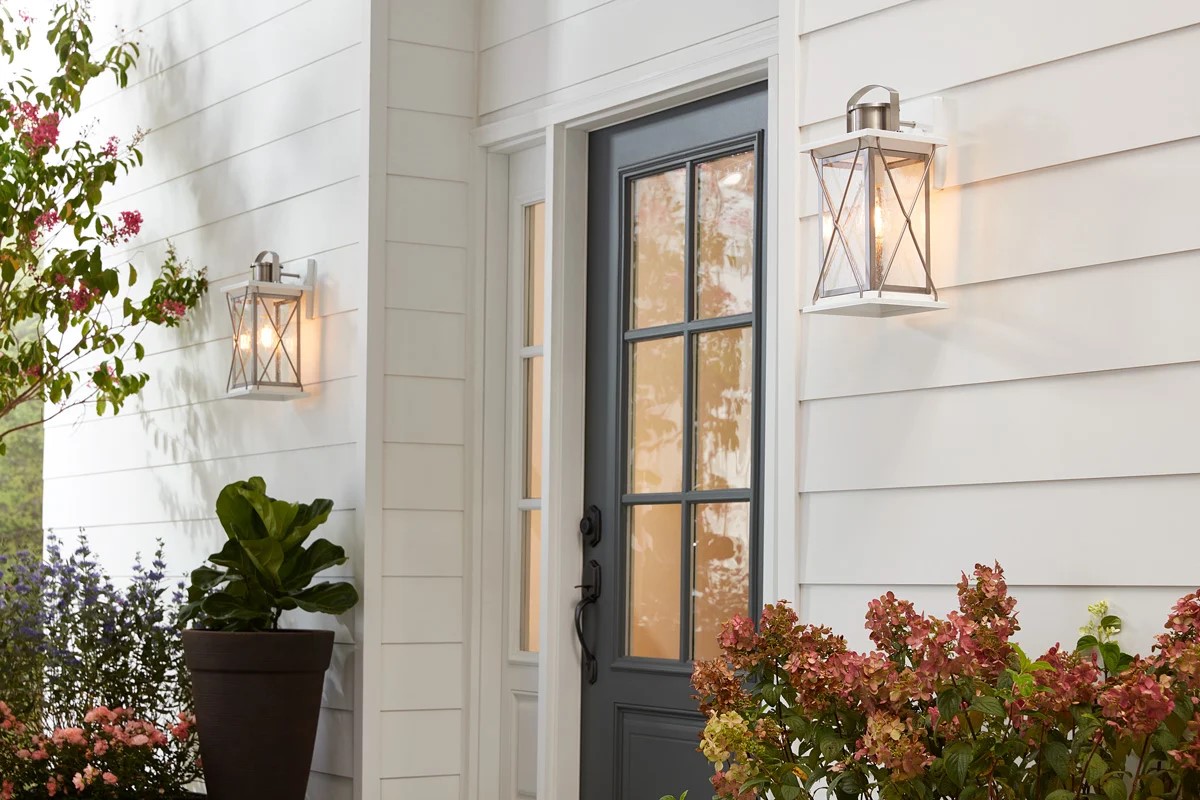
Learn how to properly install outdoor wall lights to enhance your outdoor space with our expert tips and guidance. Explore our wide selection of outdoor furniture, furniture, and design to complete your outdoor lighting project.
(Many of the links in this article redirect to a specific reviewed product. Your purchase of these products through affiliate links helps to generate commission for Storables.com, at no extra cost. Learn more)
Introduction
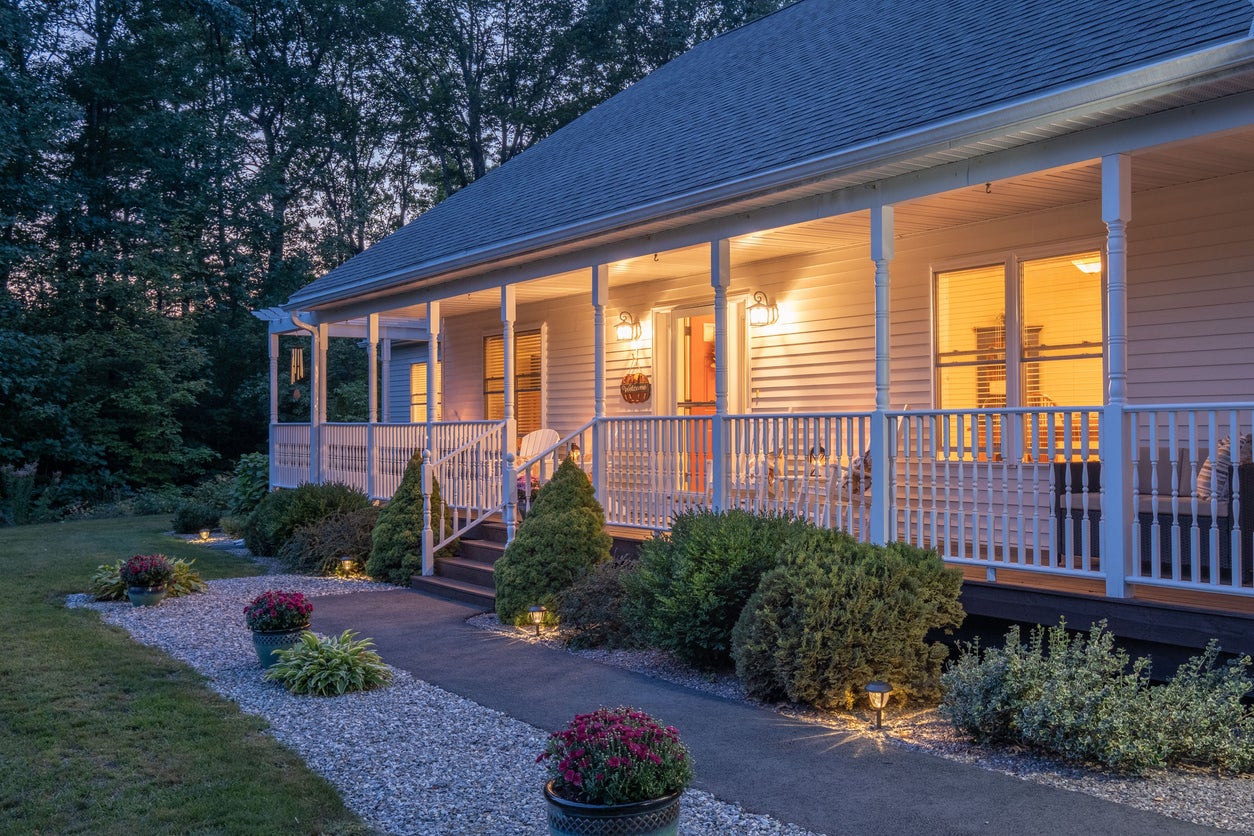
Welcome to the world of outdoor wall lights! Whether you're looking to enhance the security of your property, create a warm and inviting ambiance, or simply illuminate your outdoor space, installing outdoor wall lights can significantly elevate the functionality and aesthetic appeal of your home. With the right tools, a basic understanding of electrical work, and a dash of creativity, you can effortlessly transform the exterior of your house into a captivating and well-lit haven.
In this comprehensive guide, we will walk you through the step-by-step process of installing outdoor wall lights. From gathering the necessary tools and materials to testing the final setup, we've got you covered. By the end of this journey, you'll not only have a newfound confidence in tackling DIY lighting projects, but you'll also be equipped with the knowledge to curate an enchanting outdoor ambiance that reflects your unique style and personality.
So, roll up your sleeves, put on your DIY hat, and let's illuminate your outdoor space in style!
Key Takeaways:
- Illuminate your outdoor space with confidence by following these step-by-step instructions for installing outdoor wall lights. From gathering tools to testing the final setup, you’ll be well-equipped to create a captivating ambiance.
- By meticulously preparing, securing, and testing your outdoor wall lights, you’ll not only enhance the beauty and security of your home but also extend your outdoor living hours, creating a welcoming and well-appointed outdoor environment.
Step 1: Gather the Necessary Tools and Materials
Before diving into the installation process, it’s essential to gather all the tools and materials required for the job. By having everything at your fingertips, you can streamline the installation process and minimize interruptions. Here’s a comprehensive list of the tools and materials you’ll need:
Tools:
- Wire cutters/strippers
- Screwdrivers (flathead and Phillips)
- Adjustable wrench
- Drill and drill bits
- Wire nuts
- Voltage tester
- Ladder
- Utility knife
- Hammer
- Protective eyewear and gloves
Materials:
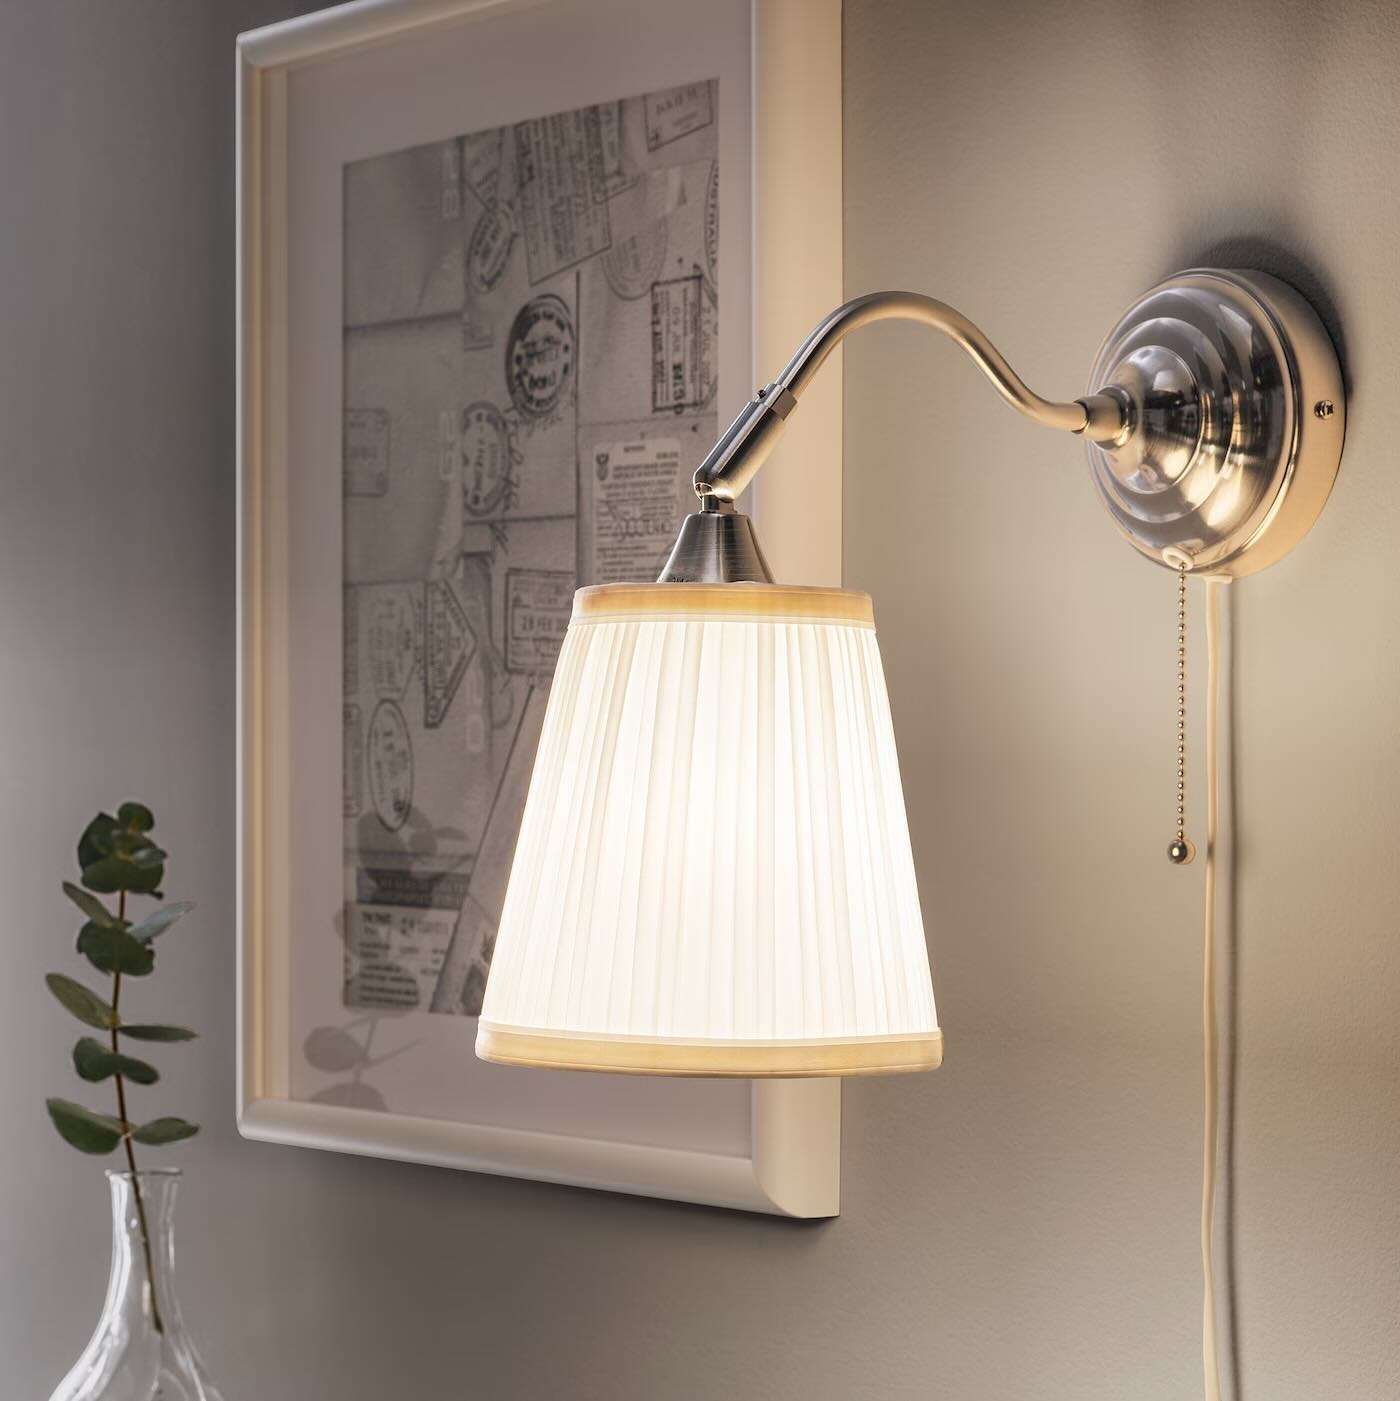
- Outdoor wall light fixture
- Mounting bracket and screws
- Electrical tape
- Wire connectors
- Exterior-grade electrical cable
- Bulbs compatible with the fixture
- Weatherproof caulk
- Outdoor-rated electrical box
- Instruction manual for the light fixture
By ensuring that you have all the necessary tools and materials on hand, you can proceed with the installation process smoothly and efficiently. It’s always a good idea to double-check the compatibility of the light fixture and the mounting area to avoid any last-minute surprises. With your toolkit ready, you’re one step closer to illuminating your outdoor space with a touch of elegance and functionality.
Step 2: Turn Off the Power
Before embarking on any electrical work, safety should always be the top priority. When installing outdoor wall lights, it’s crucial to ensure that the power supply to the designated area is completely shut off to prevent any potential hazards. Here’s a systematic approach to turning off the power:
Locate the Circuit Breaker: Identify the circuit breaker that controls the power supply to the outdoor lighting area. This is typically found in the main electrical panel of your home. If the circuit breaker is not labeled, it’s advisable to have someone assist you by flipping the breakers while you test the power with a voltage tester.
Turn Off the Circuit: Once you’ve located the appropriate circuit breaker, switch it to the “off” position. To ensure that the power is indeed turned off, use a voltage tester to check the wires and confirm that there is no electrical current flowing. This extra precaution can prevent accidental shocks during the installation process.
Secure the Circuit Breaker: After confirming that the power is off, secure the circuit breaker with a lock or a warning tag to prevent anyone from inadvertently turning it back on while you’re working on the installation. This simple yet crucial step adds an extra layer of safety to the process.
By diligently following these steps to turn off the power, you can proceed with the installation of your outdoor wall lights with confidence, knowing that you’ve taken the necessary precautions to ensure a safe working environment. Remember, electrical safety is never to be overlooked, and by prioritizing it, you’re setting the stage for a successful and secure installation process.
Read more: How To Install Outdoor Flood Lights
Step 3: Prepare the Mounting Area
Preparing the mounting area for your outdoor wall lights is a critical step that sets the foundation for a secure and visually appealing installation. This process involves assessing the location, ensuring proper support for the fixture, and making any necessary adjustments to accommodate the new lighting addition. Here’s a detailed guide on how to prepare the mounting area:
Assess the Location: Begin by evaluating the chosen location for the outdoor wall light. Consider factors such as the proximity to the power source, the desired angle of illumination, and any potential obstructions. Additionally, ensure that the mounting area is clear of debris and any overgrown vegetation that could obstruct the installation process.
Check for Proper Support: Verify that the chosen mounting surface can adequately support the weight of the light fixture. If the surface is made of siding, ensure that it is structurally sound and capable of withstanding the weight and any external forces. For masonry or concrete surfaces, assess the condition and integrity of the material to support the mounting hardware securely.
Make Adjustments if Necessary: If the mounting area requires any modifications or enhancements to accommodate the light fixture, such as adding a mounting block for siding installations or installing a weatherproof electrical box for masonry surfaces, take the time to make these adjustments before proceeding with the installation. This proactive approach ensures a seamless and secure mounting process.
Consider Aesthetics: While preparing the mounting area, visualize the placement of the light fixture and its overall impact on the exterior aesthetics of your home. Ensure that the chosen location complements the architectural features and enhances the visual appeal of the outdoor space. Taking aesthetics into account during the preparation stage can lead to a harmonious integration of the lighting fixture into the overall design.
By meticulously preparing the mounting area, you set the stage for a successful and visually pleasing installation of your outdoor wall lights. This proactive approach not only ensures the structural integrity of the installation but also allows you to curate a well-thought-out lighting arrangement that enhances the beauty and functionality of your outdoor living space.
Step 4: Install the Mounting Bracket
Installing the mounting bracket is a crucial step in the process of affixing outdoor wall lights. This component provides the necessary support and stability for the light fixture, ensuring a secure and durable installation. Here’s a comprehensive guide on how to install the mounting bracket:
Positioning the Mounting Bracket: Begin by holding the mounting bracket against the chosen mounting surface, ensuring that it aligns with the desired orientation of the light fixture. Mark the positions for the screw holes using a pencil or marker, taking care to maintain a level alignment for the bracket.
Drilling Pilot Holes: With the positions marked, use a drill and appropriate drill bit to create pilot holes for the screws that will secure the mounting bracket. The size of the drill bit should correspond to the diameter of the screws provided with the light fixture. Take care to drill the pilot holes to the appropriate depth to accommodate the screws.
Secure the Mounting Bracket: Position the mounting bracket over the pilot holes and use screws to affix it to the mounting surface securely. Ensure that the bracket is firmly attached and level to provide a stable foundation for the light fixture. If the mounting surface is made of masonry or concrete, use suitable anchors or screws designed for such materials.
Verify Stability: After securing the mounting bracket, perform a visual and manual inspection to ensure that it is stable and capable of supporting the weight of the light fixture. Apply gentle pressure to the bracket to confirm its solidity and make any necessary adjustments to enhance its stability if required.
Consult the Instruction Manual: It’s essential to refer to the instruction manual provided with the light fixture for specific guidelines on installing the mounting bracket. The manufacturer’s recommendations and specifications can offer valuable insights into the optimal installation of the bracket for the particular light fixture model.
By meticulously installing the mounting bracket, you establish a secure and reliable foundation for mounting the outdoor wall light. This step sets the stage for a seamless and stable installation, ensuring that the light fixture is affixed to the exterior of your home with the utmost precision and durability.
Step 5: Connect the Wiring
Connecting the wiring is a pivotal stage in the installation of outdoor wall lights, as it facilitates the transfer of electrical power to the fixture, enabling it to illuminate your outdoor space. Proper wiring ensures the safe and efficient operation of the light, and meticulous attention to detail is crucial during this process. Here’s a comprehensive guide on how to connect the wiring for your outdoor wall lights:
Prepare the Wires: Begin by carefully stripping the insulation from the end of the electrical wires, exposing the conductive metal. Use wire strippers to remove the appropriate length of insulation, typically around 1/2 inch, from the ends of the wires to ensure a secure connection.
Identify the Wiring Components: Familiarize yourself with the different wiring components, including the wires from the light fixture, the electrical cable from the power source, and any grounding wires. Ensure that you understand the color-coding of the wires and their respective functions, such as hot (black), neutral (white), and ground (green or bare copper).
Make the Connections: Connect the corresponding wires from the light fixture to the electrical cable from the power source using wire connectors. Typically, this involves joining the black (hot) wire from the fixture to the black wire from the power source, the white (neutral) wire from the fixture to the white wire from the power source, and the green or bare copper (ground) wire from the fixture to the grounding wire from the power source.
Secure the Connections: After making the wire connections, use electrical tape to secure the wire connectors and insulate the exposed conductors. This additional layer of protection helps prevent accidental contact between the wires and enhances the overall safety of the wiring connections.
Test the Connections: Once the wiring connections are made and secured, use a voltage tester to verify that the wires are properly connected and that there are no electrical faults. This essential step ensures that the wiring is functioning as intended and that the connections are sound before proceeding to the next stage of the installation.
By meticulously connecting the wiring for your outdoor wall lights, you establish a reliable and safe electrical system that powers the fixture. This meticulous attention to detail ensures that the lighting operates efficiently and securely, providing illumination for your outdoor space while prioritizing safety and functionality.
Before installing outdoor wall lights, make sure to turn off the power to the existing light fixture. Use a voltage tester to double-check that the power is off before starting any work.
Step 6: Attach the Light Fixture
Attaching the light fixture is the pivotal moment when the vision of a beautifully illuminated outdoor space begins to materialize. This step involves affixing the carefully prepared light fixture to the mounting bracket, ensuring a secure and aesthetically pleasing installation. Here’s a comprehensive guide on how to attach the light fixture to the mounting bracket:
Position the Fixture: Carefully position the light fixture over the mounting bracket, aligning it with the pre-installed screws or mounting hardware. Take care to ensure that the fixture is level and oriented according to your desired lighting angle and aesthetic preferences.
Secure the Fixture: Using the provided screws or mounting hardware, affix the light fixture to the mounting bracket. Ensure that the fixture is firmly attached and that the screws are tightened to the appropriate level, providing a stable and secure connection between the fixture and the mounting bracket.
Make Wiring Connections: If the light fixture is equipped with detachable wiring, carefully connect the fixture’s wiring to the corresponding electrical wires, following the manufacturer’s instructions. Use wire connectors to secure the connections and ensure that the wiring is neatly tucked into the electrical box or housing provided with the fixture.
Verify Stability and Alignment: After attaching the light fixture, perform a visual and manual inspection to confirm that it is securely mounted and aligned as intended. Check for any signs of wobbling or instability, and make any necessary adjustments to ensure that the fixture is firmly affixed to the mounting bracket.
Consult the Instruction Manual: It’s essential to refer to the instruction manual provided with the light fixture for specific guidelines on attaching the fixture to the mounting bracket. The manufacturer’s recommendations can offer valuable insights into the optimal installation and alignment of the fixture for the particular model.
By meticulously attaching the light fixture to the mounting bracket, you bring your outdoor lighting vision to life, creating a captivating and functional illumination for your outdoor space. This step marks the culmination of the installation process, where the carefully chosen light fixture becomes an integral part of your home’s exterior, enhancing its beauty and functionality.
Read more: How To Install Outdoor Step Lights
Step 7: Test the Light
Testing the light is a pivotal moment in the installation process, as it allows you to verify the functionality of the outdoor wall light and ensure that it illuminates your outdoor space as intended. This step involves confirming that the wiring connections are sound, the fixture operates correctly, and the illumination meets your expectations. Here’s a comprehensive guide on how to test the light fixture:
Turn On the Power: With the installation complete and the light fixture securely affixed, turn on the power supply to the outdoor lighting area. This can be done by switching the circuit breaker back to the “on” position or restoring the power source to the designated area.
Verify Illumination: Once the power is restored, observe the light fixture to ensure that it illuminates as expected. Take note of the brightness, the distribution of light, and any specific features of the fixture, such as motion sensors or adjustable settings. Confirm that the illumination aligns with your intended purpose, whether it’s for security, ambiance, or accent lighting.
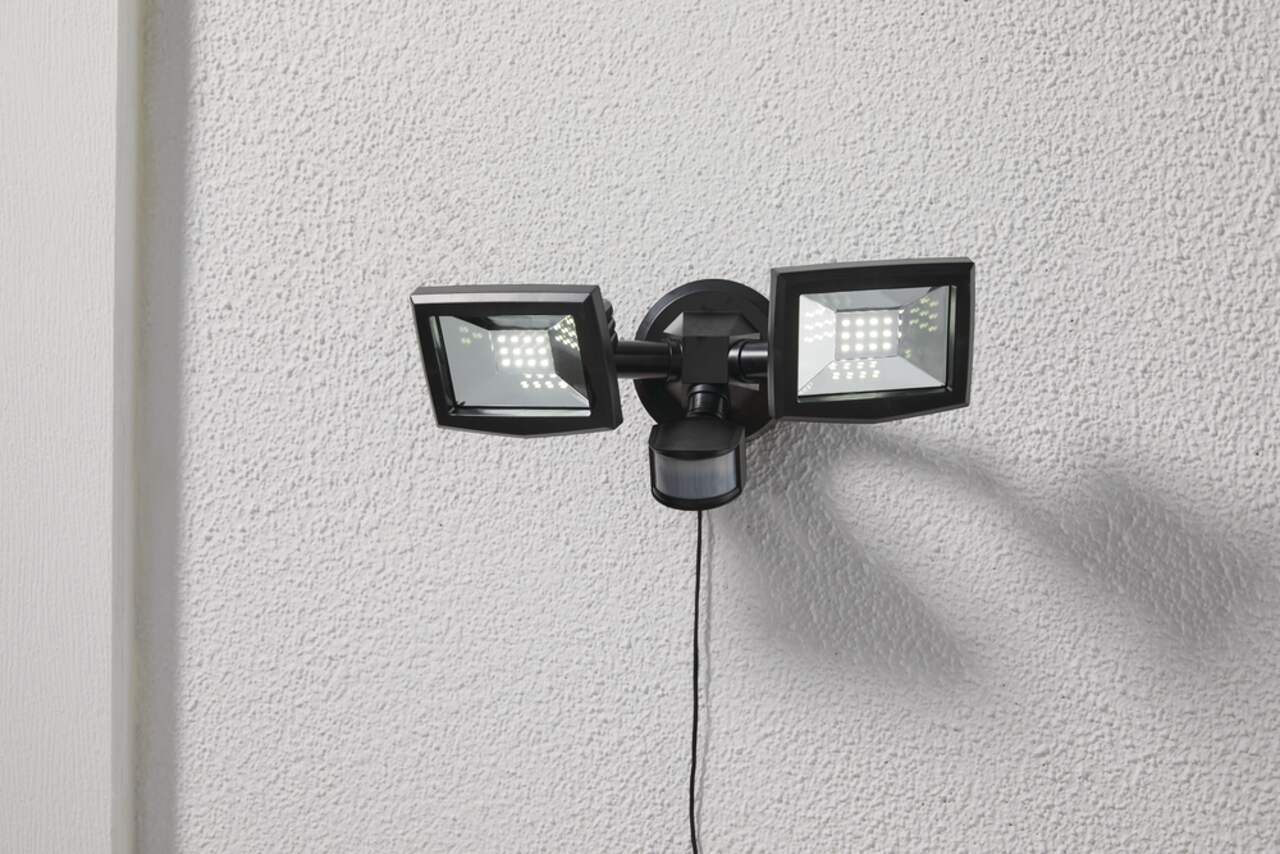
Test Additional Features: If the light fixture includes specific features or settings, such as adjustable brightness levels, motion detection, or dusk-to-dawn operation, test these functionalities to ensure that they operate as intended. Familiarize yourself with the various settings and adjustments to optimize the performance of the light fixture.
Check for Wiring Issues: While the light is illuminated, visually inspect the wiring connections and the area surrounding the fixture to ensure that there are no signs of overheating, sparking, or loose connections. This proactive check can help identify any potential wiring issues before they escalate into larger problems.
Make Adjustments if Necessary: If the illumination or operation of the light fixture does not meet your expectations, or if there are any issues with the wiring or functionality, consider making the necessary adjustments. This may involve fine-tuning the position of the fixture, revisiting the wiring connections, or consulting the manufacturer’s troubleshooting guidelines.
By meticulously testing the light fixture, you ensure that the installation is successful, the lighting operates as intended, and any potential issues are addressed promptly. This step marks the final confirmation that your outdoor wall light is ready to enhance the beauty, security, and functionality of your outdoor living space.
Step 8: Secure the Light Fixture
Securing the light fixture is the final step in the installation process, ensuring that the fixture is firmly and durably affixed to the mounting bracket, and all components are properly aligned and functional. This critical stage involves confirming the stability of the fixture, making any necessary adjustments, and fortifying the installation to withstand external elements. Here’s a comprehensive guide on how to secure the light fixture:
Inspect the Mounting: Begin by visually inspecting the attachment of the light fixture to the mounting bracket. Check for any signs of instability, misalignment, or loose components, and ensure that the fixture is securely fastened to the bracket.
Perform a Manual Check: Gently apply pressure to the fixture and the mounting bracket to verify their stability. Confirm that the fixture does not wobble or shift, indicating a secure attachment to the mounting surface. If any instability is detected, make the necessary adjustments to enhance the fixture’s stability.
Apply Weatherproof Caulk: To fortify the installation and prevent moisture infiltration, apply weatherproof caulk around the perimeter of the fixture where it meets the mounting surface. This creates a protective seal, safeguarding the wiring connections and the integrity of the fixture from the effects of outdoor elements.
Verify Weather Resistance: If the light fixture is intended for outdoor use, ensure that it is designed to withstand the elements and that the installation complies with weatherproofing guidelines. Confirm that all exposed components, including the wiring connections and the fixture housing, are rated for outdoor applications.
Revisit Wiring Connections: Double-check the wiring connections to ensure that they are neatly tucked into the electrical box or housing provided with the fixture. Confirm that the wiring is secured and insulated, minimizing the risk of exposure to external elements and potential damage.
Final Aesthetic Alignment: Once the fixture is securely attached, perform a final visual assessment to confirm that it is aligned as intended and complements the aesthetics of your outdoor space. Ensure that the fixture’s orientation and placement enhance the overall visual appeal of your home’s exterior.
By meticulously securing the light fixture, you fortify the installation, ensuring its durability, stability, and weather resistance. This final step marks the culmination of your efforts, cementing the presence of a captivating and functional outdoor wall light that enriches the ambiance and functionality of your outdoor living space.
Conclusion
Congratulations on successfully navigating the installation process of your outdoor wall lights! By following this comprehensive guide, you’ve embarked on a journey that not only illuminates your outdoor space but also enhances the beauty, security, and functionality of your home’s exterior. As you bask in the warm glow of your newly installed outdoor lighting, take a moment to appreciate the transformative impact it has on your outdoor living experience.
From the initial gathering of tools and materials to the meticulous wiring connections and the final securing of the light fixture, each step of the installation process has contributed to the creation of a captivating and functional lighting arrangement. Your dedication to precision and attention to detail have culminated in an outdoor space that exudes elegance and charm, even after the sun sets.
As you revel in the enchanting ambiance created by your outdoor wall lights, consider the multifaceted benefits they bring to your home. Beyond their aesthetic allure, these lights serve as beacons of security, casting a reassuring glow that deters potential intruders and provides peace of mind. They also extend your outdoor living hours, allowing you to savor the serenity of your outdoor sanctuary well into the evening.
Furthermore, the successful installation of outdoor wall lights reflects your commitment to curating a welcoming and well-appointed outdoor environment. By seamlessly integrating these lighting fixtures into your home’s exterior, you’ve elevated its curb appeal and created a captivating first impression for visitors and passersby.
As you enjoy the fruits of your labor, take pride in the knowledge that your outdoor wall lights are not merely functional fixtures, but integral elements that contribute to the overall harmony and allure of your outdoor living space. Whether you’re hosting al fresco gatherings, unwinding in the evening breeze, or simply admiring the architectural beauty of your home under the soft glow of the lights, your outdoor wall lights have become indispensable companions in your outdoor lifestyle.
So, as the stars emerge in the night sky and your outdoor space is bathed in the gentle radiance of your newly installed lights, take a moment to appreciate the transformative power of outdoor illumination. With each flicker of light, your home breathes new life into the evening, inviting you to revel in the enchanting embrace of your carefully crafted outdoor haven.
Embrace the magic of outdoor lighting, and let it illuminate not only your physical surroundings but also your spirit, infusing your outdoor moments with warmth, comfort, and a touch of captivating allure.
Frequently Asked Questions about How To Install Outdoor Wall Lights
Was this page helpful?
At Storables.com, we guarantee accurate and reliable information. Our content, validated by Expert Board Contributors, is crafted following stringent Editorial Policies. We're committed to providing you with well-researched, expert-backed insights for all your informational needs.


0 thoughts on “How To Install Outdoor Wall Lights”