Home>Garden Essentials>How To Plant Barley Seeds
Garden Essentials
How To Plant Barley Seeds
Modified: March 16, 2024
Learn how to plant barley seeds in your garden with our step-by-step guide. Discover the best techniques and tips for a successful harvest.
(Many of the links in this article redirect to a specific reviewed product. Your purchase of these products through affiliate links helps to generate commission for Storables.com, at no extra cost. Learn more)
Introduction
Welcome to this guide on how to plant barley seeds! Whether you are a seasoned gardener or a beginner looking to explore the world of cultivating your own crops, barley is a versatile and rewarding plant to grow. Barley is a high-fiber grain that is commonly used in various culinary dishes, as well as for brewing beer and feeding livestock. With its rich history and numerous health benefits, planting barley in your garden can be both an enjoyable and practical endeavor.
In this article, we will walk you through the step-by-step process of planting barley seeds and provide you with essential tips and techniques for successfully growing this ancient cereal grain. From selecting the right barley seeds to harvesting and storing them, you will gain the knowledge and confidence to nurture your barley crop from start to finish.
Before we dive into the details, it’s important to note that barley is a cool-season crop, thriving in temperatures between 60°F and 70°F (15°C – 21°C). It can be grown in both spring and fall, depending on your climate and preferences. With that in mind, let’s get started on our journey to planting and harvesting barley!
Key Takeaways:
- Choose the right barley seeds based on your climate and purpose, and prepare the planting area with proper soil and sunlight for a successful crop.
- After harvesting, store barley seeds in a cool, dry place and explore their culinary uses. Share seeds with others to preserve biodiversity and continue the tradition of growing barley.
Read more: How Many Hours To Germinate Barley
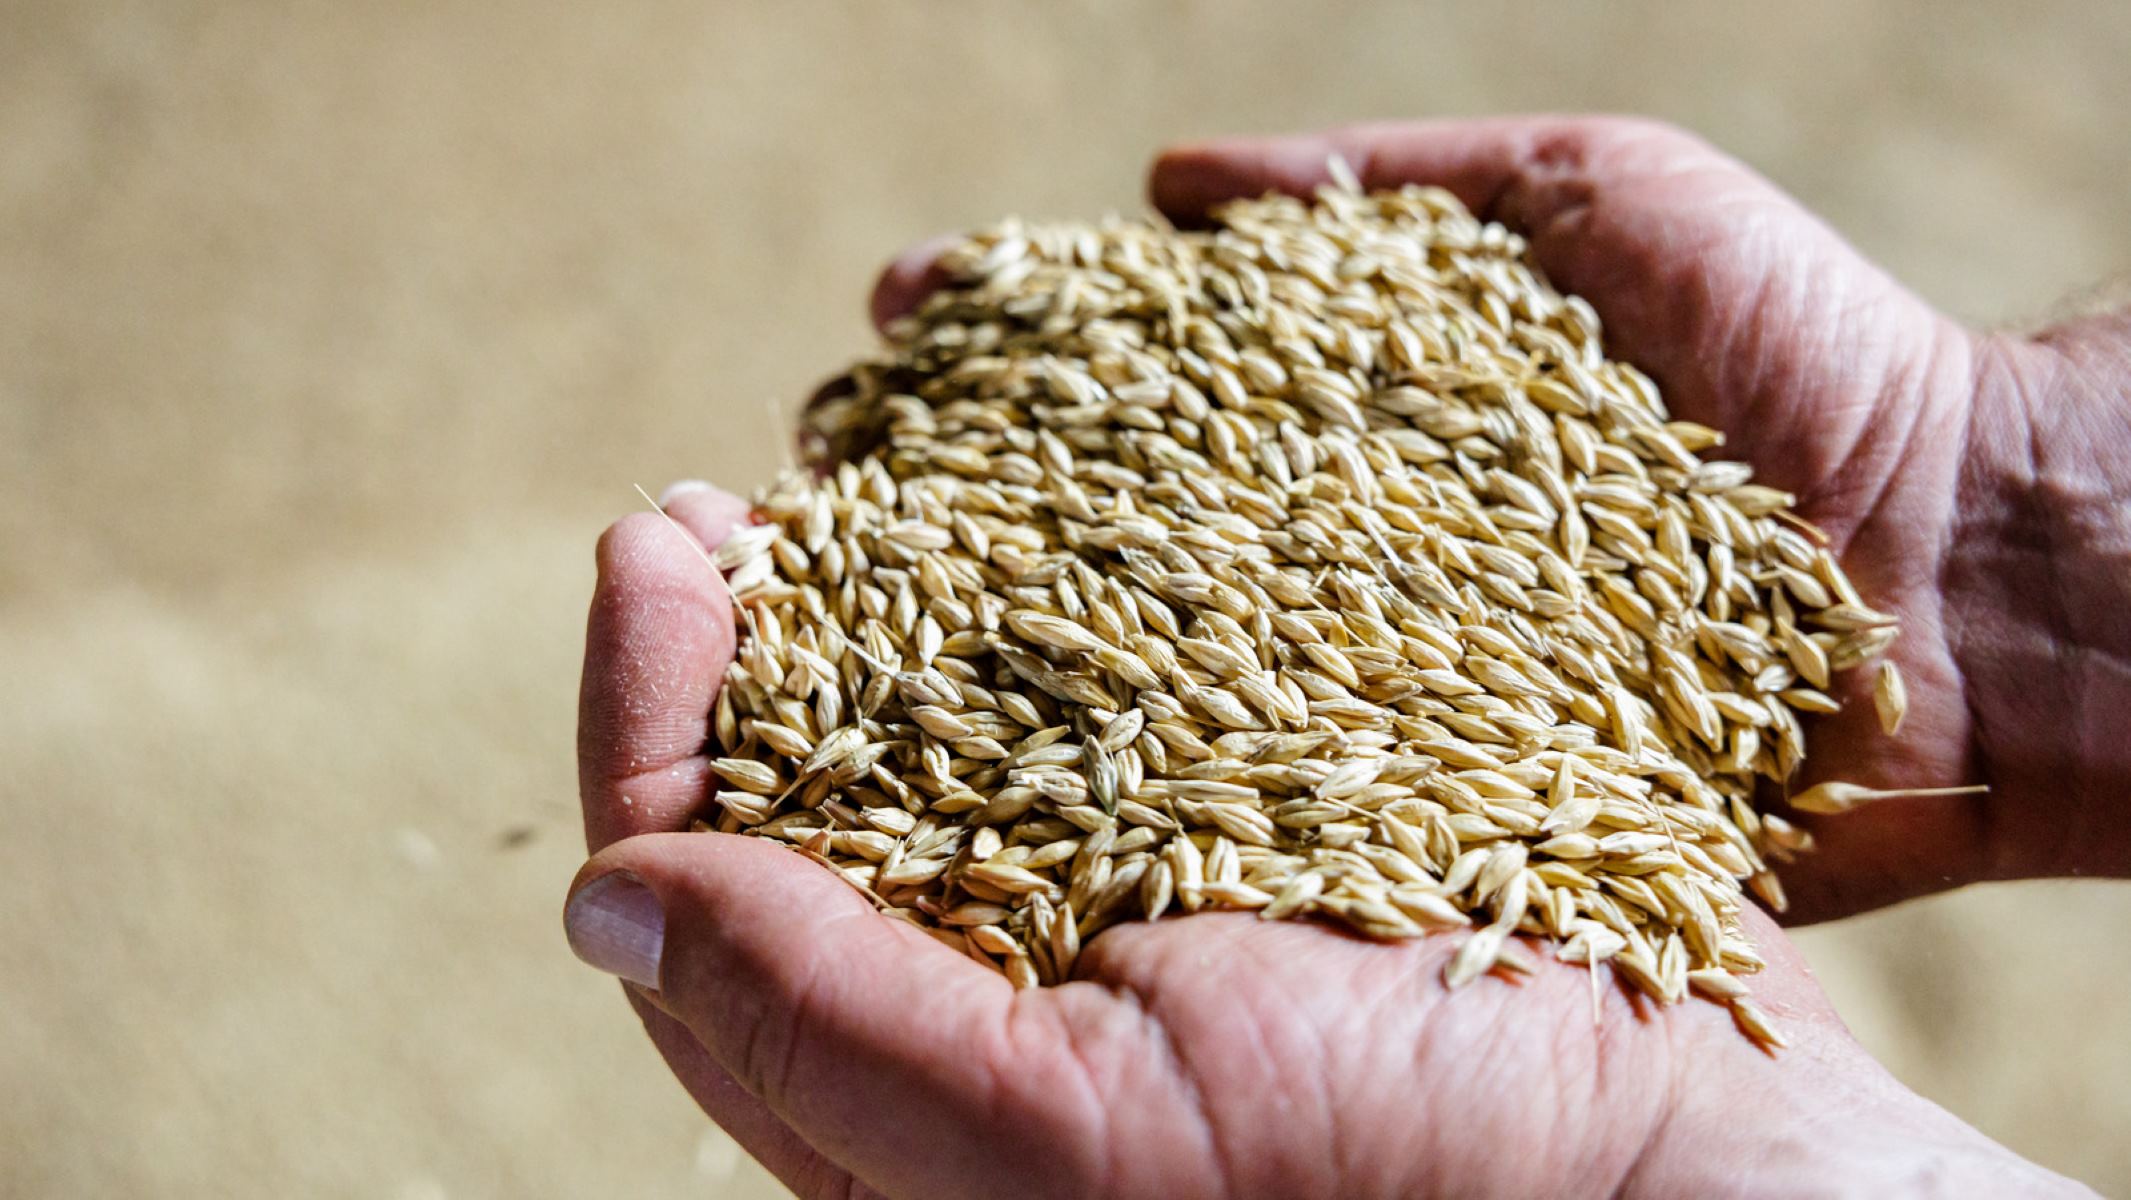
Step 1: Selecting the Right Barley Seeds
The first step in successfully planting barley is selecting the right seeds for your growing conditions and desired outcome. There are various types of barley, each with its own unique characteristics and purposes. Here are a few factors to consider when choosing your barley seeds:
- Malting vs. Feed: Determine whether you want to grow barley for malting or as animal feed. Malting barley is specifically bred for brewing beer and requires certain characteristics like high starch content and well-modified enzymes. Feed barley, on the other hand, is primarily grown to feed livestock and does not require the same level of quality standards.
- Climate Suitability: Consider the climate in your region and select barley varieties that are suitable for your specific conditions. Barley is categorized into two main types: two-row and six-row. Two-row varieties are best-suited for cooler climates, while six-row varieties are more tolerant of hot and humid conditions.
- Growing Purpose: Determine the purpose of growing barley for your needs. If you aim to use it as a cover crop, forage, or green manure, there are specific cultivars available for these purposes. Research the different barley varieties and their intended uses to find the best fit for your gardening goals.
- Source of Seeds: Choose a reputable supplier or seed company to ensure the quality and authenticity of your barley seeds. Look for certified organic seeds if you prefer to grow your crop using organic methods.
Once you have considered these factors, you can make an informed decision and purchase the barley seeds that align with your preferences and goals. It’s important to note that some barley varieties require more extensive knowledge and experience to grow successfully, so if you are a beginner, consider starting with a more beginner-friendly variety.
Remember, selecting the right barley seeds is the foundation of a successful crop. Take your time to research and choose carefully, and you’ll be on your way to a thriving barley harvest.
Step 2: Preparing the Planting Area
Now that you have selected the right barley seeds, it’s time to prepare the planting area. Proper preparation is crucial for creating an optimal environment for your barley plants to grow and thrive. Follow these steps to ensure your planting area is ready:
- Location: Choose a sunny location for your barley plot. Barley requires at least six to eight hours of direct sunlight daily to grow properly.
- Soil Preparation: Barley prefers well-draining soil with a pH level between 6.0 and 7.5. Start by removing any weeds, rocks, or debris from the planting area. Loosen the soil using a garden fork or tiller, breaking up any clumps and creating a fine, crumbly texture. Incorporate organic matter, such as compost or well-aged manure, into the soil to improve its fertility and structure.
- Soil Testing: Consider conducting a soil test to assess the nutrient levels and pH of your soil. This will help you determine if any amendments are necessary to optimize the soil conditions for barley growth.
- Fertilizer: Based on the results of the soil test, apply any necessary fertilizers or soil amendments to provide the proper balance of nutrients for your barley crop. Follow the recommended application rates and timing specified by the fertilizer manufacturer.
- Bed Preparation: Decide whether you want to grow barley in rows or a bed system. Create rows or raised beds, leaving enough space between them for easy access and airflow. Ensure that the rows or beds are leveled and evenly spaced to promote uniform growth and efficient irrigation.
By taking the time to properly prepare the planting area, you are setting the stage for healthy barley plants and a successful growing season. The quality of the soil and the layout of the planting area play a vital role in the overall health and productivity of your crop. Now that your planting area is ready, it’s time to move on to the next step: planting the barley seeds!
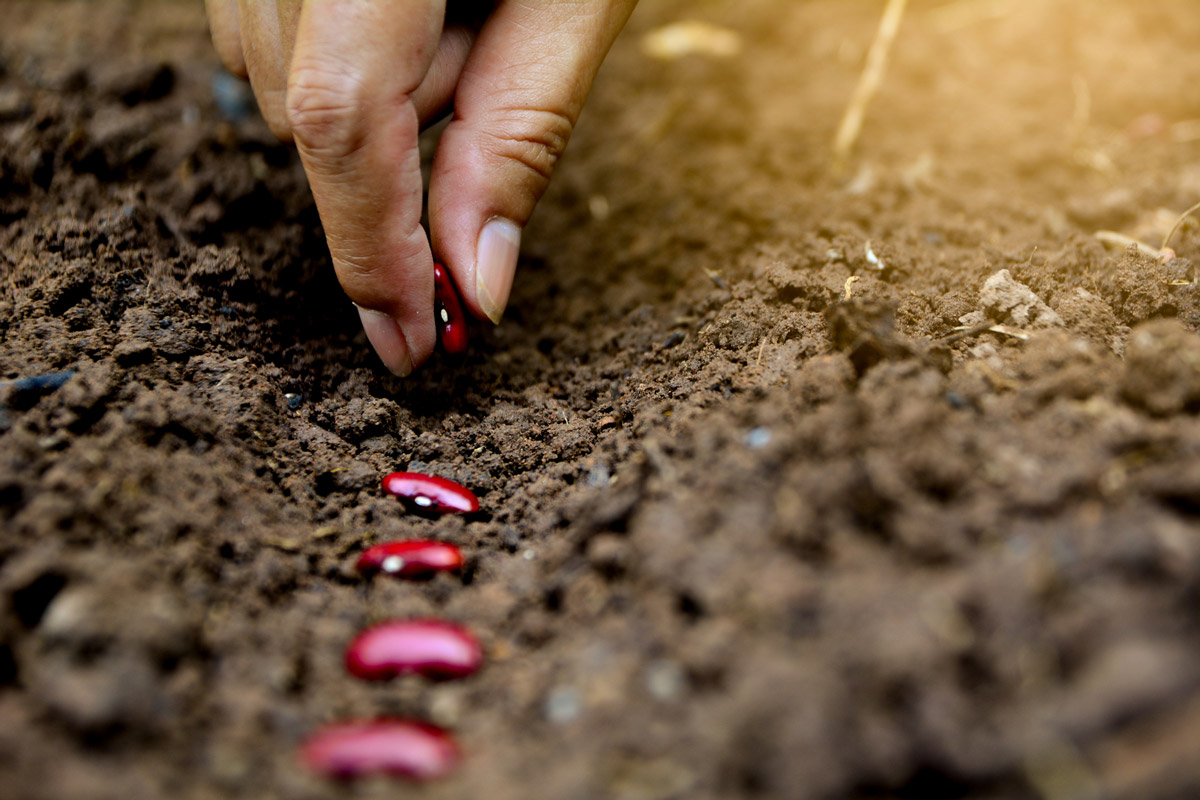
Step 3: Planting Barley Seeds
Now that you have prepared the planting area, it’s time to sow the barley seeds. Follow these steps to ensure proper planting and establishment of your barley crop:
- Timing: Choose the appropriate time for planting based on your climate and the specific variety of barley you are growing. Barley can be planted in both spring and fall, but make sure to avoid extreme temperatures.
- Planting Depth: Barley seeds should be planted at a depth of about 1 to 2 inches (2.5 to 5 cm). Use a garden hoe or rake to create furrows at the desired spacing and depth for your chosen variety.
- Seed Spacing: The spacing between barley seeds will depend on the cultivar and the planting method you are using. Generally, a spacing of about 4 to 6 inches (10 to 15 cm) between individual seeds and 8 to 12 inches (20 to 30 cm) between rows is recommended.
- Seed Placement: Place the barley seeds in the furrows, spacing them evenly according to the recommended spacing for your variety. Try to avoid overcrowding, as this can lead to competition for resources and reduced yields.
- Covering and Watering: Once the seeds are placed in the furrows, cover them with soil and gently press down to ensure good seed-to-soil contact. Water the planting area thoroughly immediately after planting to help settle the soil and initiate germination.
- Irrigation: Barley requires consistent moisture during its growing period. Monitor the moisture levels in the soil and ensure that the plants receive about 1 inch (2.5 cm) of water per week, either from rainfall or supplemental irrigation. Be careful not to overwater, as this can lead to waterlogged soil and disease issues.
While planting barley seeds, keep in mind the specific requirements of your chosen variety and make adjustments accordingly. The correct planting depth, spacing, and moisture levels will contribute to the healthy development of your barley plants.
With the barley seeds planted, it’s time to move on to the next step: providing proper care and maintenance for your growing barley crop.
When planting barley seeds, make sure to choose a well-drained, sunny spot in your garden. Plant the seeds about 1 inch deep and 3 inches apart. Keep the soil moist but not waterlogged, and watch for sprouts in about 7-10 days.
Step 4: Providing Proper Care and Maintenance
Once you have planted your barley seeds, it’s important to provide proper care and maintenance to ensure the healthy growth and development of your crop. Here are some essential steps to follow:
- Weed Control: Regularly inspect your barley plot for any weeds that may compete with the barley plants for nutrients and water. Remove weeds by hand or use appropriate weed control methods, being careful not to damage the barley seedlings.
- Fertilization: Monitor the growth of your barley plants and consider providing additional nutrients if needed. Barley generally requires nitrogen-rich fertilizers during its growth stages. Follow the manufacturer’s recommendations for application rates and timing.
- Irrigation: Proper irrigation is crucial for the healthy development of barley. Monitor the moisture levels in the soil and water accordingly. Aim to keep the soil consistently moist, but avoid overwatering, as it can lead to disease issues.
- Pest and Disease Control: Keep an eye out for any signs of pests or diseases, such as aphids, powdery mildew, or rust. Implement appropriate pest control measures, such as using organic insecticides or introducing beneficial insects to manage pest populations. If necessary, apply fungicides to control common barley diseases.
- Support for Stems: As the barley plants grow taller, they may need support to prevent lodging, which is when the stems collapse under the weight of the grains. Use stakes or trellises to provide support and keep the plants upright.
- Crop Rotation: To maintain soil health and reduce the risk of diseases, practice crop rotation by planting barley in different areas of your garden each year. This helps break pest and disease cycles and improves overall soil fertility.
Proper care and maintenance of your barley crop will contribute to its overall health and productivity. Regular monitoring, timely intervention, and the implementation of good agricultural practices will help you overcome common challenges in barley cultivation and ensure a successful harvest.
Now that you have taken care of your growing barley crop, let’s move on to the next step: harvesting the ripe grains!
Read more: How Long To Germinate Barley Grain
Step 5: Harvesting Barley
After months of nurturing and caring for your barley crop, it’s time to reap the rewards by harvesting the ripe grains. Harvesting barley at the right time is crucial to ensure optimum yield and grain quality. Follow these steps for a successful barley harvest:
- Timing: Harvesting time for barley is typically when the grains have reached full maturity and have a moisture content of around 17-20%. This is usually indicated by the barley plants turning golden and the grains hardening.
- Field Preparation: Before harvesting, make sure the field is dry, and the soil conditions are suitable for machinery or manual harvesting. Remove any remaining weeds or debris from the planting area to prevent contamination.
- Harvesting Methods: There are different methods for harvesting barley, depending on the scale of your crop and the available equipment. Small-scale growers can use hand tools or scythes to cut the barley stalks at the base, while larger-scale operations often use combine harvesters equipped with grain headers.
- Drying: Once harvested, it’s important to dry the barley grains to reduce their moisture content for proper storage. Spread the harvested barley in a thin layer on a clean, dry surface or use specialized drying equipment to ensure even drying and prevent mold or spoilage.
- Threshing: After the grains are adequately dried, it’s time to separate the barley kernels from the chaff and husks. This process is known as threshing. You can use a variety of methods, including using a traditional threshing flail, a mechanical thresher, or by hand rubbing the grains between your hands.
- Winnowing: Once the grains are threshed, the next step is winnowing, which involves separating the heavier barley grains from the lighter chaff and debris. Use a winnowing basket, sieve, or a controlled gust of wind to toss the grains in the air, allowing the wind to carry away the unwanted materials.
- Storage: After winnowing, ensure the barley grains are completely dry and free from moisture. Store them in a cool, dry place in airtight containers or bags to protect them from pests and maintain their quality.
By following these steps, you’ll be able to harvest your barley crop efficiently and enjoy the fruits of your labor. The harvested barley grains can be used for various culinary purposes, such as making flour, brewing beer, or as animal feed.
Congratulations on successfully harvesting your barley! In the next step, we’ll explore the best practices for storing and using your freshly harvested barley seeds.
Step 6: Storing and Using Barley Seeds
Once you have harvested your barley crop and threshed and winnowed the grains, it’s important to properly store and utilize your freshly harvested barley seeds. Here are the key steps to consider:
- Storage Conditions: Store your barley seeds in a cool, dry place to prevent moisture buildup and the growth of mold or bacteria. Aim for a storage temperature of around 32 to 40°F (0 to 4°C) and a humidity level of 12 to 14%. Use airtight containers, such as jars or food-grade buckets, to protect the seeds from pests and moisture.
- Seed Cleaning: Before storing the barley seeds, it’s a good idea to clean them, removing any remaining chaff or debris. This can be done by using a seed cleaner or by gently winnowing the seeds to eliminate any unwanted materials.
- Seed Viability: Barley seeds are generally viable for planting for up to 2 to 4 years, depending on the storage conditions. However, it’s best to use the seeds within the first year for optimal germination rates. Regularly check the stored seeds for any signs of deterioration or insect infestation.
- Future Planting: If you plan to use the stored barley seeds for future planting, ensure that they are well-labeled and organized. Keep track of the variety and any pertinent information, such as the year of harvest or specific traits. This will help you maintain a diverse and reliable collection of barley seeds for future planting seasons.
- Utilizing Barley: Apart from using barley seeds for subsequent plantings, there are various ways to incorporate barley into your daily life. Ground barley can be used to make flour for baking bread or added to soups, stews, and pilafs for added texture and nutrition. Barley can also be malted and used for brewing beer or fermented to make barley-based beverages.
- Sharing and Exchanging Seeds: Consider sharing your harvested barley seeds with fellow gardeners or participating in seed exchange programs to promote biodiversity and preserve heirloom varieties. This allows for the continuation of traditional farming practices and the conservation of unique barley cultivars.
By following these steps, you can ensure that your barley seeds remain viable, properly stored, and ready for future use. Explore the various culinary possibilities of barley and share the joy of growing this ancient grain with others.
Congratulations on successfully completing the process of planting, nurturing, harvesting, and storing your barley seeds! With these practical steps in mind, you are well-equipped to enjoy the rewards of your hard work and continue the tradition of cultivating barley in your garden.
Remember, each step of the journey plays a vital role in the success of your barley crop. Happy gardening!
Conclusion
Congratulations! You have reached the end of this comprehensive guide on how to plant barley seeds. By following the steps outlined in this article, you now have the knowledge and confidence to successfully grow barley in your own garden. From selecting the right barley seeds to harvesting, storing, and utilizing them, you have learned the essential techniques to cultivate this versatile cereal grain.
As you embark on your barley-growing journey, remember to consider factors such as climate suitability, growing purpose, and source of seeds when selecting the appropriate barley variety. Take the time to prepare the planting area, providing optimal soil conditions for the barley plants to thrive. Proper care and maintenance, including weed control, fertilization, irrigation, and pest and disease management, will ensure the health and productivity of your crop.
Once your barley plants reach full maturity, it’s time to harvest the grains. Threshing and winnowing will separate the precious barley kernels from the surrounding chaff, preparing them for storage and subsequent use. Properly store your barley seeds in cool, dry conditions to maintain their viability and quality over time.
As you explore the culinary possibilities of barley, from flour for baking to brewing beer and beyond, be sure to share the joy of growing this ancient grain with others. Participating in seed exchange programs and preserving heirloom varieties contributes to the biodiversity and sustainability of our agricultural practices.
Remember, growing barley is not only a fulfilling and productive endeavor, but it also connects us to the rich history of agriculture and nourishes both our bodies and our souls. Embrace the journey, adapt to the needs of your crop, and enjoy the rewards of your efforts.
Thank you for joining us on this educational journey, and we wish you fruitful harvests and bountiful experiences with your barley-growing ventures!
Frequently Asked Questions about How To Plant Barley Seeds
Was this page helpful?
At Storables.com, we guarantee accurate and reliable information. Our content, validated by Expert Board Contributors, is crafted following stringent Editorial Policies. We're committed to providing you with well-researched, expert-backed insights for all your informational needs.


0 thoughts on “How To Plant Barley Seeds”