Home>Home Security and Surveillance>How To Install Eufy Outdoor Camera
Home Security and Surveillance
How To Install Eufy Outdoor Camera
Modified: October 19, 2024
Looking to enhance your home security and surveillance? Learn how to easily install the Eufy Outdoor Camera and keep your property safe and protected.
(Many of the links in this article redirect to a specific reviewed product. Your purchase of these products through affiliate links helps to generate commission for Storables.com, at no extra cost. Learn more)
Introduction
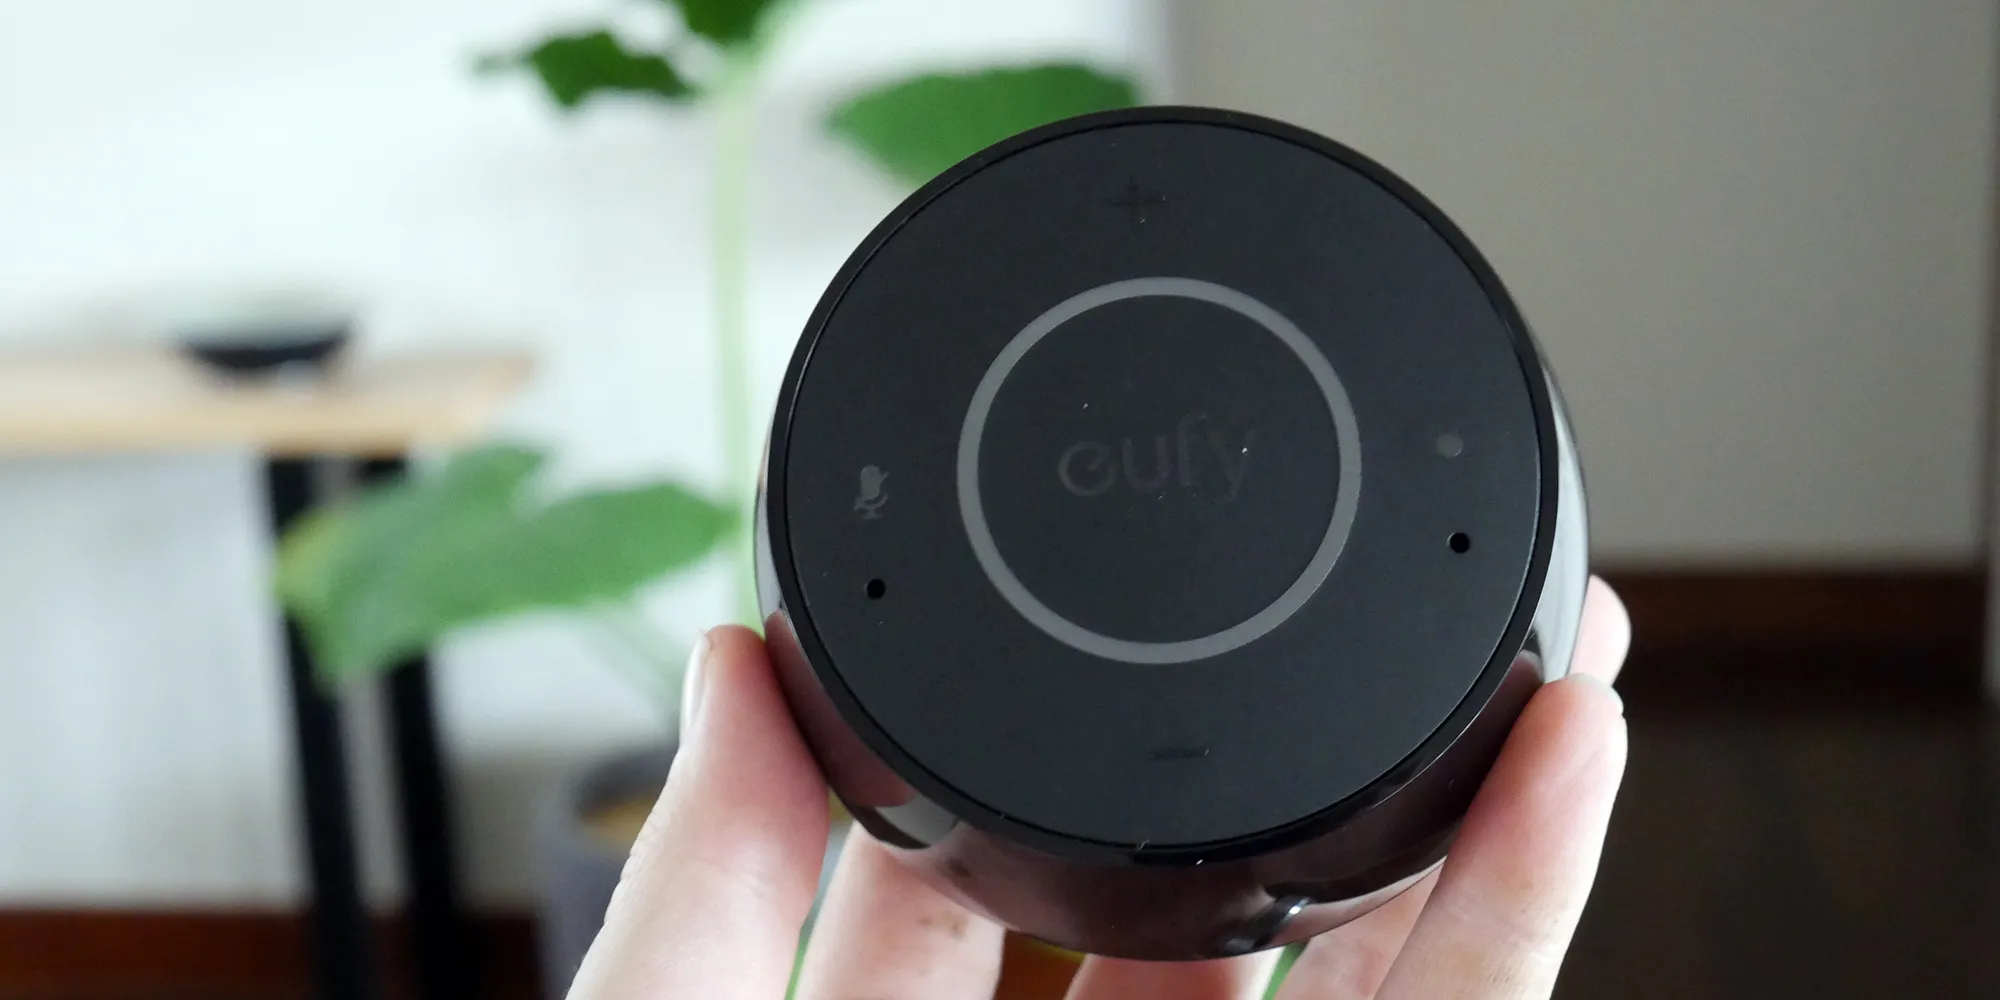
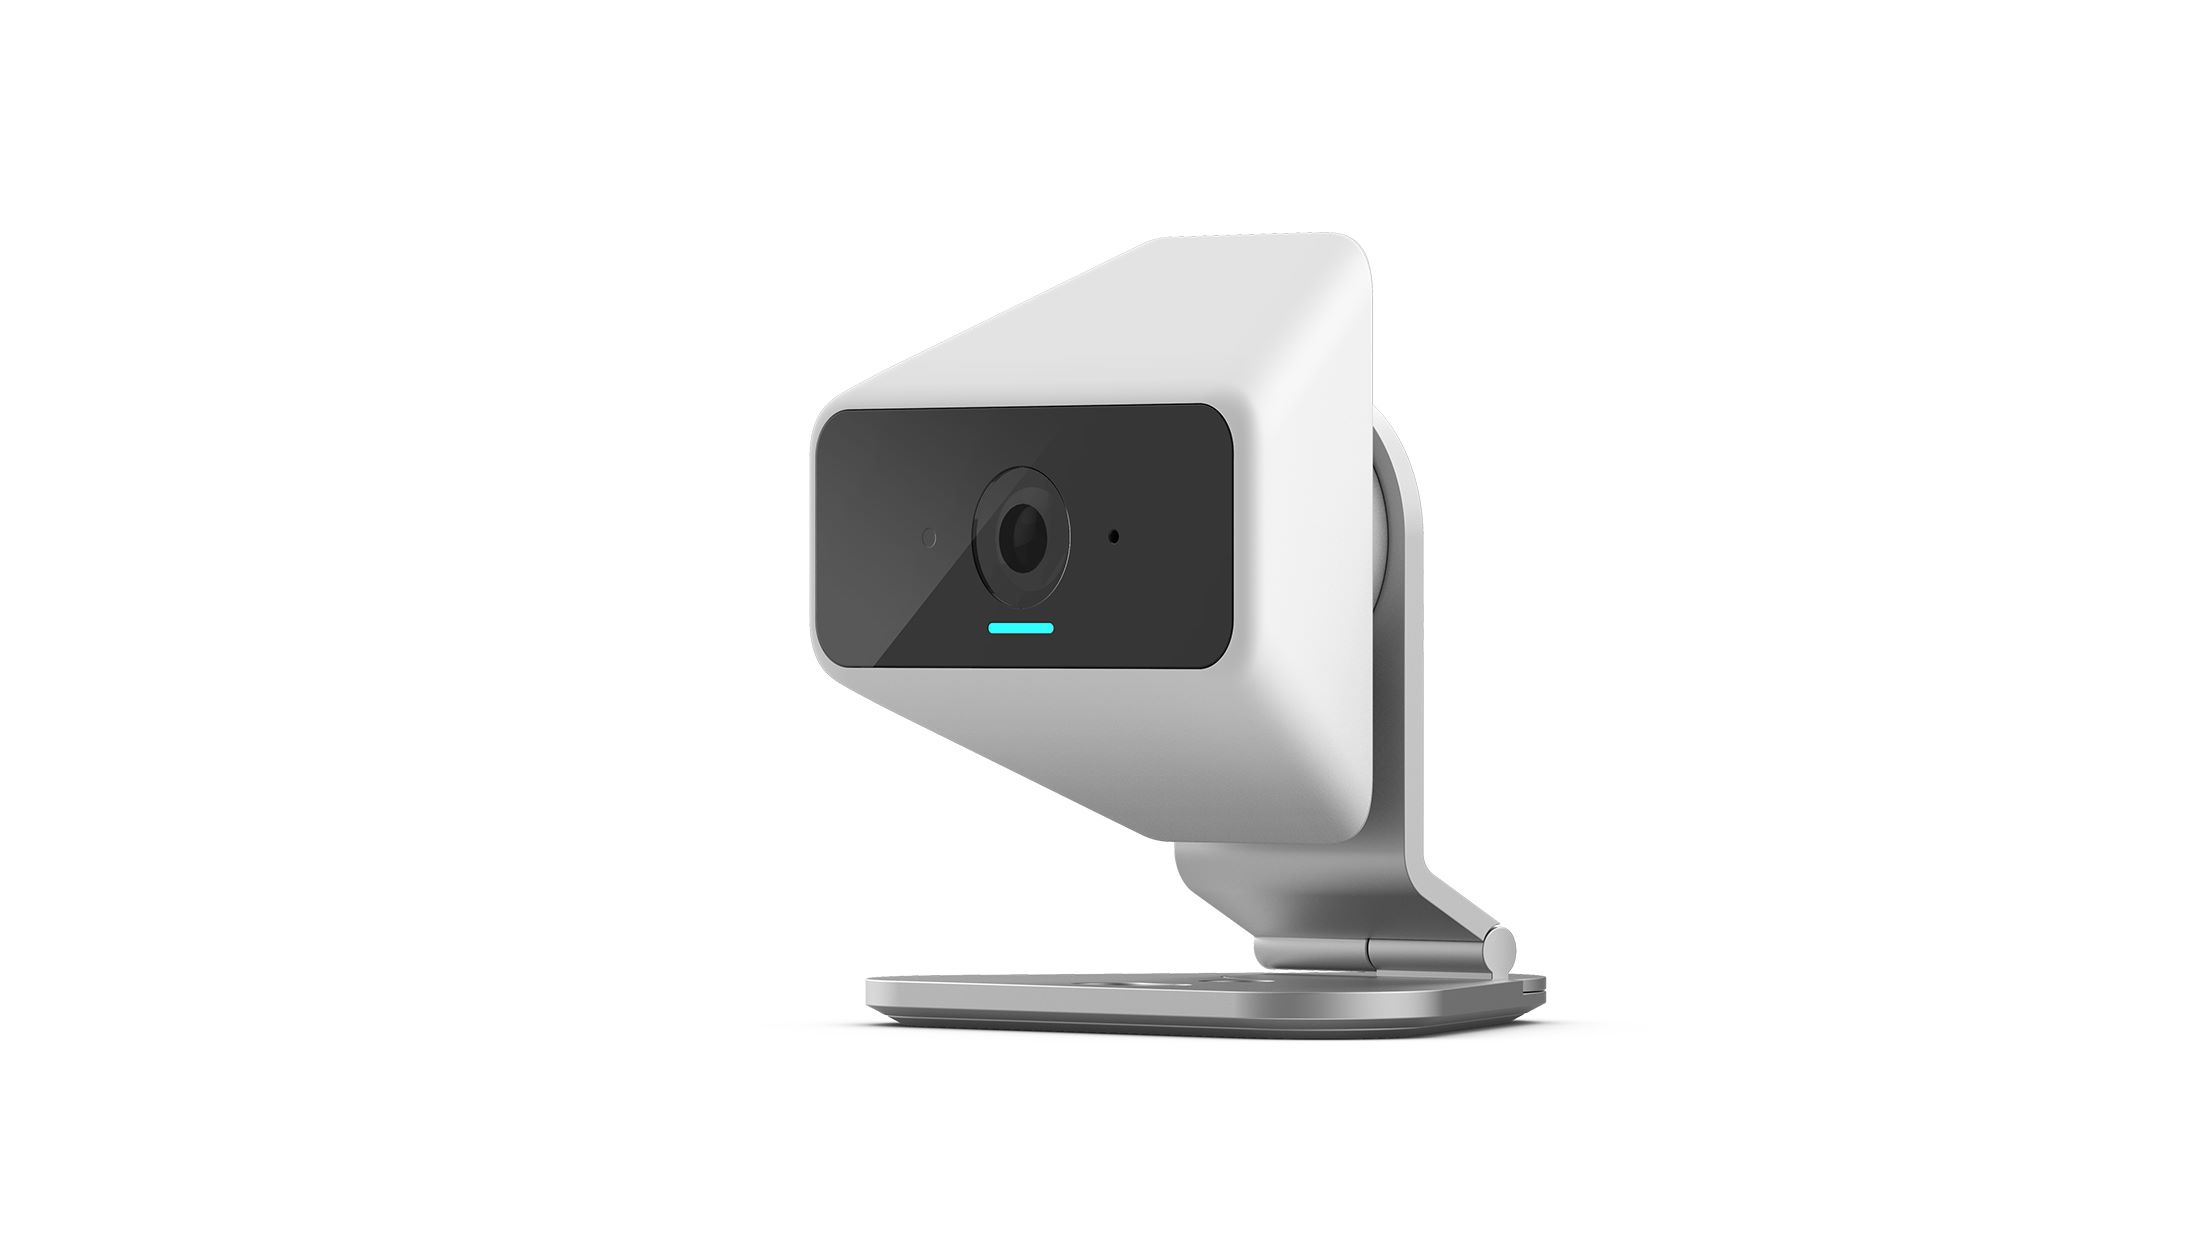
Welcome to the world of home security and surveillance! If you’re looking to increase the safety and protection of your home, installing an outdoor camera is a wise decision. One popular option on the market is the Eufy outdoor camera, which offers advanced features and reliable performance.
In this article, we will guide you through the process of installing the Eufy outdoor camera step by step. Whether you’re a tech-savvy DIY enthusiast or a beginner, this comprehensive guide will help you get your camera up and running in no time.
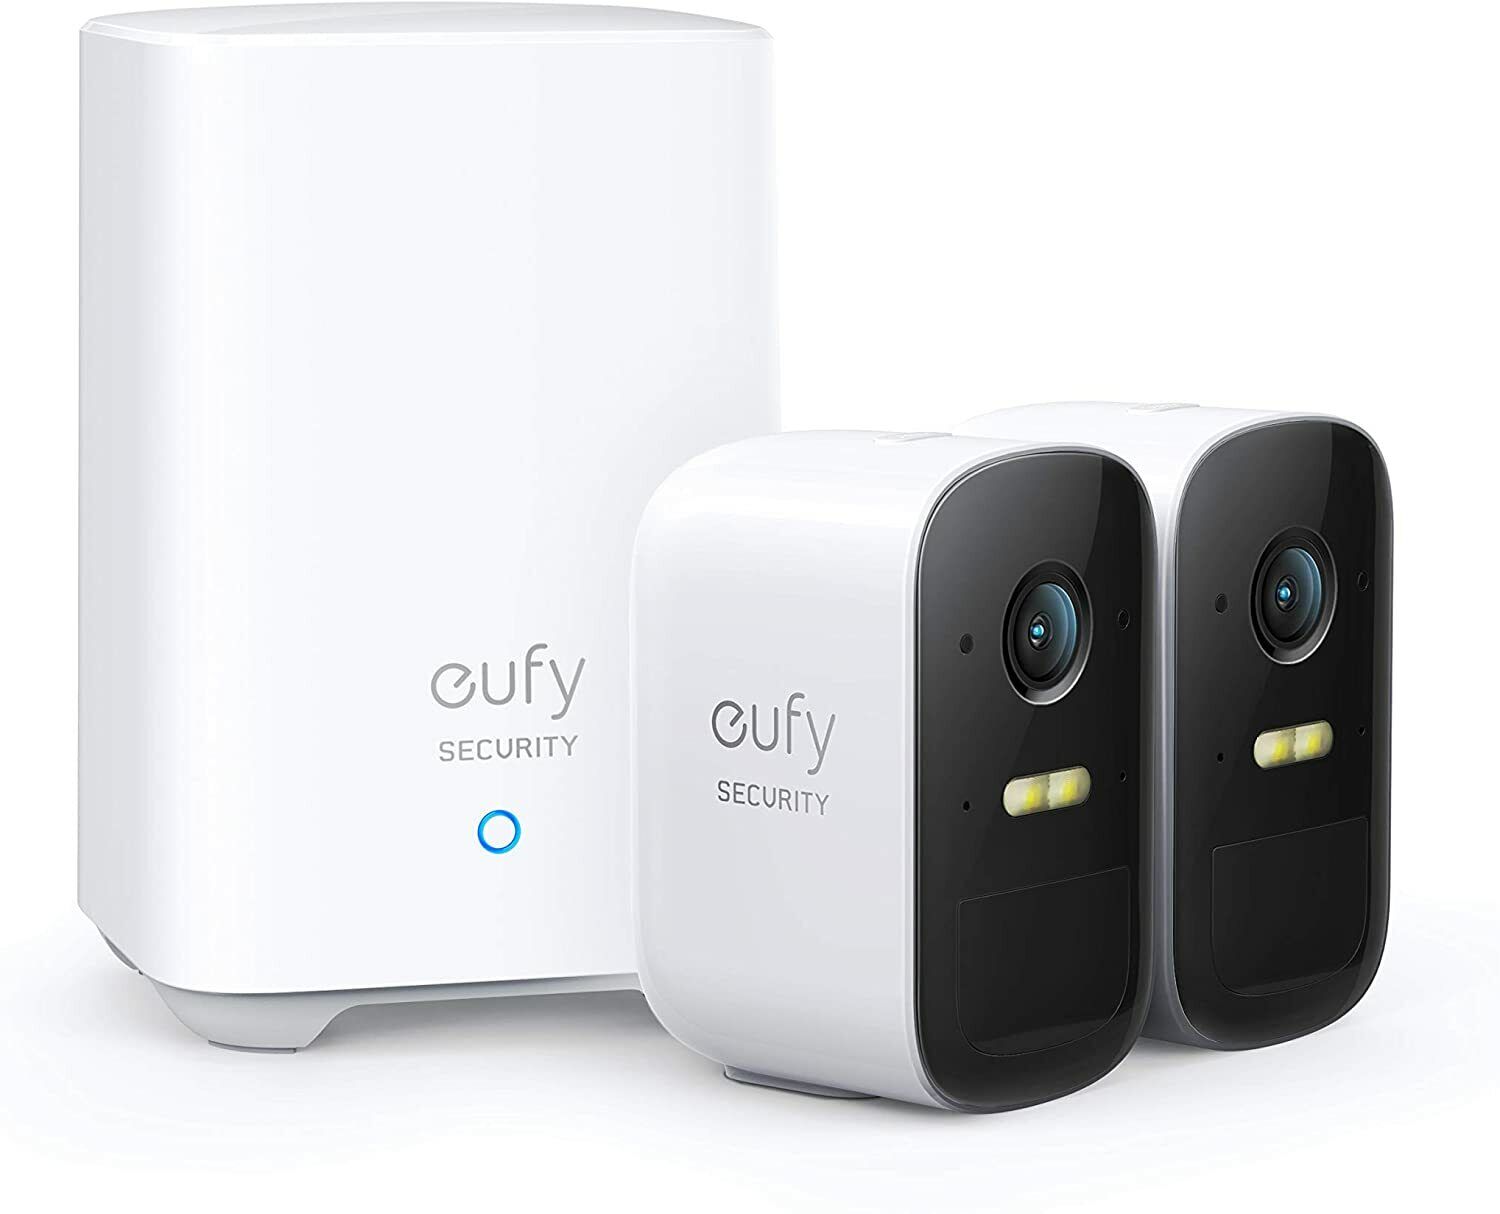
Before we dive into the installation process, make sure you have all the required equipment on hand. You’ll need the Eufy outdoor camera, a compatible power source, a ladder or step stool, a drill, screws, and the Eufy Security app downloaded on your smartphone or tablet.
Now that you’re prepared, let’s get started!
Key Takeaways:
- Get ready to install your Eufy outdoor camera by gathering the necessary equipment, preparing the installation area, and securely mounting the camera bracket. Ensure a stable power source and connect to the Eufy Security app for seamless control.
- After pairing your camera with the app, customize its settings to suit your needs. Test the camera’s functionality, motion detection, night vision, and two-way audio for optimal performance. Enjoy enhanced security and peace of mind with your Eufy outdoor camera!
Read more: How To Add Eufy Camera To Alexa
Step 1: Gathering the required equipment
Before you begin the installation process, it’s essential to gather all the necessary equipment. This will ensure a smooth and efficient installation of your Eufy outdoor camera. Here’s a list of the items you’ll need:
- Eufy outdoor camera
- Power source (e.g., power outlet or battery)
- Ladder or step stool
- Drill
- Screws
- Eufy Security app
The Eufy outdoor camera comes with all the mounting hardware you’ll need, including screws and a camera bracket. However, if you prefer a different type of screw for mounting, make sure you have the appropriate size and type available.
Depending on the camera model and your specific needs, you may require additional equipment or tools. For example, if you’re installing the camera in a hard-to-reach area, you might need an extension cord or a Wi-Fi range extender to ensure a stable connection.
Additionally, it’s crucial to have a mobile device, such as a smartphone or tablet, to download and set up the Eufy Security app. The app allows you to access and manage your camera’s settings, view live footage, and receive alerts on-the-go.
Once you have gathered all the necessary equipment, you’re ready to move on to the next step: preparing the installation area.
Step 2: Preparing the installation area
Before mounting your Eufy outdoor camera, it’s essential to prepare the installation area. This will ensure optimal placement and functionality of the camera. Follow these steps to get started:
- Choose the installation location: Consider the area you want to monitor and ensure that the camera has a clear line of sight. Look for a spot that provides a wide field of view and covers vulnerable entry points.
- Clean the mounting surface: Thoroughly clean the surface where the camera will be mounted. Remove any dirt, dust, or debris that could interfere with the adhesive or mounting process. Use a damp cloth or cleaning solution if necessary.
- Check the Wi-Fi signal strength: Since the Eufy outdoor camera relies on a stable Wi-Fi connection, it’s crucial to check the signal strength in the installation area. Position your mobile device near the intended camera location and ensure that it has a strong and consistent Wi-Fi signal.
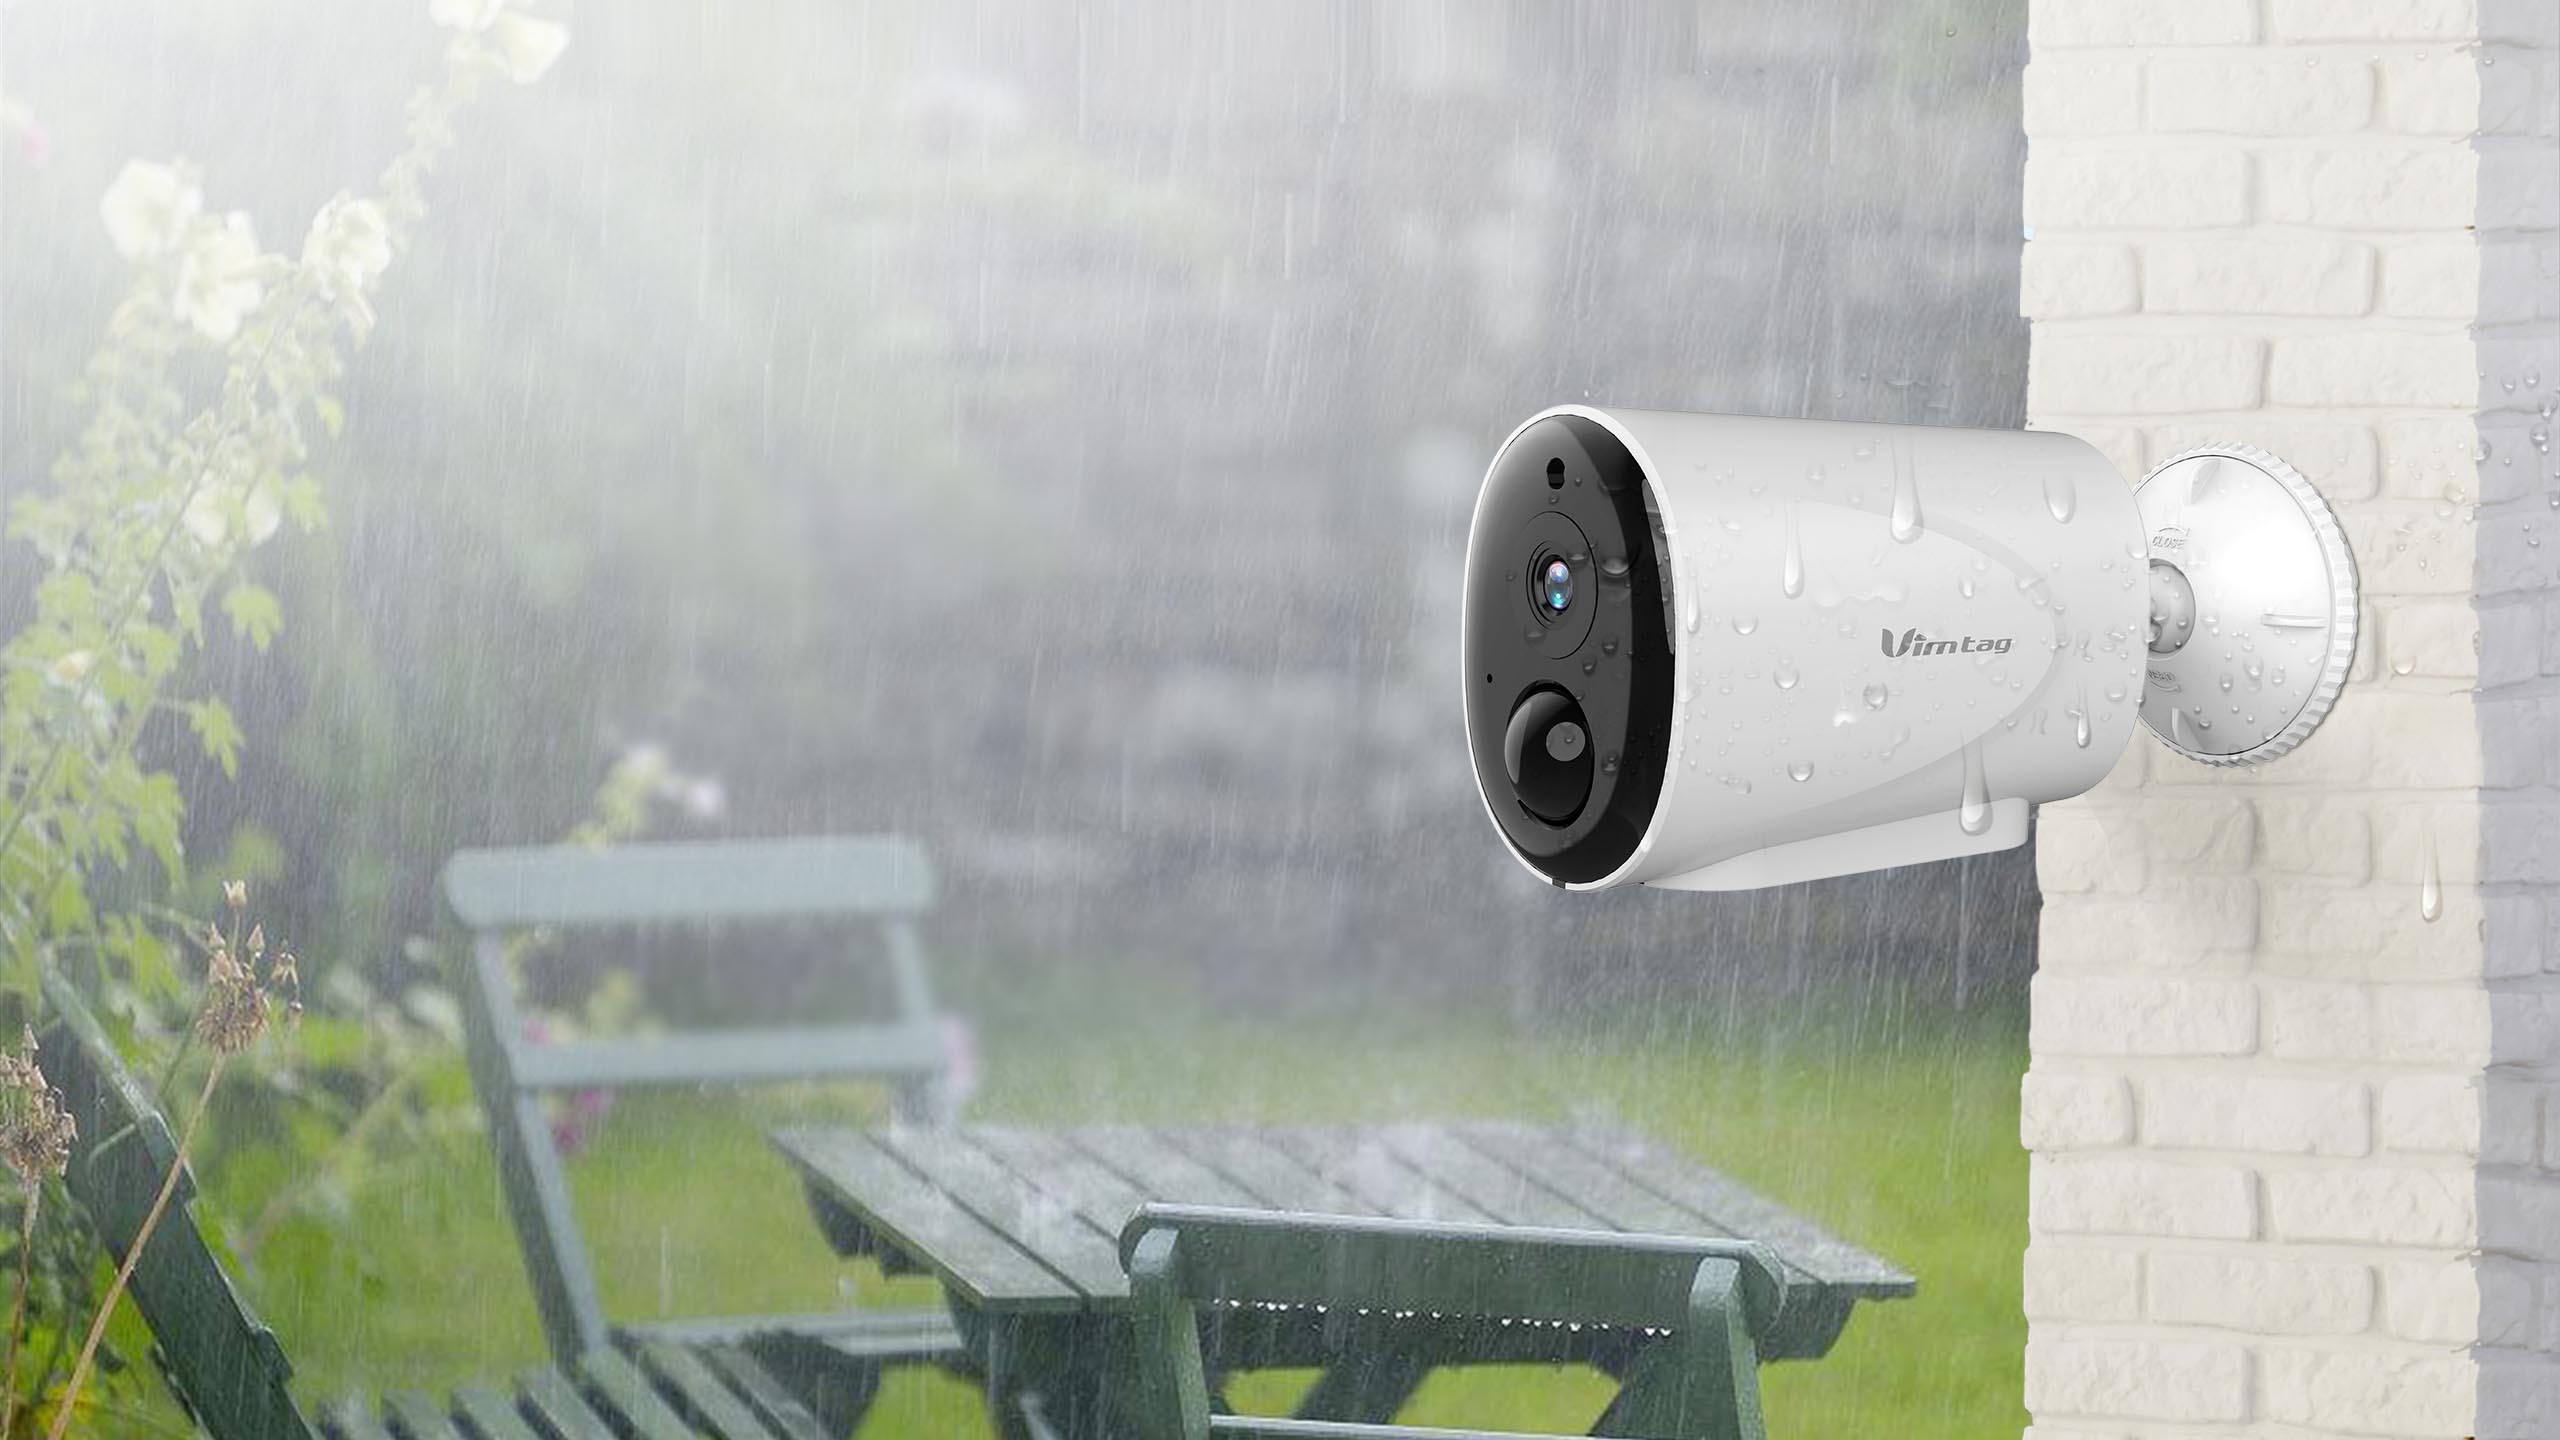
- Consider weatherproofing: If you’re installing the camera outdoors, ensure that the mounting location is protected from direct sunlight, rain, and other harsh weather conditions. If necessary, use a weatherproof housing or cover to shield the camera from the elements.
By properly preparing the installation area, you can ensure that your Eufy outdoor camera is mounted in an ideal location and can function effectively. Once you’ve completed these steps, you’re ready to move on to the next step: mounting the camera bracket.
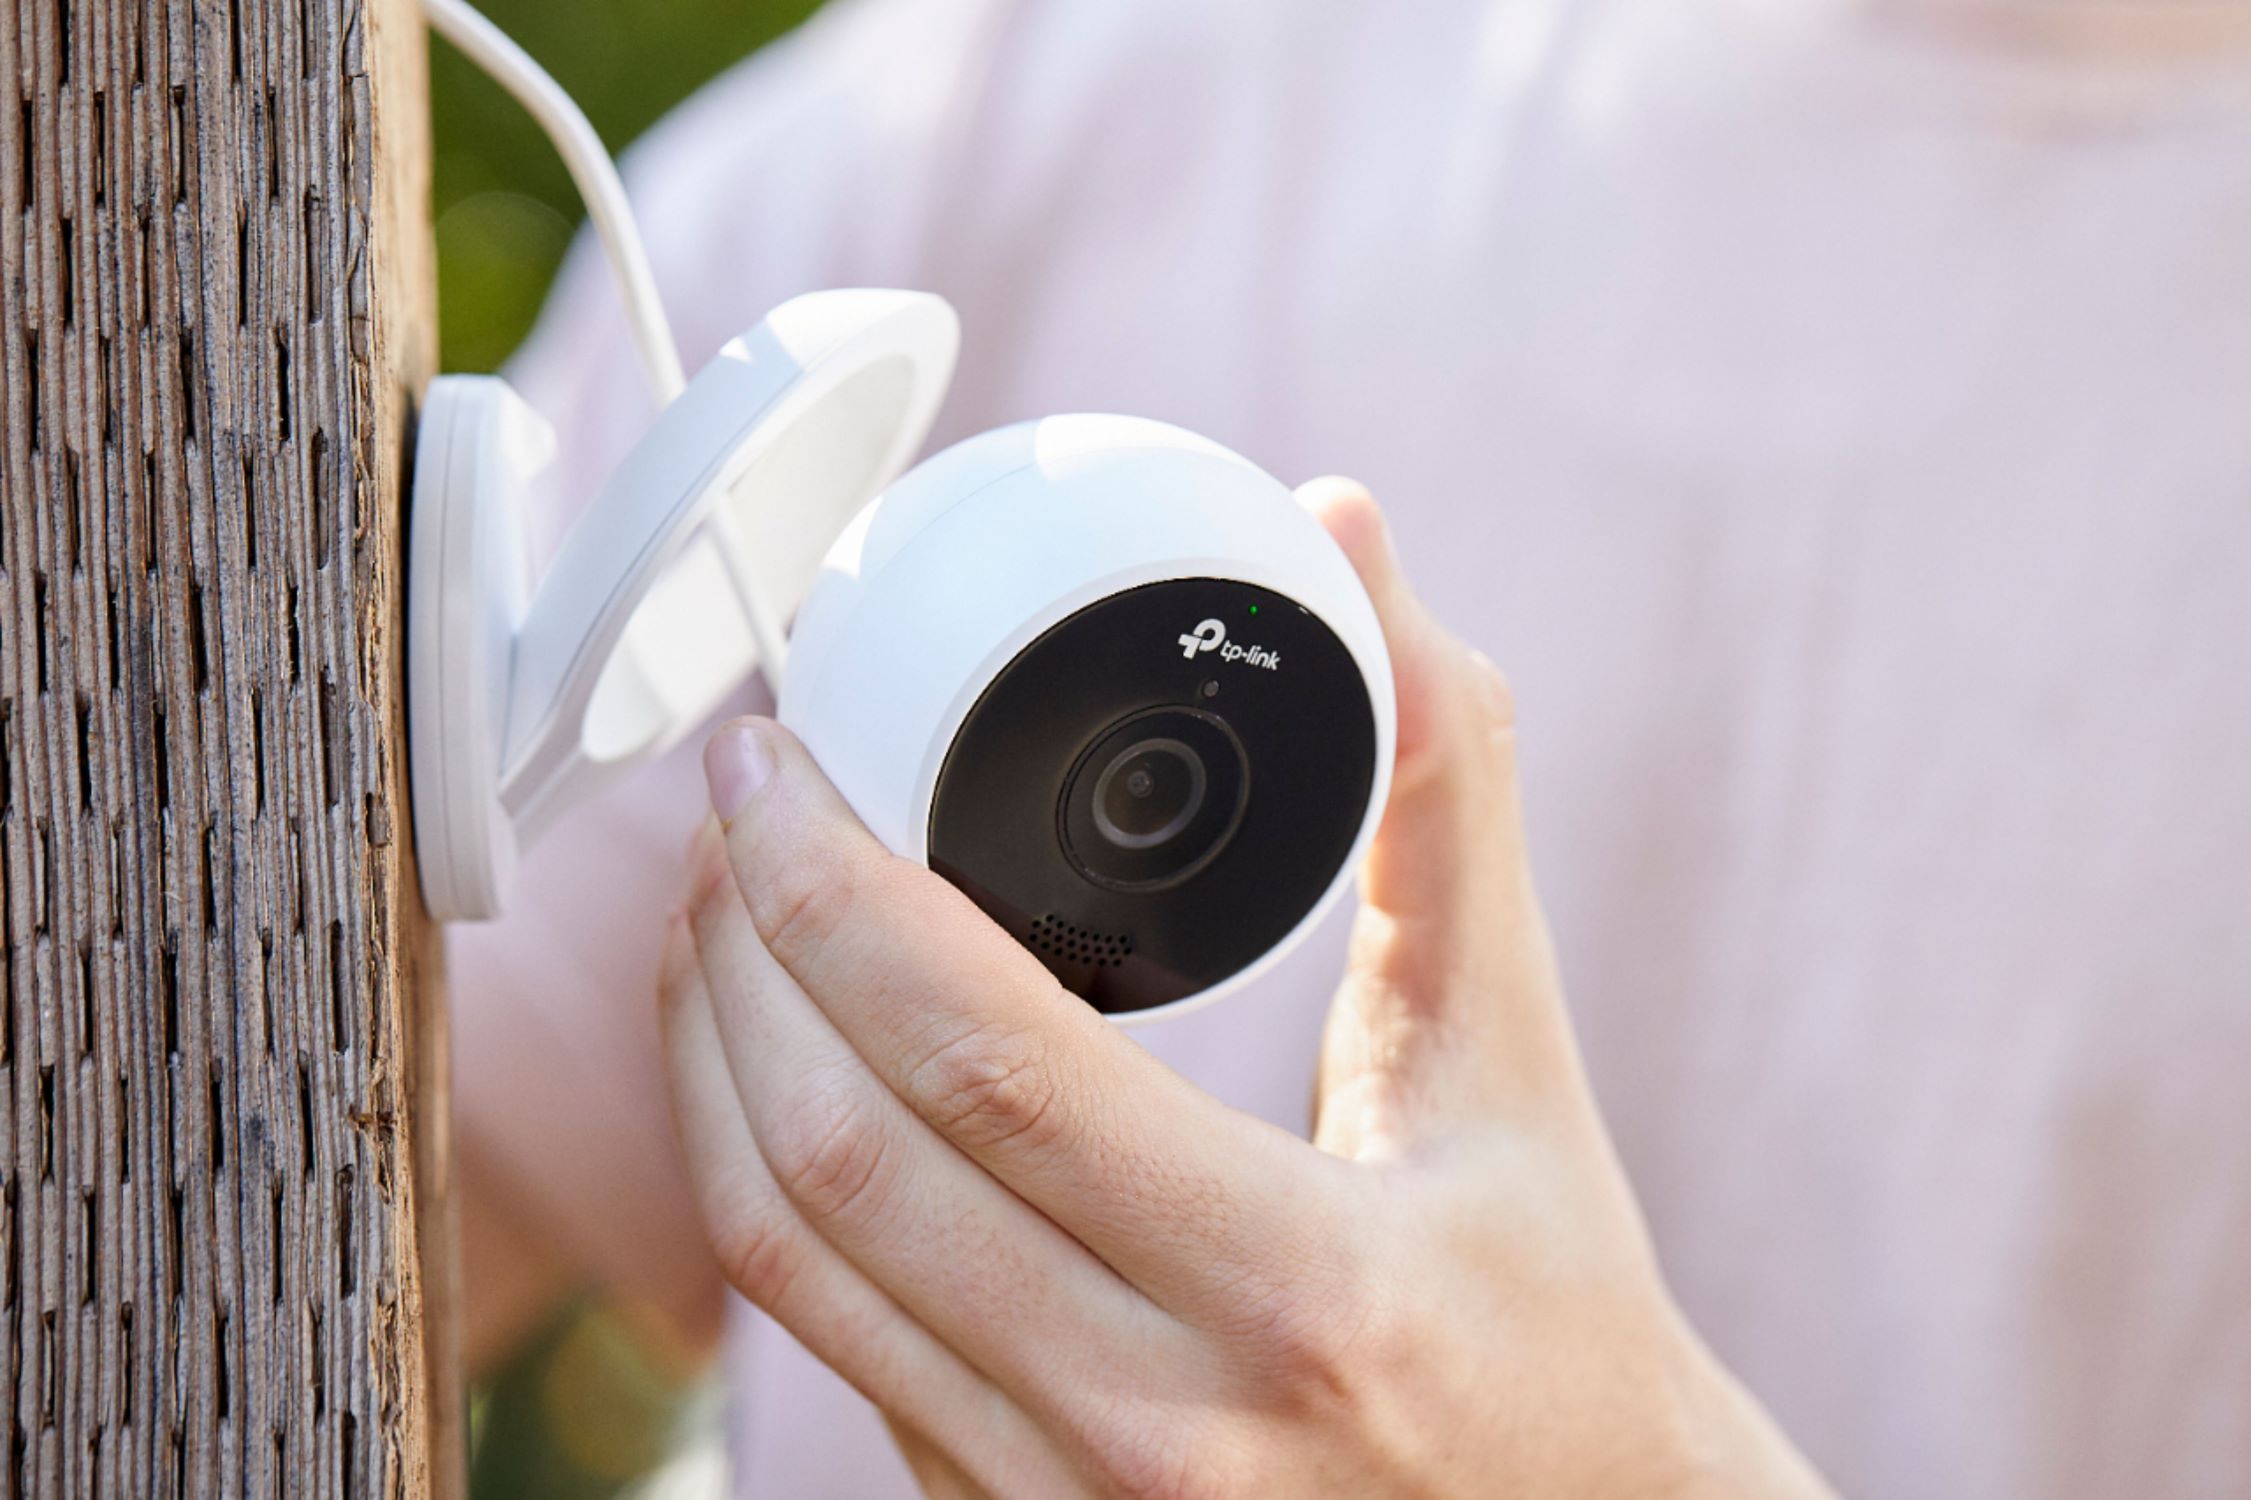
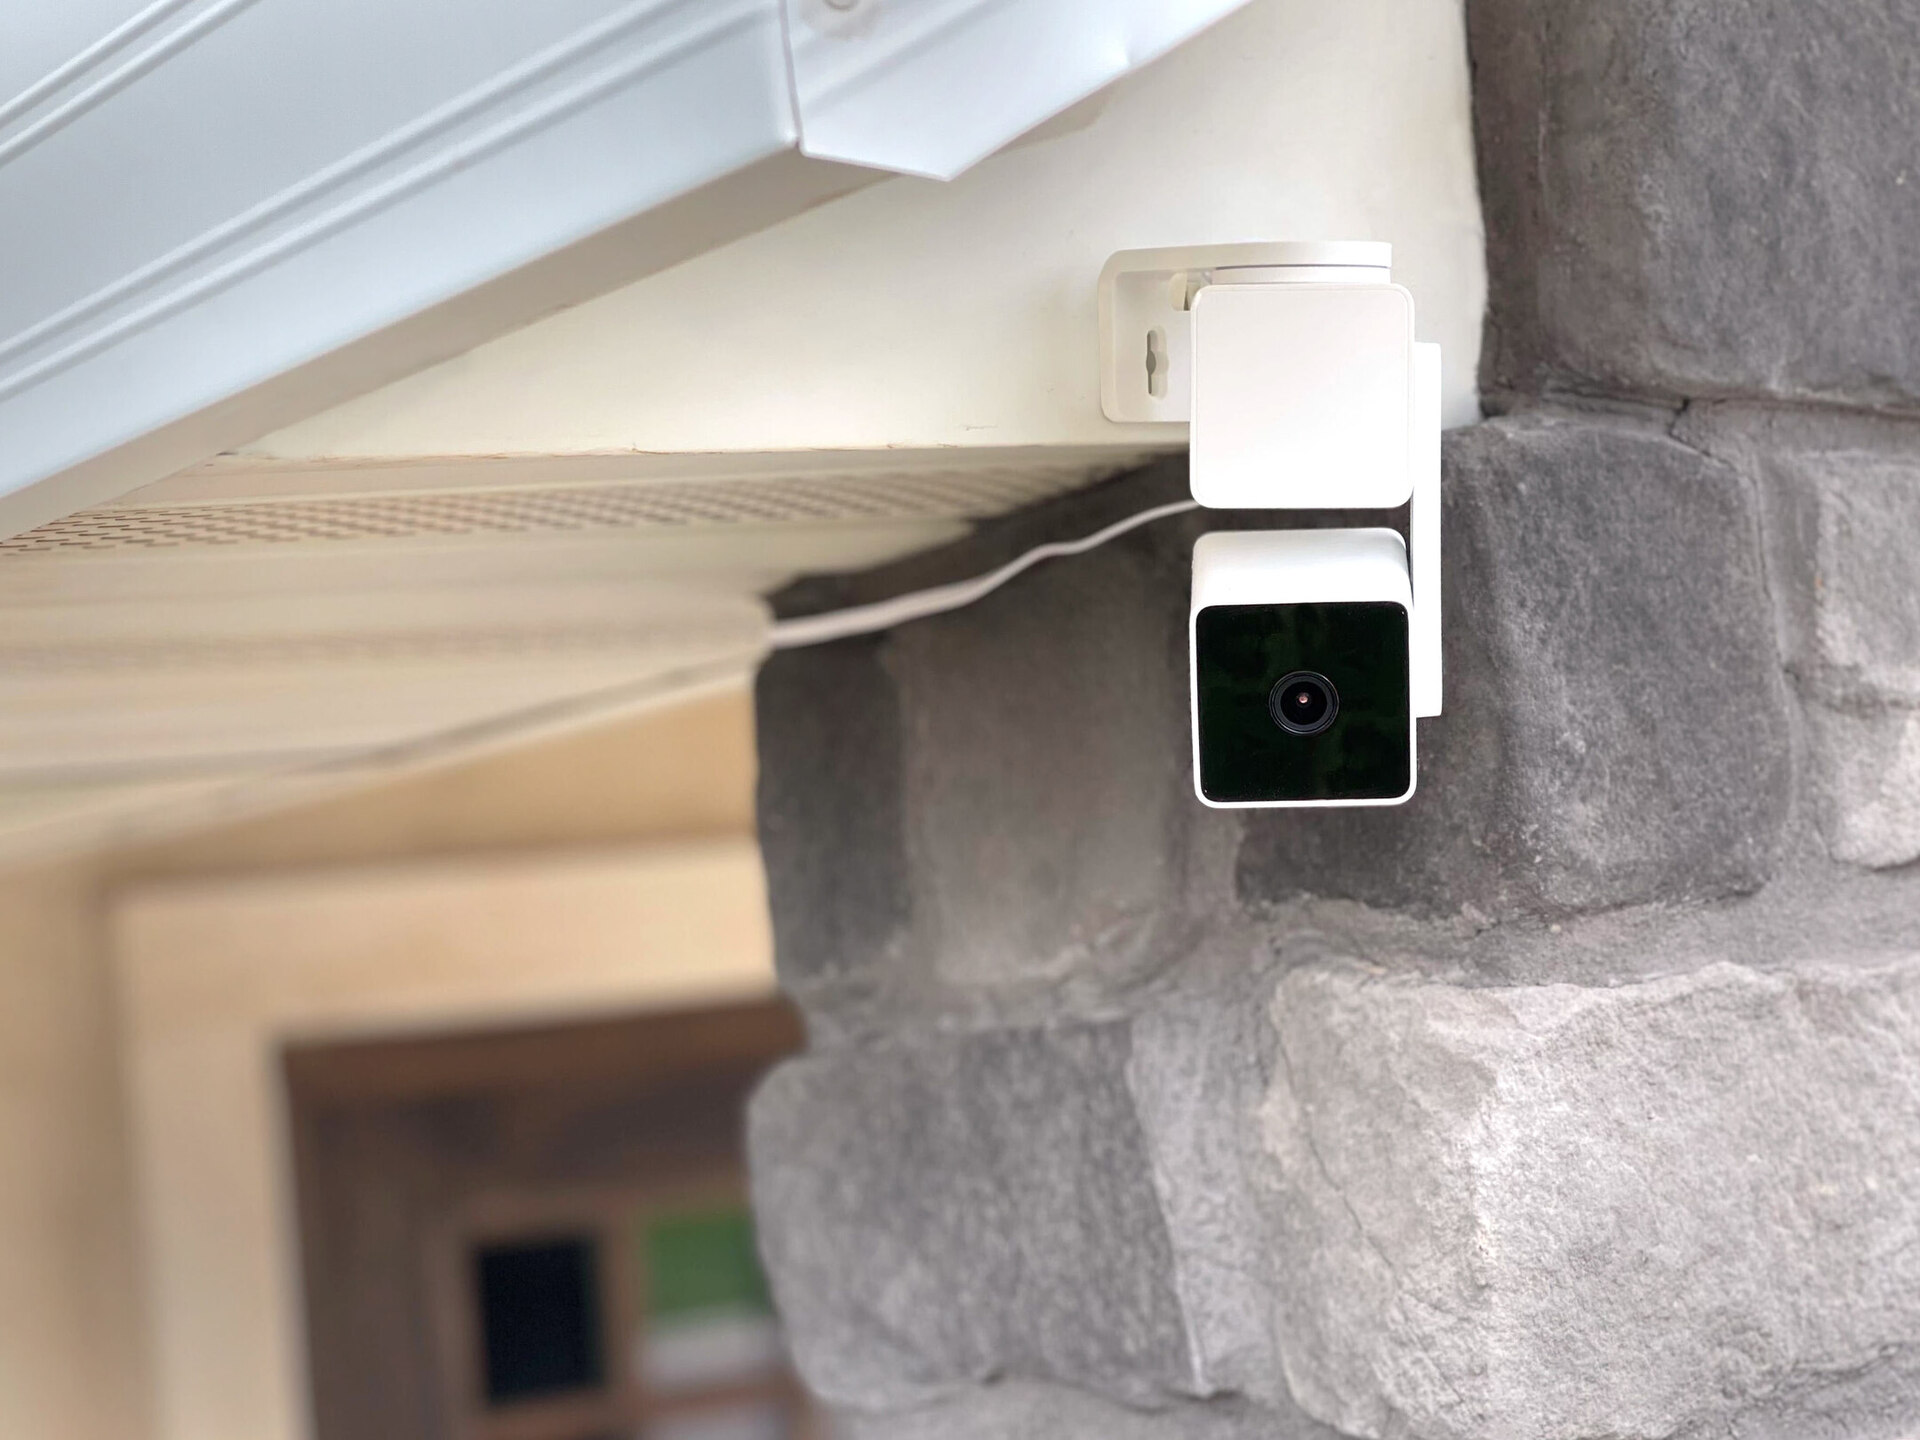
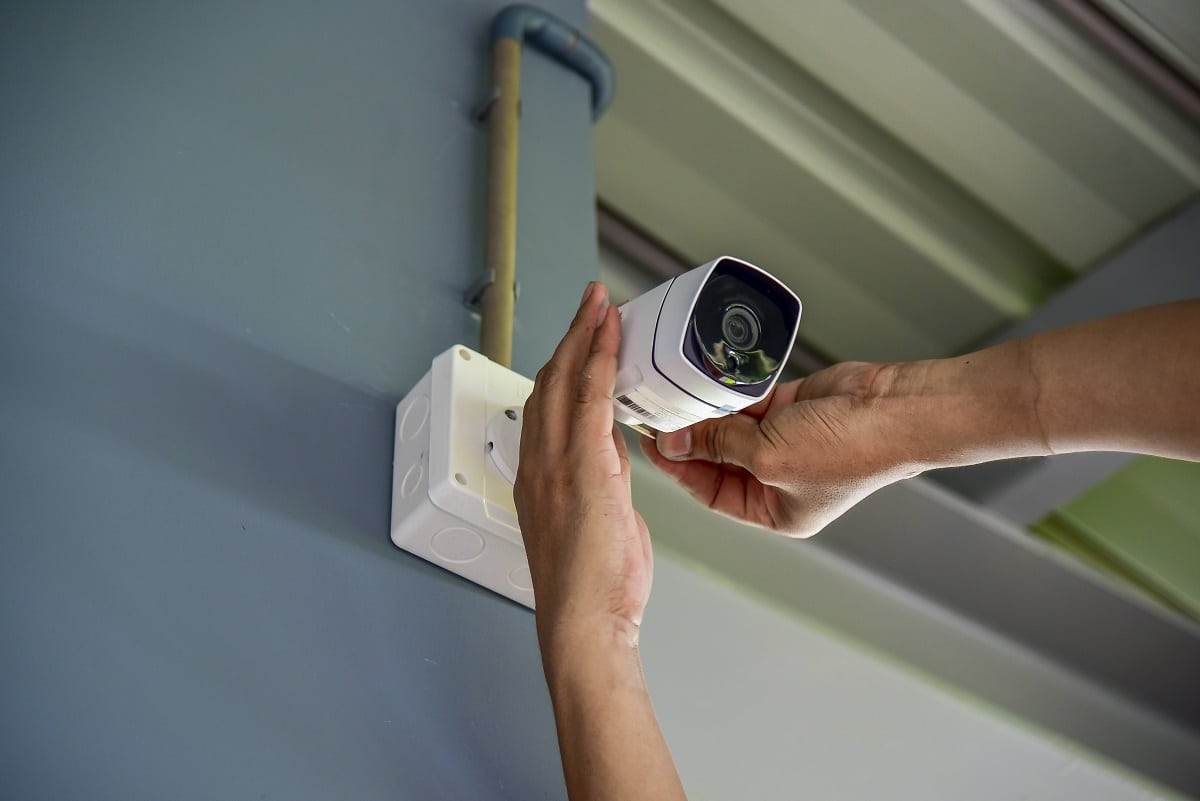
Step 3: Mounting the camera bracket
Now that you’ve prepared the installation area, it’s time to mount the camera bracket for your Eufy outdoor camera. The camera bracket acts as a secure base for attaching the camera. Follow these steps for a successful mounting process:
- Position the camera bracket: Place the camera bracket in the desired location, ensuring that it is level and aligned with the viewing angle you want. Use a pencil or marker to mark the spots where you will drill the mounting holes.
- Drill pilot holes: Use a drill and the appropriate drill bit size to create pilot holes at the marked spots. Make sure the holes are slightly smaller than the screws you will be using for installation.
- Attach the camera bracket: Line up the pre-drilled holes on the camera bracket with the pilot holes. Insert the screws through the mounting holes and tighten them securely, but be careful not to overtighten and damage the bracket or wall surface.
- Check stability: Once the camera bracket is securely attached, give it a gentle shake to ensure it is stable and properly mounted. If there is any wobbling or movement, double-check the screws and tighten them further if necessary.
It’s important to ensure that the camera bracket is securely mounted to provide a stable base for your Eufy outdoor camera. This will ensure that the camera remains in the correct position and delivers clear and steady footage. With the camera bracket securely in place, you’re ready to move on to the next step: connecting the power source.
Step 4: Connecting the power source
With the camera bracket securely mounted, it’s time to connect the power source to your Eufy outdoor camera. There are two primary options for powering the camera: using a power outlet or relying on a battery. Follow the instructions below based on your chosen power source:
Read more: How To Install A Vivint Outdoor Camera
Option 1: Power Outlet
- Locate a nearby power outlet: Position the camera in a location where you have easy access to a power outlet. Ensure that the power outlet is suitable for outdoor use and protected from the elements.
- Connect the power adapter: Plug one end of the power adapter into the camera’s power input port and the other end into the power outlet. Ensure a secure connection.
- Manage the power cable: Properly manage the power cable to avoid any tripping hazards or potential damage. Use cable clips or cable management solutions to secure and hide the cable along the mounting area.
Option 2: Battery
- Insert the battery: Open the battery compartment on the camera and insert the appropriate battery. Ensure that the battery is fully charged before proceeding.
- Secure the battery compartment: Close the battery compartment securely to prevent any water or dust from entering. Ensure that the compartment is tightly sealed.
Connecting the power source is a crucial step in ensuring that your Eufy outdoor camera functions properly. Whether you opt for a power outlet or a battery, make sure the connections are secure and the camera is receiving power. With the power source connected, it’s time to move on to the next step: setting up the Eufy Security app.
Step 5: Setting up the Eufy Security app
To fully utilize the features of your Eufy outdoor camera, you’ll need to set up the Eufy Security app on your mobile device. This app allows you to control and monitor your camera remotely. Follow these steps to get the app up and running:
- Download the Eufy Security app: Go to your device’s app store and search for “Eufy Security”. Download and install the app onto your smartphone or tablet.
- Create a Eufy account: Open the app and create a Eufy account if you don’t already have one. You’ll need to provide your email address and set a secure password.
- Add your camera: Follow the on-screen instructions within the app to add your Eufy outdoor camera. This typically involves scanning a QR code on the camera or entering a unique serial number.
- Connect to your Wi-Fi network: The app will guide you through the process of connecting your camera to your Wi-Fi network. Make sure you have the correct network name and password handy.
- Set up camera preferences: Customize your camera settings according to your preferences. This may include enabling motion detection, adjusting video quality, setting up activity zones, and configuring notifications.
- Test the app: Once you’ve completed the setup process, test the app by accessing the live feed from your Eufy outdoor camera. Make sure you can view the footage and control the camera’s features smoothly.
Setting up the Eufy Security app is an important step in fully integrating your Eufy outdoor camera into your home security system. With the app installed and configured, you’ll have seamless access to your camera’s features and live footage. Now that the app is set up, let’s move on to the next step: pairing the camera with the app.
Before installing your Eufy outdoor camera, make sure to fully charge the battery and download the Eufy Security app. Follow the step-by-step instructions in the app to mount the camera securely and connect it to your Wi-Fi network.
Step 6: Pairing the camera with the app
Now that you have the Eufy Security app set up on your mobile device, it’s time to pair your Eufy outdoor camera with the app. This step ensures that the camera and the app are properly synchronized and allows for seamless control and monitoring. Follow these steps to pair your camera:
- Open the Eufy Security app: Launch the Eufy Security app on your mobile device and log into your Eufy account.
- Access the camera pairing option: In the app’s main menu, navigate to the “Camera” section or a similar option depending on the app’s interface.
- Press the camera’s pairing button: Locate the pairing button on your Eufy outdoor camera. Depending on the model, it may be on the camera itself or near the power source. Press and hold the pairing button until the camera’s LED indicator starts blinking.
- Begin the pairing process: In the Eufy Security app, click on the “Add” or “Pair” button to initiate the pairing process. The app will search for nearby cameras and display a list of available devices.
- Select your camera: From the list of available devices, select your Eufy outdoor camera. Make sure the camera’s serial number or name matches the one displayed in the app.
- Complete the pairing process: Follow the on-screen prompts to complete the pairing process. This may involve connecting to your Wi-Fi network, entering a passcode, or confirming settings.
Once the pairing process is complete, your Eufy outdoor camera will be successfully connected to the Eufy Security app. You can now control and monitor your camera’s features, view live footage, and receive notifications directly from your mobile device. With the camera paired, it’s time to move on to the next step: adjusting camera settings.
Read more: Eufy Security Camera: How To Charge
Step 7: Adjusting camera settings
Now that your Eufy outdoor camera is paired with the Eufy Security app, it’s time to fine-tune the camera settings to suit your specific needs. This step allows you to customize various features and optimize your camera’s performance. Follow these steps to adjust the camera settings:
- Open the Eufy Security app: Launch the Eufy Security app on your mobile device and navigate to the camera section.
- Select your camera: From the list of paired cameras, select the Eufy outdoor camera you want to adjust the settings for.
- Access the settings menu: Look for the settings icon or menu option within the app. This may be represented by a gear symbol or labeled “Settings”.
- Explore the available settings: Within the settings menu, you’ll find a range of options to customize your camera’s behavior. This may include motion detection sensitivity, activity zones, video quality, night vision settings, and more.
- Make adjustments: Review each setting and make adjustments based on your preferences. For example, you can increase the motion detection sensitivity for areas with high activity, or set up specific activity zones to trigger notifications only for specific areas.
- Save and apply changes: Once you’ve made the desired adjustments, save your settings and apply the changes. This ensures that your camera will operate according to your specified preferences.
By fine-tuning the camera settings, you can personalize your Eufy outdoor camera’s functionality to best suit your specific requirements. Take the time to explore and experiment with different settings to achieve the optimal performance and coverage for your home. With the camera settings adjusted, it’s time to move on to the final step: testing the camera.
Step 8: Testing the camera
After completing the installation and adjusting the settings of your Eufy outdoor camera, it’s essential to conduct a thorough test to ensure that everything is working as expected. Testing the camera allows you to verify its functionality, image quality, and performance. Follow these steps to test your Eufy outdoor camera:
- Position yourself in a remote location: Move to a different area of your property or even step outside to ensure that you’re not within the camera’s field of view.
- Open the Eufy Security app: Launch the Eufy Security app on your mobile device and log into your Eufy account.
- Access the live feed: Navigate to the camera section within the app and select your Eufy outdoor camera. Tap on the live feed option to view the camera’s video stream.
- Observe the live footage: Pay attention to the visual quality, clarity, and field of view of the camera’s live feed. Ensure that the camera captures and displays the desired area without any issues or obstructions.
- Test motion detection: Move within the camera’s field of view to test the motion detection feature. Observe whether the camera detects your movement and sends a notification or triggers recording, as configured in the settings.
- Check night vision: If your camera is equipped with night vision capabilities, dim the lights or wait until nighttime to test its performance in low-light conditions. Ensure that the night vision mode activates automatically and provides clear footage.
- Verify two-way audio (if applicable): If your Eufy outdoor camera supports two-way audio, test the functionality by speaking into the app and listening for the sound through the camera’s speaker.
- Review recordings and alerts: Check the app for any recorded footage or notifications triggered during the testing process. Ensure that the camera captures and stores recorded clips accurately.
By thoroughly testing your Eufy outdoor camera, you can confirm its performance, ensure that it meets your expectations, and address any potential issues early on. If you encounter any problems during the testing phase, consult the Eufy user manual, troubleshoot using the app’s built-in resources, or contact Eufy customer support for assistance.
Congratulations! You’ve successfully installed, set up, and tested your Eufy outdoor camera. With its advanced features and reliable performance, you can now enjoy enhanced security and peace of mind for your home. Remember to regularly maintain and update your camera to ensure its longevity and optimal performance.
Thank you for choosing Eufy for your home security needs!
Conclusion
Installing a Eufy outdoor camera is a valuable step towards enhancing the security and monitoring capabilities of your home. By following the step-by-step guide we’ve provided, you can successfully set up and configure your camera for optimal performance. Here’s a recap of the installation process:
In Step 1, we emphasized the importance of gathering all the required equipment, ensuring you have everything you need for a seamless installation. Step 2 covered the crucial task of preparing the installation area, considering factors such as location, cleanliness, Wi-Fi signal strength, and weatherproofing.
Step 3 focused on securely mounting the camera bracket, providing a stable foundation for your Eufy outdoor camera. In Step 4, we discussed the two options available for connecting the power source: using a power outlet or relying on a battery, along with the necessary precautions for each method.
The following steps, Step 5 and Step 6, guided you through the process of setting up the Eufy Security app and pairing your camera, ensuring seamless integration and control. In Step 7, we explored the various camera settings that can be adjusted to customize the camera’s behavior according to your preferences.
Lastly, in Step 8, we highlighted the importance of testing the camera to verify its functionality, image quality, motion detection, night vision, and other features. By conducting this thorough test, you can ensure that your Eufy outdoor camera operates as expected and meets your specific requirements.
By installing a Eufy outdoor camera and following these steps, you have taken a proactive approach towards securing your home and protecting your loved ones. With the camera’s advanced features, remote monitoring capabilities, and customizable settings, you can enjoy enhanced peace of mind and stay connected to your home at all times.
Remember, maintaining regular updates and checkups on your camera, as well as staying informed about any software updates or new features, will ensure that it continues to perform at its best. If you encounter any issues or have further questions, don’t hesitate to reach out to Eufy’s customer support for assistance.
Thank you for choosing Eufy, and we hope this guide has been helpful in successfully installing your Eufy outdoor camera. Stay safe and enjoy the added security and peace of mind it brings to your home!
Frequently Asked Questions about How To Install Eufy Outdoor Camera
Was this page helpful?
At Storables.com, we guarantee accurate and reliable information. Our content, validated by Expert Board Contributors, is crafted following stringent Editorial Policies. We're committed to providing you with well-researched, expert-backed insights for all your informational needs.