Home>Interior Design>How To Hang Drywall Ceiling: Expert Tips For A Sleek Finish
Interior Design
How To Hang Drywall Ceiling: Expert Tips For A Sleek Finish
Modified: August 28, 2024
Learn expert tips on how to hang drywall on your ceiling for a sleek and professional finish. Elevate your interior design with these easy-to-follow instructions.
(Many of the links in this article redirect to a specific reviewed product. Your purchase of these products through affiliate links helps to generate commission for Storables.com, at no extra cost. Learn more)
Introduction
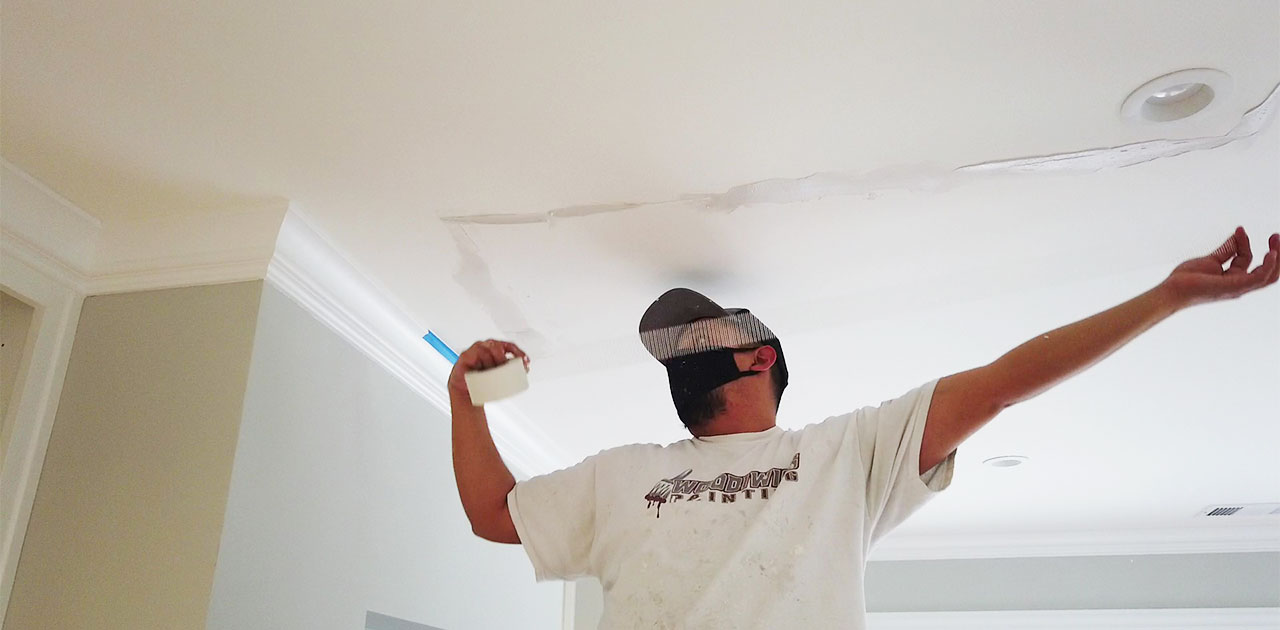
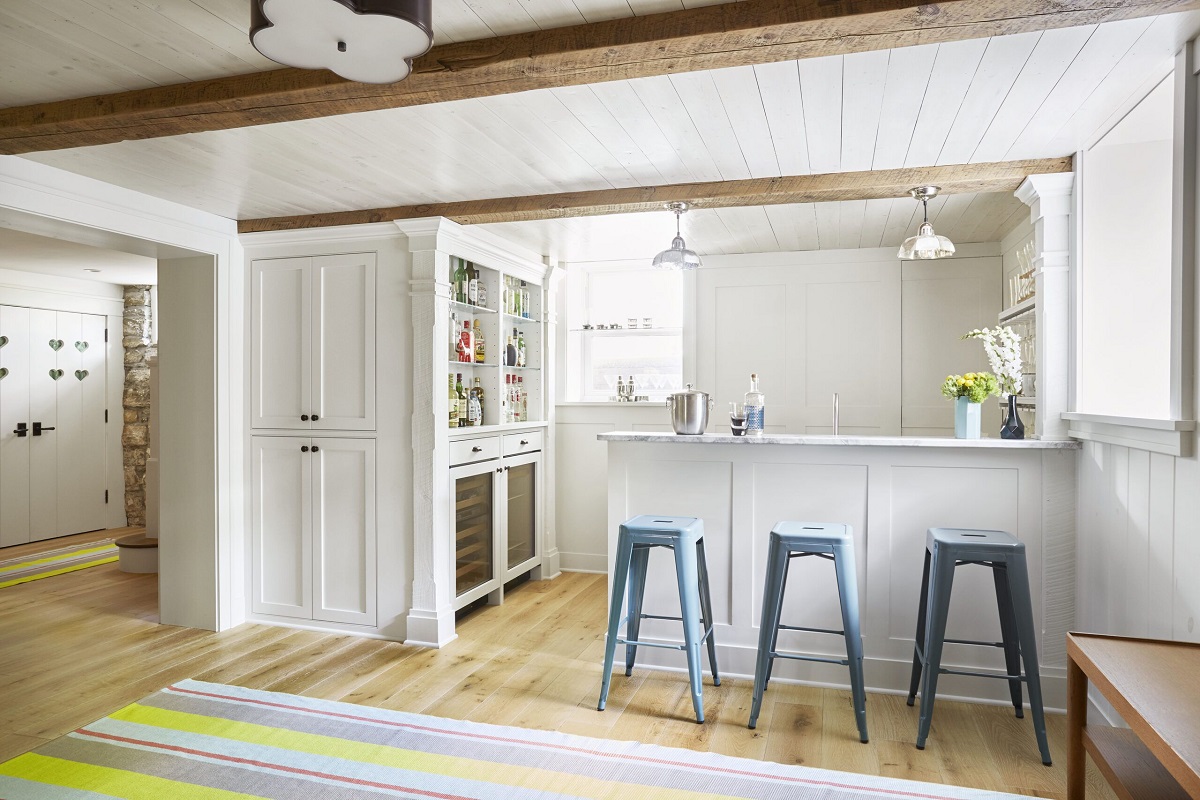
When it comes to interior design, the ceiling is often an overlooked element, but it plays a significant role in the overall aesthetics of a space. Drywall is a popular and versatile material for creating a sleek and seamless ceiling finish. Whether you’re looking to renovate your existing ceiling or working on a new construction project, knowing how to properly hang drywall can help you achieve a polished and professional look.
In this article, we’ll provide you with expert tips on how to hang drywall on a ceiling. We’ll guide you through the step-by-step process, from planning and preparation to finishing touches. So, if you’re ready to elevate your interior design game and create a stunning ceiling, let’s dive in!
Key Takeaways:
- Elevate your interior design game by learning how to hang drywall on a ceiling for a sleek and professional finish. From measuring and planning to applying primer and paint, transform your space with confidence.
- Attention to detail is key when hanging drywall. Securely install, apply joint compound, and sand for a flawless finish. Enjoy the transformation and take pride in your beautifully finished drywall ceiling.
Tools and Materials Needed
Before you begin hanging drywall on your ceiling, it’s essential to gather all the necessary tools and materials. Here’s a list of what you’ll need:
- Drywall sheets
- Measuring tape
- Pencil
- Straightedge or level
- Drywall saw or utility knife
- Screw gun or drill
- Drywall screws
- Joint compound
- Taping knife
- Sanding block or sandpaper
- Primer
- Paint
- Paint roller or brush
- Ladder or scaffold
- Safety goggles
- Dust mask
Make sure to have all these tools and materials ready before you start hanging drywall. This will help you work efficiently and avoid interruptions.
Step 1: Measure and Plan
Before you can start hanging drywall, it’s crucial to measure the ceiling and plan out the layout. This step will help you determine how much drywall you’ll need and how it will be positioned on the ceiling.
Start by measuring the length and width of the ceiling using a measuring tape. Take accurate measurements and consider any obstructions such as light fixtures or vents. It’s also important to measure the height of the walls to ensure that the drywall will fit properly.
Once you have the measurements, you can plan the layout of the drywall sheets. The most common method is to start in one corner of the room and work your way across. However, you may need to adjust the layout depending on the size and shape of the room.
Using a pencil, mark the position of each drywall sheet on the ceiling. Make sure to leave a small gap between the sheets for expansion. It’s also a good idea to mark the location of studs or joists on the ceiling, as you’ll need to secure the drywall to them.
By taking the time to measure and plan, you’ll ensure that the drywall installation goes smoothly and that you have the right amount of materials for the job.
Step 2: Gather Necessary Equipment
Before you start hanging drywall on the ceiling, it’s important to gather all the necessary tools and equipment. Having everything prepared and within reach will help streamline the installation process and save you time and effort.
Here’s a checklist of the essential equipment you’ll need:
- Drywall sheets: Measure and purchase the appropriate size and quantity of drywall sheets for your ceiling.
- Measuring tape: Use a measuring tape to accurately measure the dimensions of your ceiling.
- Pencil: Mark the measurements and layout on the drywall sheets and ceiling.
- Straightedge or level: Use a straightedge or level to ensure that your lines and cuts are straight and aligned.
- Drywall saw or utility knife: Use a drywall saw or utility knife to cut the drywall sheets to the desired size.
- Screw gun or drill: Use a screw gun or drill to secure the drywall sheets to the ceiling.
- Drywall screws: Ensure you have enough drywall screws of the appropriate length to attach the drywall sheets to the ceiling.
- Joint compound: Plan to have enough joint compound for taping and finishing the seams between the drywall sheets.
- Taping knife: Use a taping knife to apply the joint compound and smooth it along the seams.
- Sanding block or sandpaper: Have a sanding block or sandpaper on hand to smooth out any rough areas on the drywall.
- Primer and paint: Gather the necessary primer and paint to finish and beautify your ceiling.
- Paintbrush or roller: Depending on your preference, have a paintbrush or roller ready for applying the primer and paint.
- Ladder or scaffold: Ensure you have a stable and secure ladder or scaffold to safely reach and work on the ceiling.
- Safety goggles and dust mask: Protect your eyes and lungs by wearing safety goggles and a dust mask during the installation and sanding process.
Once you have gathered all the necessary equipment, you’ll be ready to move on to the next step of hanging drywall on the ceiling.
Step 3: Prepare the Ceiling
Before you can hang drywall on the ceiling, it’s important to properly prepare the surface. This step will help ensure a smooth and secure installation. Here’s what you need to do:
- Clear the area: Remove any furniture, light fixtures, or decorations from the room to create a clean and clutter-free workspace.
- Clean the ceiling: Thoroughly clean the ceiling surface to remove any dust, dirt, or debris. Use a broom or vacuum cleaner to eliminate loose particles.
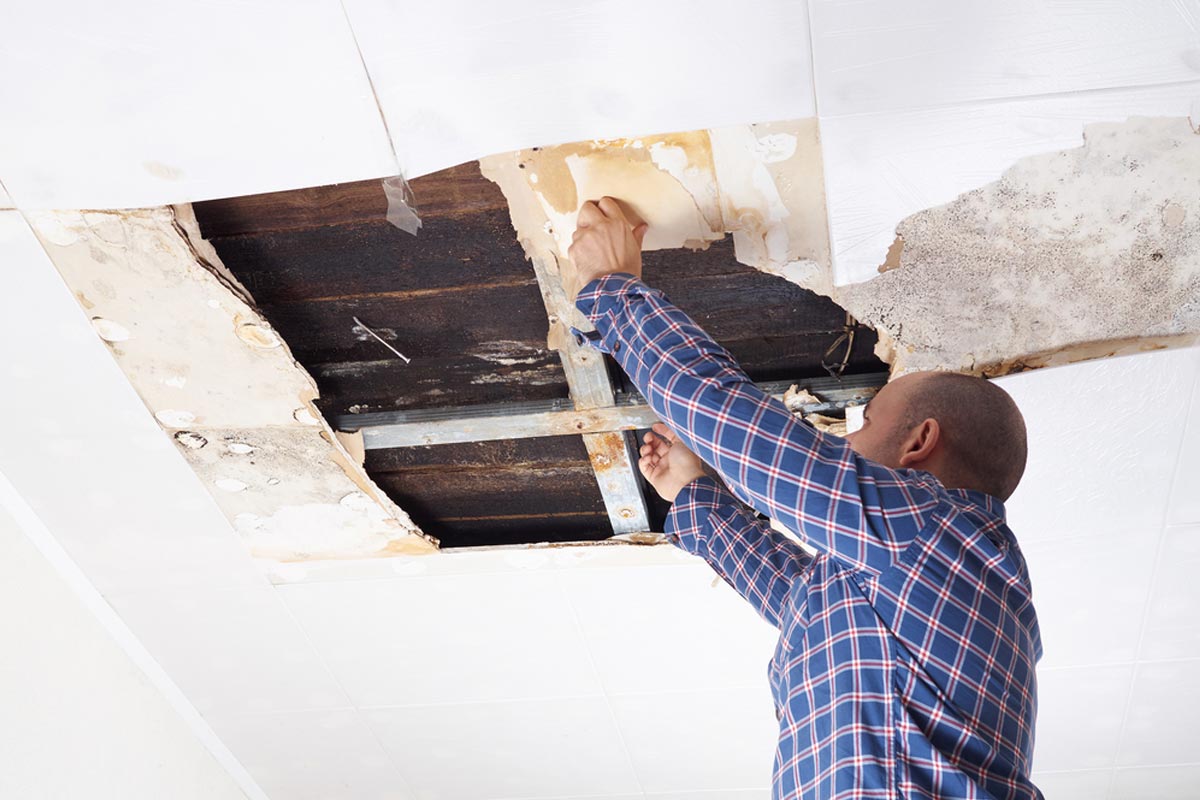
- Inspect for damage: Look for any signs of damage on the ceiling, such as cracks or water stains. Repair any issues before proceeding to ensure a solid foundation for the drywall.
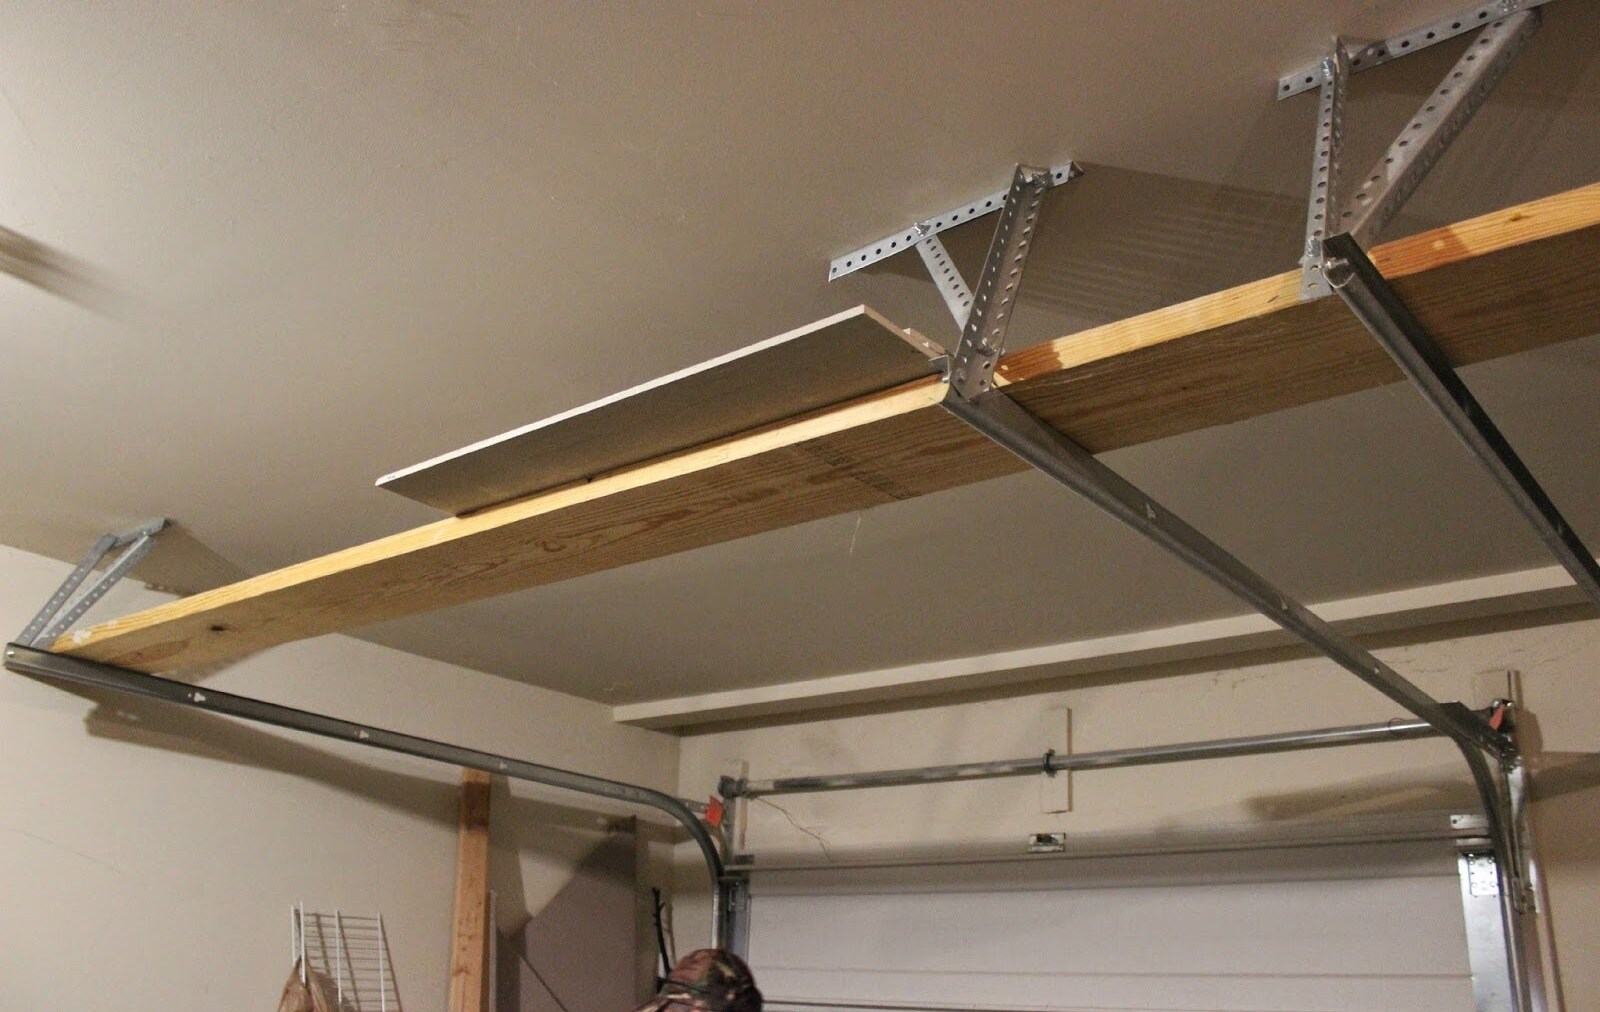
- Install blocking: If your ceiling layout requires additional support, such as around light fixtures or ceiling fans, install blocking between the joists to provide a secure attachment point for the drywall.
- Apply primer: Before hanging the drywall, it’s a good idea to apply a coat of primer to the ceiling. This will help the drywall adhere better and provide a smoother finish.
By properly preparing the ceiling, you’ll create a clean and stable surface for the drywall installation. This will ensure a professional-looking result and minimize the risk of issues in the future.
Read more: How To Finish Drywall Butt Joints
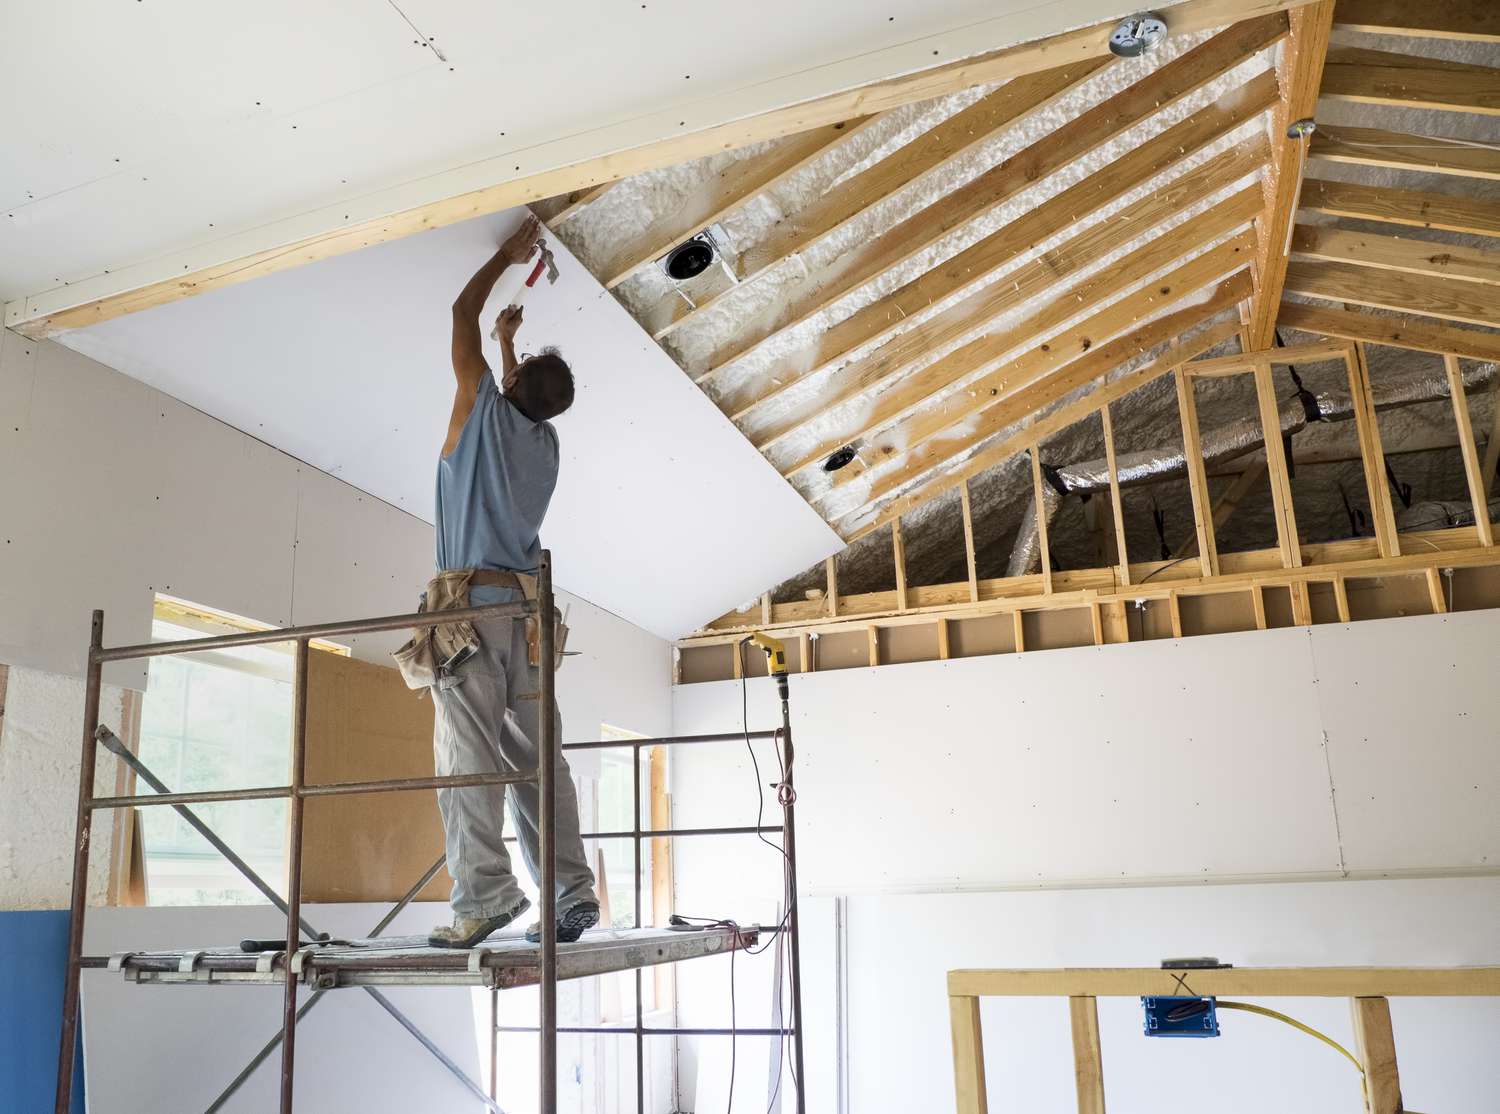
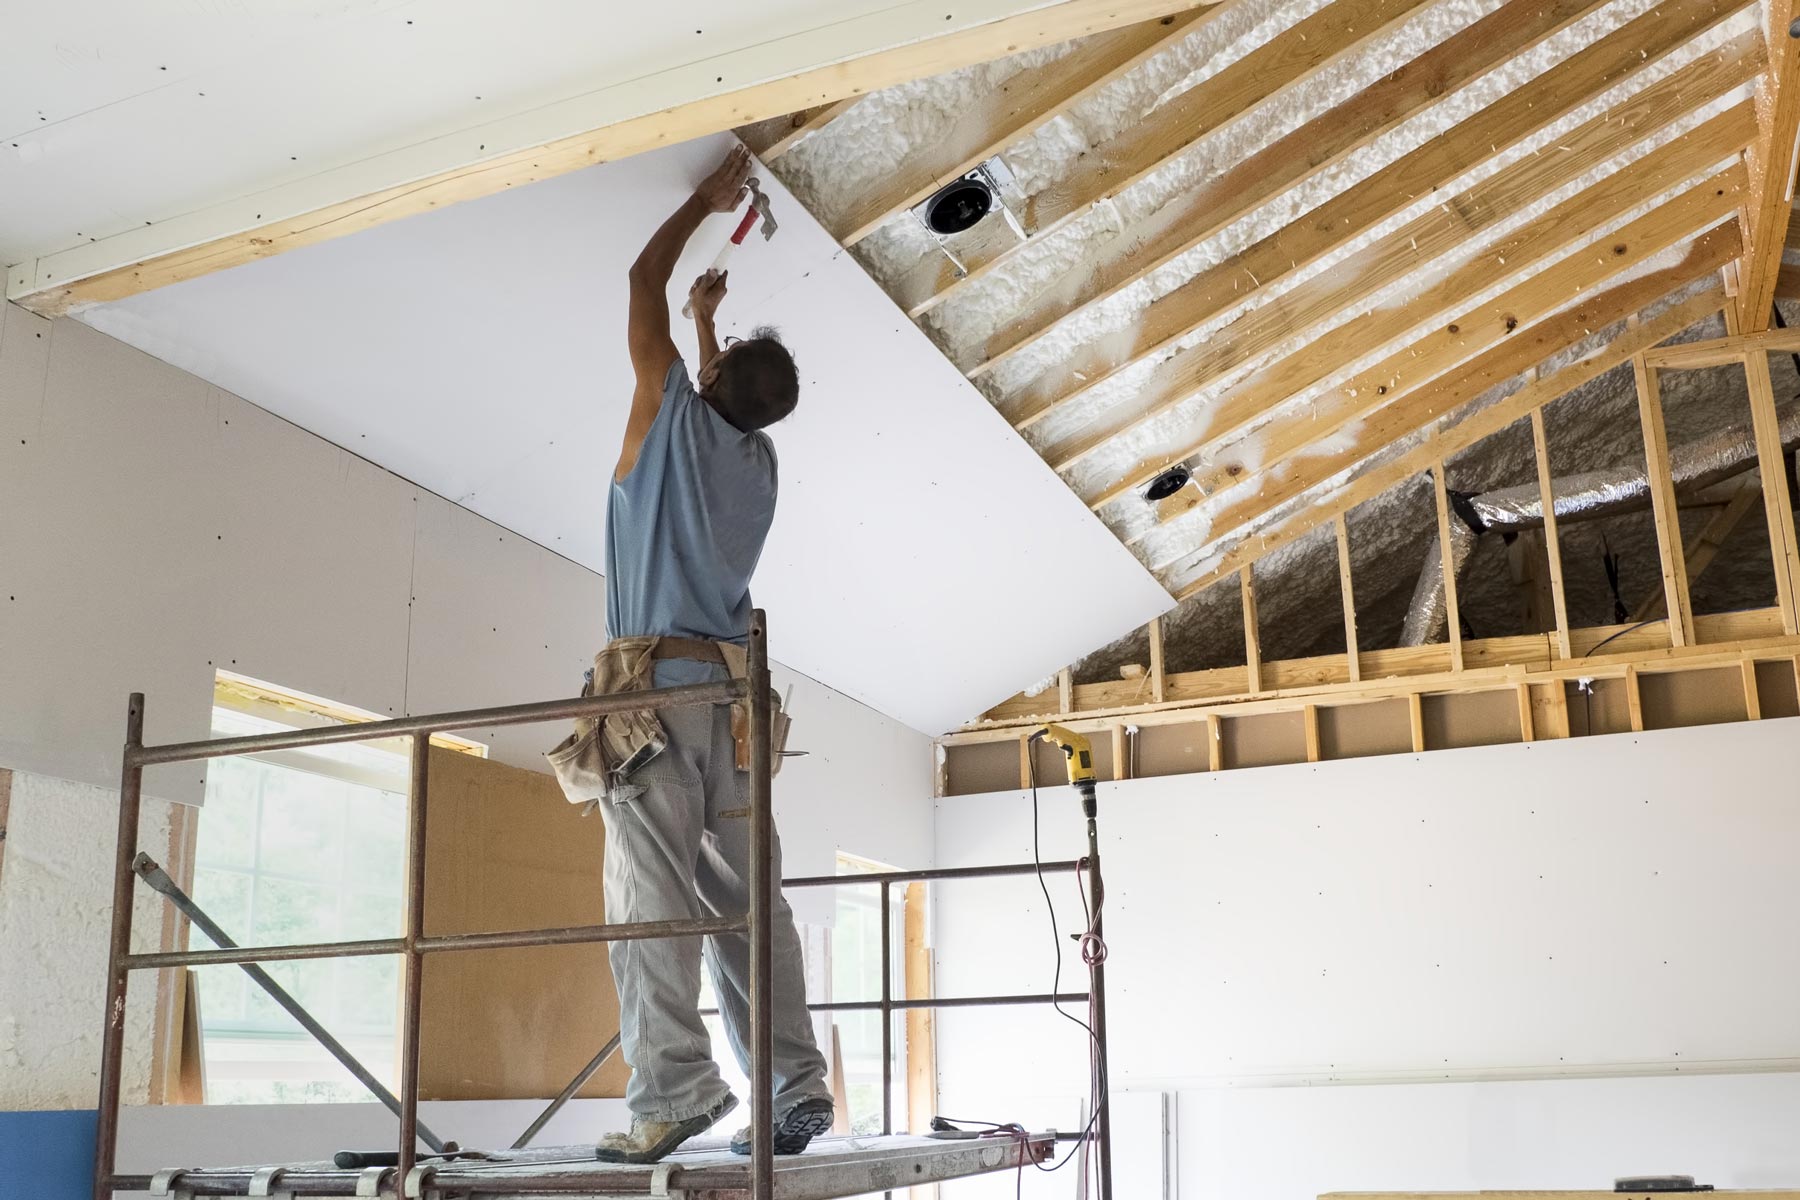
Step 4: Install the Drywall
Now that the ceiling is prepared, it’s time to start installing the drywall. This step requires careful handling and positioning to ensure a secure and seamless fit. Here’s how to do it:
- Start in the corner: Begin in one corner of the room and position the first drywall sheet against the wall and ceiling. Make sure there is a small gap between the sheet and the floor for expansion.
- Secure the drywall: Use a screw gun or drill to secure the drywall sheet to the ceiling joists or blocking. Insert screws every 12 to 16 inches along the edges of the sheet, and about 8 inches apart in the field.
- Continue across the ceiling: Move on to the next drywall sheet, making sure to leave a small gap between the sheets for expansion. Stagger the seams between the sheets to create a stronger and more stable ceiling structure.
- Cut out openings: If there are any openings for light fixtures, vents, or outlets, measure and mark their locations on the drywall sheets. Use a drywall saw or utility knife to carefully cut out the necessary openings.
- Fit the drywall: As you work your way across the ceiling, measure and cut the drywall sheets to fit any irregular shapes or corners. Use a straightedge or level to ensure accurate cuts.
- Check for levelness: Periodically check the levelness of the installed drywall using a straightedge or level. Adjust as necessary to maintain a flat and even surface.
Repeat these steps until you have installed all the drywall sheets on the ceiling. Take your time to ensure that each sheet is securely fastened and properly aligned.
Remember to take breaks as needed and work in a safe and comfortable manner. If the ceiling is high, consider using a stable scaffold or hiring a professional to assist with the installation.
Step 5: Cut and Fit the Drywall
Now that the drywall sheets are installed on the ceiling, it’s time to cut and fit any additional pieces needed for a seamless finish. This step is important for achieving a clean and professional look. Here’s how to cut and fit the drywall:
- Measure and mark: Take precise measurements of the areas where additional drywall is needed. Use a measuring tape, pencil, and straight edge to mark the dimensions directly on the drywall.
- Cut the drywall: Using a drywall saw or utility knife, carefully cut along the marked lines to create the desired shape. Take your time to ensure accurate cuts, and use a straight edge as a guide for straight lines.
- Fit the pieces: Place the cut pieces of drywall in their intended positions on the ceiling. Make any necessary adjustments to ensure a precise fit. It’s important to leave small gaps between the pieces for expansion to prevent cracks in the future.
- Secure the drywall: Once the pieces are properly fitted, use a screw gun or drill to secure them to the ceiling joists or blocking. Insert screws every 12 to 16 inches along the edges of the sheets and about 8 inches apart in the field.
Continue this process for any additional pieces of drywall required to complete the ceiling. Take your time and double-check the measurements and cuts to ensure a perfect fit.
If necessary, you may need to make adjustments to electrical boxes or other fixtures to accommodate the new drywall. Consult a professional if you’re unsure about any electrical or structural modifications.
Use a drywall lift to hold the panels in place while you screw them into the ceiling joists. This will ensure a smooth and professional finish.
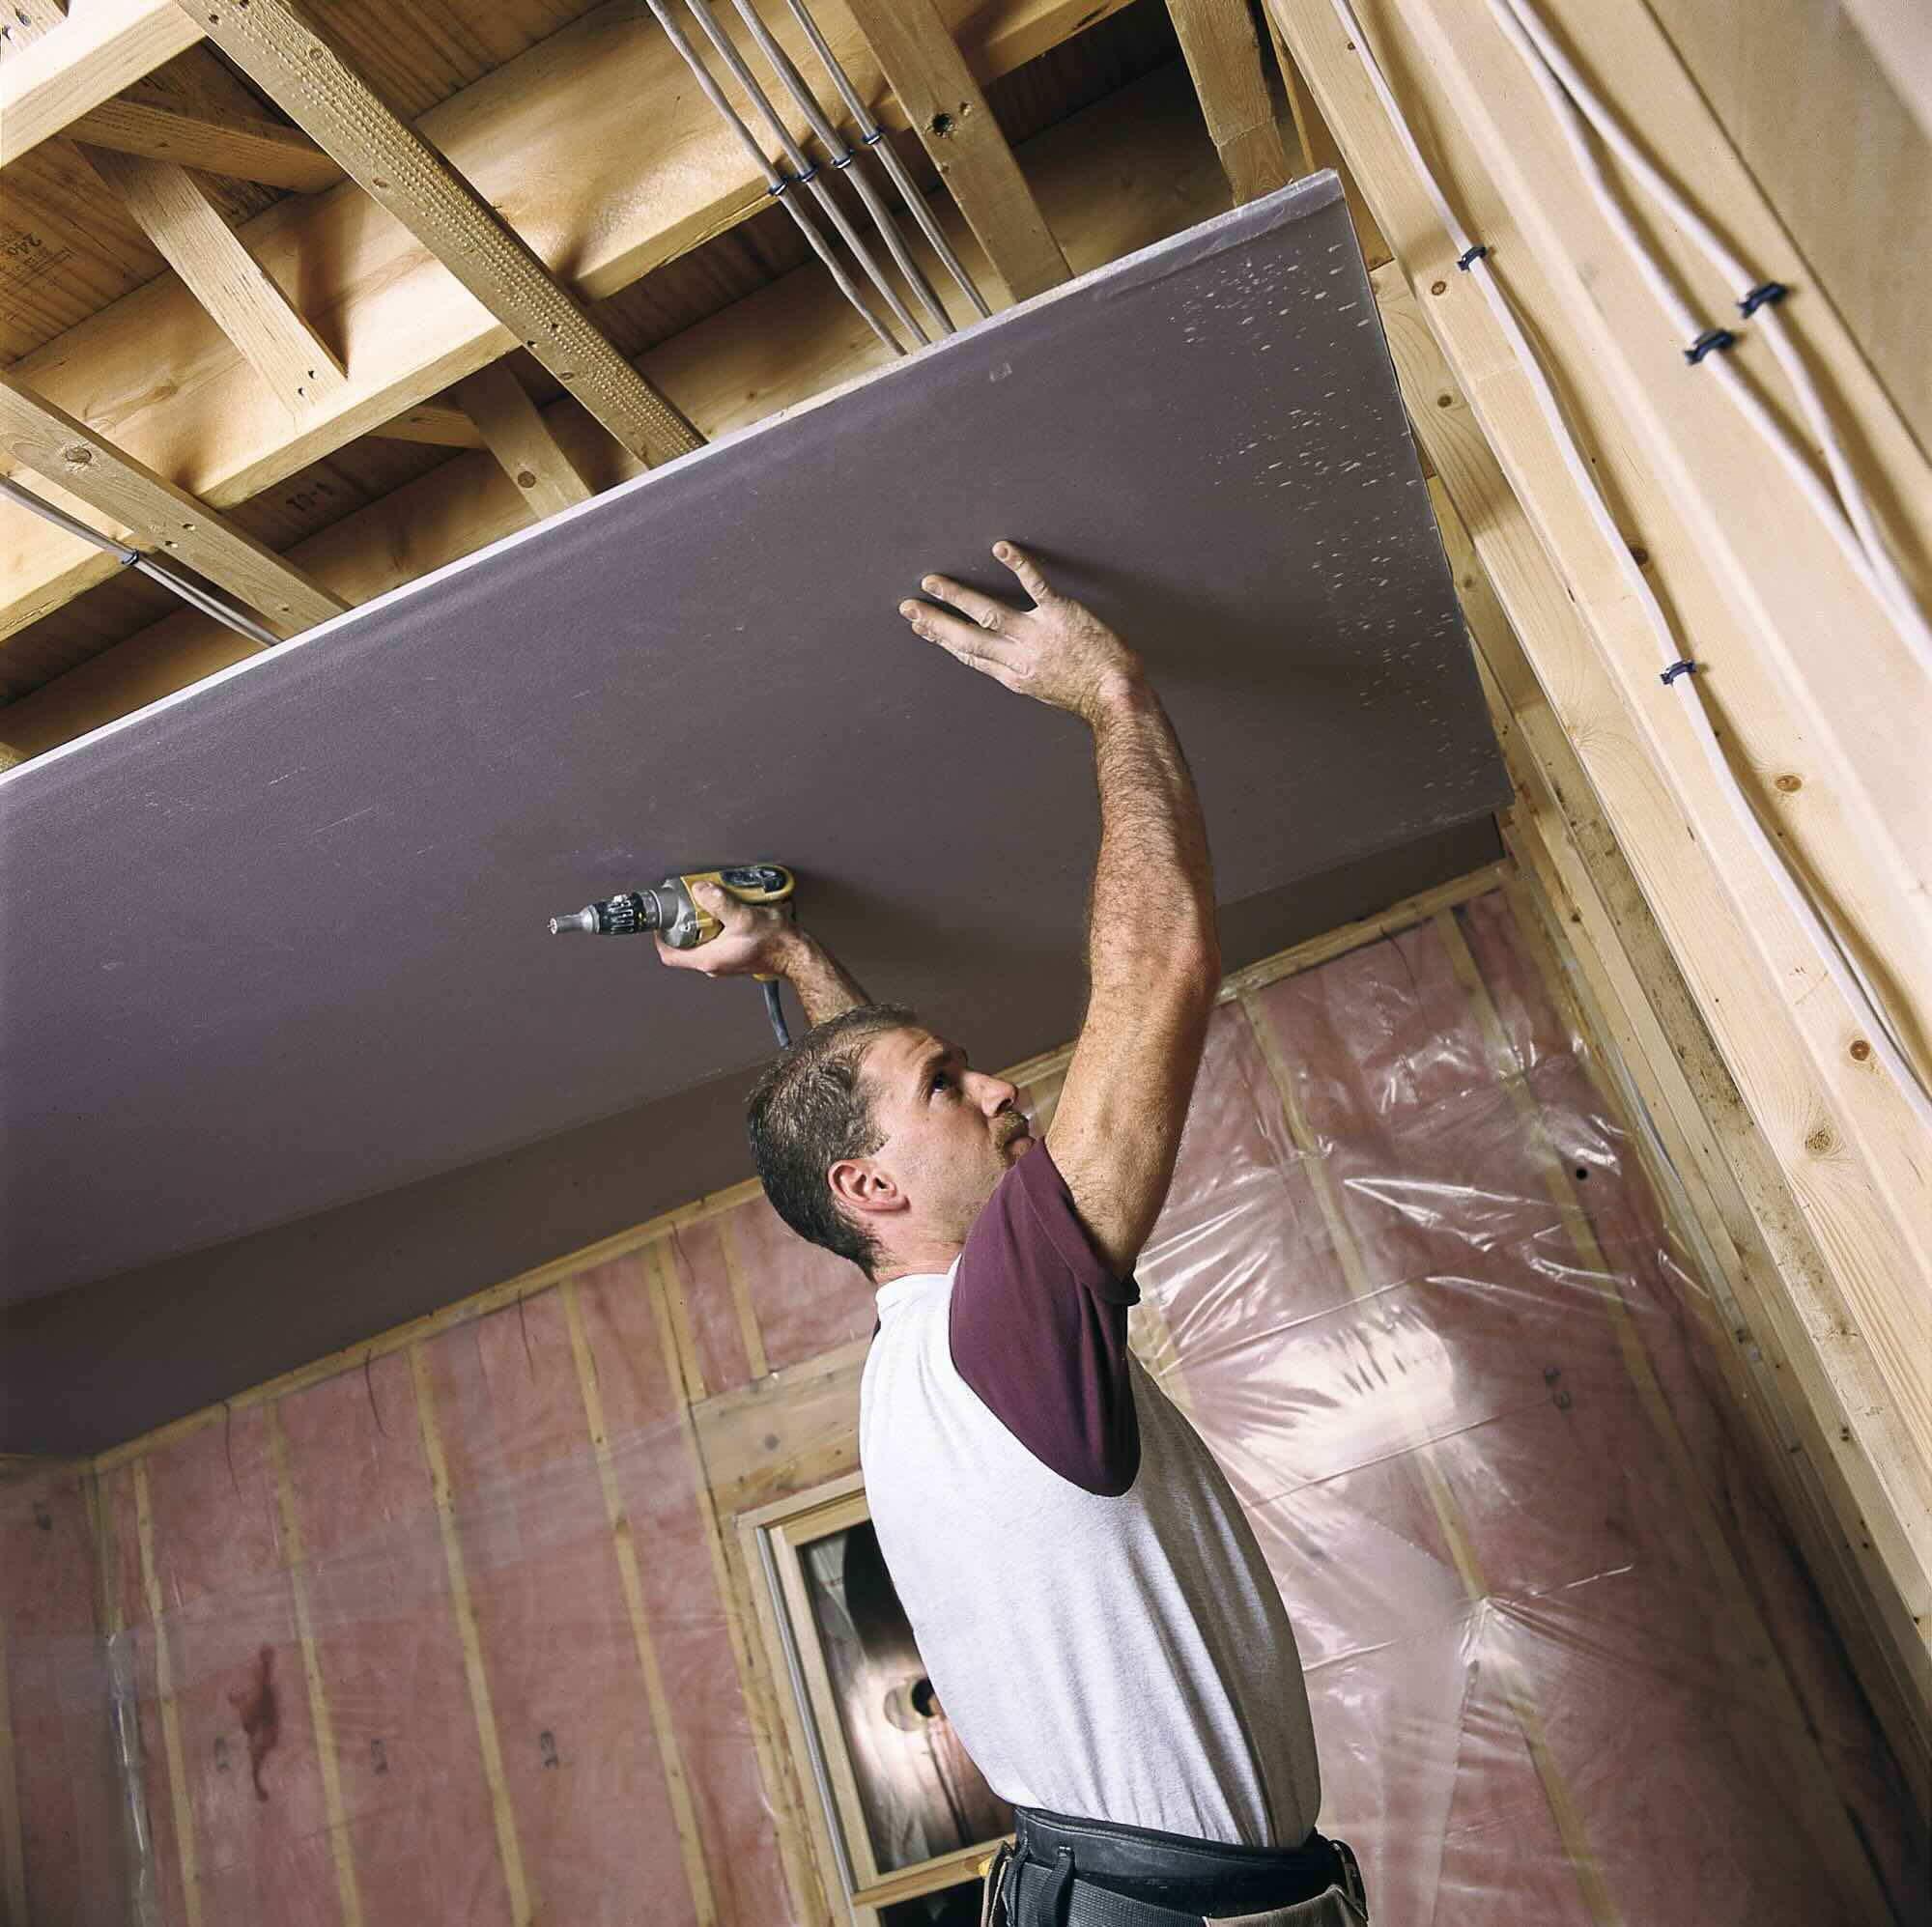
Step 6: Secure the Drywall
With the drywall sheets and additional pieces in place, the next step is to secure them properly to the ceiling. This ensures a sturdy and long-lasting installation. Here’s how to secure the drywall:
- Locate the ceiling joists: Use a stud finder or tap on the ceiling to locate the position of the ceiling joists. Mark their locations with a pencil or chalk.
- Attach the drywall to the joists: Starting from one corner, drill drywall screws through the drywall and into the joists. Place screws every 12 to 16 inches along the edges of the drywall sheets and about 8 inches apart in the field.
- Ensure a countersink: Make sure the screw heads are slightly recessed into the drywall without breaking the paper surface. This will allow for a smooth and flush finish when applying joint compound.
- Apply additional screws: Check for any loose areas or seams that require additional support. Insert drywall screws in these areas to secure the drywall tightly against the ceiling.
- Check for levelness and stability: Use a straightedge or level to ensure the installed drywall is level and flush with the surrounding sheets. Press on the drywall to check for any areas that may need additional screws.
Take your time during this step to ensure that the drywall is securely fastened. Properly securing the drywall will prevent sagging, cracking, or shifting over time.
Always follow the manufacturer’s guidelines for the recommended screw length and spacing. Using the appropriate screws and maintaining the required distance between them will ensure a strong and stable installation.
Step 7: Apply Joint Compound
Now that the drywall is securely fastened, it’s time to apply joint compound to create a smooth and seamless finish. Joint compound, also known as mud, is used to fill in the gaps between the drywall sheets and create a uniform surface. Follow these steps to apply joint compound:
- Prepare the joint compound: Start by opening the tub of joint compound and stirring it thoroughly to achieve a smooth consistency. Add a small amount of water if necessary, but be careful not to make it too thin.
- Fill the gaps and seams: Use a taping knife to scoop up a sufficient amount of joint compound. Apply a thin layer of compound over the seams between the drywall sheets, ensuring that it fills the gaps completely.
- Embed drywall tape: Place drywall tape over the joints while the joint compound is still wet. Gently smooth it down with your fingers or the taping knife, removing any air bubbles or wrinkles. This will help reinforce and strengthen the joints.
- Apply subsequent coats: Once the first coat is dry, apply subsequent coats of joint compound to build up the thickness and blend the edges. Feather the edges of each coat to create a smooth transition to the surrounding drywall.
- Allow the compound to dry: Follow the manufacturer’s instructions regarding the drying time for the joint compound. It is important to ensure that each coat is completely dry before applying the next one.
- Sand the surface: Once the final coat of joint compound is dry, use a sanding block or sandpaper to smooth out any ridges or imperfections. Be careful not to over-sand and damage the drywall.
Applying joint compound requires patience and attention to detail. Take your time to ensure a smooth and seamless finish. The number of coats required will depend on the desired level of smoothness and the condition of the drywall seams.
Remember to wear safety goggles and a dust mask during the sanding process to protect yourself from airborne particles.
Read more: How To Choose A Level Of Drywall Finish
Step 8: Sand the Drywall
After applying the joint compound and allowing it to dry, the next step is to sand the drywall. Sanding helps to create a smooth and uniform surface, preparing it for painting or any other finishing techniques. Here’s how to properly sand the drywall:
- Gather the necessary materials: You will need a sanding block or sanding sponge, sandpaper (medium grit, such as 120 or 150), and a dust mask.
- Put on safety gear: Before you begin sanding, it’s important to protect yourself. Wear a dust mask to prevent inhaling dust particles and goggles to shield your eyes from any debris.
- Sand in a circular motion: Start sanding the drywall using a circular motion. This helps to ensure an even and consistent sanding process. Apply light pressure as you sand to avoid damaging the drywall surface.
- Smooth out imperfections: Concentrate on areas where there are noticeable ridges, bumps, or unevenness. Continue to sand until these imperfections are smoothed out, making sure to blend the sanded area with the surrounding drywall.
- Clean up the dust: Once you have completed sanding, use a vacuum cleaner or a damp cloth to remove the dust from the sanded surface and the surrounding area. This will ensure a clean and dust-free workspace.
- Inspect the surface: After cleaning, take a closer look at the sanded surface to ensure it is smooth and free of any visible imperfections. If needed, you can perform some light touch-up sanding to further refine the finish.
Sanding the drywall is a crucial step to achieve a professional-looking result. Be patient and thorough, paying attention to detail. It’s better to sand lightly and gradually than to oversand and risk damaging the drywall.
Remember to take breaks and wear protective gear throughout the sanding process to ensure your safety and minimize the risk of inhaling dust particles.
Step 9: Apply Primer and Paint
Once the drywall has been installed and properly sanded, it’s time to move on to the final steps of finishing your ceiling: applying primer and paint. This will not only add color and style to your space but also protect the drywall and provide a polished look. Follow these guidelines to apply primer and paint:
- Choose primer and paint: Select a high-quality primer designed specifically for drywall and a paint color that complements your overall interior design scheme.
- Prep the area: Cover the floors and furniture with drop cloths or plastic sheets to protect them from any drips or spills.
- Prime the drywall: Apply a coat of primer using a paintbrush or roller. Priming helps to create an even surface and improve the durability of the paint. Allow the primer to dry completely before proceeding to the next step.
- Paint the ceiling: Once the primer has dried, apply the first coat of paint using a roller or paintbrush. Start from one corner and work your way across, maintaining a wet edge to avoid visible brush or roller marks. Allow the first coat to dry, then apply a second coat for a more vibrant and flawless finish.
- Follow drying and curing times: Leave sufficient drying time between each coat of paint as indicated on the paint can. Additionally, allow the paint to cure fully before moving back furniture or applying any additional finishing touches.
Ensure proper ventilation while painting and follow the manufacturer’s instructions and safety precautions listed on the paint can. Mixing and applying multiple cans of paint together is advised to maintain color consistency throughout the ceiling.
By applying primer and paint, you’ll not only enhance the appearance of your ceiling but also create a protective barrier that adds to the longevity and durability of the surface.
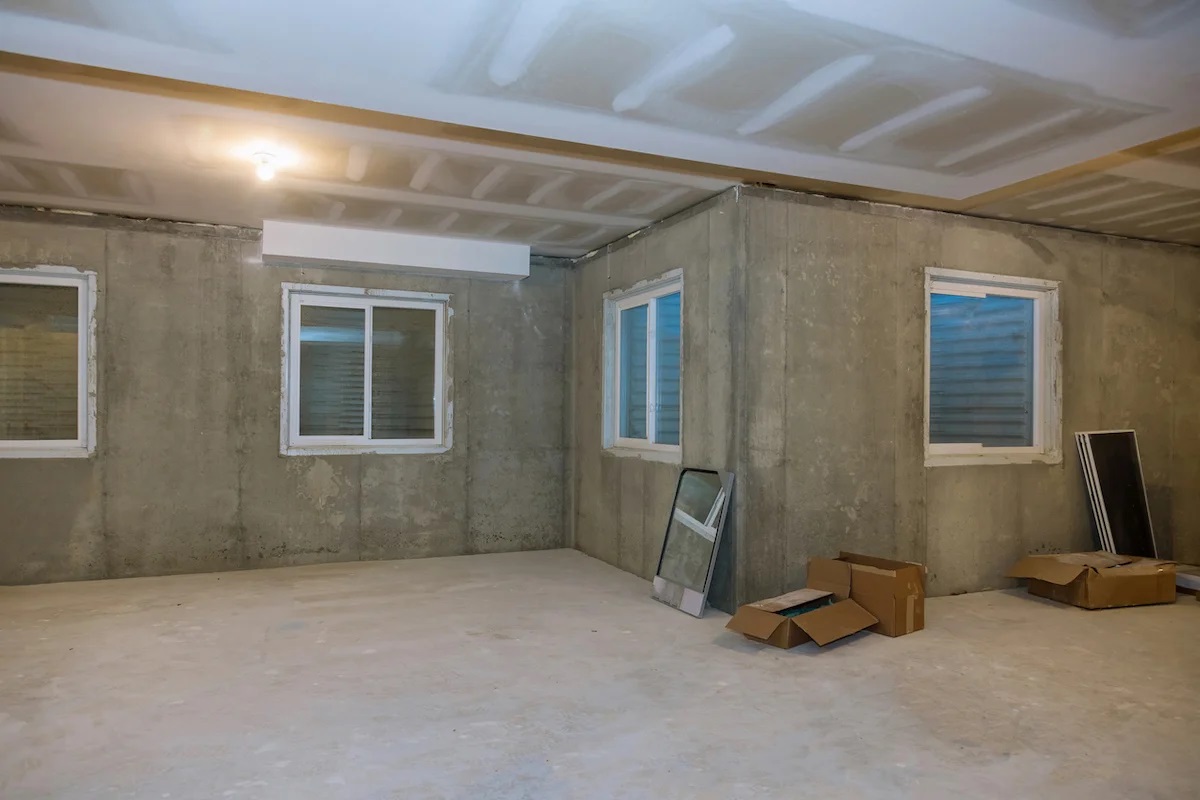
Step 10: Final Touches and Cleanup
As you near the end of your drywall ceiling project, it’s time to focus on the final touches and complete the cleanup process. These last steps are essential for achieving a polished and professional result. Follow these guidelines for the finishing touches and cleanup:
- Inspect the finished ceiling: Take a step back and carefully inspect the entire ceiling. Look for any visible imperfections, such as small cracks, ridges, or uneven paint coverage. Make any necessary touch-ups to ensure a flawless finish.
- Remove protective coverings: Remove the drop cloths or plastic sheets that you placed to protect your floors and furniture. Shake them outside or fold them carefully to contain any dust or debris.
- Clean up the workspace: Clean up any leftover debris or dust from the drywall installation, sanding, and painting. Use a vacuum or broom to sweep the floor, and wipe down any surfaces that may have accumulated dust during the process.
- Dispose of waste: Properly dispose of the drywall scraps, used sandpaper, empty paint cans, and any other waste materials in accordance with local regulations.
- Enjoy your new ceiling: Once the cleanup is complete, step back and admire your beautifully finished drywall ceiling. Take a moment to appreciate all the hard work you’ve put into transforming your space.
The final touches and cleanup not only ensure a neat and tidy end result but also help to maintain the longevity and cleanliness of your newly installed drywall ceiling. By paying attention to these details, you can fully appreciate the transformation you’ve made.
Now it’s time to sit back, relax, and enjoy your refreshed and visually appealing space with its sleek and professionally finished drywall ceiling.
Conclusion
Congratulations! You have successfully learned how to hang drywall on a ceiling and create a sleek, professional finish. By following each step of the process, from measuring and planning to applying primer and paint, you have transformed your space and elevated its interior design.
Hanging drywall on a ceiling may seem like a daunting task, but with the right tools, materials, and guidance, it becomes an achievable project. Throughout this journey, you have learned how to properly prepare the ceiling, cut and fit the drywall, secure it securely, apply joint compound, sand the surface, and finally, apply primer and paint for a beautiful and polished result.
Remember, attention to detail is key when it comes to hanging drywall. Taking accurate measurements, securing the drywall properly, and ensuring seamless joints and smooth surfaces will ensure a professional-looking finish. Don’t rush through the process and allow sufficient drying and curing times for each stage.
As you complete the final touches and clean up your workspace, take a moment to appreciate the transformation you have made. Your newly installed drywall ceiling not only enhances the aesthetics of the space but also adds value and durability to your home or office.
Keep in mind that practice makes perfect, and every project presents an opportunity to improve your skills. With time and experience, you’ll refine your techniques and become even more proficient at hanging drywall. So, embrace the challenge, enjoy the process, and take pride in your beautifully finished drywall ceiling.
Now, sit back, relax, and enjoy your refreshed space with its professionally finished drywall ceiling that adds a touch of elegance and sophistication to your interior design.
Frequently Asked Questions about How To Hang Drywall Ceiling: Expert Tips For A Sleek Finish
Was this page helpful?
At Storables.com, we guarantee accurate and reliable information. Our content, validated by Expert Board Contributors, is crafted following stringent Editorial Policies. We're committed to providing you with well-researched, expert-backed insights for all your informational needs.

0 thoughts on “How To Hang Drywall Ceiling: Expert Tips For A Sleek Finish”